How this Helps
Event-based workflows are particularly useful for real-time automation, enabling workflows to respond to security threats, update records, or manage service incidents without manual intervention.
Need help finding the right trigger type for your use case? See About Triggers.
Prerequisites
Prerequisites
Prerequisites vary depending on the kind of workflow you’re building.For flows triggered by a Blink connection to an external service, you’ll need the necessary permissions with the external vendor in order to establish a Blink connection with that external service.For flows triggered by a Blink service, such as Blink Events or Case Management, and for custom webhooks, see the related documentation:
Event Types
Blink supports multiple event-based triggers, including:| Trigger Type | Description |
|---|---|
| External event triggers | Events triggered by third-party integrations. |
| Custom Webhooks | User-defined webhooks that trigger workflows. |
| Web Forms | Create and share a secure, interactive web page designed to gather input. |
| Native Blink events | Built-in events generated within Blink. |
| Case Management events | Events associated with case tracking and management. |
Example
Example
For example, using an event-based trigger, you can trigger a workflow:
- An Okta webhook event sent on specified alerts, for example for password resets
- A Splunk New Query Search Event that is triggered for critical alerts (polling trigger)
- A Jira New Issue event triggered according to workflow conditions (polling trigger)
- A Blink web form event containing a security incident report
The remainder of this article describes External Event Triggers, polling, and how to configure an event-based trigger.Configuring webhook triggers is detailed in Configuring Event-Based Triggers with Webhooks.Learn more about Case Management here.
Blink Events
Blink offers built-in event triggers that help manage workflow execution and system monitoring. These include:- Blink Error Event: Used for handling workflow failures, allowing you to trigger another workflow to respond to errors. The error event payload contains details about the failure, ensuring you can design an appropriate response.
- Tables - Used to trigger the workflow when the specified Blink table receives a new record or when an existing record is updated.
- Blink Runner Notification: Enables notifications for runner-related events:
- Runner has been disconnected - triggered when the runner has been off line for more than 10 minutes.
- Runner failed to upgrade - triggered when auto upgrade is enabled but failed
- Runner outdated - triggered when auto upgrade is disabled and a new version is released
See Blink Error Event and Blink Runner Notification for more information about Blink Events.
External Event Triggers
Blink provides trigger events from external vendors, which are available in the list of event trigger options. These events are based on the cloud services offered by each vendor and cannot be modified. Many vendors use polling to detect changes, while others support webhooks—or a combination of both. Selecting the right event trigger allows your workflows to proactively handle errors, system changes, and third-party events, enhancing both efficiency and reliability.The rest of this article explains how to configure event-based triggers with any available Blink connection, focusing primarily on events that do not include webhook configuration.For detailed information, use cases, and instructions about webhooks, see Configuring Event-Based Triggers with Webhooks.
About Polling
For most predefined trigger events, Blink relies on polling to periodically check the external vendor system for updates at fixed intervals. This ensures that workflows stay up to date routinely. The polling interval defines how often Blink scans for new events, acting as a timer to ensure timely responses and efficient automation. When Blink receives an event, it processes the event payload, which contains the data sent by the event source. Each payload includes:- The event type
- The event source
- All relevant information about the event, such as timestamps, identifiers, and any other pertinent data fields provided by the external vendor system
Example
Example
Checkmarx scansIf a workflow is triggered by new scans in Checkmarx, Blink polls the Checkmarx New Scan endpoint at the configured interval to check for new scan events. If multiple new scans are detected in a single polling cycle, Blink processes each scan as a separate event, triggering the workflow multiple times—once for each scan. Blink then executes the workflow separately for each event.Gmail messagesIf a workflow is triggered by a new email in Gmail, Blink polls the Gmail New Message API endpoint at the configured interval to check for new email messages. The payload might include the sender’s email address, the subject line, and the body of the email. Blink uses this information to execute the workflow steps you have defined, such as forwarding the email, creating a task, or sending a notification.
How Event-Based Triggers Work
Event-based triggers allow workflows to start automatically when a specified event occurs. These events can come from Blink’s internal system, third-party services, or custom webhooks. By configuring event-based triggers, you can automate responses to system changes, security alerts, or operational events in real time. The following diagram illustrates how event-based triggers work, from event detection to workflow execution:An Event Occurs
This could be a system-generated event, an update from a third-party service, or an external webhook call.
Blink Detects the Event
Depending on the trigger type, Blink either receives a webhook payload or retrieves event data as a payload through polling at scheduled intervals.
Trigger Conditions are Evaluated
Blink checks if the event matches the configured trigger conditions. If the conditions are met, the event proceeds to the next step.
Trigger Fires & Passes Event Data
The workflow receives relevant event details, including timestamps, identifiers, and metadata.
Payload Example for a Polling Event-Based Trigger
Payload Example for a Polling Event-Based Trigger
Configure an Event-Based Trigger
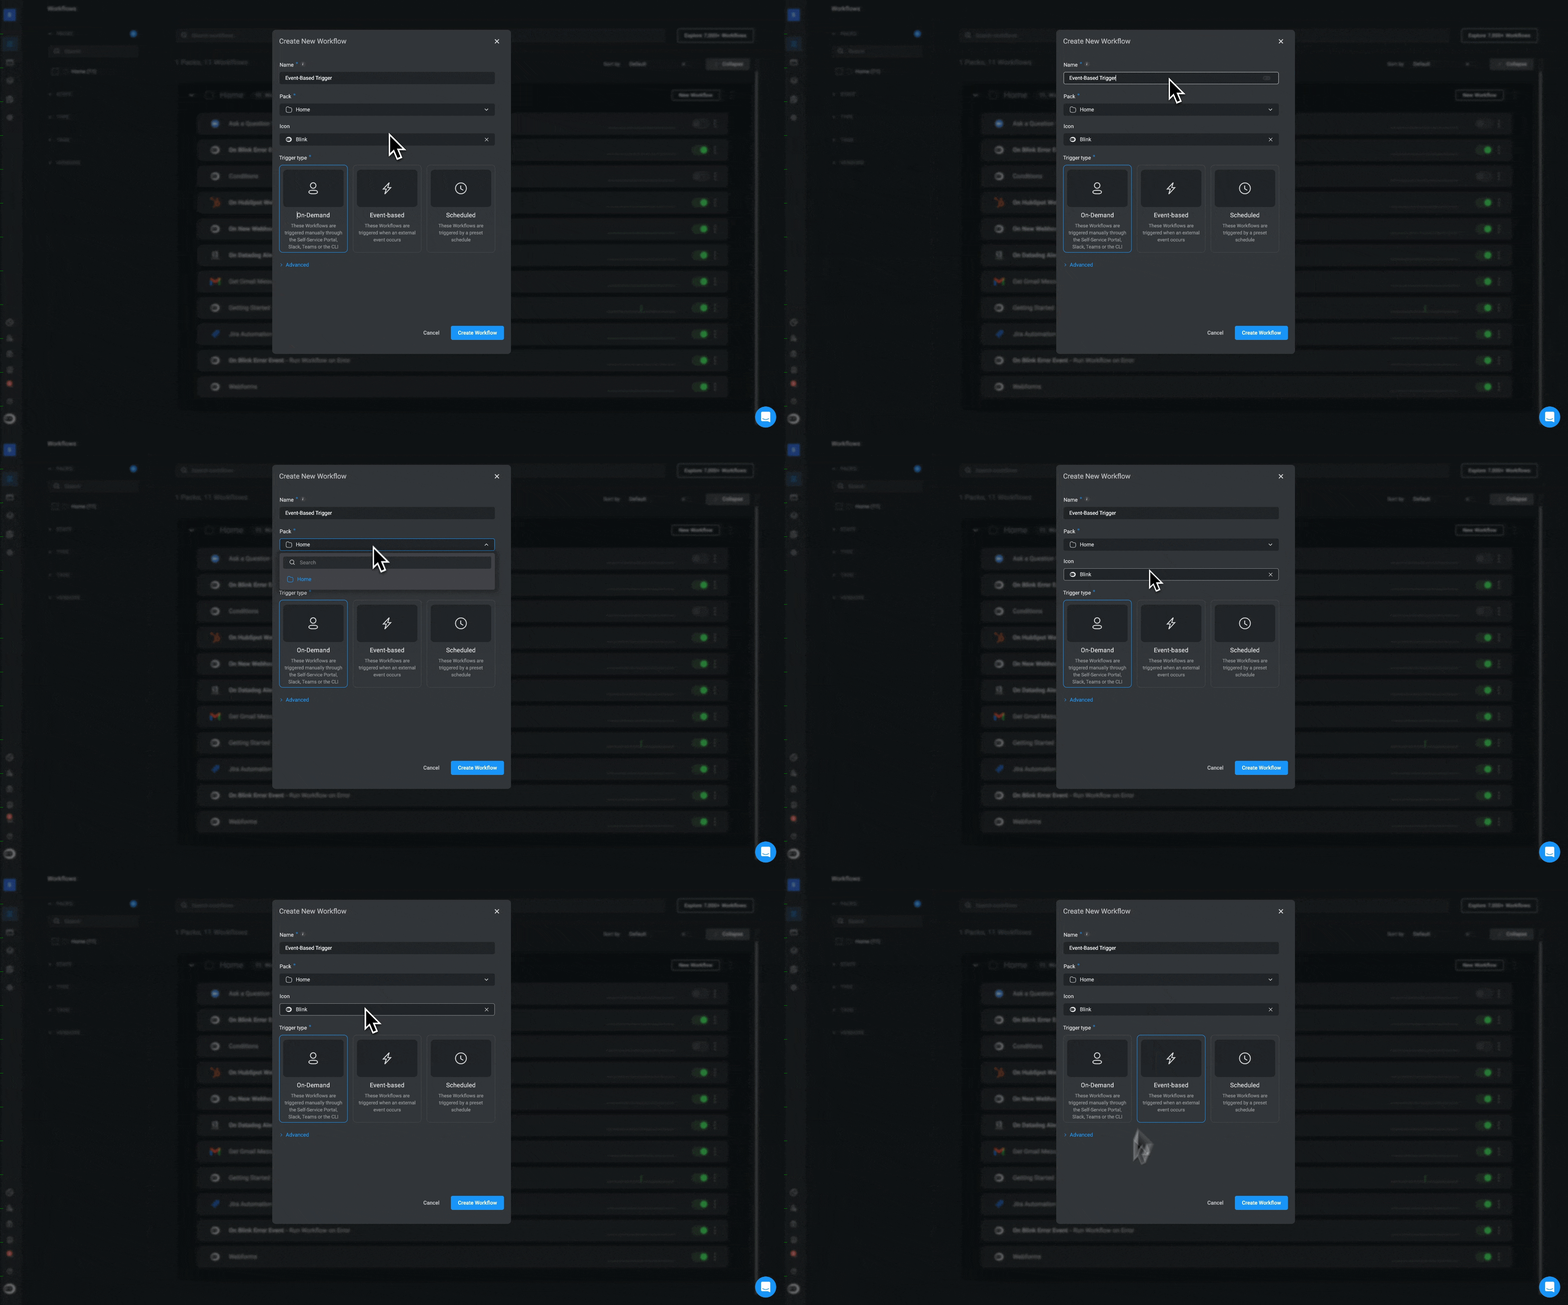
To configure an event-based trigger using a vendor connection or a Blink Event:-
Create a new workflow, and select Event-based Workflow when prompted.
Once you click Create Workflow, the canvas loads with your initial configurations. The first part of the workflow is Trigger: Event-Based.
-
Click Click to select an event.
The Trigger Setup popup opens.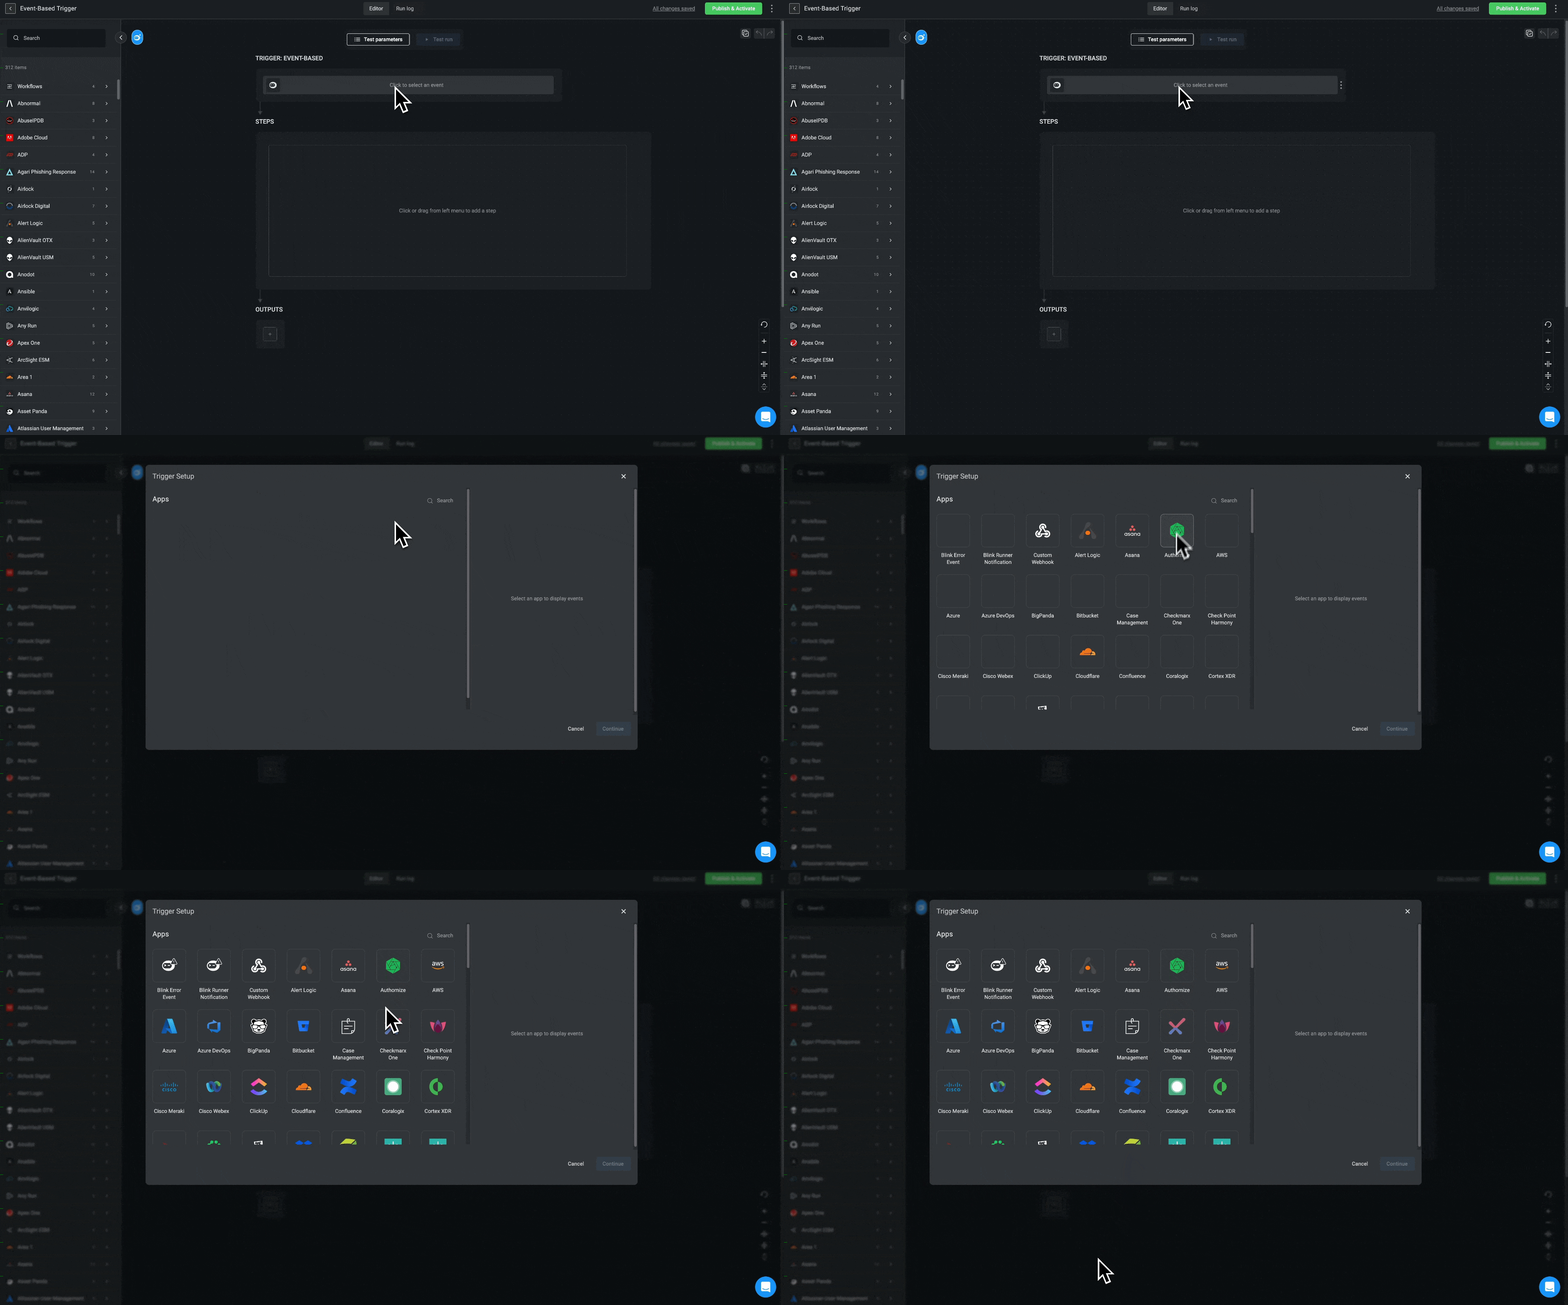
-
Select an option from the list. The right panel opens with supported events for the selected connection.
This example demonstrates a polling event. To configure webhook events, see Configuring Triggers with Webhooks for additional guidance.
-
From the right panel, select a supported out-of-the-box event (any event that is not a Webhook) and click Continue. The Trigger Setup popup loads all relevant parameters based on the event you chose.
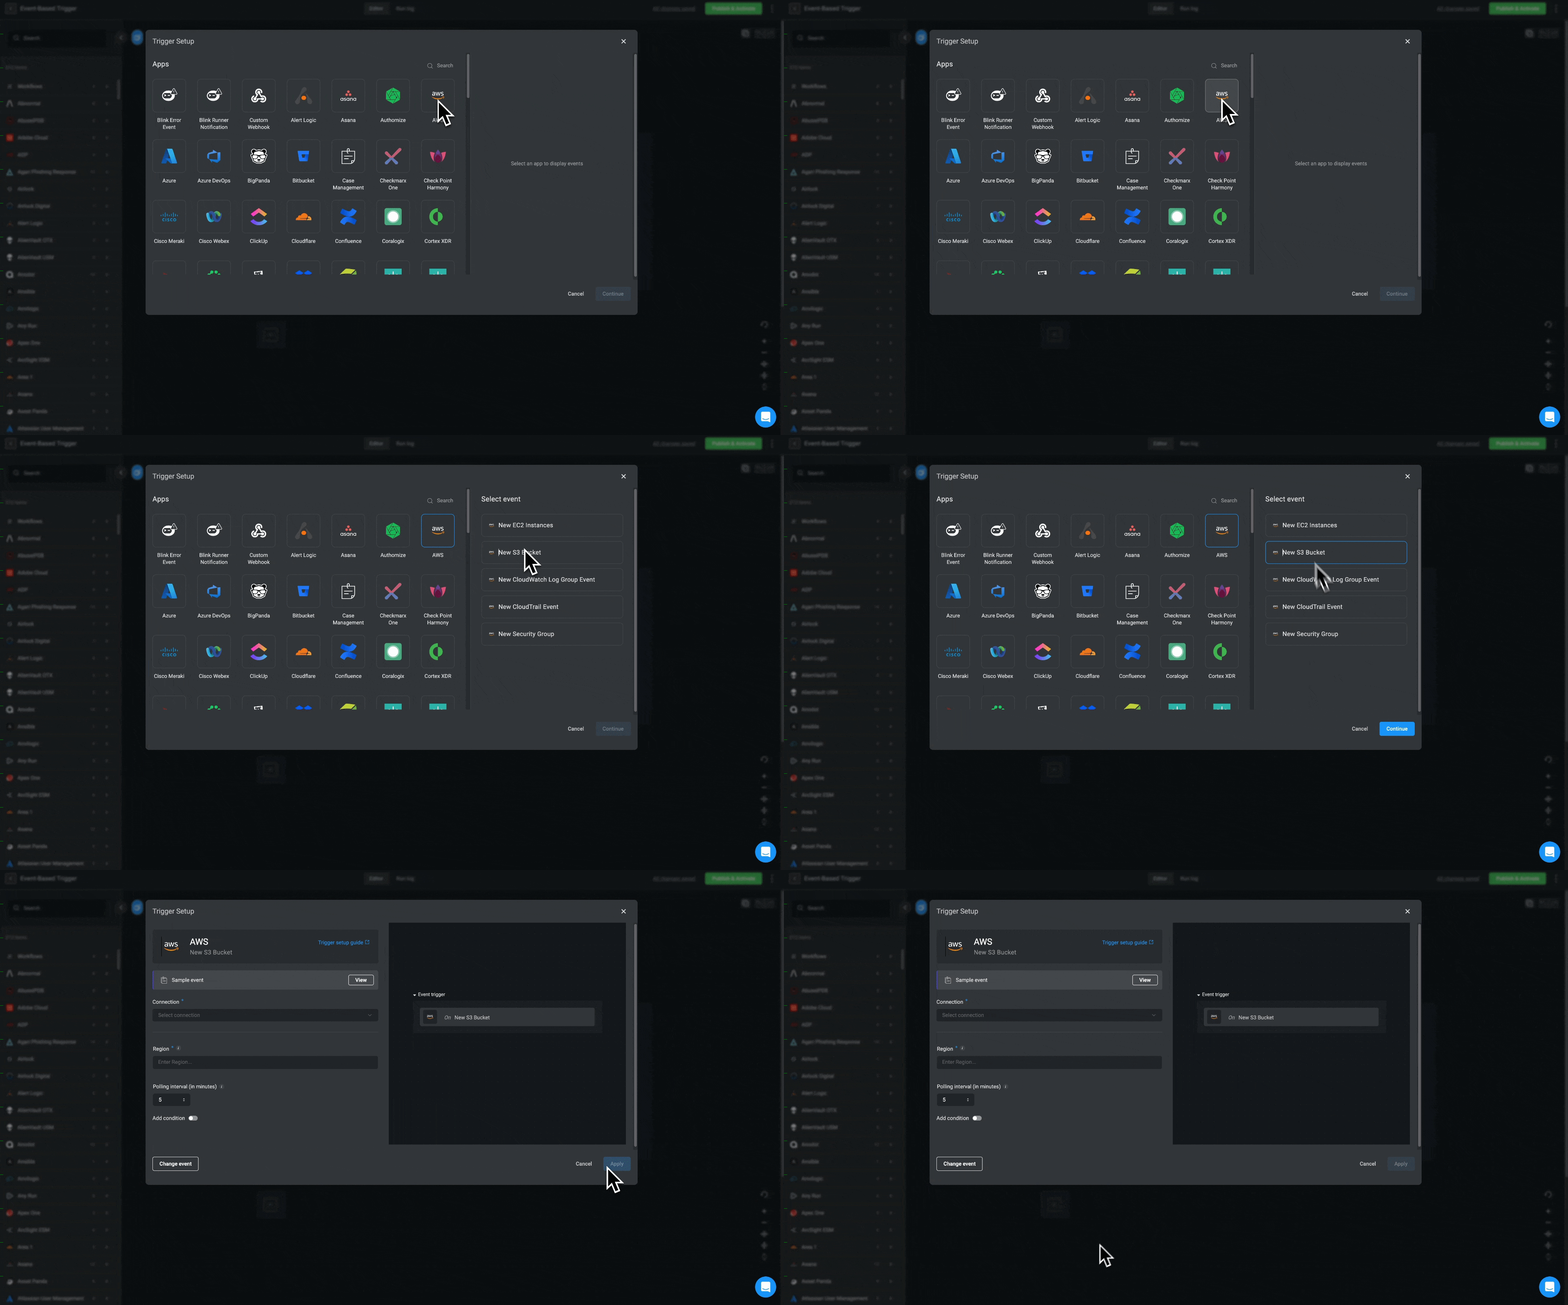
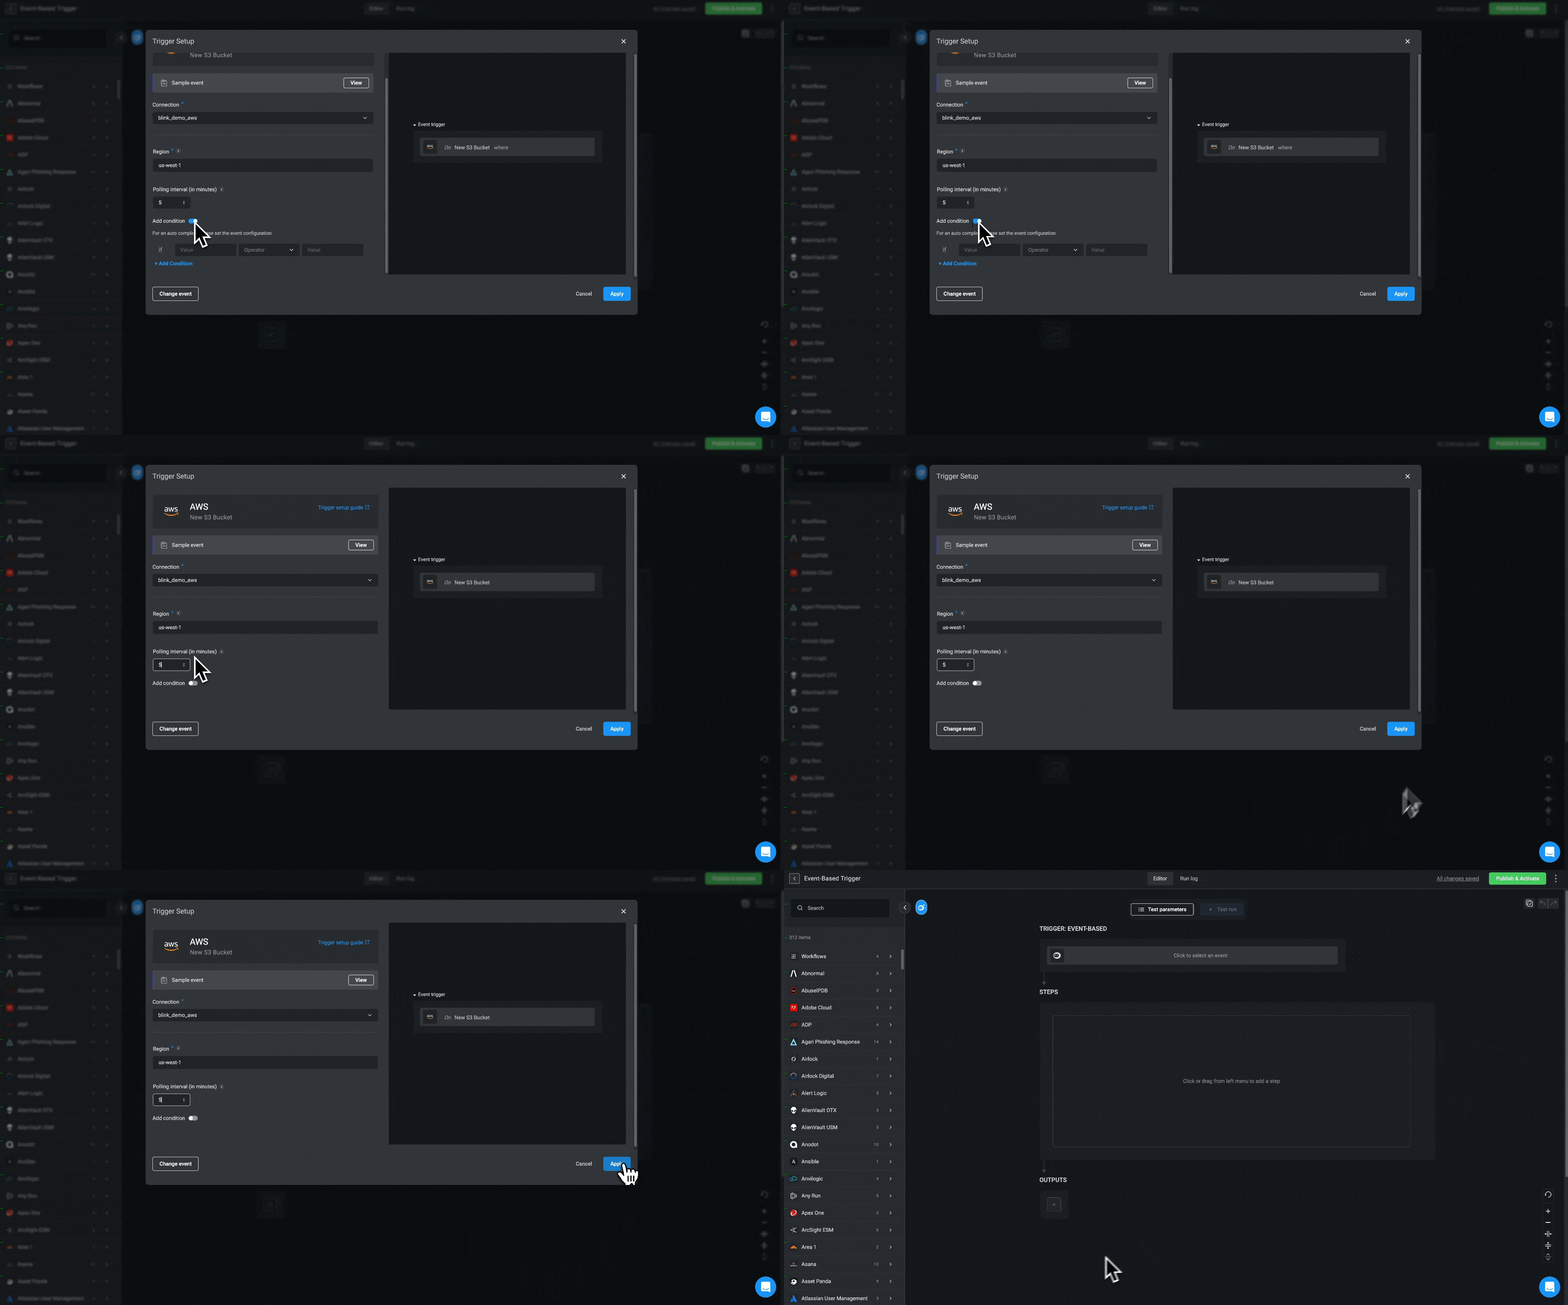
- Optionally click View next to Sample event. A popup opens with a sample event .
-
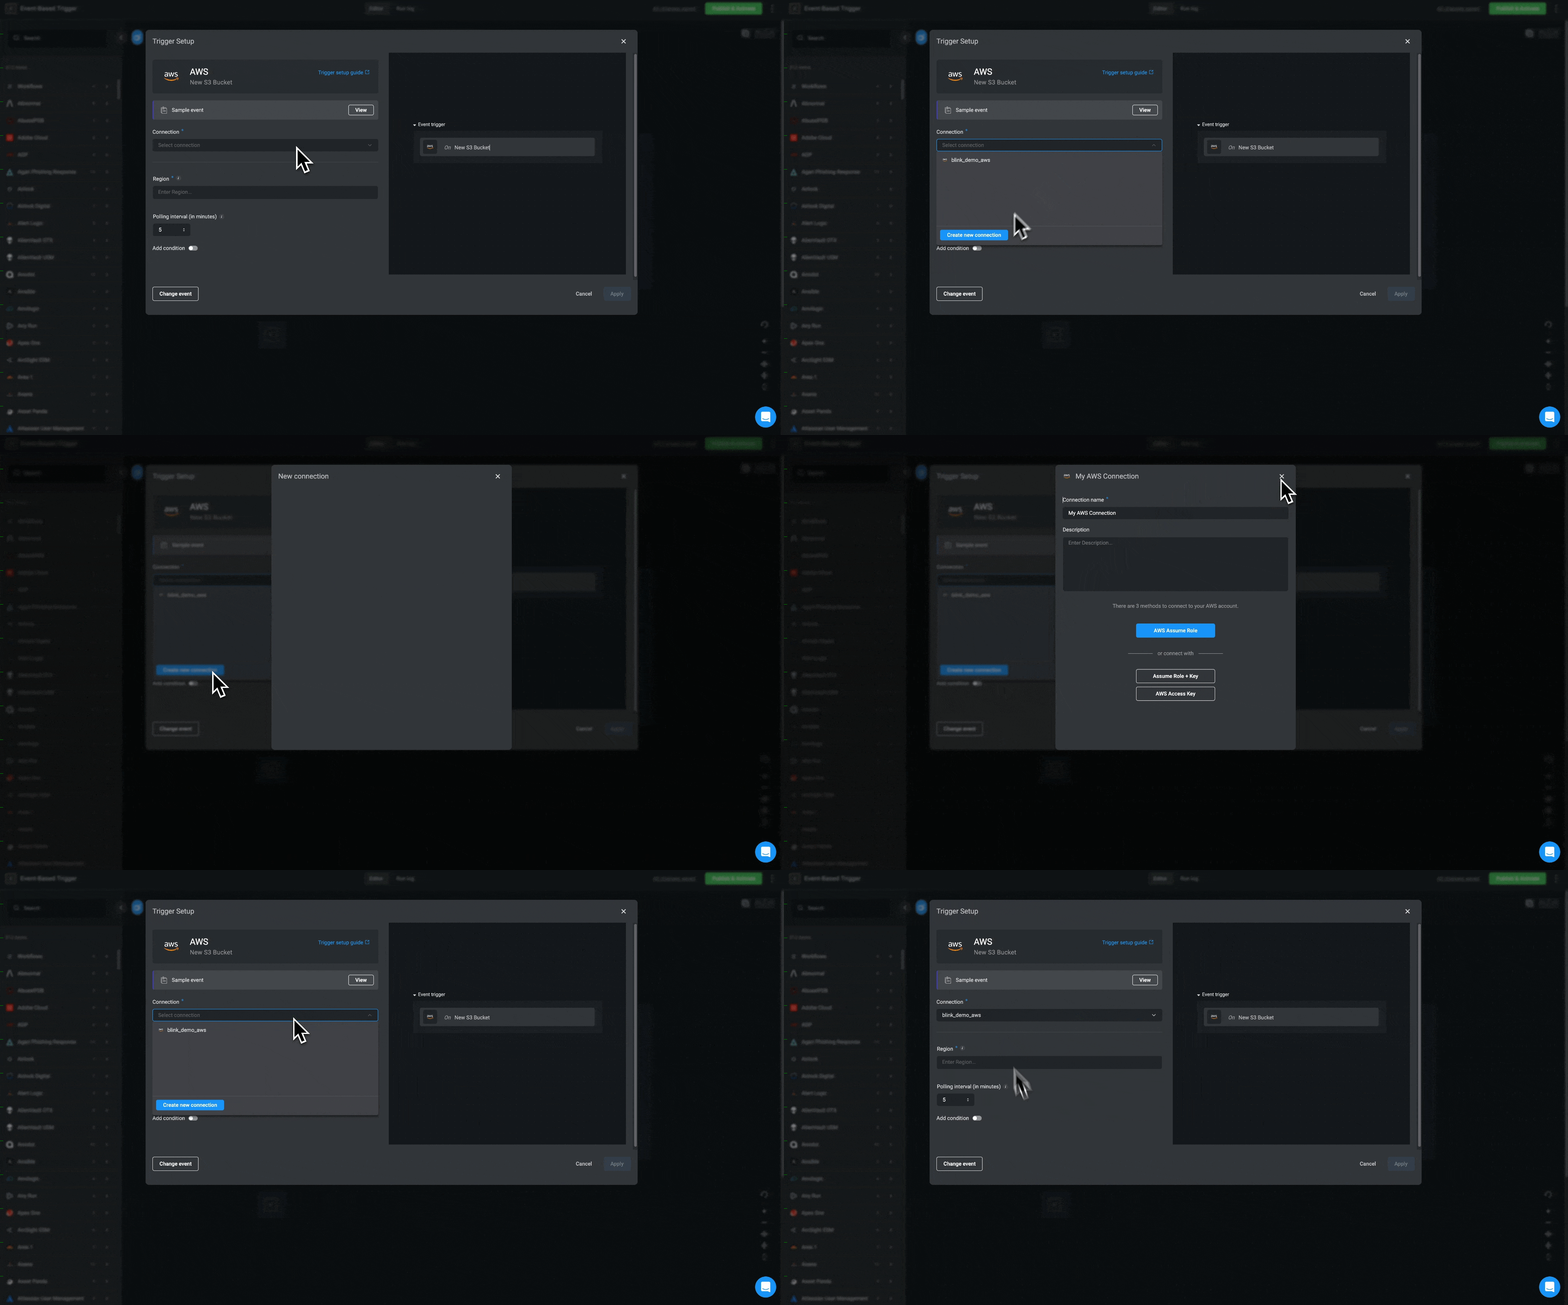
From the Connection dropdown, select an existing connection or create a new connection.
-
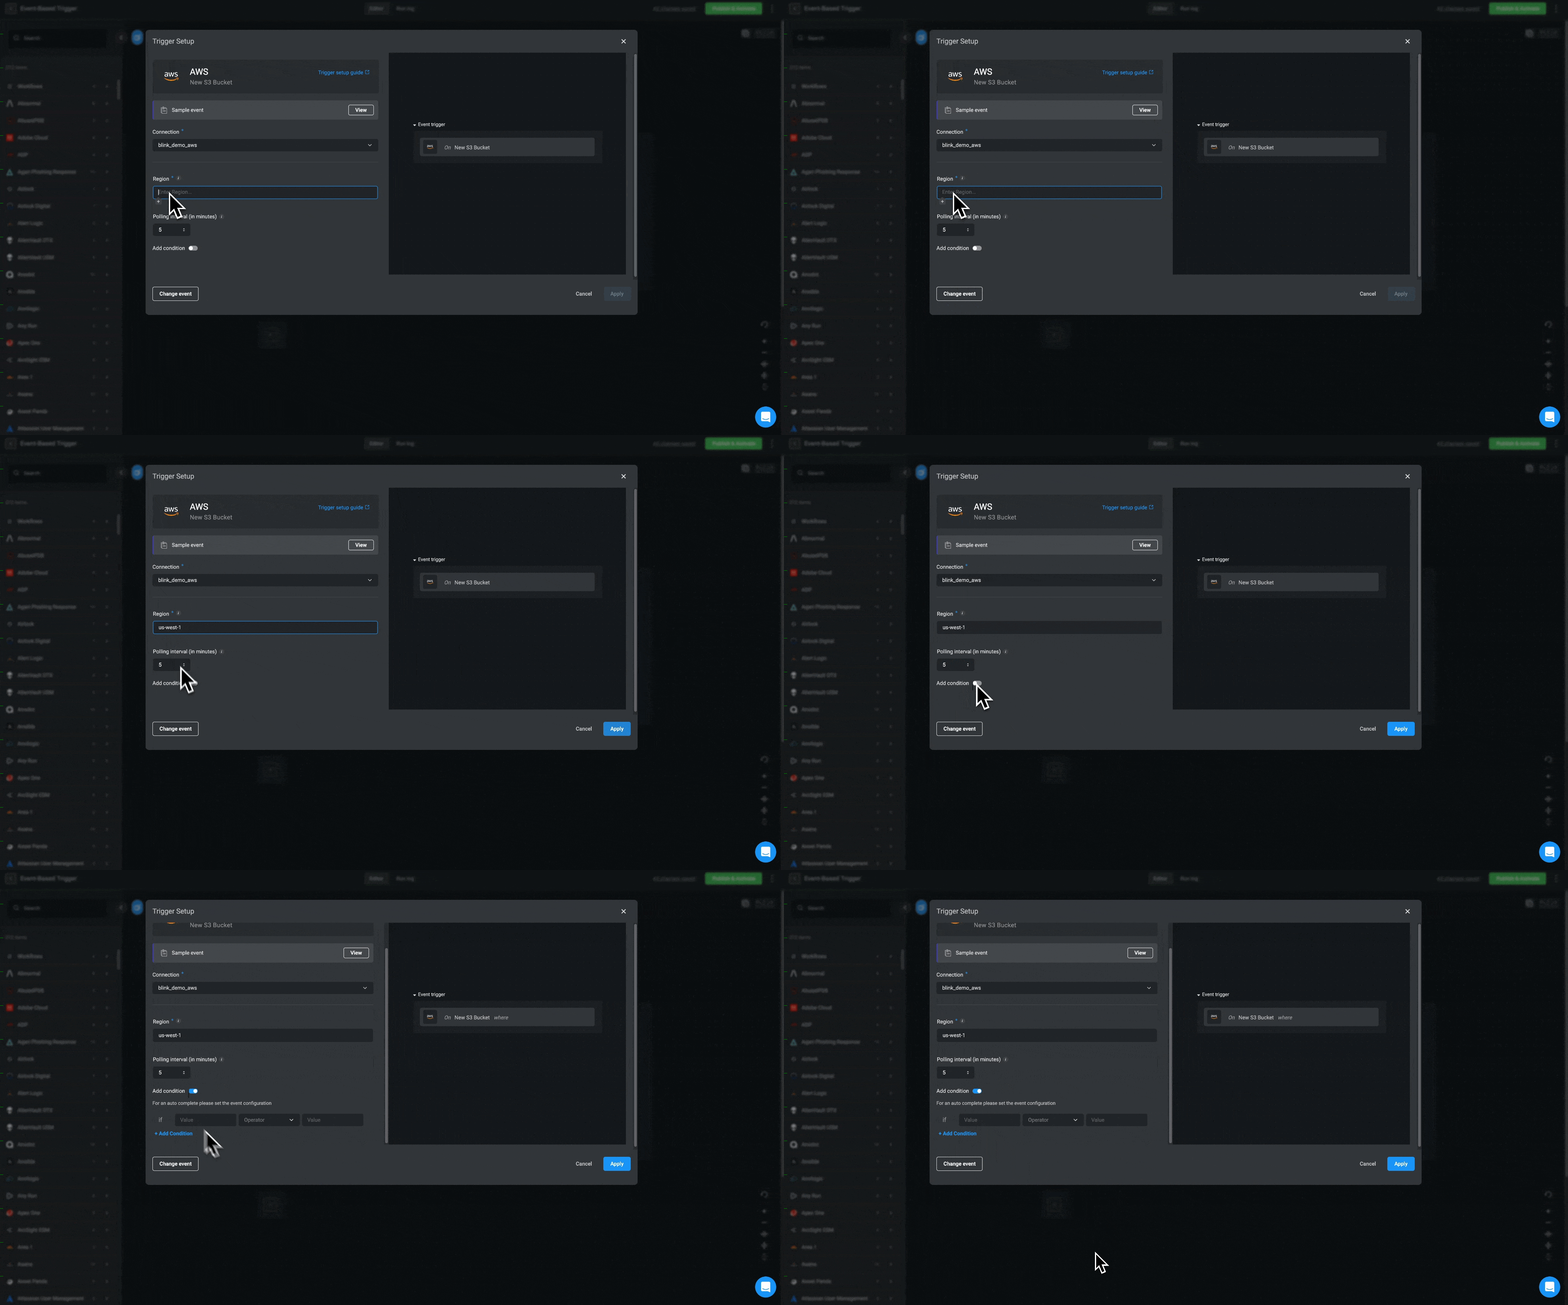
Configure all mandatory parameters.
For polling, the default interval is set to 5 minutes which can be adjusted accordingly.
Optionally:
- Open the Advanced accordion to configure additional parameters
- Toggle Add condition to define conditions for the trigger. See Condition Builder for more details.
-
Click Apply.
The Trigger Setup popup closes and the trigger configuration is saved. Once you finish building the workflow and publish it, the workflow is triggered when the trigger event occurs and the conditions are met.
