Note:
- Workflows with the same name will be overridden by the latest published versions from the origin workspace.
- Both the published and draft versions of workflows in the target workspace will be replaced by the deployed versions.
Deploying Packs to Workspace(s)
1
Open the Menu
Click the button in the top-right corner of the workflow pack and select Deploy pack to workspace.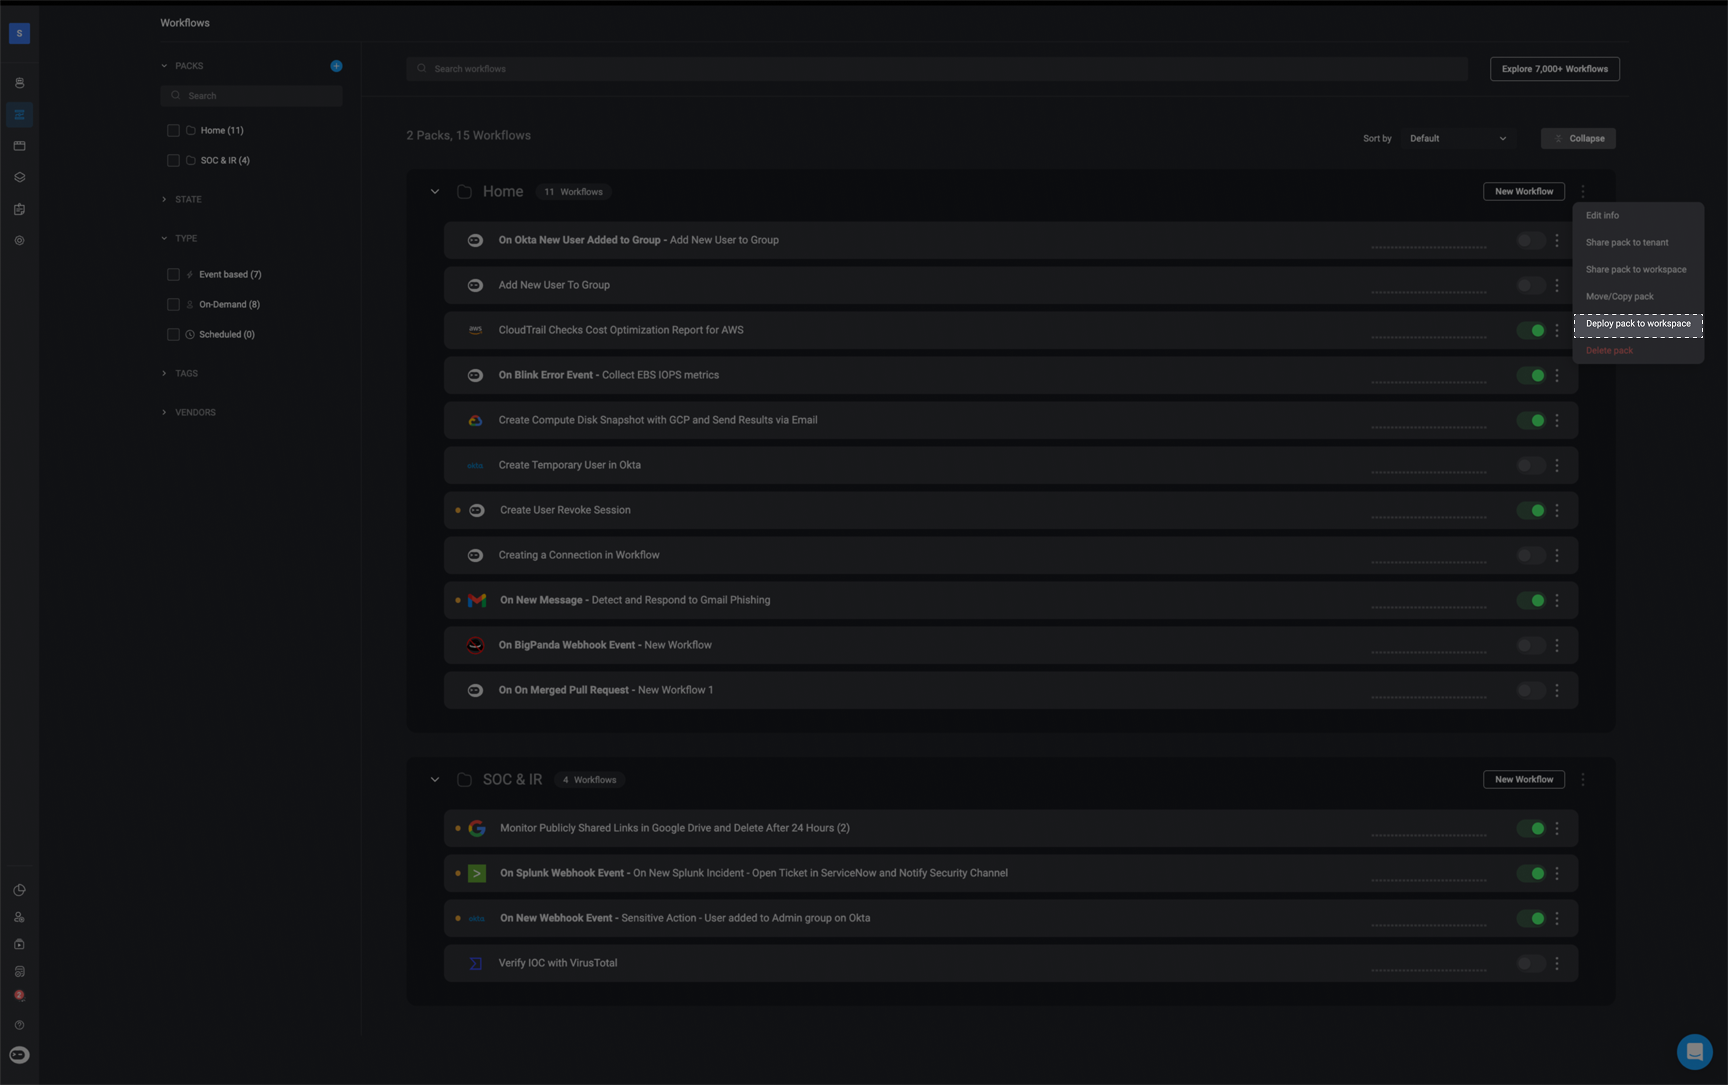
2
Select Target Workspaces
In the Deploy Pack to Workspace pop-up, select the workspace(s) where you want to deploy the pack.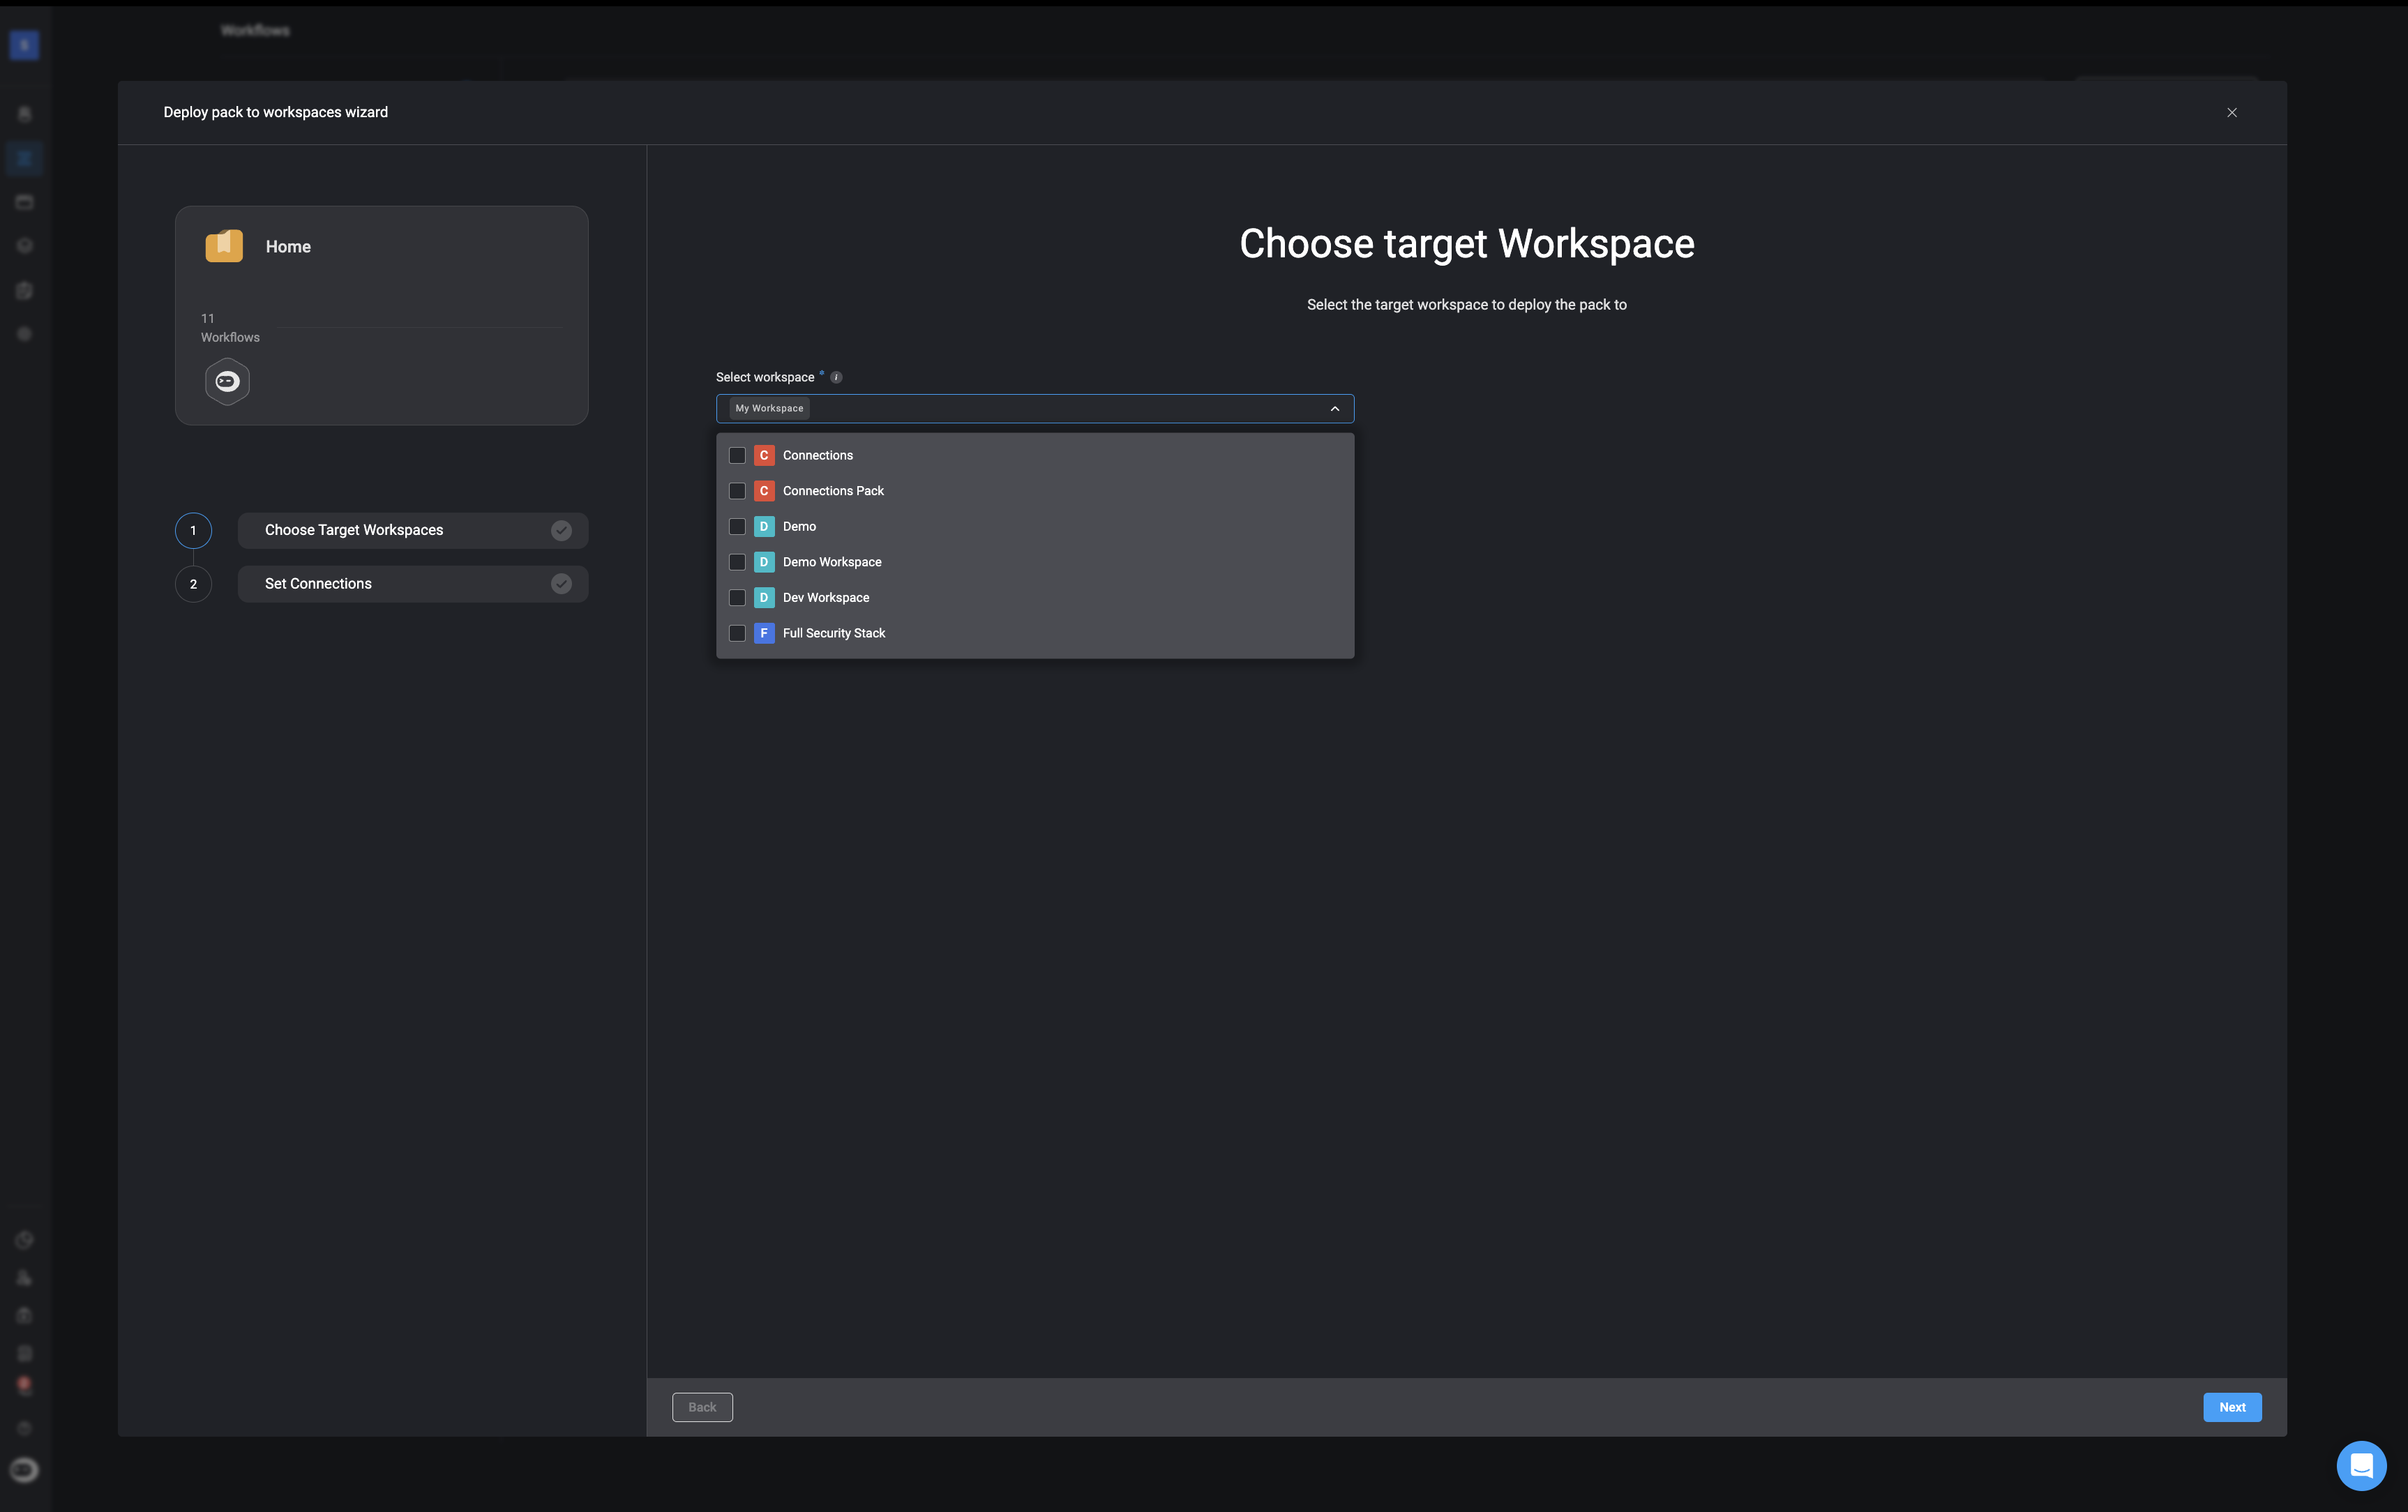
3
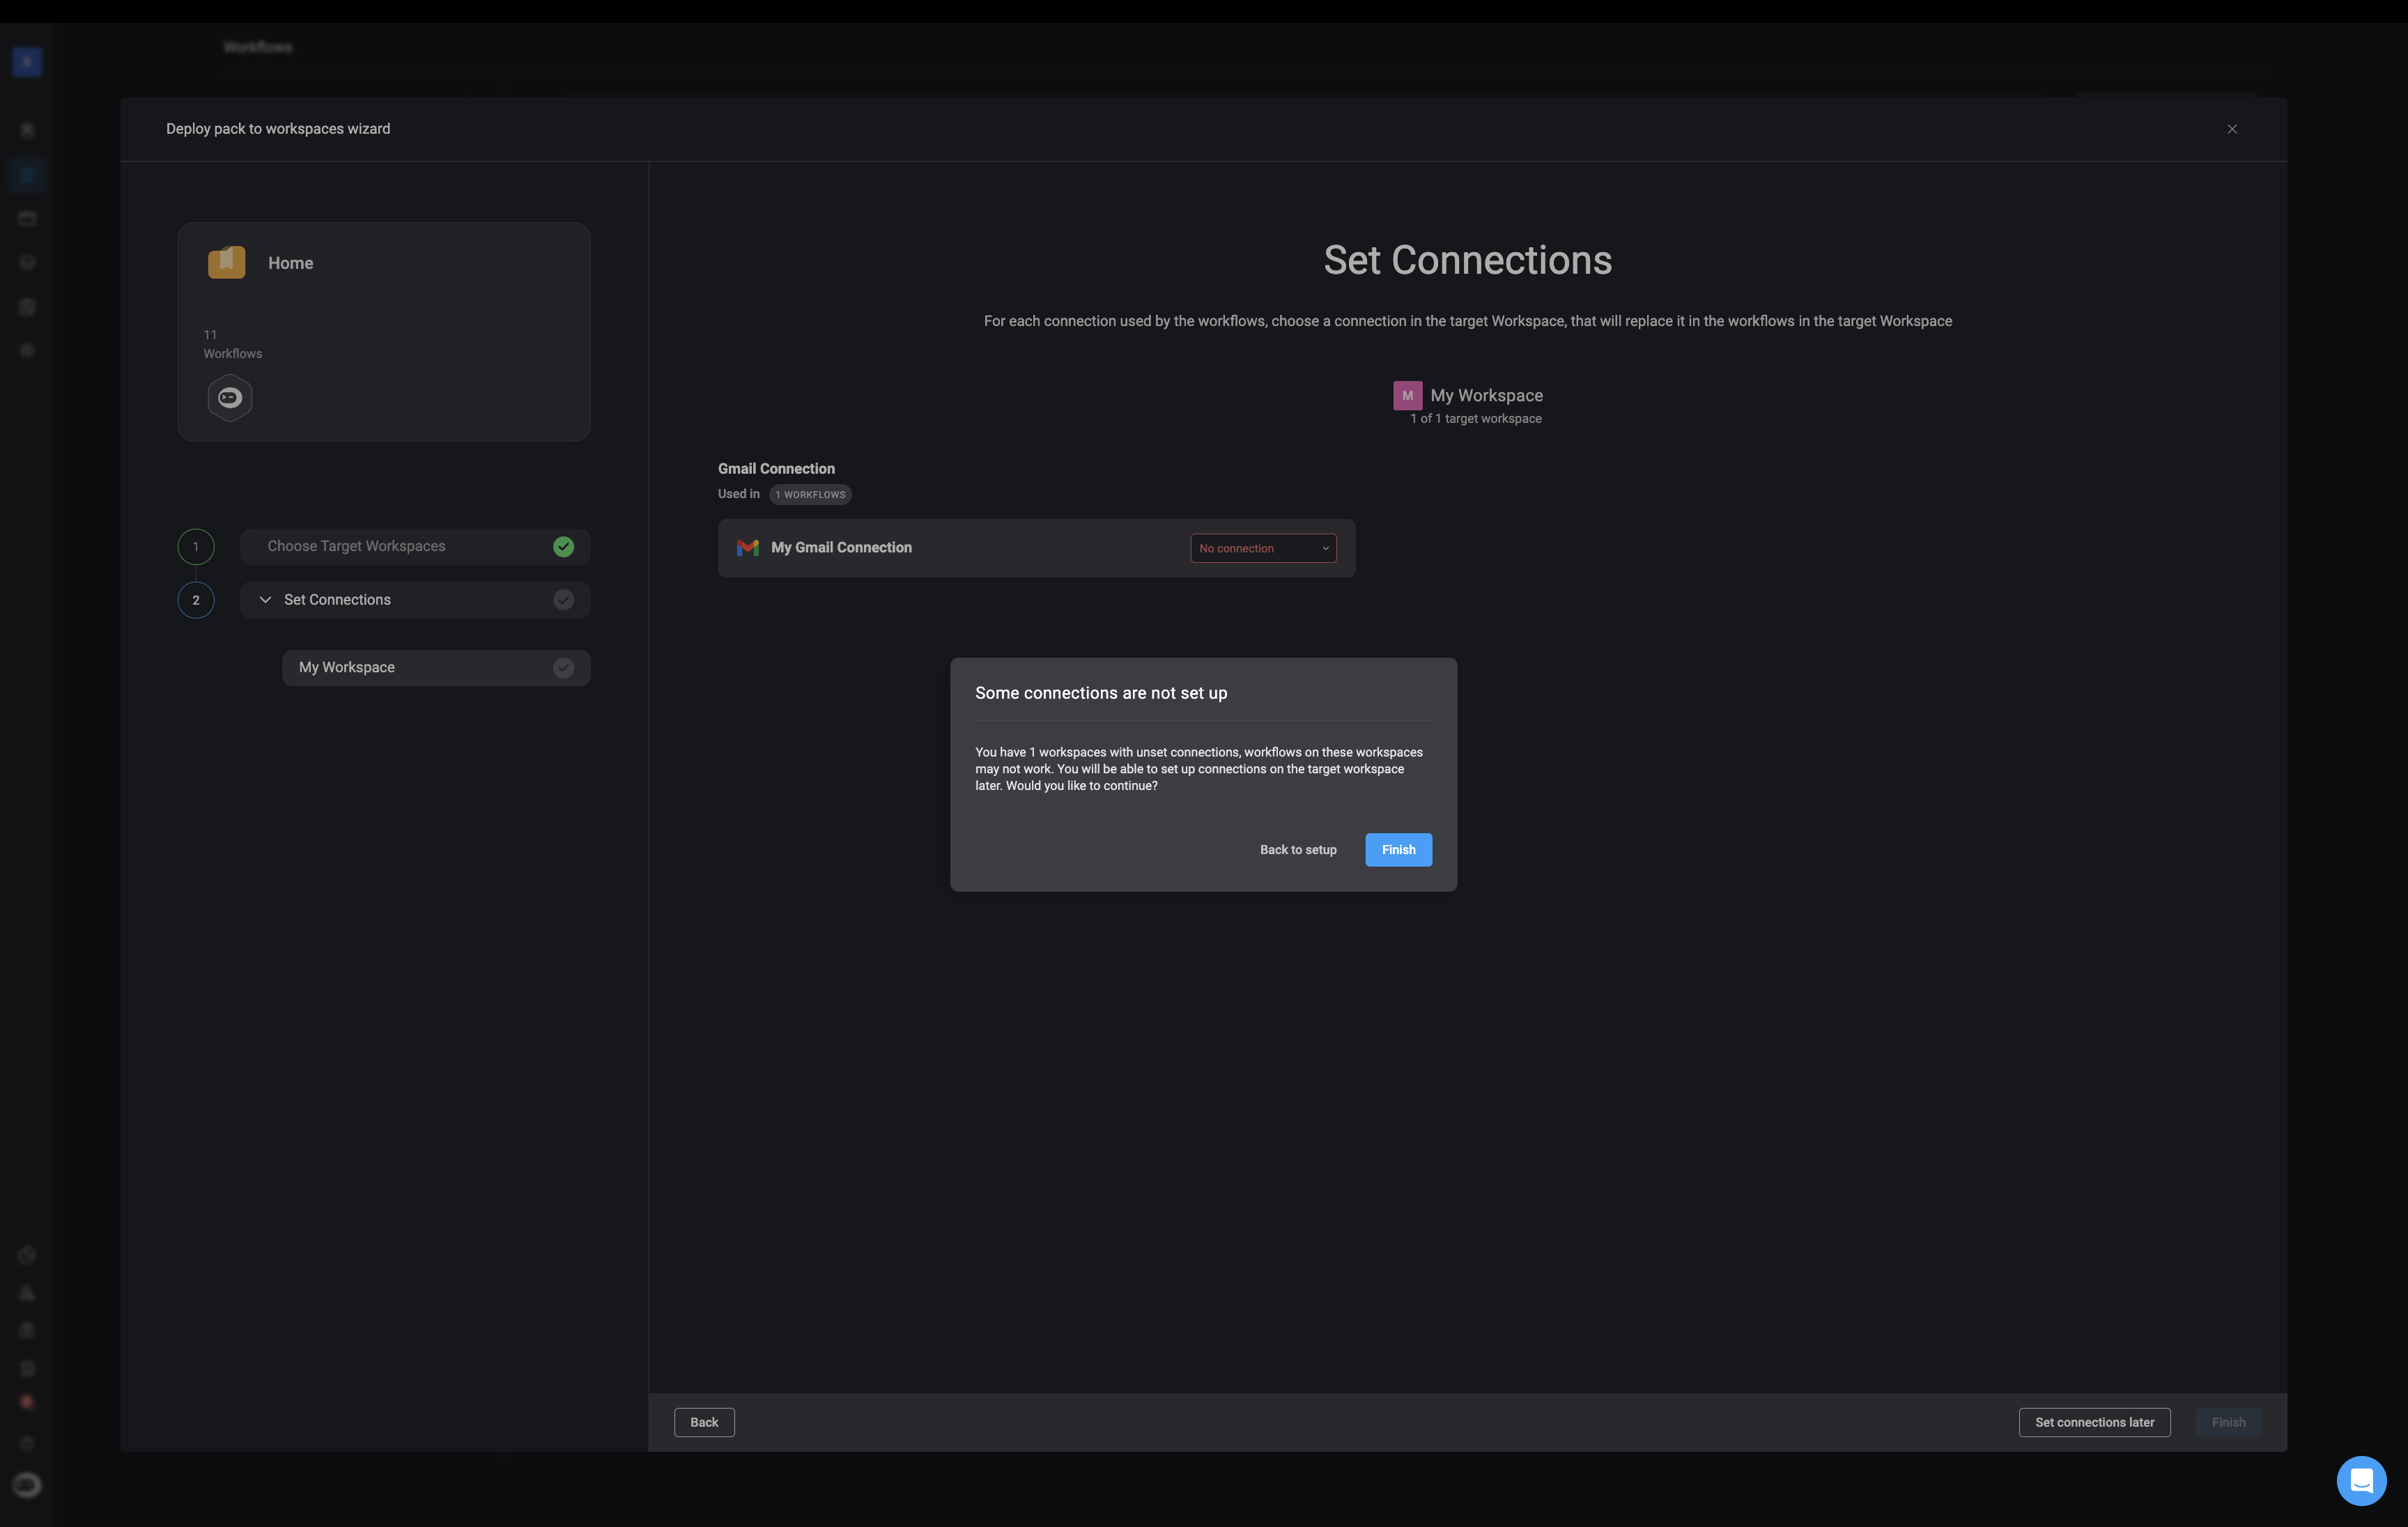
Set Workflow Connections
For each connection used in the workflows, assign the appropriate connection in the target workspace. This ensures the workflows can run successfully once deployed.
You may also update connections later in the Workflow Editor tab.
You may also update connections later in the Workflow Editor tab.
Note: If you have previously deployed this pack and configured connections, those settings will be preserved for future deployments.
4
Proceed Without Connections (Optional)
If no connections are required at this stage, you may skip this step and continue to deployment.
5
Finish Deployment
Click the Finish button in the bottom-right corner. An operation result popup will confirm that the pack was deployed successfully.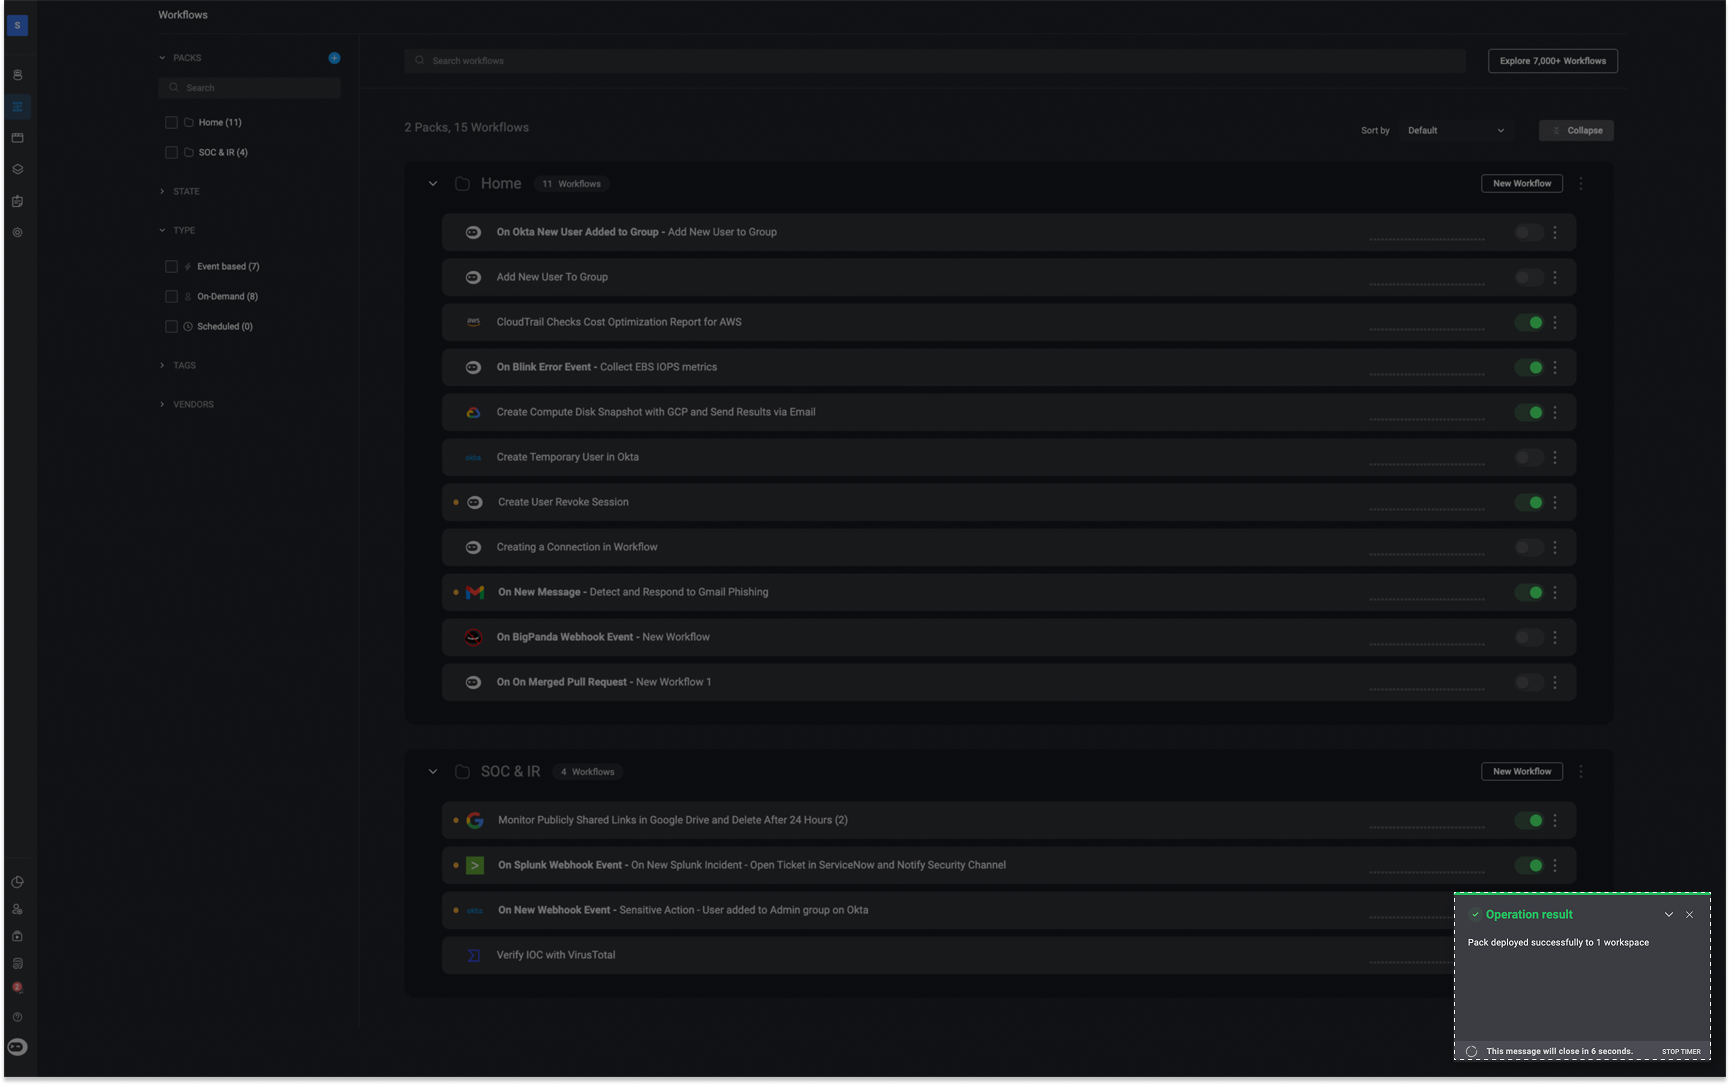
6
Verify in Target Workspace
Navigate to the target workspace to view the deployed pack and its workflows.