Create a Workflow using the Builder Copilot
You can use the Builder Copilot to quickly generate and build a workflow using AI assistance.
Create a Workflow from Scratch
You can configure and build a workflow entirely from scratch, allowing you to customize every step and logic to fit your specific needs.
Create a Workflow using the Builder Copilot
For more details on how to use the Builder Copilot—including its features and capabilities—refer to the Builder Copilot documentation.
1
Select or Create a Pack
Start by selecting an existing Pack or creating a new one. This is where your new workflow will be located.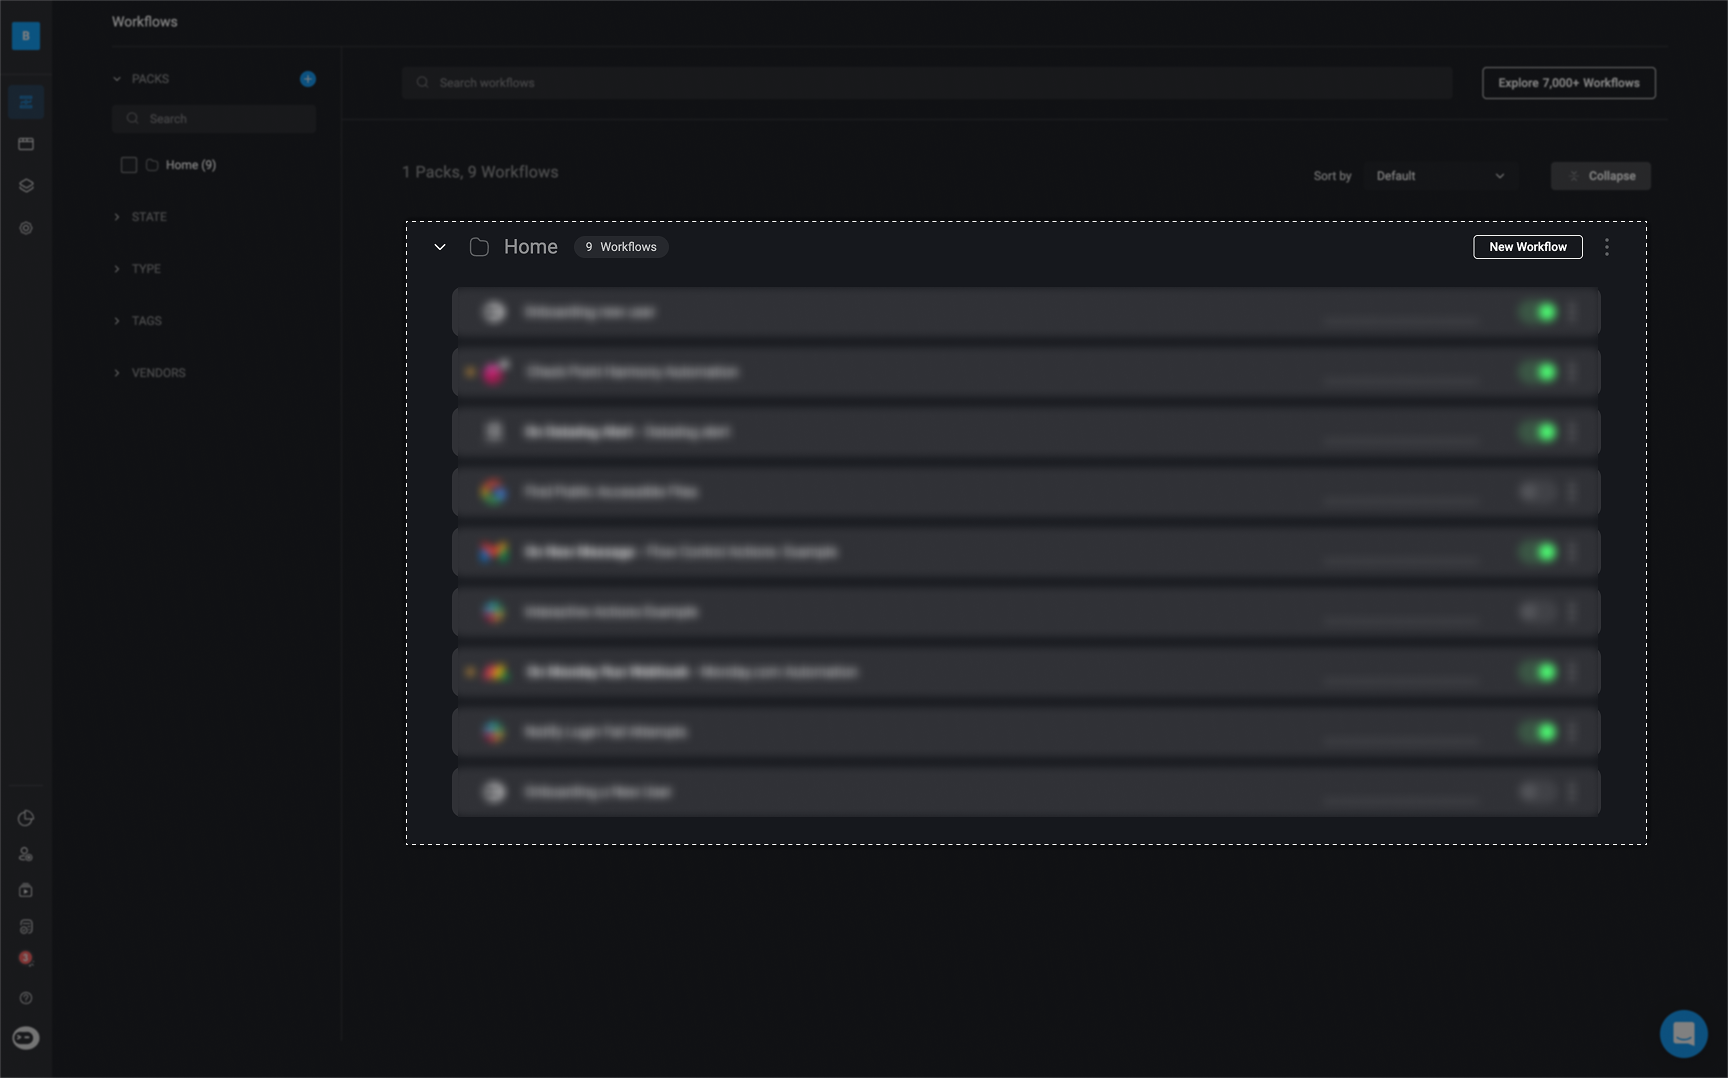
2
Create a New Workflow
In the top-right corner of the selected Pack, click ‘New Workflow’ to begin creating your workflow.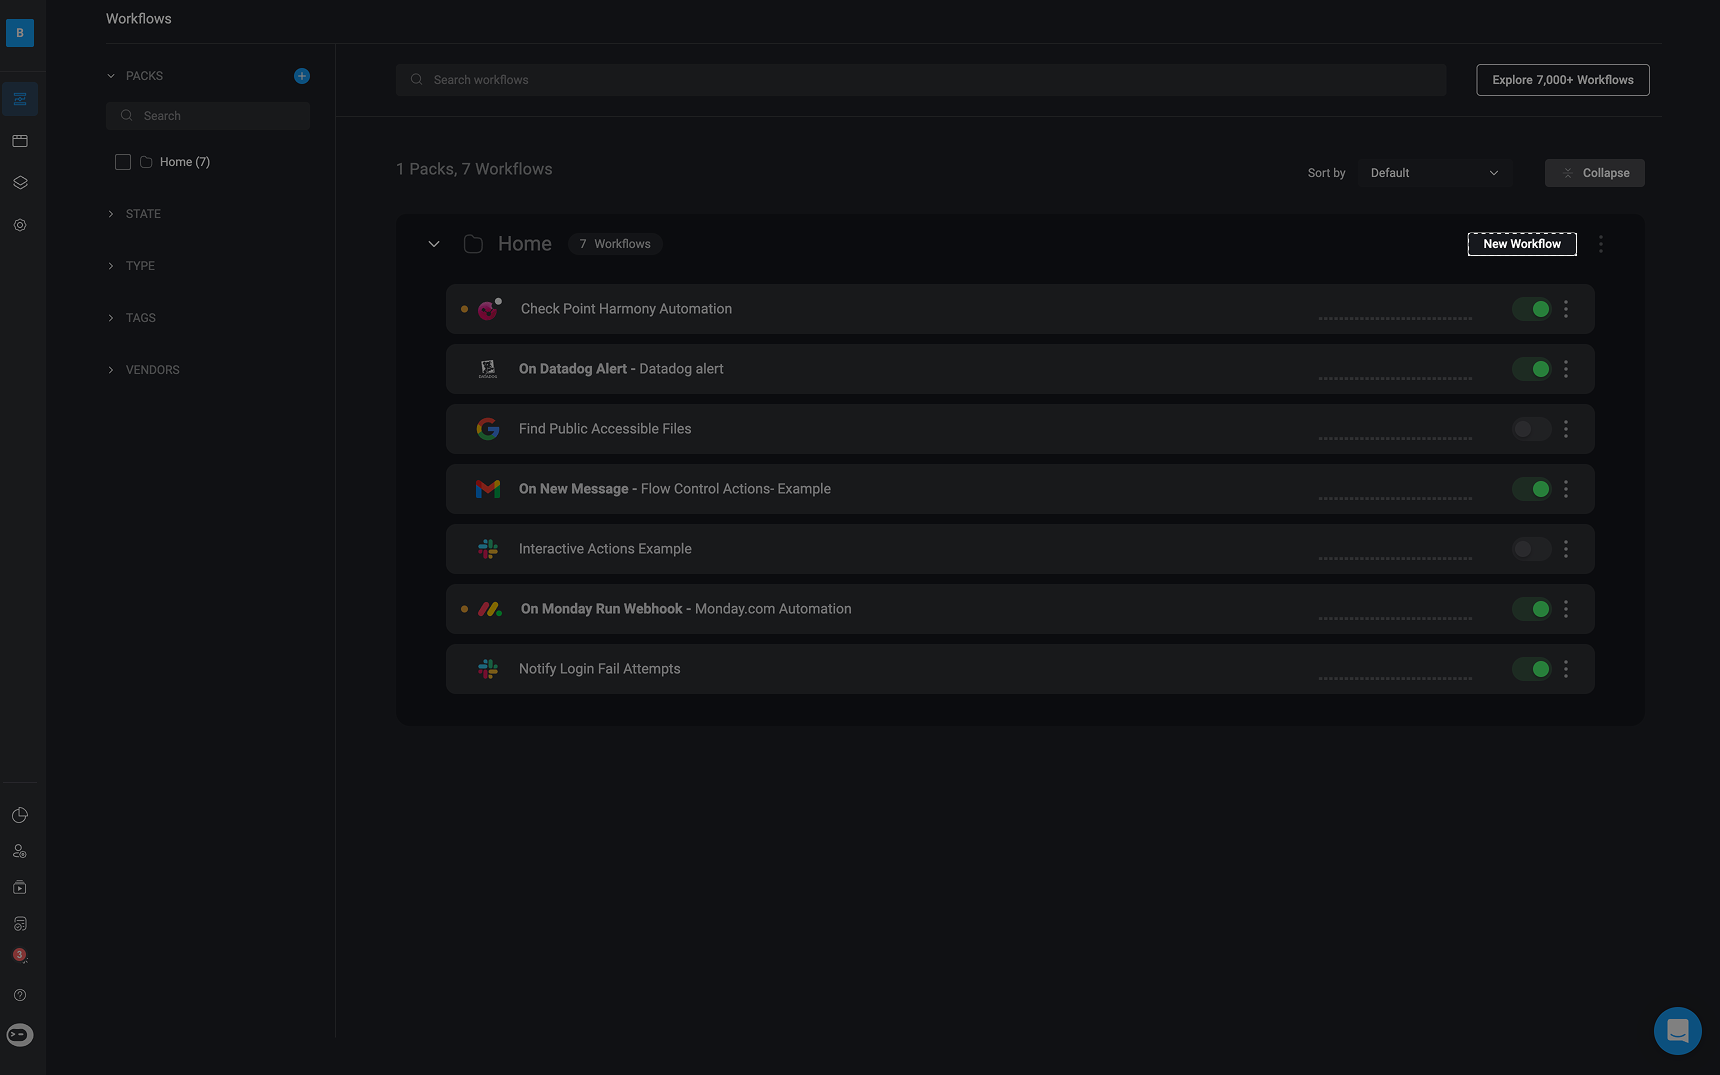
3
Provide a Prompt to Builder Copilot
A dialog box will appear where you can enter a prompt describing the workflow you would like to create.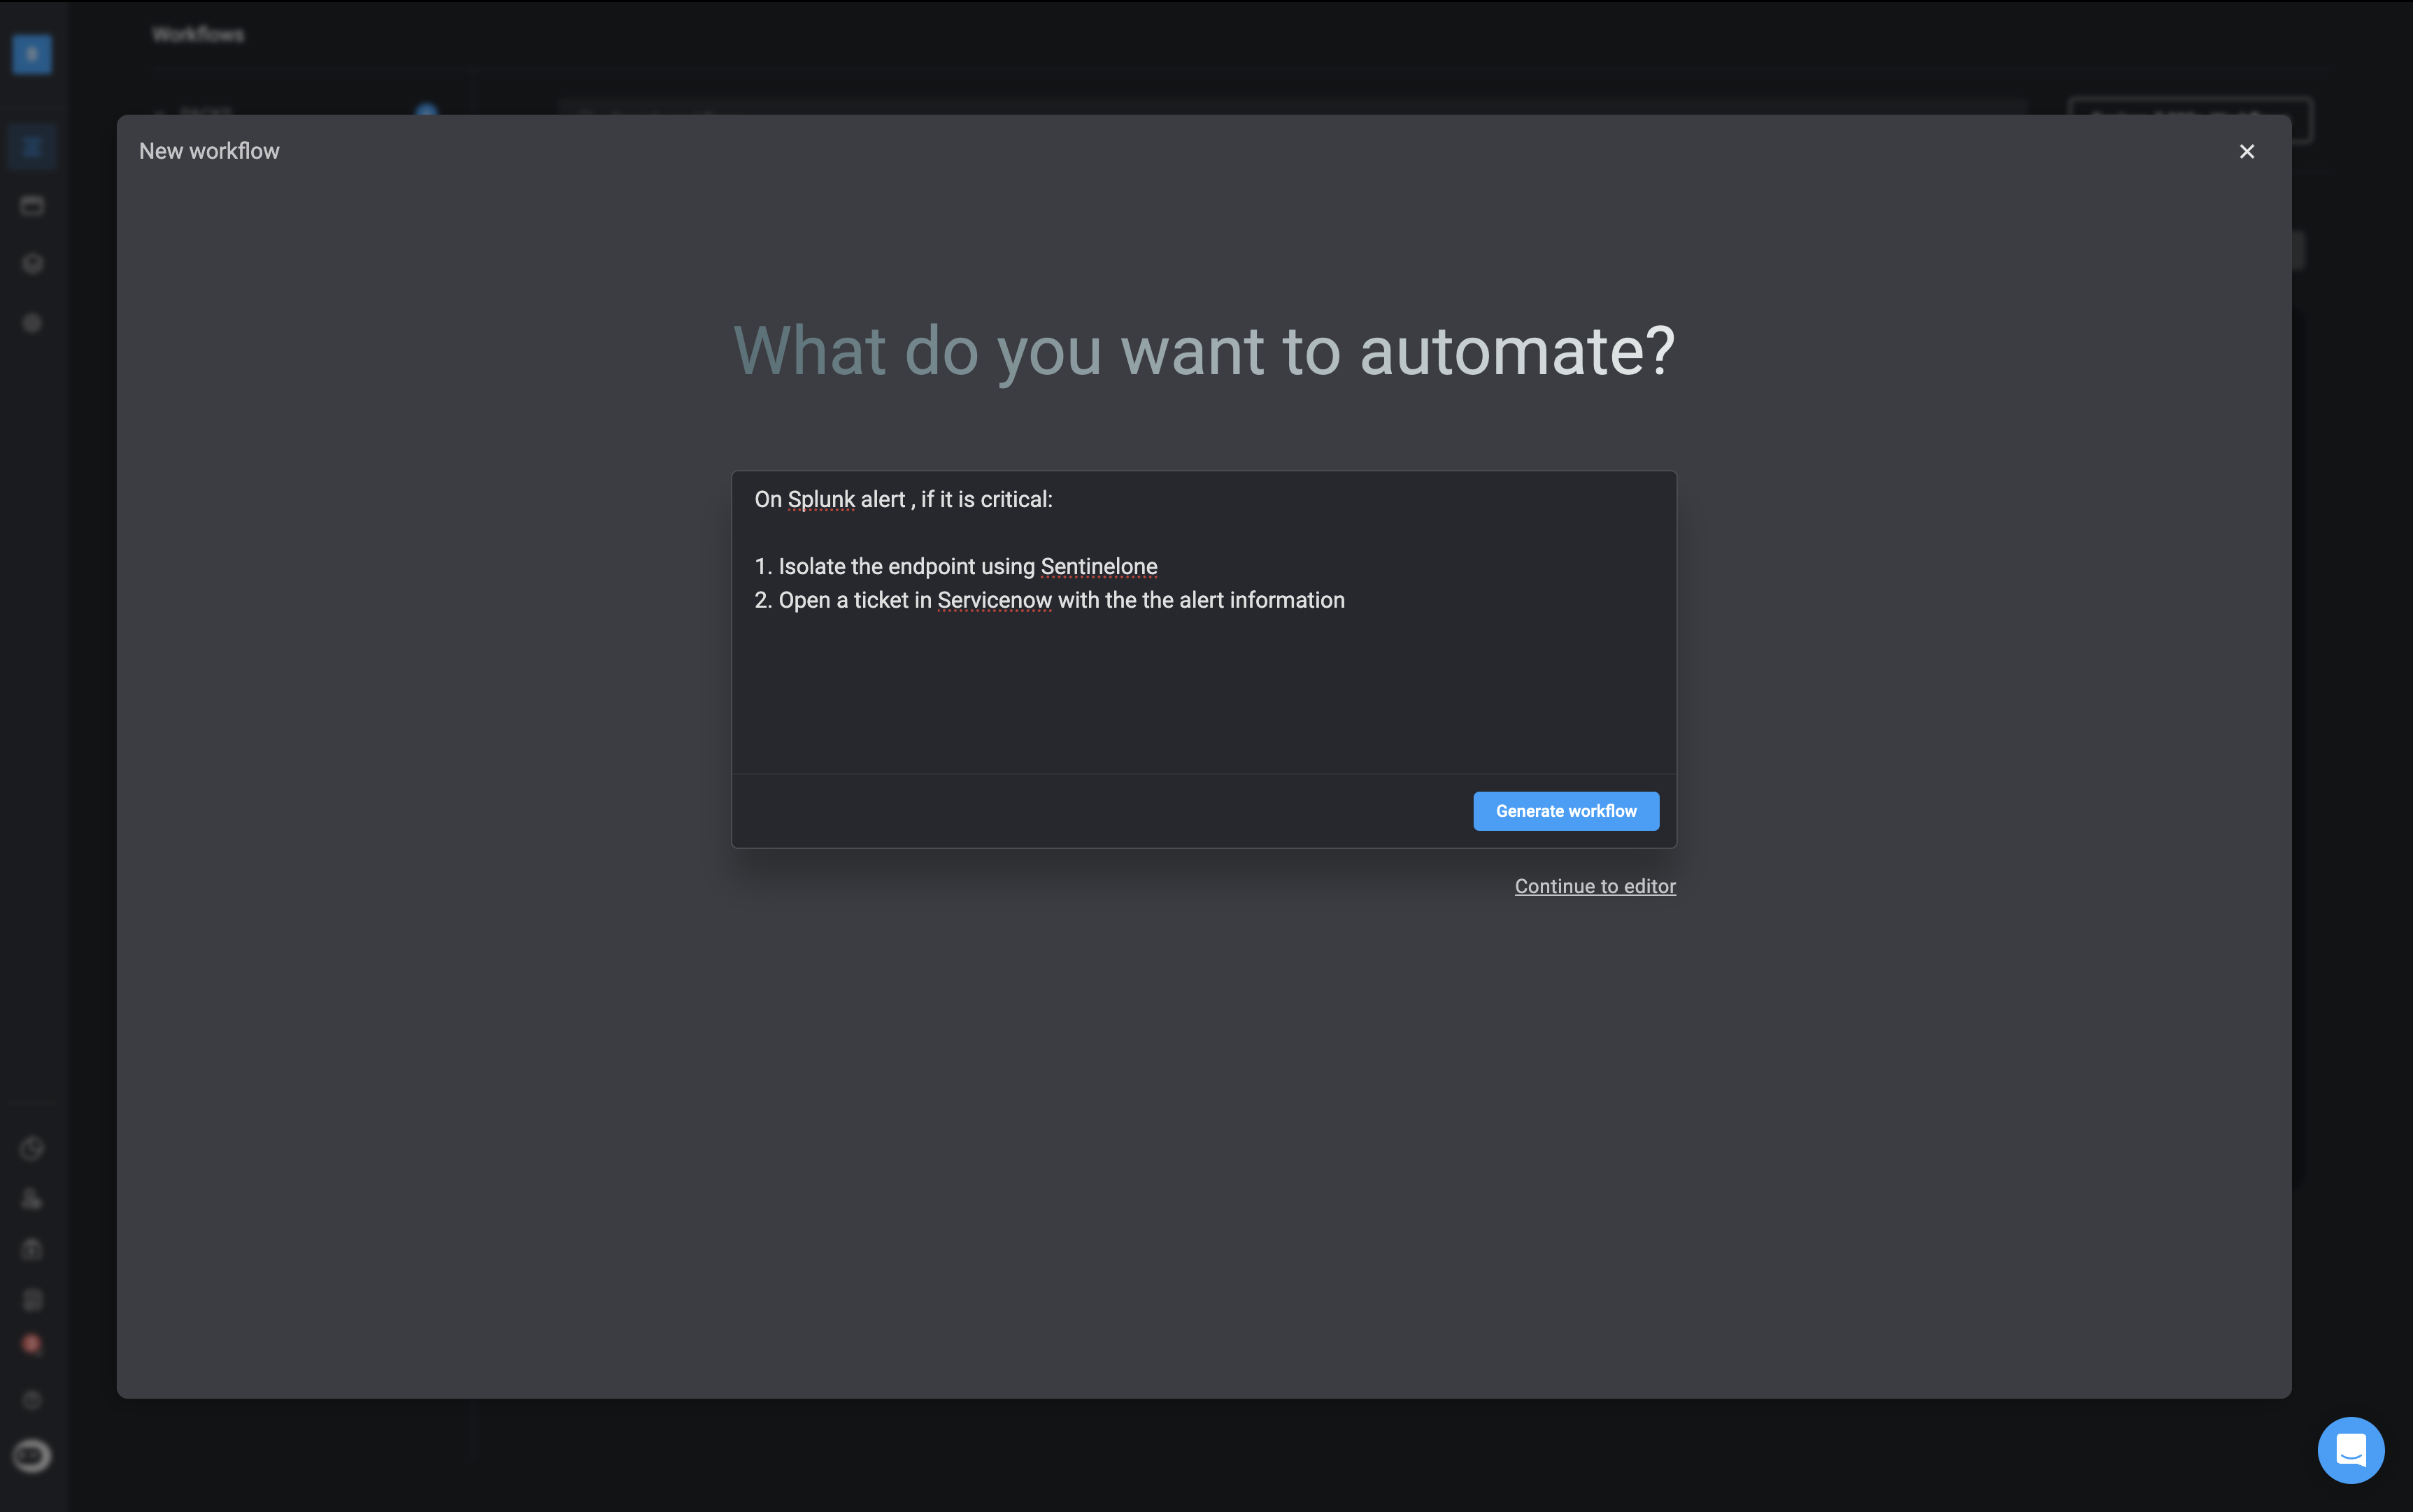
4
Generate the Workflow
After you have finished providing instructions for Builder Copilot, click on the ‘Generate Workflow’ button located in the bottom-right corner. The generation process may take a few seconds.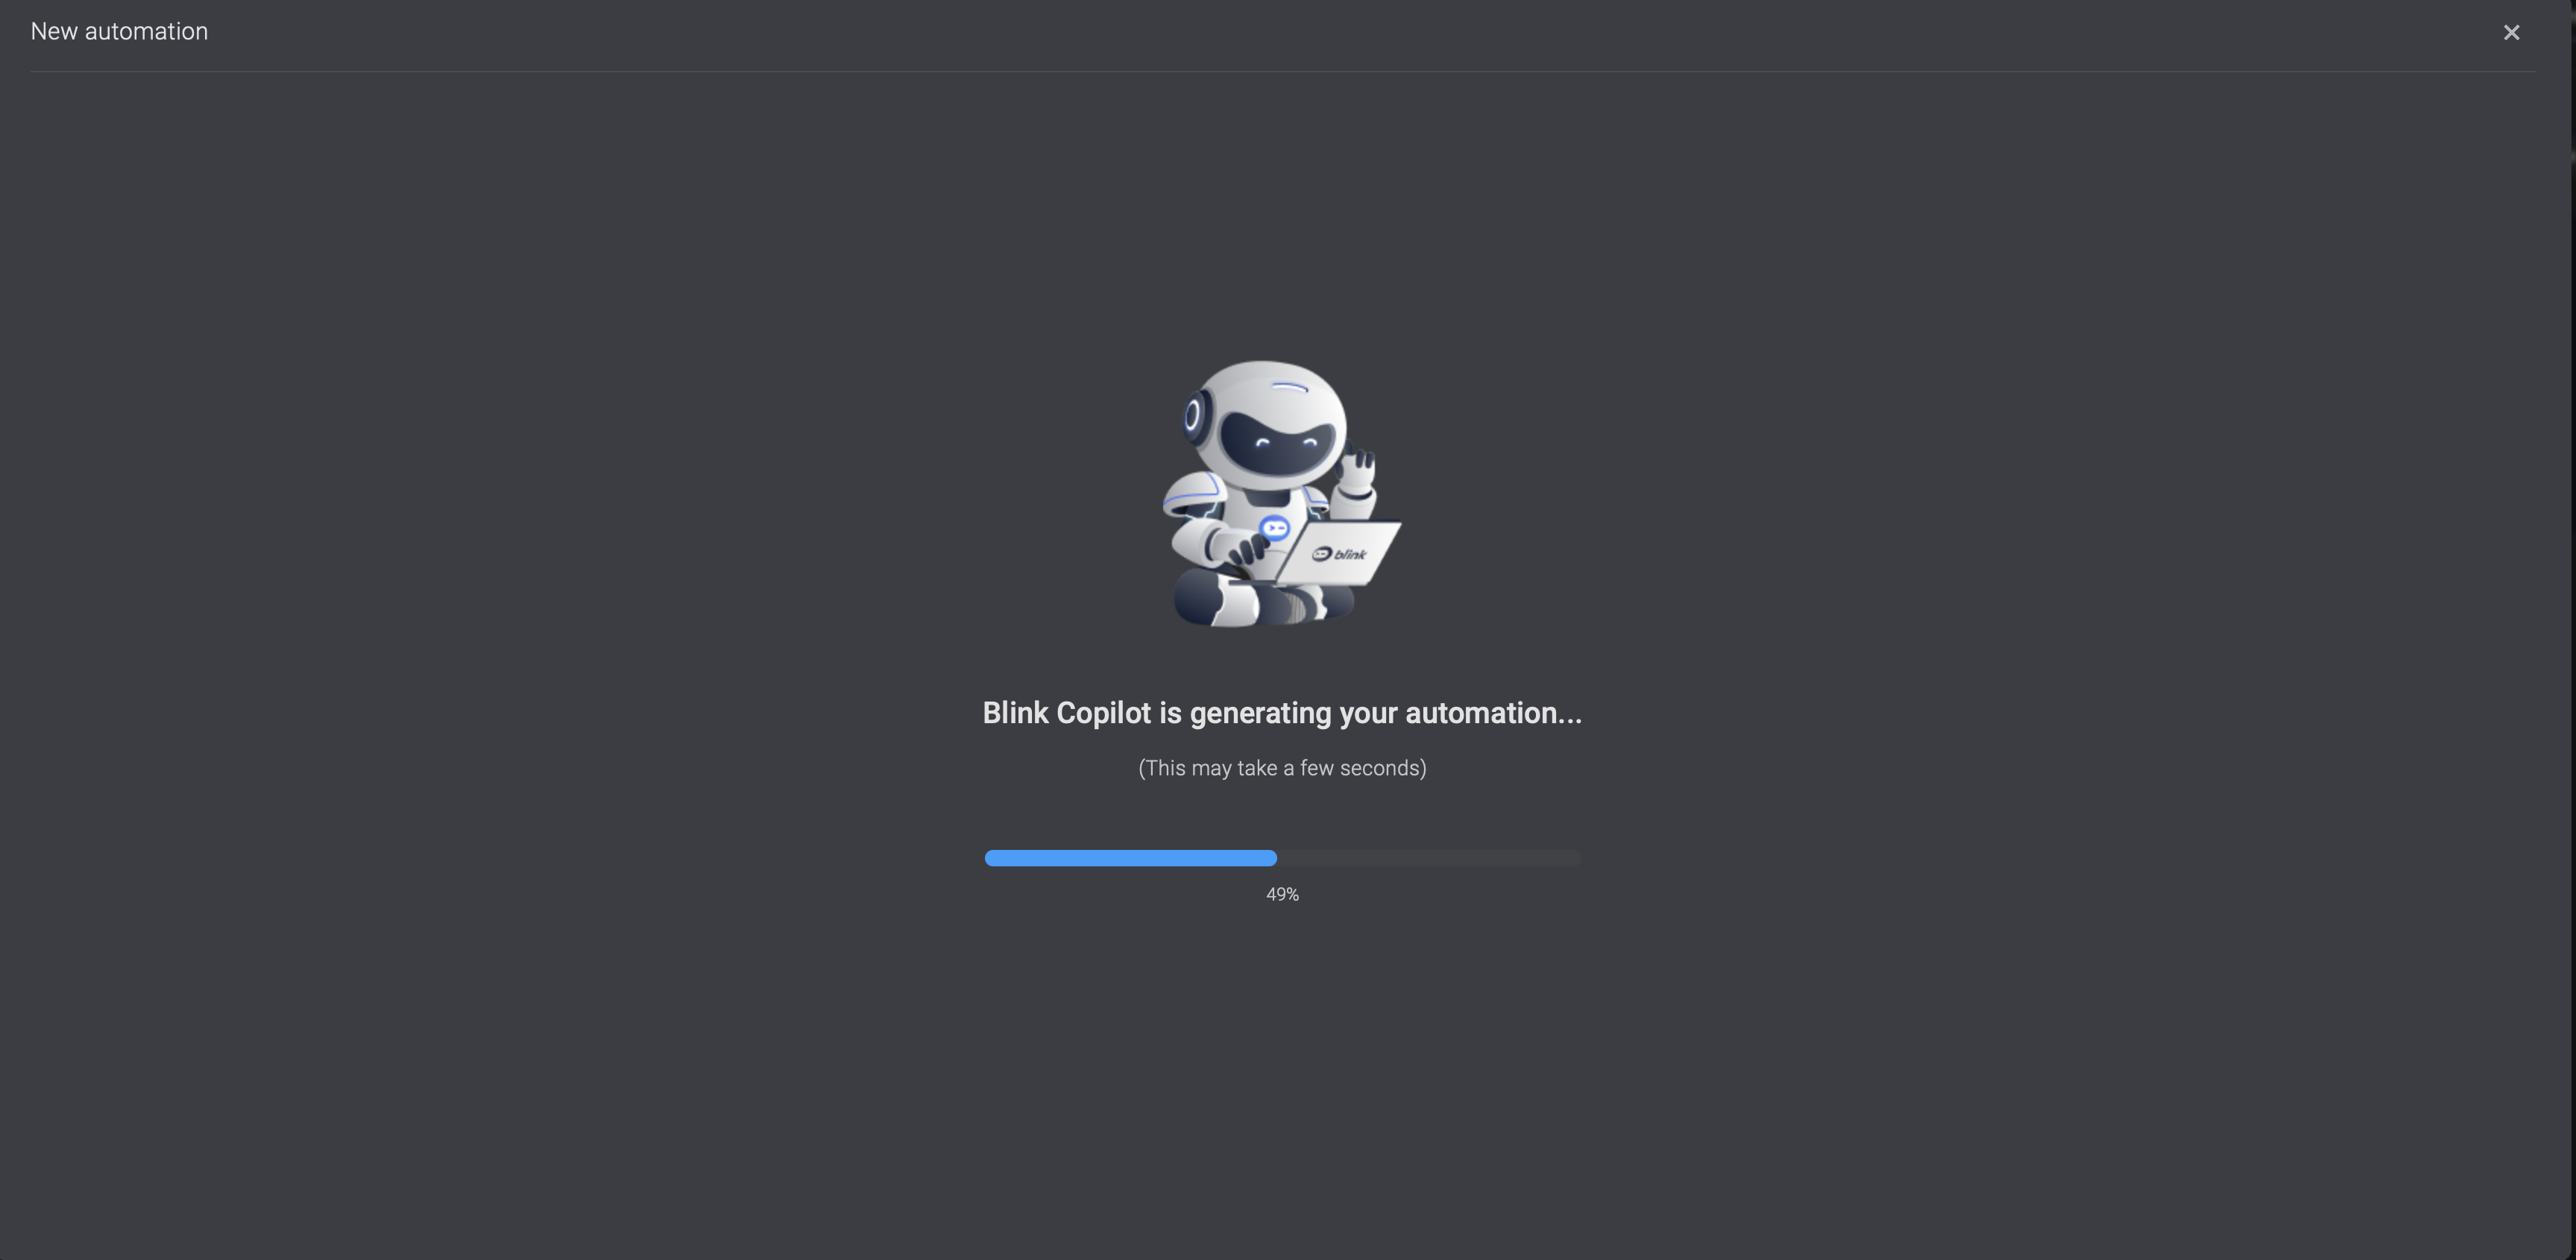
5
Review and Refine the Workflow
Once the generation is complete, you will see a preview screen: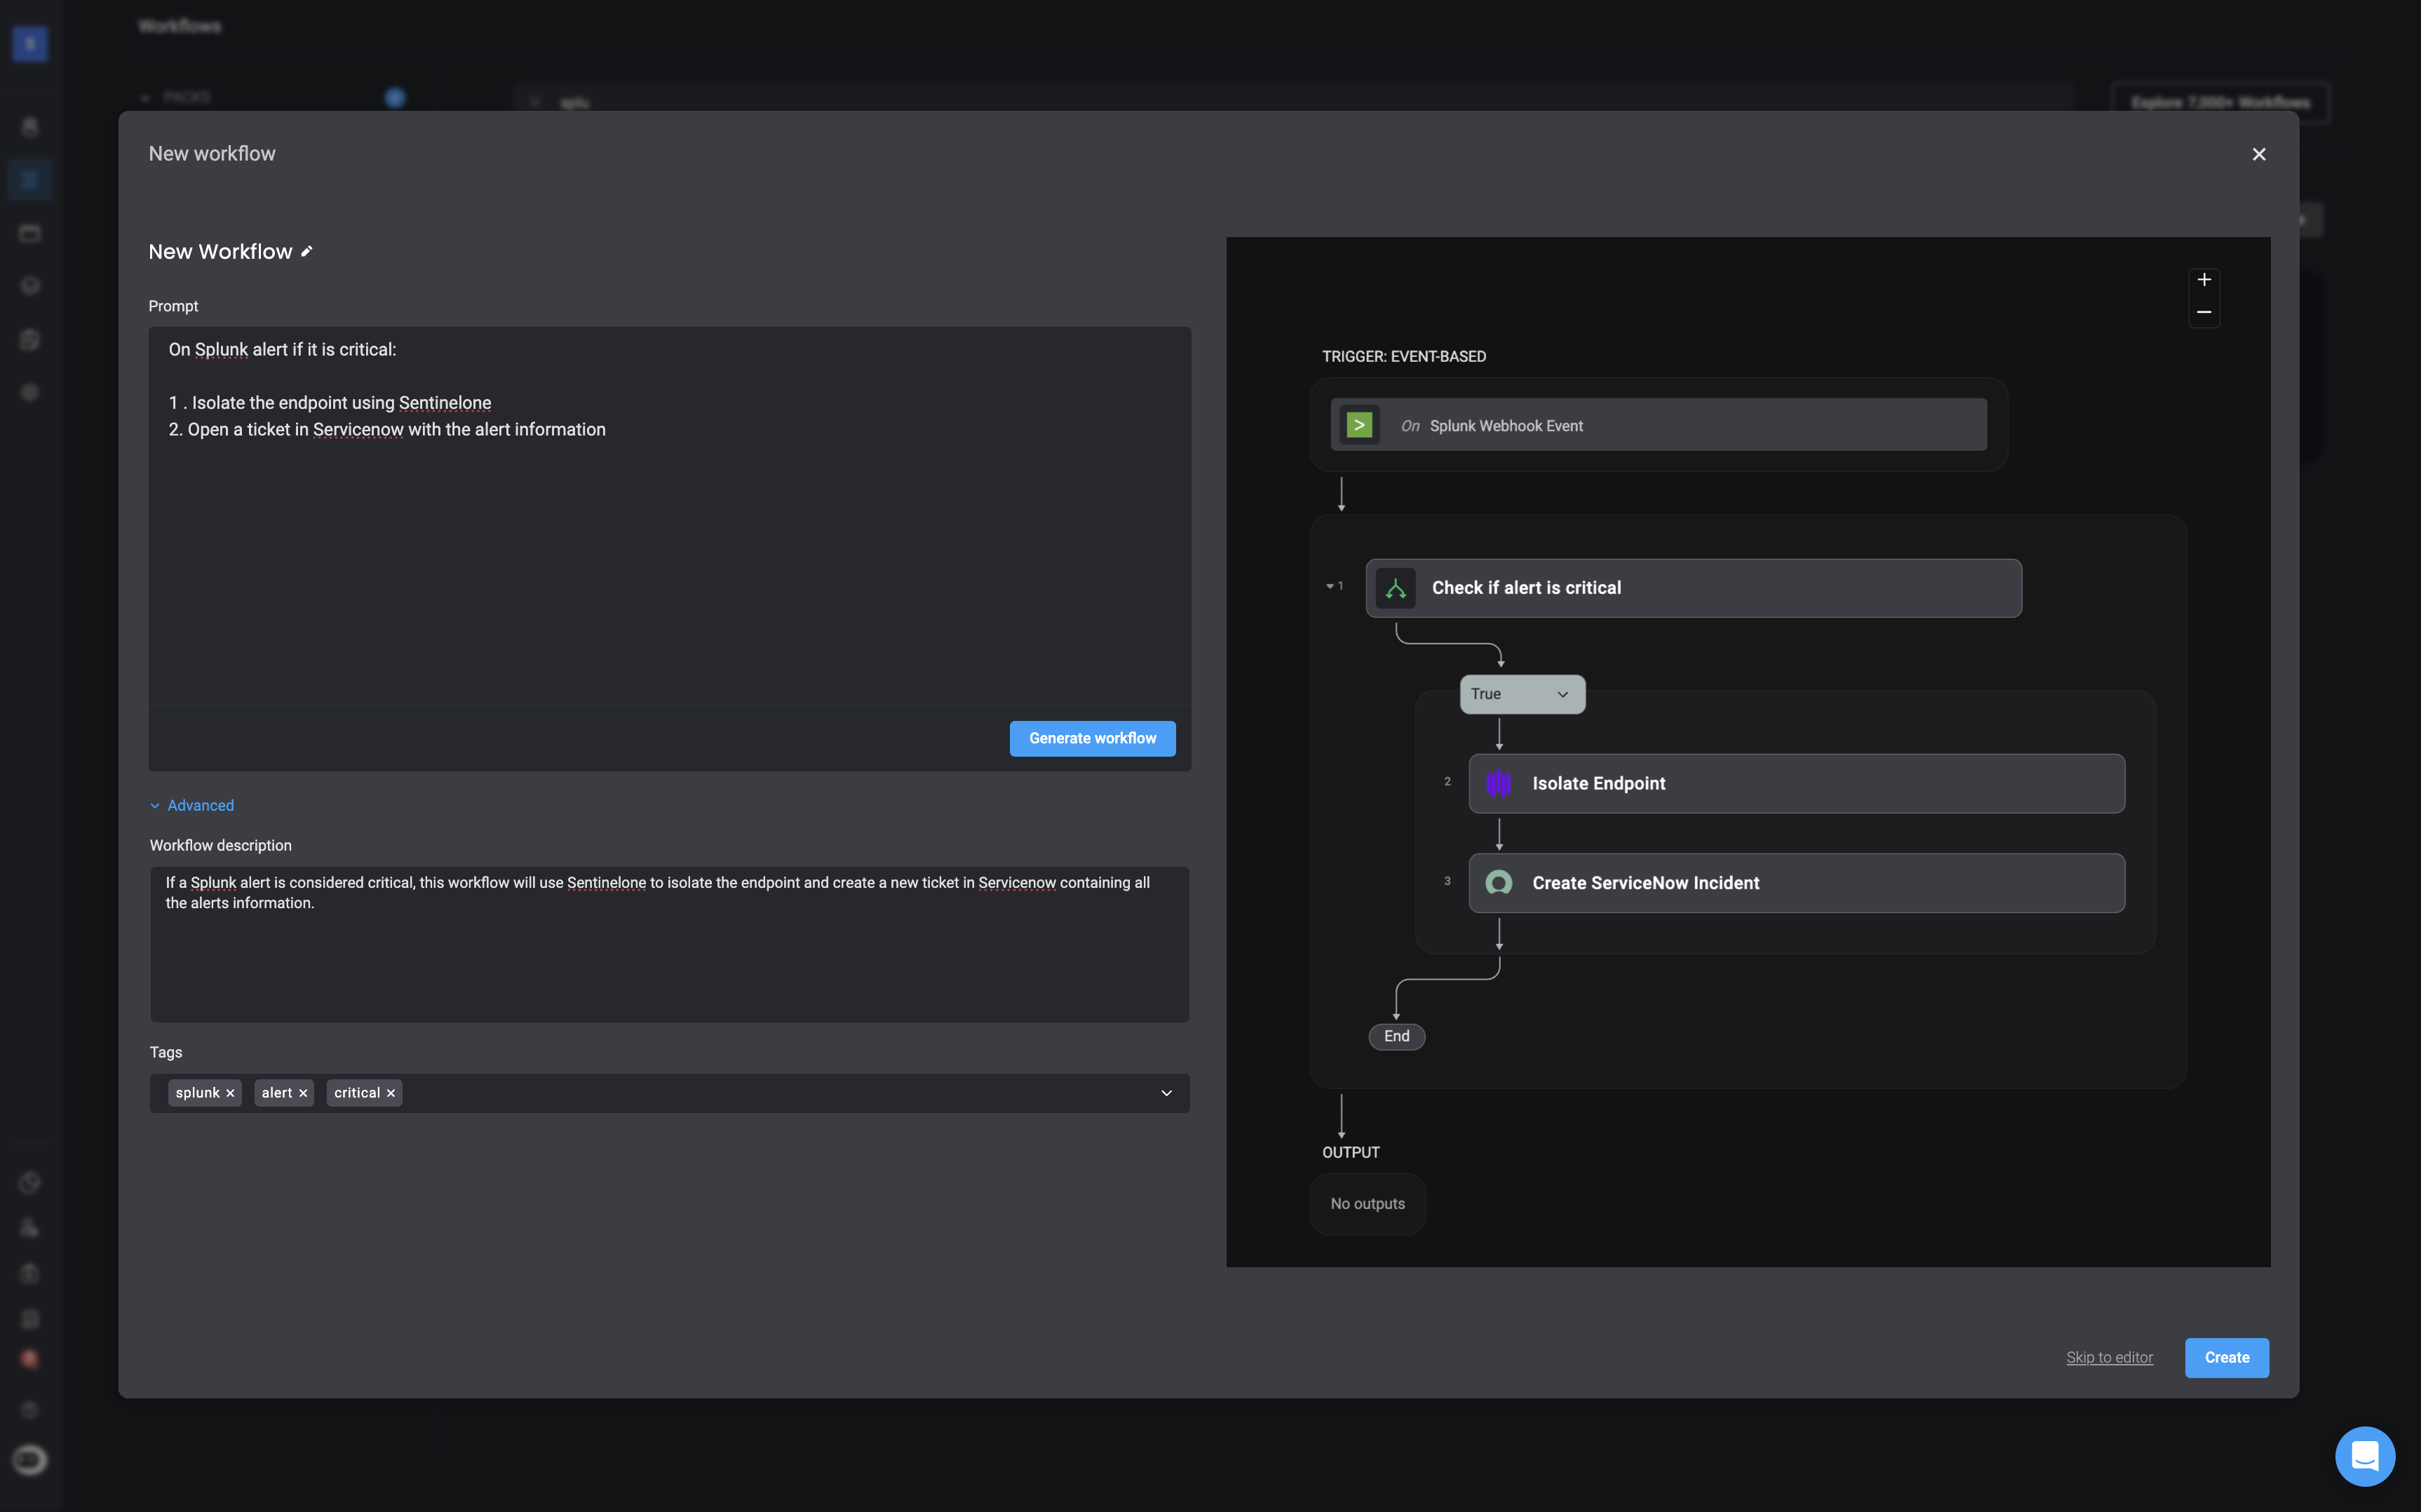
- Left panel: Your original prompt (double-click to edit and regenerate).
- Right panel: The workflow the Builder Copilot has created.
- Advanced options: Add a description and tags for easier management later.
6
Finalize in the Workflow Editor
You will be redirected to the Workflow Editor where you have the option to: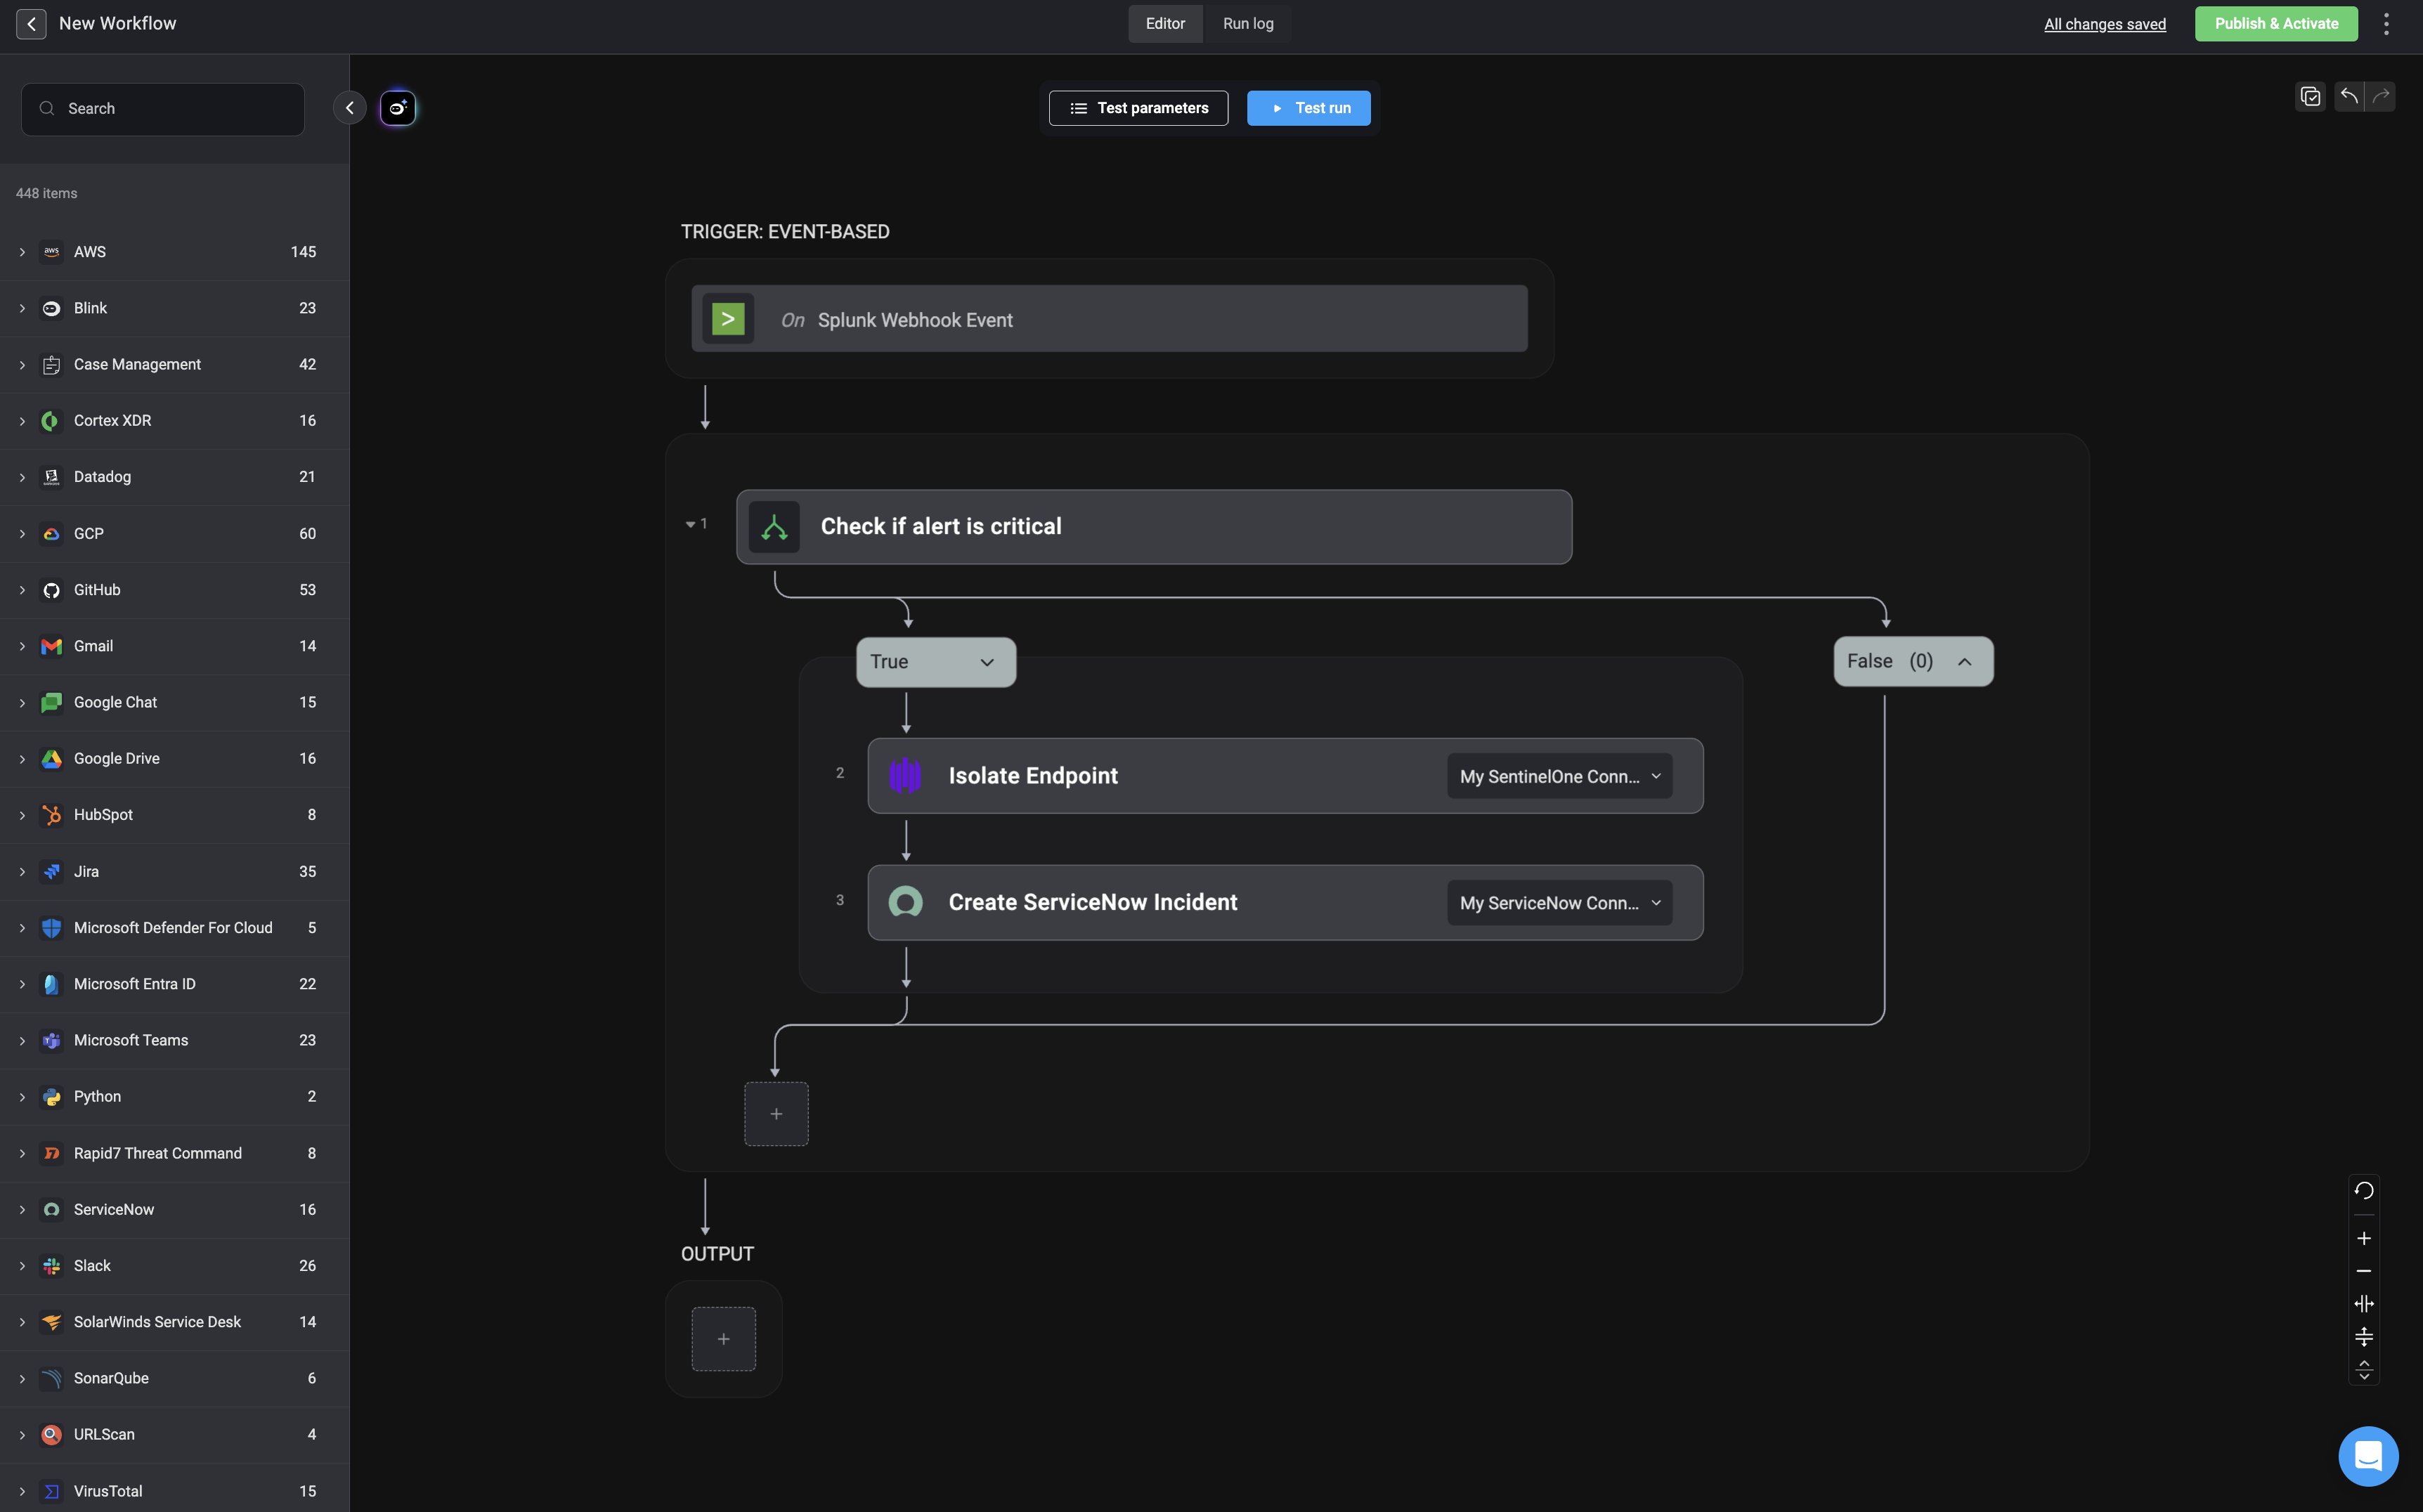
- Modify or improve the generated logic either by using the Builder Copilot or by editing it manually to suit your needs.
- Test your workflow
7
Publish the Workflow
Use the ‘Publish & Activate’ button to publish and activate your workflow for the first time. After the initial activation, any future changes you publish will simply update the most recent workflow version—without reactivating it.To learn more about the difference between published workflows and unpublished workflows, check out the documentation here.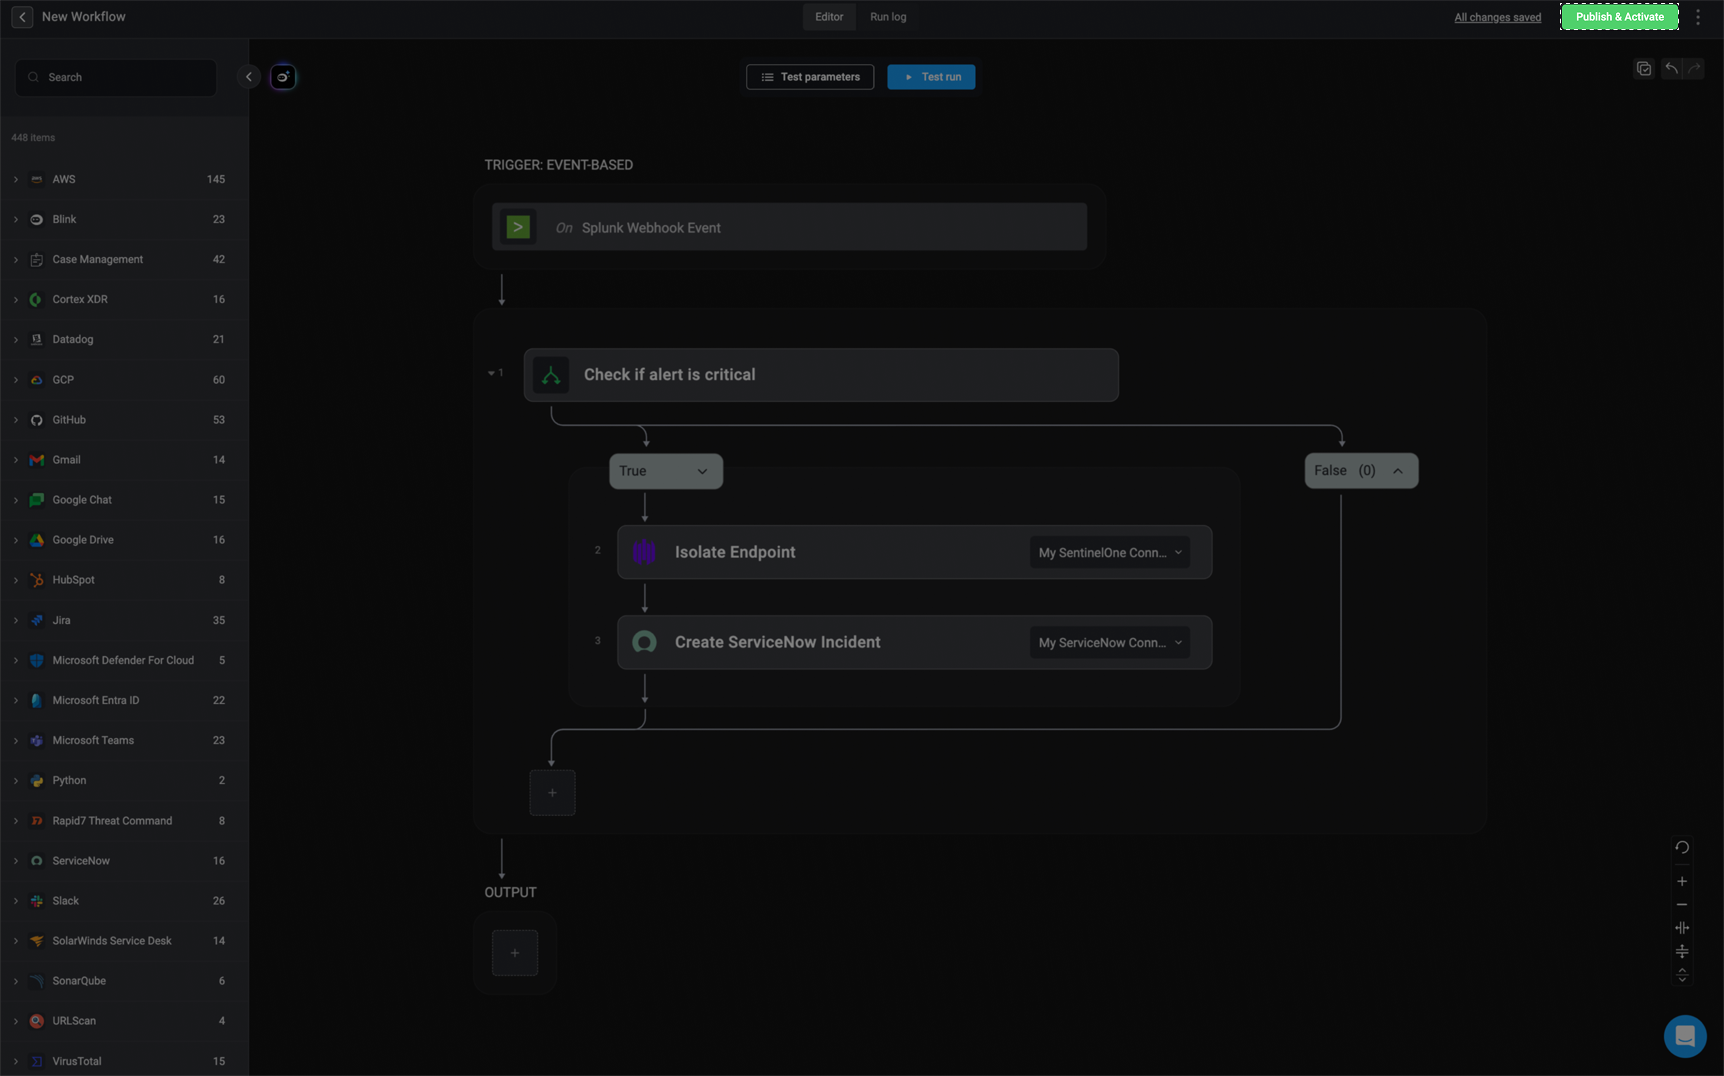
Only users with the Owner user role, Contributor user role, or a custom role with the
workflow:publish permission can publish workflows. To learn more about approving and publishing workflows, check out the documentation here. Create a Workflow from Scratch
1
Select or Create a Pack
Start by selecting an existing Pack or creating a new one. This is where your new workflow will be located.
2
Create a New Workflow
In the top-right corner of the selected Pack, click ‘New Workflow’ to begin creating your workflow.
3
Open the Workflow Editor
In the setup screen, click Continue to Editor in the bottom-right corner. This will take you to the Workflow Editor, where you can begin building your workflow from scratch.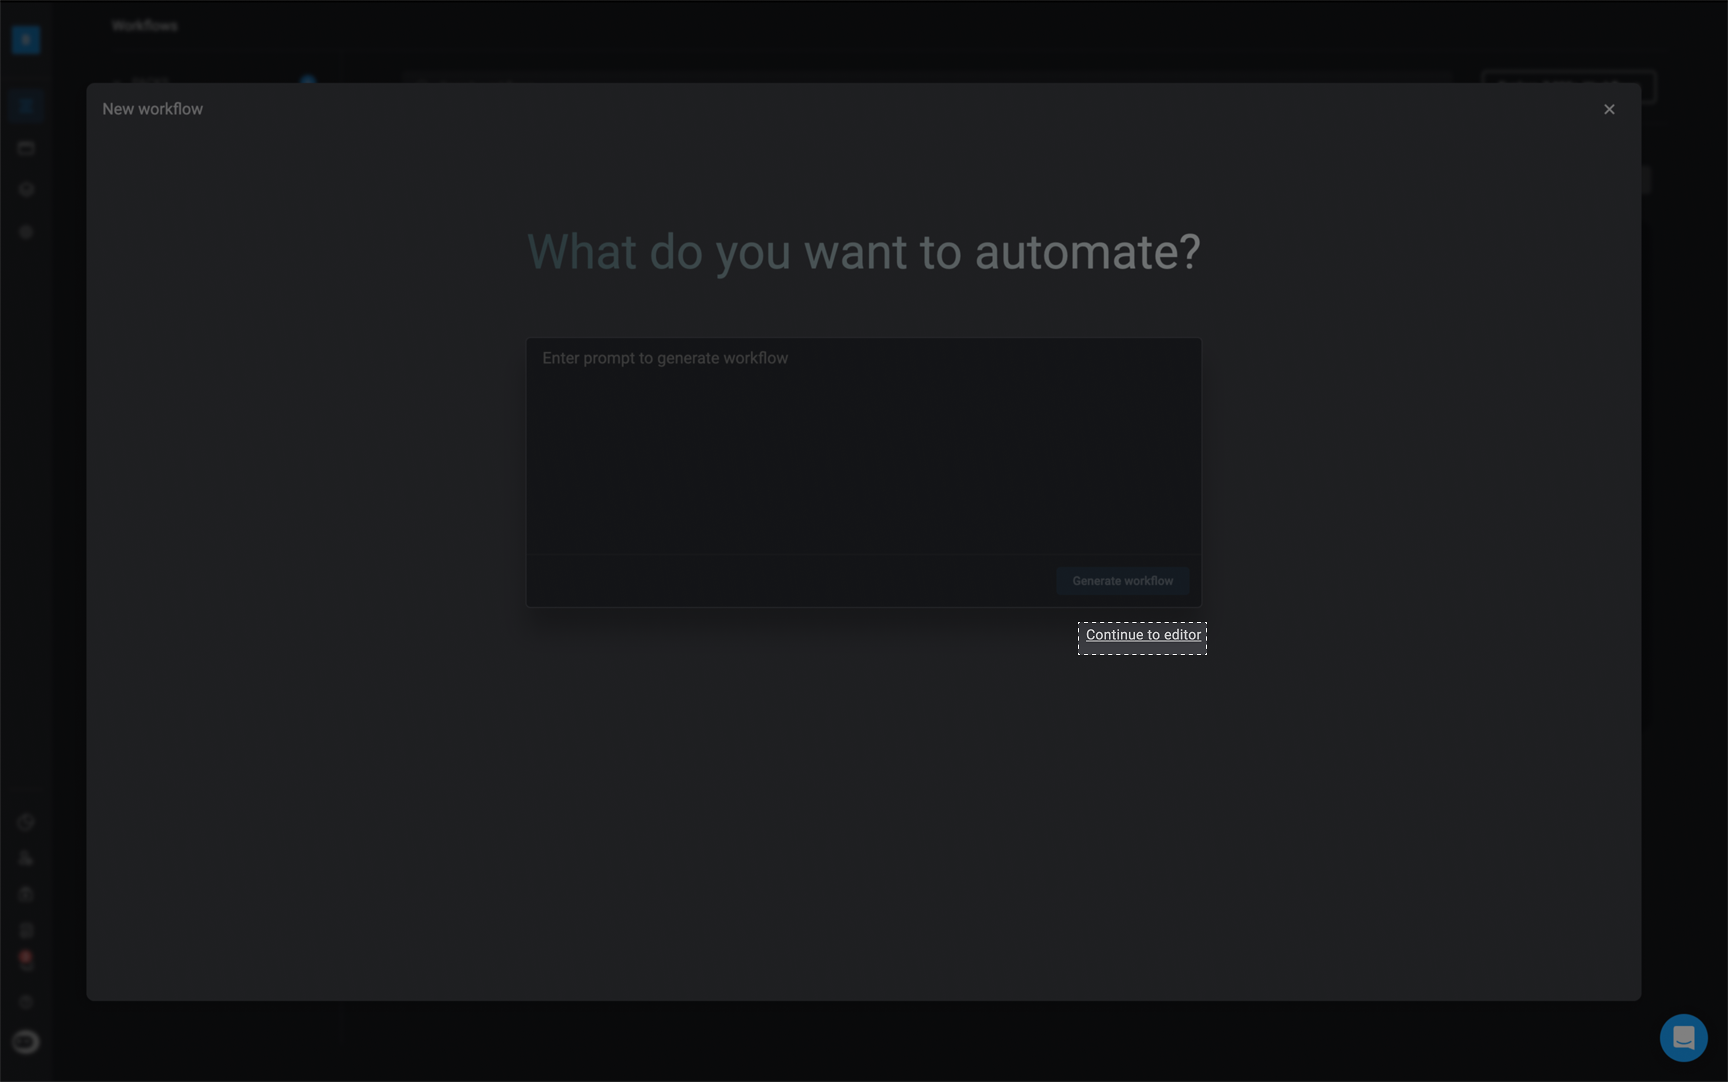
4
Configure Workflow Settings
Before entering the editor, configure the workflow settings: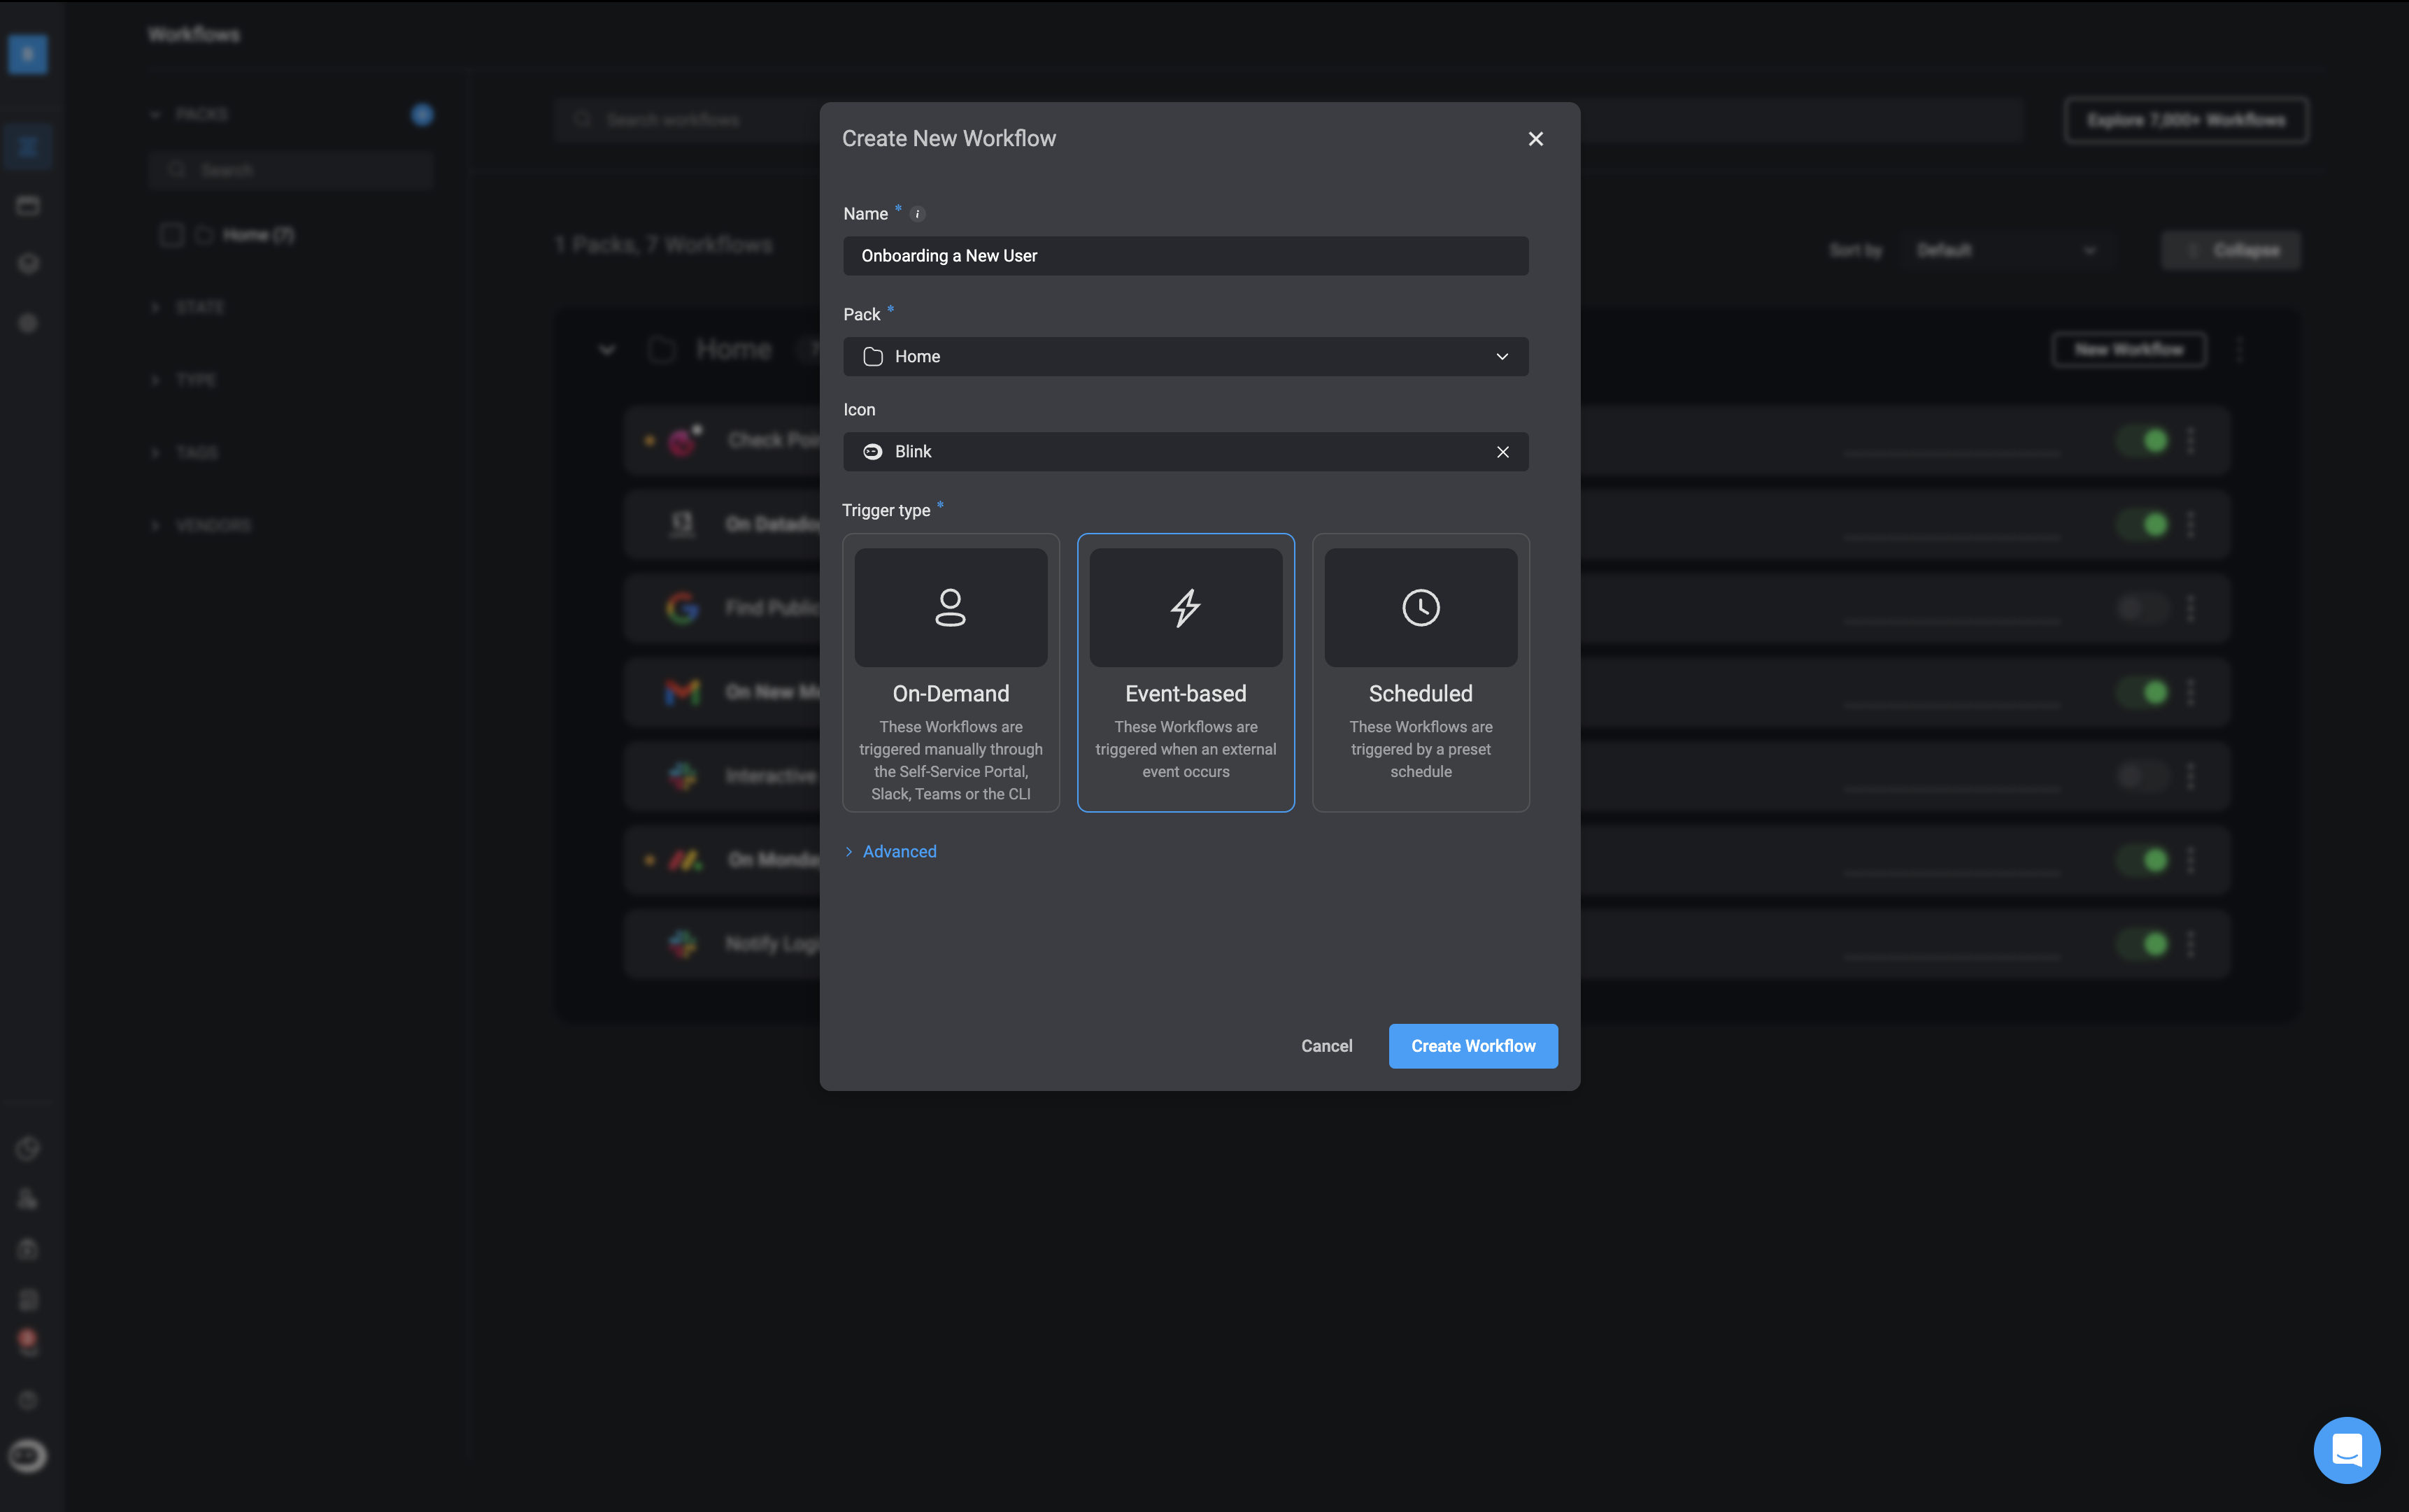
5
Build Your Workflow
Once you have completed the setup, you will be directed to the Workflow Editor. From here, you can build your workflow accordingly.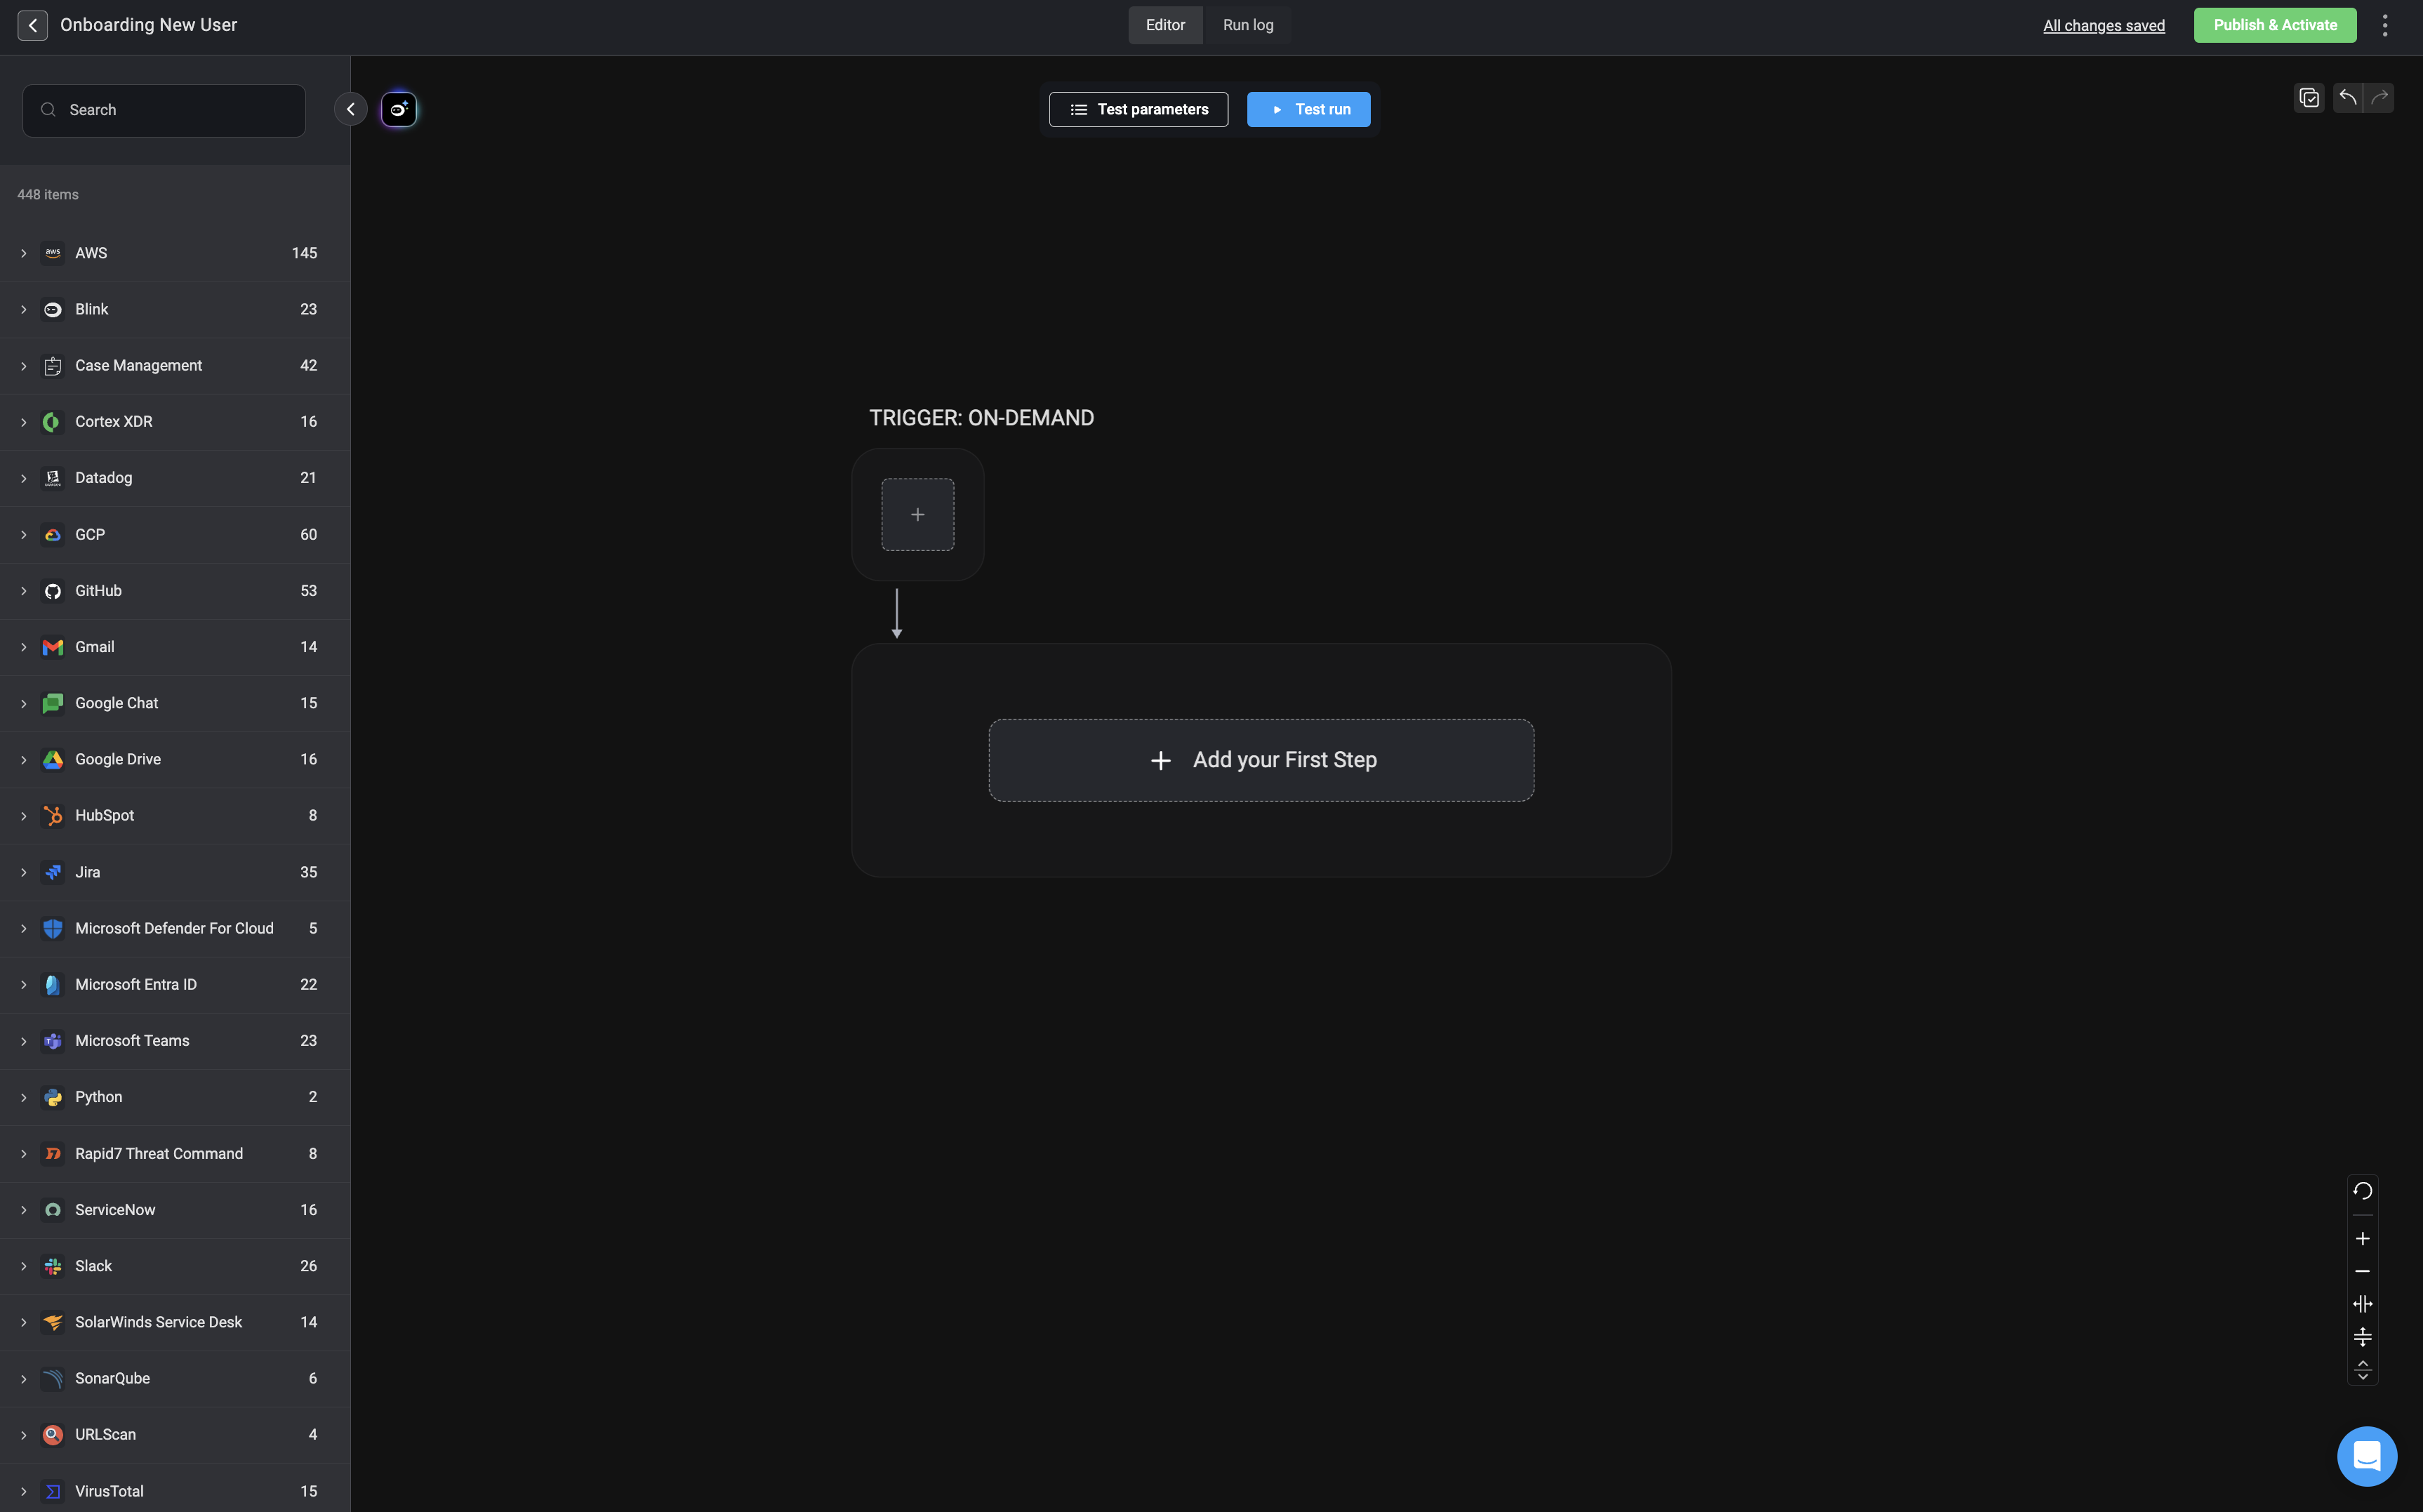
6
Publish the Workflow
Use the ‘Publish & Activate’ button to publish and activate your workflow for the first time. After the initial activation, any future changes you publish will simply update the most recent workflow version—without reactivating it.To learn more about the difference between published workflows and unpublished workflows, check out the documentation here.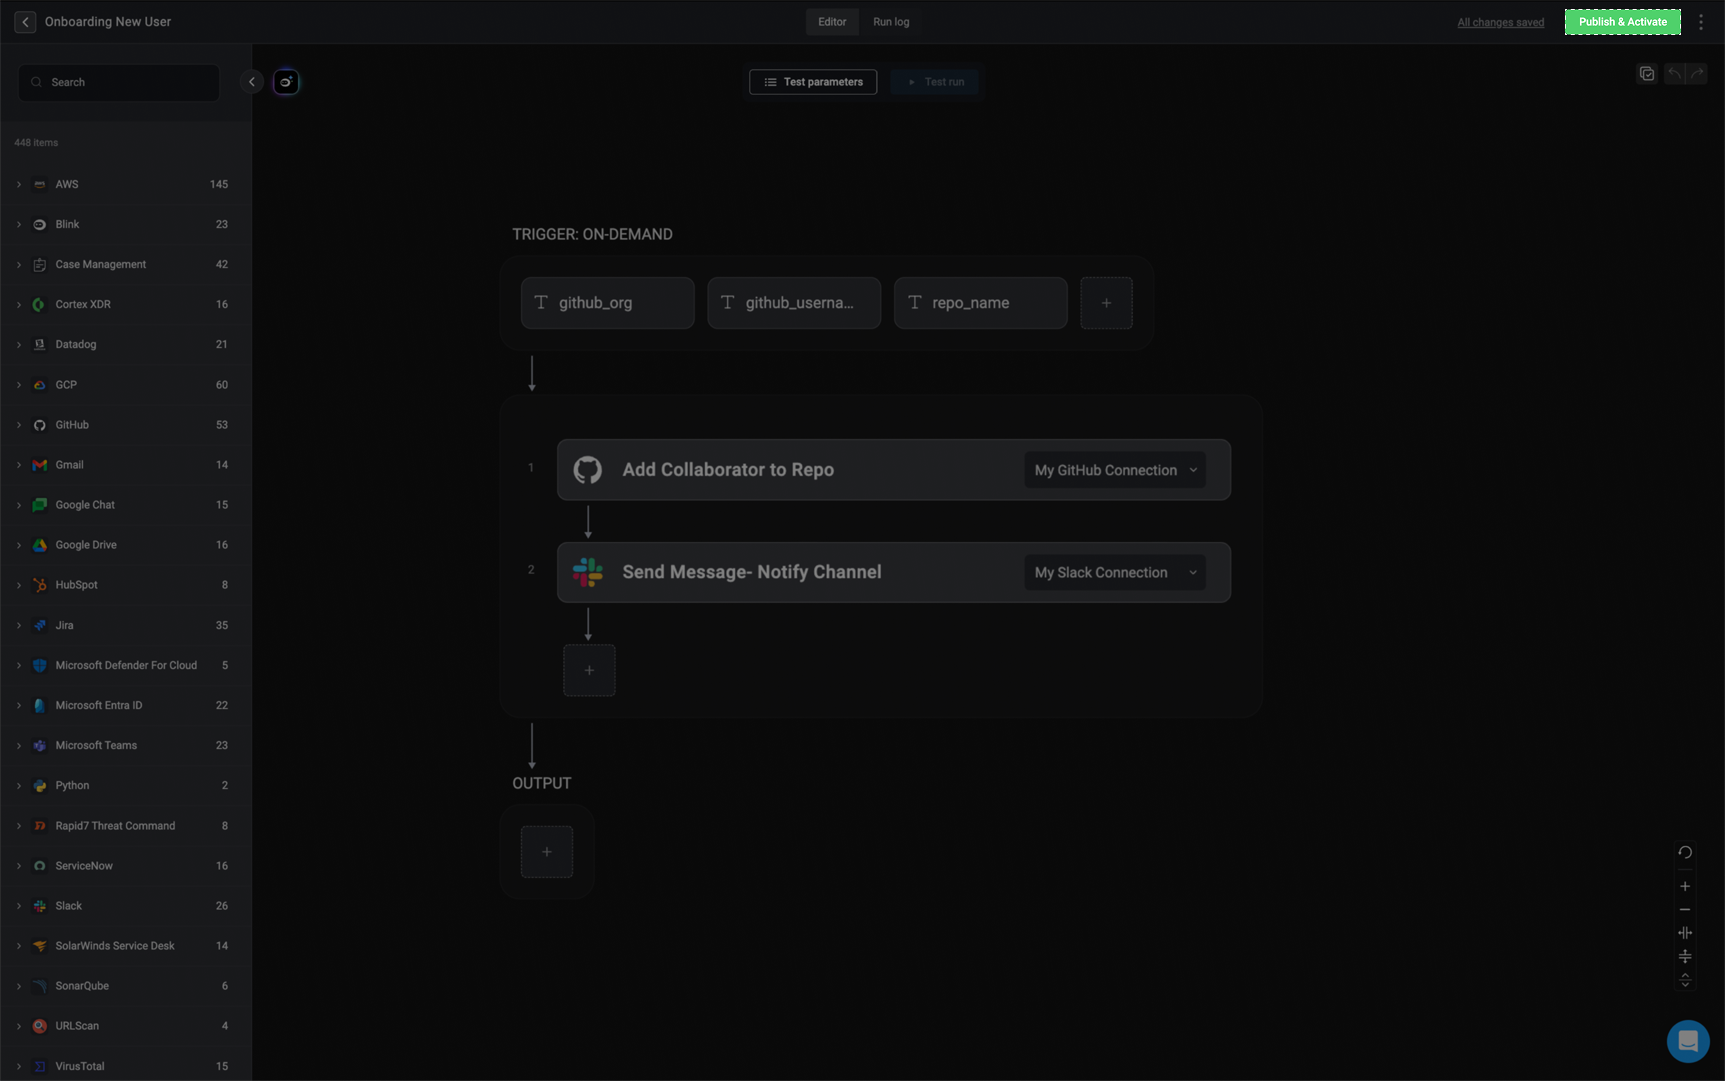
Only users with the Owner user role, Contributor user role, or a custom role with the
workflow:publish permission can publish workflows. To learn more about approving and publishing workflows, check out the documentation here. Related Articles
Workflow Editor
Build a new workflow from scratch in the Workflow Editor.
Triggers
Configure triggers to start workflows based on events.
Steps
Define and organize actions within a workflow.
Conditions
Add logic to control workflow execution paths.