The Connections Page
The Workflow Editor
Creating a Connection from the Connections Page
Ideal for managing and organizing all your workspace connections in one place.1
Open the Connections Page
Navigate to the Connections page in the Blink platform. You will see a table listing all existing connections in your workspace.
2
Start a New Connection
Click Add connection at the top of the page, then select a service provider from the list or search bar. Click on the provider’s icon to continue.
3
Name and Describe Your Connection-(Optional)
- Edit the Connection Name (cannot be changed later).
- Add a Description to help identify the connection’s purpose.
4
Select a Connection Method
Choose a connection method supported by the selected vendor. Some vendors may offer up to three different connection methods.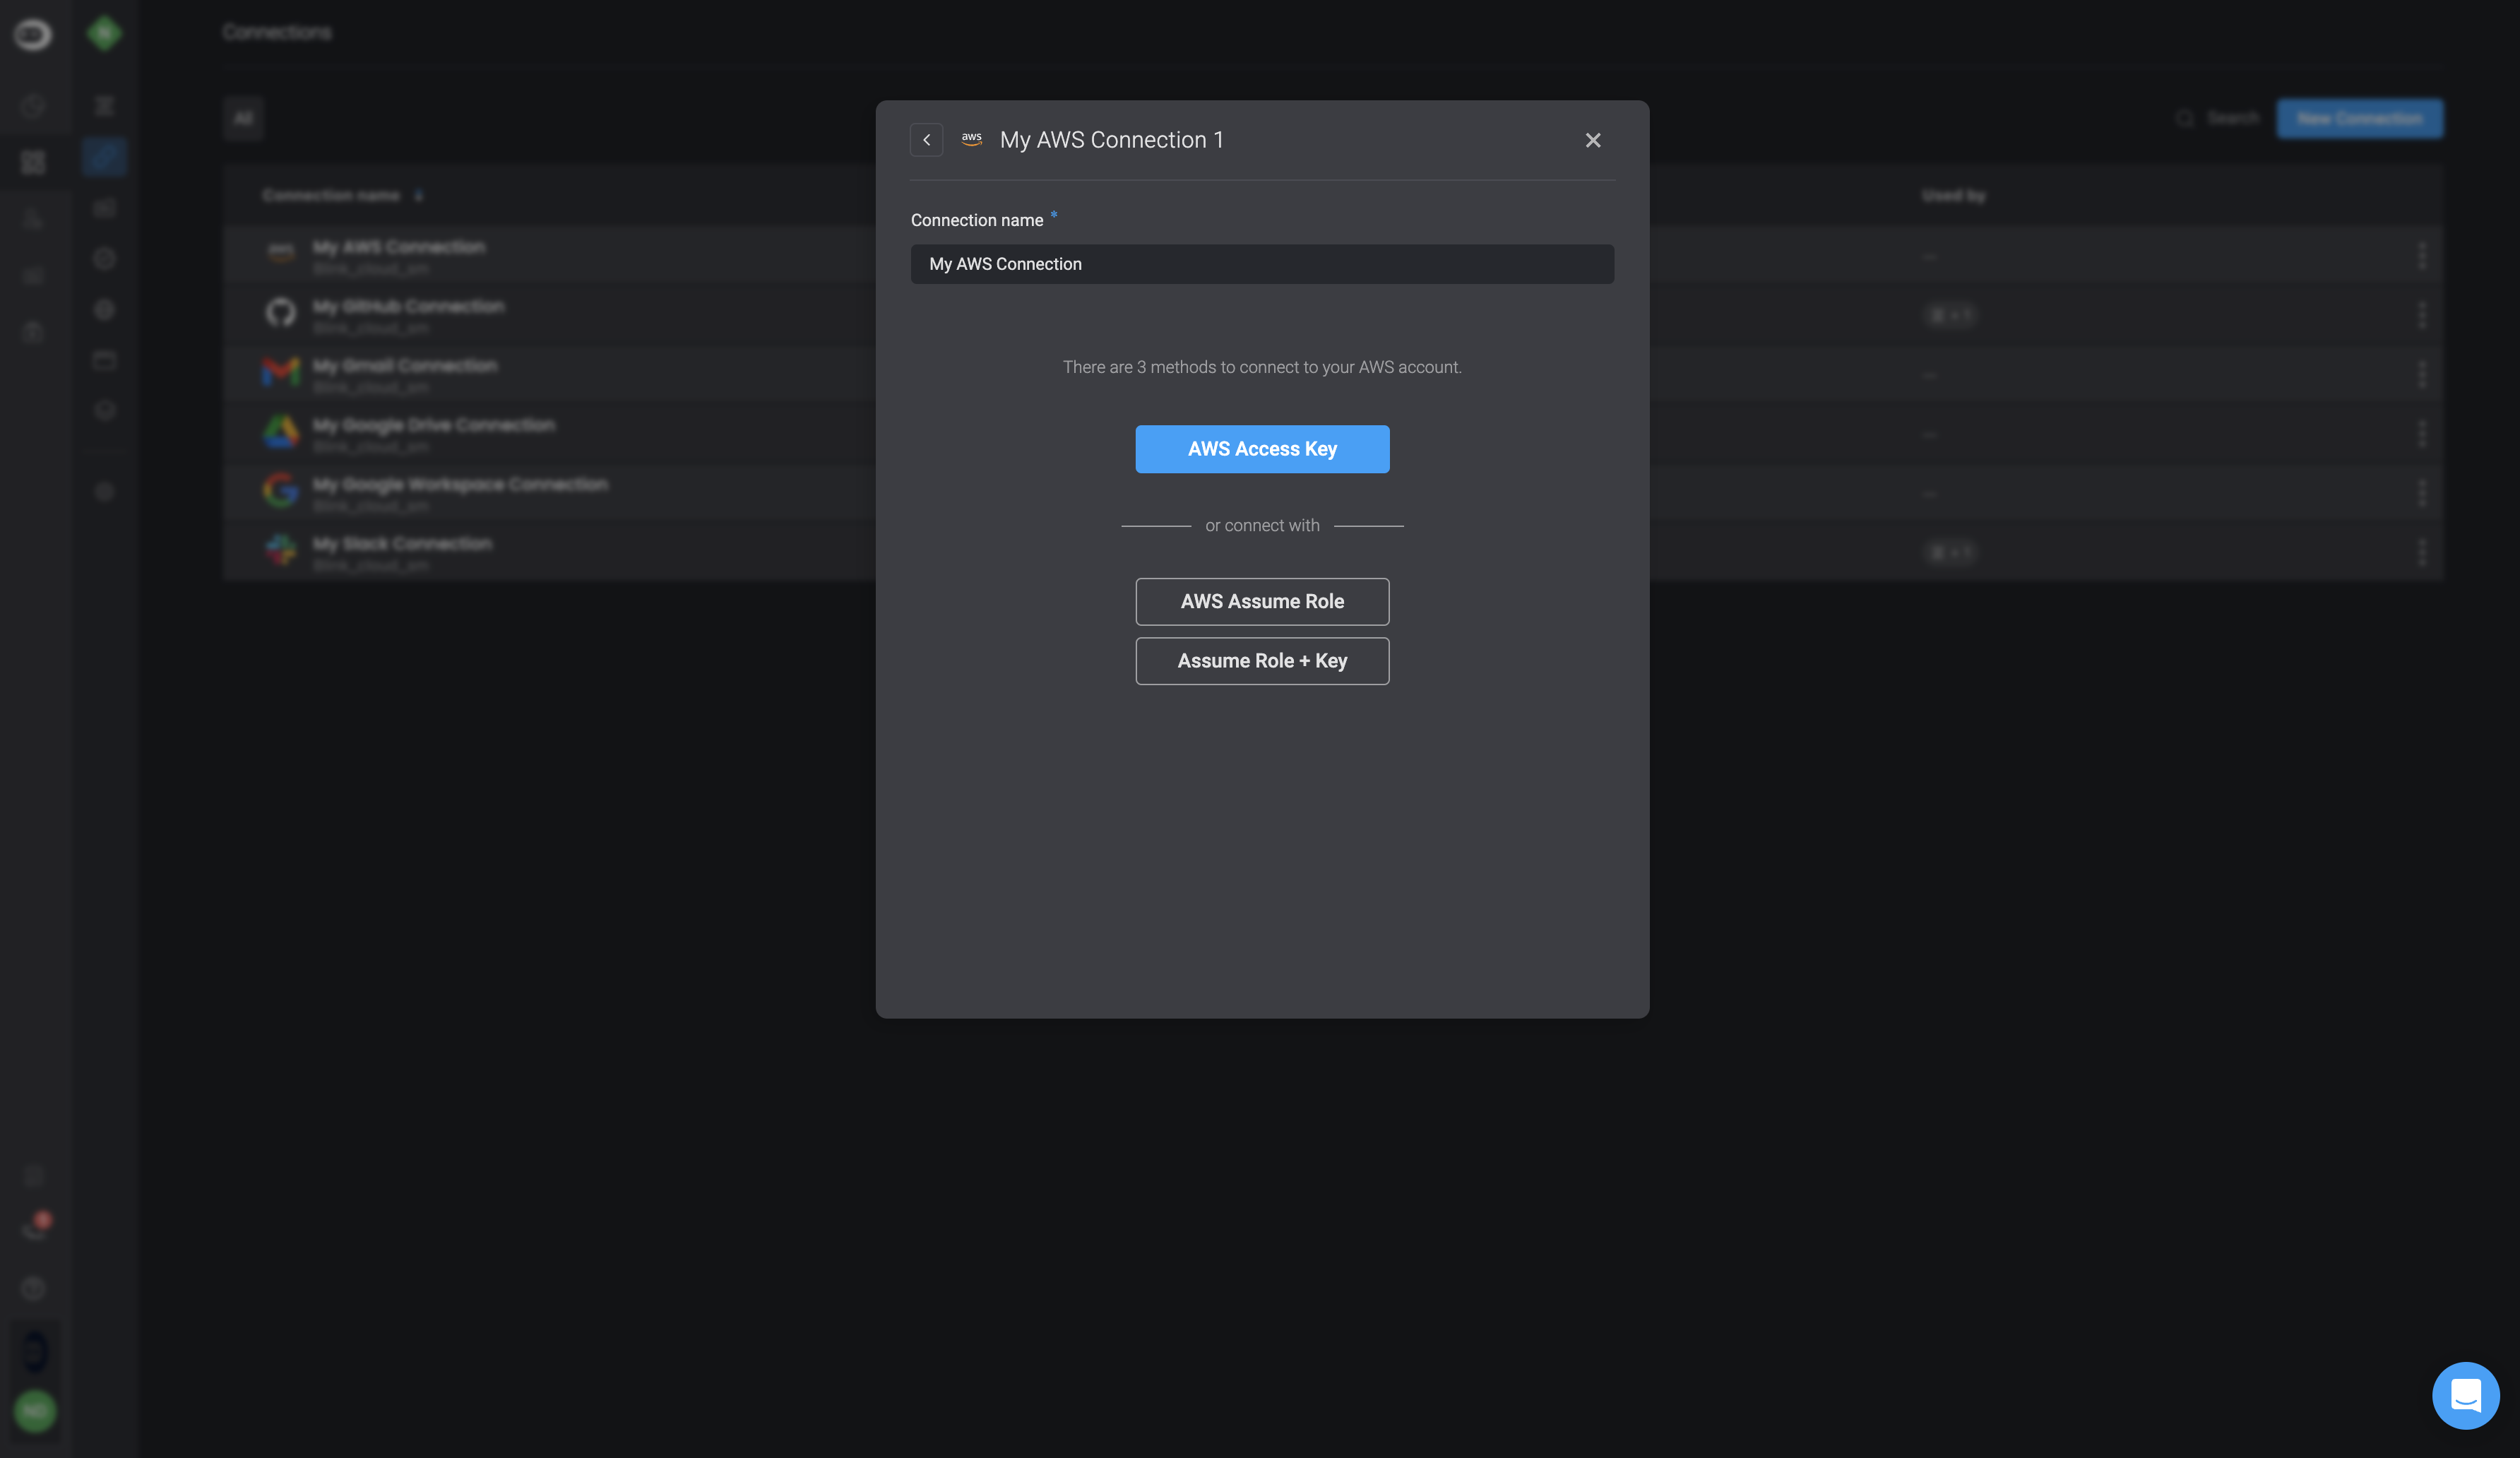
5
Configure Connection Parameters
Fill in the required parameters for the connection:
- Tags (optional, used for categorization or filtering)
- Connection Type (required)
Each connection type includes additional parameters specific to that method.
6
Test the connection (optional)
Click Test Connection to ensure the configuration is valid before creating the connection.
7
Create the Connection
Click ‘Create connection’ to finalize the setup. The new connection will now appear on the ‘Connections’ page.
Creating a Connection in the Workflow Editor
Ideal when you need to add or create a connection directly while building a workflow. Note: If you have a personal account with the provider used in the step, you can create a connection using open authorization (OAuth) or single sign-on (SSO).
1
Select a Connection for the Step
In the Workflow Editor, navigate to a step that requires a connection. Click Select connection, then choose an existing connection or create a new one.
2
Create a New Connection
To create a new connection, click ’+ Create New Connection’. The New Connection dialog will appear, displaying the available methods for the selected service.
3
Choose a Connection Method
Select the desired connection method for this integration.
4
Fill in Connection Details
- Complete the required configuration fields:
- Tags (optional)
- Connection Type (mandatory)
The selected type may prompt you to enter additional, vendor-specific parameters.
5
Test the Connection- (Optional)
Click Test Connection to ensure your setup is working correctly before saving.
6
Finalize the Connection
Click ‘Create connection’. The new connection will now be available and listed on the ‘Connections’ page.
Testing a Connection
Note: Connections created with the
_OAuth_ method or with the _Or sign in with_ method cannot be tested. A connection can only be tested when all mandatory parameters are filled in.1
Open the Runner Selection Menu
Click the dropdown menu to see available runners.
2
Choose a Runner
Select the runner with which to test the connection. The default runner is Blink Cloud.
3
Test the Connection
Click ‘Test’. The result of the test will be displayed. Depending on the service provider, the information about the results differ.
4
Create the Connection
Click ‘Create connection’. The connection is created and appears in your connections screen.
Editing a Connection
You can update an existing connection at any time to change its configuration, authentication details, or tags. To edit a connection, go to the Connections page and choose one of the following methods:-
Click directly on the connection you want to edit, make your changes, and then click Save.

-
Click the icon next to the connection, select Edit, make your changes, and click Save.