Documentation Index
Fetch the complete documentation index at: https://docs.blinkops.com/llms.txt
Use this file to discover all available pages before exploring further.
Overview
Before publishing and activating a Workflow, it is crucial to ensure that it functions as expected under different conditions. Testing helps prevent unexpected failures and ensures that your Workflow behaves correctly before it goes live.Note: When you test a step or an entire workflow, please note that the test execution makes real API endpoint requests. This means that any actions within the workflow will trigger actual API calls, and the configured connections are used as part of the test run. Ensure that the environment and configurations are suitable for testing to avoid unintended effects or unnecessary usage of resources during the process.
Testing Complete Workflows
Before testing a workflow, ensure all steps are fully configured. If any step is incomplete, misconfigured, or missing a connection, the Test Run button at the top of the editor will be disabled. An icon will appear in the top-right corner, indicating the specific step and action that requires configuration or connections.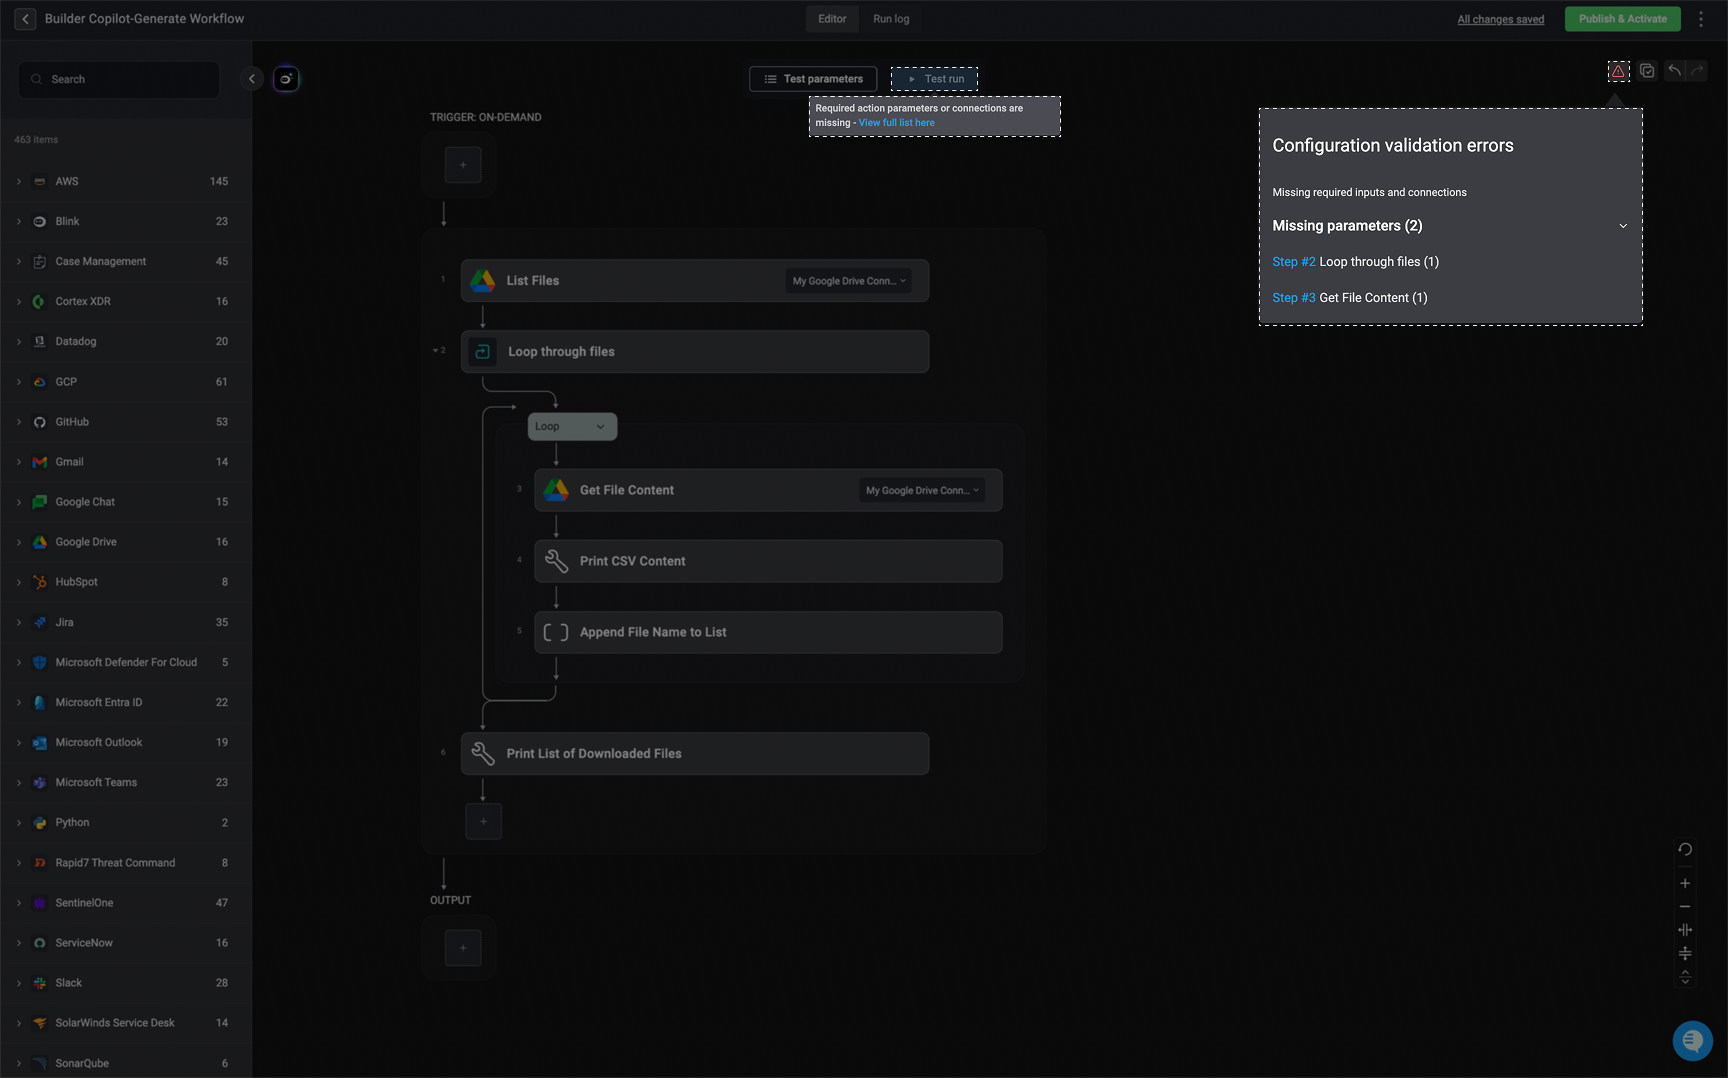
Testing Different Workflow Trigger Types
Testing On-Demand Workflows - Using Test Parameters
Testing On-Demand Workflows - Using Test Parameters
You can test an On-Demand Workflow by providing test input parameters. Follow the steps below to configure and execute a test run.
Open the Test Parameters Configuration Panel
Click the ‘Test parameters’ button to open the configuration panel where you can define input values for the test run
Select a Runner
You can change the runner to execute the Workflow with a different environment. By default, the Blink Cloud runner is used.
Click Apply
Click Apply to confirm your test parameters. Any action requiring input parameters will use the values you’ve set.
Testing On-Demand Workflows- Use Case Example
Overview
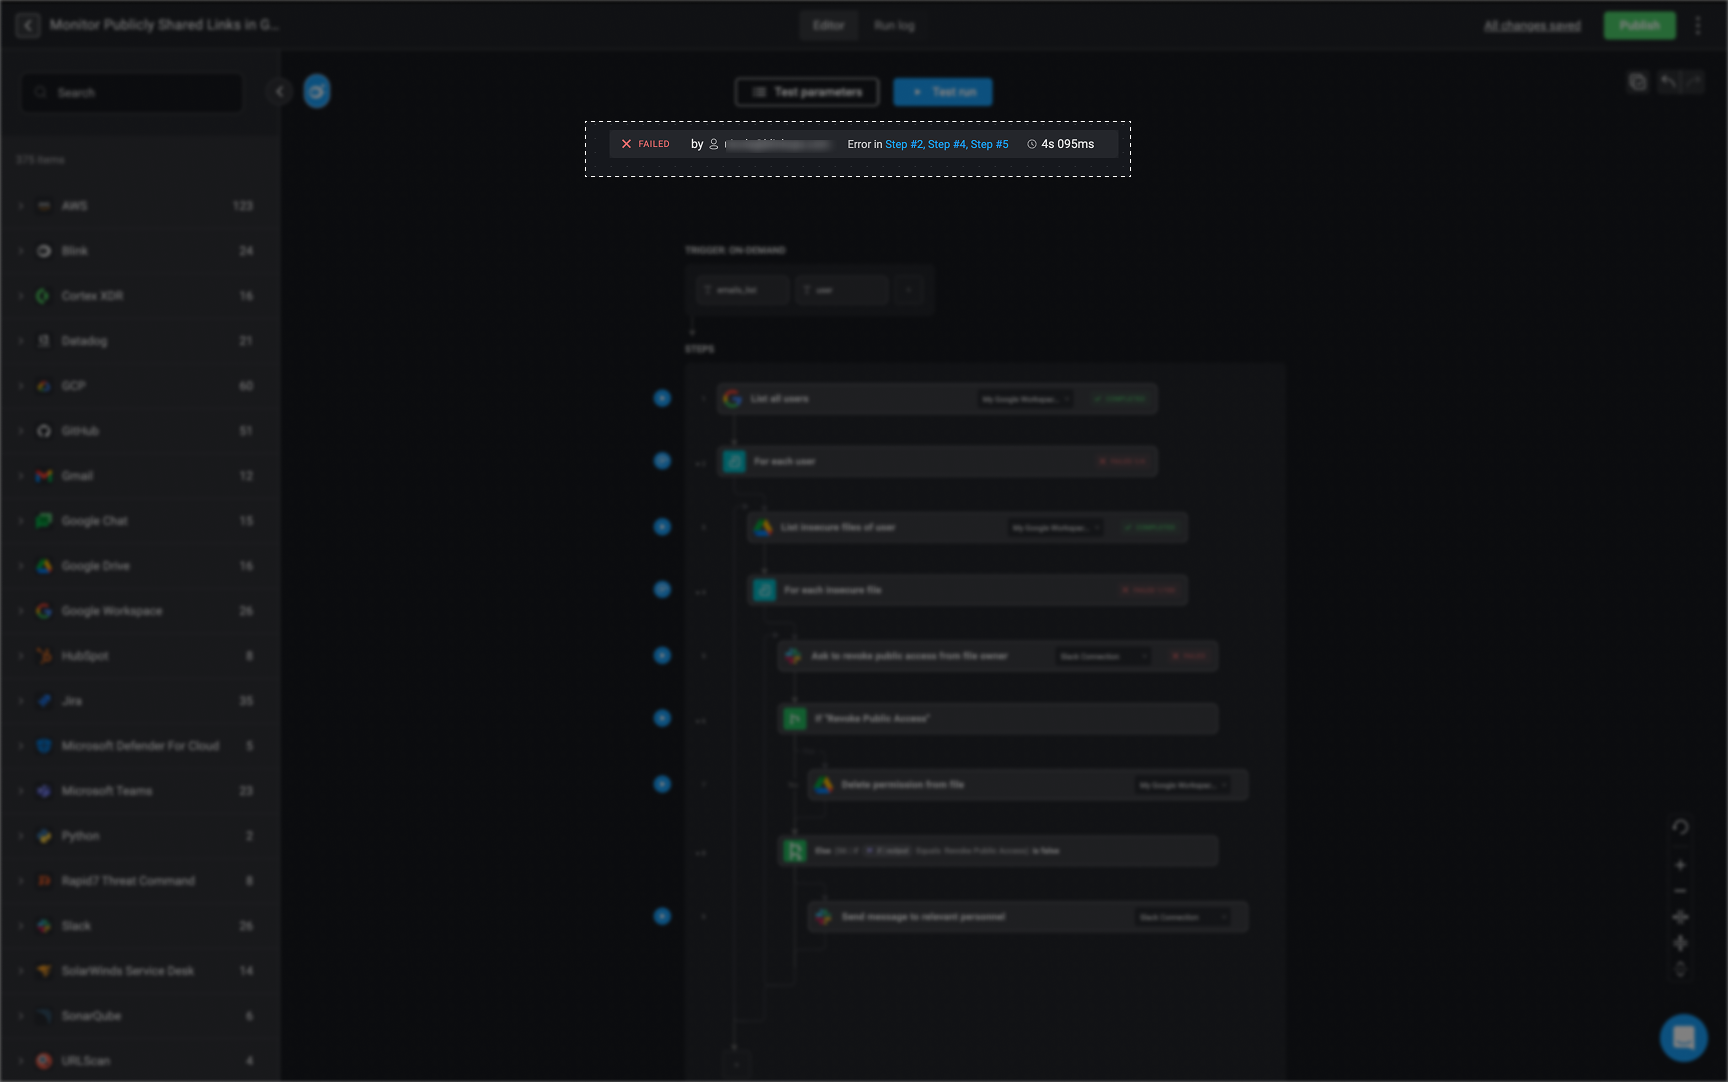
In this use case, we demonstrate how to test an On-Demand Workflow by providing test values for its input parameters. By entering test data, such as an email list and a user name, we can simulate a real execution and ensure the workflow functions as expected. This process allows us to validate how the workflow processes user data, checks for publicly accessible files, and takes appropriate actions based on its logic.Breakdown
- This demonstrates how to test an on-demand workflow in Blink.
-
The user provides sample input parameters:
- Email list - in this example we are using a single email address-
blink@test.blinkops.com - User name - in this example we are using-
John Doe
- Email list - in this example we are using a single email address-
- After applying these test values, the workflow starts executing.
- The workflow systematically processes each user from the list.
- It checks for publicly accessible files associated with each user.
-
If an insecure file is found, the workflow takes action:
- Requests the file owner to remove public access.
- If access is not revoked, notifies the appropriate personnel.
Testing Event-Based Workflows - Using Test Parameters
Testing Event-Based Workflows - Using Test Parameters
1. Webhooks
An Event-Based Workflow can be tested using a JSON sample of a potential incoming payload event triggered by a Webhooks. Follow the steps below to configure and execute a test run.Configure the Webhook Trigger
Start by selecting the Webhook of your choice option as the trigger for your workflow. This will generate a unique Webhook URL that the workflow listens to for incoming events.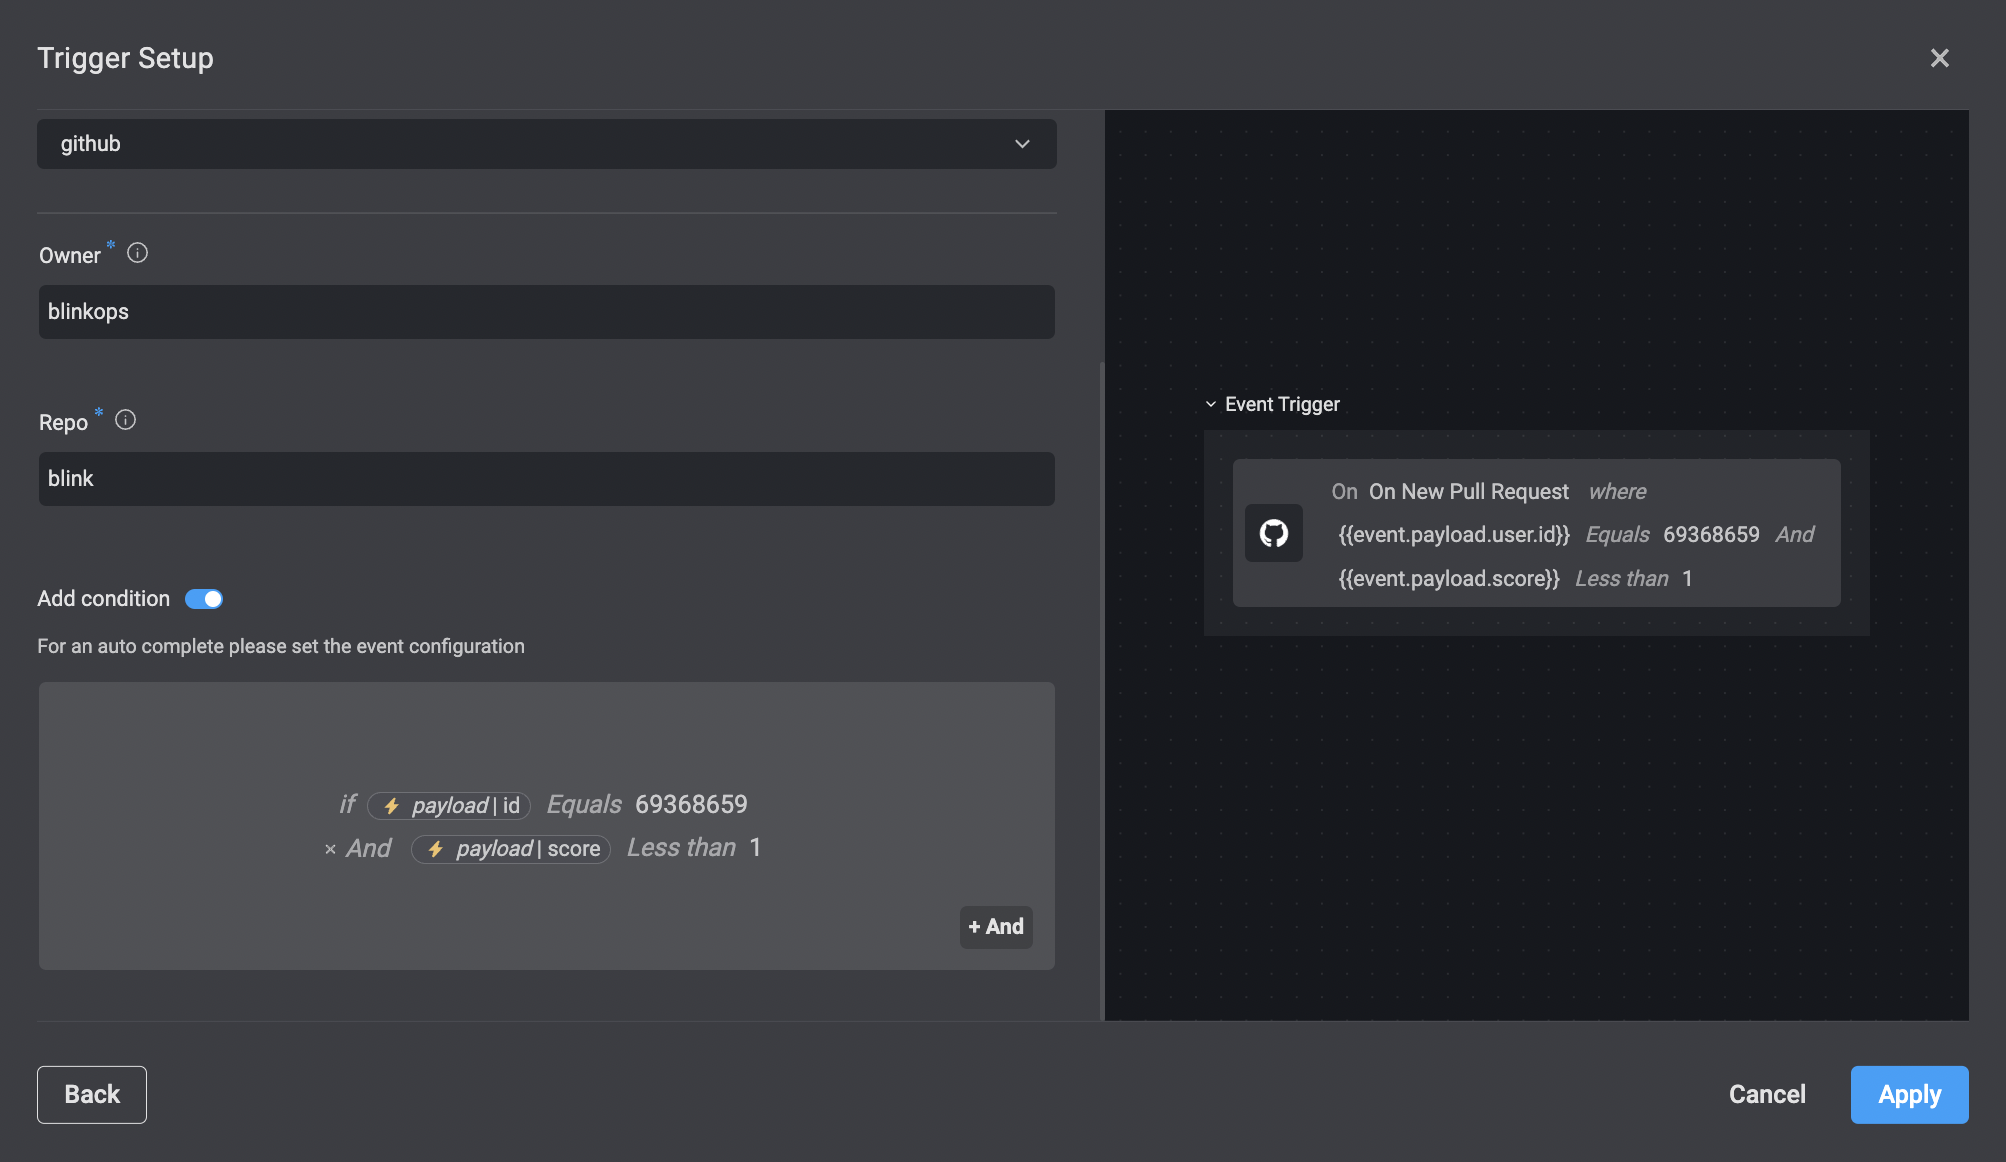
Open the Test Parameters Panel
After configuring the trigger, click the ‘Test parameters’ button to open the configuration panel.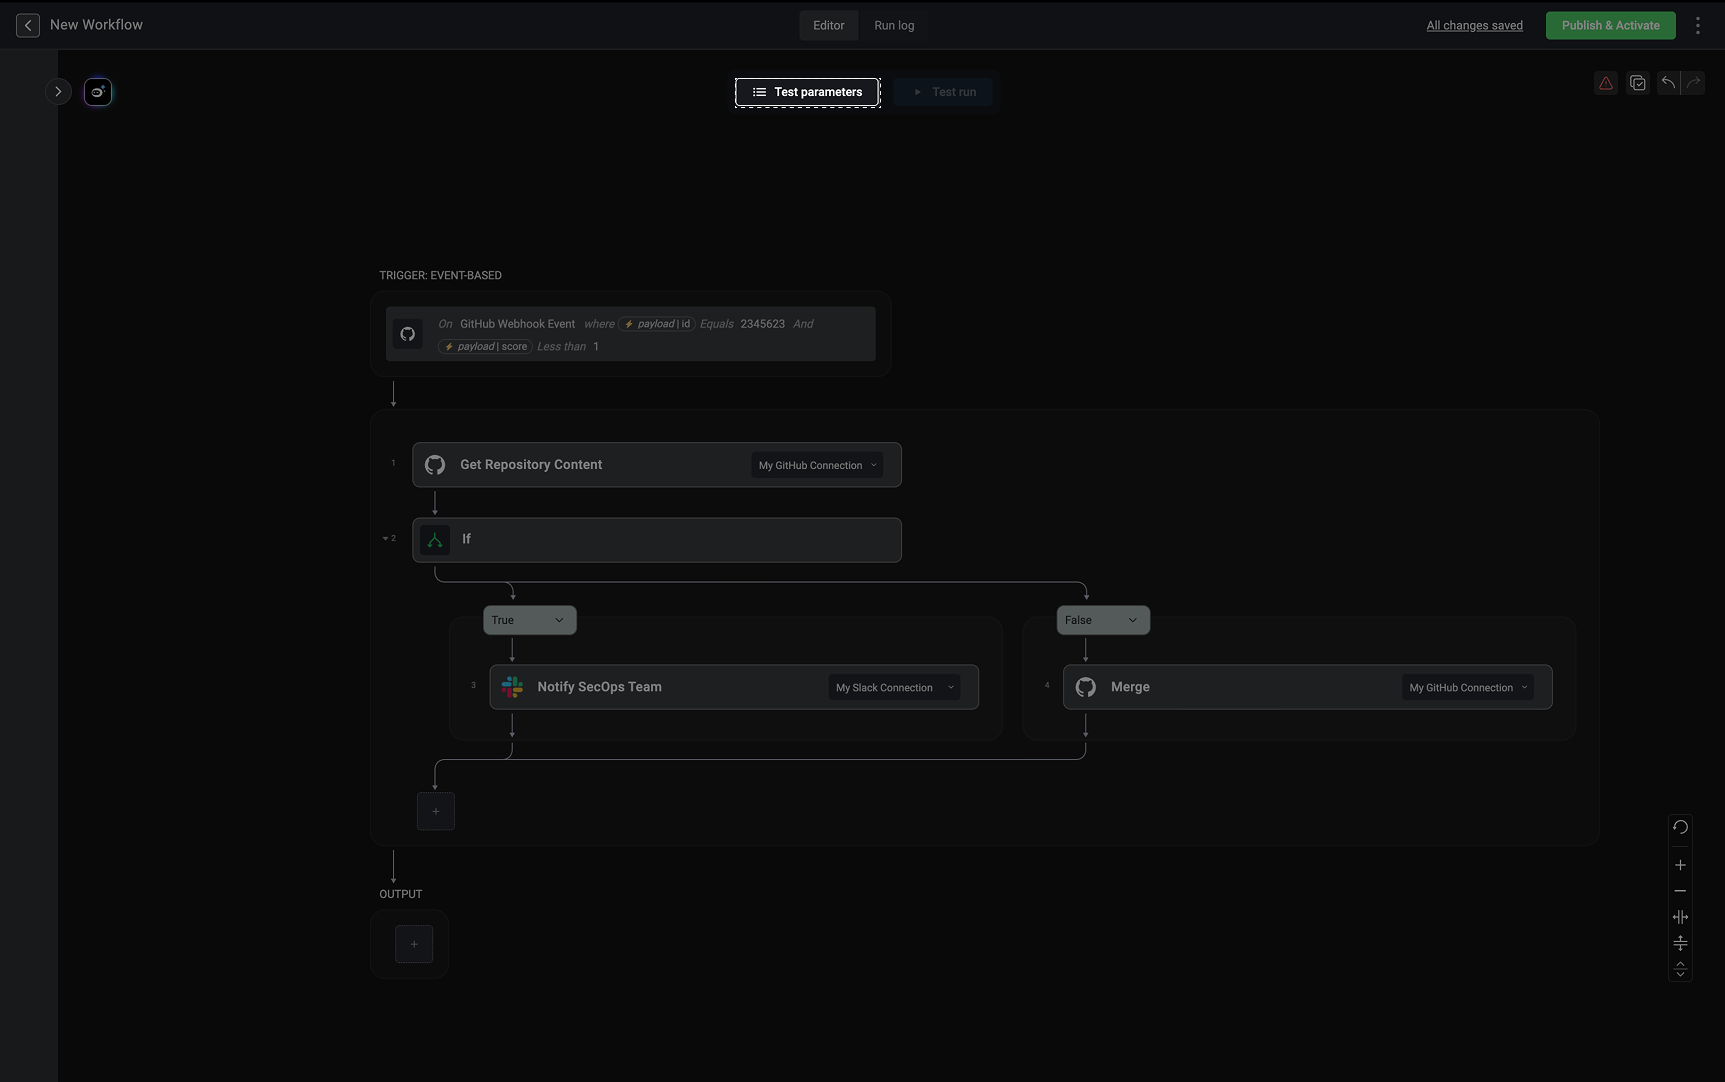
Listen to an event
Next, click “Listen to Event” to activate the webhook listener. This step ensures that Blink is ready to receive and process an incoming payload request. The platform now displays the Webhook URL that external services (or test tools) can send data to.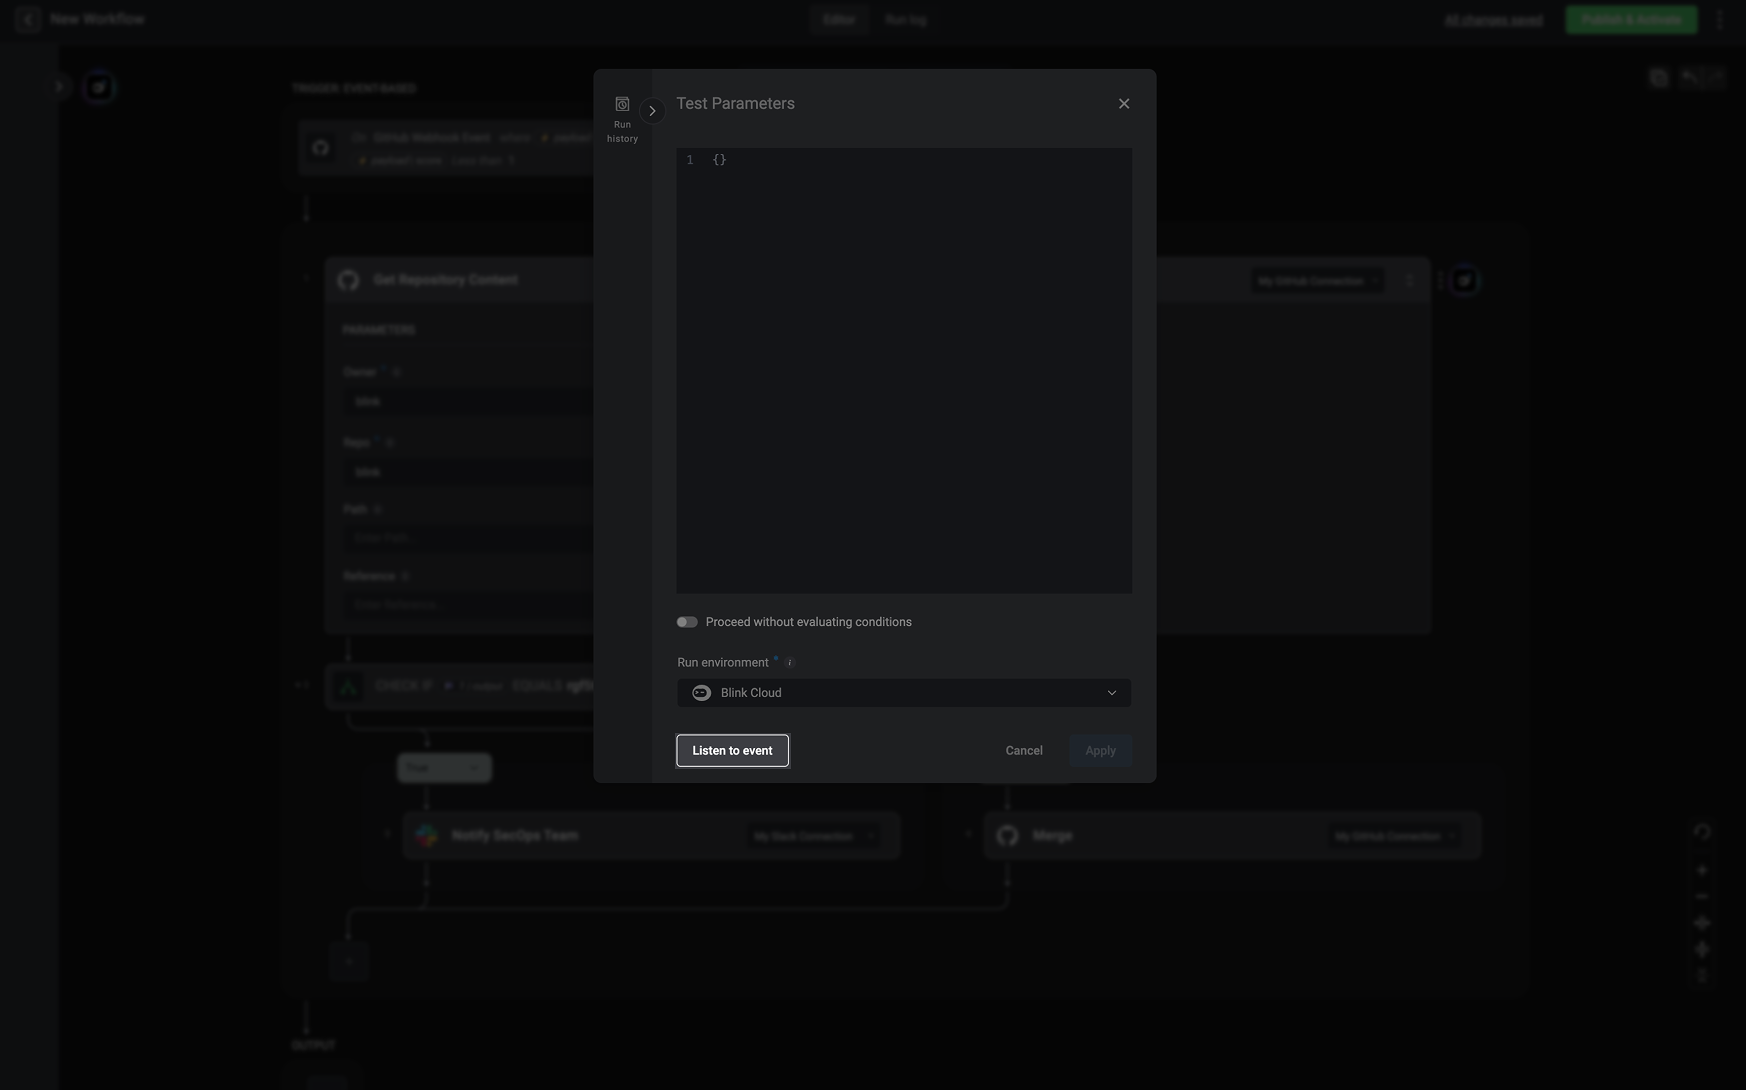
Simulate an Incoming Event
To test how the workflow reacts to an event, you send a test request to the Webhook URL.
Using Postman (or another API testing tool), you:
- Copy and paste a sample JSON object representing the type of event your workflow will handle.
- Send an HTTP POST request to the Webhook URL.
Proceed without evaluating conditions
When configuring an event-based (webhook) trigger, you can define conditions that determine whether an incoming event starts the workflow.During testing: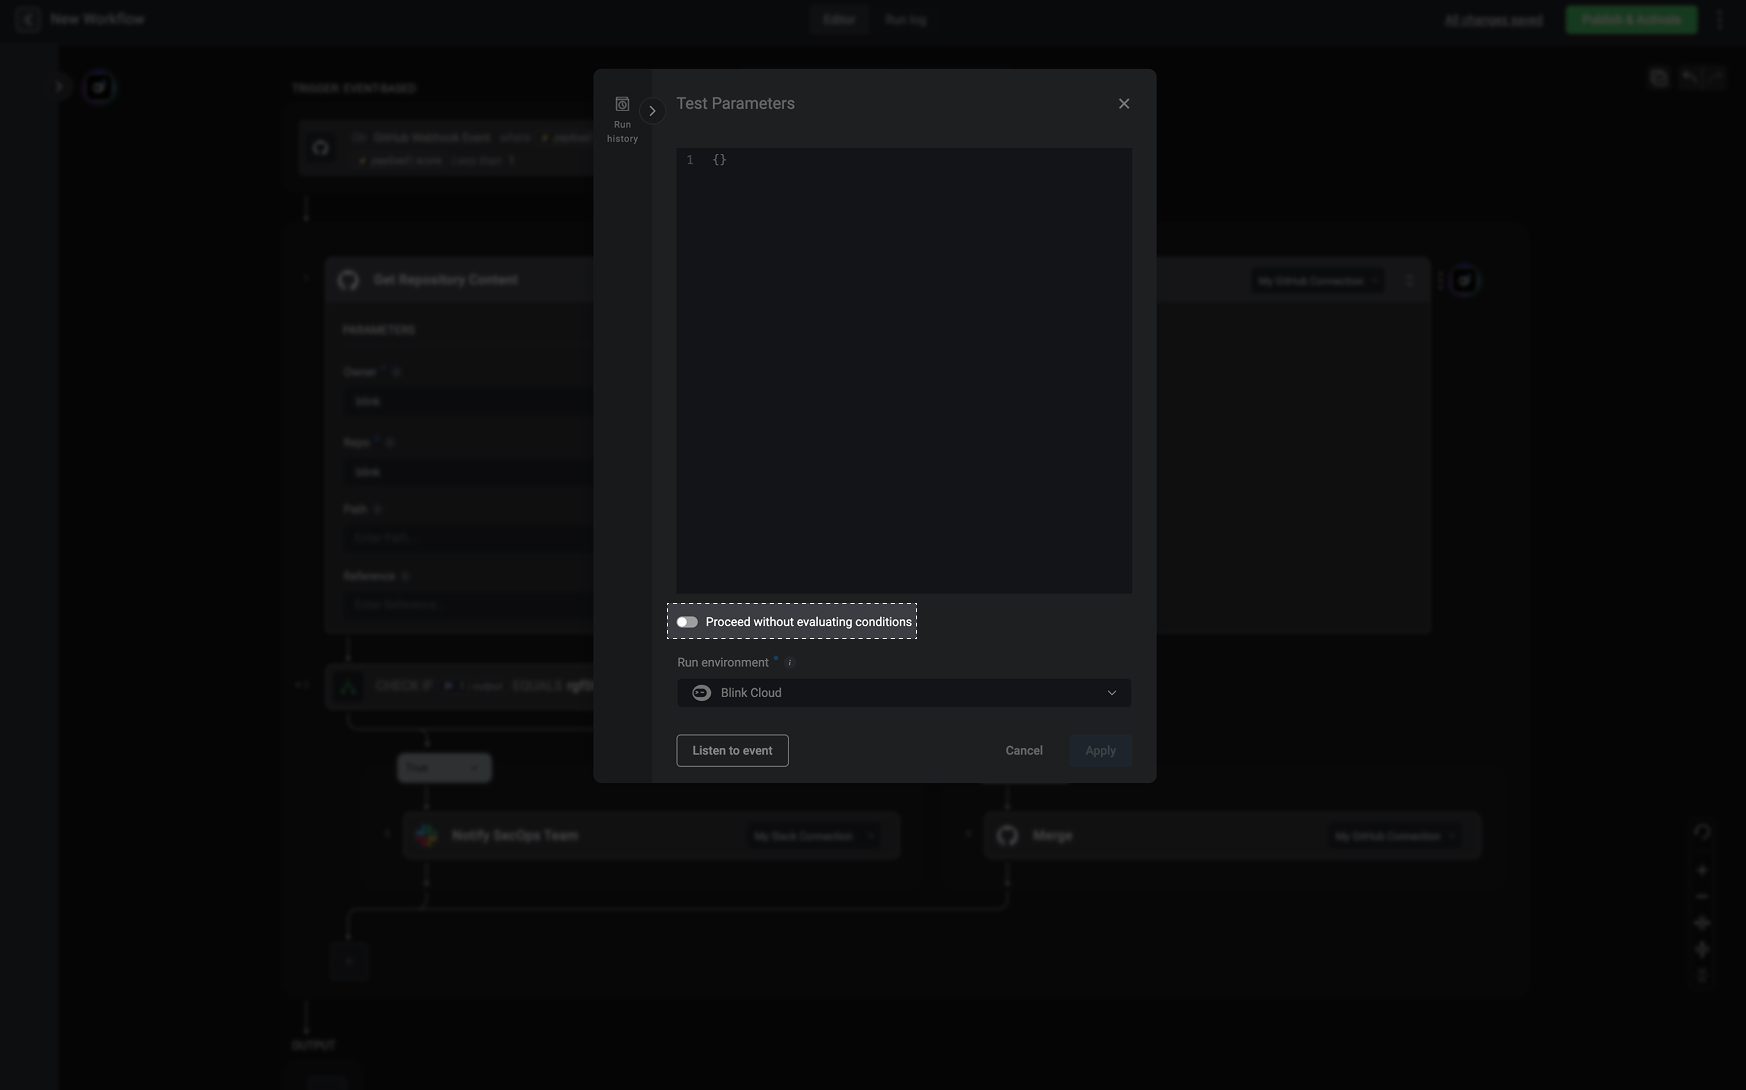
- Enabled: The workflow runs in test mode even if the payload does not meet the trigger conditions.
- Disabled (default): The workflow runs only if the test payload satisfies the configured conditions.
Note: This setting does not affect the published workflow behavior.
Select a Runner
If needed, you can change the runner to execute the workflow in a different environment. By default, Blink uses the Blink Cloud runner, but you can select another runner if required.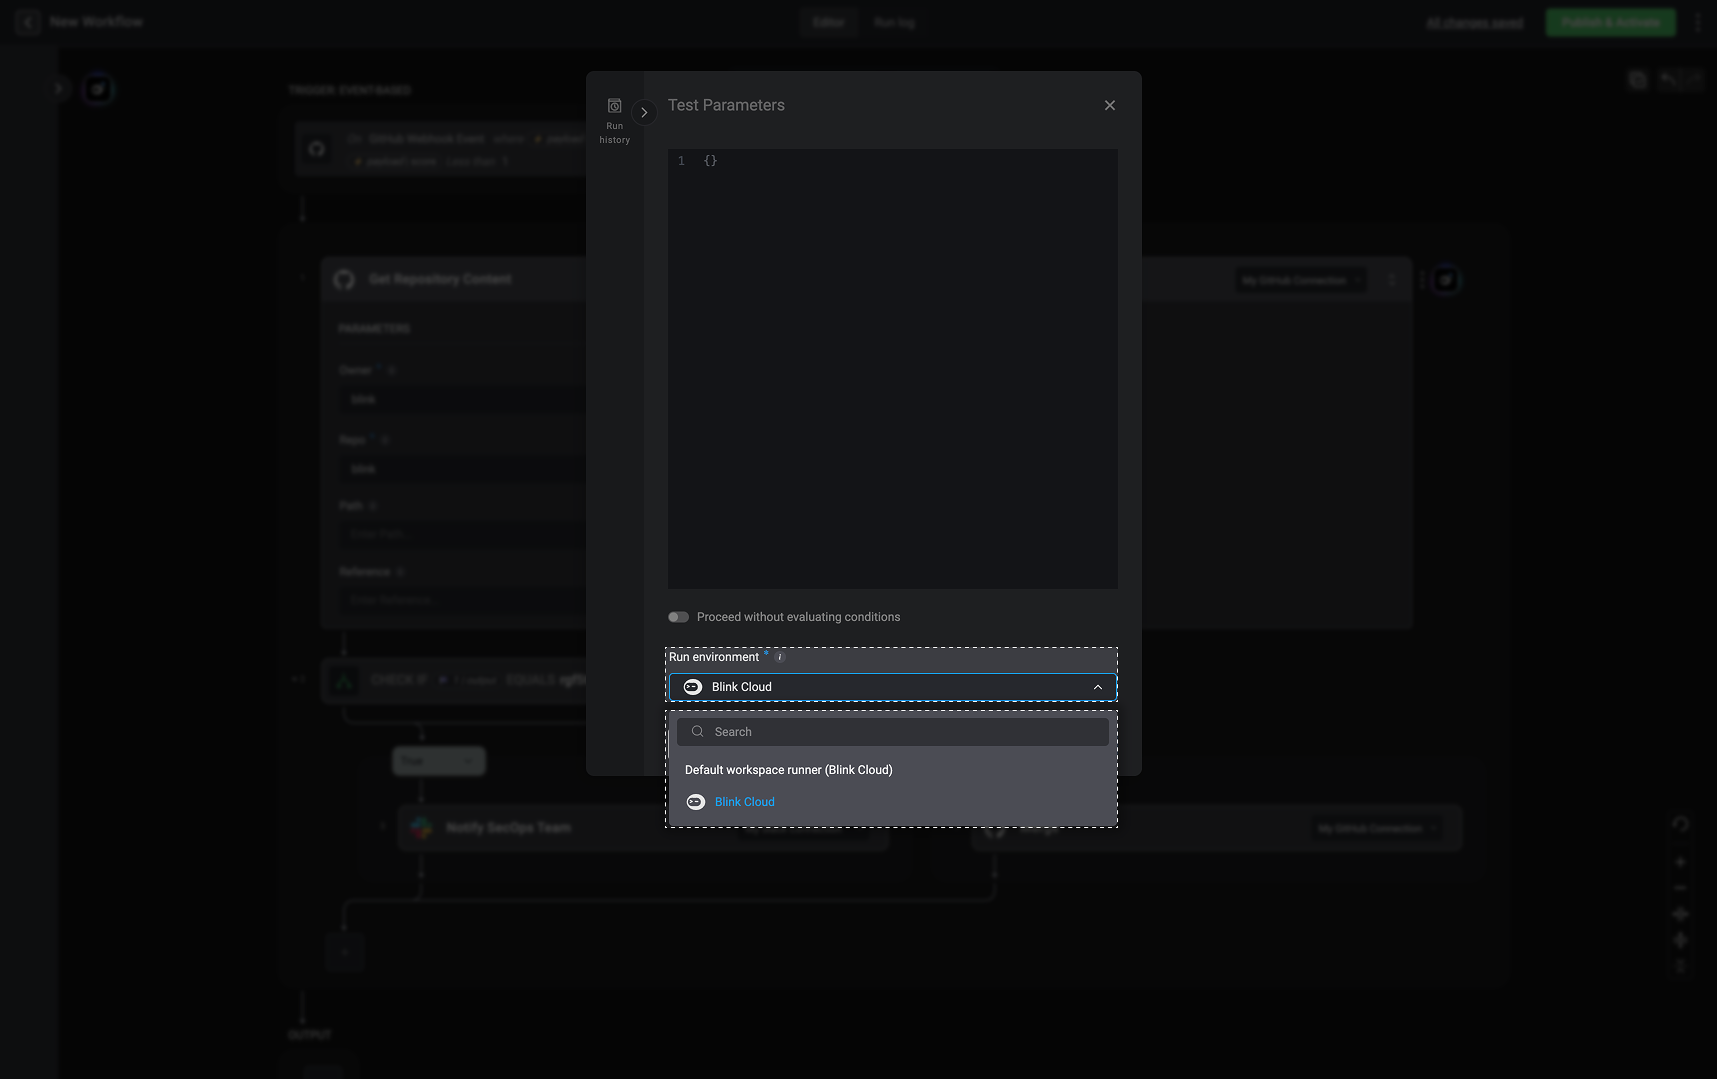
Using the Custom Webhook - Use Case Example
2. Real Events
An Event-Based Workflow can also be tested using an actual event from the selected external service, ensuring the workflow functions correctly when triggered by real event data.Open the Test Parameters Panel
Click ‘Test parameters’ button to open the configuration panel where you can define input values for the test run.
Fetch the Event
Click the Fetch Event Button: This fetches a real event that was generated in the past 30 days from the selected connection. The event can be used to test your current workflow version before publishing it.
Results
Results returned can be:
| Result | Description |
|---|---|
| Event found | An event matching the criteria was found and is displayed in JSON format. |
| No events found | No matching events were found within the last 30 days. |
| Failed to fetch event | The event could not be retrieved. Verify your input details and connection settings. |
Note: If the trigger was set up using a condition AND a real event was fetched, the condition will be ignored.
Using Real Events- Use Case Example
In this example, we are testing an Event-Based Workflow that is triggered by the GitHub - On Merge Pull Request event. This event is activated when a pull request is merged, providing the workflow with relevant metadata from GitHub. The captured payload, displayed in the Test Parameters panel, simulates the incoming event, allowing us to validate how the workflow processes the data before executing the subsequent steps.Testing Scheduled Workflows
Testing Scheduled Workflows
A Scheduled Workflow can be tested using the following instructions: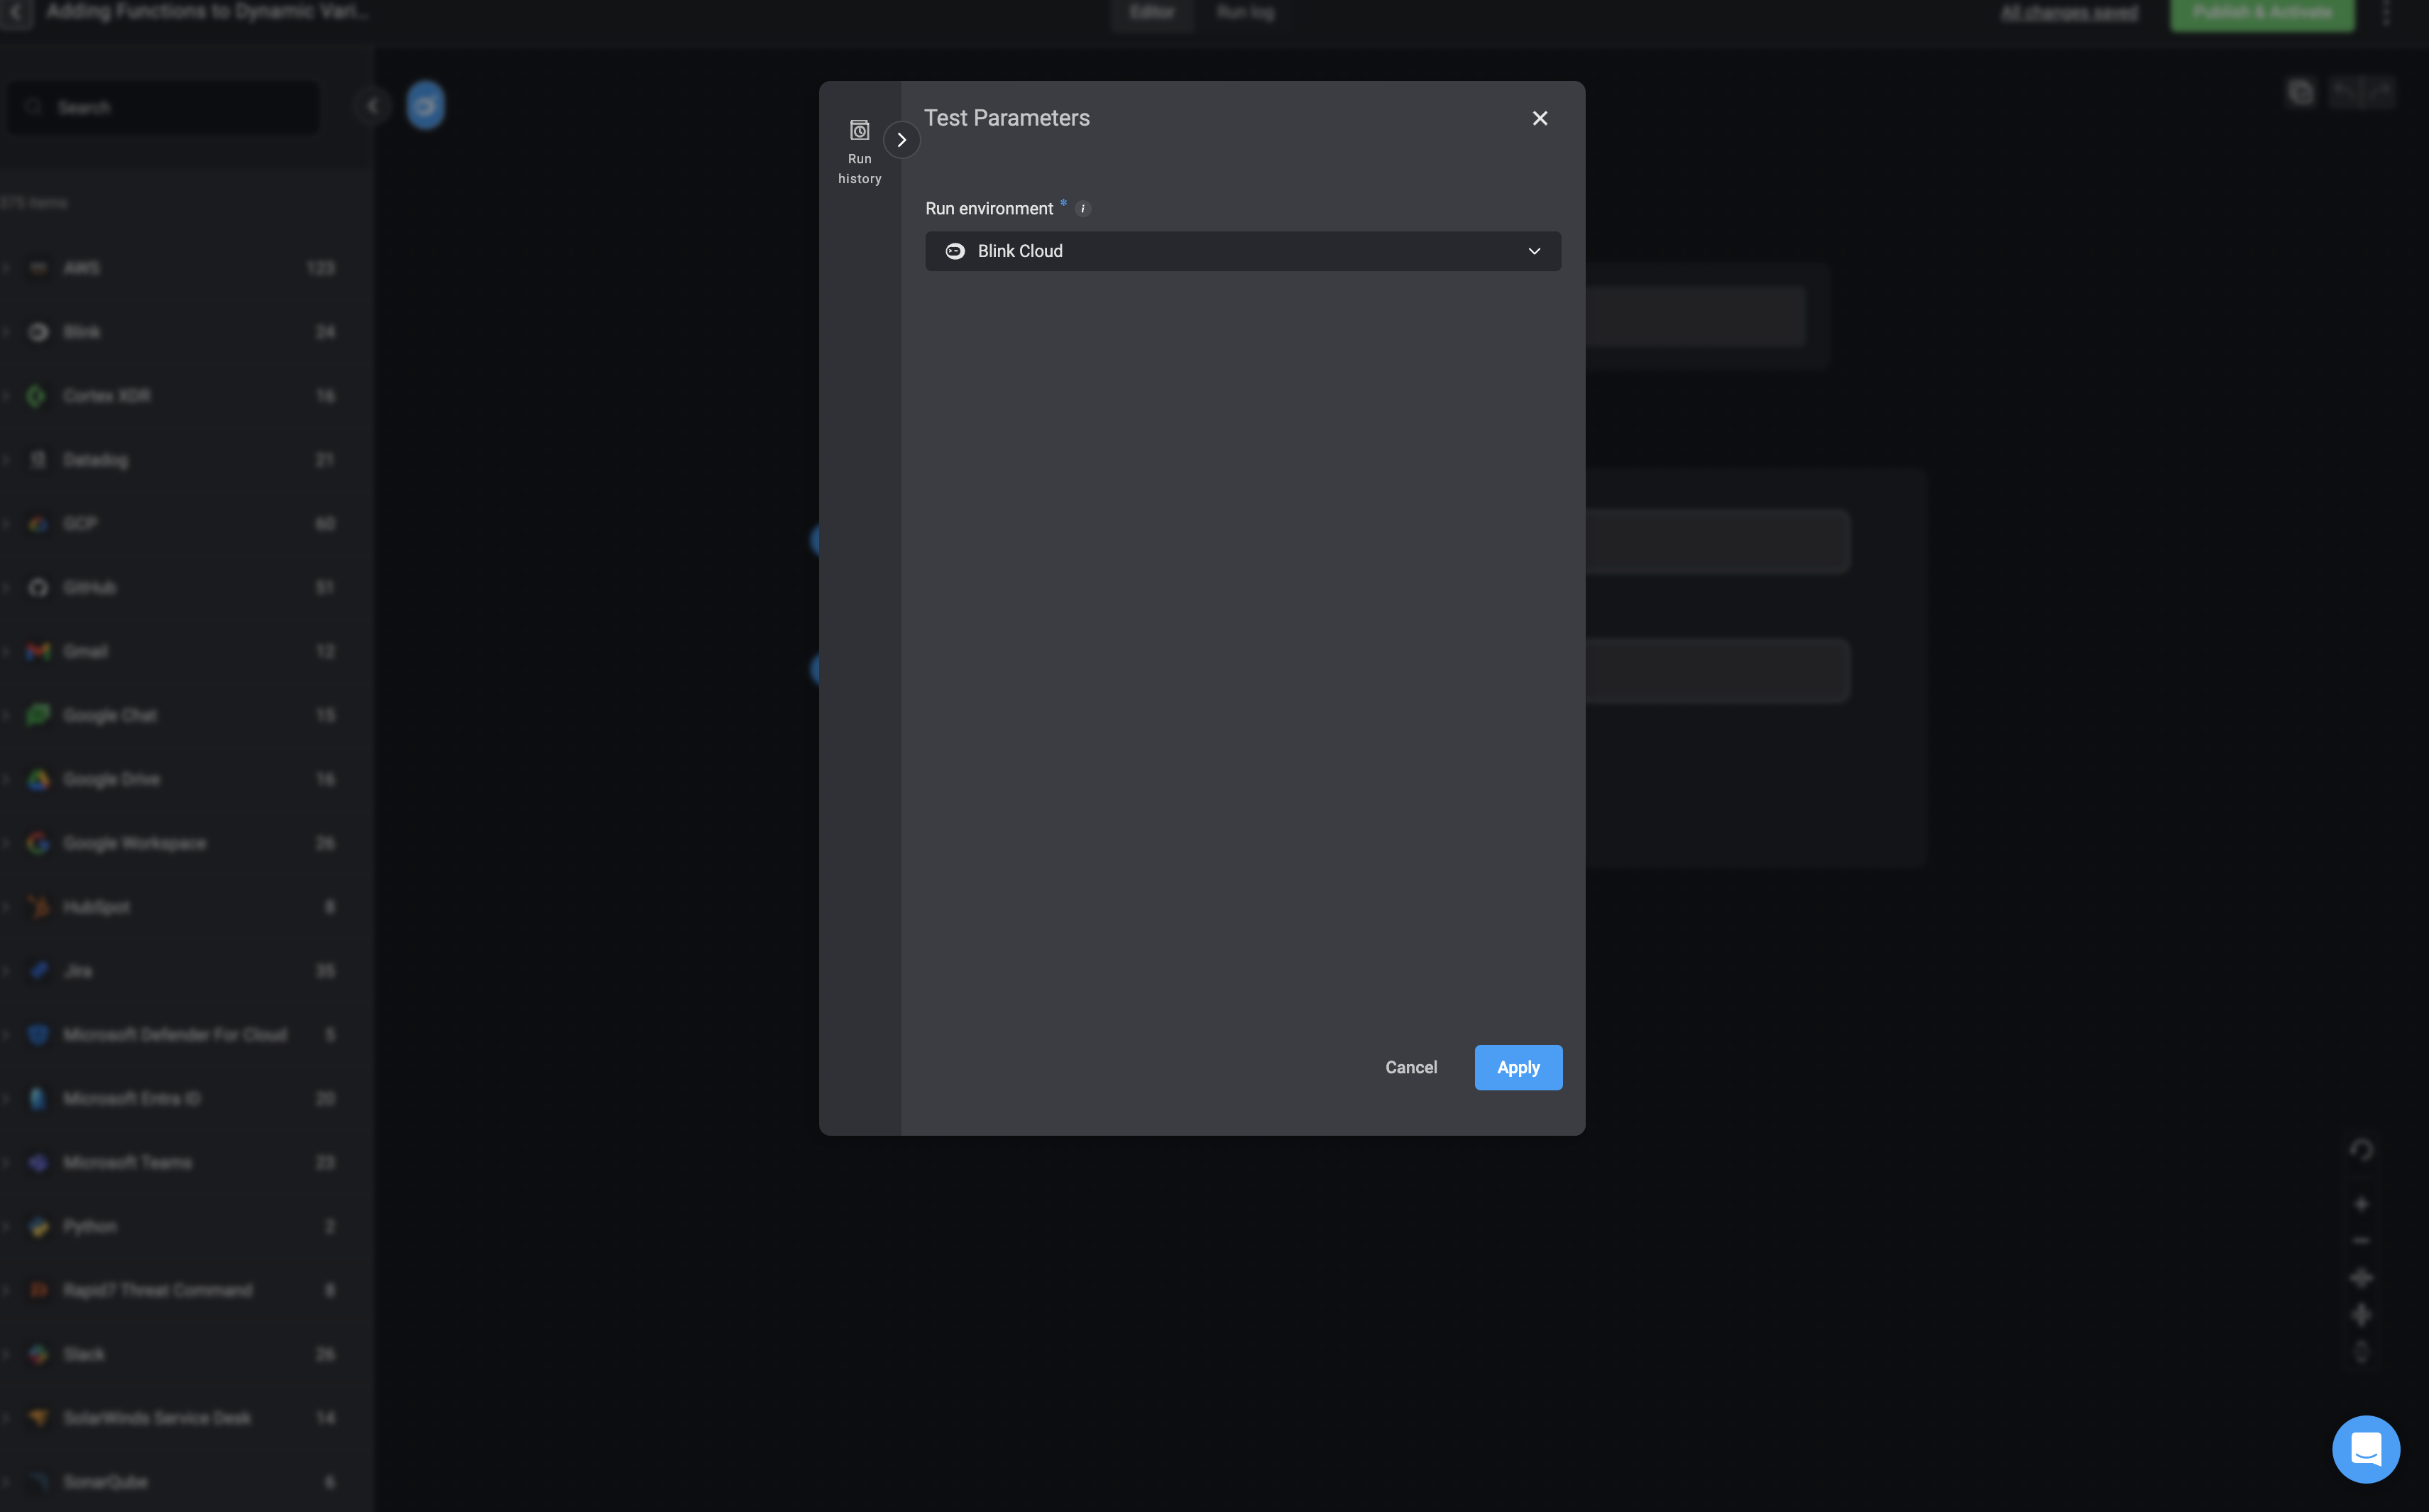
- No test parameters are needed when testing a scheduled trigger workflow. Ensure that all steps within the workflow are configured correctly.
- Afterward, simply click the “Test Run” button. This will simulate the execution of the workflow as if it were triggered by the schedule. However, note that the workflow will not run according to its actual scheduled time until that time arrives.
Complete Workflow Execution Statuses
A status indicator at the top of the editor provides real-time feedback on the Workflow’s execution. Including total run time, who ran the workflow, the number of completed steps, and details on any failures.When you stop a test run of a workflow, any temporary changes or test data used during the execution will be discarded. The workflow will revert to its last saved version, ensuring that no test modifications persist in the live configuration. This allows you to safely test workflows without affecting the original setup.
| Workflow Status | Description | Icon |
|---|---|---|
| Completed | The workflow completed successfully without any errors. | |
| In Progress | The workflow is currently running and has not yet finished. | |
| Failed | The workflow encountered an error and did not complete. |
Using Test Parameters from Previous Runs
You can use past executions and their parameters to test a workflow. These past executions include both test runs and executions of the published version. Running a test with real inputs from a previous execution helps you identify issues, troubleshoot failures, and refine the workflow for better performance. When testing a draft workflow using input parameters from a past execution, only parameters that match both by name and type to the current input parameters will be used in the test. Any other parameters, which do not match, will be ignored and not included in the test run.
Open the Test Parameters Panel
Click ‘Test parameters’ button to open the configuration panel where you can define input values for the test run.
Testing a Single Step in a Workflow
In the Workflow Editor, users can run steps individually, providing a live debugging experience, to identify and resolve issues without executing the entire workflow. This streamlines troubleshooting, making it faster and more efficient.- To test a specific Step, click the button next to it. If a Step is pending, you can stop it by clicking the button that appears next to the step.
- Users can edit and rerun Steps—including nested ones—while building the Workflow. However, during testing, you cannot stop a nested Step by itself. If a step is inside an If action, an If-else action, or a Loop action, you must stop the entire conditional or loop to stop that Step. This ensures that the Workflow logic remains consistent while testing.
Single Step Execution Statuses
Note
You can hover the step’s  status to see the step’s total run duration
| Status | Description | Icon |
|---|---|---|
| Completed | The step executed successfully without errors. | |
| Pending | The step is waiting for approval or an external response. | |
| In Progress | The step is currently running and has not yet completed. | |
| Stopped | The step’s execution was manually or automatically halted. |