To learn more details about trigger types, see Workflow Triggers. For help configuring your triggers, see the trigger-type documentation: on-demand, event-based, or scheduled.
Choose or Change the Trigger Type
A workflow needs a configured trigger to be published. When creating a new workflow, either with Builder Copilot or manually via the Workflow Editor, the trigger type is set during the process. Once you’ve chosen the type, it’s time to configure the trigger based on the type that you selected.For more information, see Creating a New Workflow.
1
Hover over the current trigger and click the icon.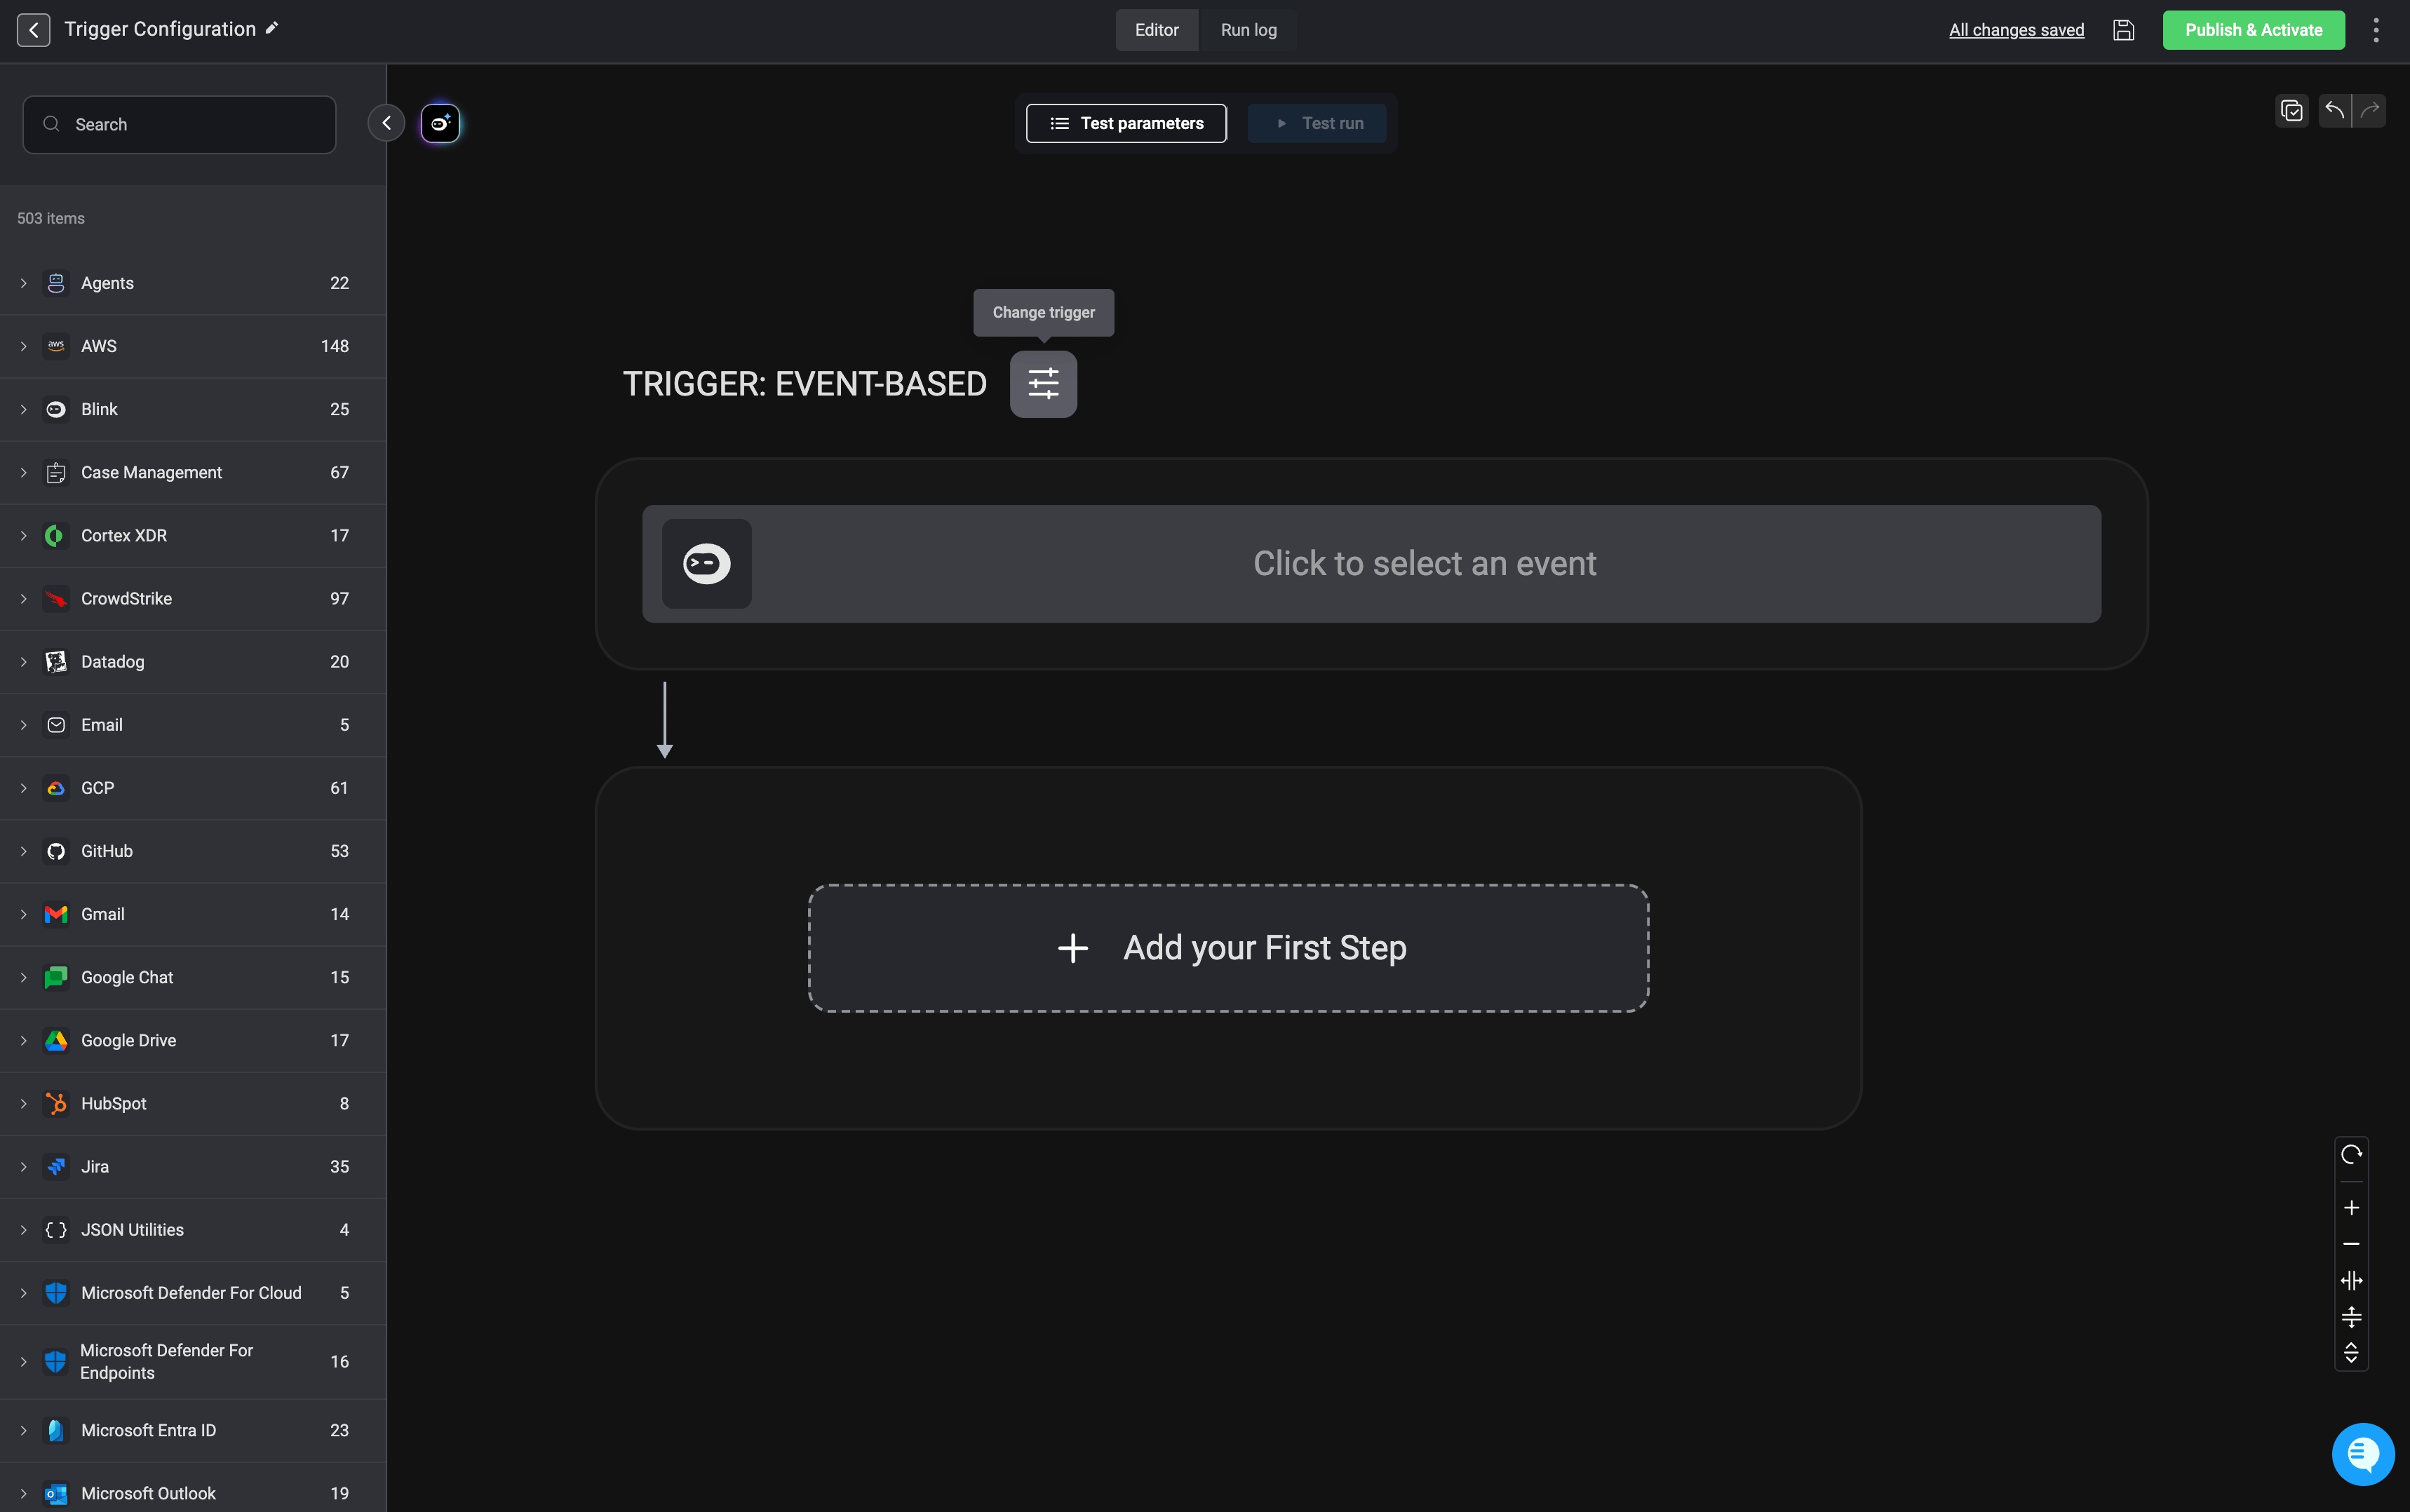
2
The select the desired trigger type and click apply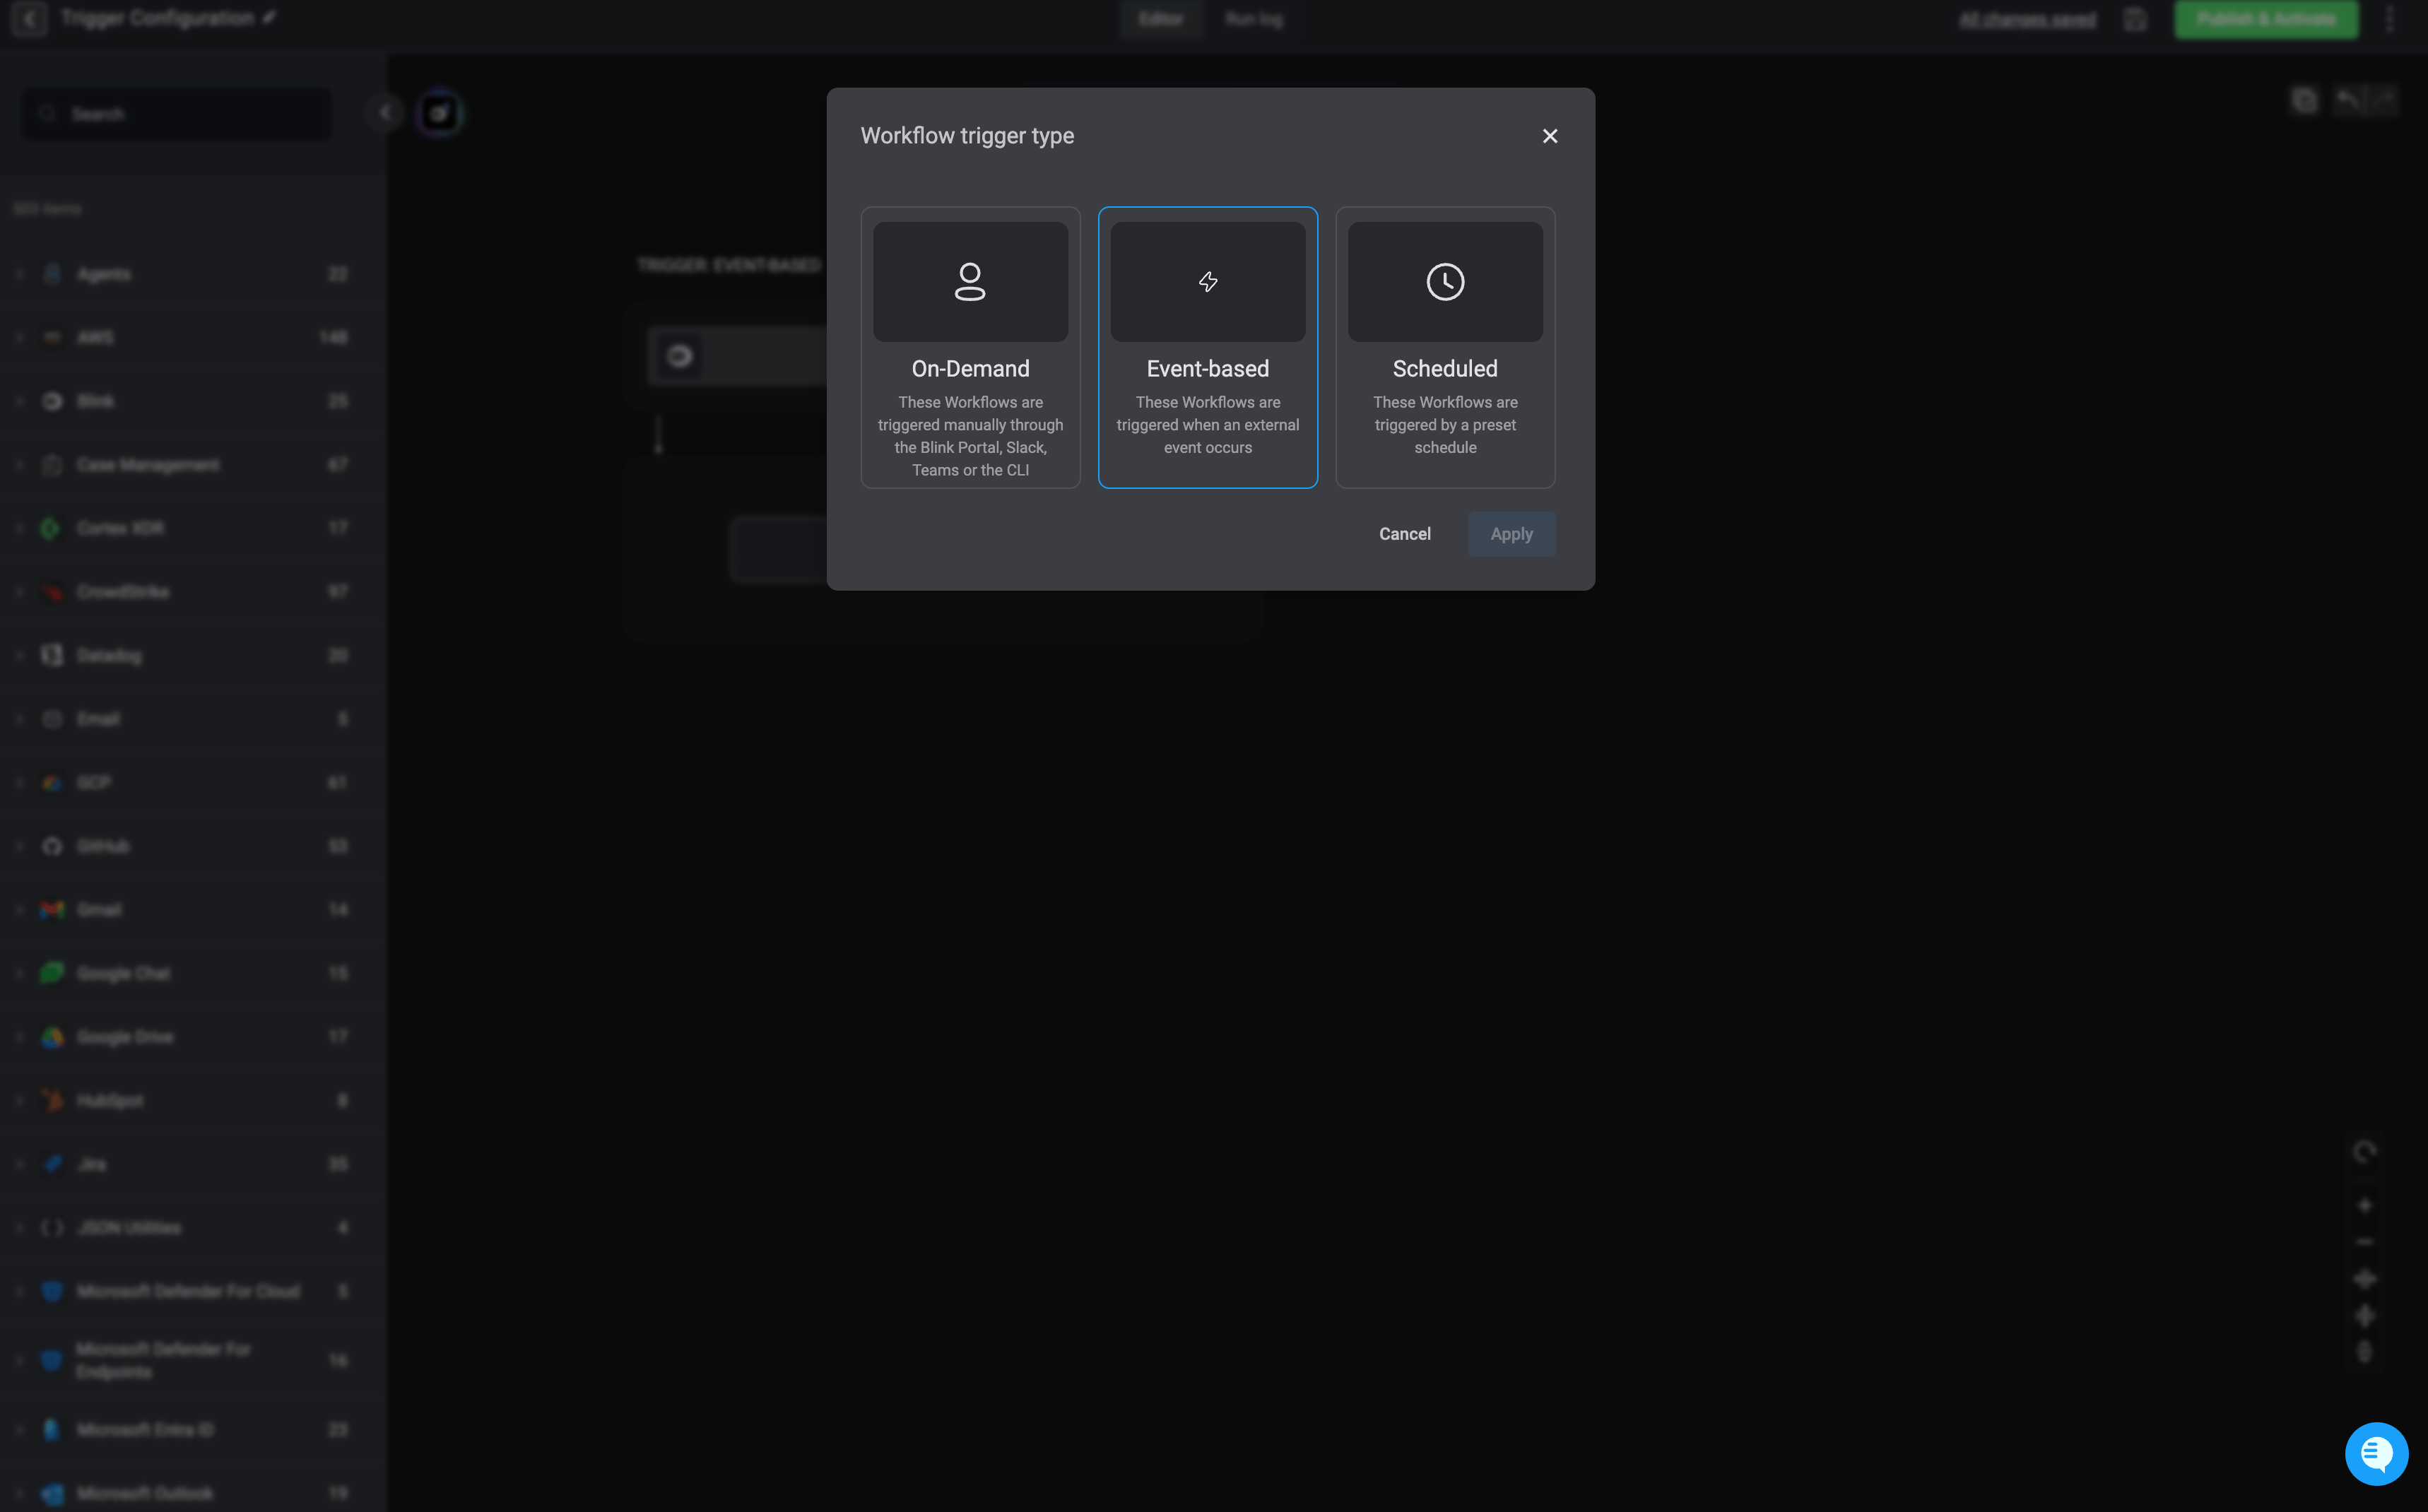
Related Articles
On-demand Triggers
Manually start workflows whenever needed.
Event-based Triggers
Activate workflows in response to specific events.
Scheduled Workflow Trigger
Run workflows at routine times automatically.