Create Archive
Create an archive from a file or folder path and set an identifier for it so it can be used as input in subsequent steps.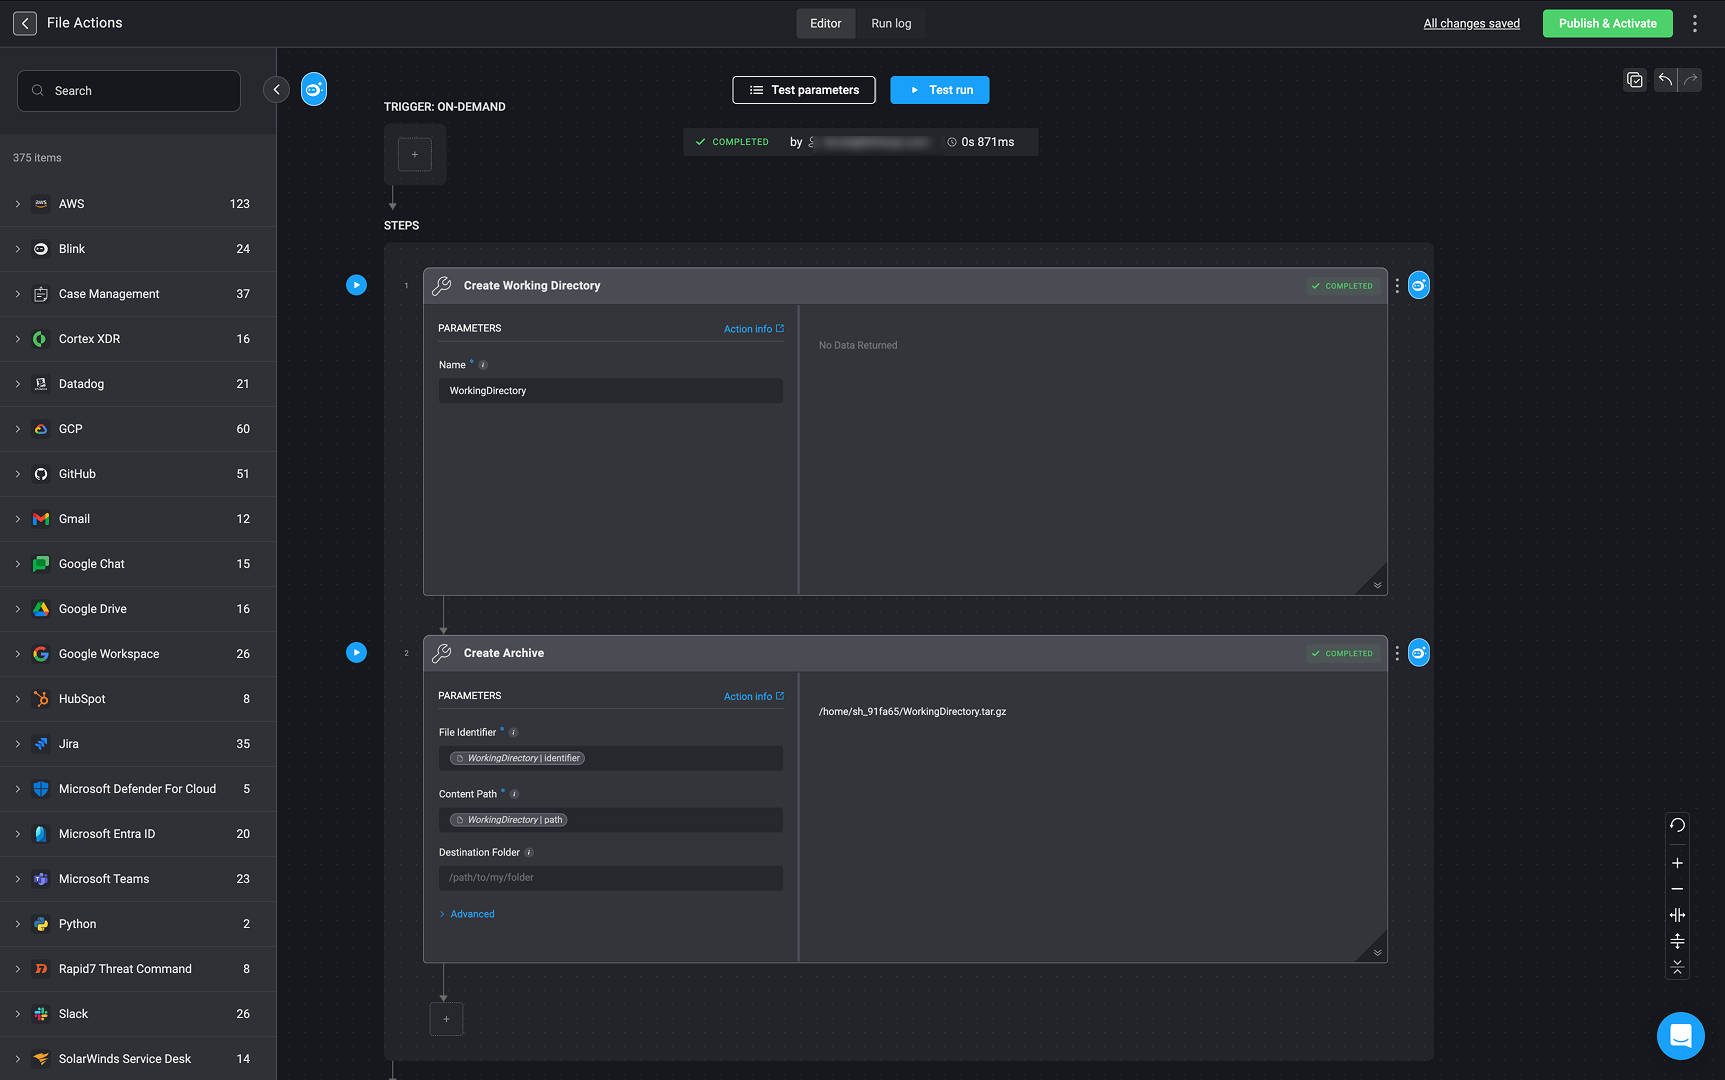
Create Working Directory
The “Create Working Directory” action establishes a dedicated filesystem state that preserves files and changes across different steps in the workflow, allowing them to persist and ensuring continuity between steps.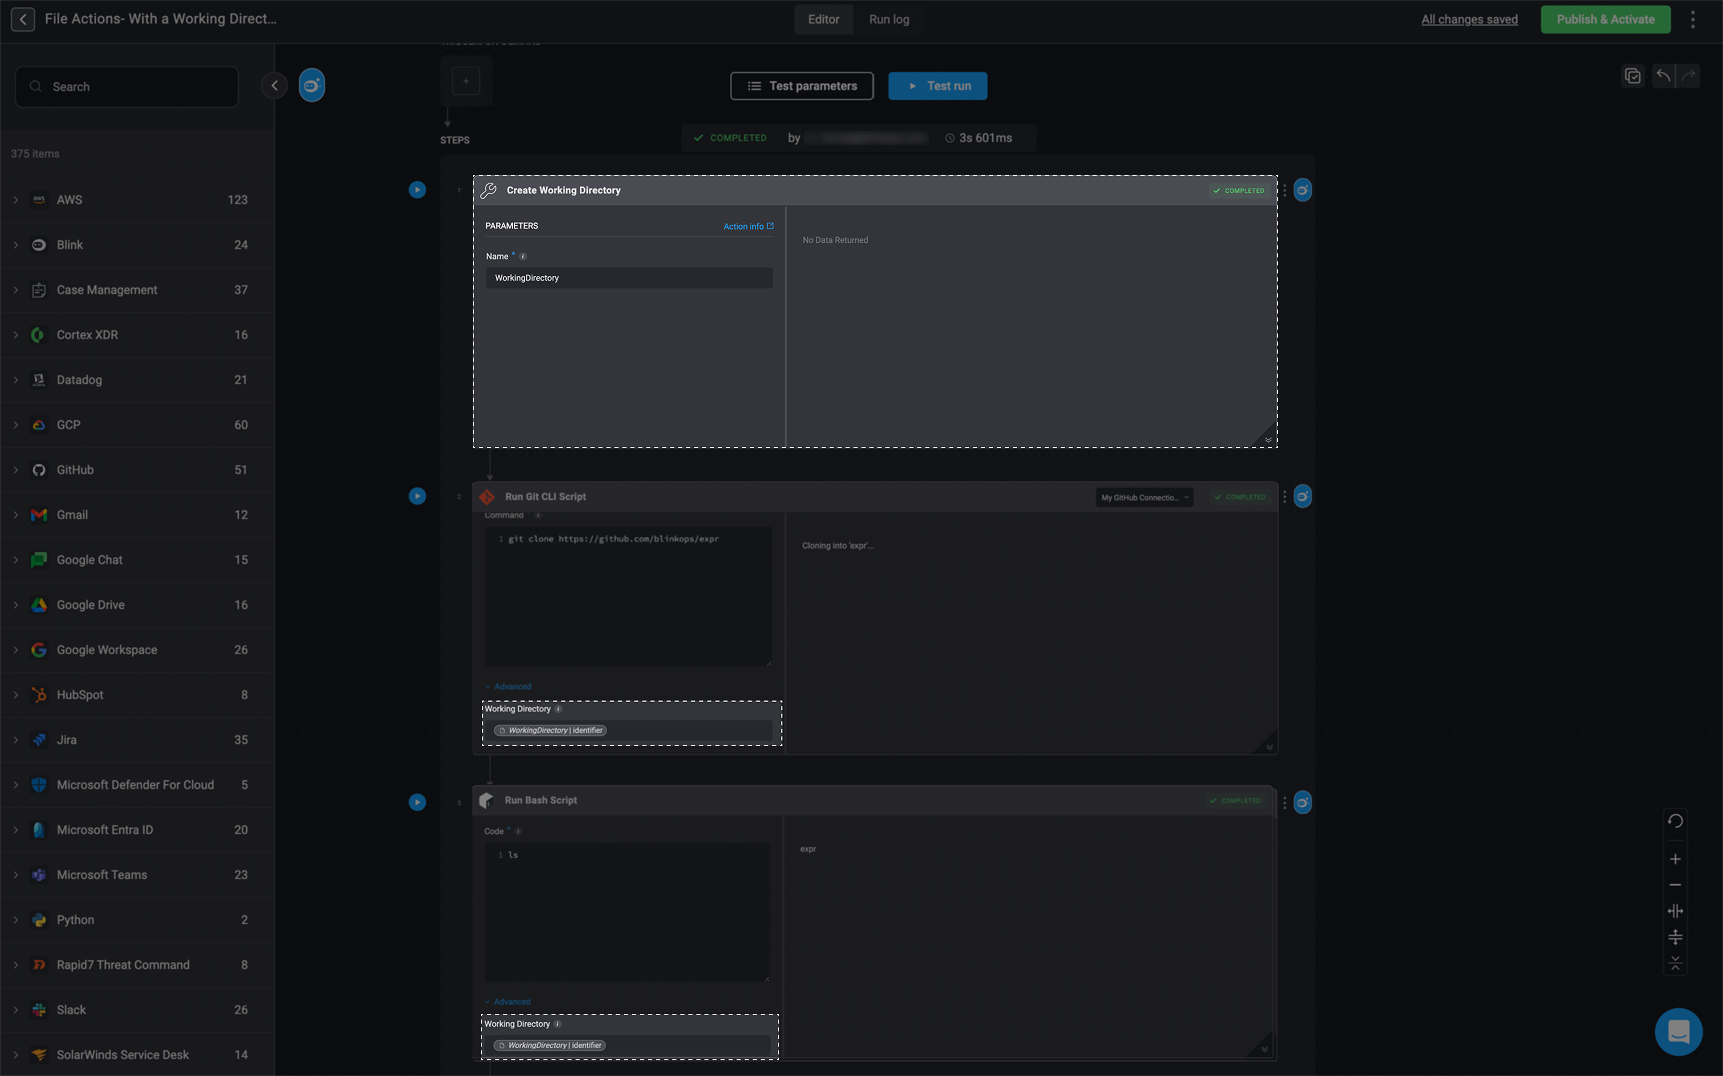
Download File From URL
Download a file from a URL and set an identifier for it, so it can be used as input in subsequent steps.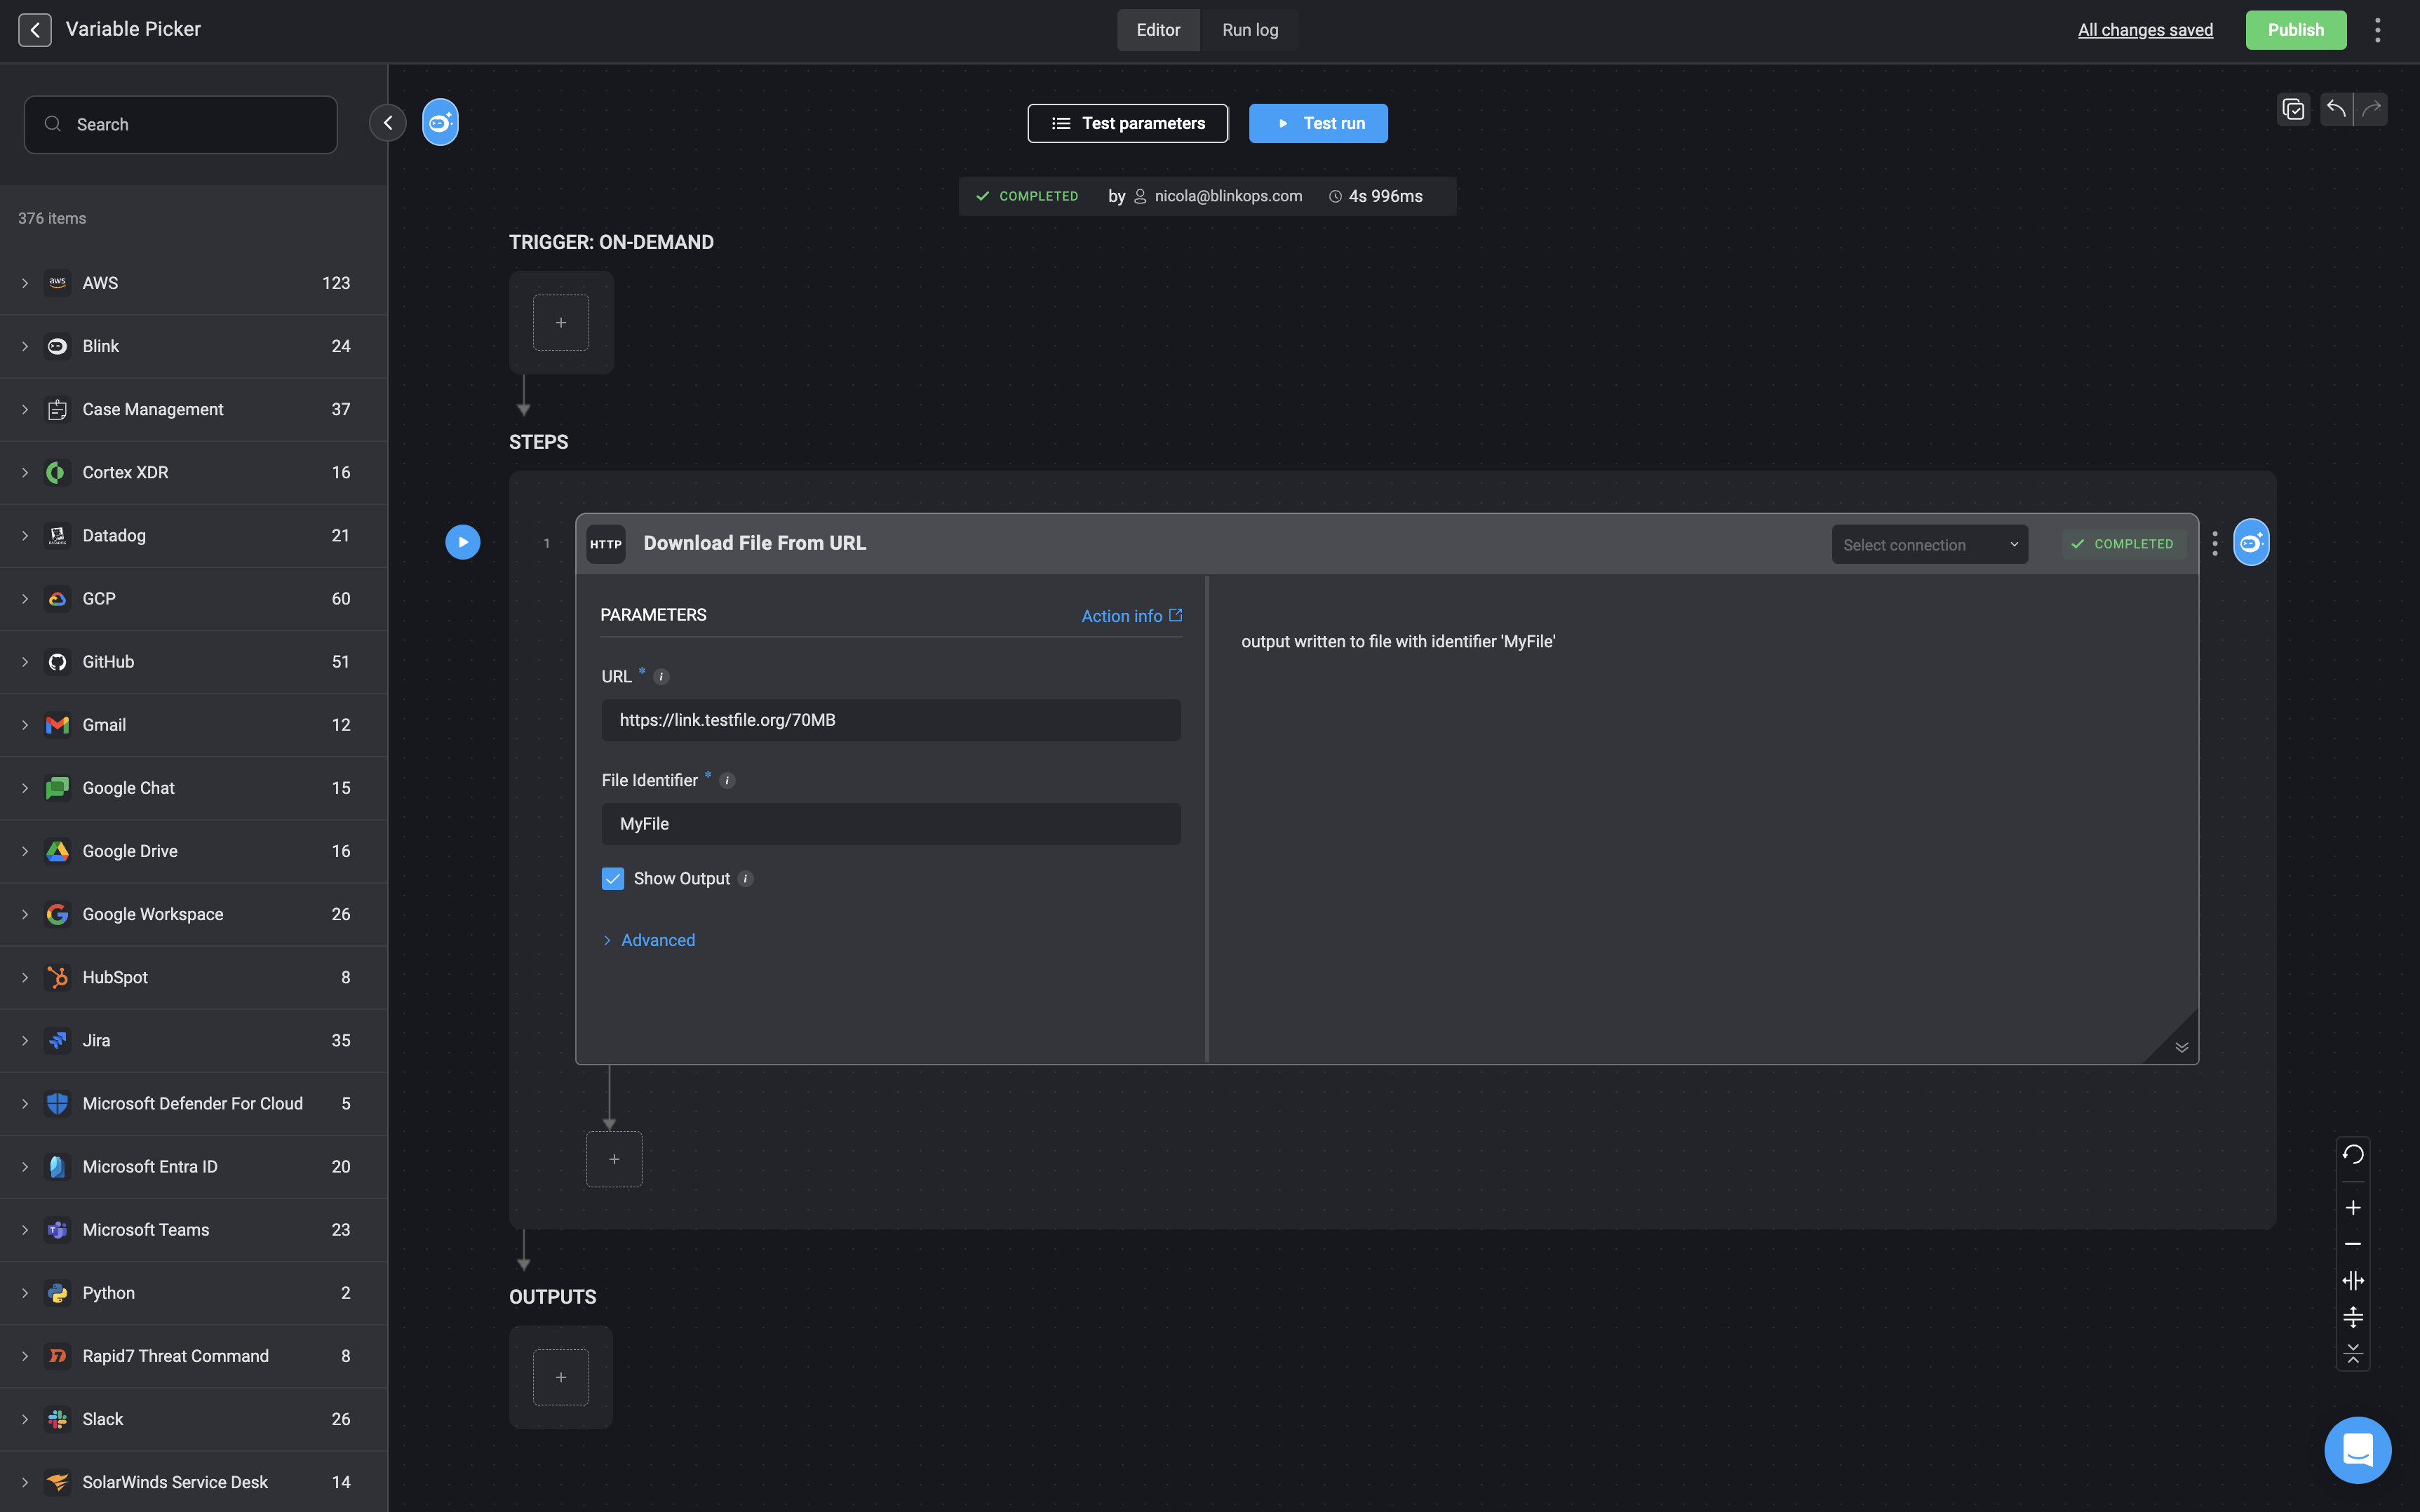
Get File Content
The Get File Content utility action allows you to print the content of a file that exists in a working directory.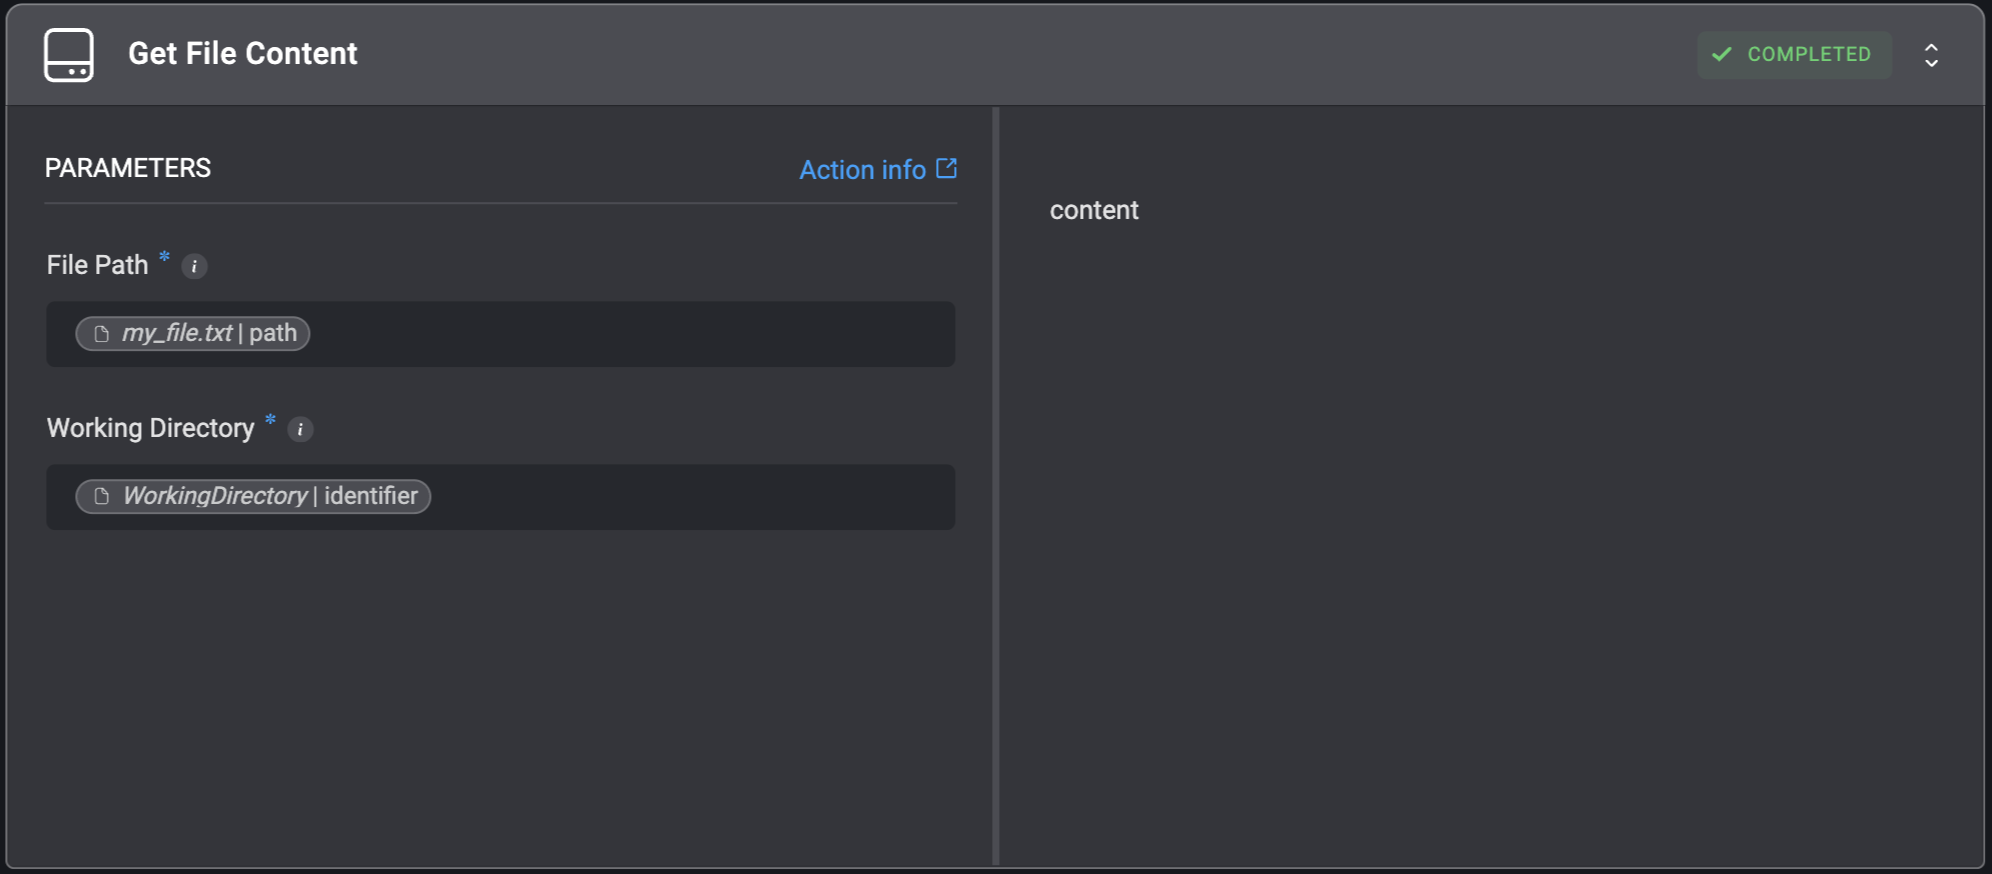
Set File Variable
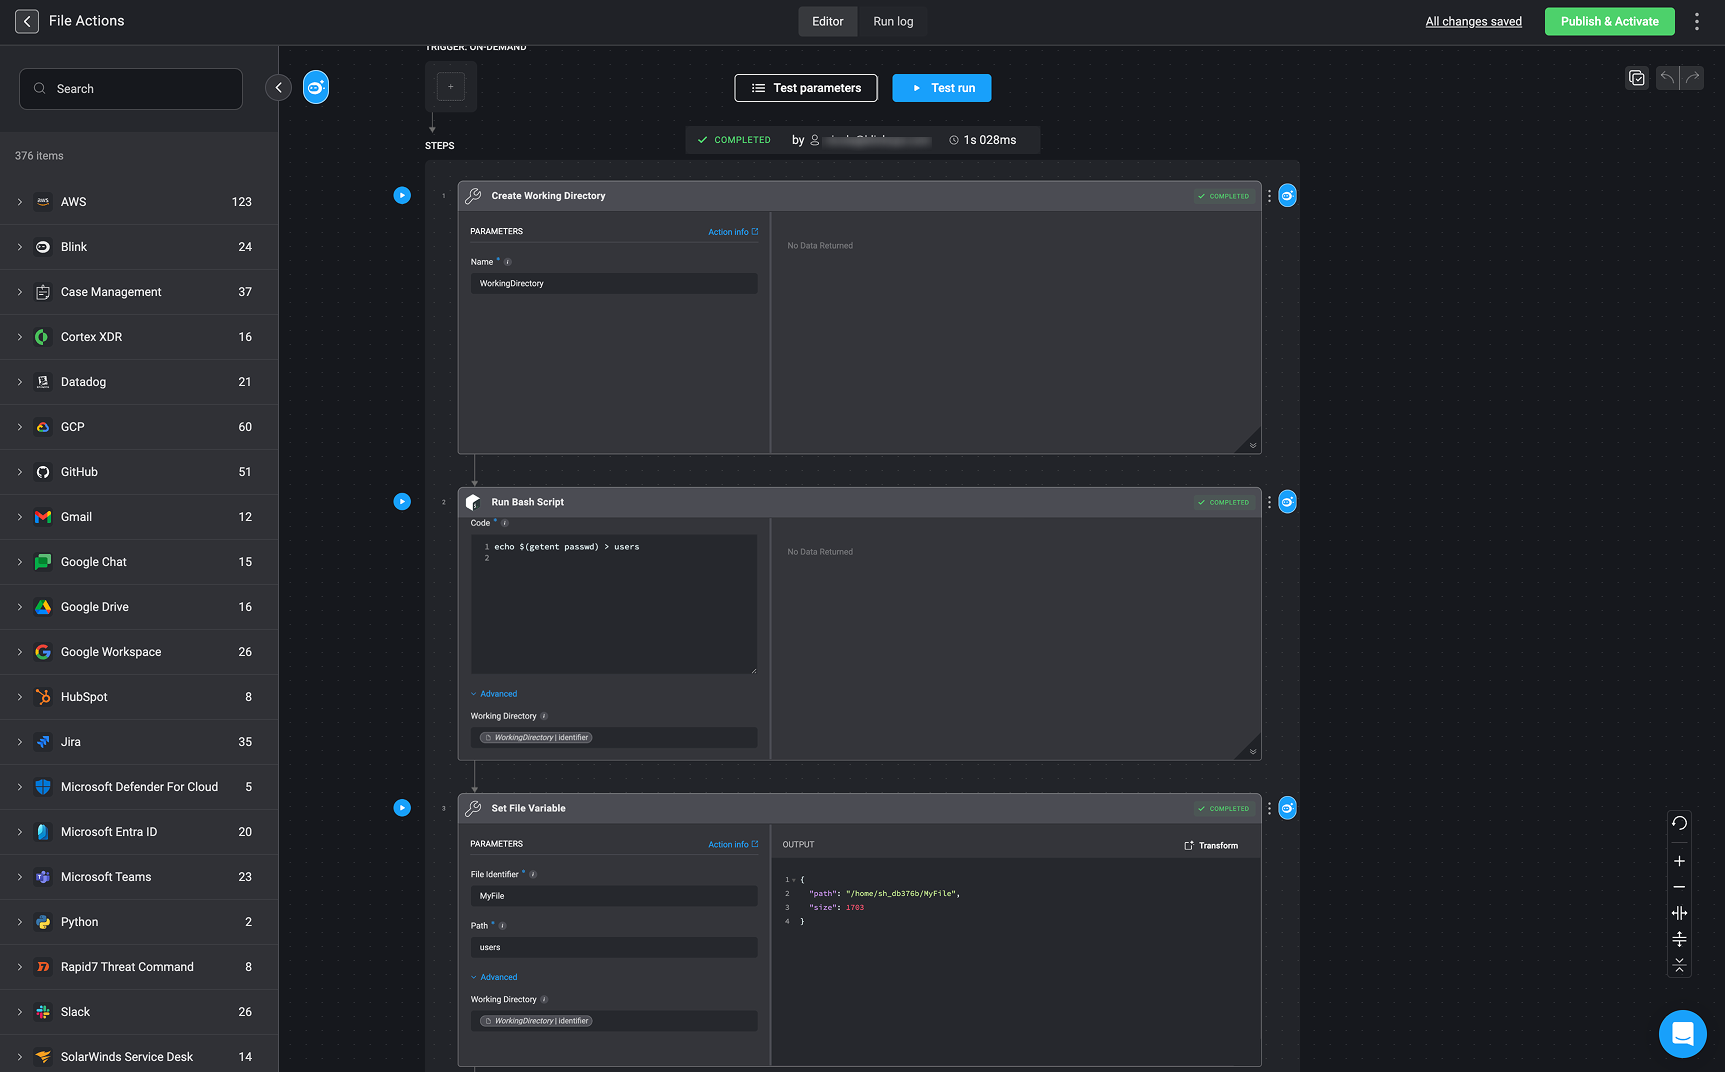
Set an identifier for a file on the file system so it can be used as input in subsequent Steps.The
Working Directory created in step 1 needs to be entered into the input fields for both the ‘Run Bash’ action in step 2 and the ‘Set File Variable’ action in step 3. This ensures that both actions operate within the same directory, maintaining consistency across the workflow.- Add a “Create Working Directory” action to the workflow.
- Set the Name parameter to
"WorkingDirectory".
- Add a “Run Bash Script” action.
- Create a bash script For example:
echo $(getent passwd) > users- This command retrieves a list of system users and writes it to a file named users.
- Under the Advanced section, set Working Directory to
{{ WorkingDirectory.Identifier }}using the variable picker to ensure the script executes within the created directory.
- Add a “Set File Variable” action.
- Configure the following parameters:
- File Identifier:
"MyFile" - Path:
"users"
- File Identifier:
- Under the Advanced section, set Working Directory to
{{ WorkingDirectory.Identifier }}using the variable picker. - Execute the step. The output confirms the file’s location and size: