Move or Copy a Workflow in the Same Workspace
1
Open Workflow Menu
Click the icon in the top-right corner of the workflow you want to move or copy, then select the Move/Copy option.
2
Choose Pack in Same Workspace
In the Move/Copy wizard, select your current workspace as the target. Then choose the destination pack and indicate whether you want to Copy or Move the workflow.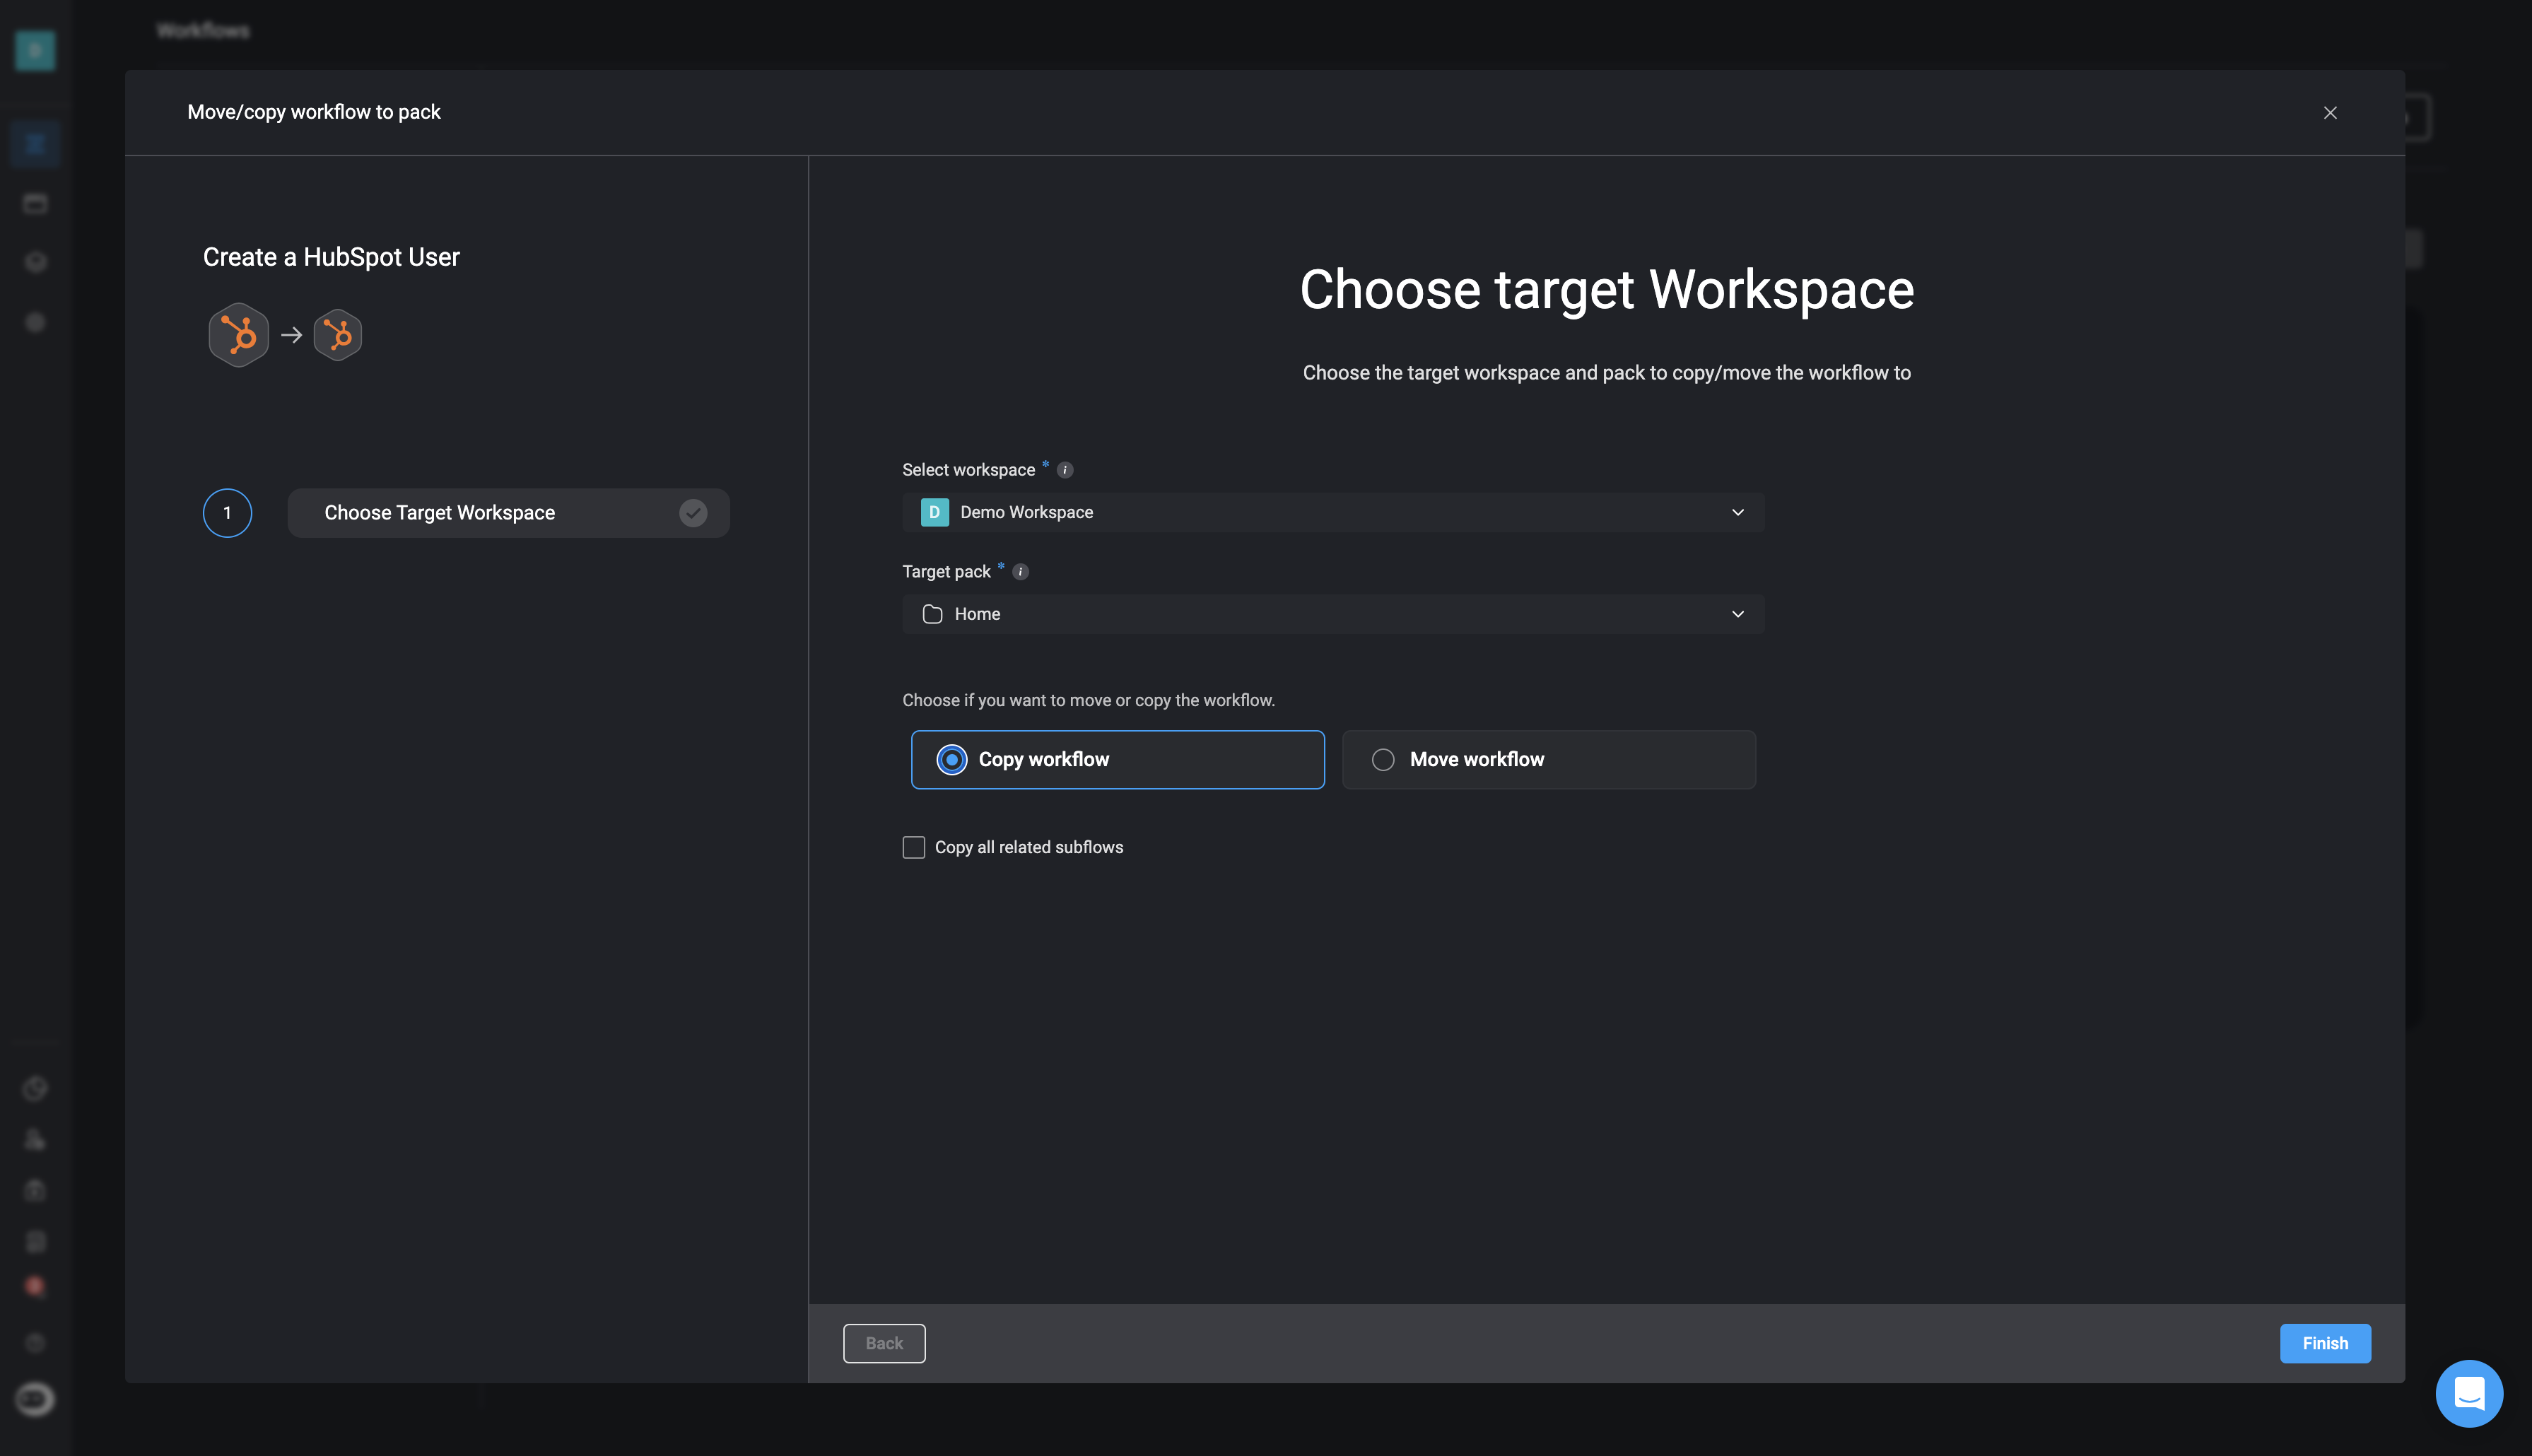
3
Include Subflows (Optional)
If the workflow contains subflows, check the box to include them in the move or copy. Unchecking it will exclude subflows from the target pack.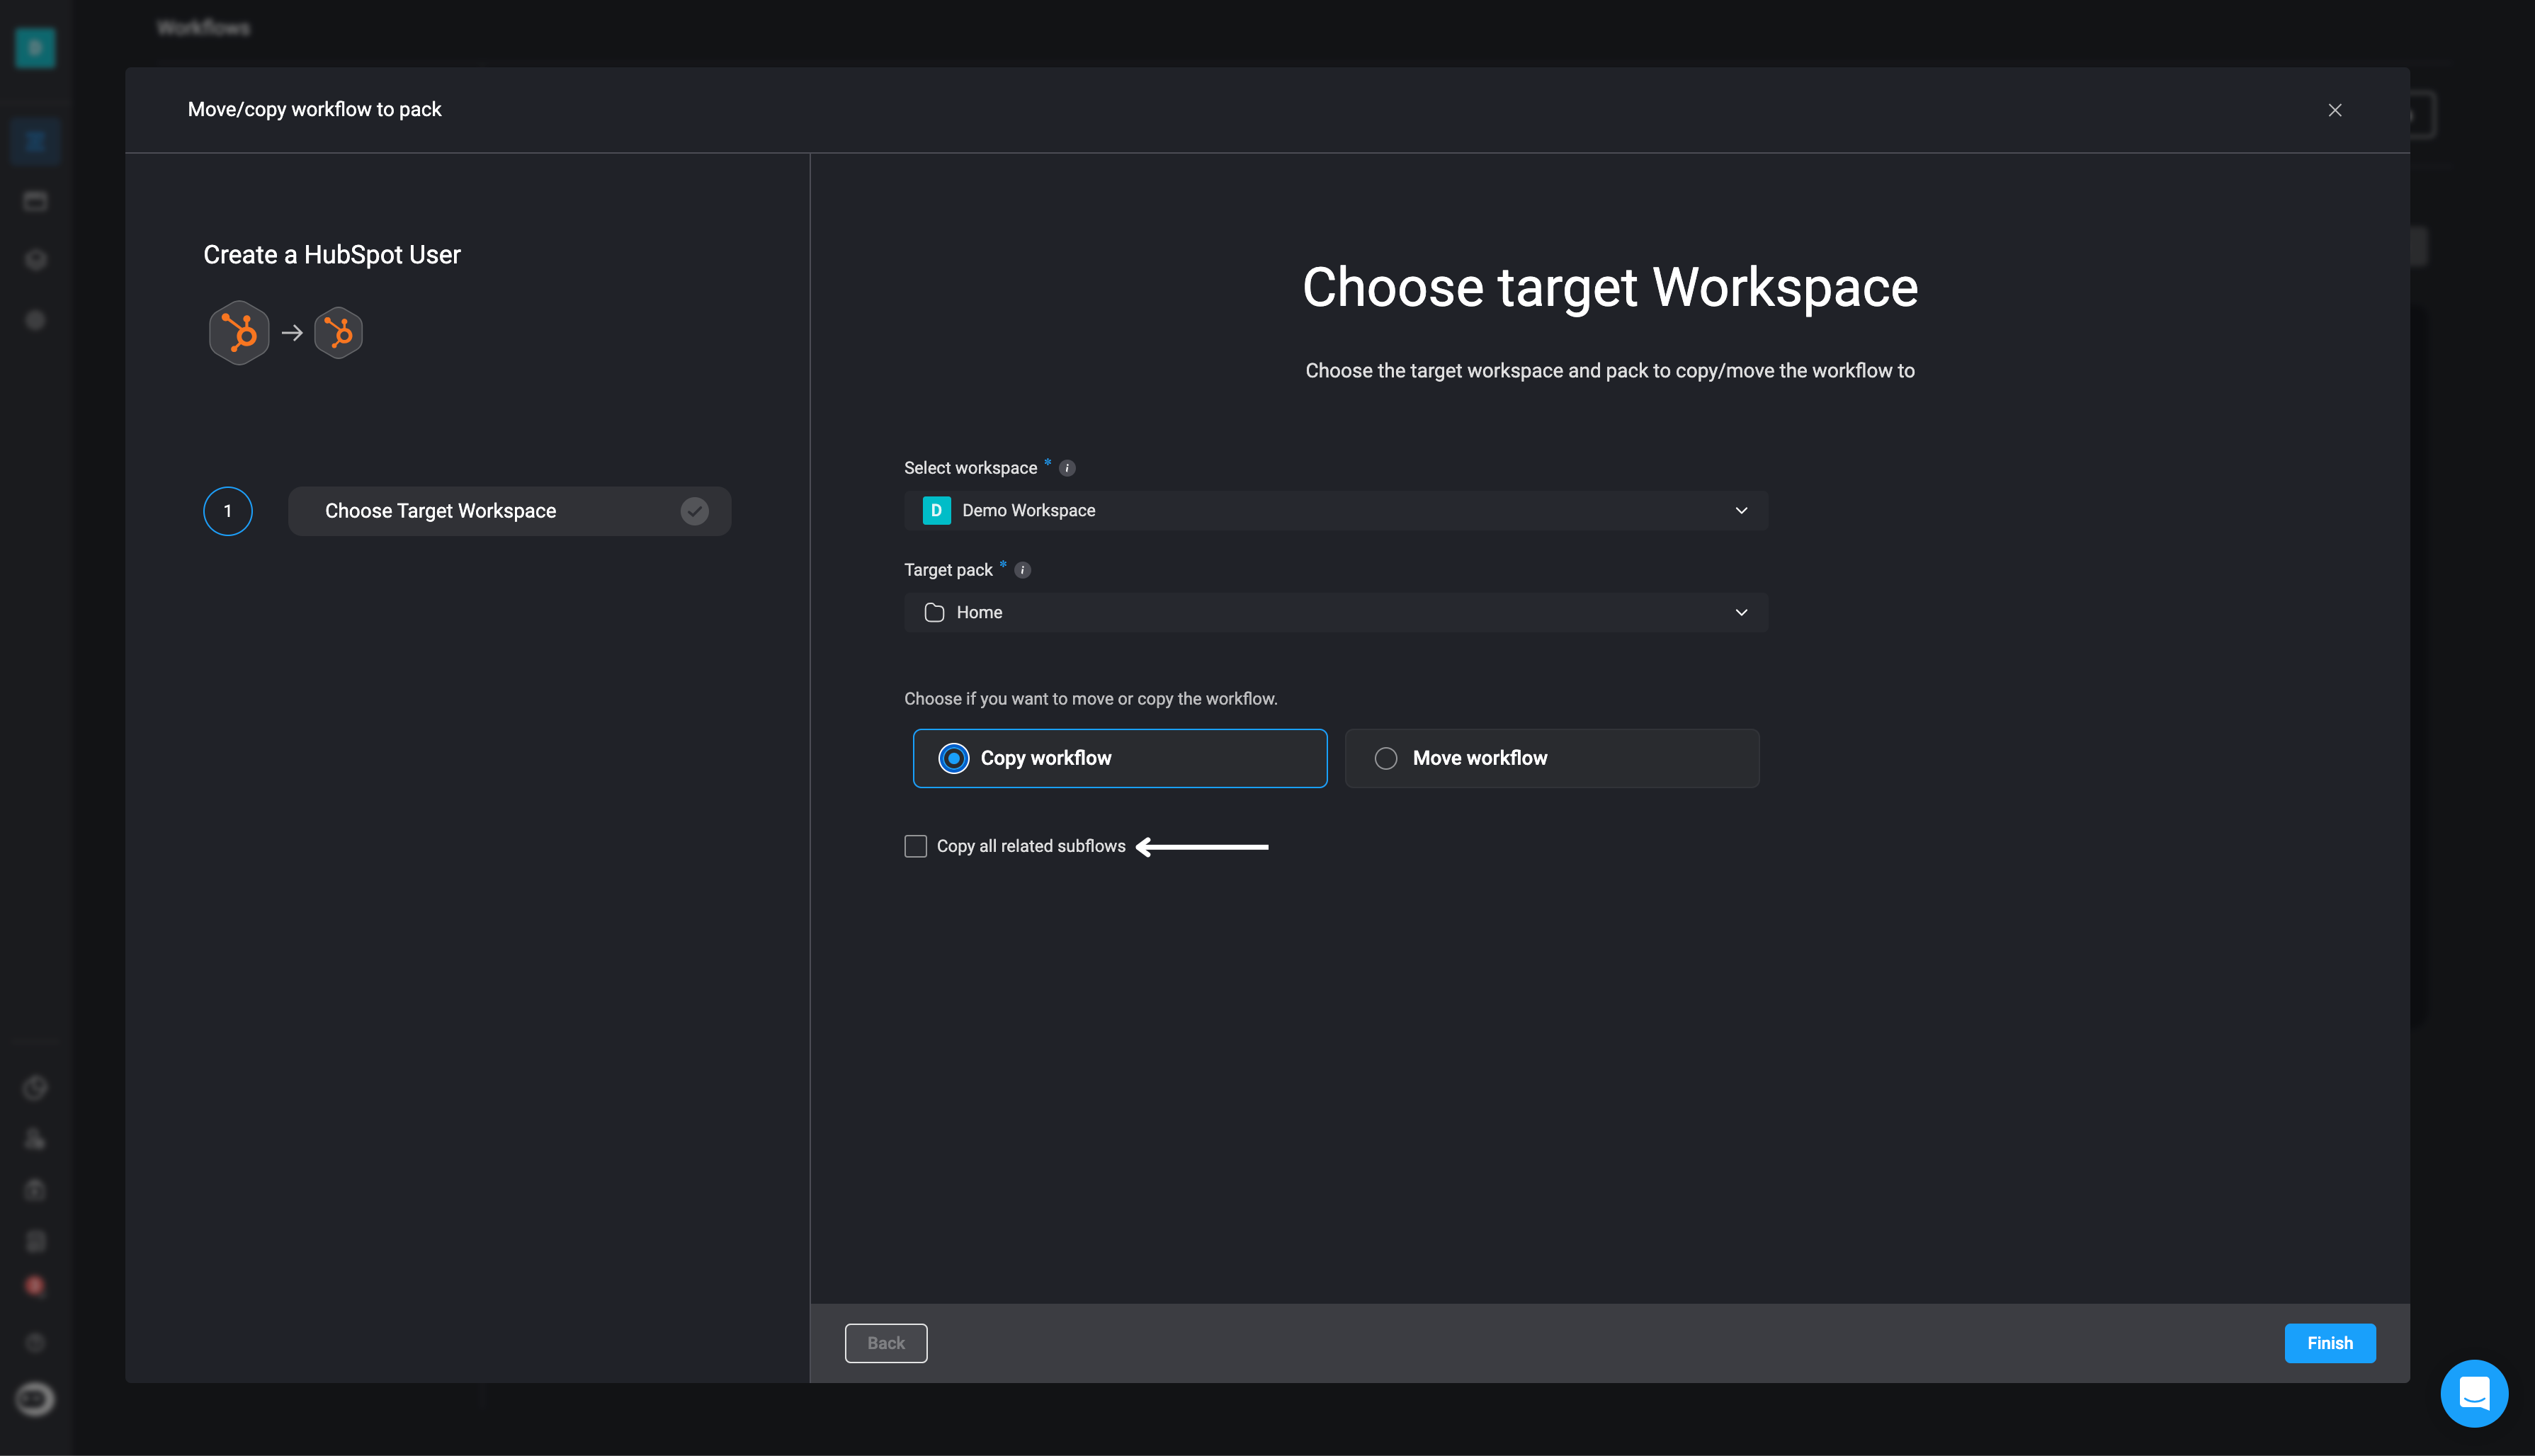
Move or Copy a Workflow to a Different Workspace
When copying or moving a workflow to a different workspace, there are a few additional configuration steps you will need to complete.
1
Open Workflow Options
Click the icon in the top-right corner of the workflow and select the Move/Copy option.
2
Select Target Workspace and Pack
In the wizard, choose a different workspace as the target. Then select the target pack and choose whether to Move or Copy the workflow.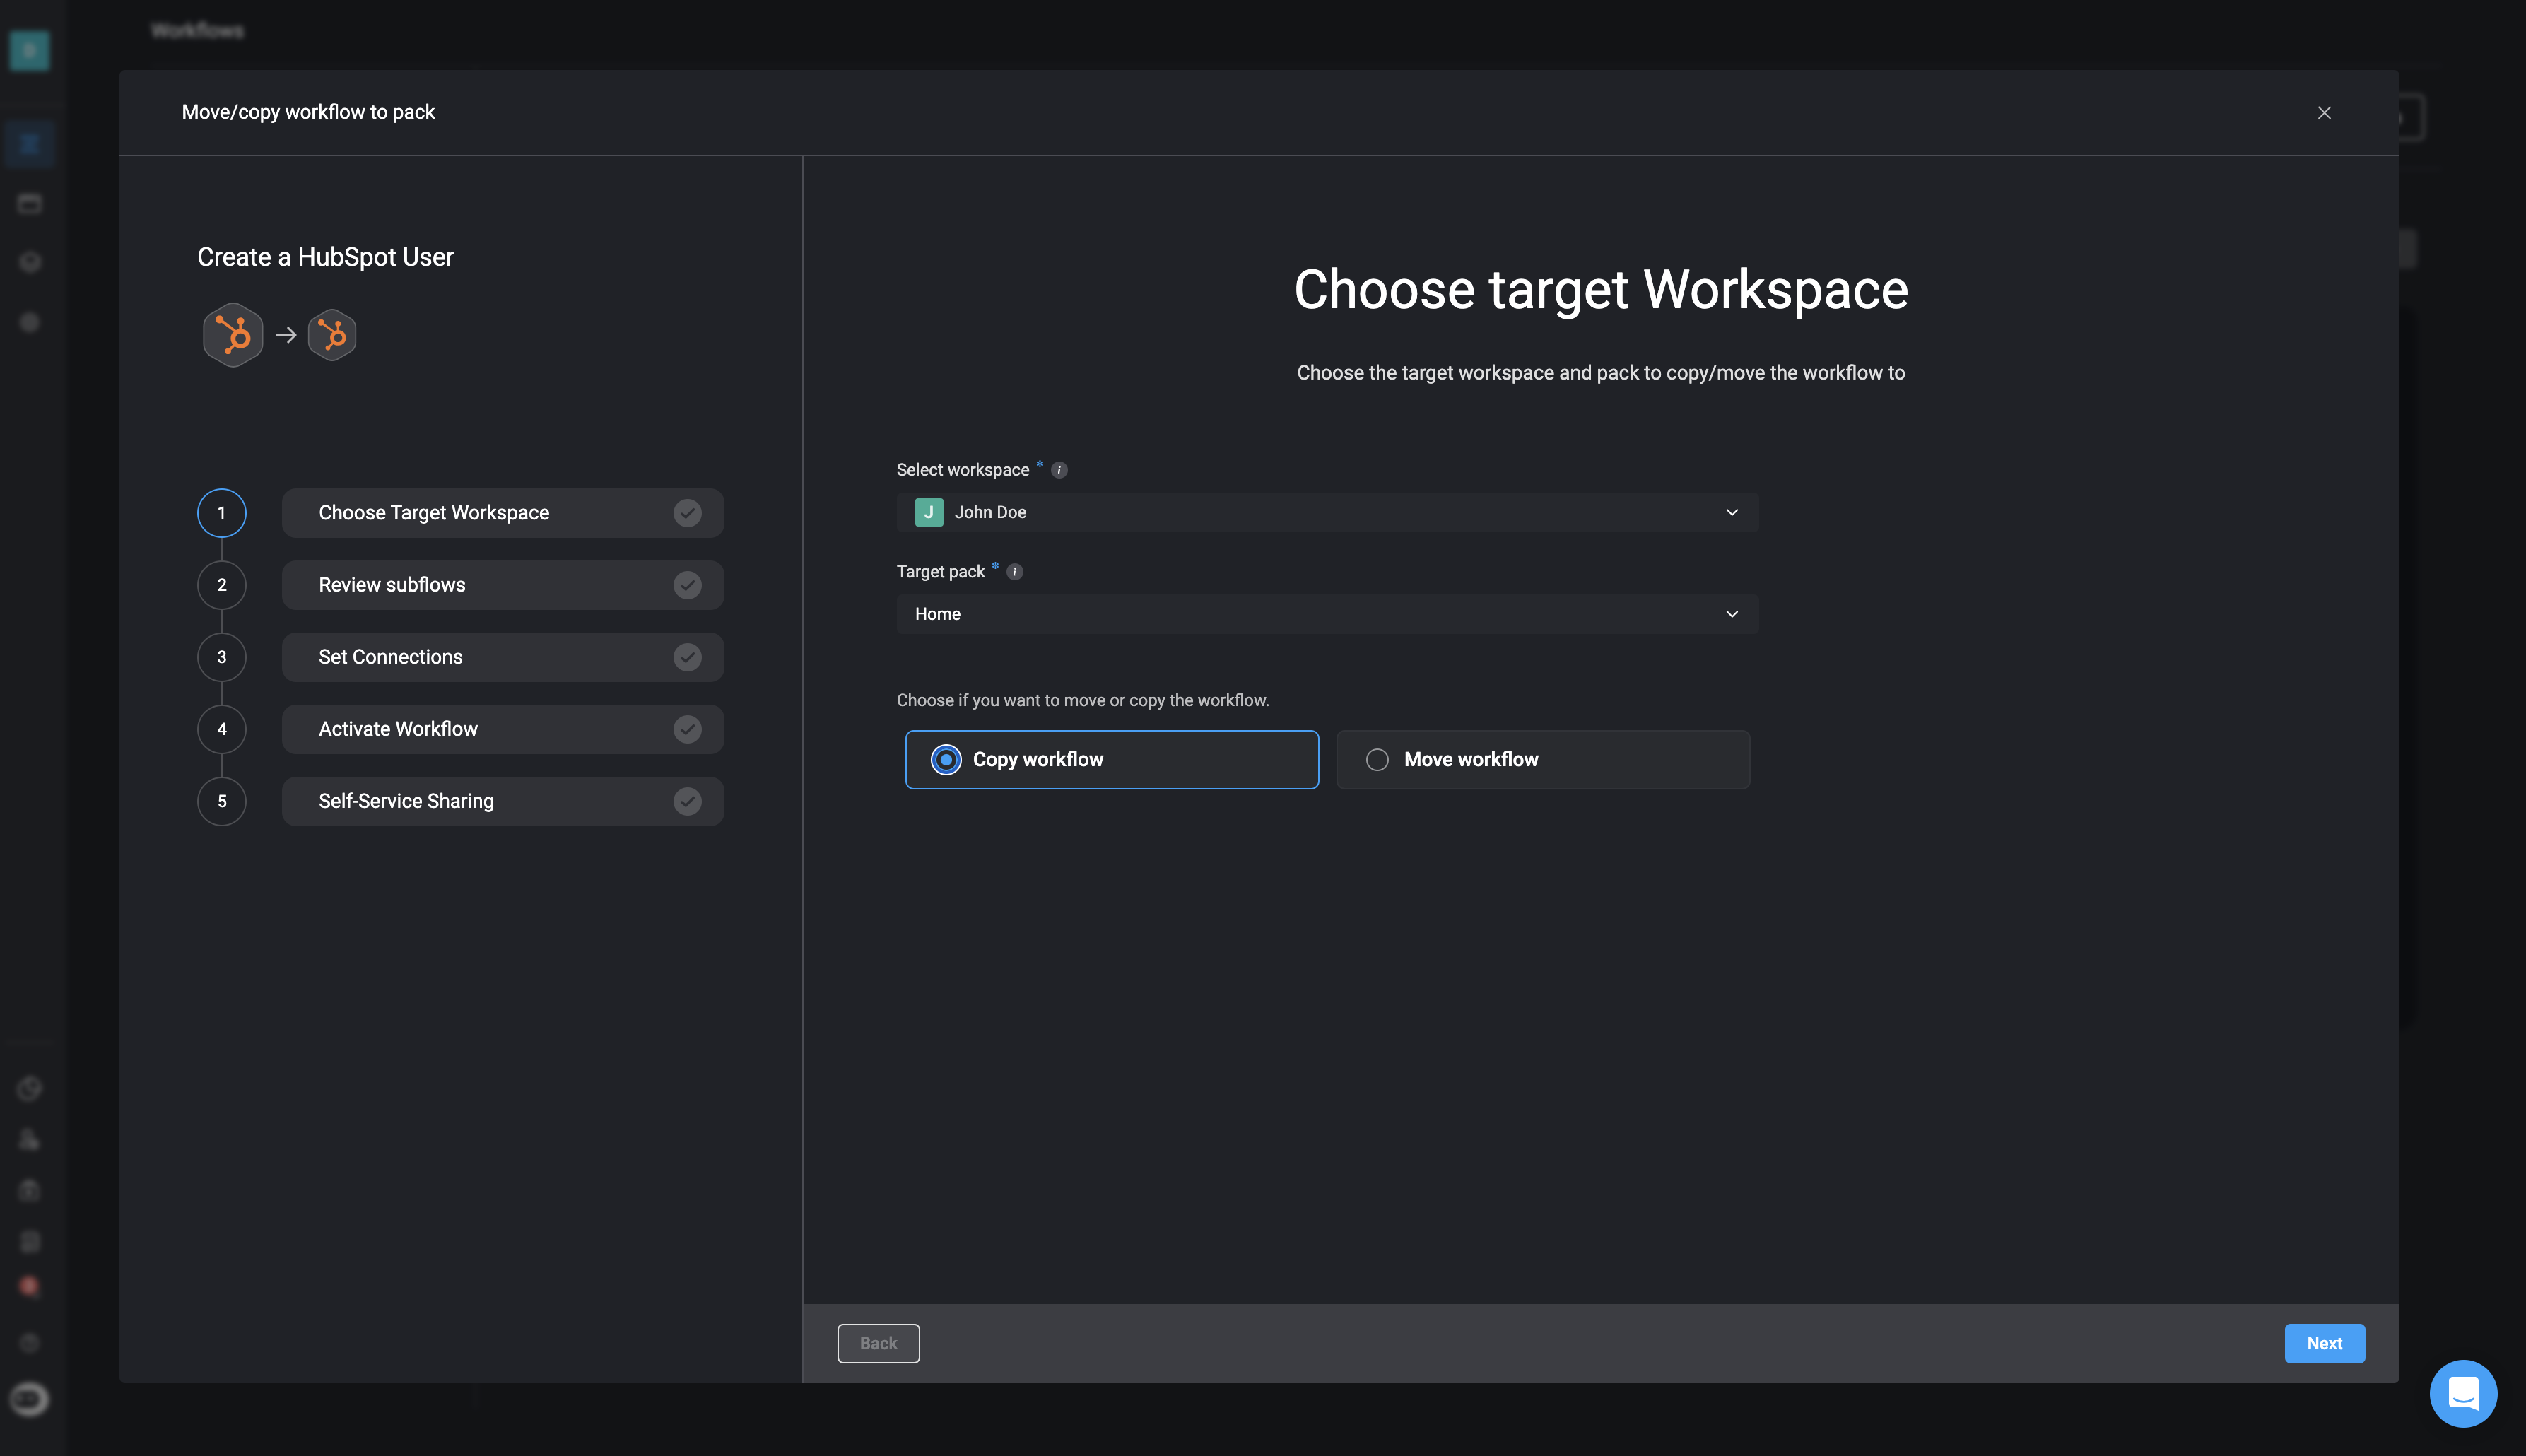
3
Review and Configure Subflows
If your workflow includes Subflow(s), they will automatically be copied or moved along with the parent workflow.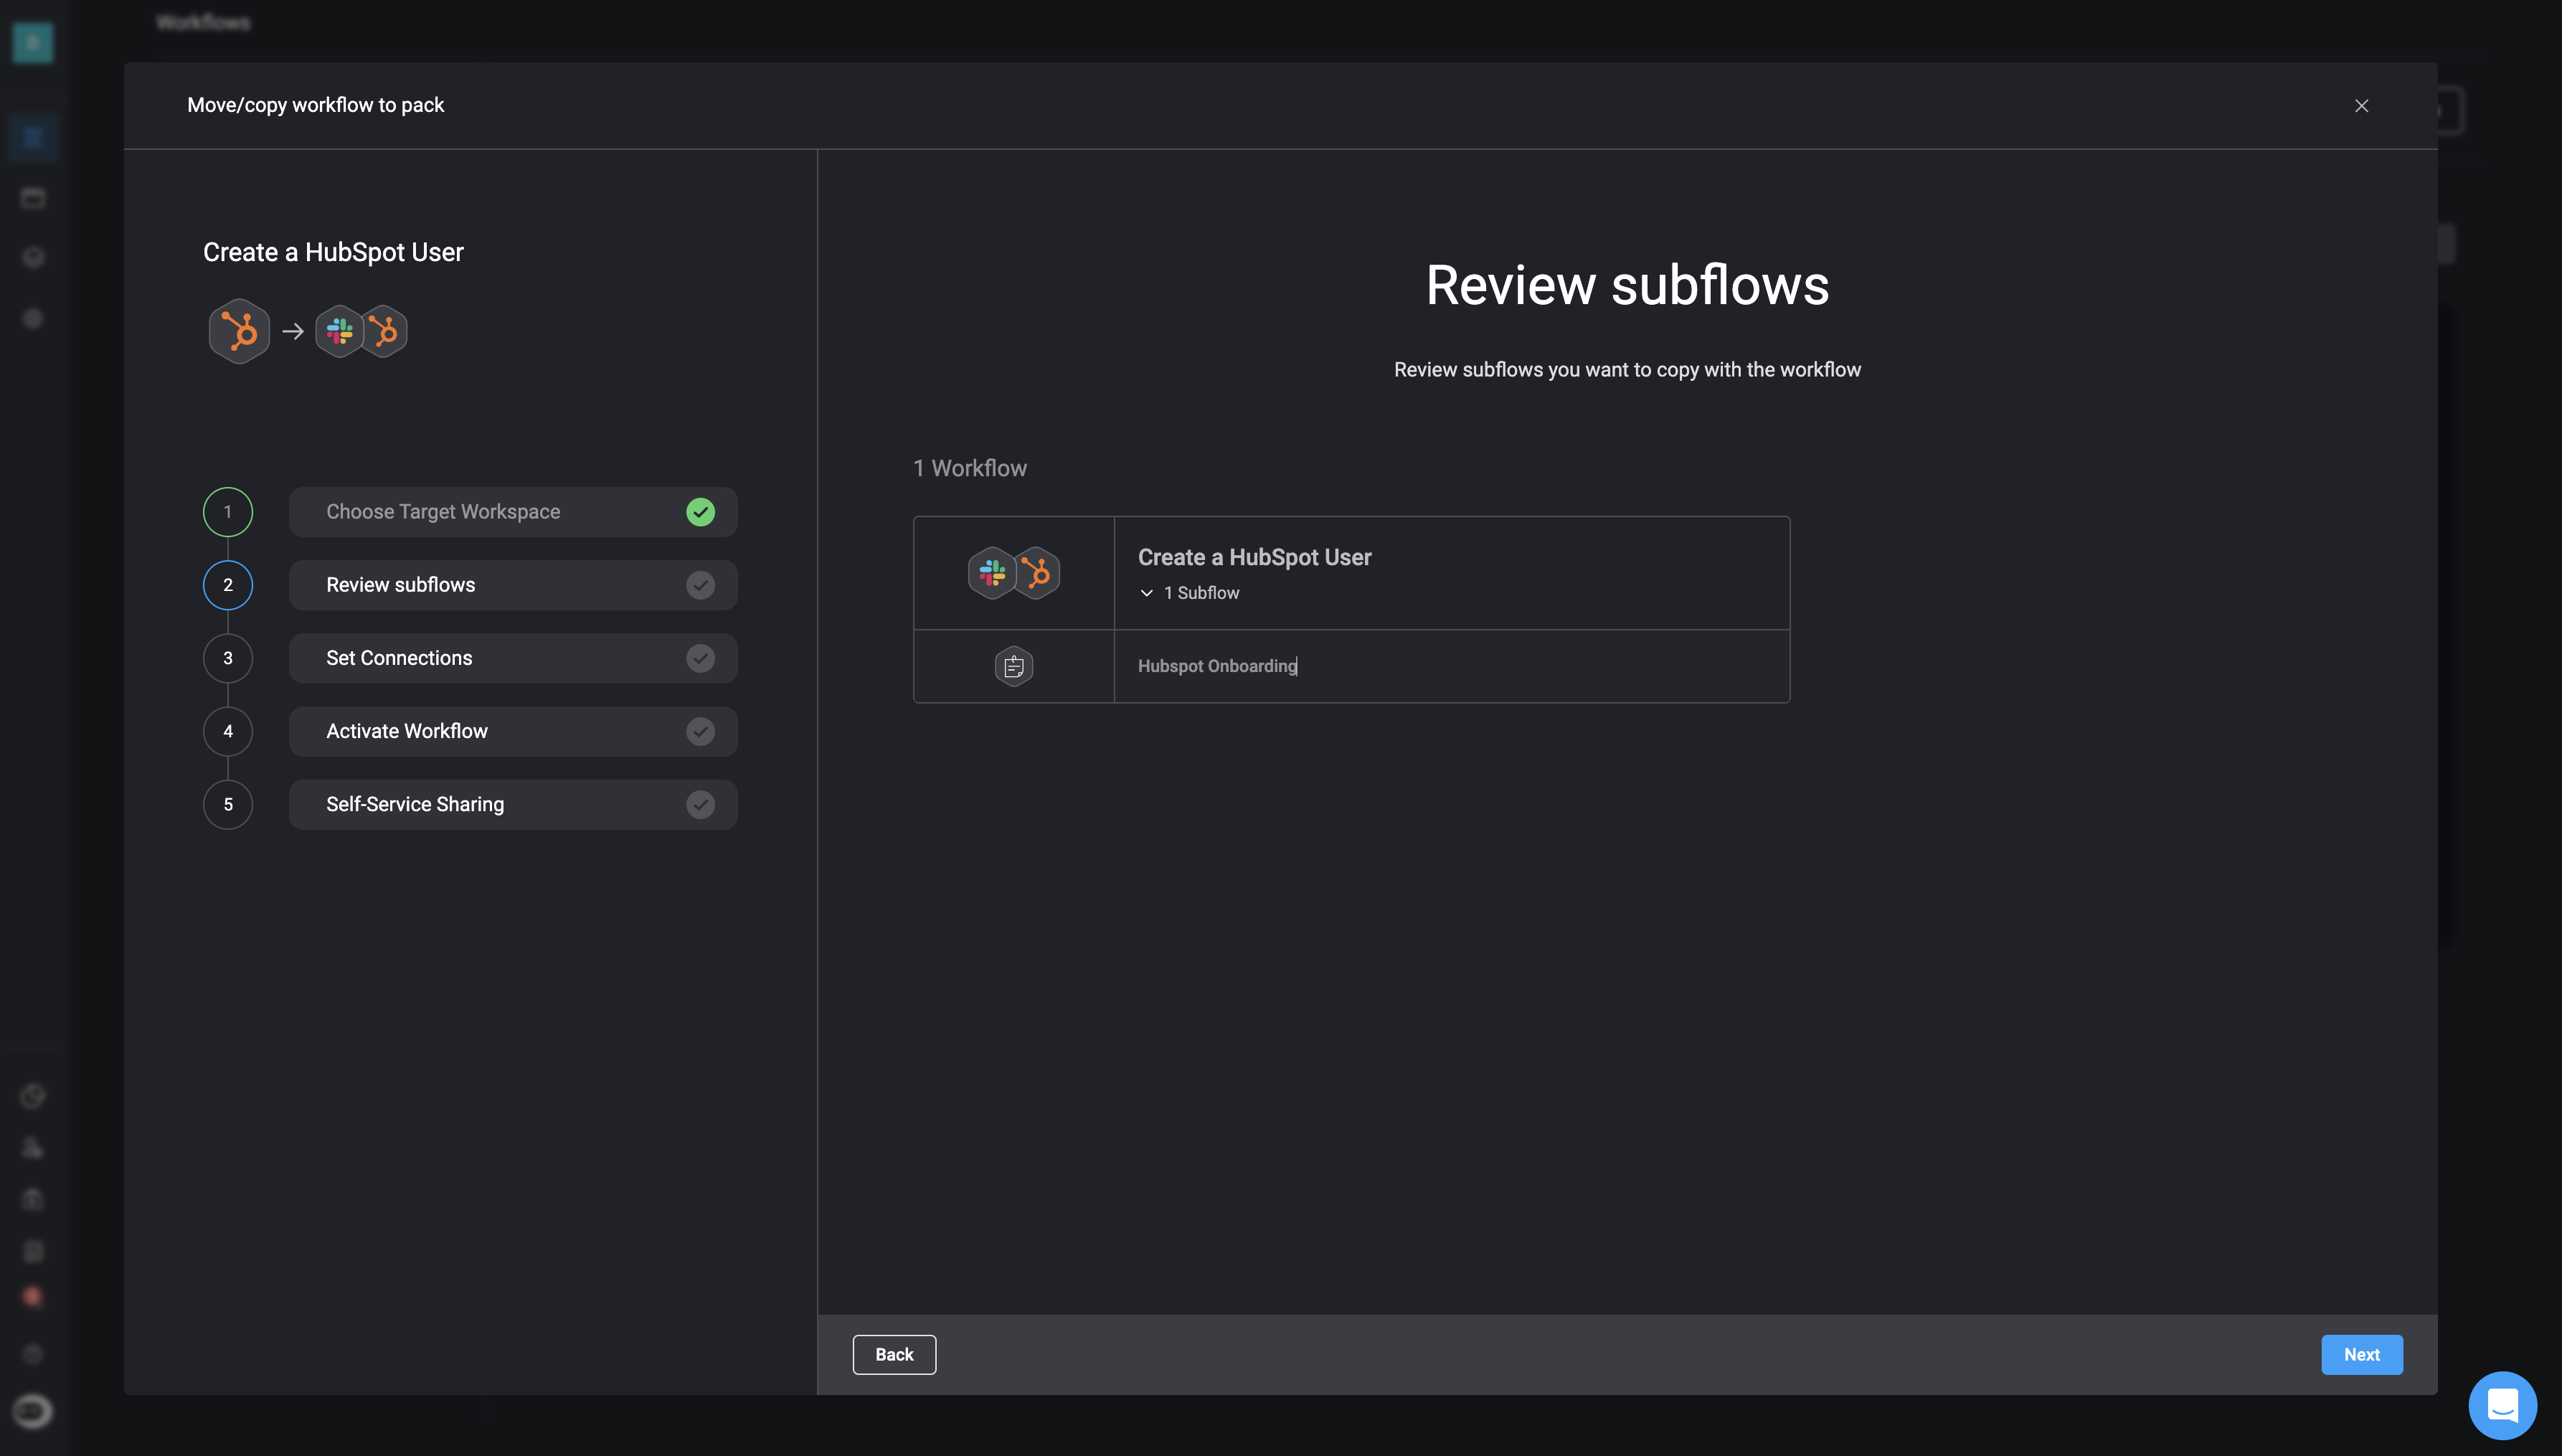
- If a workflow or subflow with the same name exists in the target workspace, you’ll be prompted to rename it or use the existing one.
- All subflows will be placed into the same pack as the parent workflow, regardless of their original location.
Subflows from other packs in the origin workspace will be relocated to the same pack as their parent in the target workspace.
4
Set Connections
For each connection used by the workflow, select a corresponding connection in the target workspace.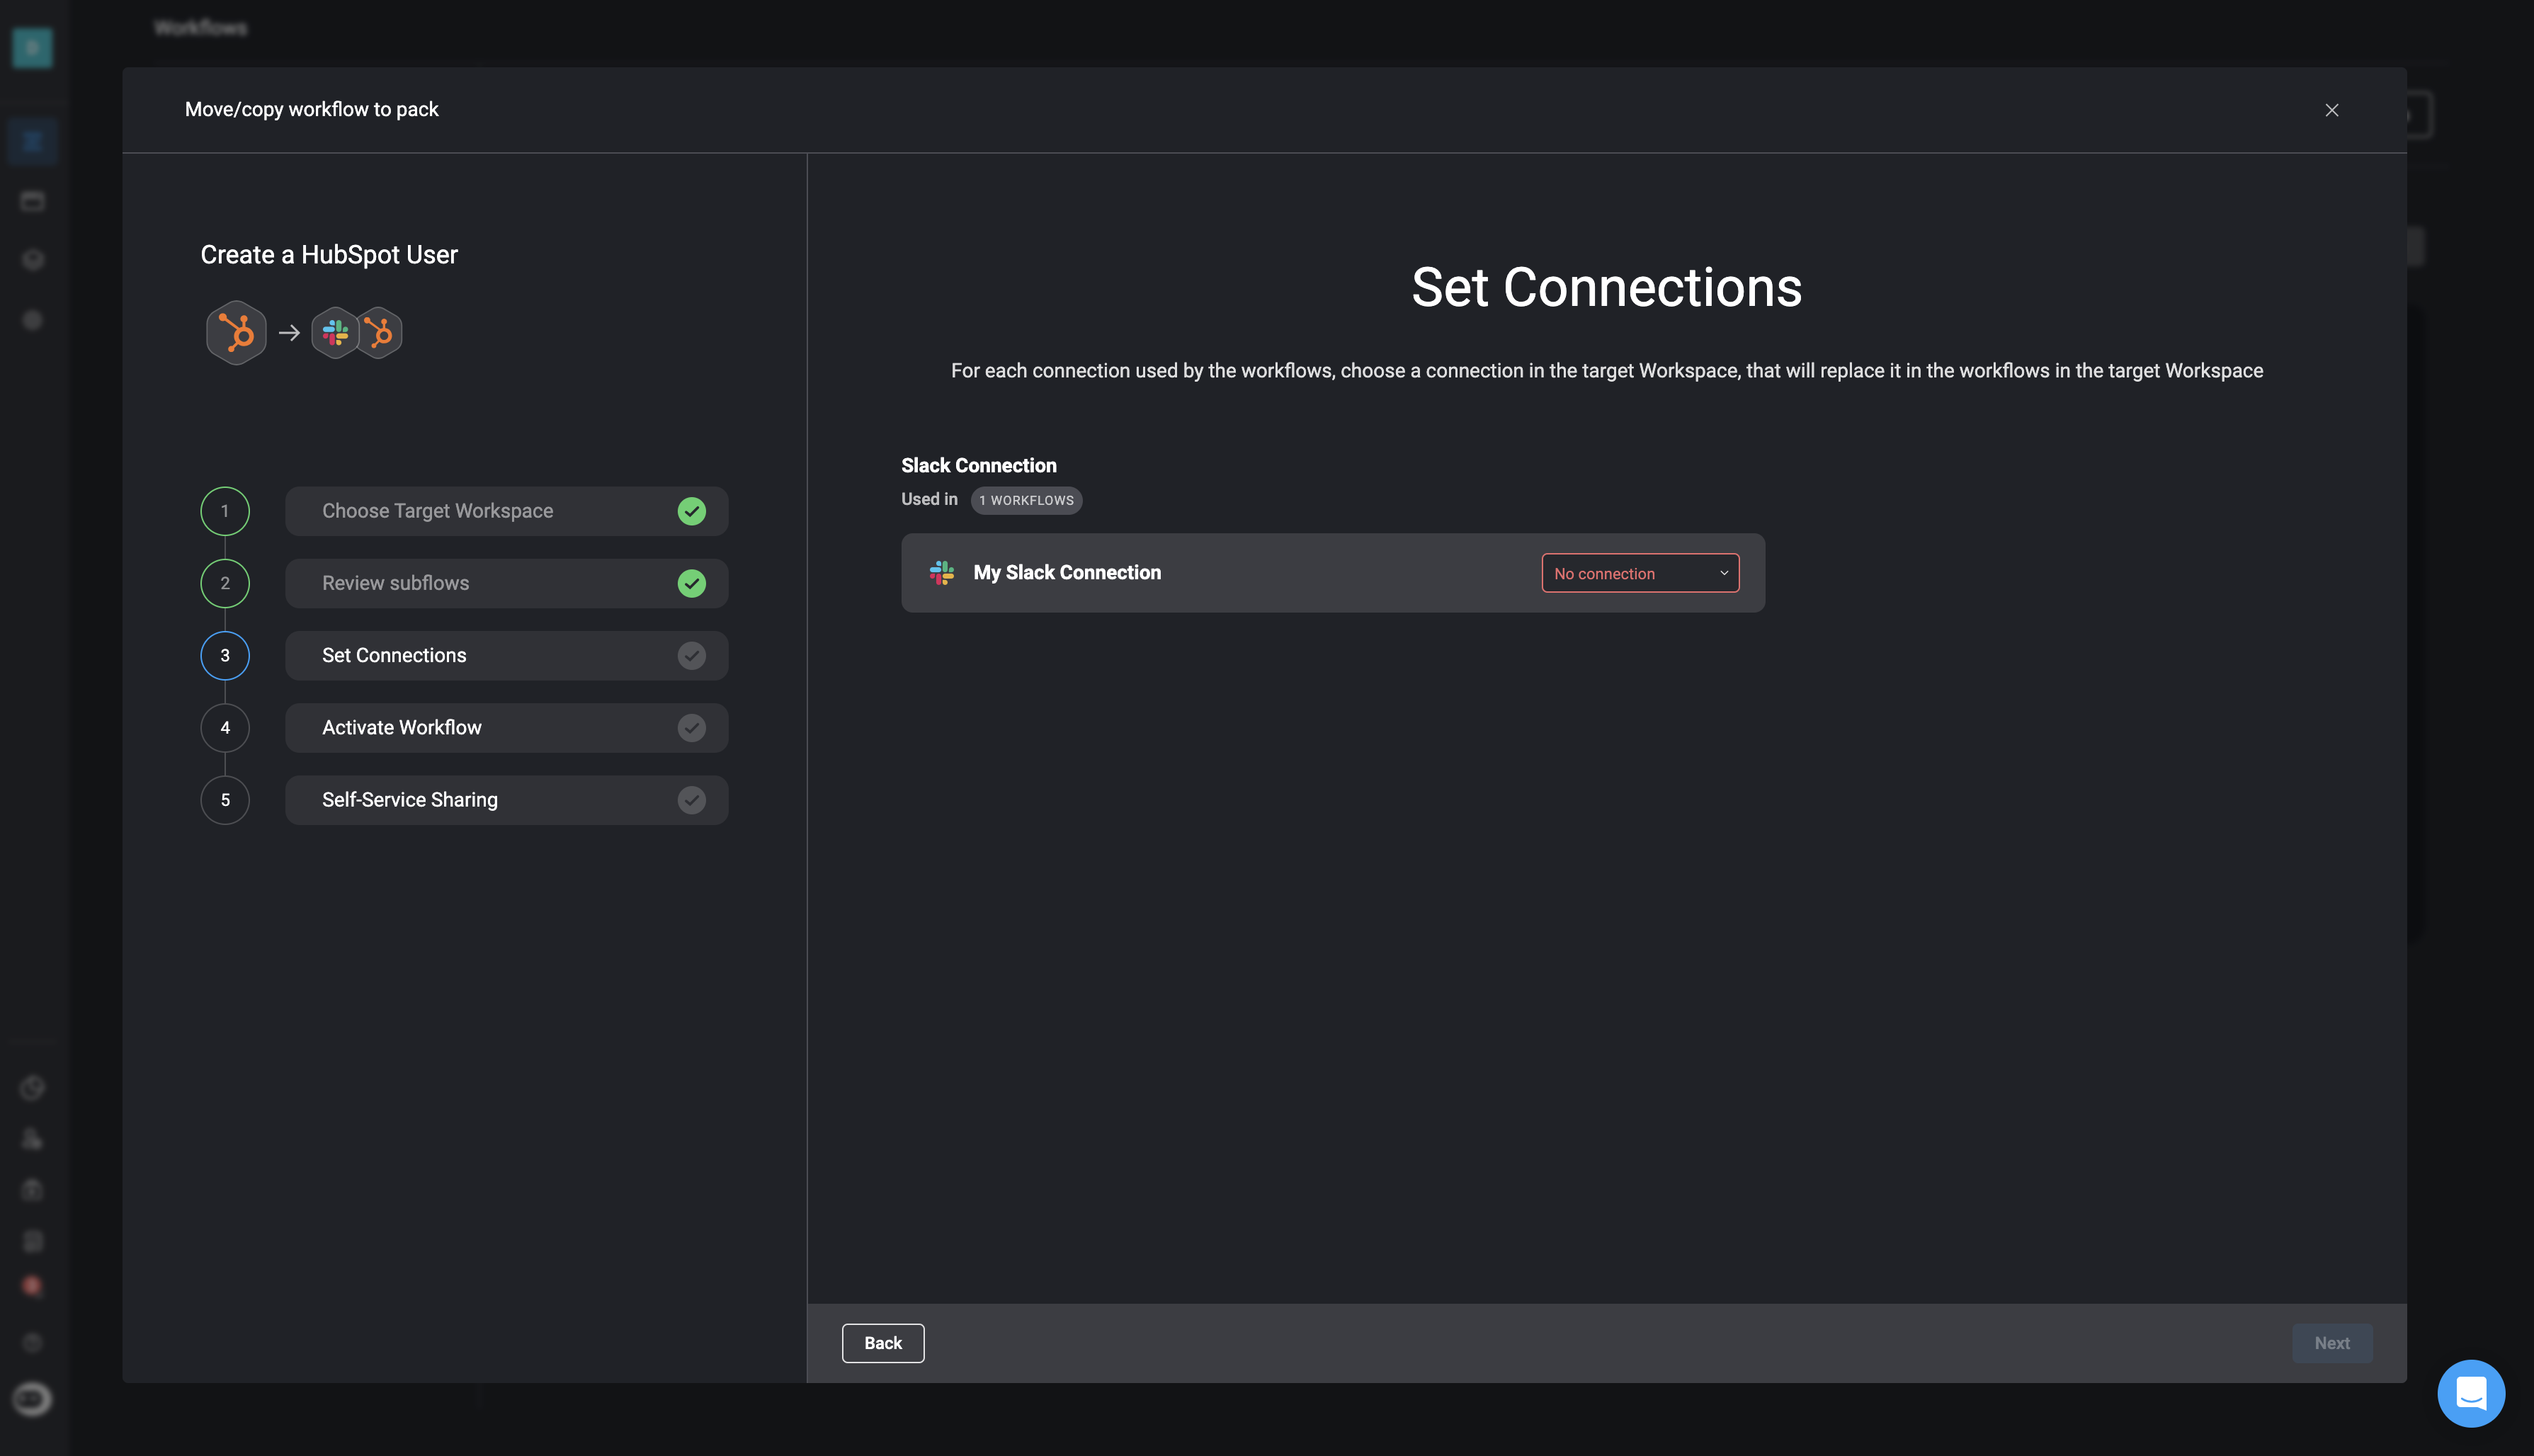

5
Set Activation Status
Choose the activation status of the copied or moved workflow: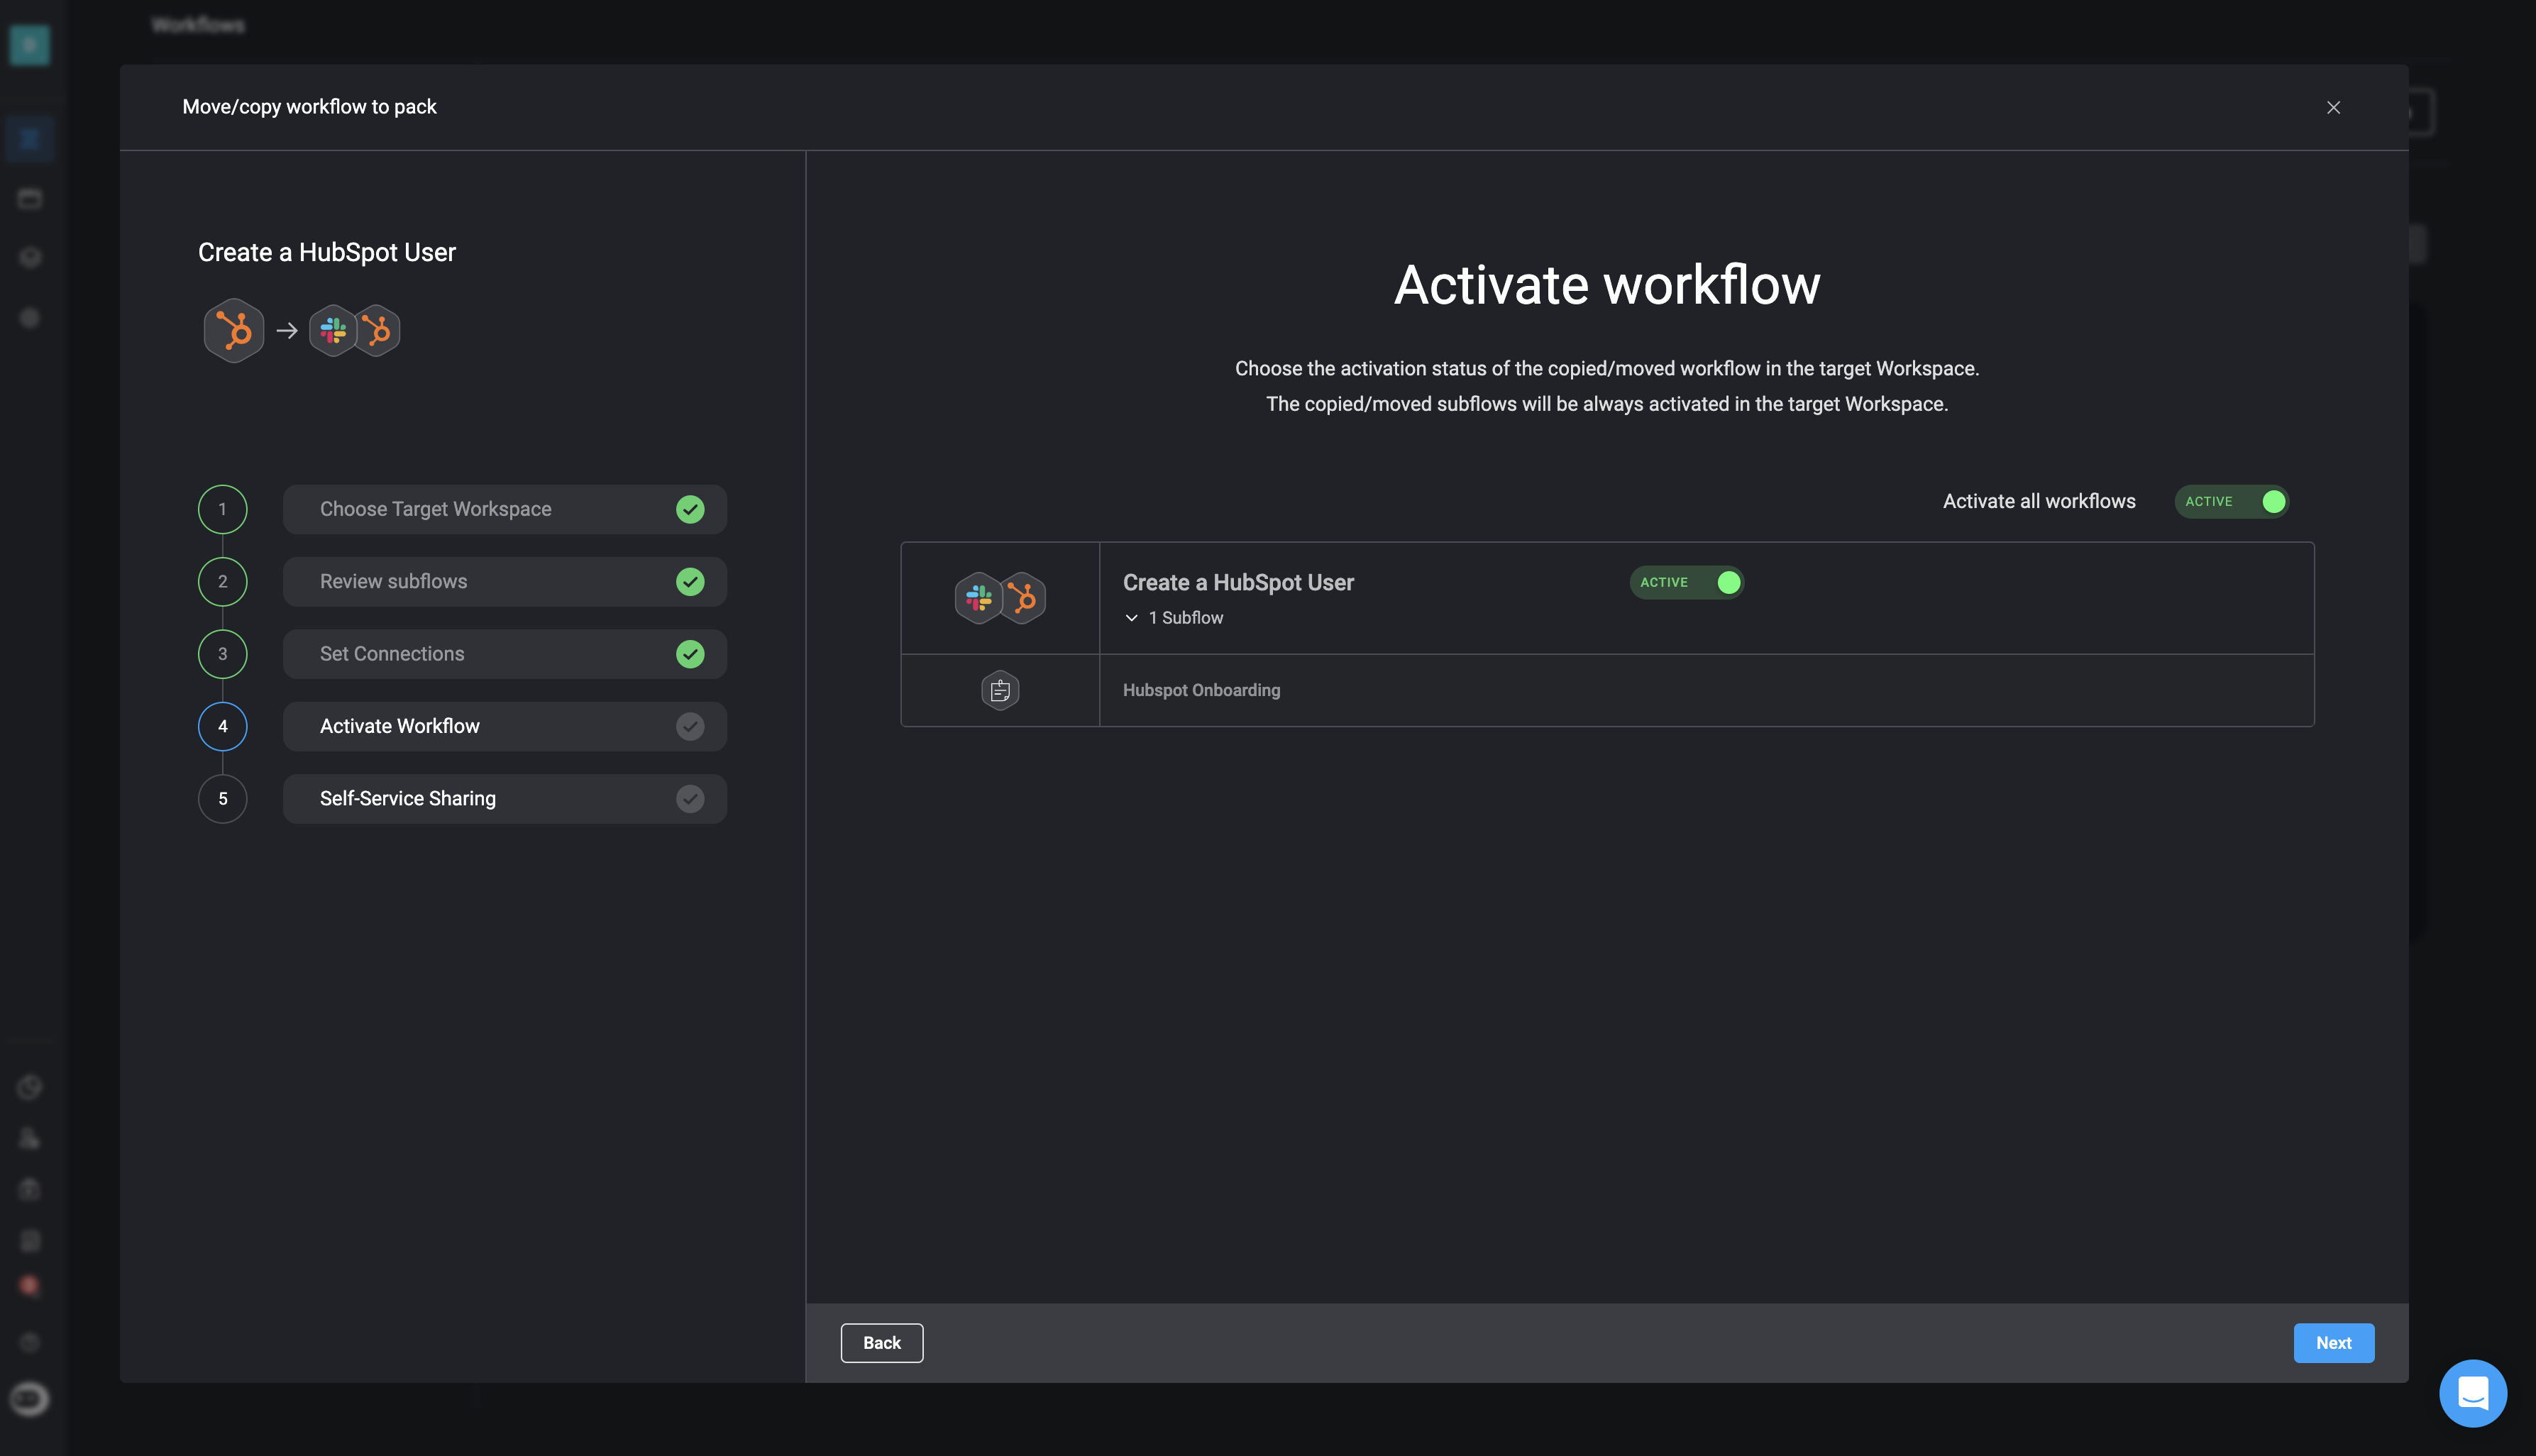
- Use the toggle to Activate all workflows, or
- Activate individual workflows one by one.
Subflows will always be activated in the target workspace.
6
Enable Self-Sharing (Optional)
Decide whether to share the workflow to the Blink Portal using the toggle.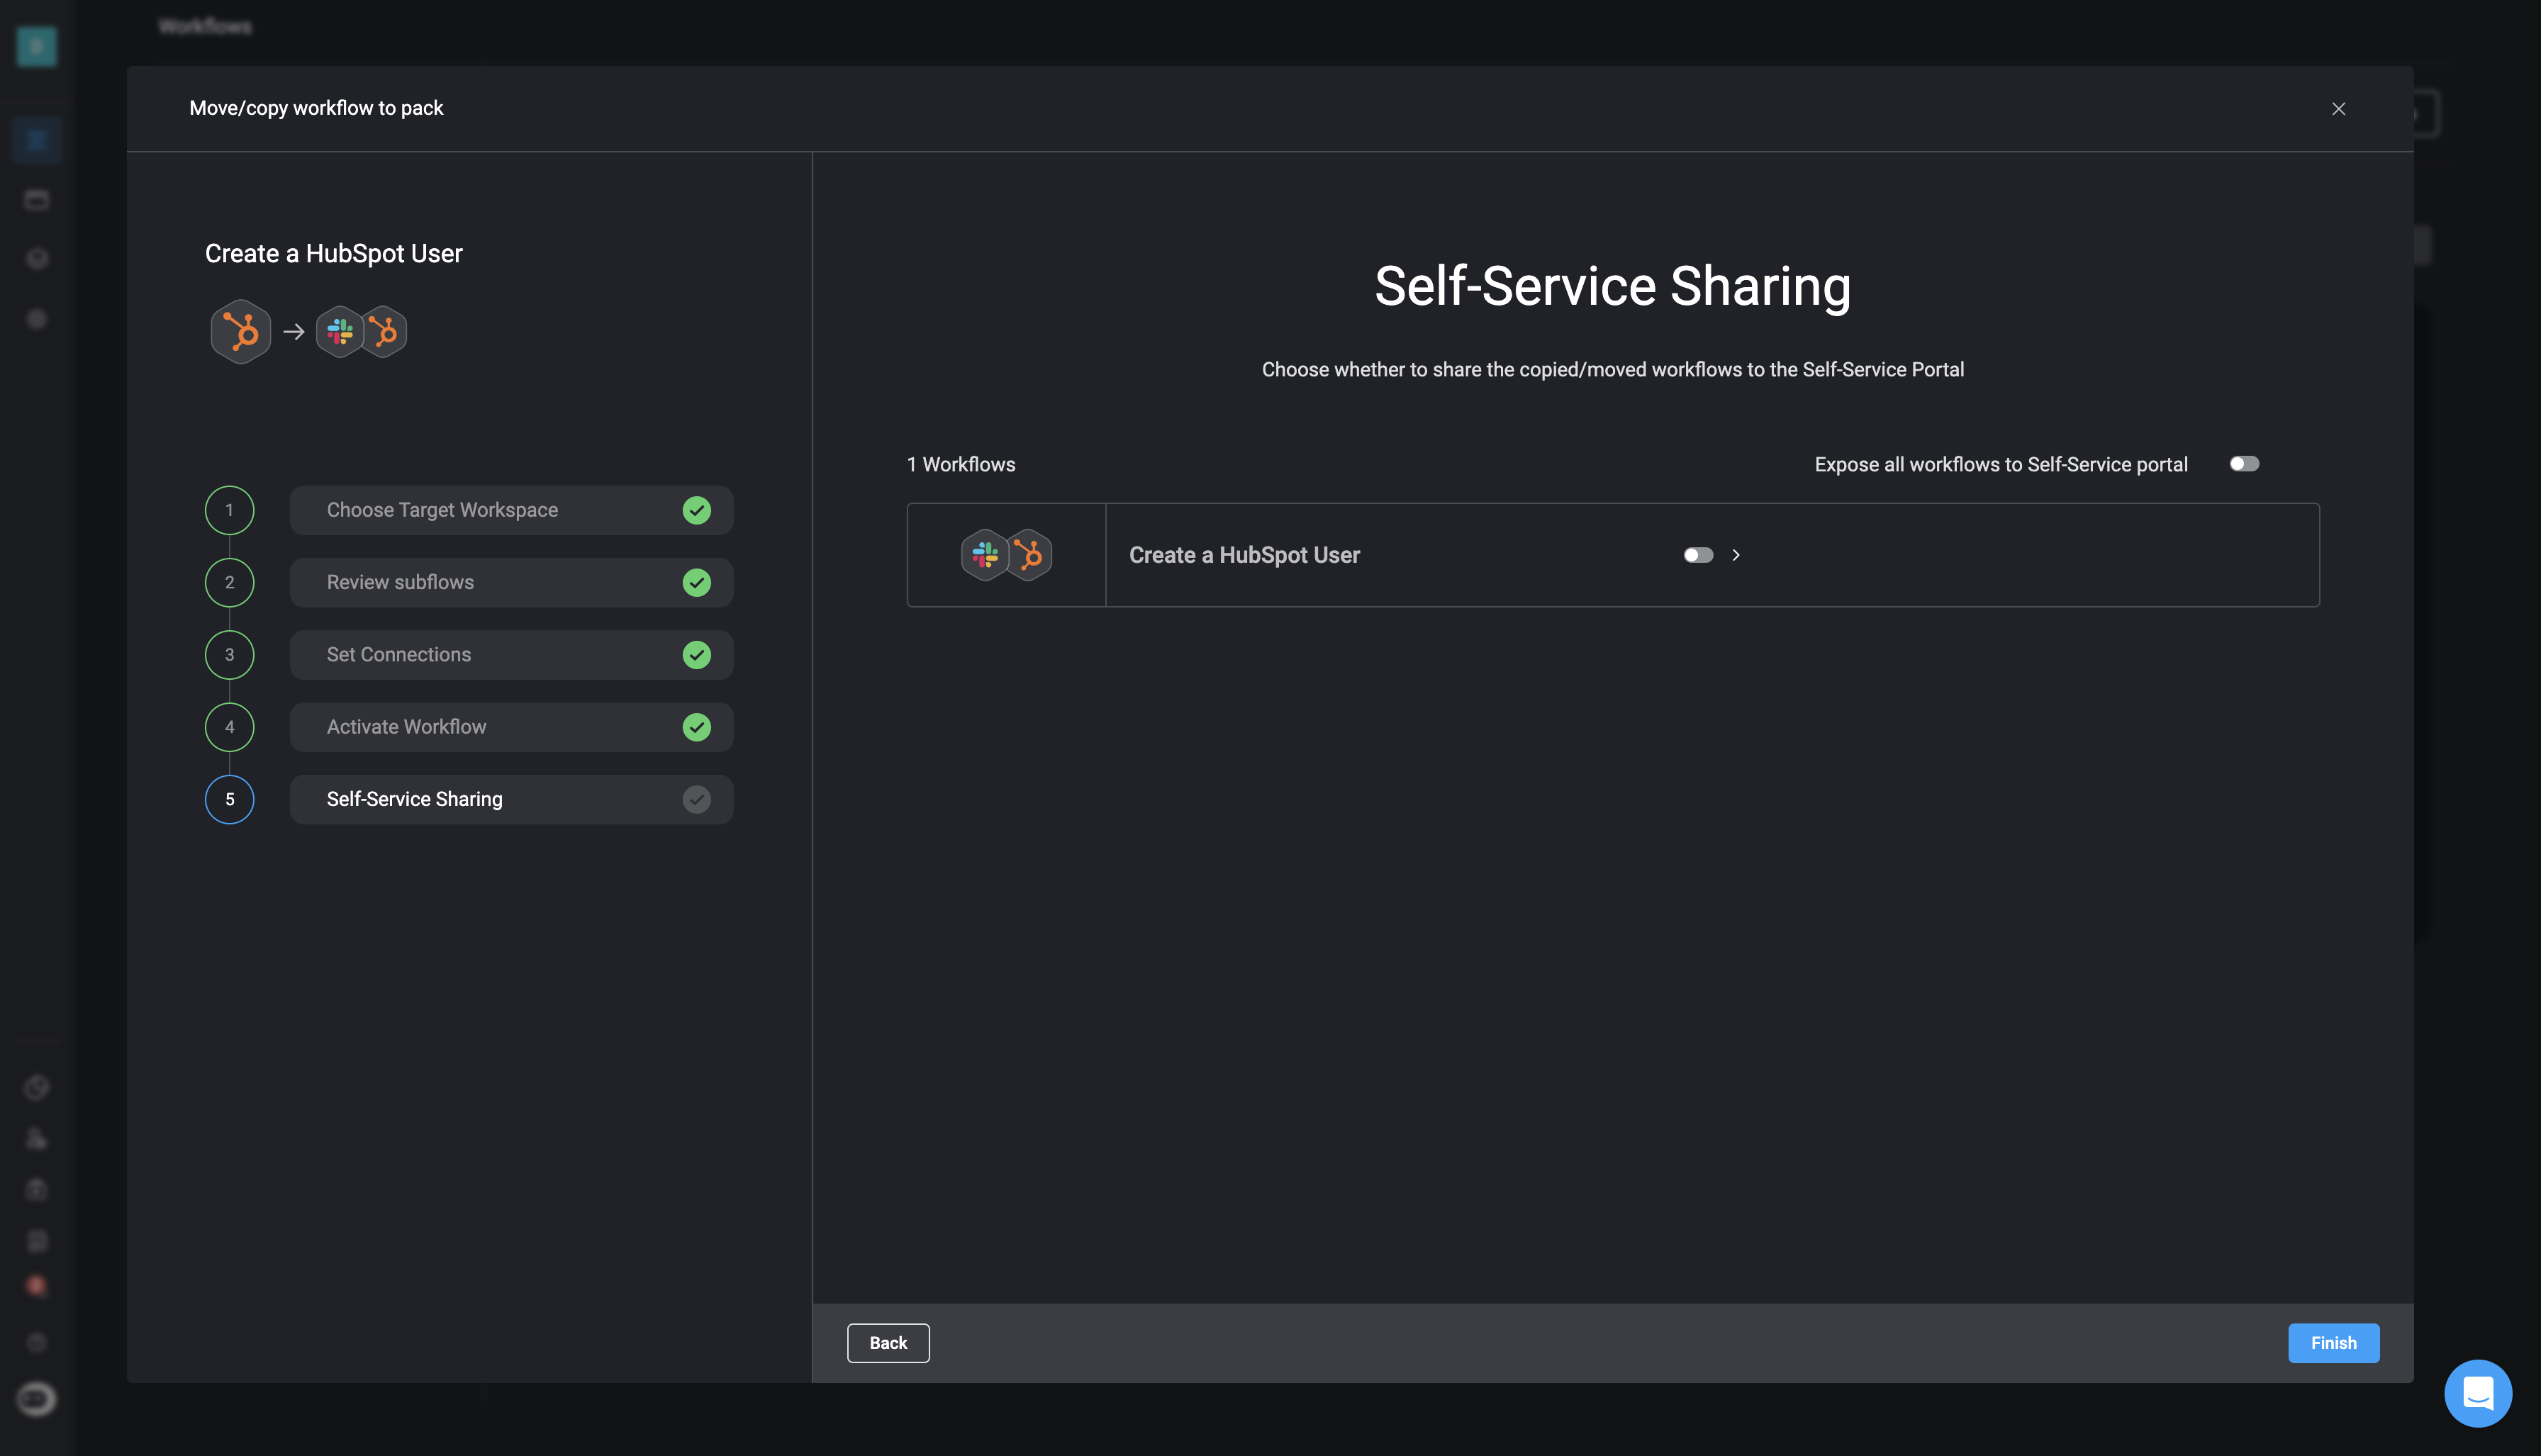
You can only share a workflow via the self-service portal if it is marked as Active in the previous step.
7
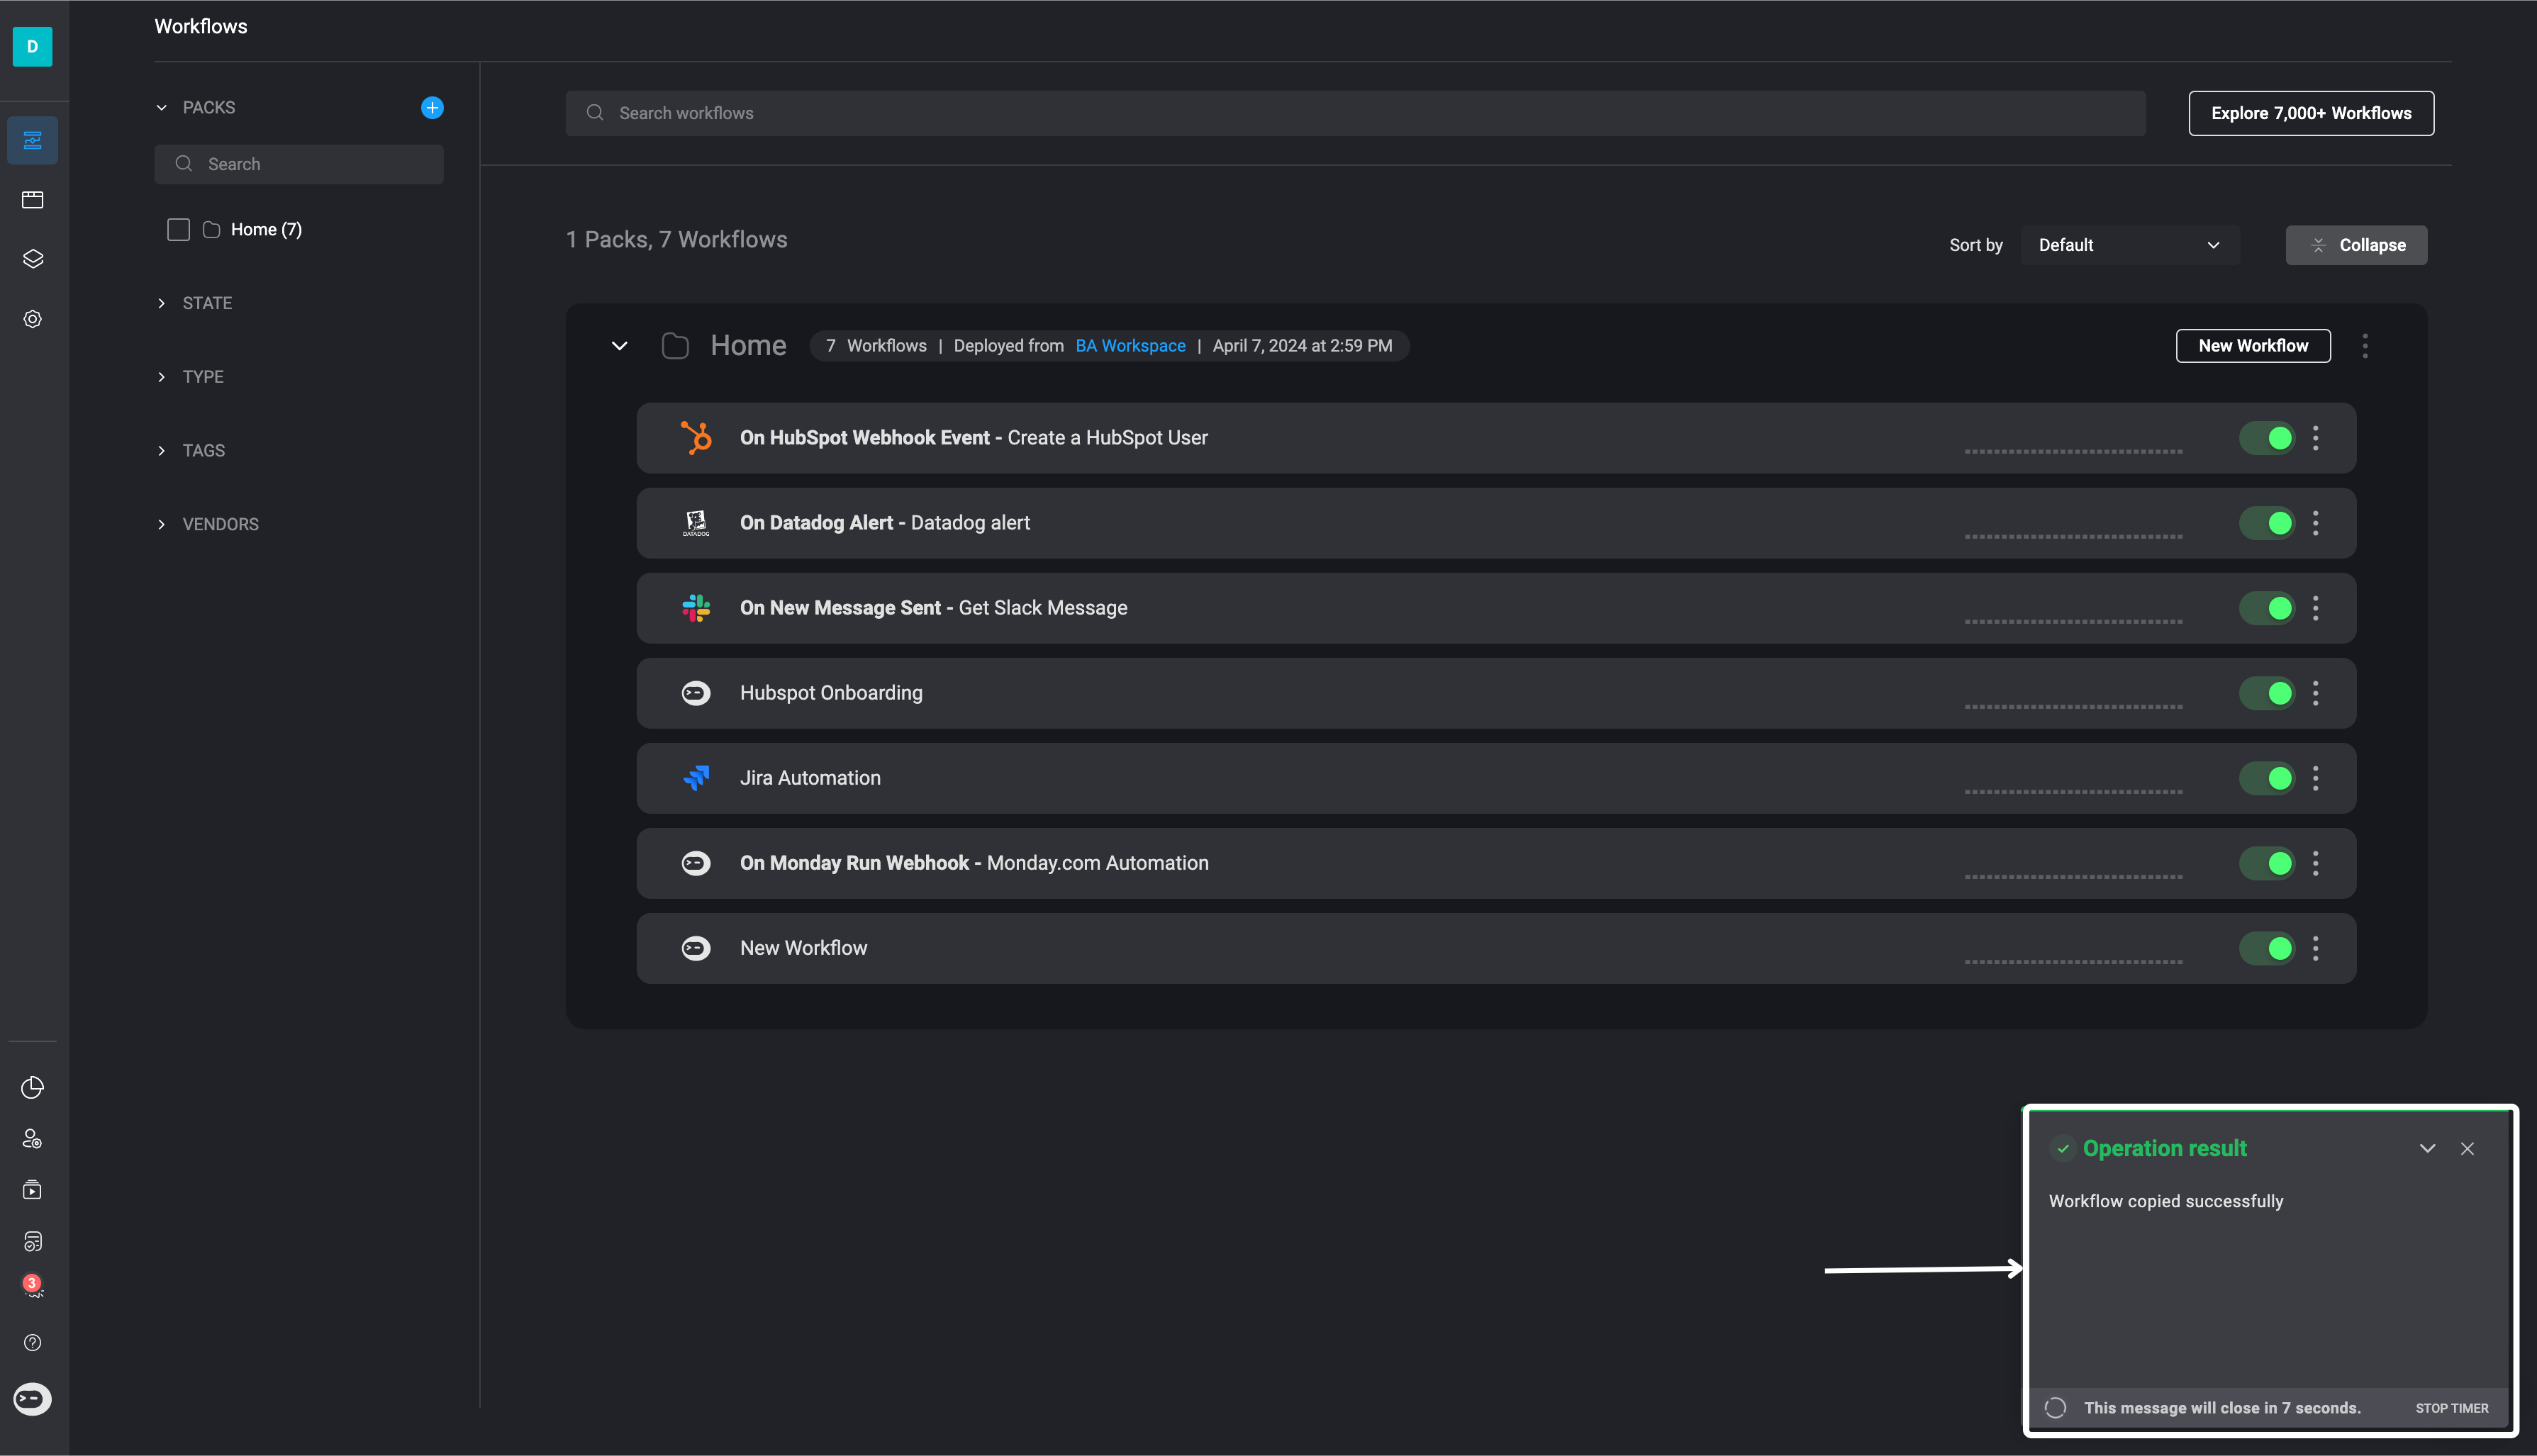
Finish and Confirm
Click the Finish button to complete the process. A confirmation popup will appear in the bottom-right corner indicating that the workflow has been successfully copied or moved.