Creating a New Custom Action
Note: The ‘If’, ‘If else’, ‘For Each’, ‘Variable’, ‘Wait’, ‘Note’, and ‘End Run’ actions cannot be customized.
1
Navigate to Settings
On the right-hand side of the step, click the Save as new custom action option.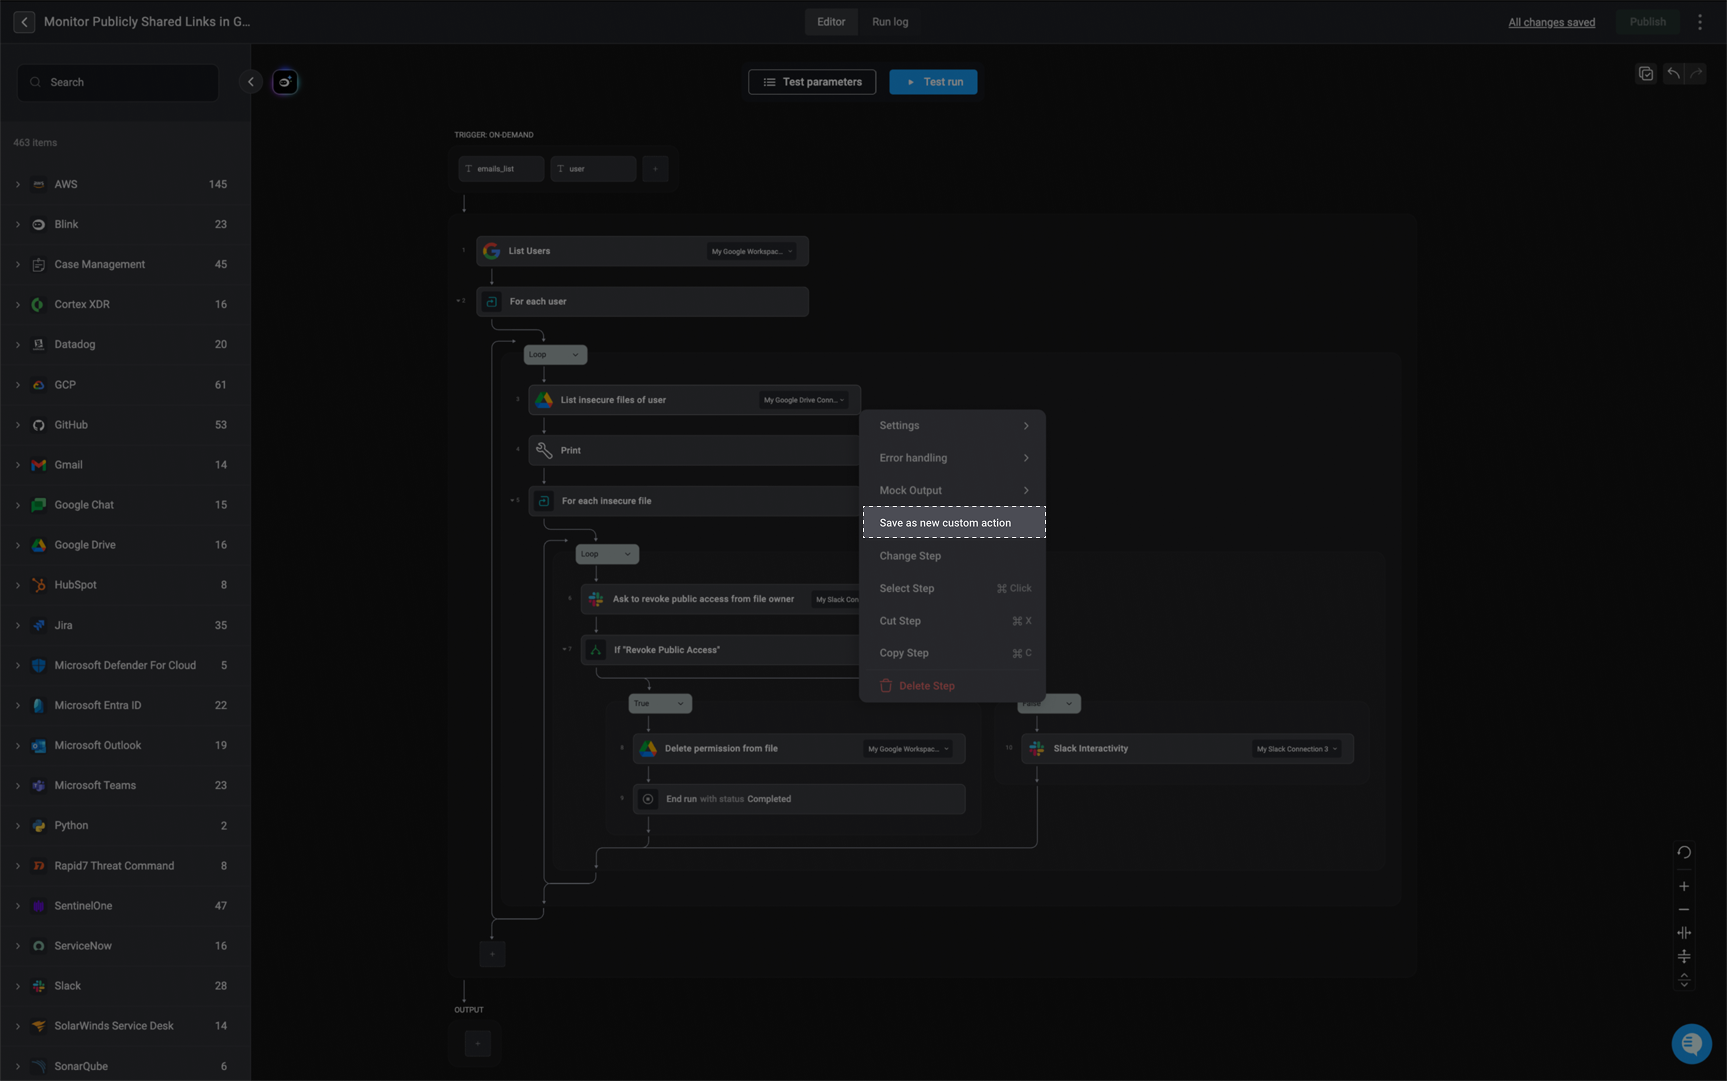
2
Configure the Custom Action
Enter the following parameters:
- A Custom Action name
- Select a Vendor or create a new one
- Enter a description
-
In Advanced Settings, you can edit the
YAMLformat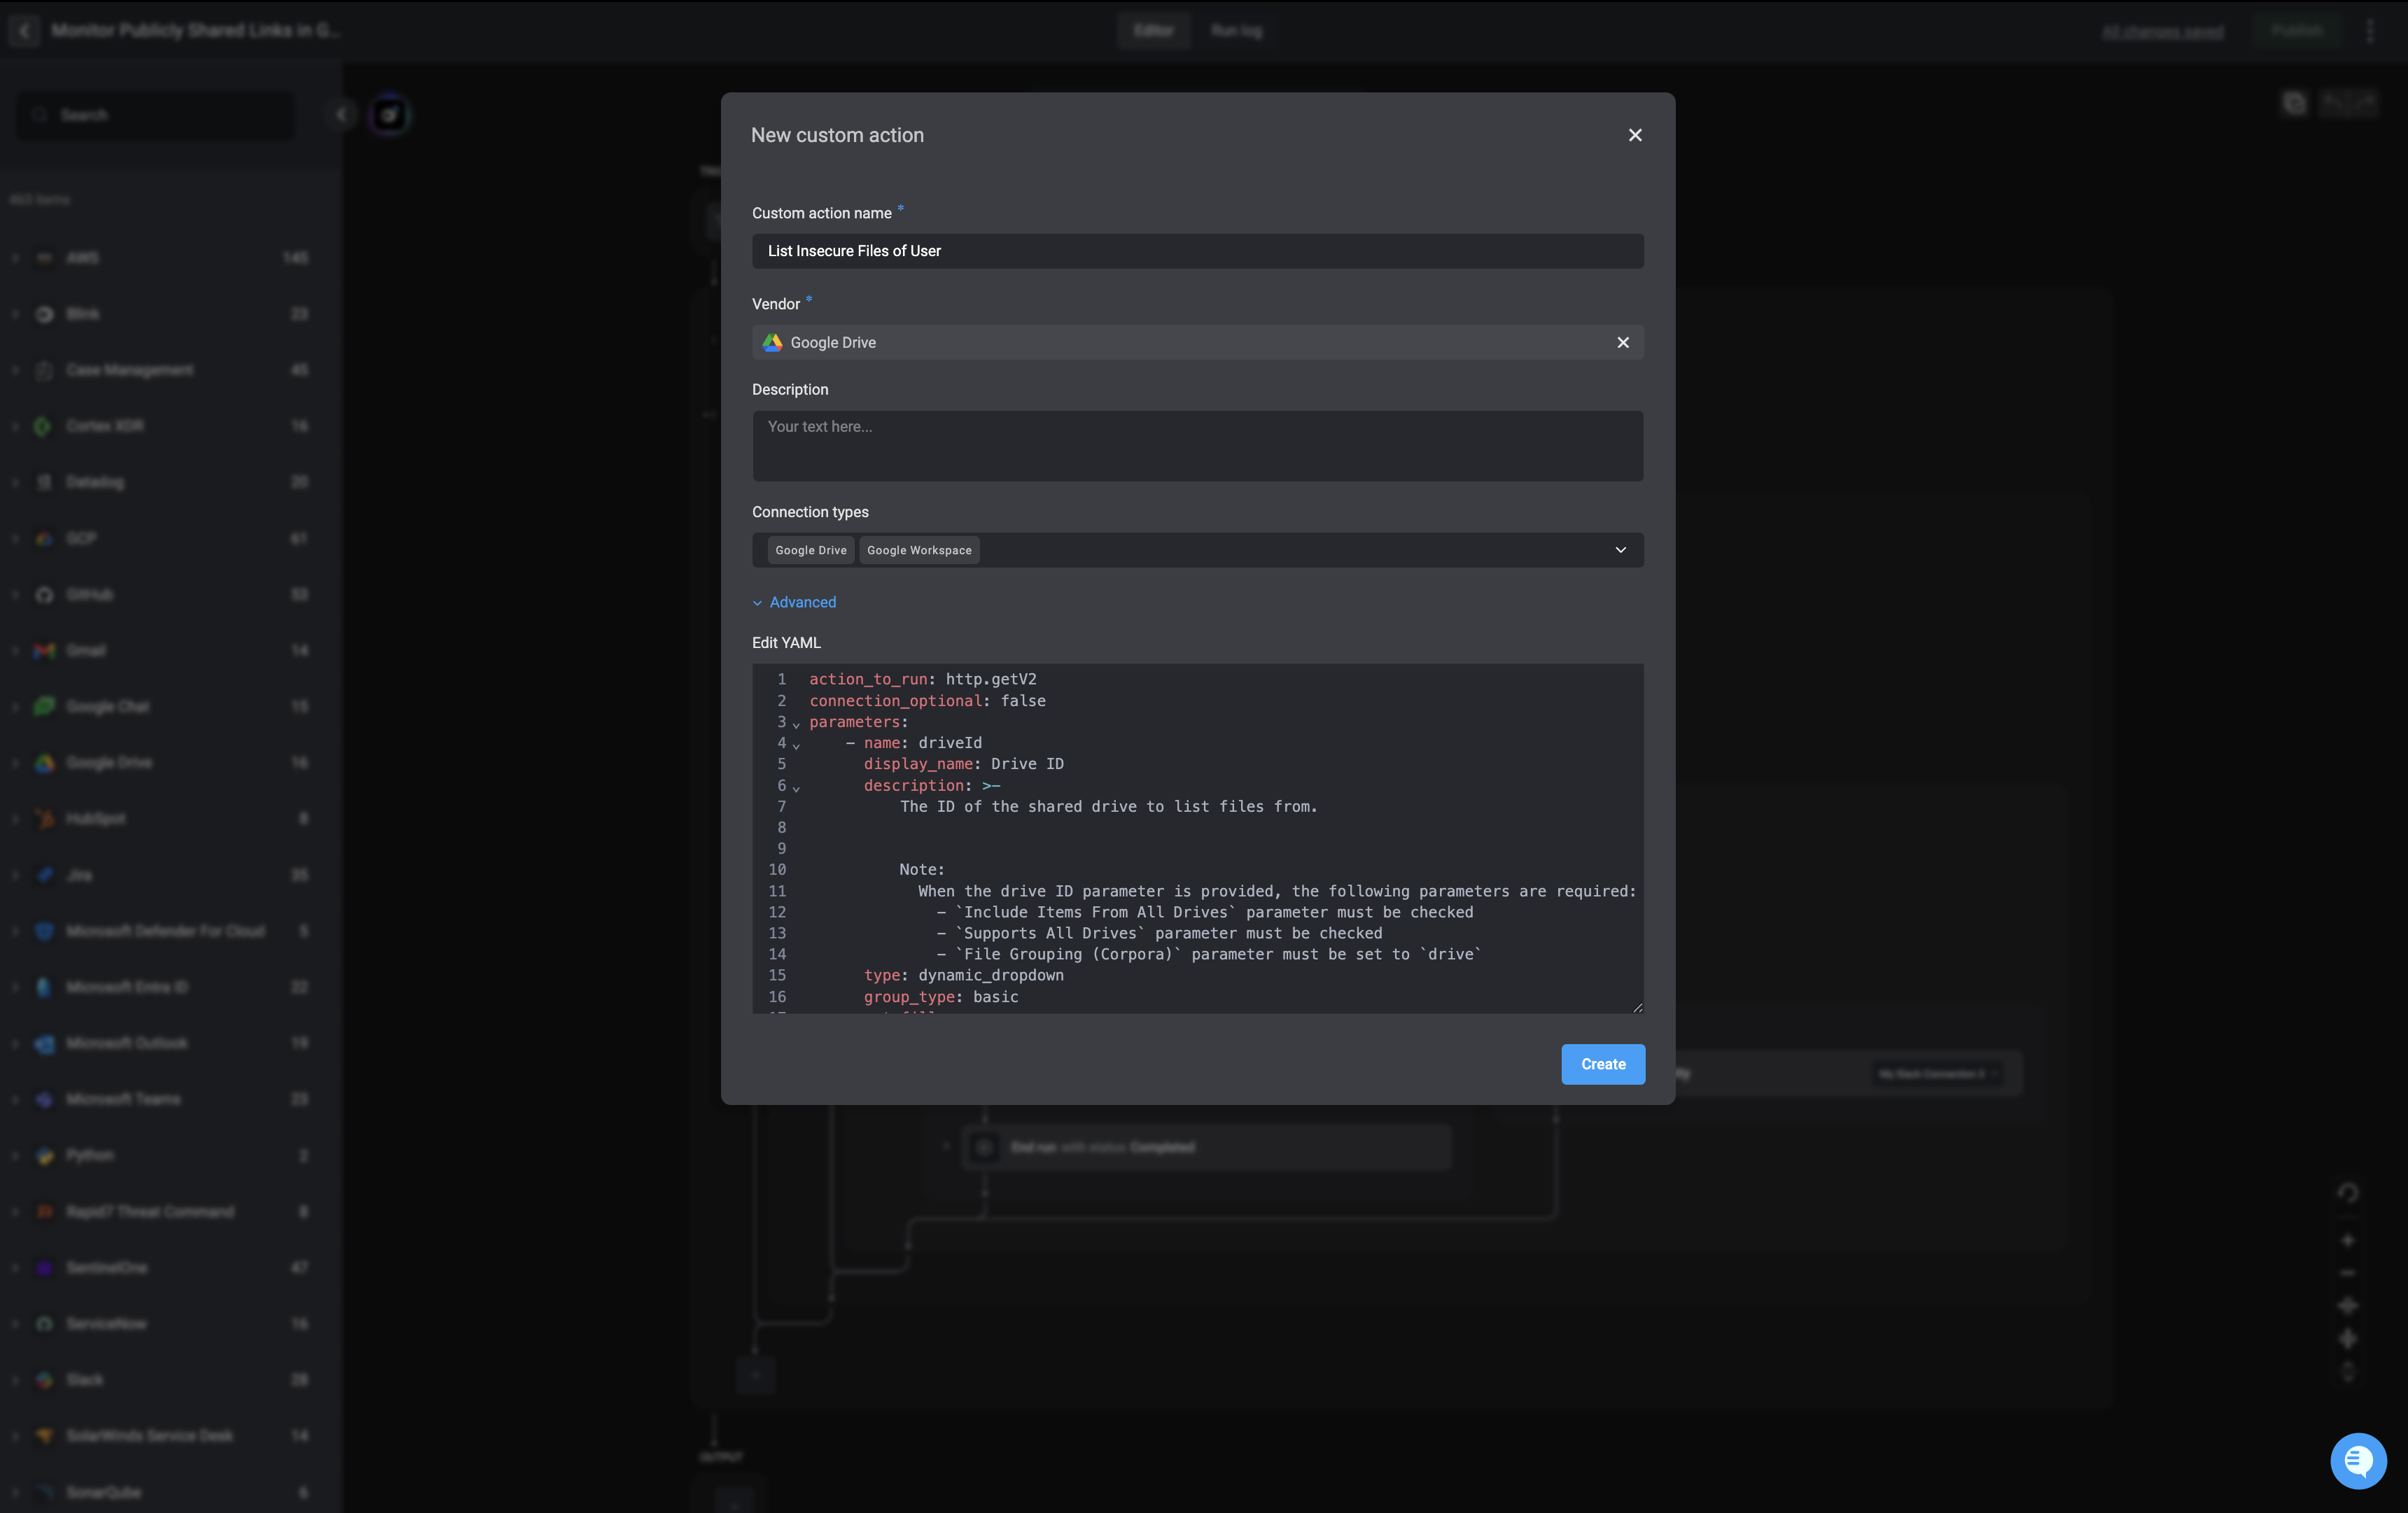
3
Save and Reuse
Note: A
custom action label will appear next to it, indicating that it is a custom action.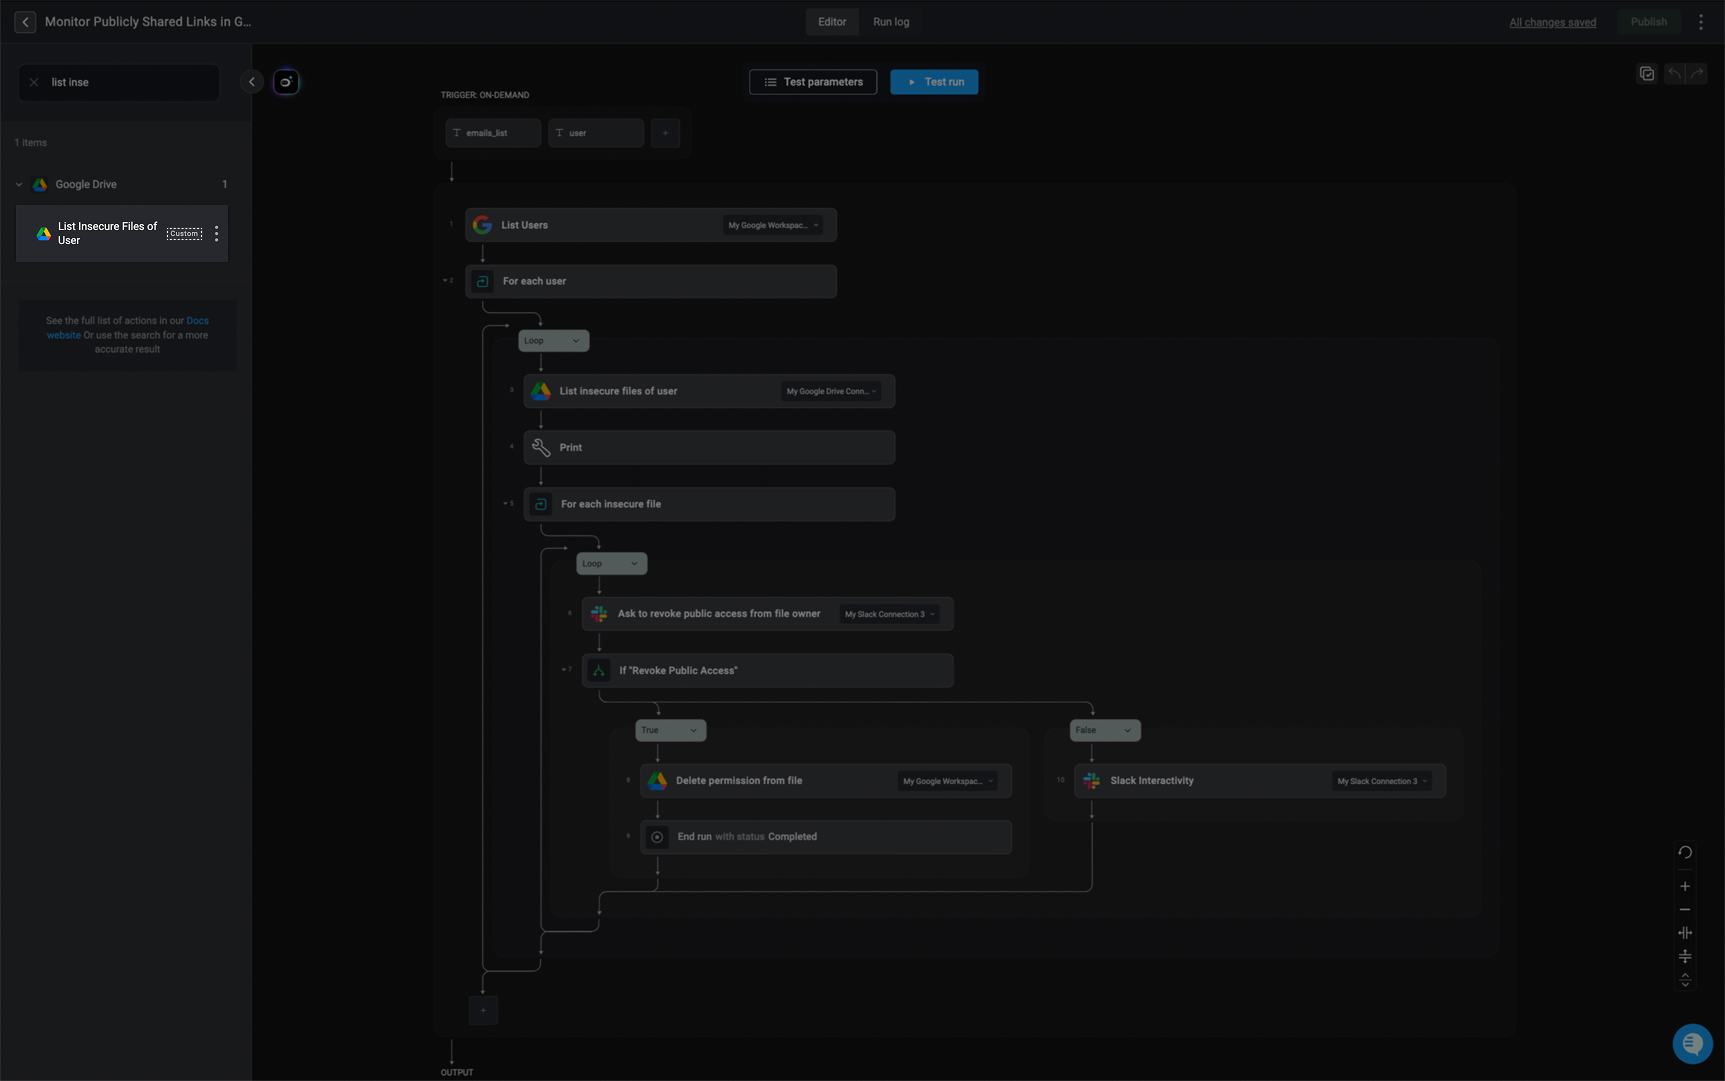
Editing a Custom Action
1
In the left-hand side action panel, click the and select the ‘Edit custom action’.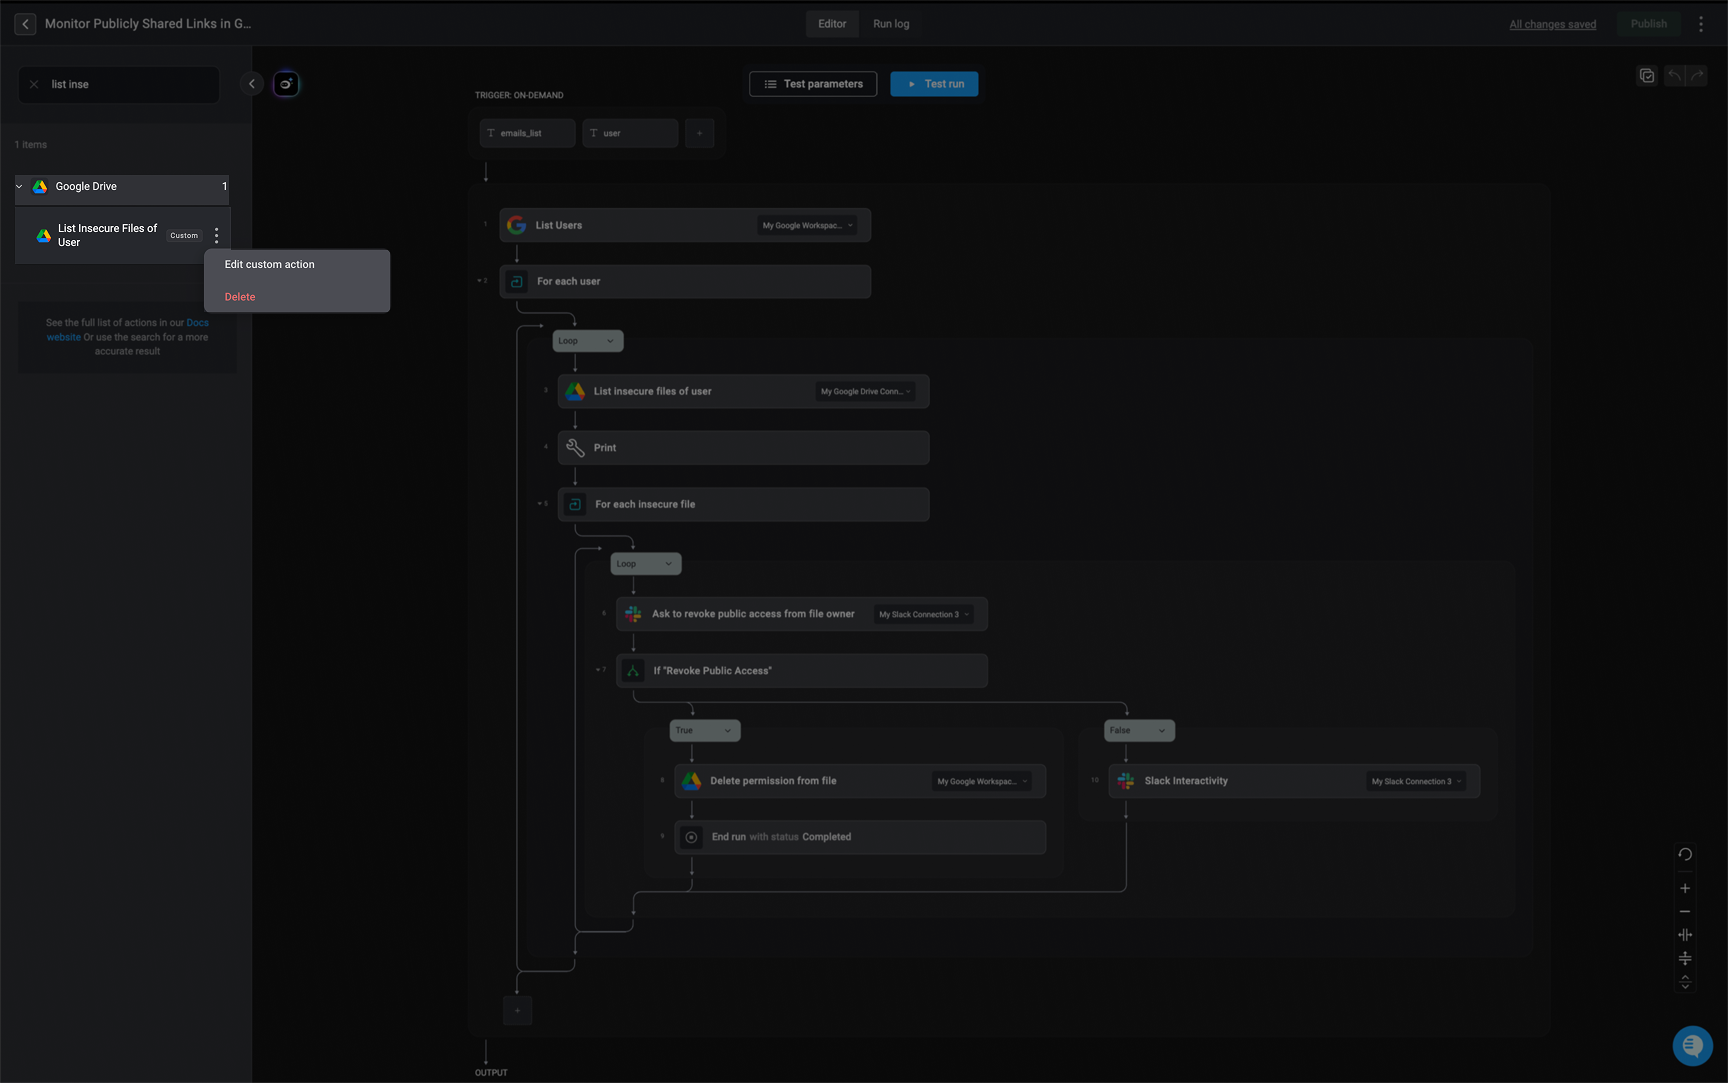
2
Make the necessary changes and click the ‘Update’ button to apply the changes.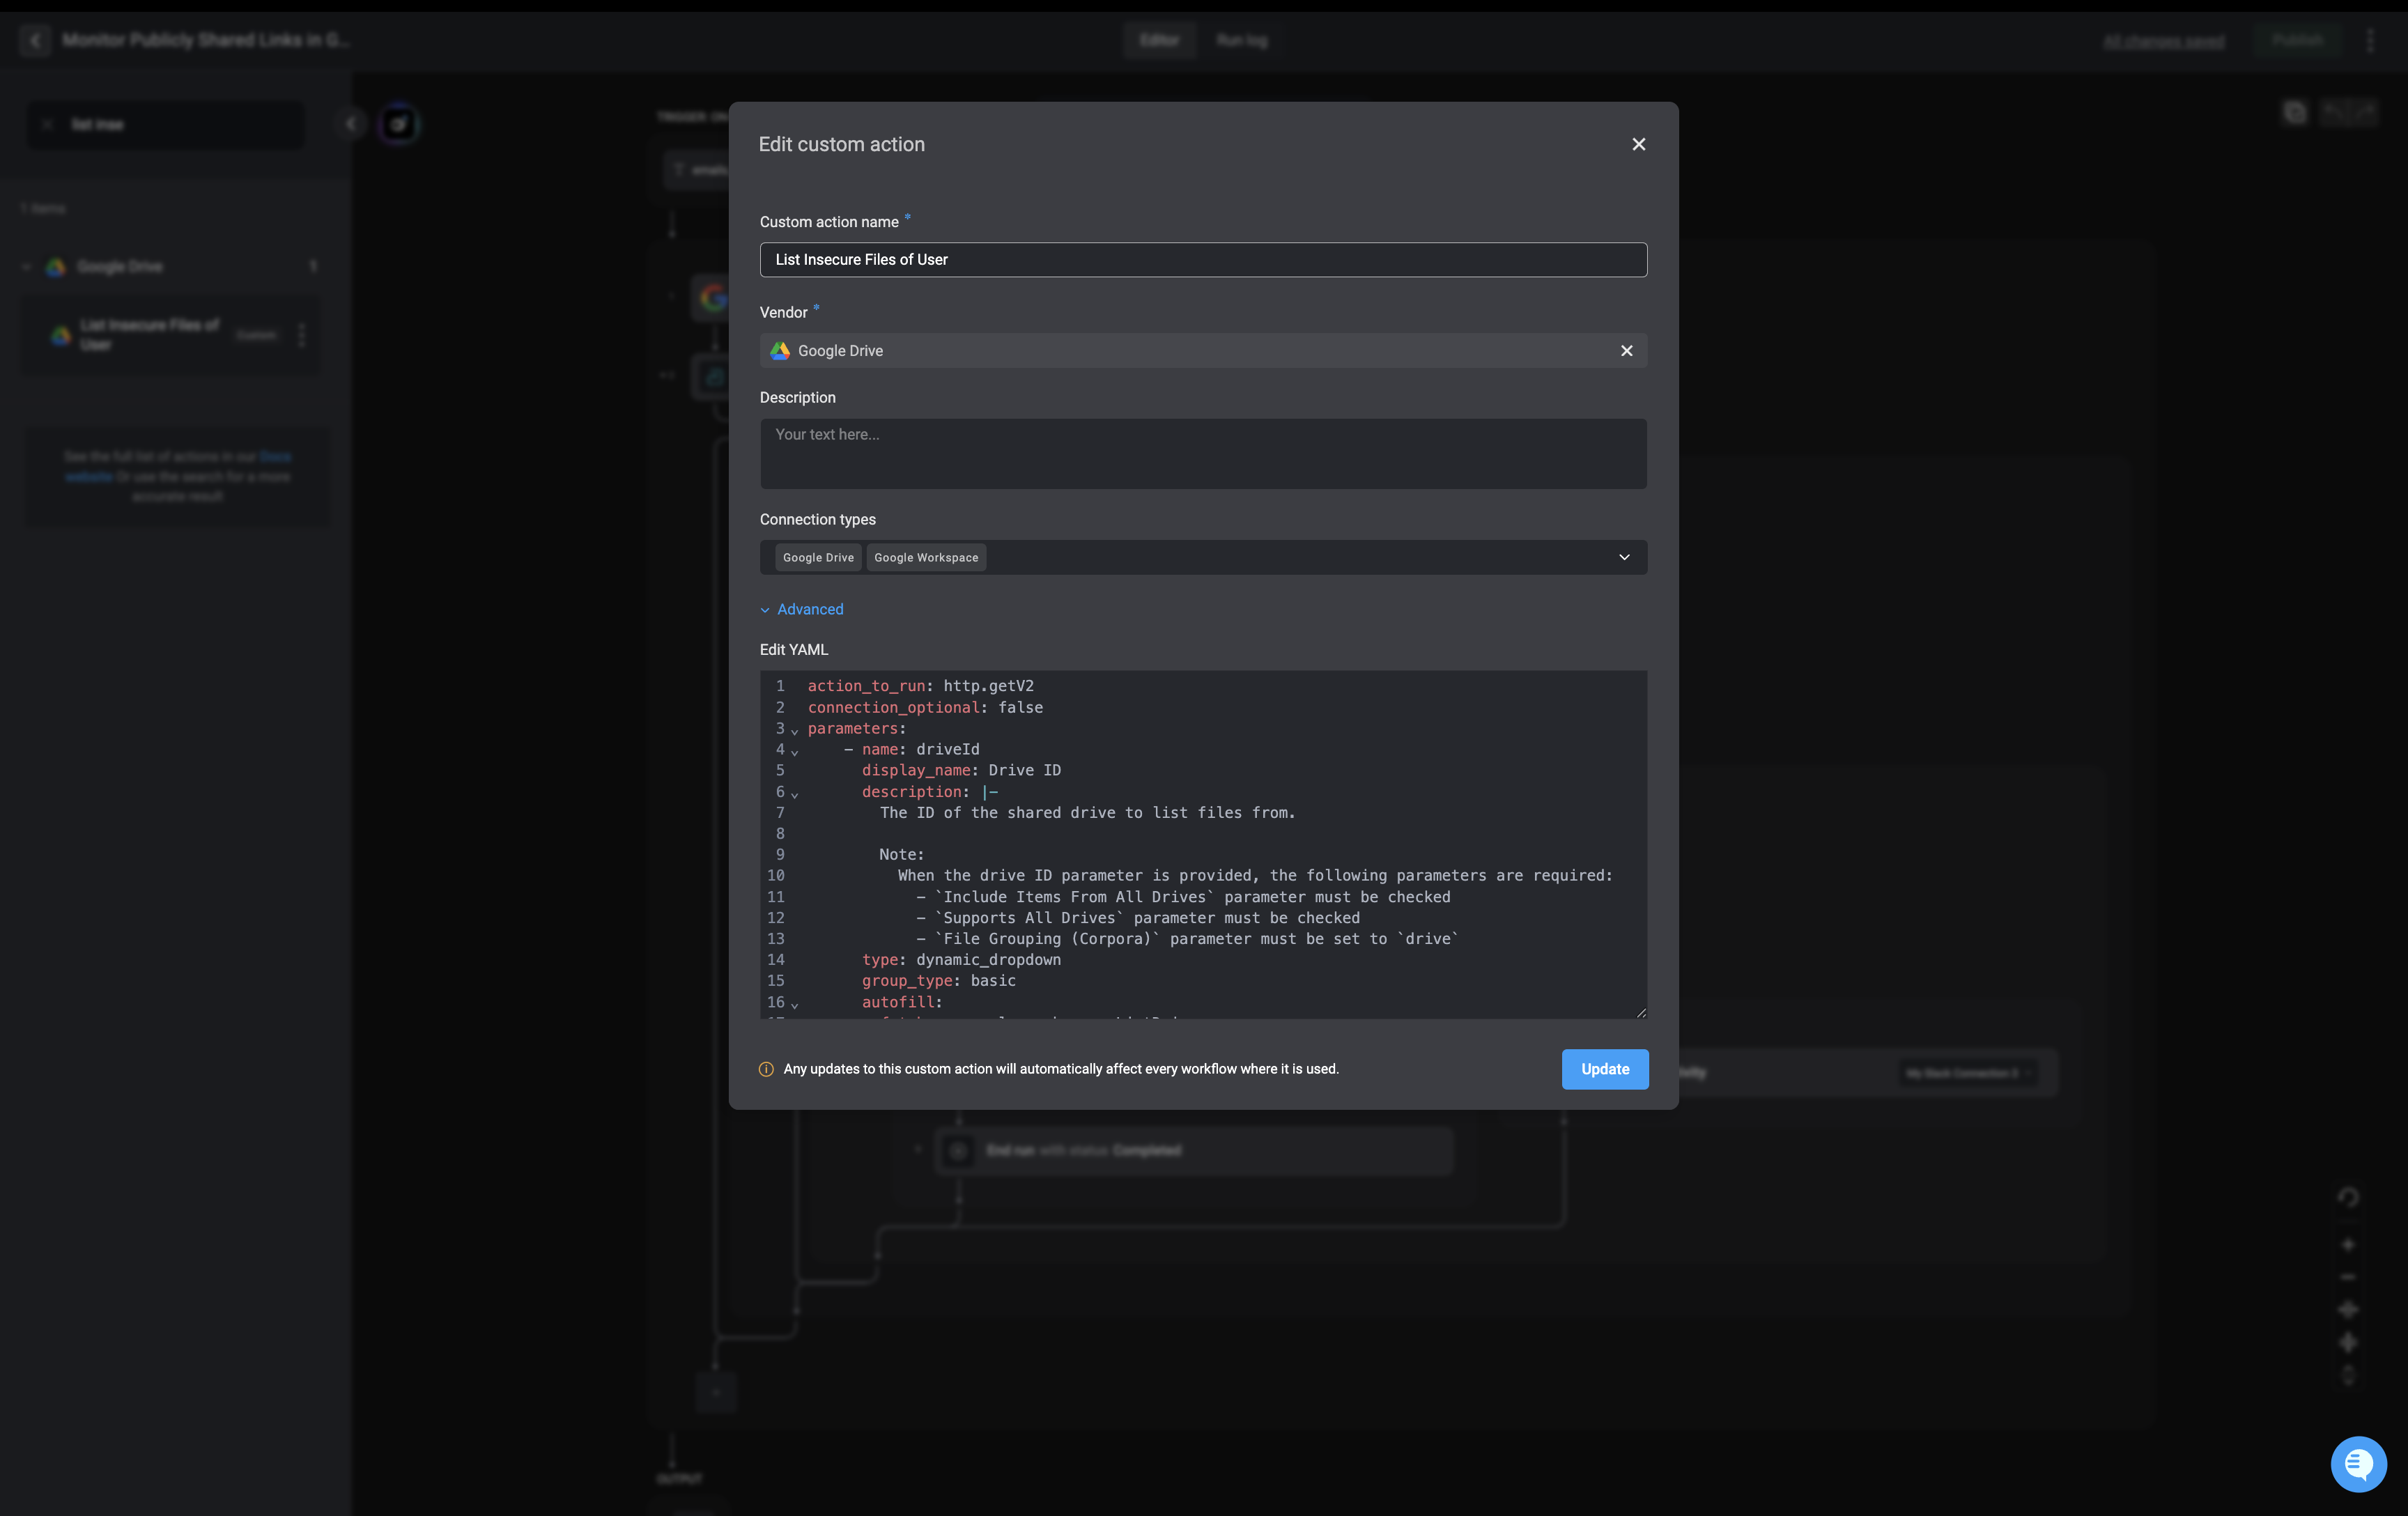
Using Custom Actions
Add a custom action to a step the same way as creating a regular step:- Drag and drop: To use a custom action, drag and drop the Action onto the canvas from the Action panel. At the top of the panel you can see the flow control actions and beneath them a list of external service providers. To see the available Actions, open a service.
- Inline adding: Click on the box in the middle of the canvas. Search for the custom action in the search bar and select it.