Identity Providers
Account Security Settings
This guide walks you through the key authentication and identity settings available in the Blink platform. From managing authorized domains and setting up external Identity Providers (IdPs), to configuring role mappings and enforcing SAML policies, each section helps you securely control user access and authentication behavior across your Blink environment. Start by accessing your account’s security settings using the steps below.
Access Account Settings
1
Open Security Settings in Blink
Navigate to the security settings on the Blink platform. In the bottom-left corner click on the rounded icon with your initials on it.
2
View Account Settings Dialog
A dialogue box will appear, with your Blink Ops account settings: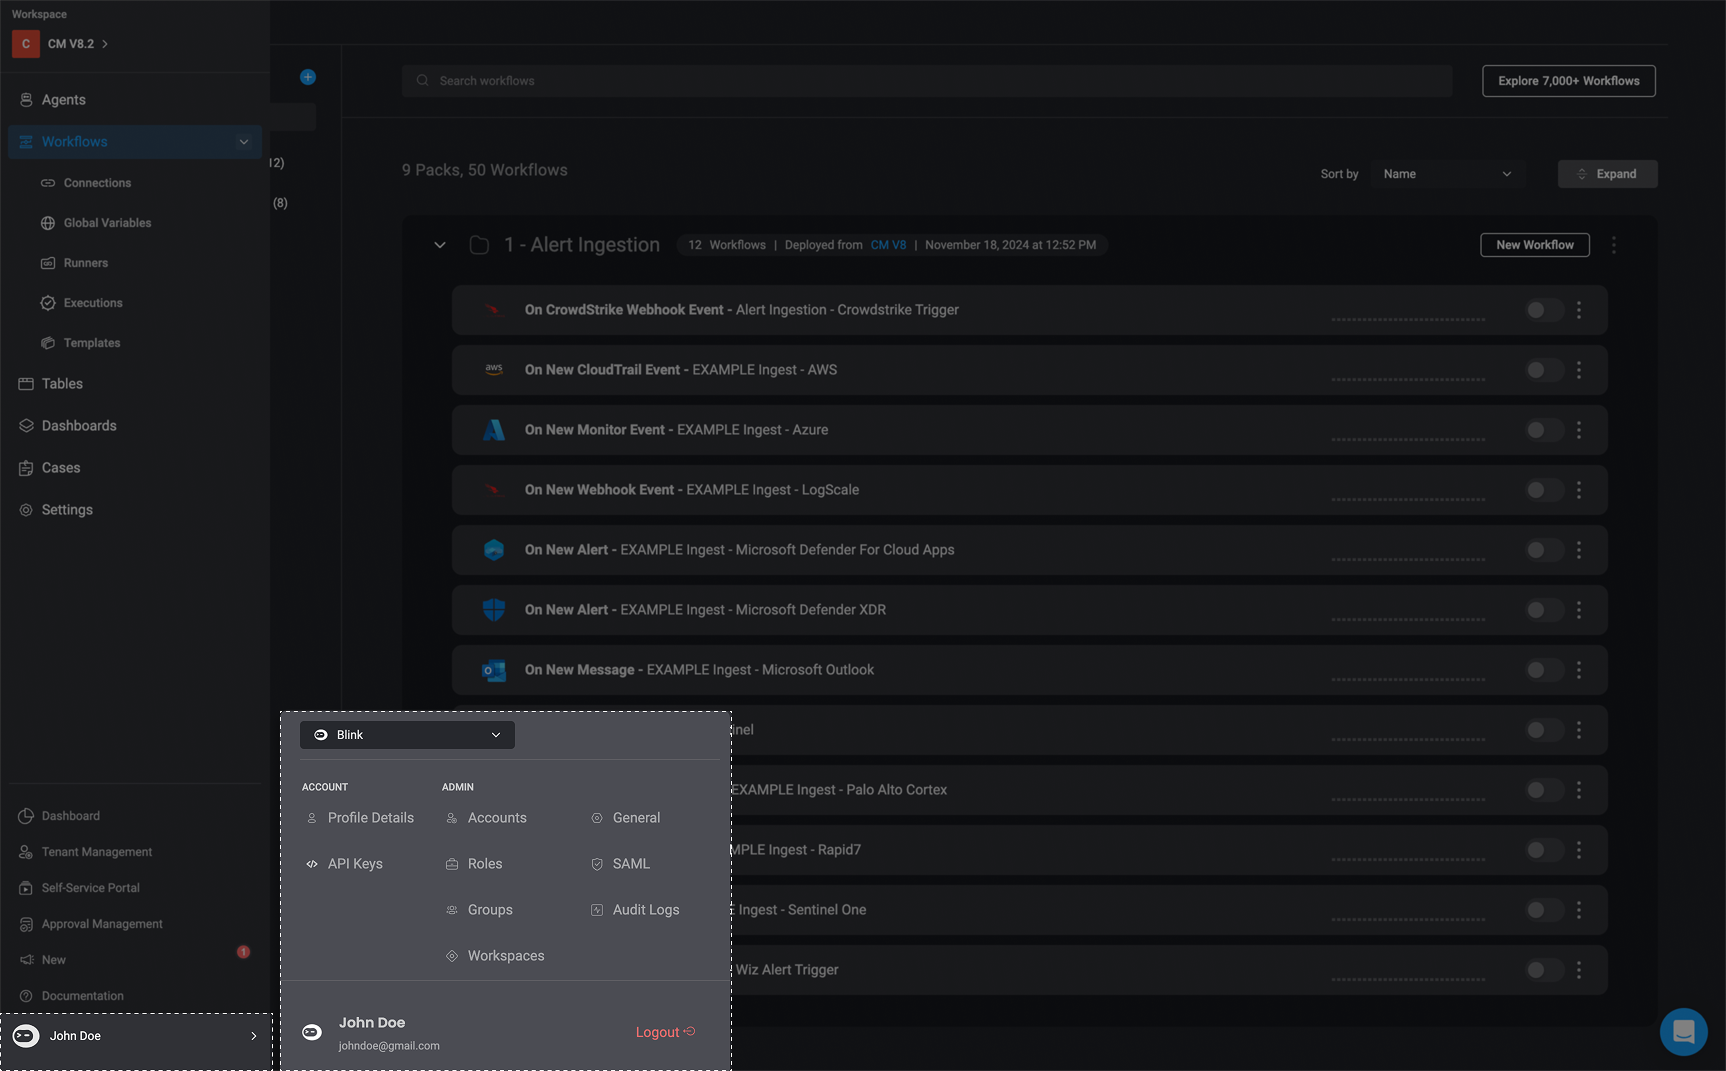
3
Switch Between Tenants (If Applicable)
If you are part of more than one tenant, you have the option to switch between the tenants by selecting the tenant from the dynamic dropdown menu.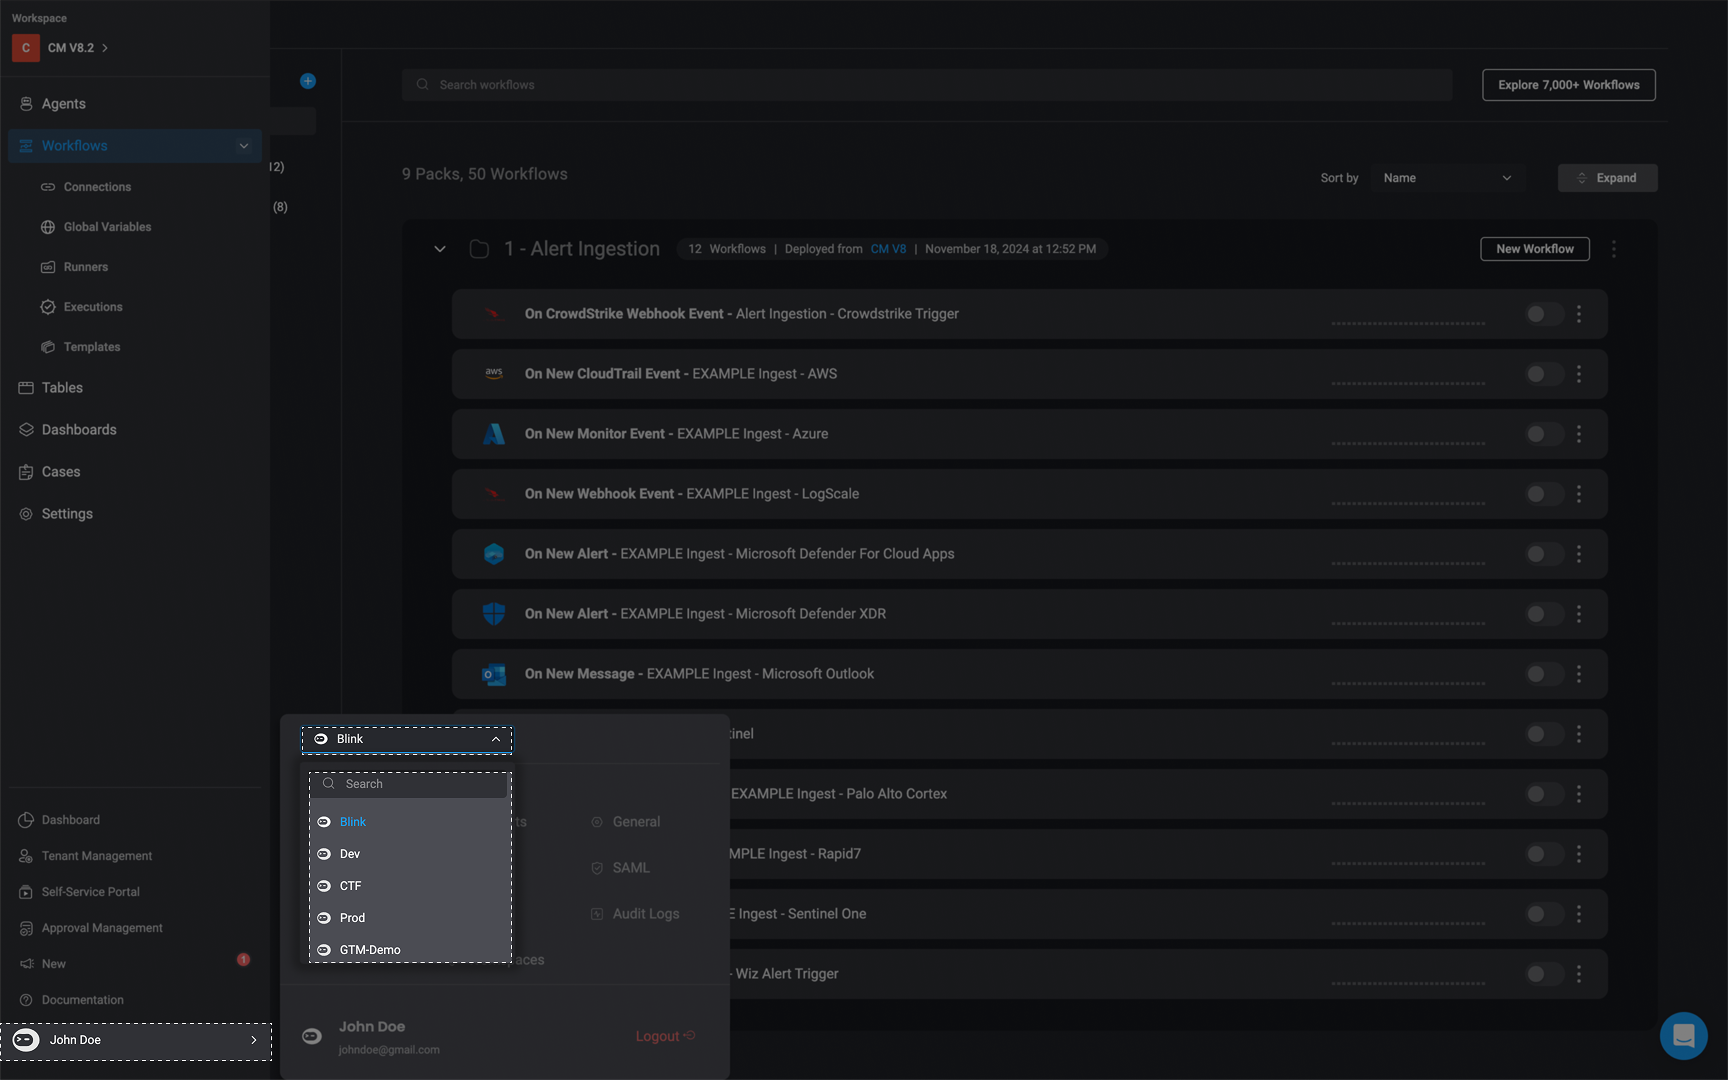
Login & Authentication
Authorized Domains
Blink provides the option to restrict domains to access an account. For example, if you want to allow onlyblinkops.com to access your account, but you already have hello.com users, they will automatically get an Unauthorized error message and be logged out.
Administrators of the account have bypass to this setting in order to make sure the account administrator isn’t locked out of his account.
Identity Provider
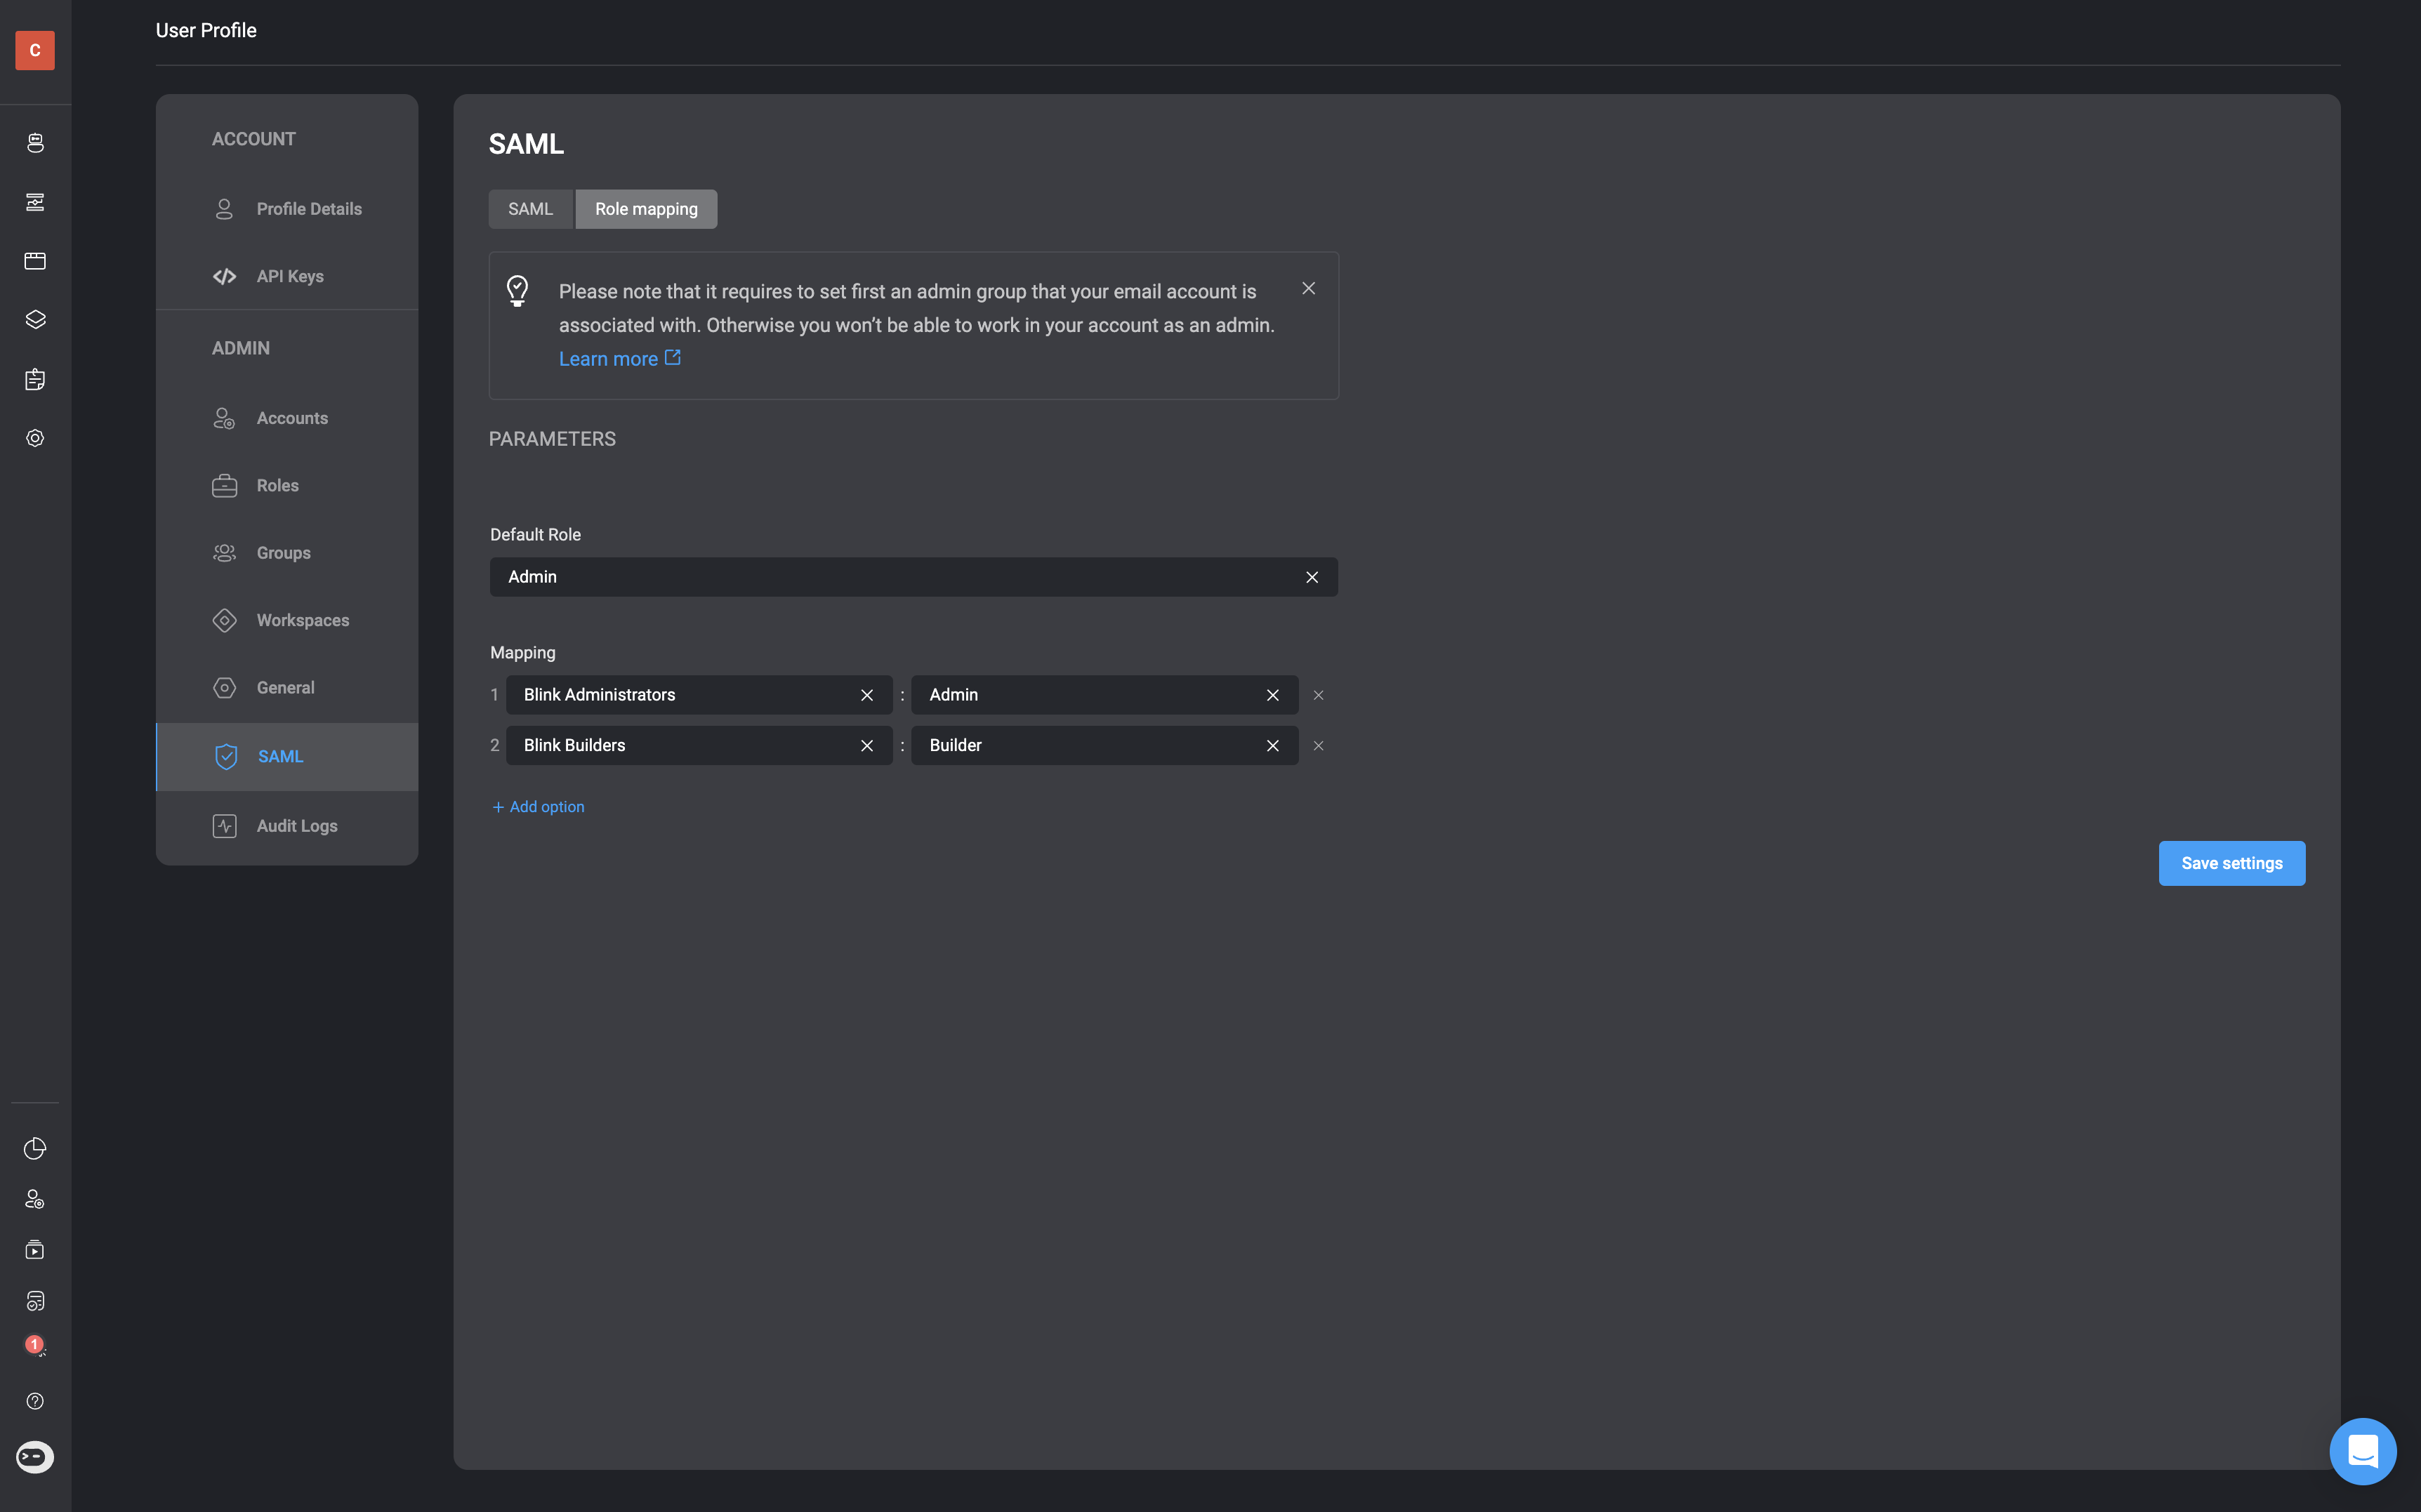
Blink provides the option to configure an external Identity Provider to use within the Blink platform. Any SAML app can be connected to Blink. Blink provides templates for:Role Mapping
Role Mapping is the method by which Blink synchronizes Identity Providers to the Blink Ops platform. Please be aware that configuring Role Mapping varies depending on the Identity Provider you are using. Therefore, it’s crucial to carefully follow the instructions tailored to your chosen Identity Provider when setting up Role Mapping.Note: When mapping a Blink group to an Identity Provider (IdP), make sure the group is created in Blink before you configure the role mapping in the selected Identity Provider (IdP). Also, the name of the group in Blink must match exactly with the name of the group in the Identity Provider.
IMPORTANT: Please note that in the Mapping section, at least one mapping role must be designated as an admin with administrative privileges. Additionally, the user configuring the group must be a part of the group mapped to the Admin role. Otherwise you won’t be able to operate as an administrator in your account or access and edit the role mapping again.
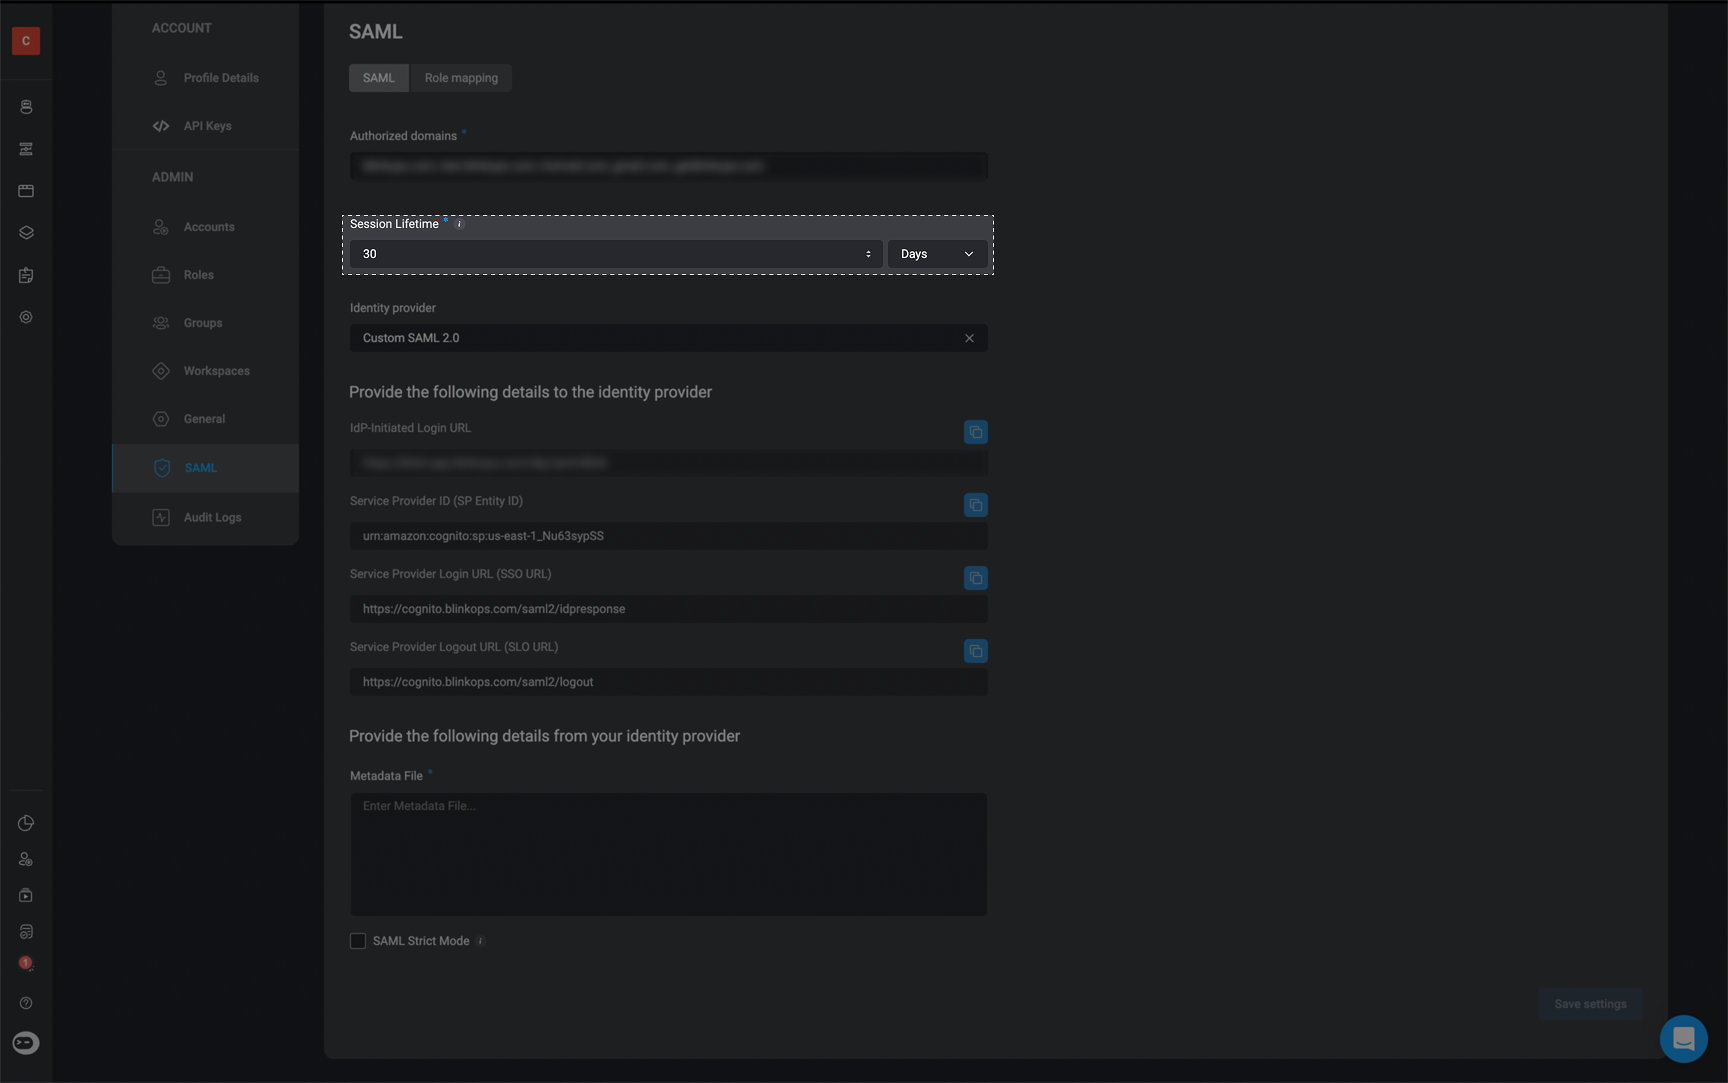
SAML Session Lifetime
Select the duration (in hours or days) a user can remain logged into their account before being automatically logged out and required to log in again. The default time out is
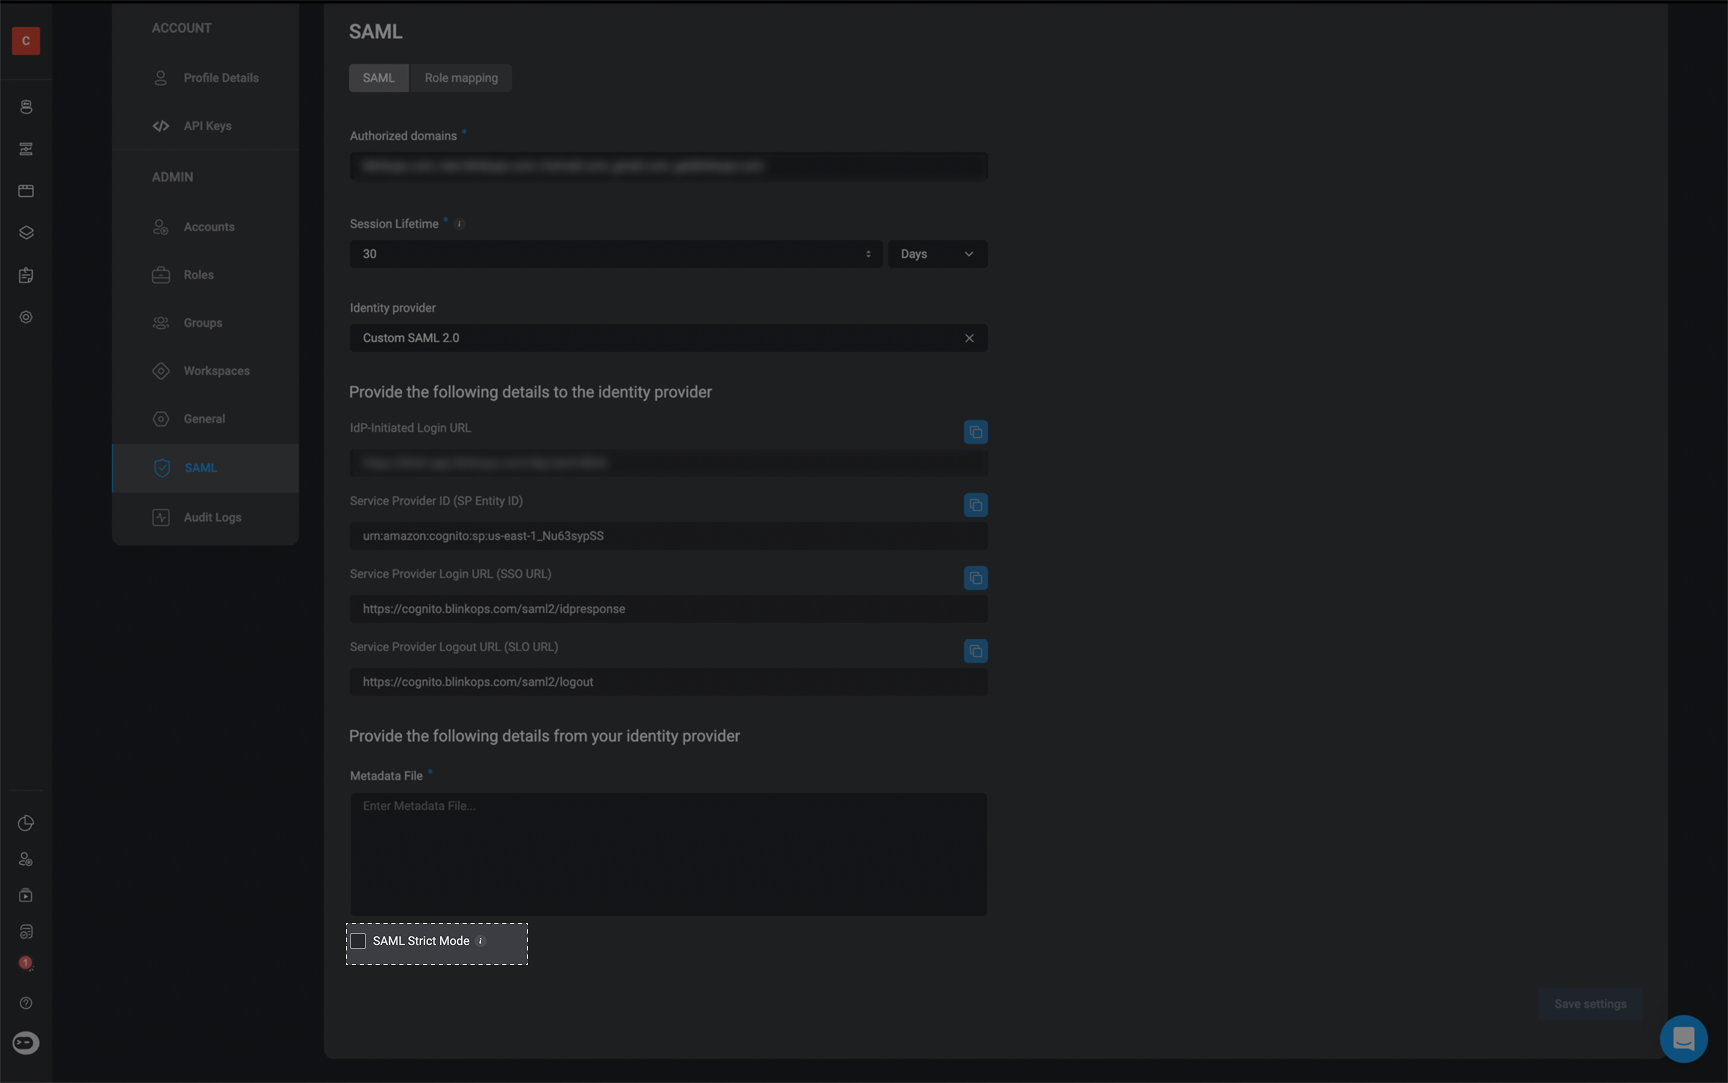
30 days. SAML Strict Mode
Choose weather you would like to enable SAML Strict Mode by checking the box. When enabling SAML Strict Mode , all organization users who are not administrators must use SAML to sign in to Blink. Admins retain access to alternative sign-in modes for trouble shooting purposes.