Note: Two-Factor Authentication is only available for the email login option.
Enabling Two-Factor Authentication (2FA) for Your Account
Two-Factor Authentication (2FA) is enabled at the tenant level and is automatically enforced for all users in the tenant upon login.
1
Access User Settings
Navigate to the bottom-left corner of the Blink interface and click on the circle displaying your initials.
2
Open General Settings
From the ‘User Settings’ menu, select ‘General’.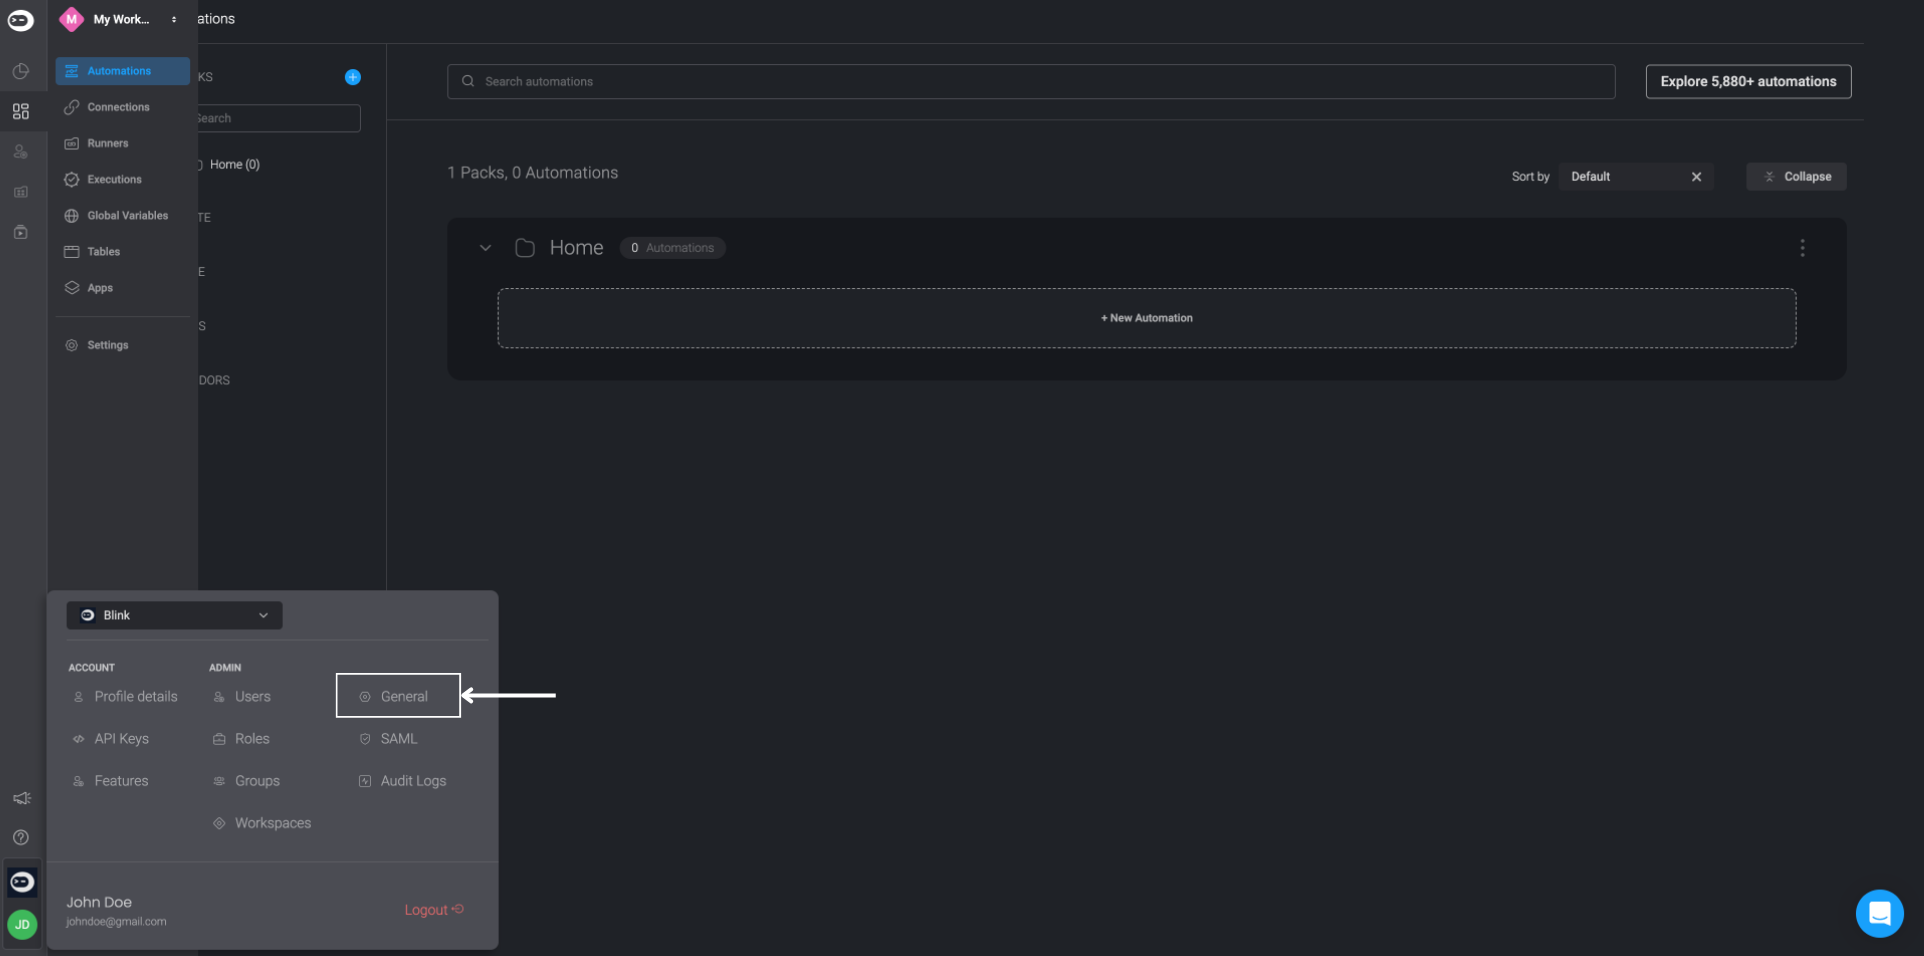
3
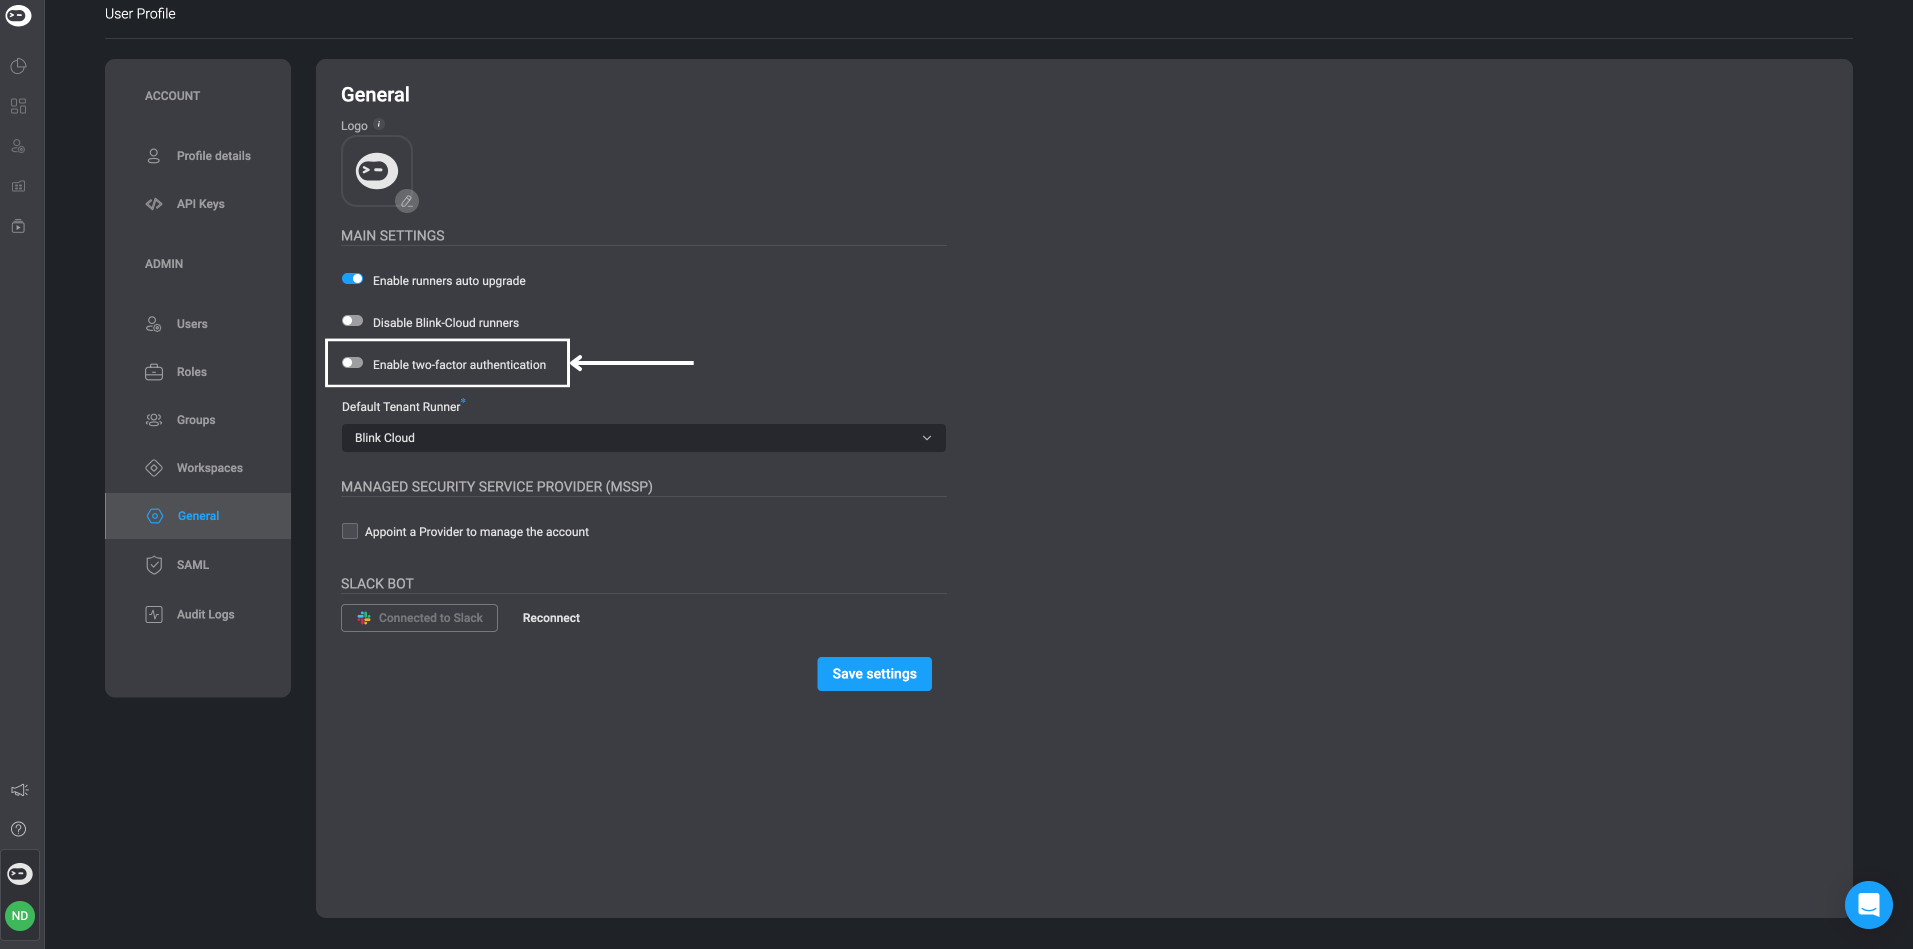
Activate Two-Factor Authentication
On the ‘General Settings’ page, locate the ‘Enable Two-Factor Authentication’ option and toggle it on to activate the feature.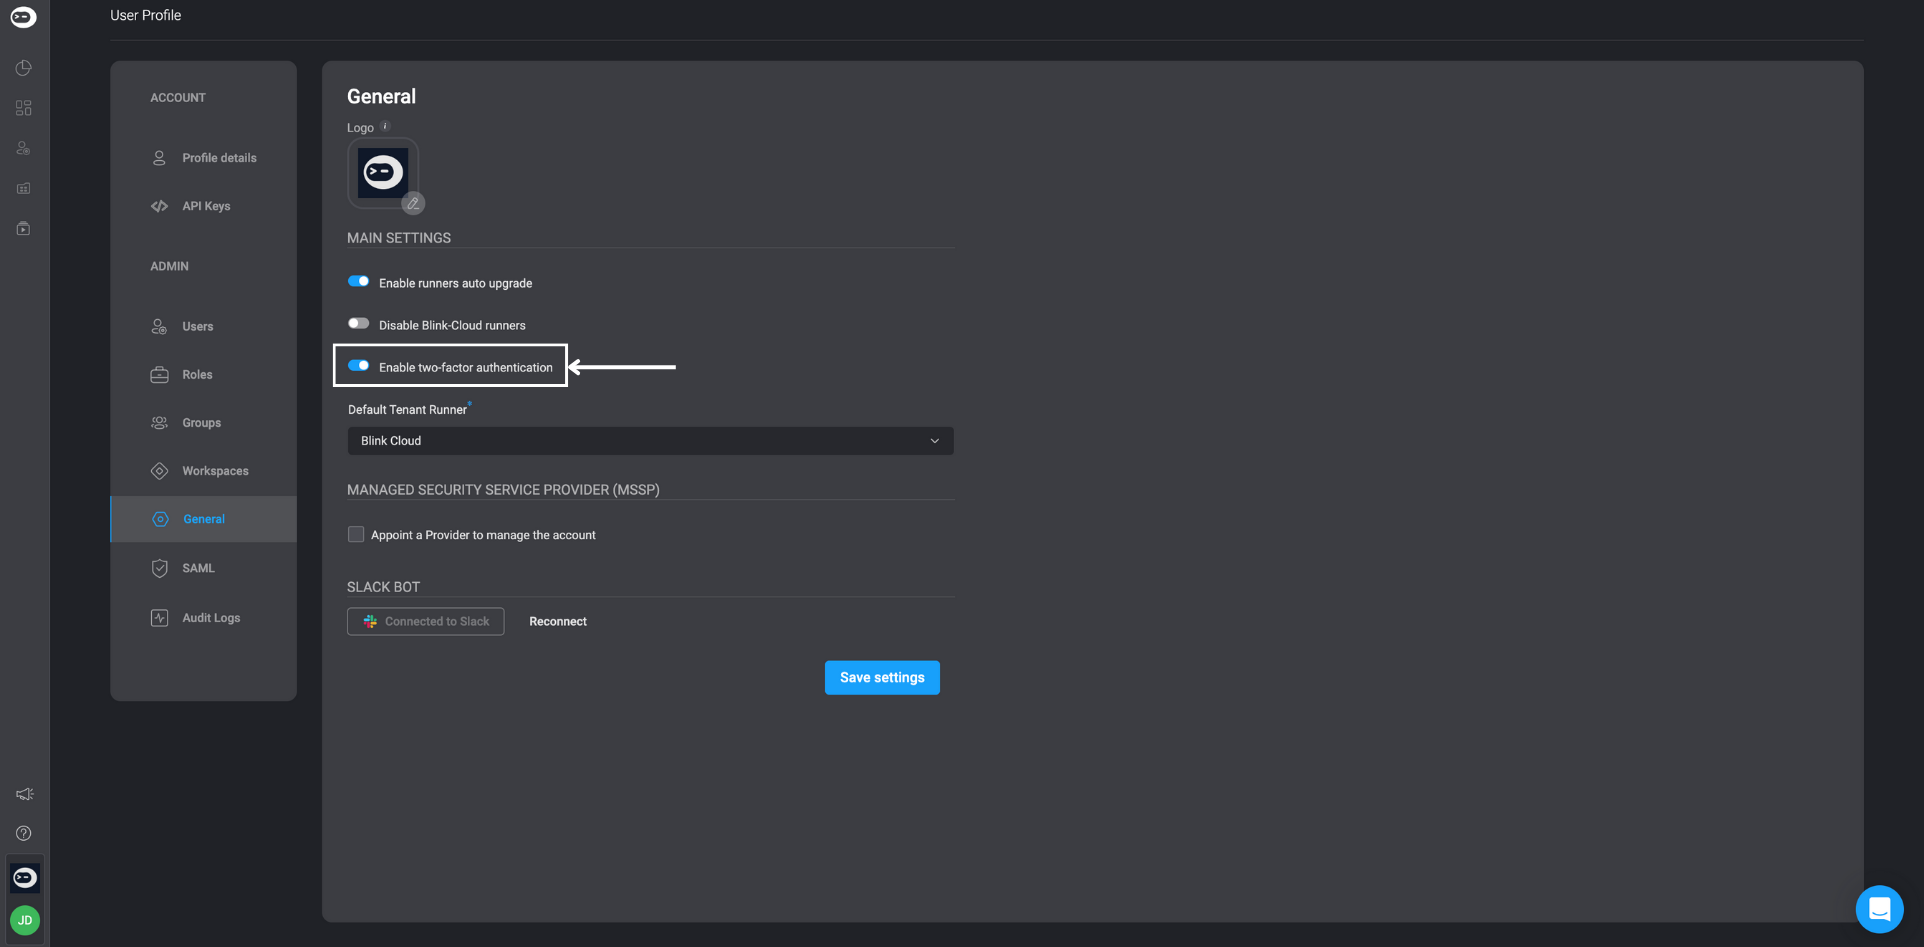
4
Save Settings
Click ‘Save Settings’ to confirm the activation of Two-Factor Authentication.
5
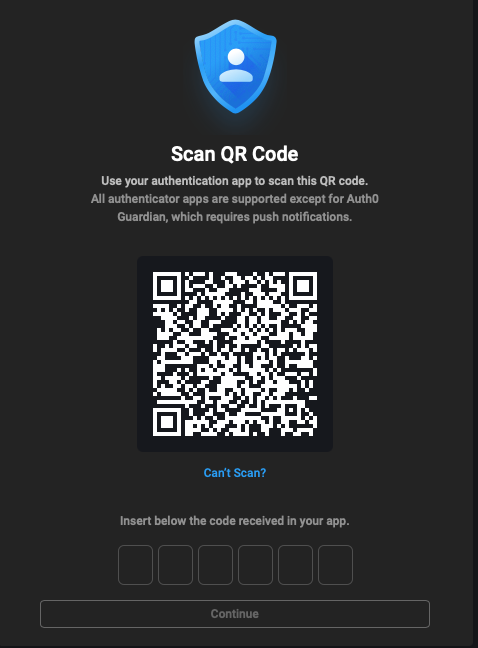
Scan QR Code
Using your preferred authenticator app, scan the barcode displayed on the screen.
6
Enter Verification Code
In your authenticator app, retrieve the unique 6-digit code. Enter this code in the designated field, then click ‘Continue’.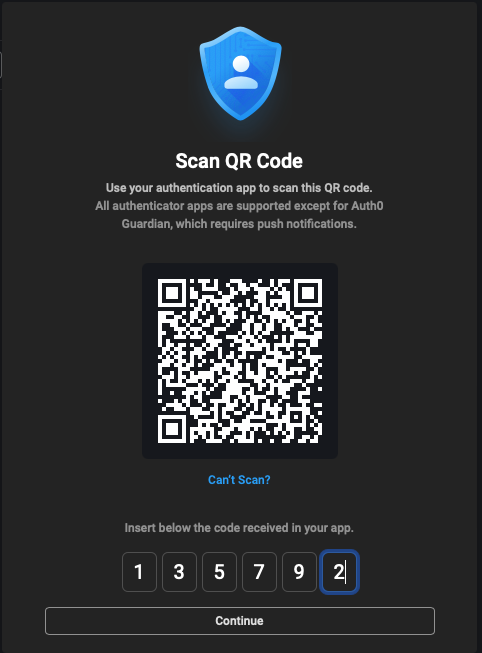
7
Sign Back Into Blink
You will be redirected to the Sign-In page. Sign back into your Blink account.
Follow the prompt to enter a new authentication code from the same authenticator app to complete the verification.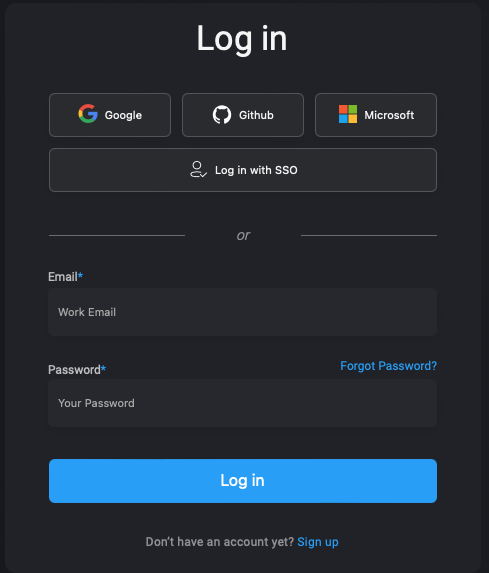
8
Confirm Activation
After successfully logging in, Two-Factor Authentication will be fully activated for your Blink account.
9
Disable Two-Factor Authentication (Optional)
At any time, you can choose to disable Two-Factor Authentication by toggling the ‘Enable Two-Factor Authentication’ switch off.