Adding the Table Widget
- In the Edit Mode tab of the Dashboards Building Interface, click the “add a widget” button.

- Choose the Table option from the widget list.
- Choose a data source:Tables or Case Management Tables and proceed by selecting the specific table from the data source you would like to use.
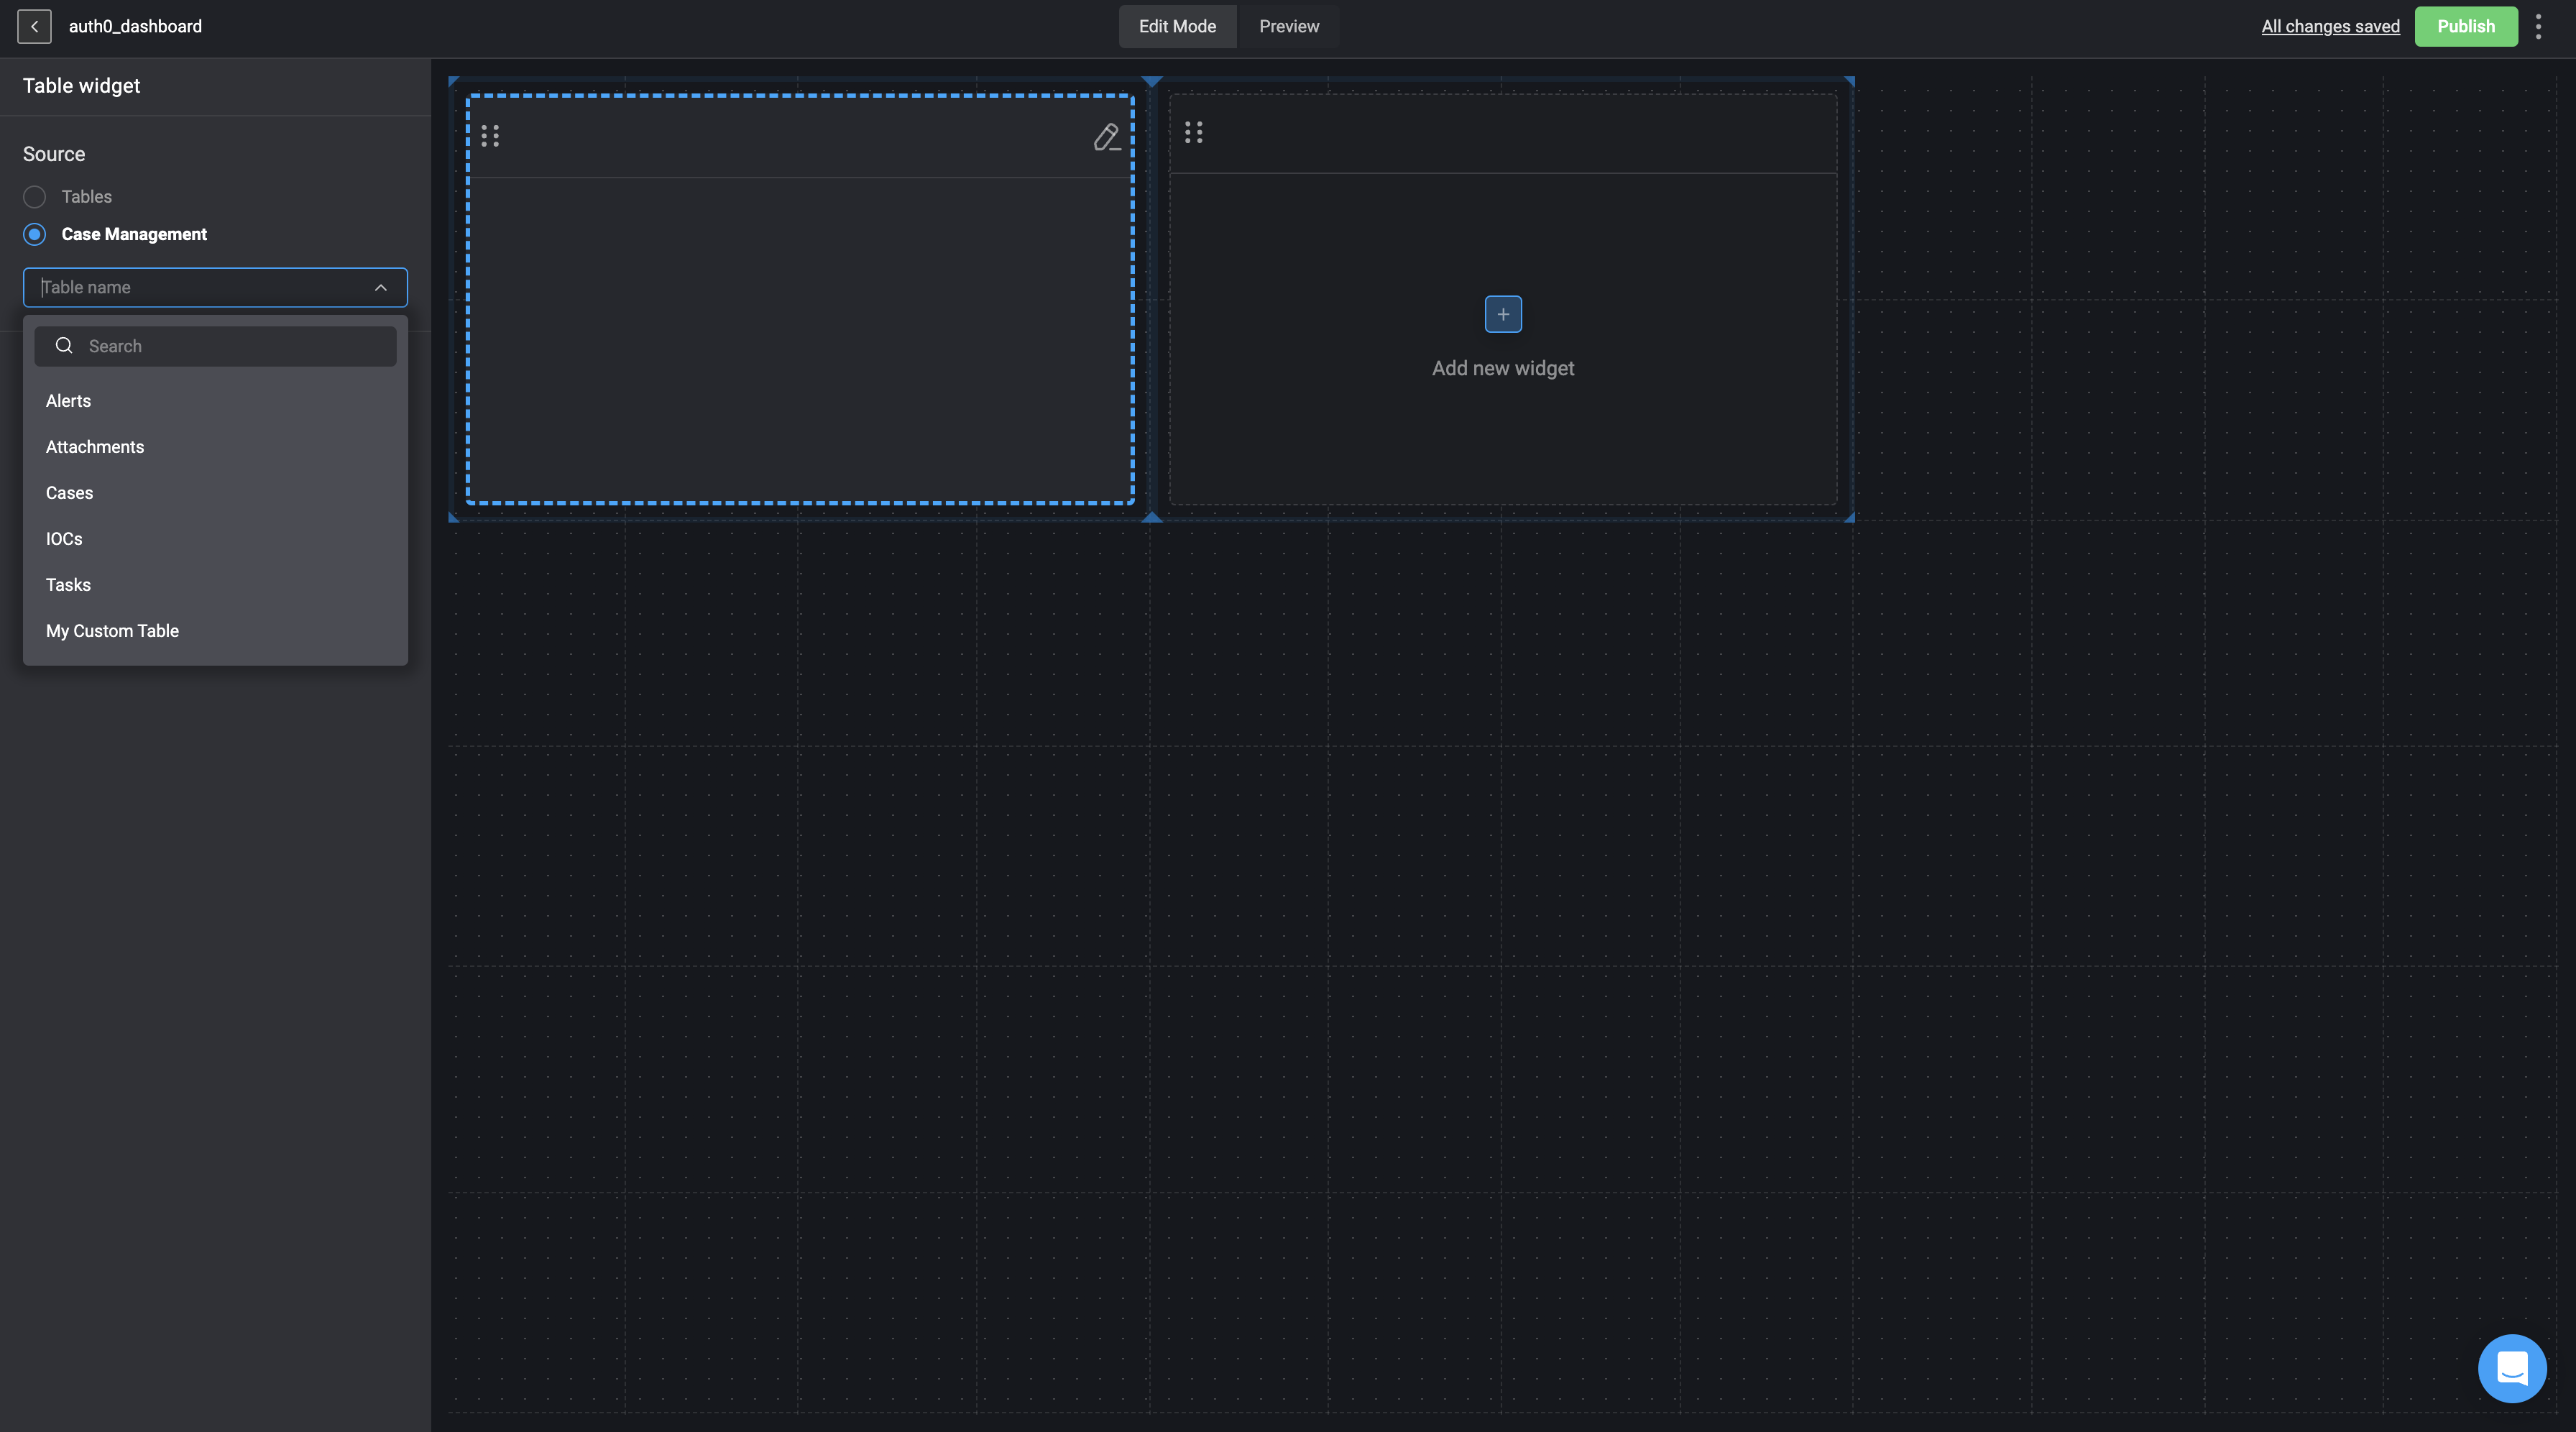
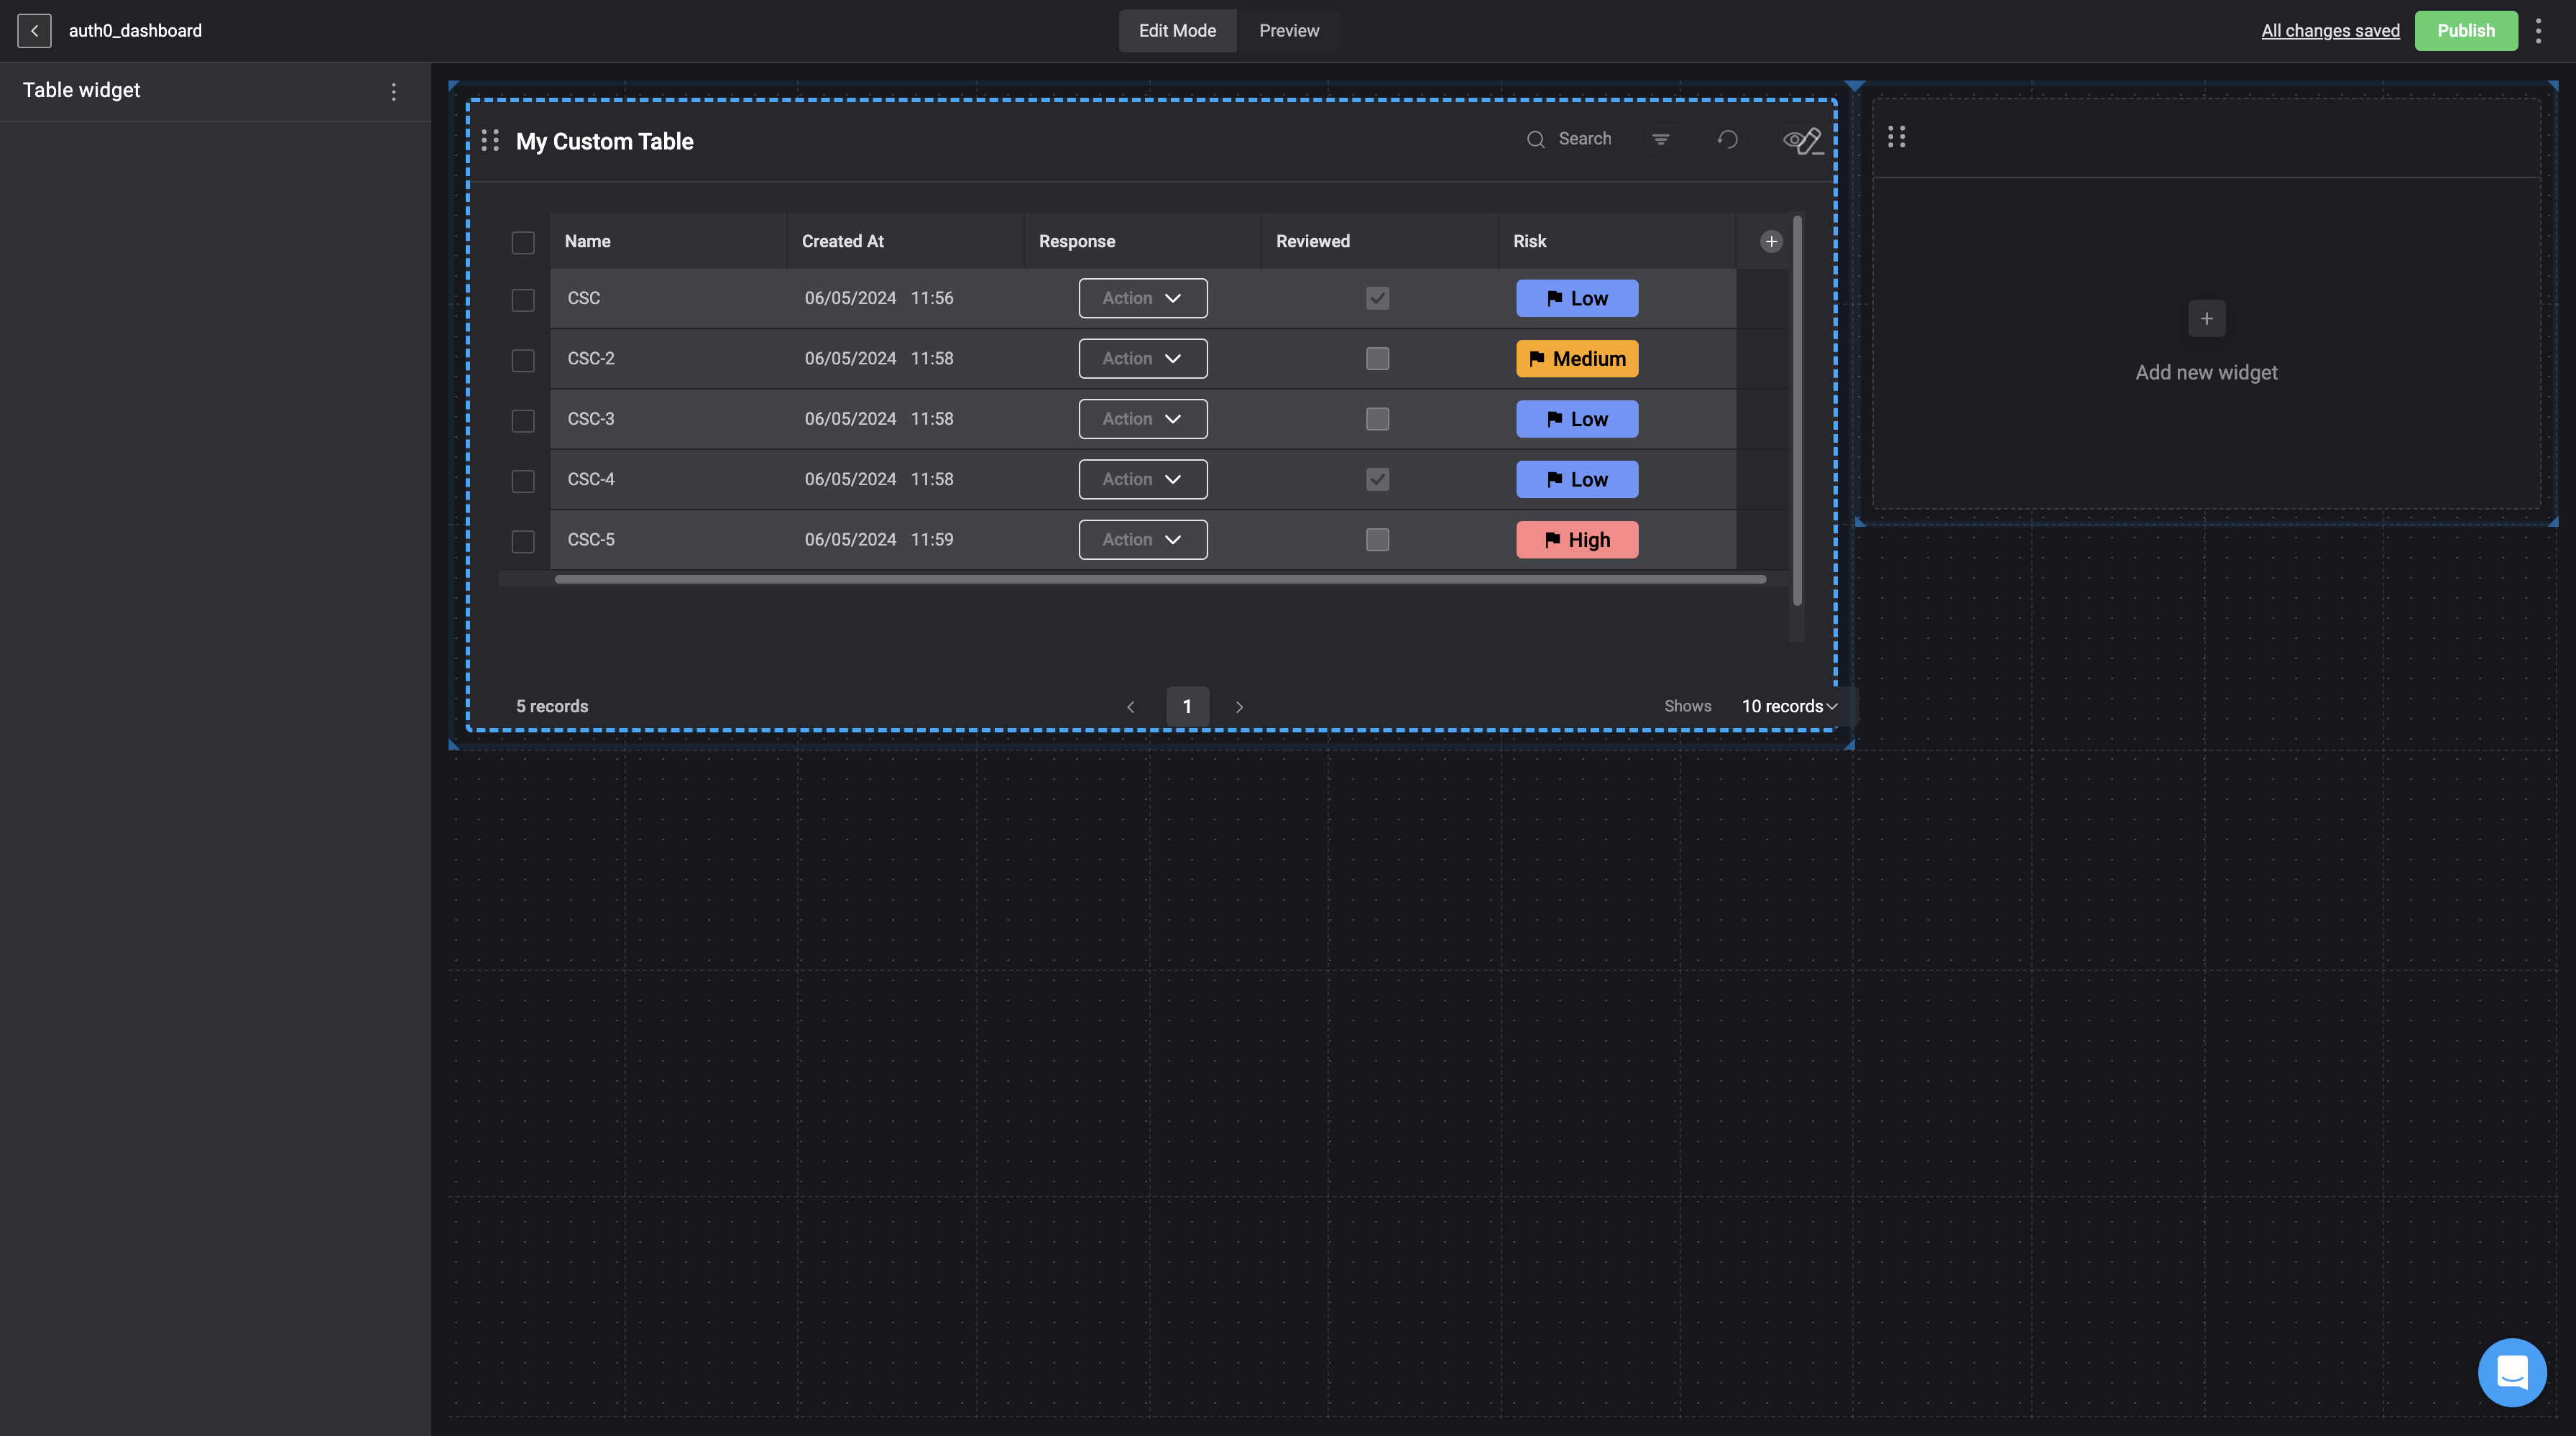
- Your selected table will then be reflected as a widget on the Dashboard Building Interface.
Export Table Widget
You can export the data displayed in a selected table widget as a structuredCSV file. This allows you to easily download and share the table’s data in a standard, organized format.
The table data will be sanitized-an apostrophe will be added to values that start with
=, +, -, @
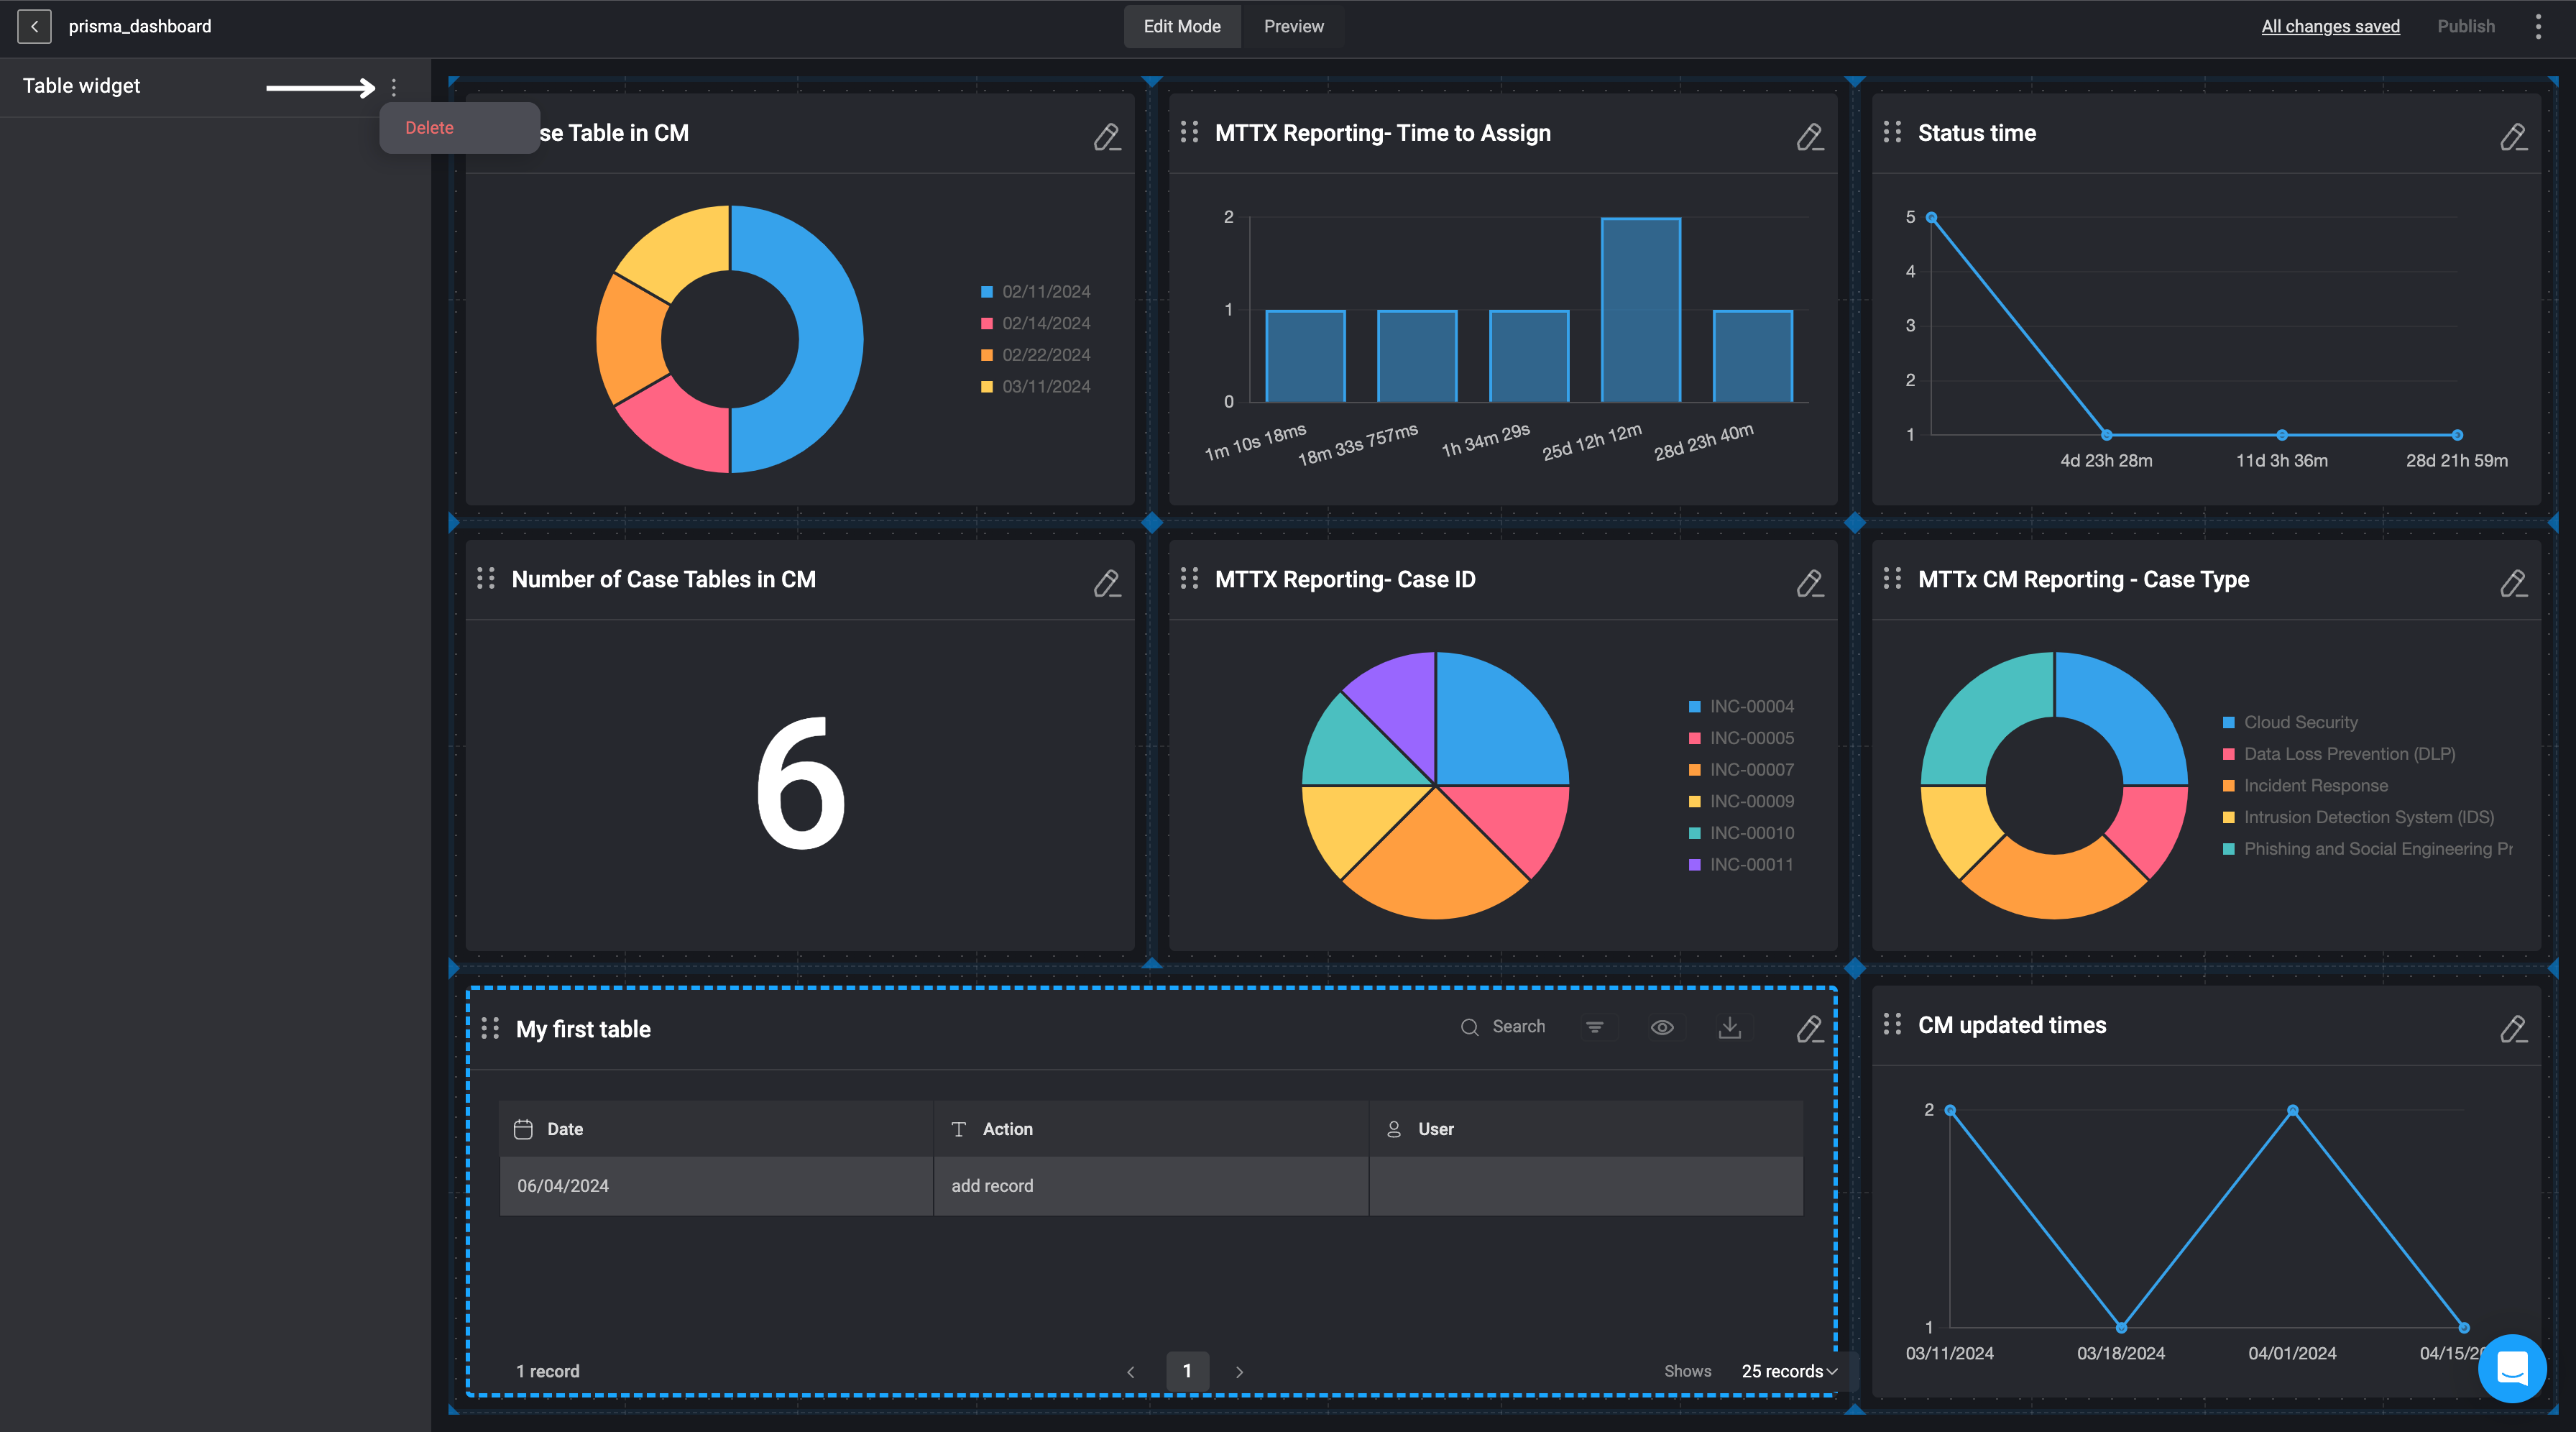
Editing a Table Widget
To modify a selected Table Widget, please update the original Tables or Case Management Tables directly at the source.Deleting a Table Widget
-
In the left-hand sidebar, click the icon in the top-right corner and then select the delete button.
- The Table Widget will be removed from your Dashboard Building Interface.