Create a Storage Account
- Log in to the Azure Portal, search for Storage accounts, and click Create.
-
Pick your Subscription and Resource group, give the account a globally-unique Storage account name, choose a Region close to where your runner will execute, and leave the remaining defaults (Standard performance, Geo-redundant storage is fine for most use cases).
Follow Azure storage account naming rules: 3–24 characters, lowercase letters and numbers only.
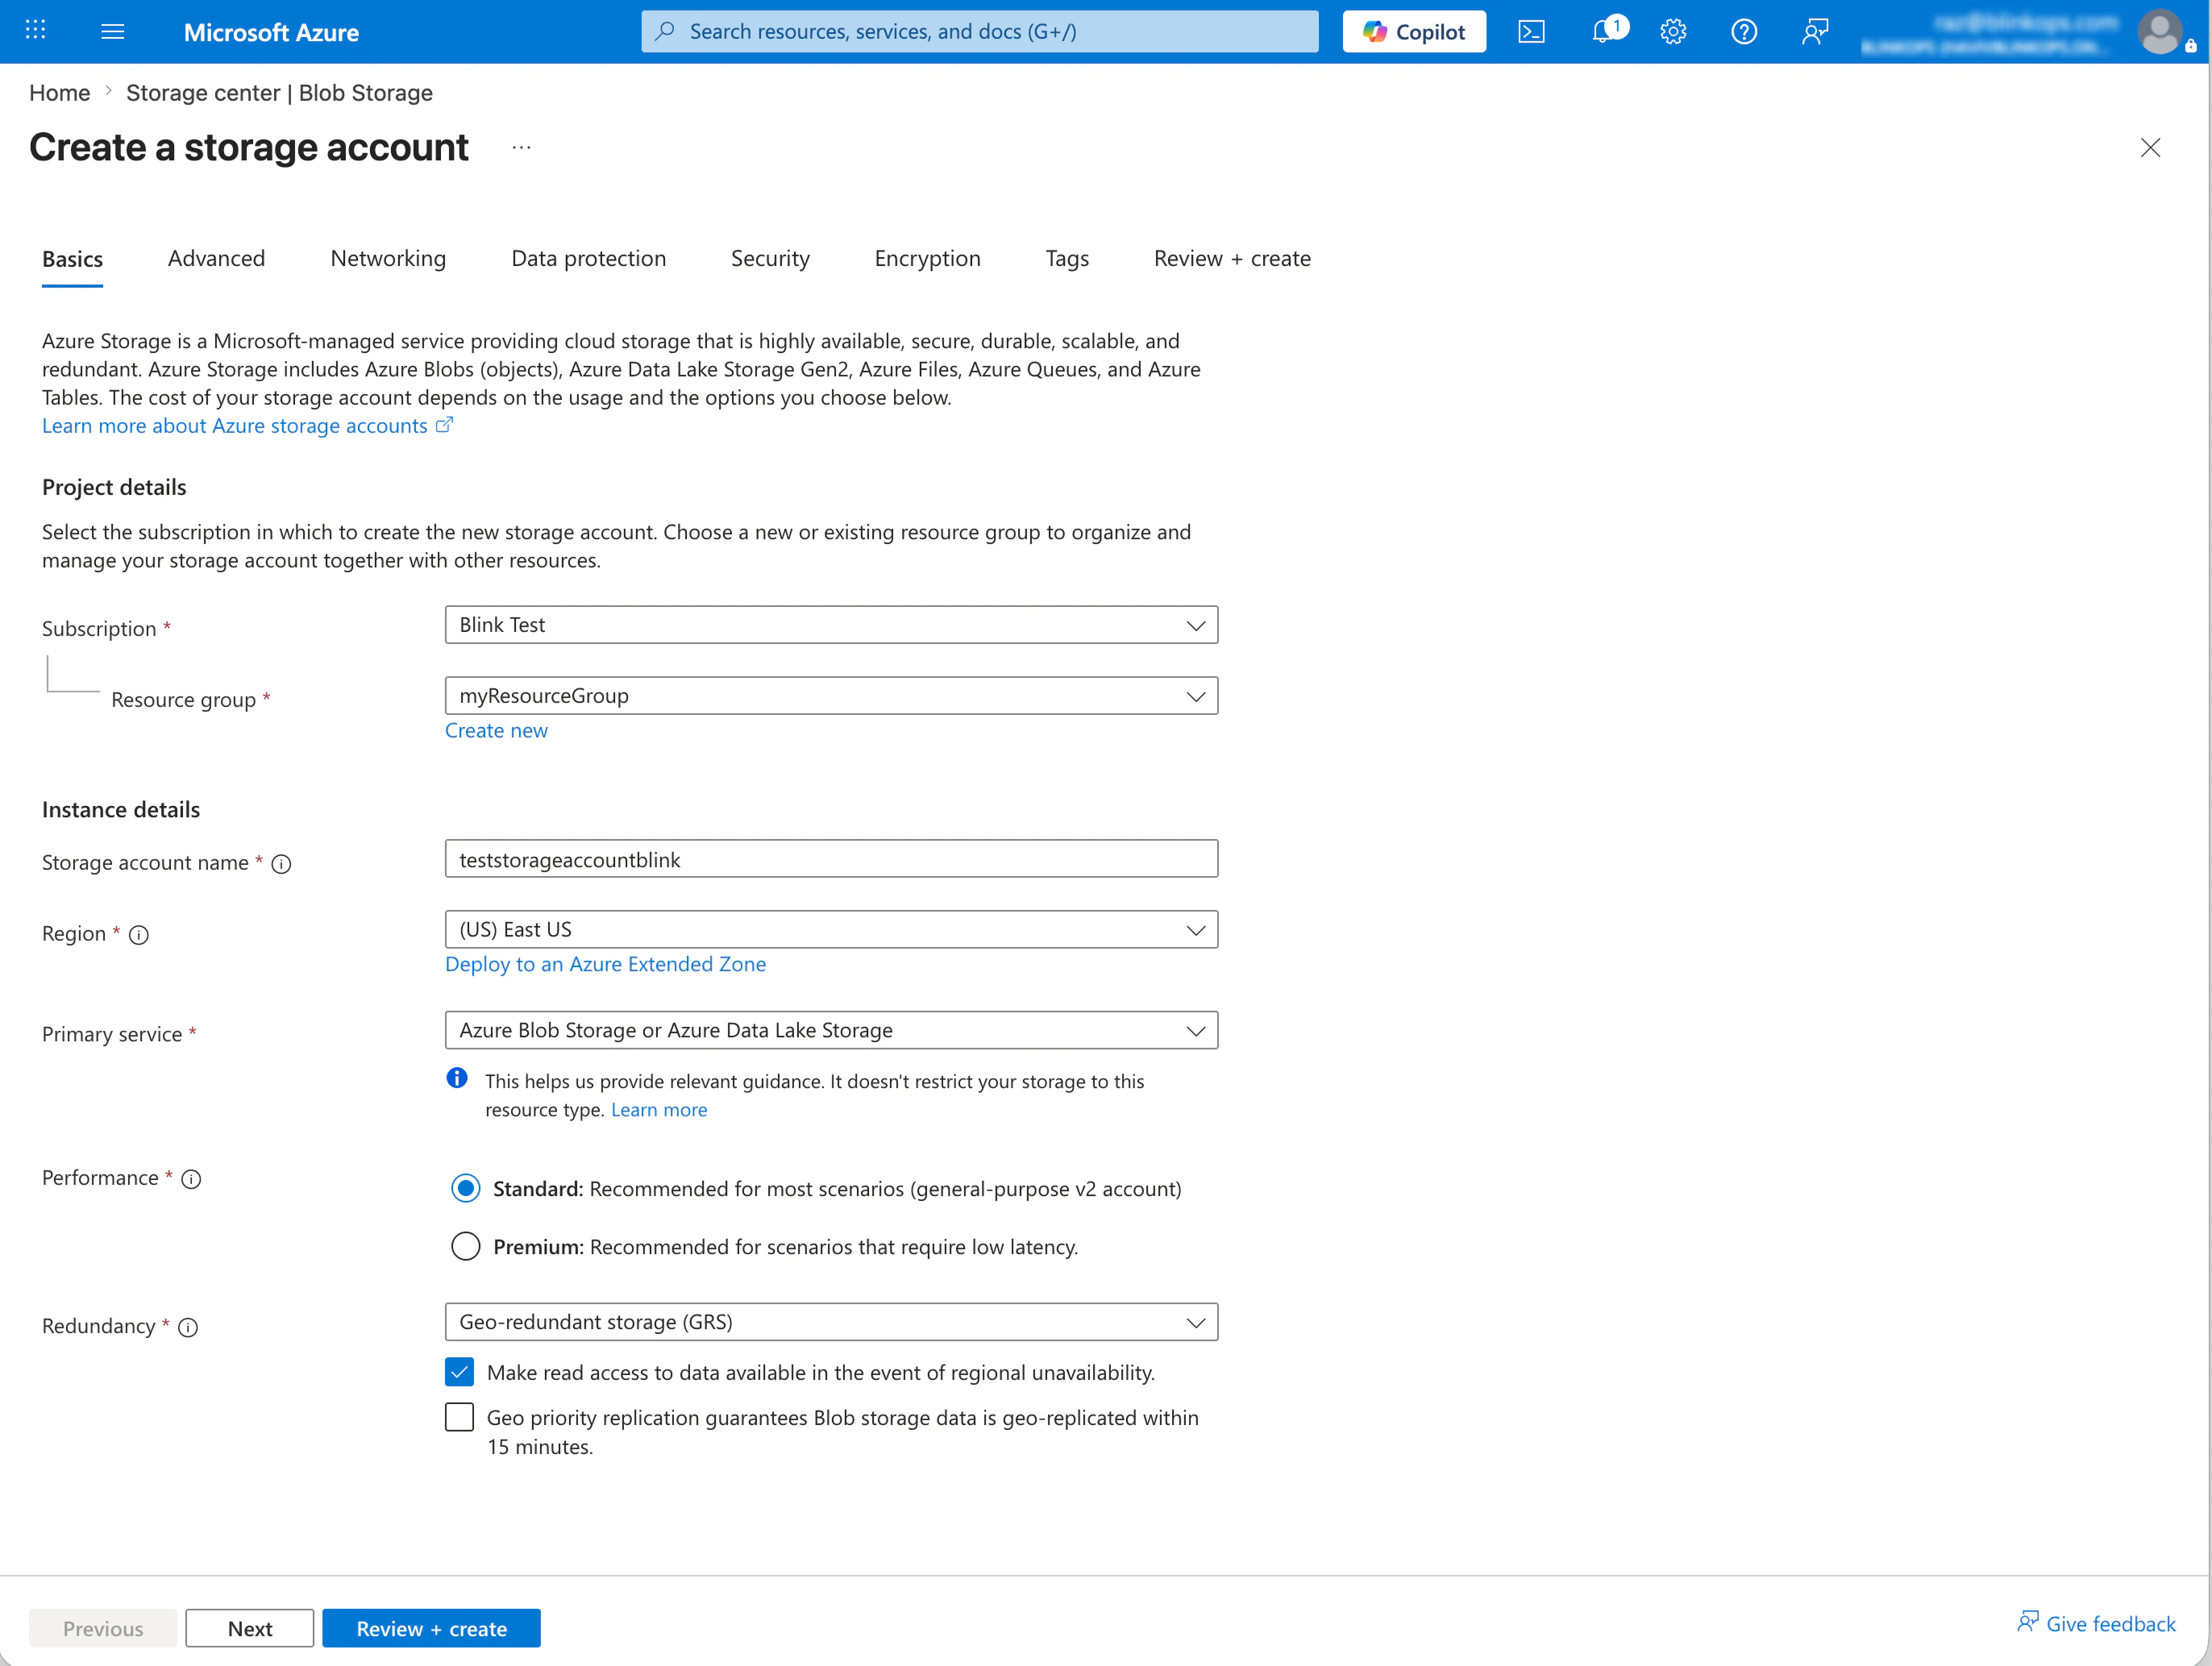
- Review and click Create. Wait for deployment to finish before moving on.
Create a Blob Container
- Open the new storage account and navigate to Data storage → Containers in the left-hand menu.
-
Click + Container, give it a name (for example,
blink-runner-execution-storage), and leave Public access level as Private (no anonymous access).Use a dedicated container per workspace. The runner issues a single container-scoped SAS to executions, so a container should not be shared between unrelated tenants.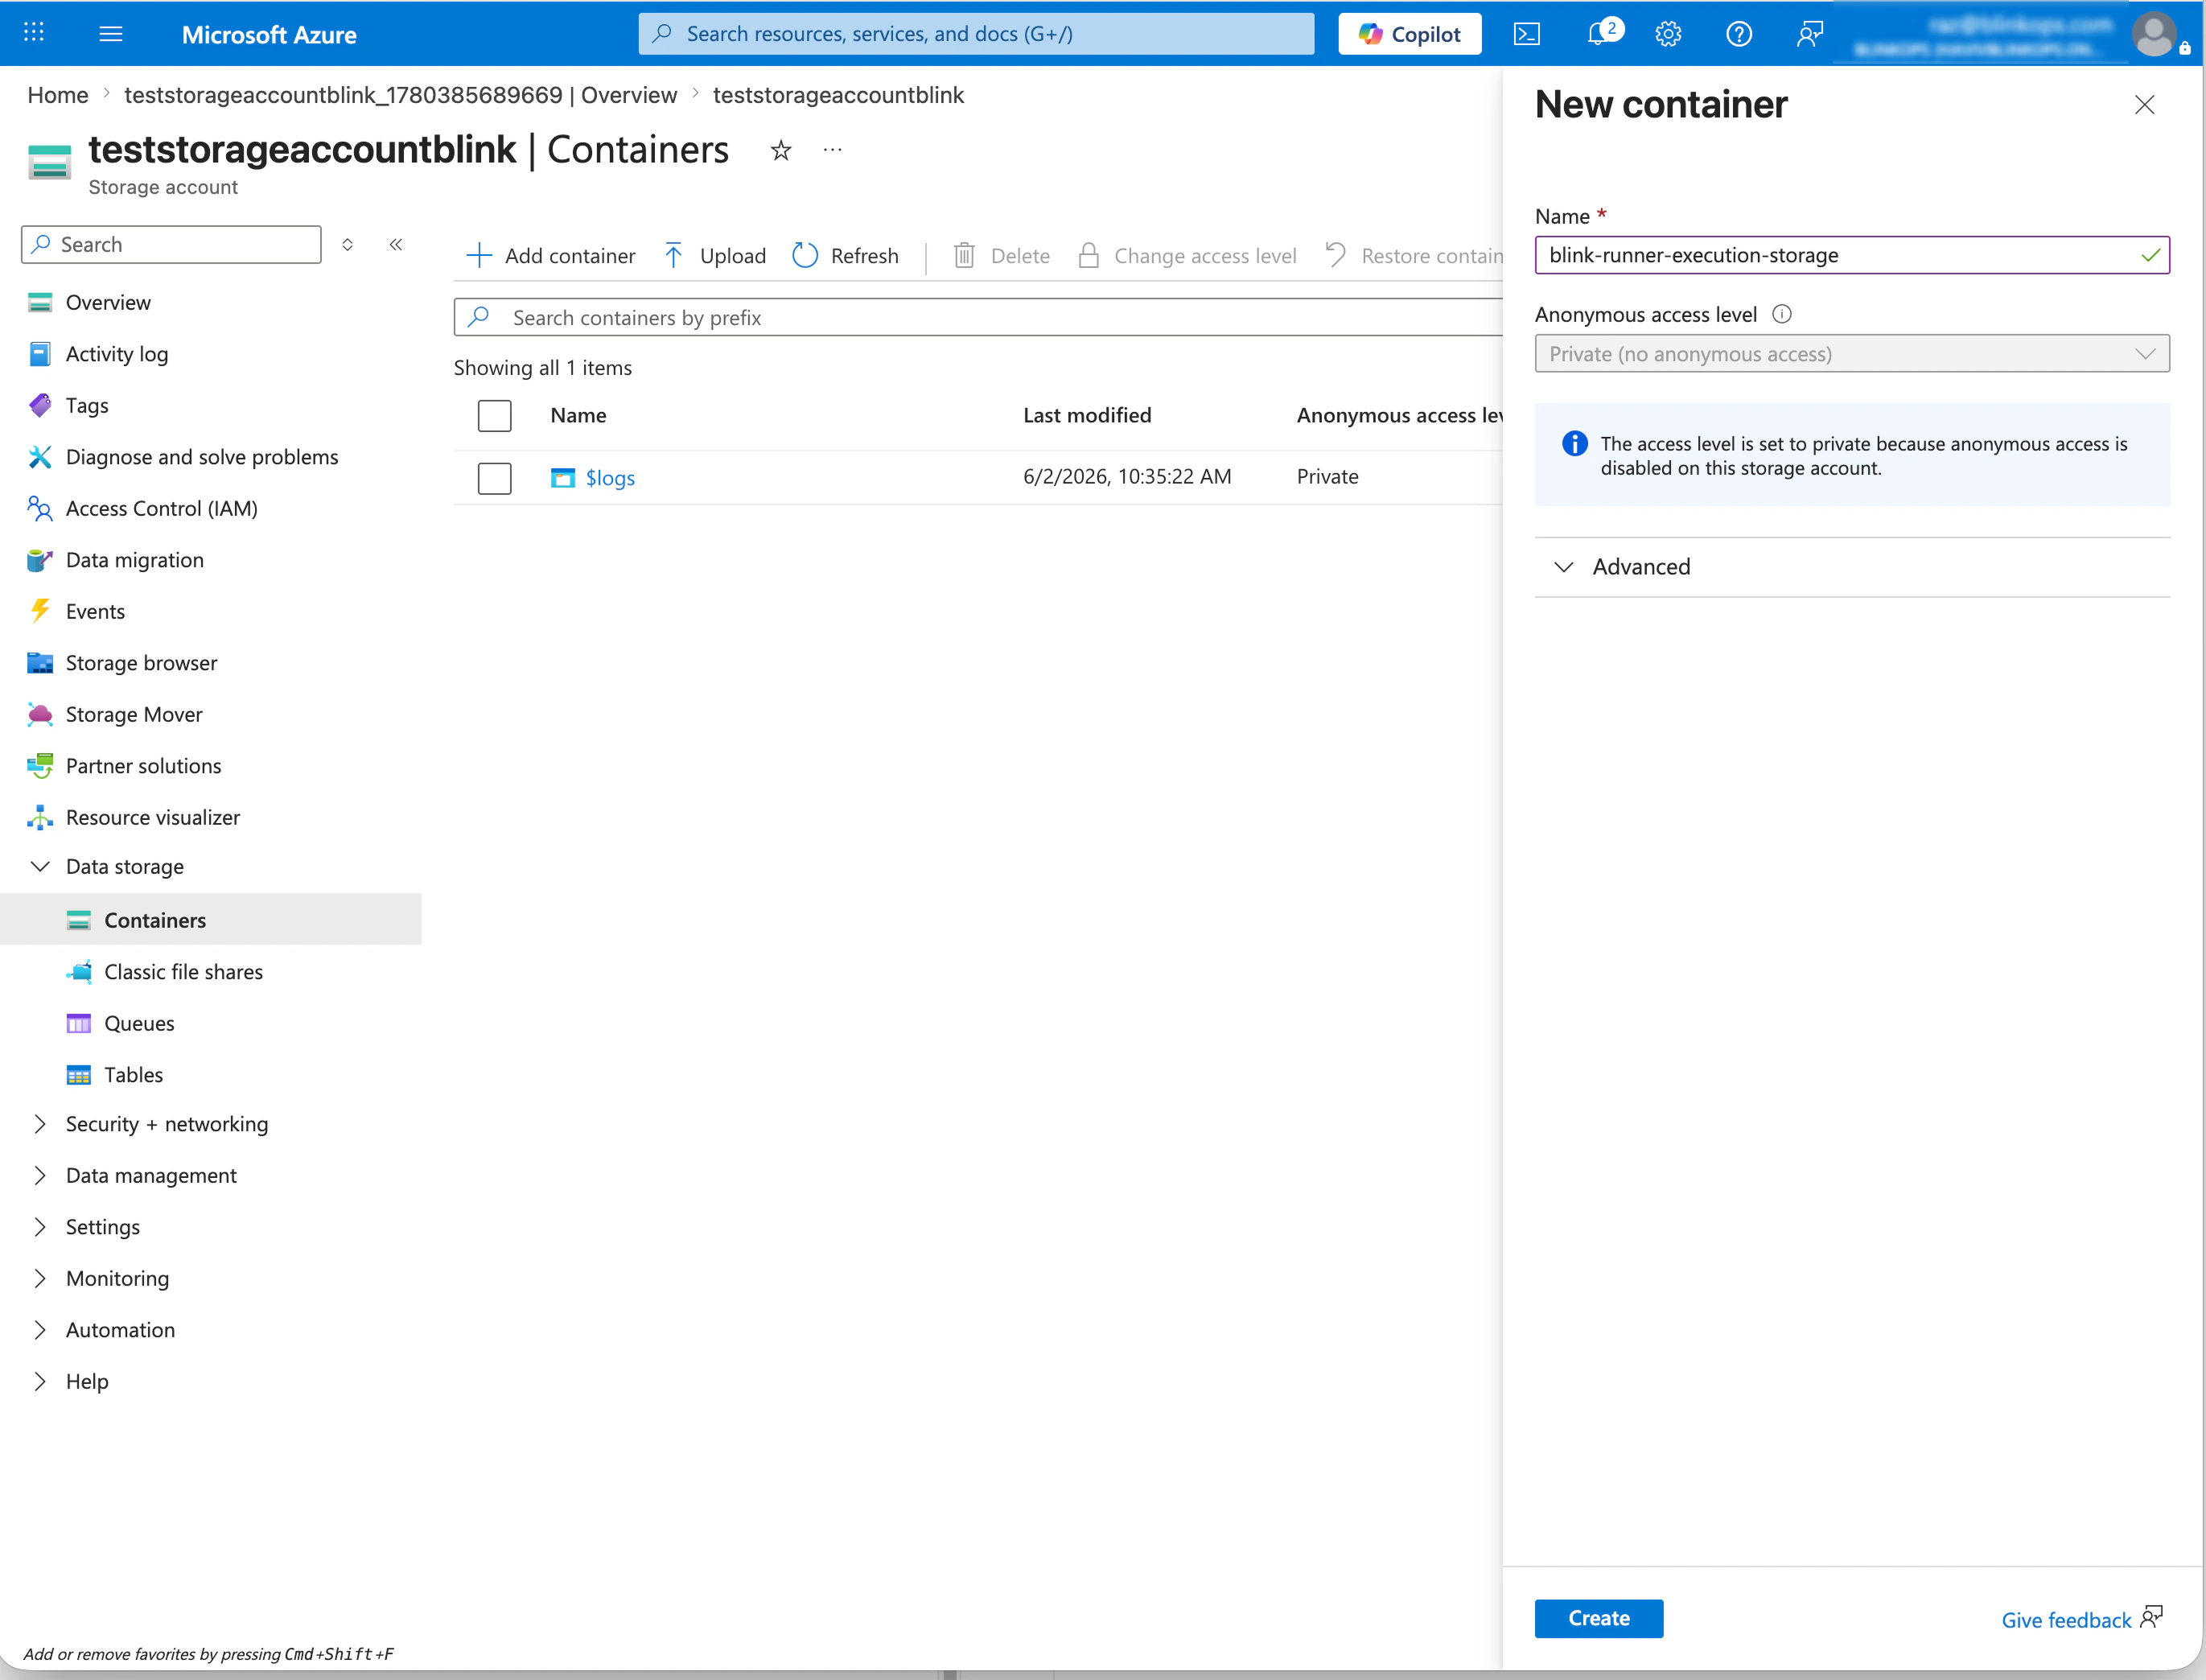
- Click Create.
Copy the Connection String
- Back on the storage account, open Security + networking → Access keys.
-
Reveal
key1(orkey2) and copy the Connection string field. It looks like:Treat the connection string as sensitive — it grants full access to the storage account. Store it in Kubernetes Secrets, Docker secrets, or a managed secret store. Do not hardcode it into source.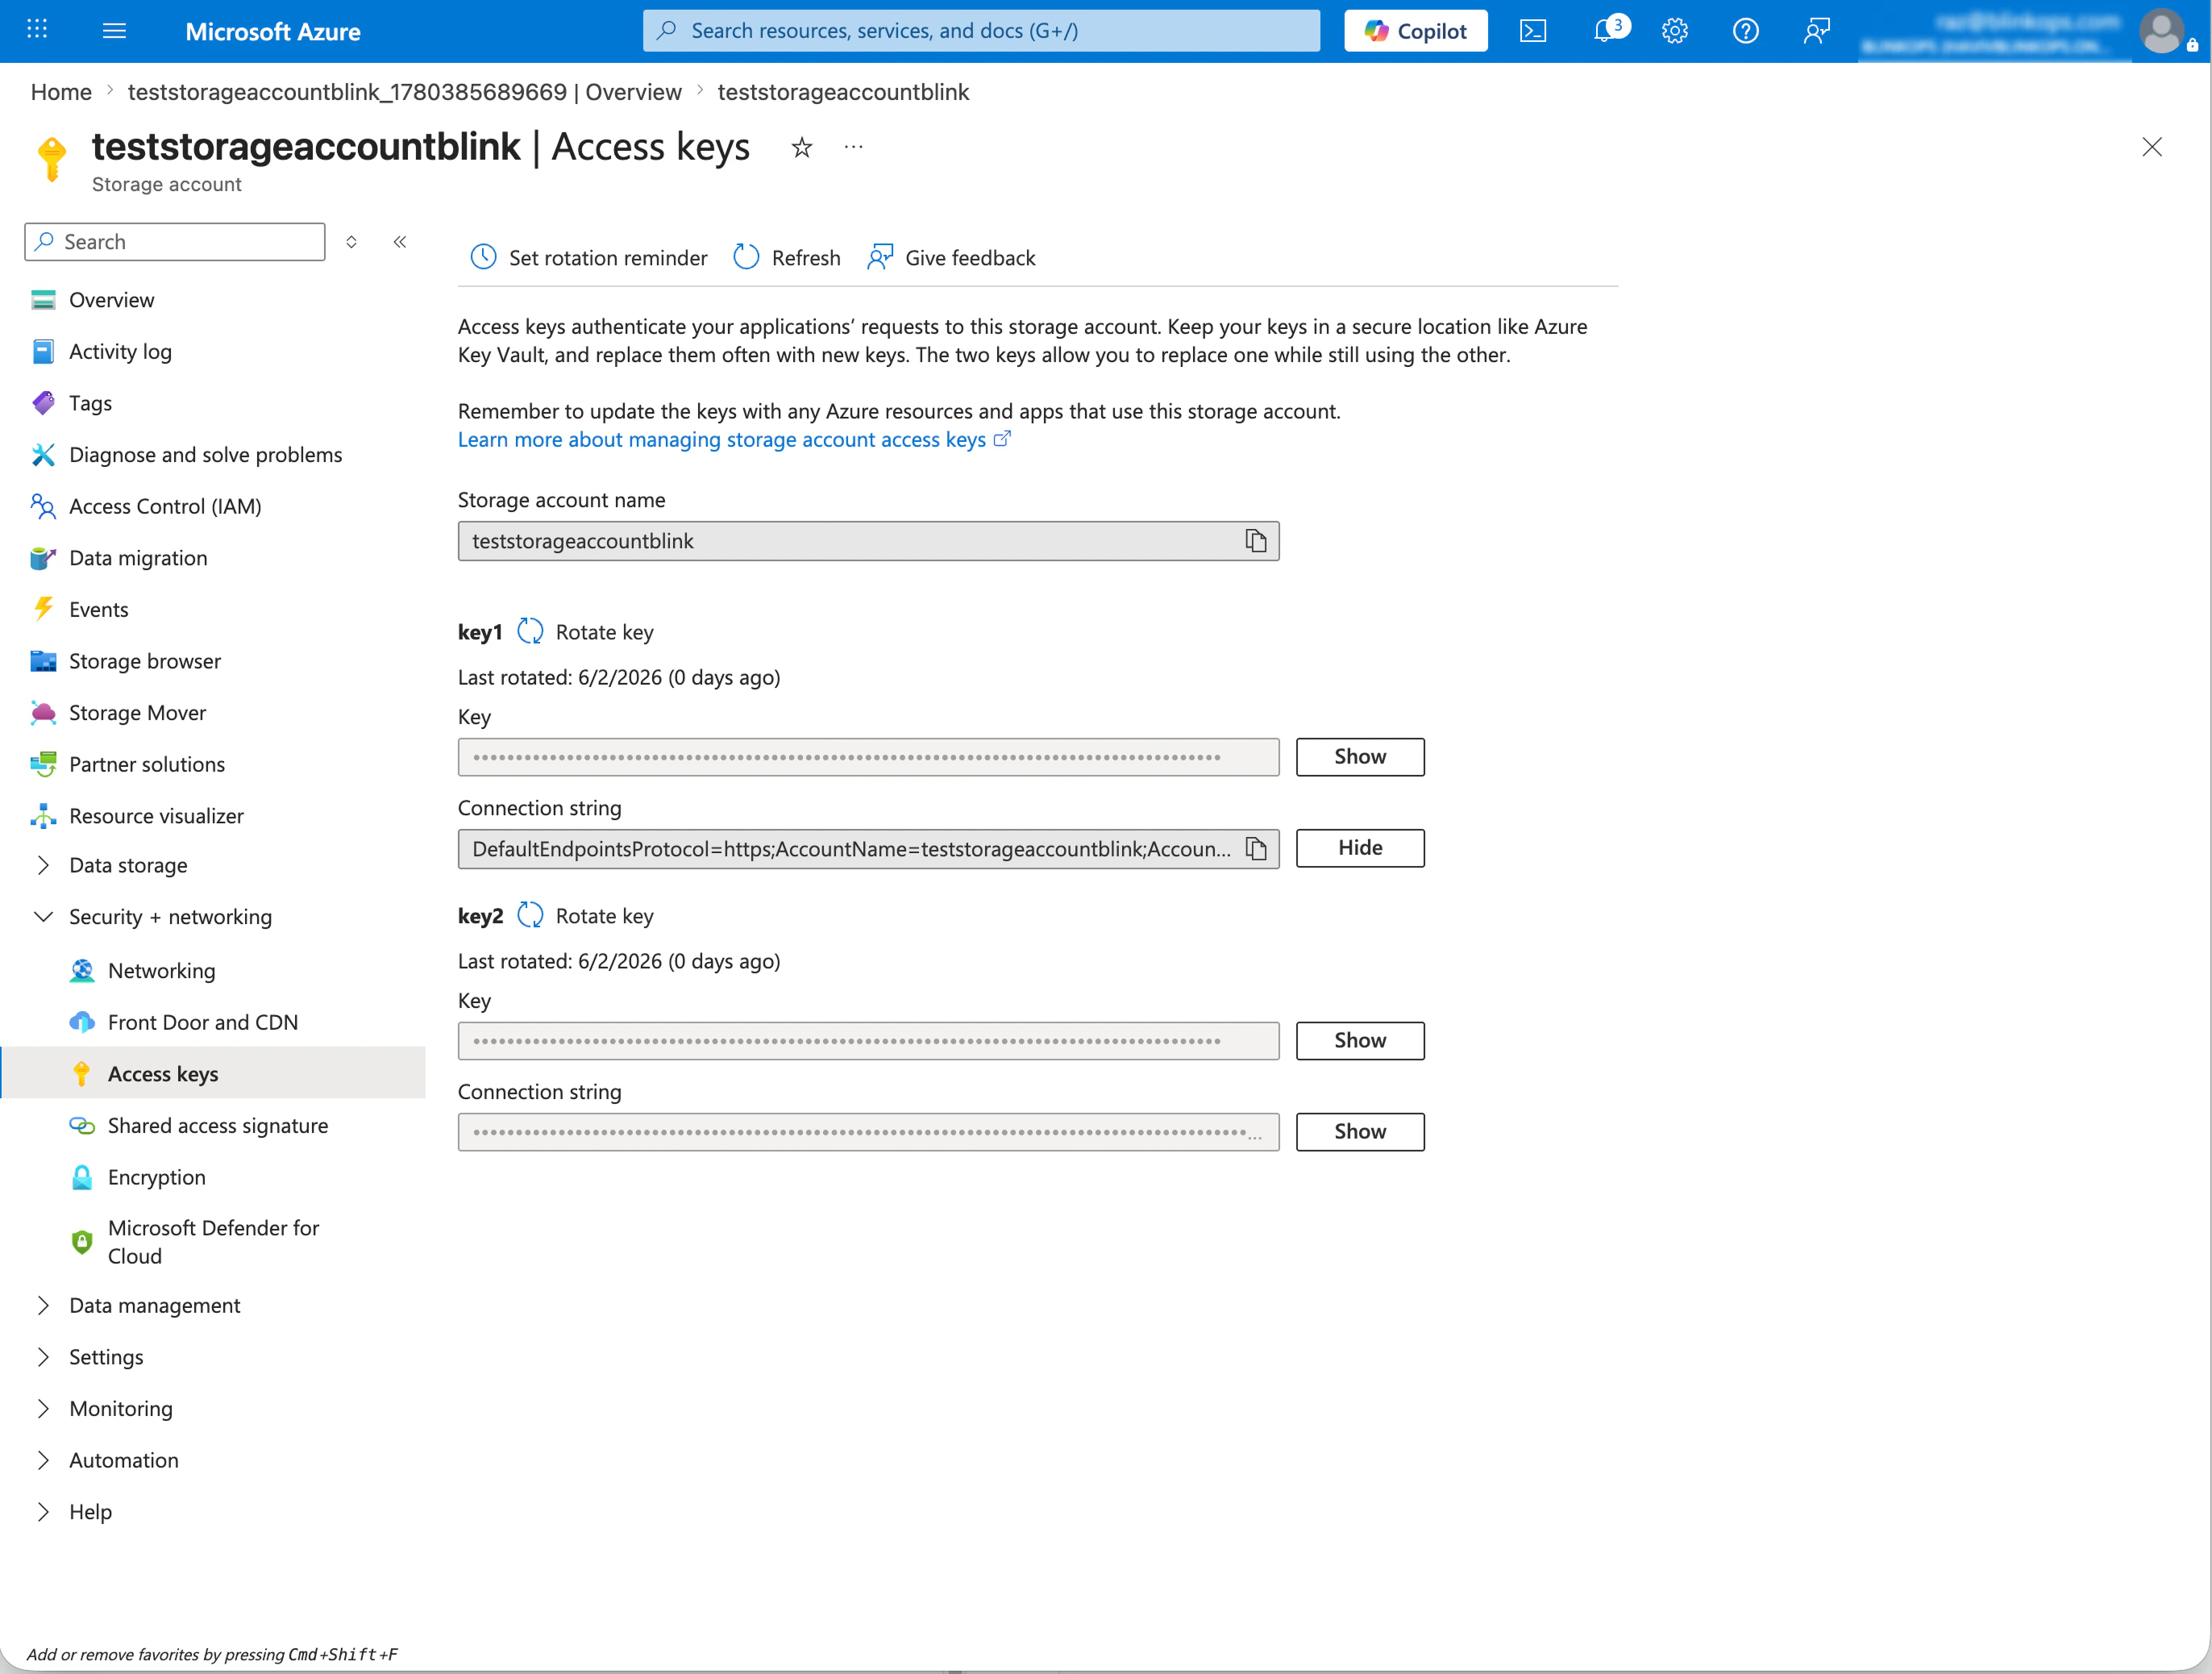
- You can rotate the key from this same page at any time; the runner reads the connection string at startup, so rolling the key requires a runner restart.
Deploy the Blink Runner Using the Azure Storage Credentials
After creating the container and copying the connection string, deploy the runner with these additional configuration values. Pick the section that matches your installation.
Deploying the Runner in Kubernetes
Run the Helm command provided by Blink in the UI, but make sure to include the additional configurations below to enable Azure Blob Storage for the runner:- Replace
<account>and<key>with the values from the storage account’s Access keys page (Step 3). - Replace
blink-runner-execution-storagewith the container name created in Step 2.
Deploying the Runner in Docker
Run the Docker command provided by Blink in the UI, but make sure to include the additional configurations below to enable Azure Blob Storage for the runner:- Replace
<account>and<key>with the values from the storage account’s Access keys page (Step 3). - Replace
blink-runner-execution-storagewith the container name created in Step 2.
Verify
Run any workflow that creates a file (for example, an action with the Save output to file option enabled). After the run completes, the file should appear in the Azure container under the path:You can verify in the Azure Portal under Containers → blink-runner-execution-storage → (browse) or via the Azure CLI: