1
Login to the Google Cloud Platform
Log in to Google Cloud Platform, navigate to Google Cloud Storage and click Create Bucket.
2
Enter Bucket Details
Provide a name for your bucket and then click the “Continue” button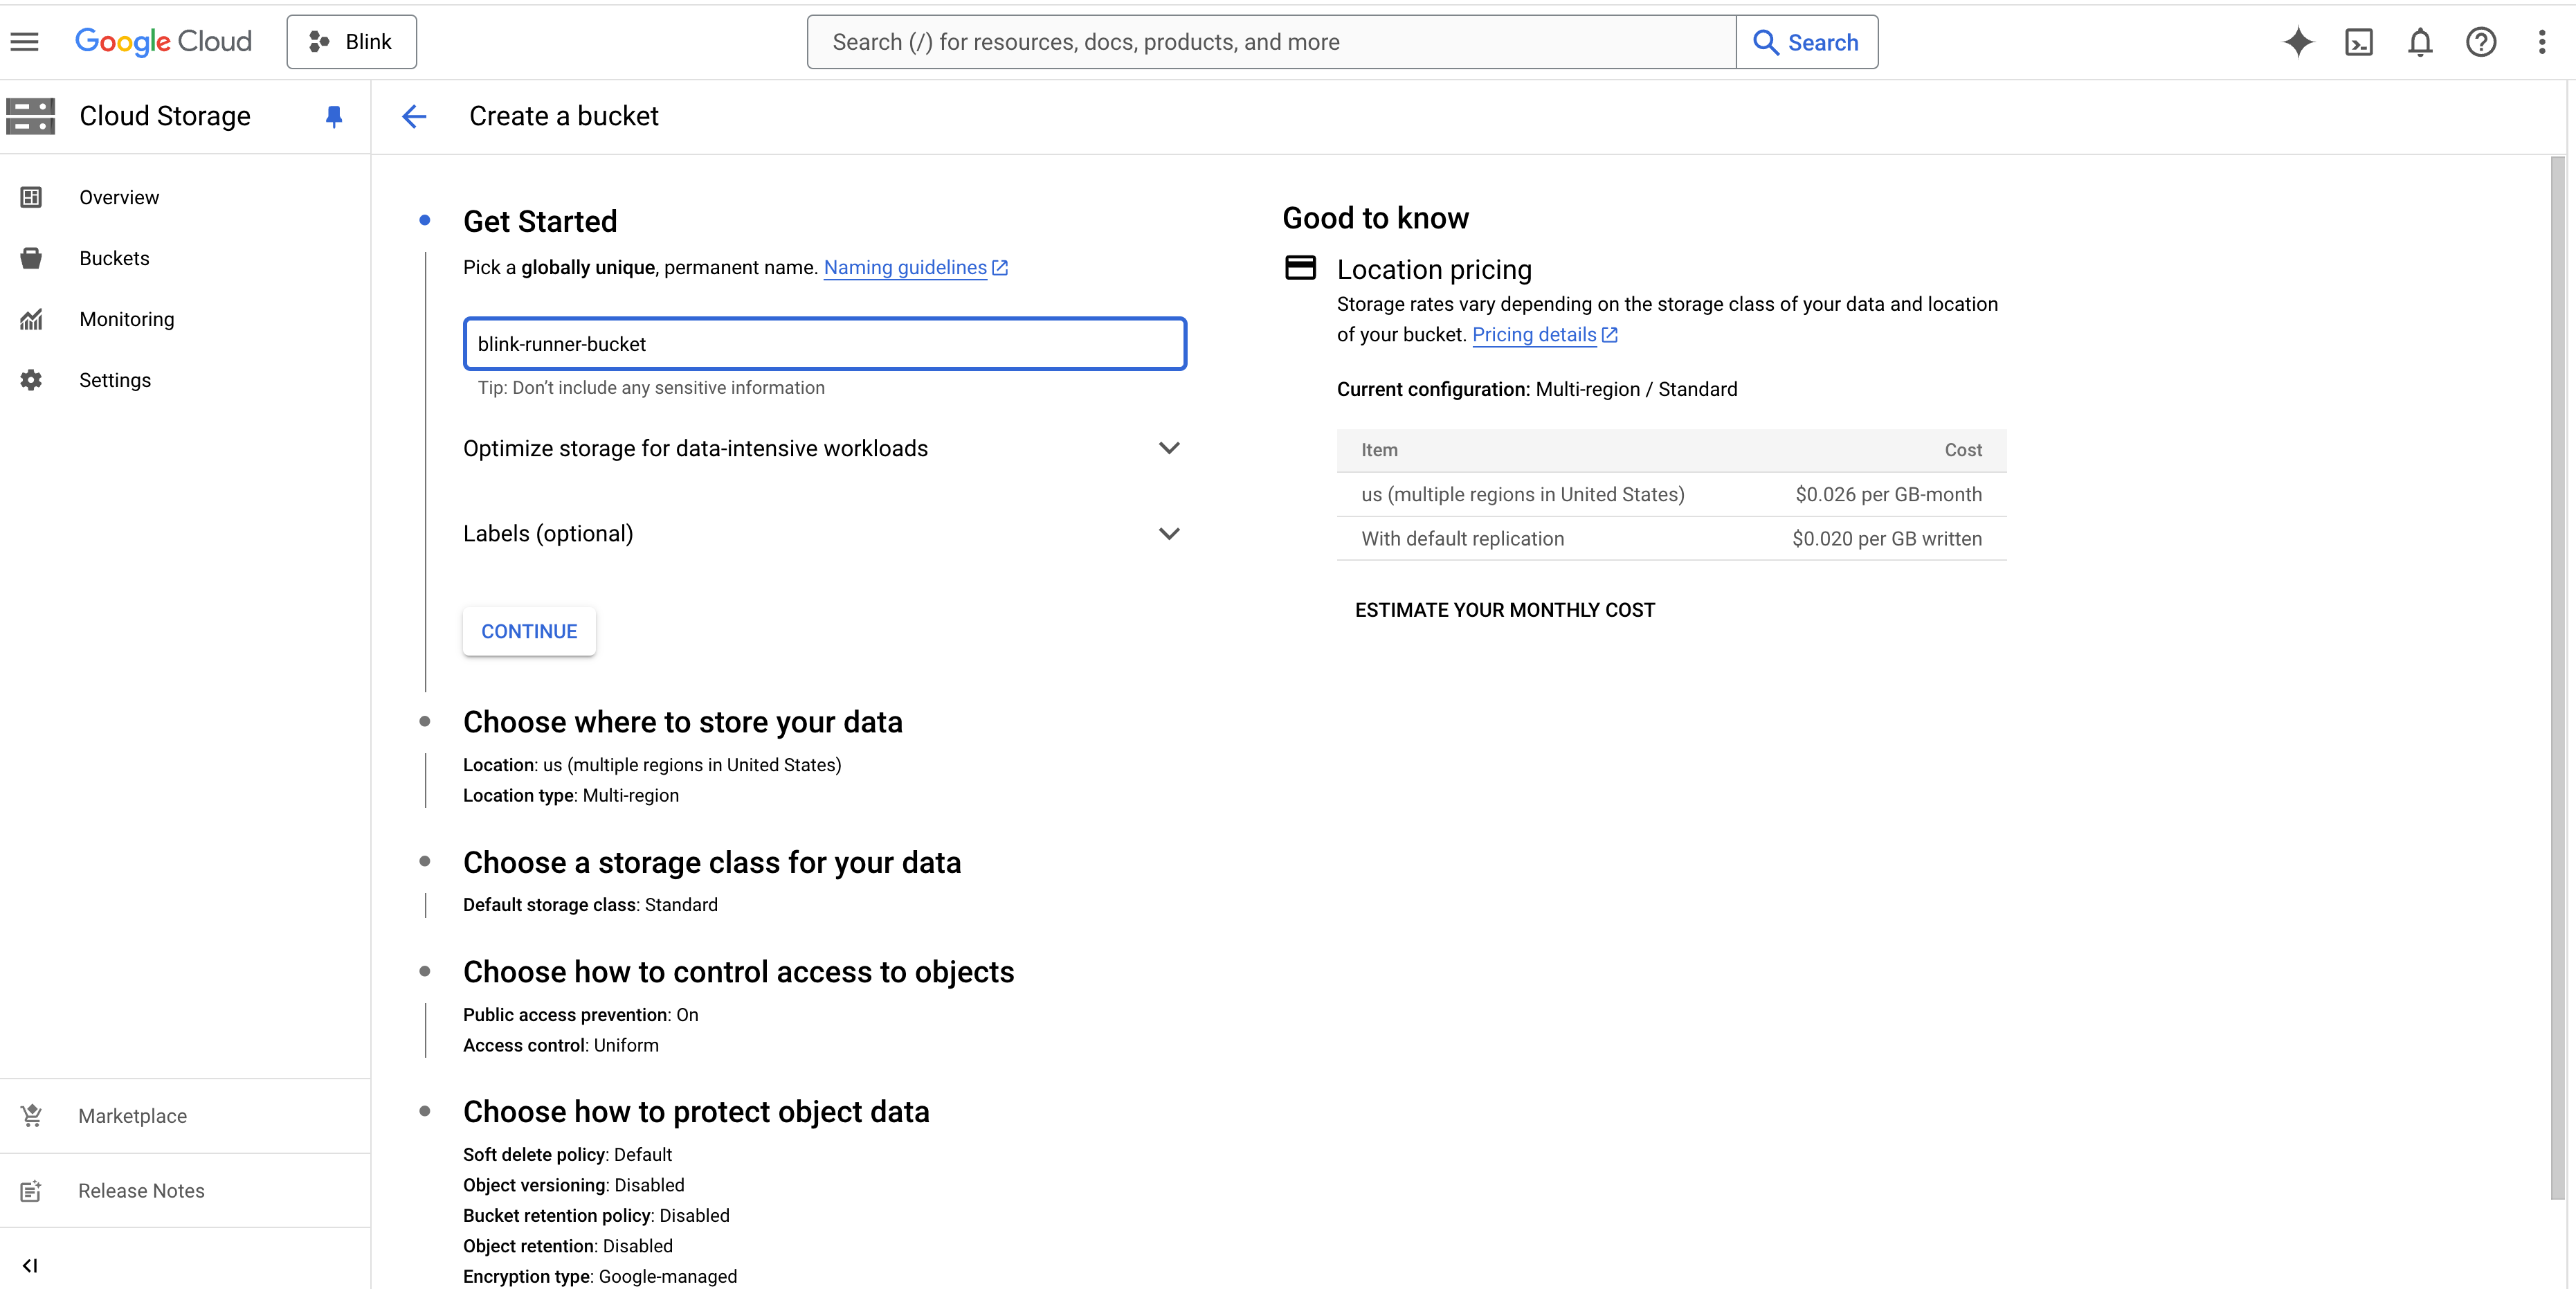
3
Create a Key for a Service Account
Go to Settings, open the “Interoperability” tab, and click Create Key for Another Service Account at the bottom.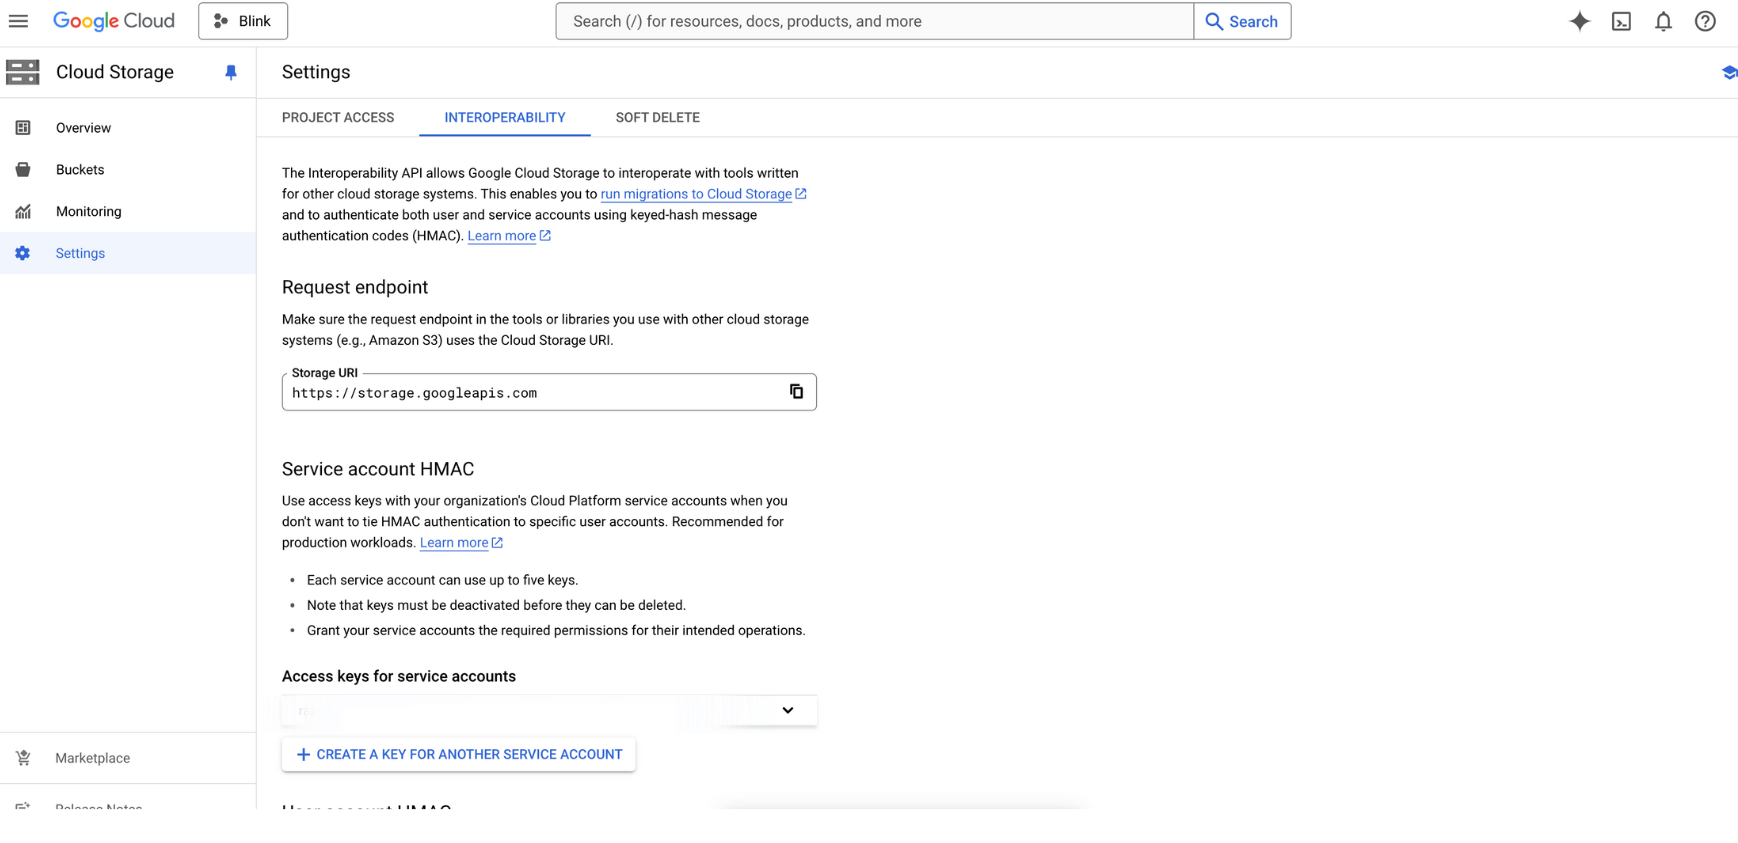
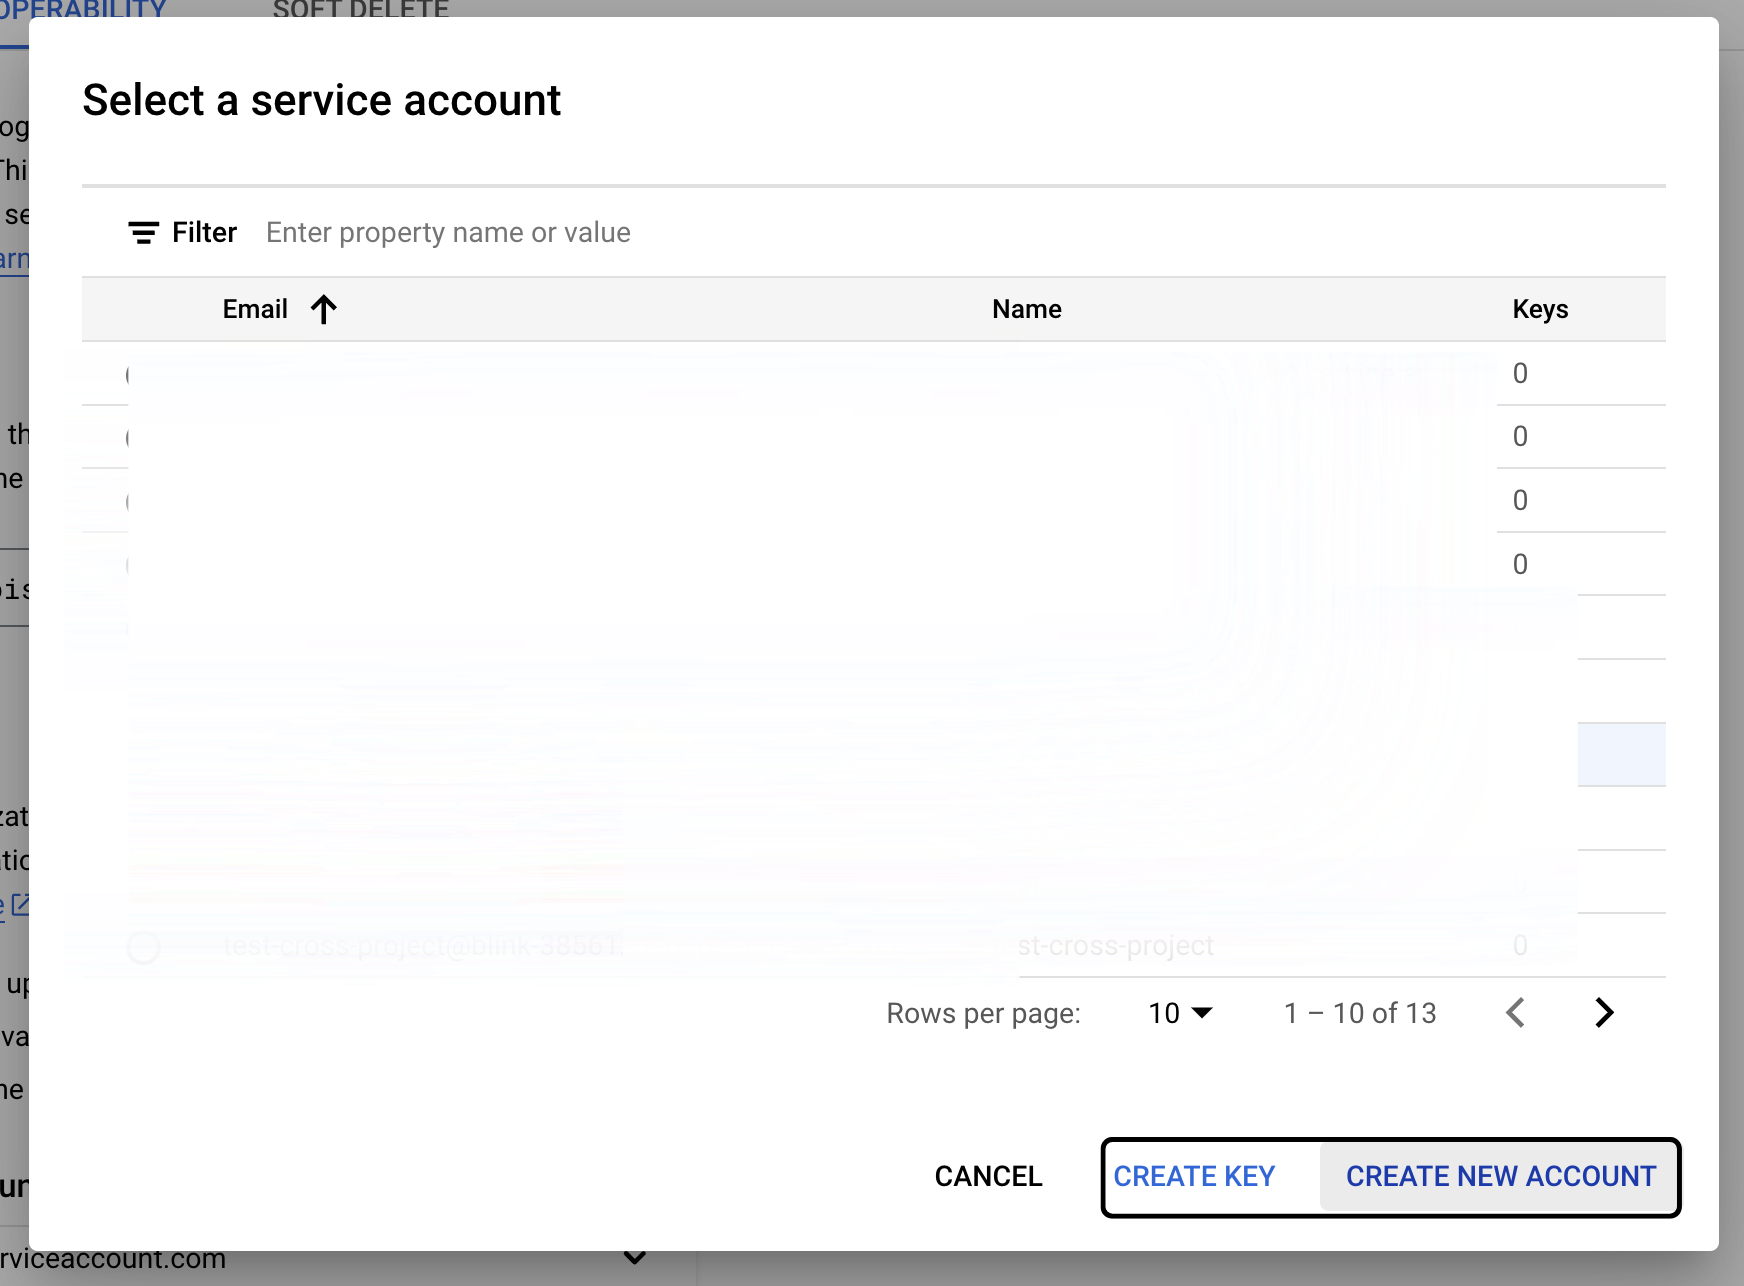
- If using an existing service account, click “Create Key”.
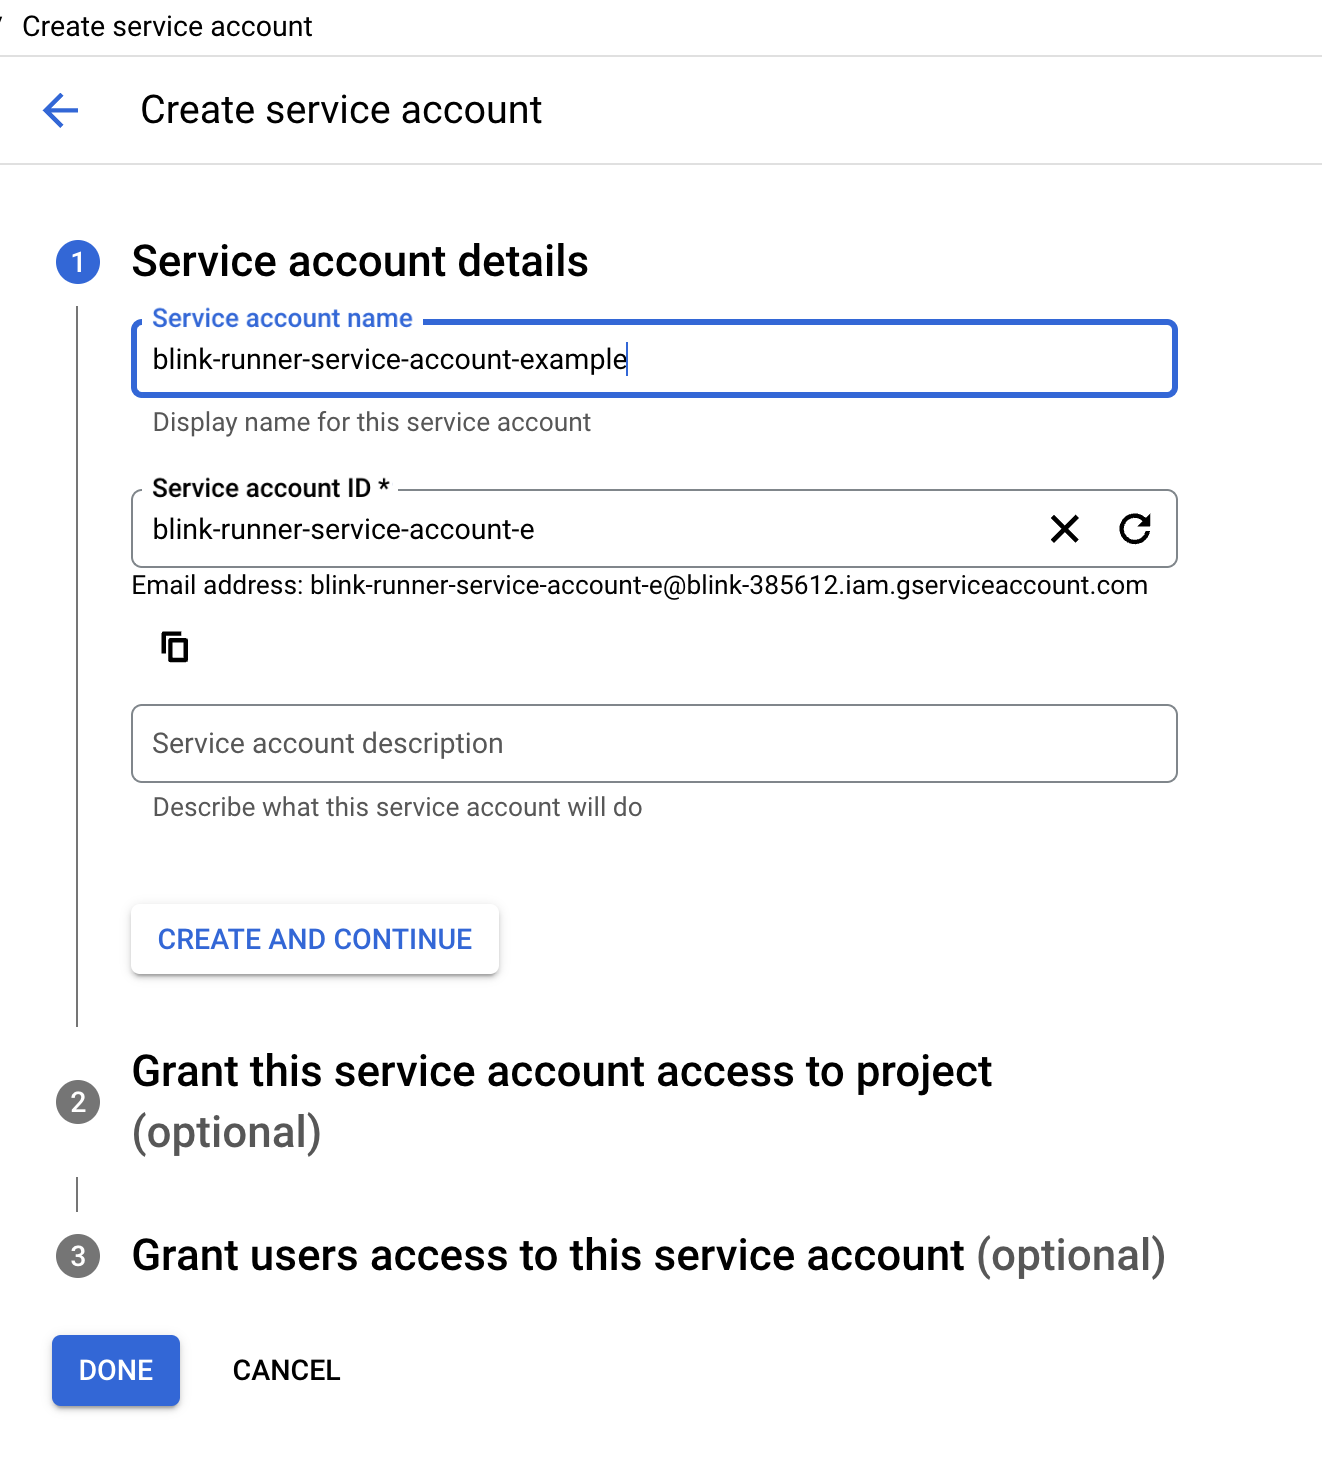
- If creating a new service account:
- Enter a service account name, optionally provide a description, and review the auto-generated Service Account ID and email. Once done, click Create and Continue to proceed.
4
Save the Access Key and Secret key
An Access key and Secret key will be generated. Store the Access key and Secret key in a safe place. This is your only chance to view and save the secret access key.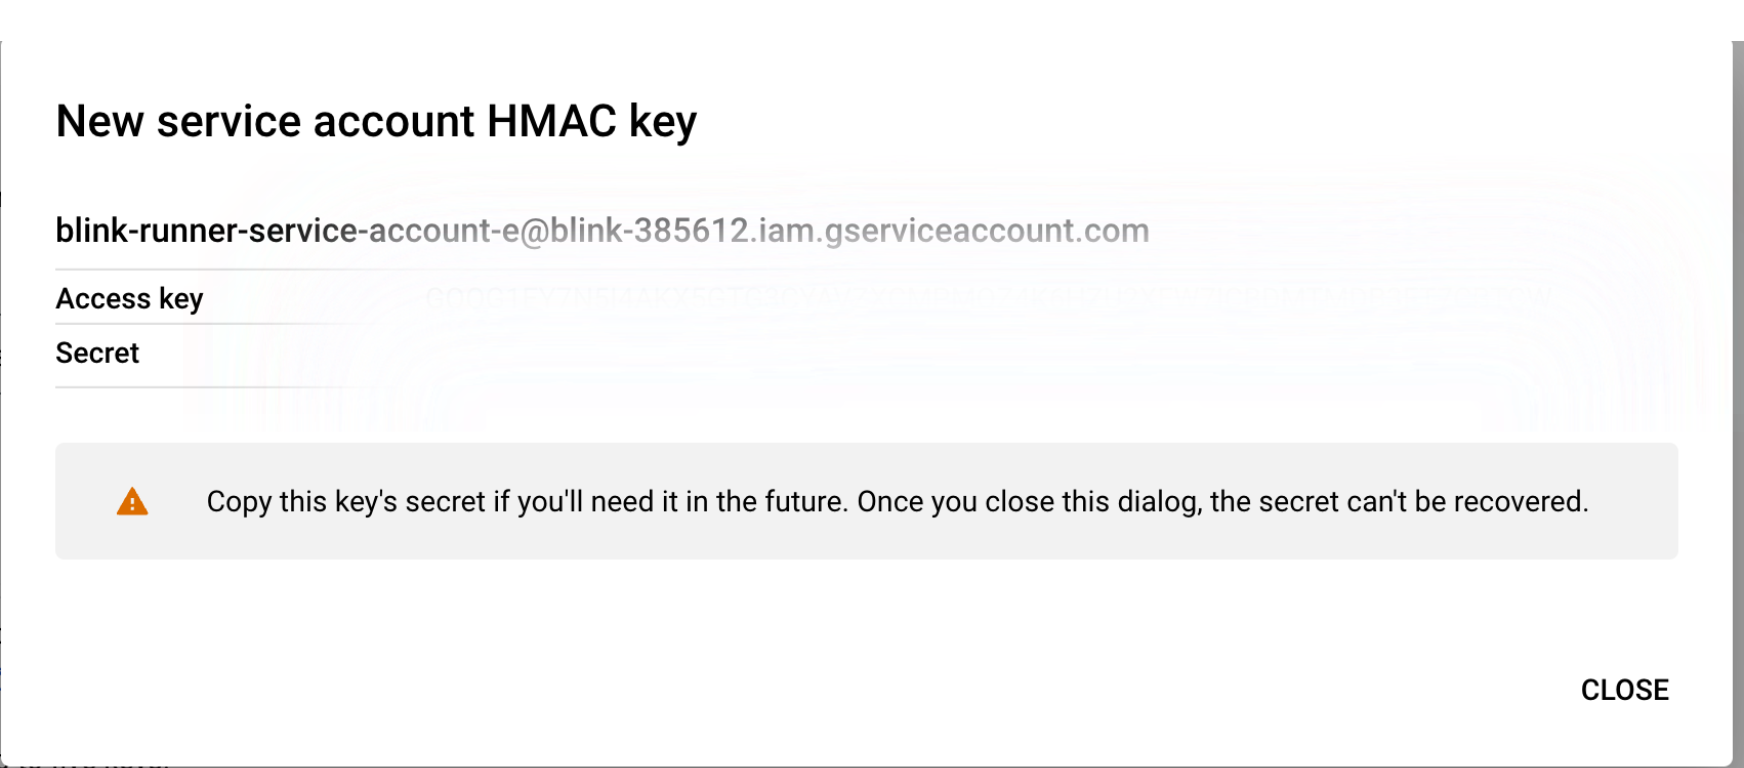
5
Deploy the Blink Runner Using the GCP Object Storage Credentials
After creating an Access key and Secret key, use them to deploy the Blink Runner. Follow the instructions below for Kubernetes or Docker deployment:
Deploying the Runner in Kubernetes
Run the Helm command provided by Blink, but make sure to include the additional configurations below to enable object storage for the runner:- Replace <access_key_id> and <secret_access_key> with the credentials created in
Step 4 - Replace blink-runner-bucket with the bucket name created in
Step 2 - Ensure the region matches your bucket’s region
Deploying the Runner in Docker
Run the Helm command provided by Blink, but make sure to include the additional configurations below to enable object storage for the runner:- Replace <YOUR_GCS_ACCESS_KEY> and <YOUR_GCS_SECRET_KEY> with the credentials created in
Step 4 - Replace <auth_key> with the authentication key for the runner.
- Ensure the region matches your bucket’s region
- Replace “your-bucket-name” with the bucket name created in
Step 2