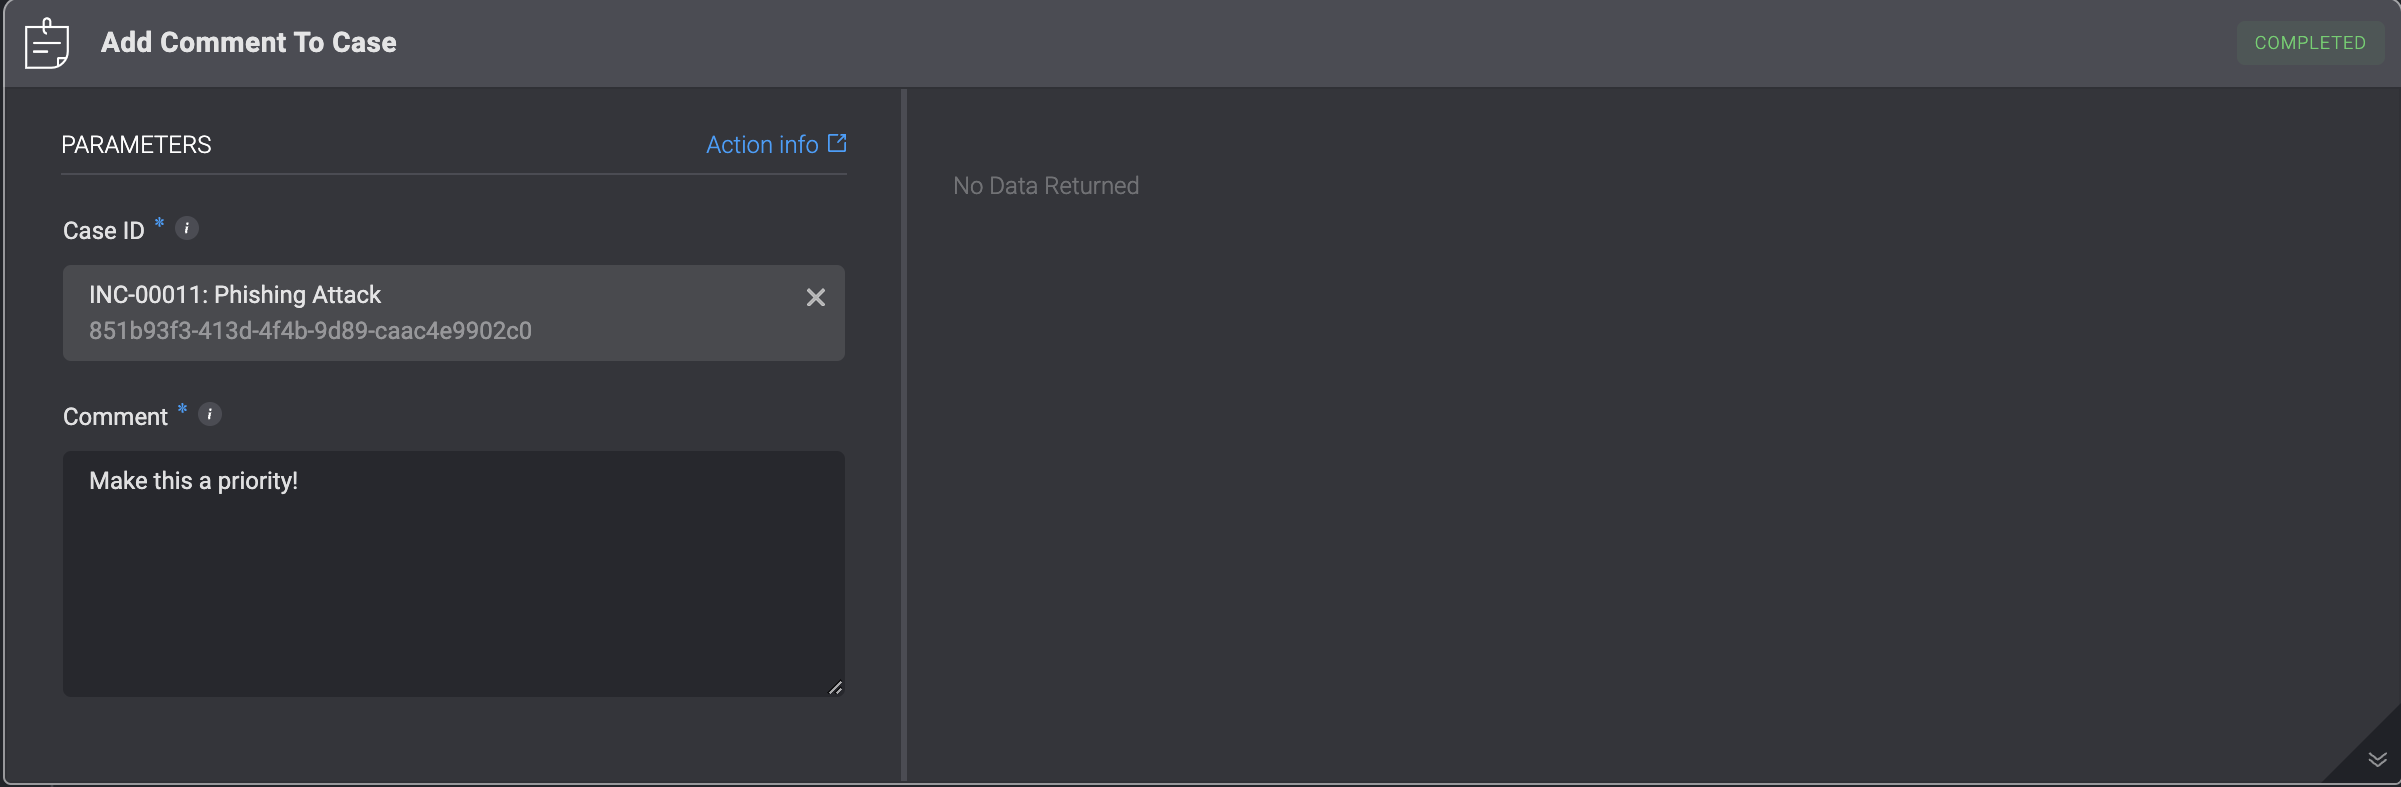
Add a comment to a chosen Case
| Parameter | Description |
|---|
| Case ID | The ID of the Case. It can be the id or the case_id field of the Case |
| Comment | The Content of the Comment to add to the Case |
Append Attachment to Case Overview
This action appends an attachment to the overview of a Case.
Note: Ensure that the attachment is an image; otherwise, it will appear as a broken file icon in the case overview.
| Parameter | Description |
|---|
| Case ID | The ID of the Case. It can be the id or the case_id field of the Case |
| Attachment ID | The ID of the attachment. It needs to use the attachment field of the attachment |
| Width | The width of the attachment in pixels. The height will automatically adjust to maintain the image’s proportions |
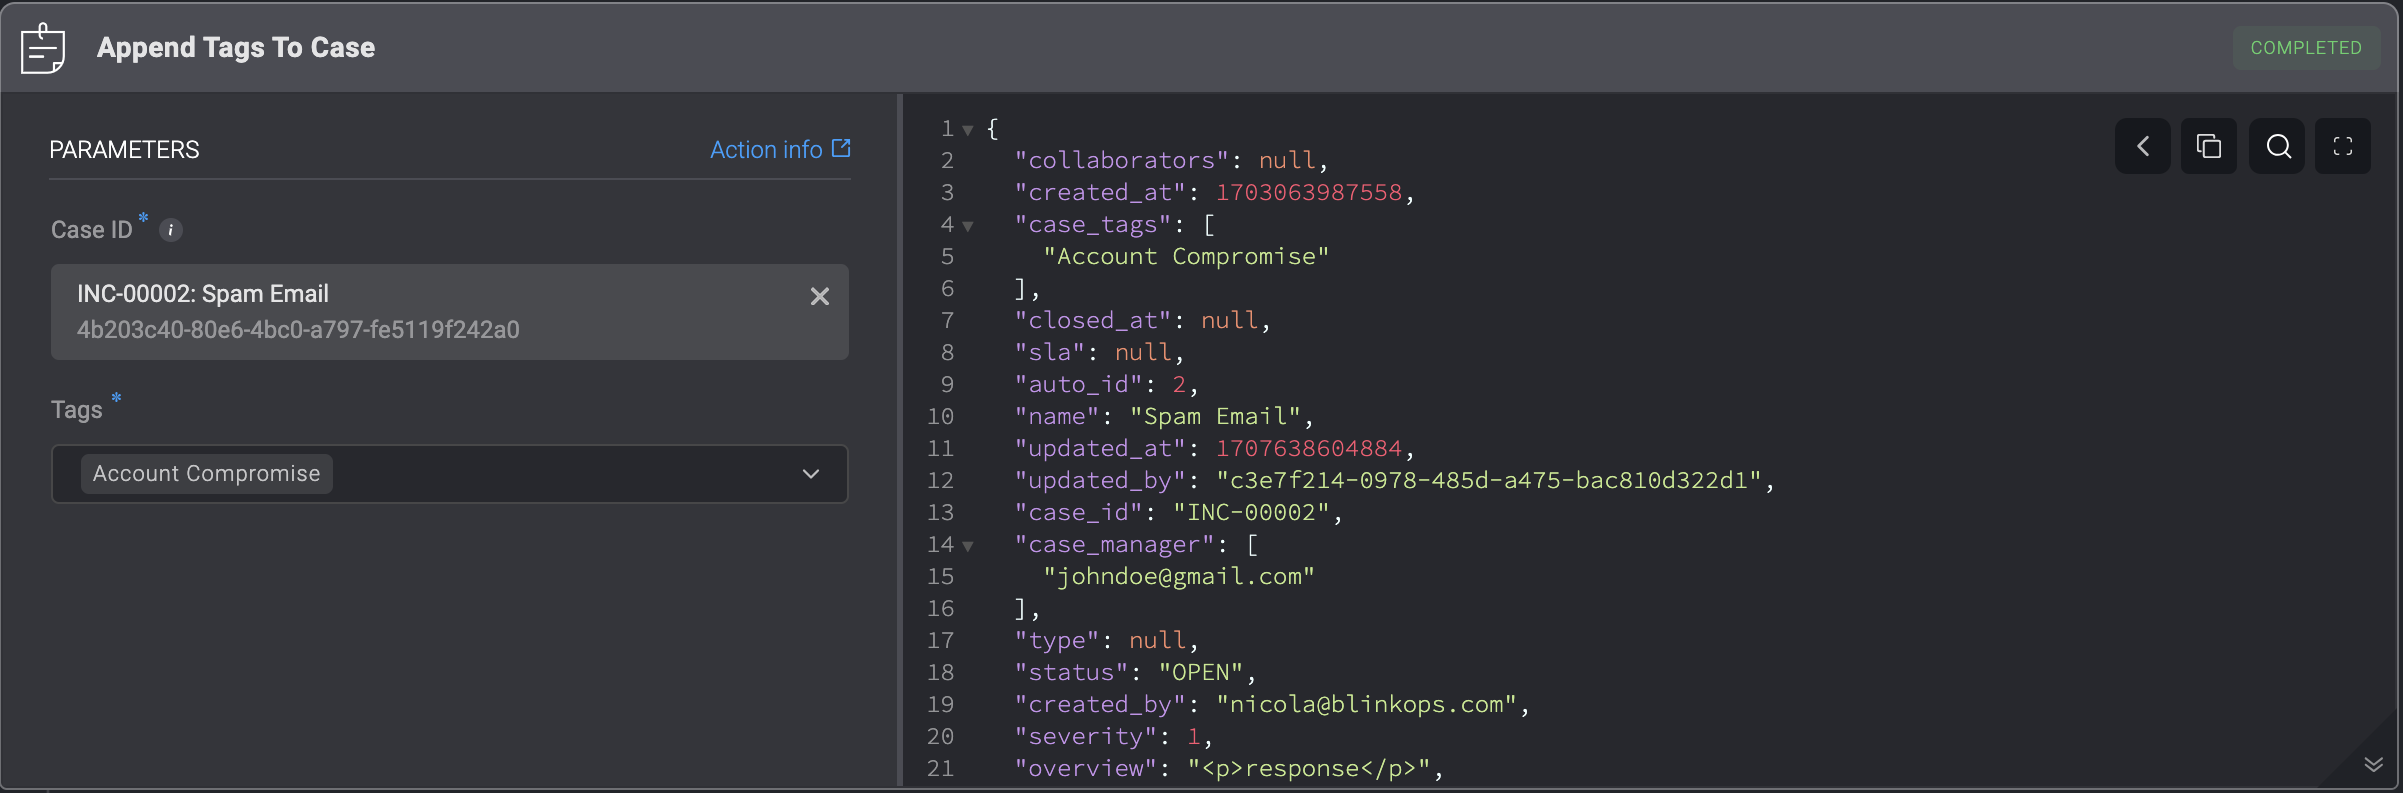
This action appends tags to your Case. The new tags are in addition to the existing case tags.
| Parameter | Description |
|---|
| Case ID | The ID of the Case. It can be the id or the case_id field of the Case |
| Tags | Tag Options |
Append to Case Overview
This action appends a text to the overview of a Case.
| Parameter | Description |
|---|
| Case ID | The ID of the Case. It can be the id or the case_id field of the Case |
| Overview | text to append to the case overview |
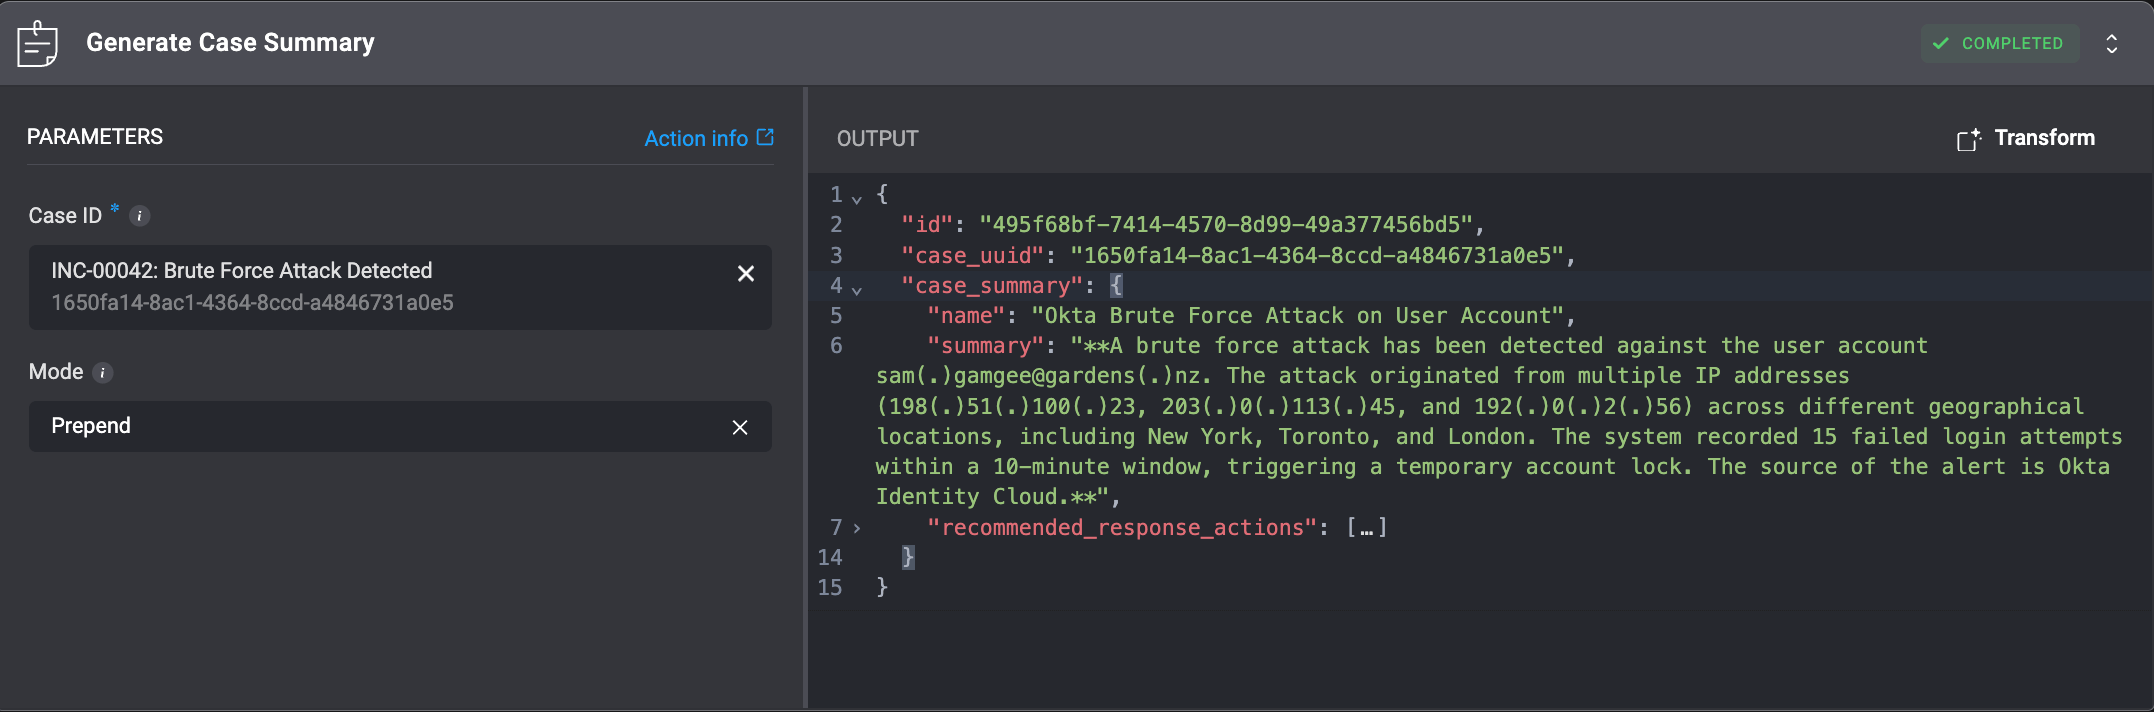
Generate Case Summary
In the ‘Generate Case Summary’ action, you can either create a new summary or update an existing Case Summary field with newly generated content.
| Parameter | Description |
|---|
| Case ID | The unique identifier of the case to update. You can provide either the id or the case_id field from the Case object. |
| Mode | Determines how the newly generated summary is applied to the Case Summary field: - Prepend – Adds the newly generated summary to the Case Summary
- Overwrite – Replaces the existing Case Summary entirely with the newly generated version.
|
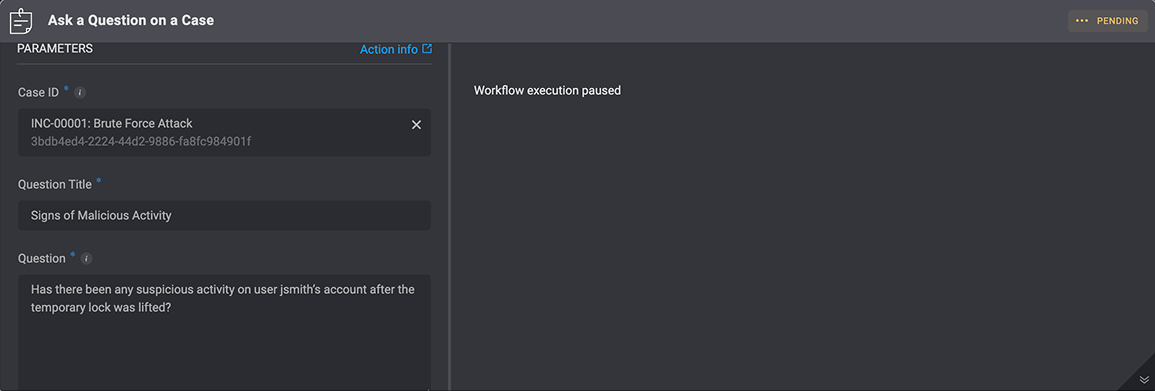
Ask a Question on a Case
Submit a question linked to a specific Case. The question will appear in the selected case’s timeline, where it can be reviewed and answered by analysts.
The Ask a Question on a Case action will remain paused until an answer is received, the action’s timeout is reached, or the default timeout occurs. Once any of these conditions are met, the workflow execution will resume.
| Parameter | Description |
|---|
| Case ID | The ID of the Case. It can be the id or the case_id field of the Case. |
| Question Title | A short, descriptive title for the question (used to identify it in the Case Overview). |
| Question | The full text of the question you want to ask the user. |
| Answers | Possible answers, separated by commas. |
| Advanced – Answer in free text | Allows users to respond to a question in the selected case’s overview with their own custom response, instead of choosing from predefined options. |
| Advanced- Timeout in minutes (optional) | The time allowed for a user to respond. |
| Advanced- Default timeout response (optional) | Default value if no response is received before the timeout. |
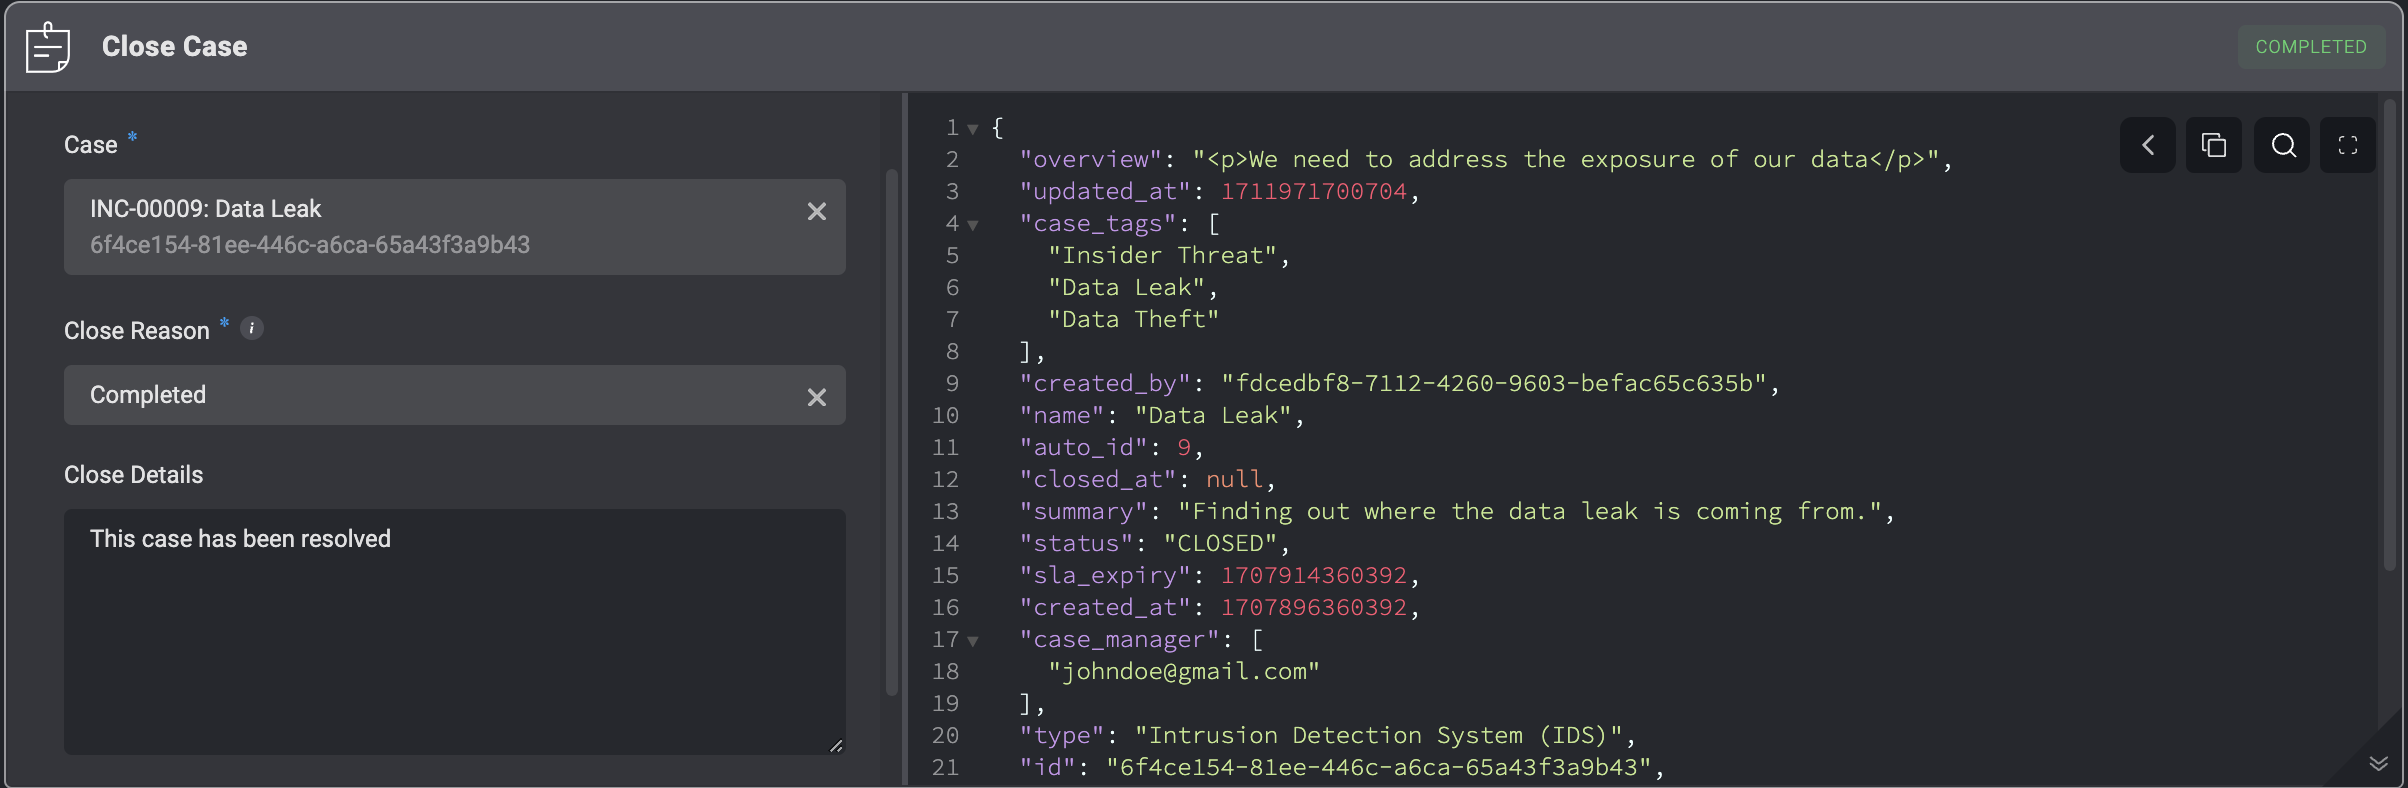
Close Case
Changing the status of a Case to Closed by filling in the following parameters in the step.
| Parameter | Description |
|---|
| Case | The ID of the Case. It can be the id or the case_id field of the Case. |
| Close Reason | Reason for closing the Case - Automatically Resolved, Completed, False Positive, Duplicate or No action needed. |
| Close Details | Details about closing the Case |
| Close Linked Tasks | Close all non-blocking tasks linked to the case |
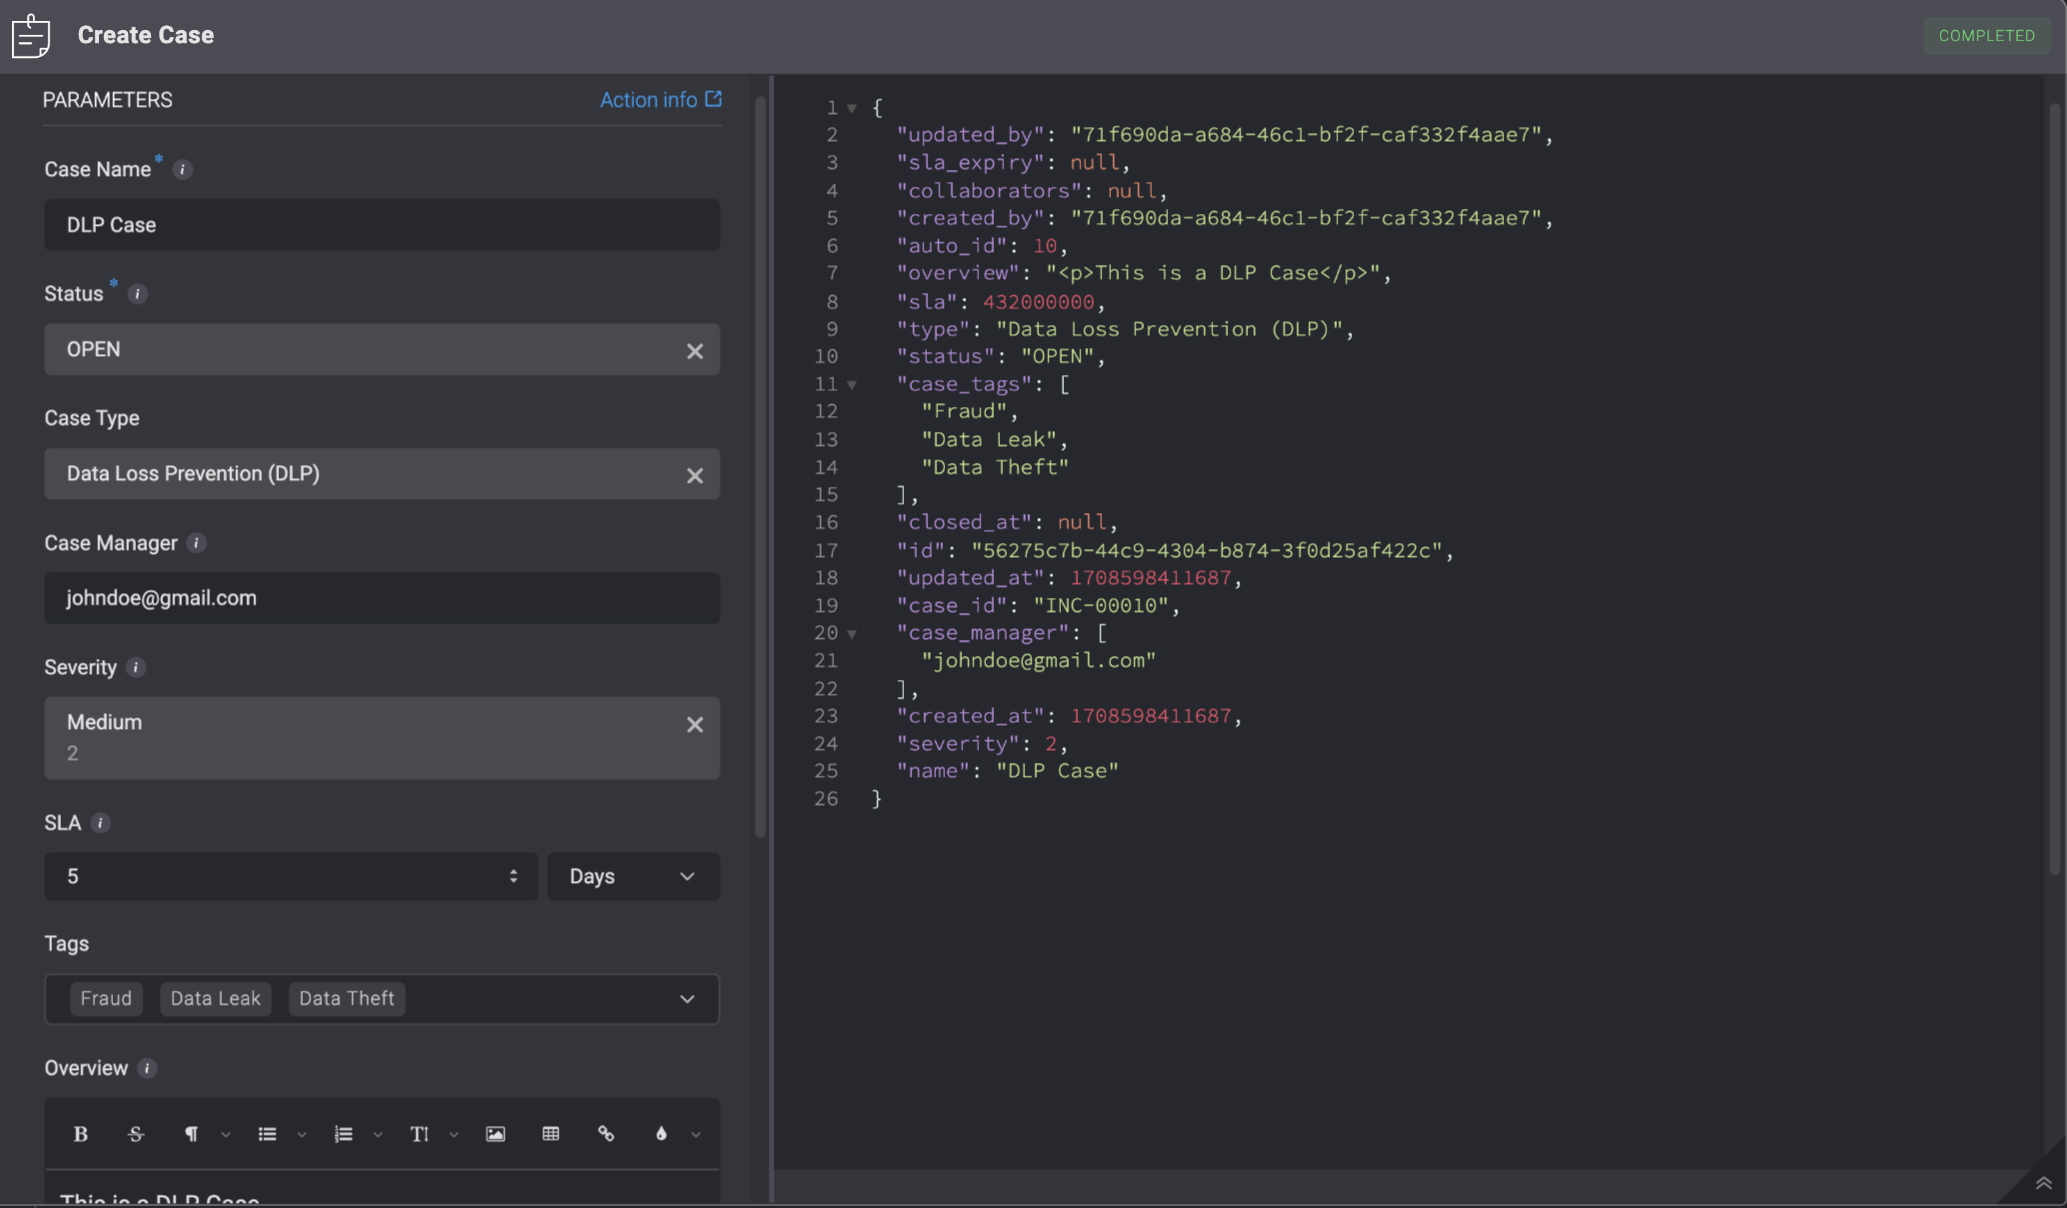
Create Case
Adding a Case to the Case Management Table by filling in the following parameters in the step.
| Parameter | Description | |
|---|
| Case Name | The name of the case. | |
| Status | The case’s status. | |
| Case Type | The type of case. | |
| Case Manager | The email address of the user who created the case. If no case manager is specified, the case will be created with an unassigned case manager | |
| Severity | The severity rank of your Case. It can be: Low, Medium, High or Critical. | |
| SLA | The duration of time within which a task pertaining to the case must be completed before the SLA time period is reached. | |
| Tags | Tags linked to the case. | |
| Vendors | The Vendor associated with the case. | |
| Overview | A brief summary of the case. | |
| Collaborators | Users who collaborate on the case. | |
| Custom Fields (JSON Format) | Add a Custom Field in JSON format. Please note that this applies only if you have manually added a custom record column to the subject table. | |
| Advanced- Dedup Table | The selected table to evaluate the duplicated condition (Dedup Condition) against. | |
| Advanced- Dedup Condition | The duplicate condition to check whether to insert the record or not. When the condition is met, the record will not be inserted. | |
| Advanced- Linked Observables | The Name and ID of the Observable you want to link to the Case. | |
| Advanced- Linked Alerts | The Name and ID of the Alert you want to link to the Case. | |
| Advanced- Linked Attachments | The Name and ID of the Attachment you want to link to the Case. | |
| Advanced- Linked Tasks | The Name and ID of the Tasks you want to link to the Case. | |
| Advanced- Linked Cases | The Name and ID of a different Case you want to link to the Case | |
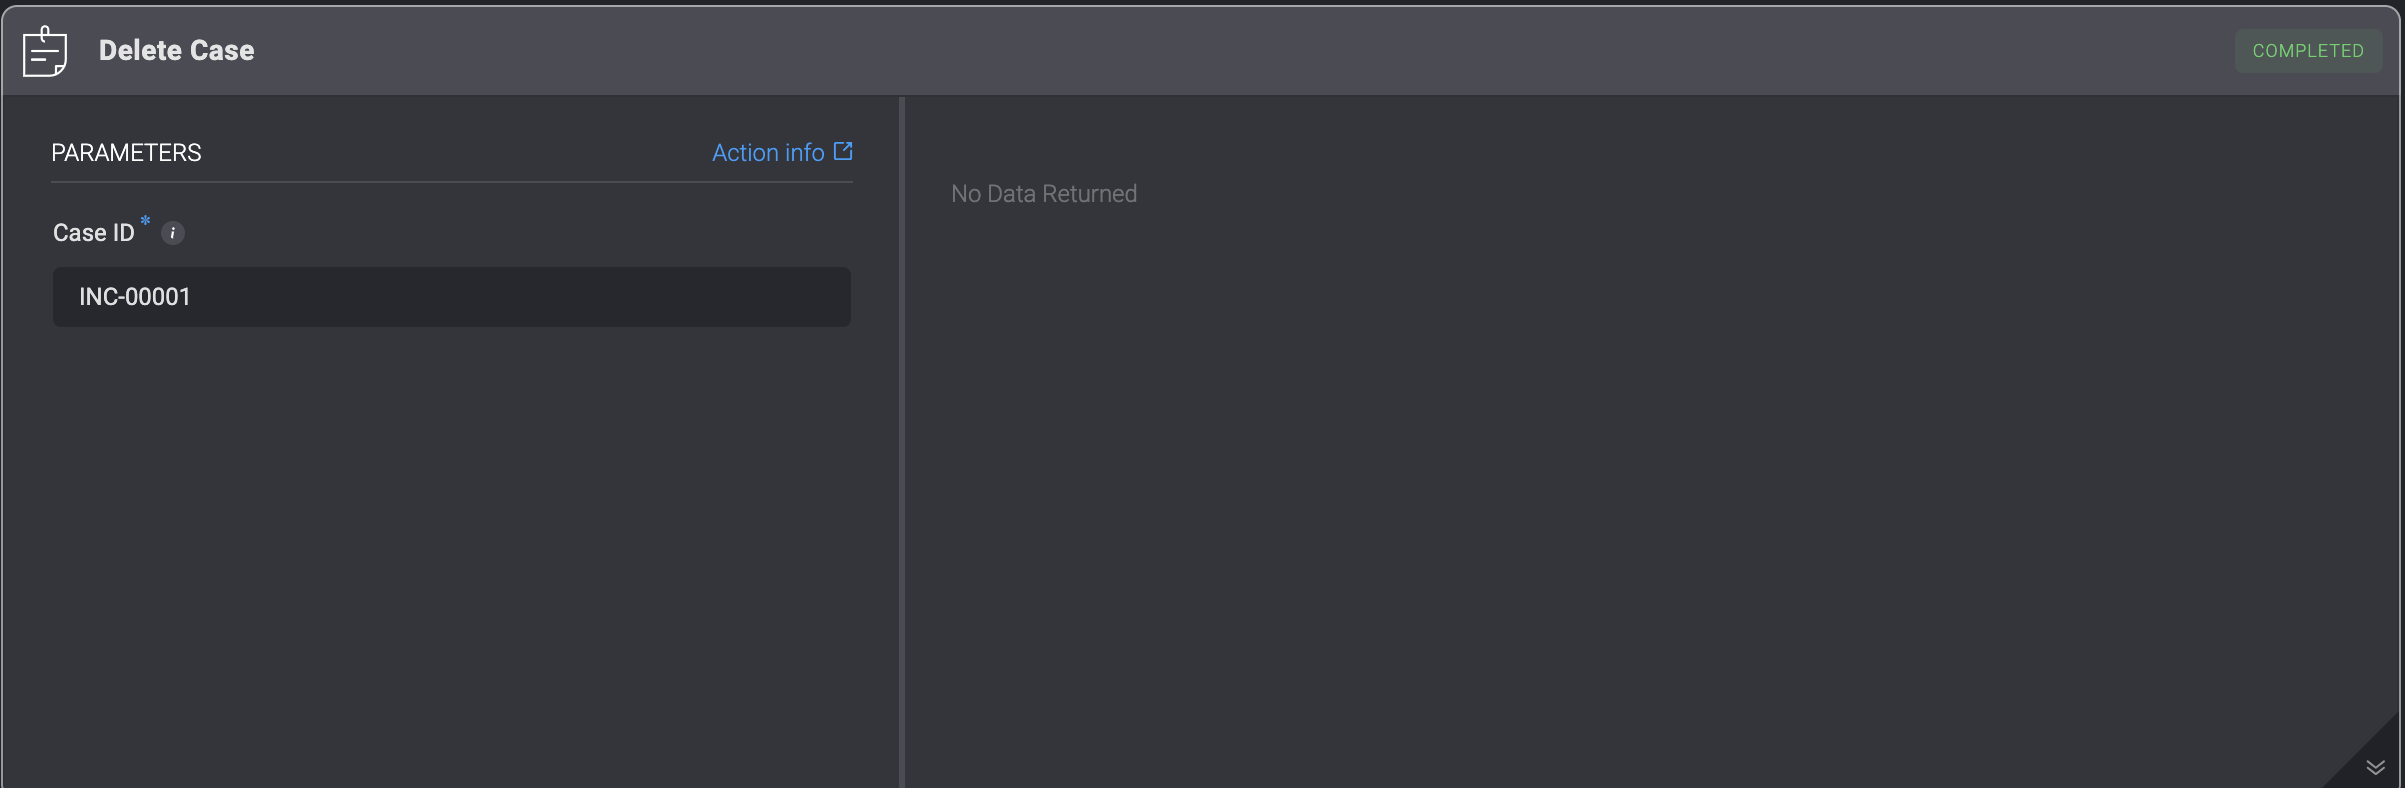
Delete Case
Deleting a Case from the Case Management Table by filling in the case ID. The ID can be the display ID e.g. INC-00001 or the GUID of the case, obtainable from the case object.
| Parameter | Description |
|---|
| Case | The ID of the Case. It can be the id or the case_id field of the Case |
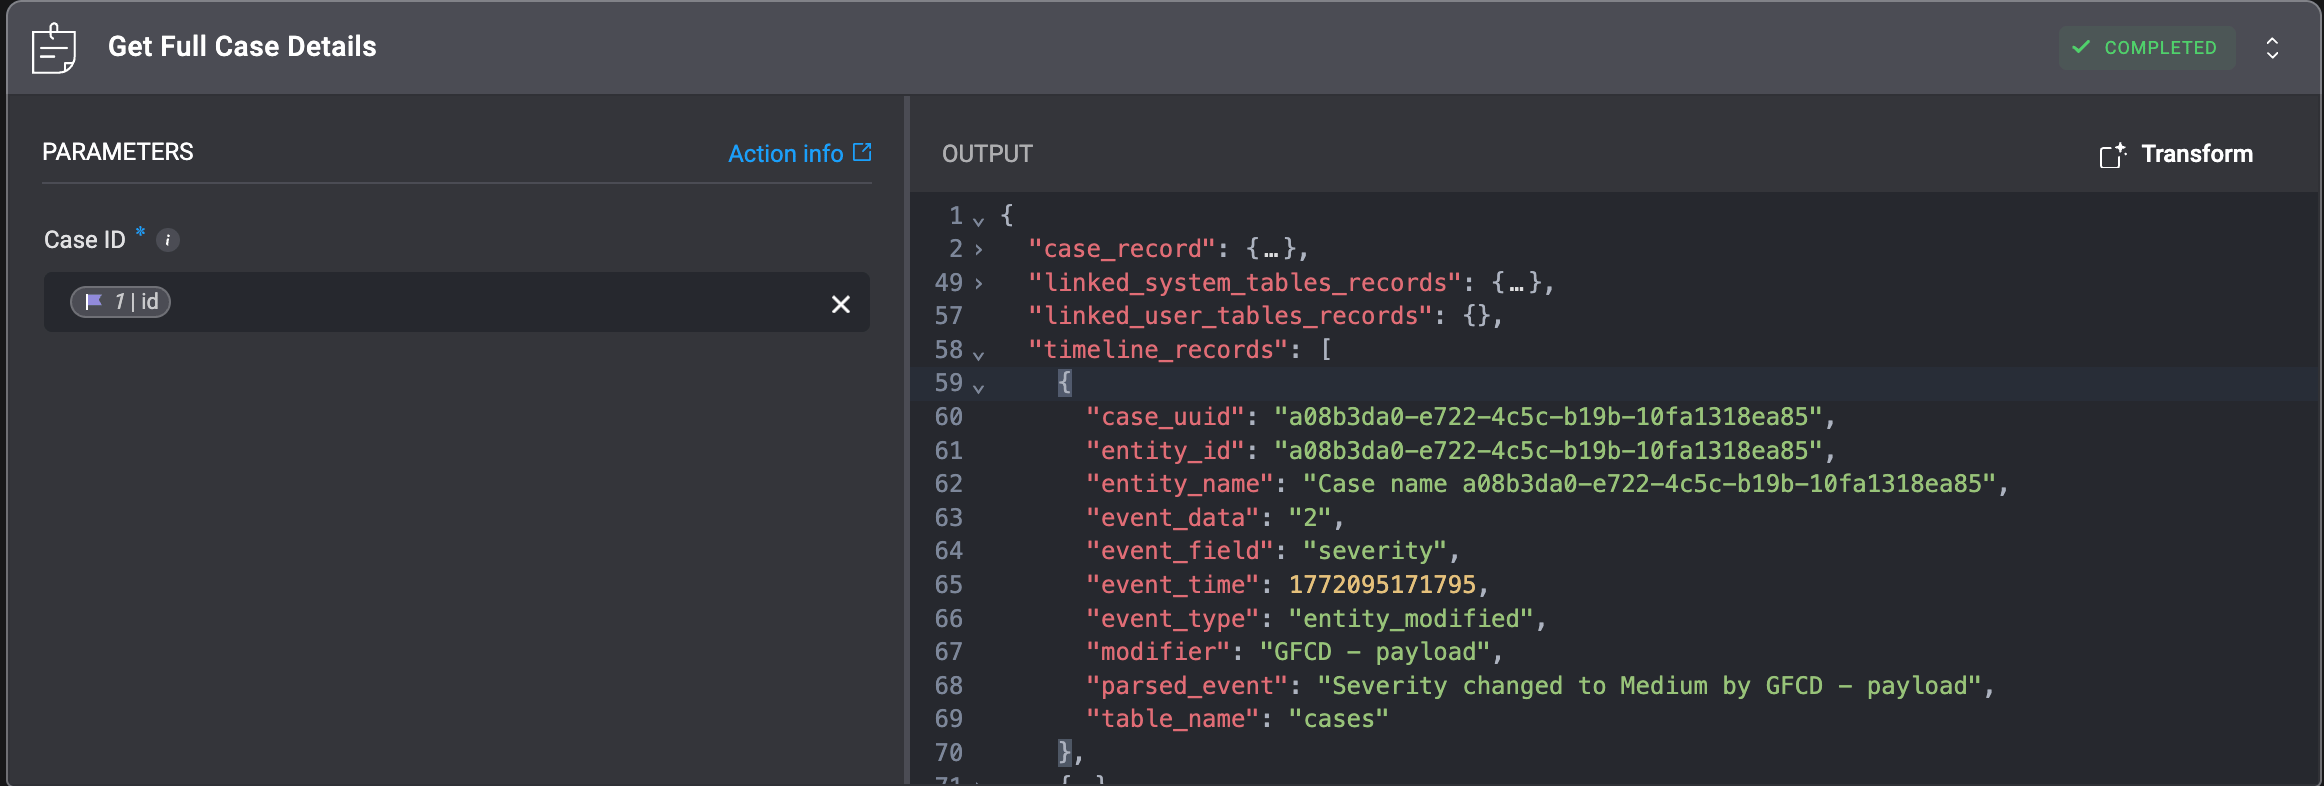
Get Full Case Details
The ‘Get Full Case Details’ action retrieves all information related to the selected case, including timeline, linked Case Management records, and linked custom tables records data, and returns it in JSON format.
| Parameter | Description |
|---|
| Case ID | The ID of the Case. It can be the id or the case_id field of the Case |
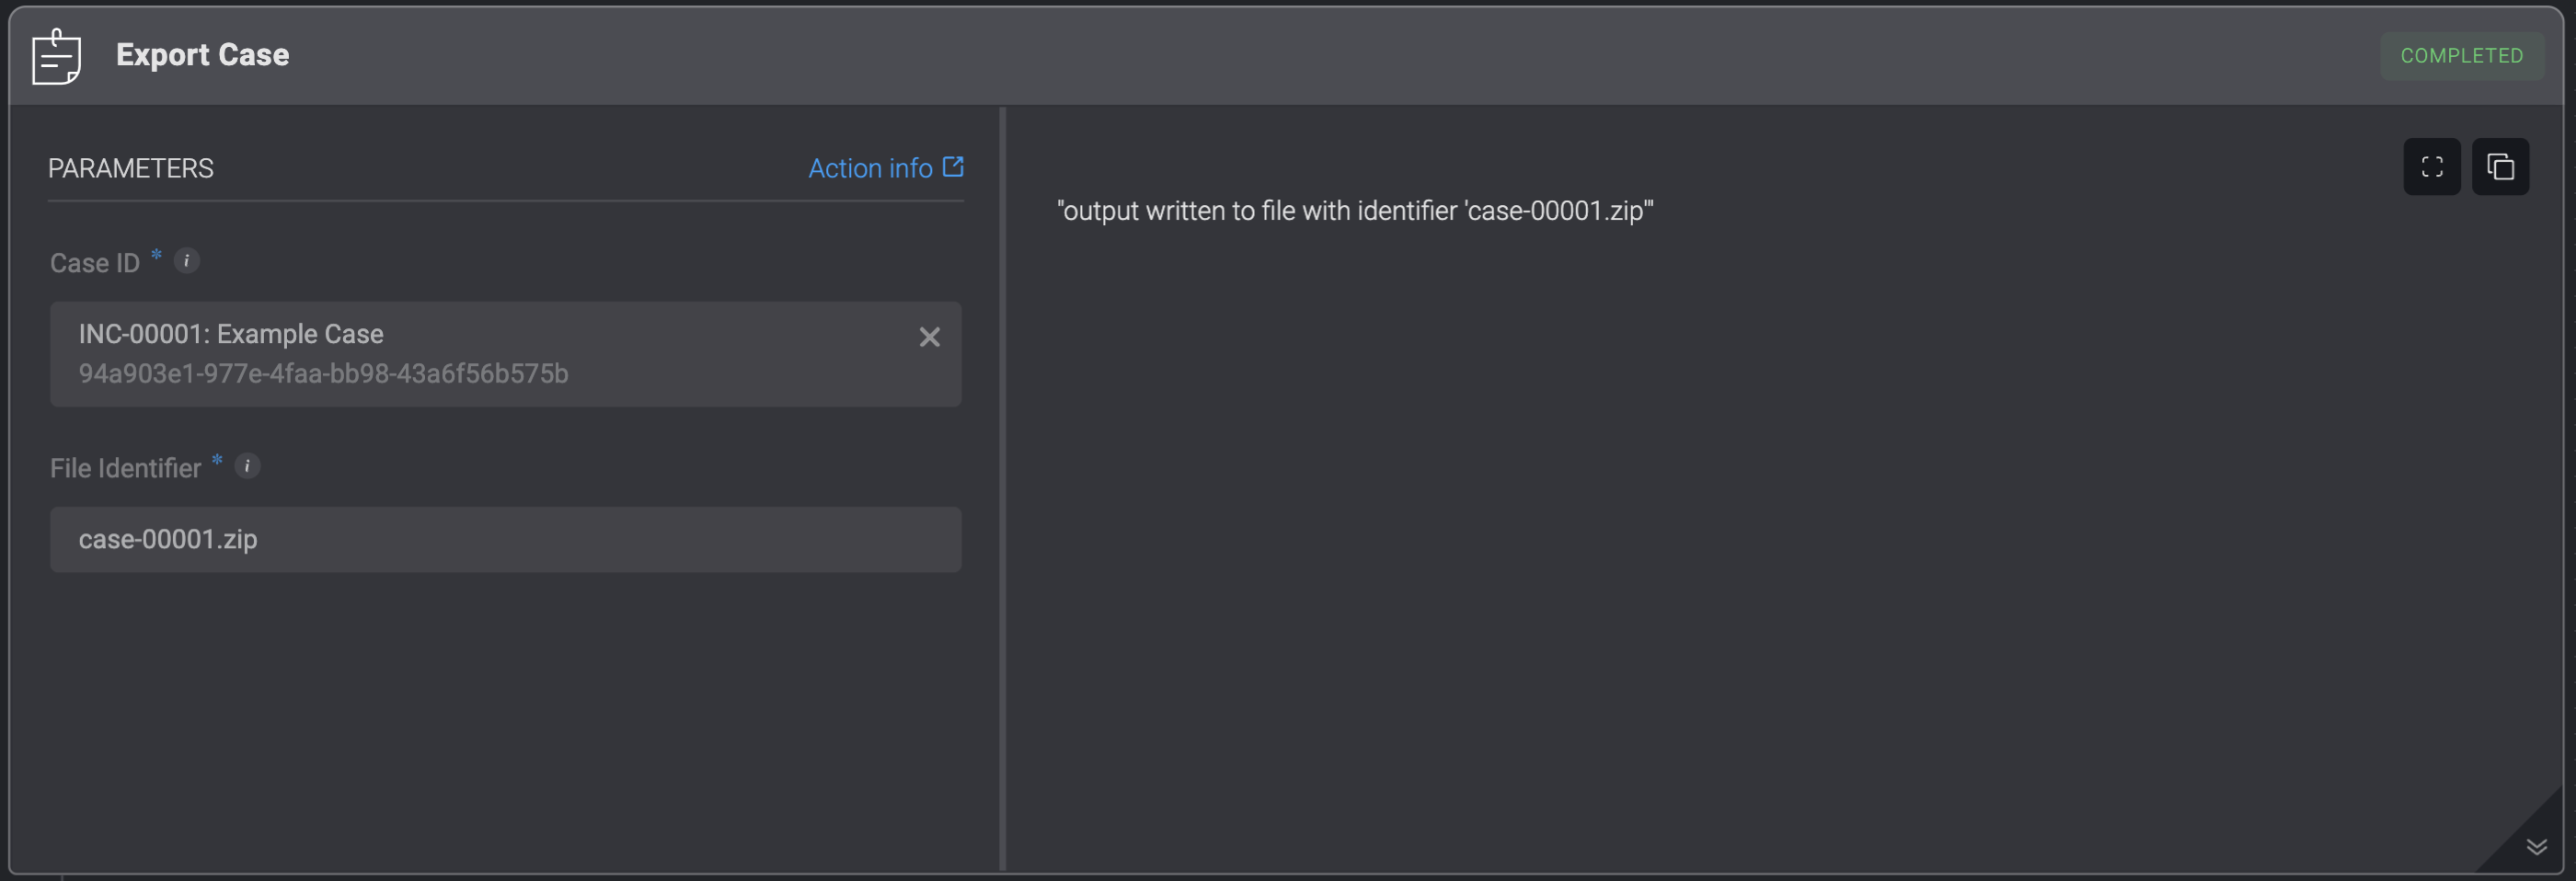
Export Case
Exports the given case and its relevant data as a Zip containing:
- PDF file containing case details (metadata and overview).
- CSV file containing the case timeline.
- CSV files for all related case management tables.
- Attachment files associated with the case.
| Parameter | Description |
|---|
| Case ID | Use the variable picker to select either the id or the case_id of the case to be updated from a previous step or the workflow inputs.
Alternatively, you can choose a specific case directly from the dropdown menu. |
| File Identifier | The identifier of the file.
This will be used as input for subsequent steps.
Please ensure the file identifier ends with .zip. |
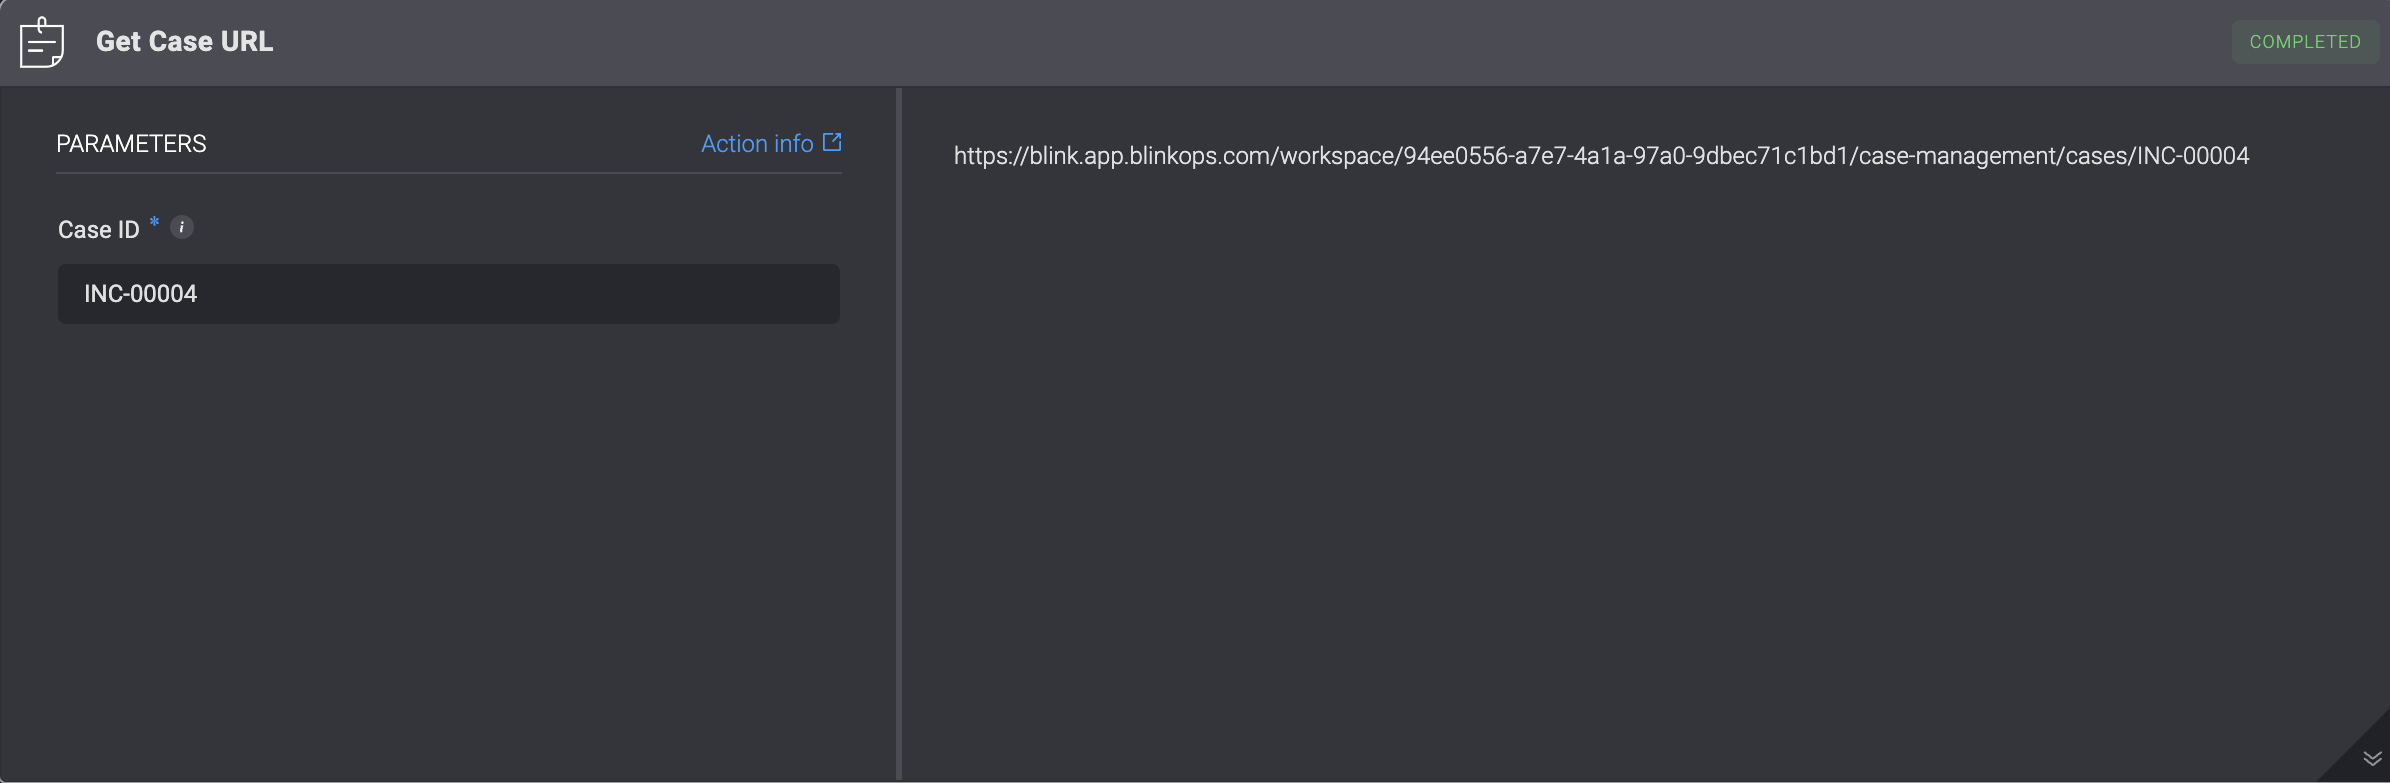
Get Case URL
Get a specific Case’s URL address.
| Parameter | Description |
|---|
| Case ID | The ID of the Case It can be the id or the case_id field of the Case |
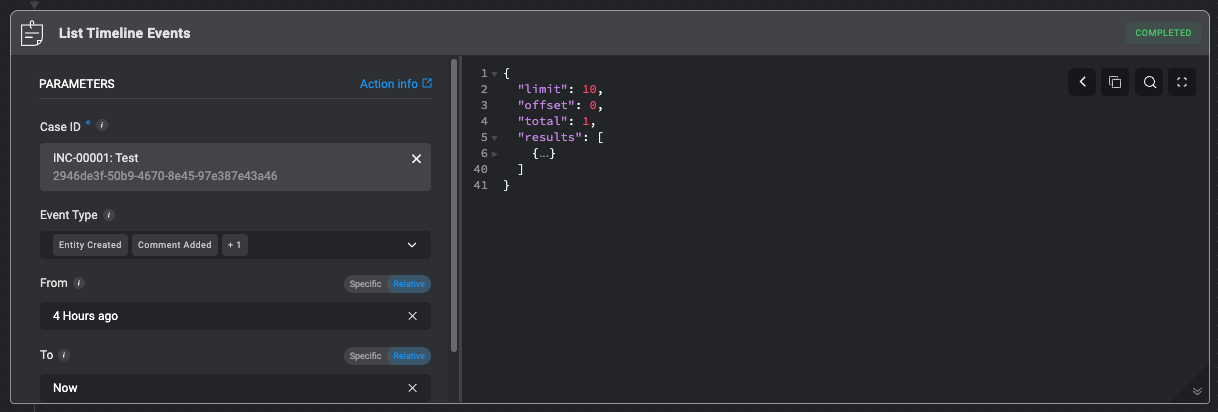
List Timeline Events
List a case’s timeline events.
| Parameter | Description |
|---|
| Case ID | Use the variable picker to select the id of the case to be updated from a previous step or the automation inputs.
Alternatively, you can choose a specific case directly from the dropdown menu. |
| Event Type | Filter the timeline events by specific event types. Multiple event types can be selected. |
| From | The start date for filtering timeline events. |
| To | The end date for filtering timeline events. |
| Limit | Limit the number of results. |
| Offset | The offset of the results. |
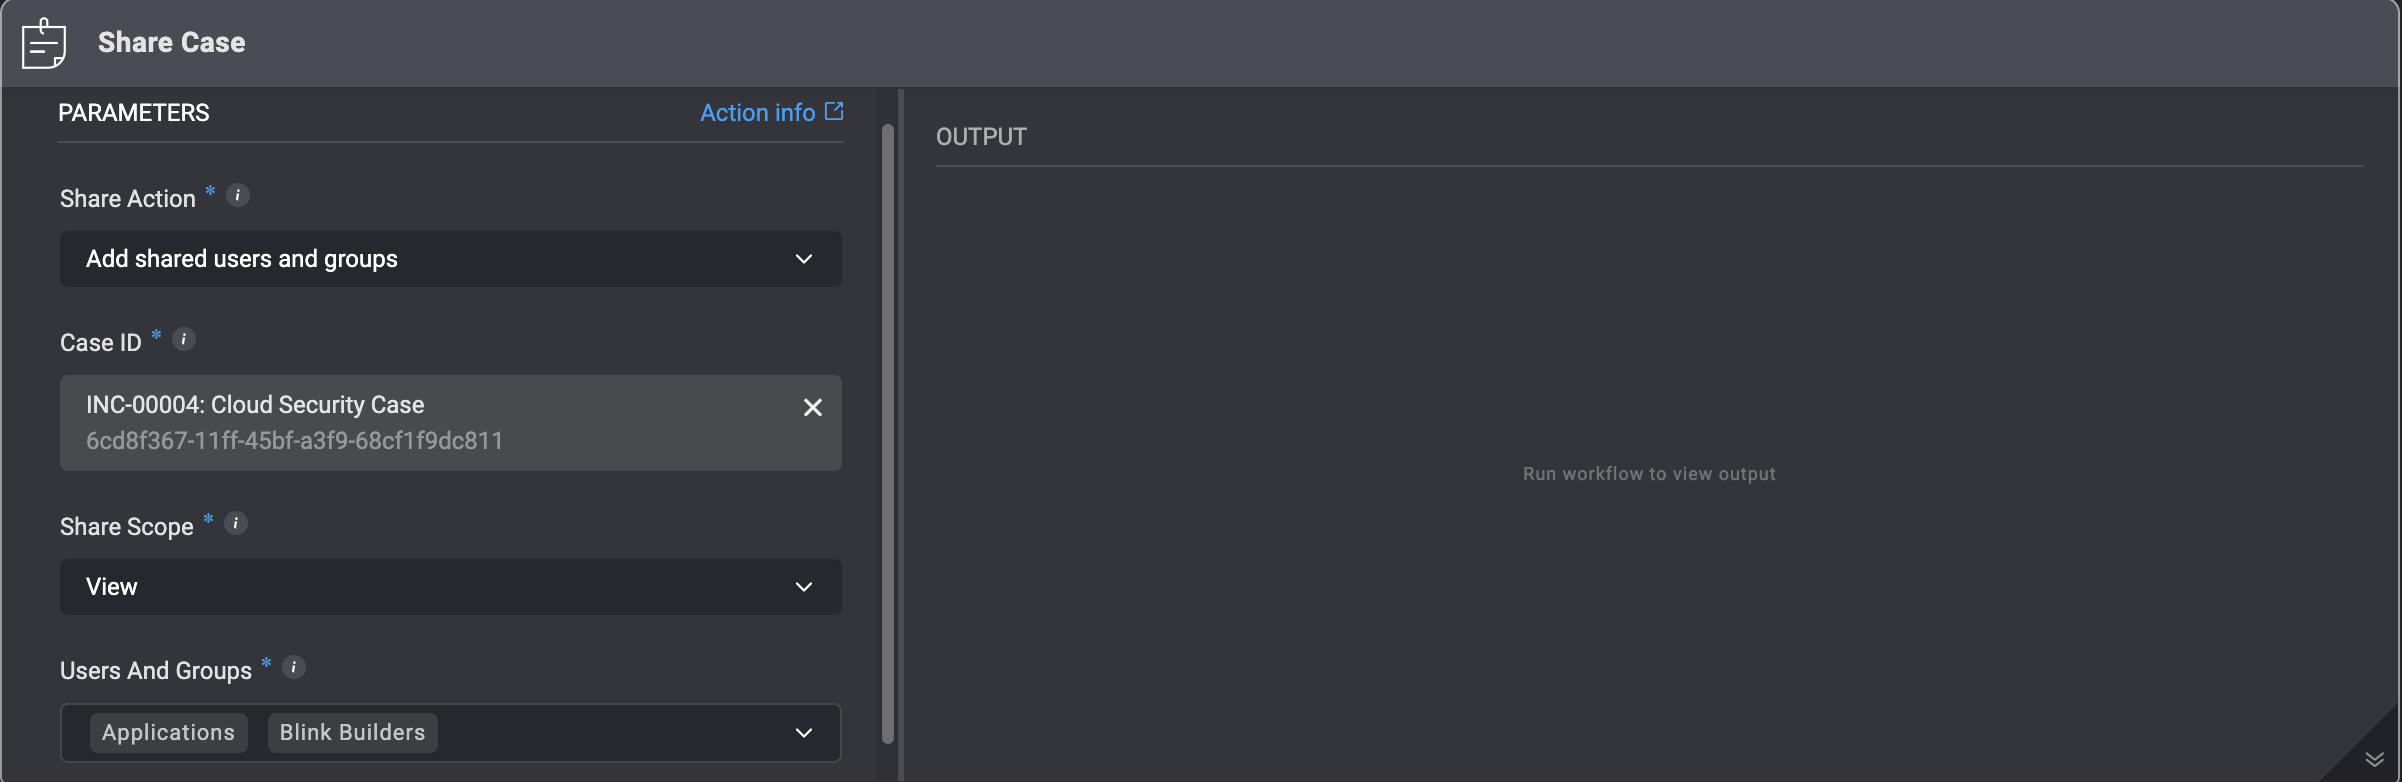
Share Case
Note
-
You can only share a Case if a user has a Blink account
-
If a Case is shared with a user who has only
viewer permissions for Case Management, but their overall user role (e.g., “Owner” with full access) allows for more permissions, they will still be able to edit the Case. In this scenario, their higher role permissions override the “Viewer” restriction on the shared Case.
| Parameter | Description |
|---|
| Share Action | 1. Add Shared Users and Groups: Adds the selected users and groups to the existing list of shared users without removing any current access permissions. or 2.Overwrite shared users and groups: Replaces all previously shared users and groups with the new selection, removing access permissions for anyone not included in this update |
| Case ID | The ID of the Case. It can be the id or the case_id field of the Case. |
| Share Scope | Determines whether a user with whom the case is shared has Viewer orEdit RBAC permissions. |
| Users and Groups | The internal user or group to share the selected case with. |
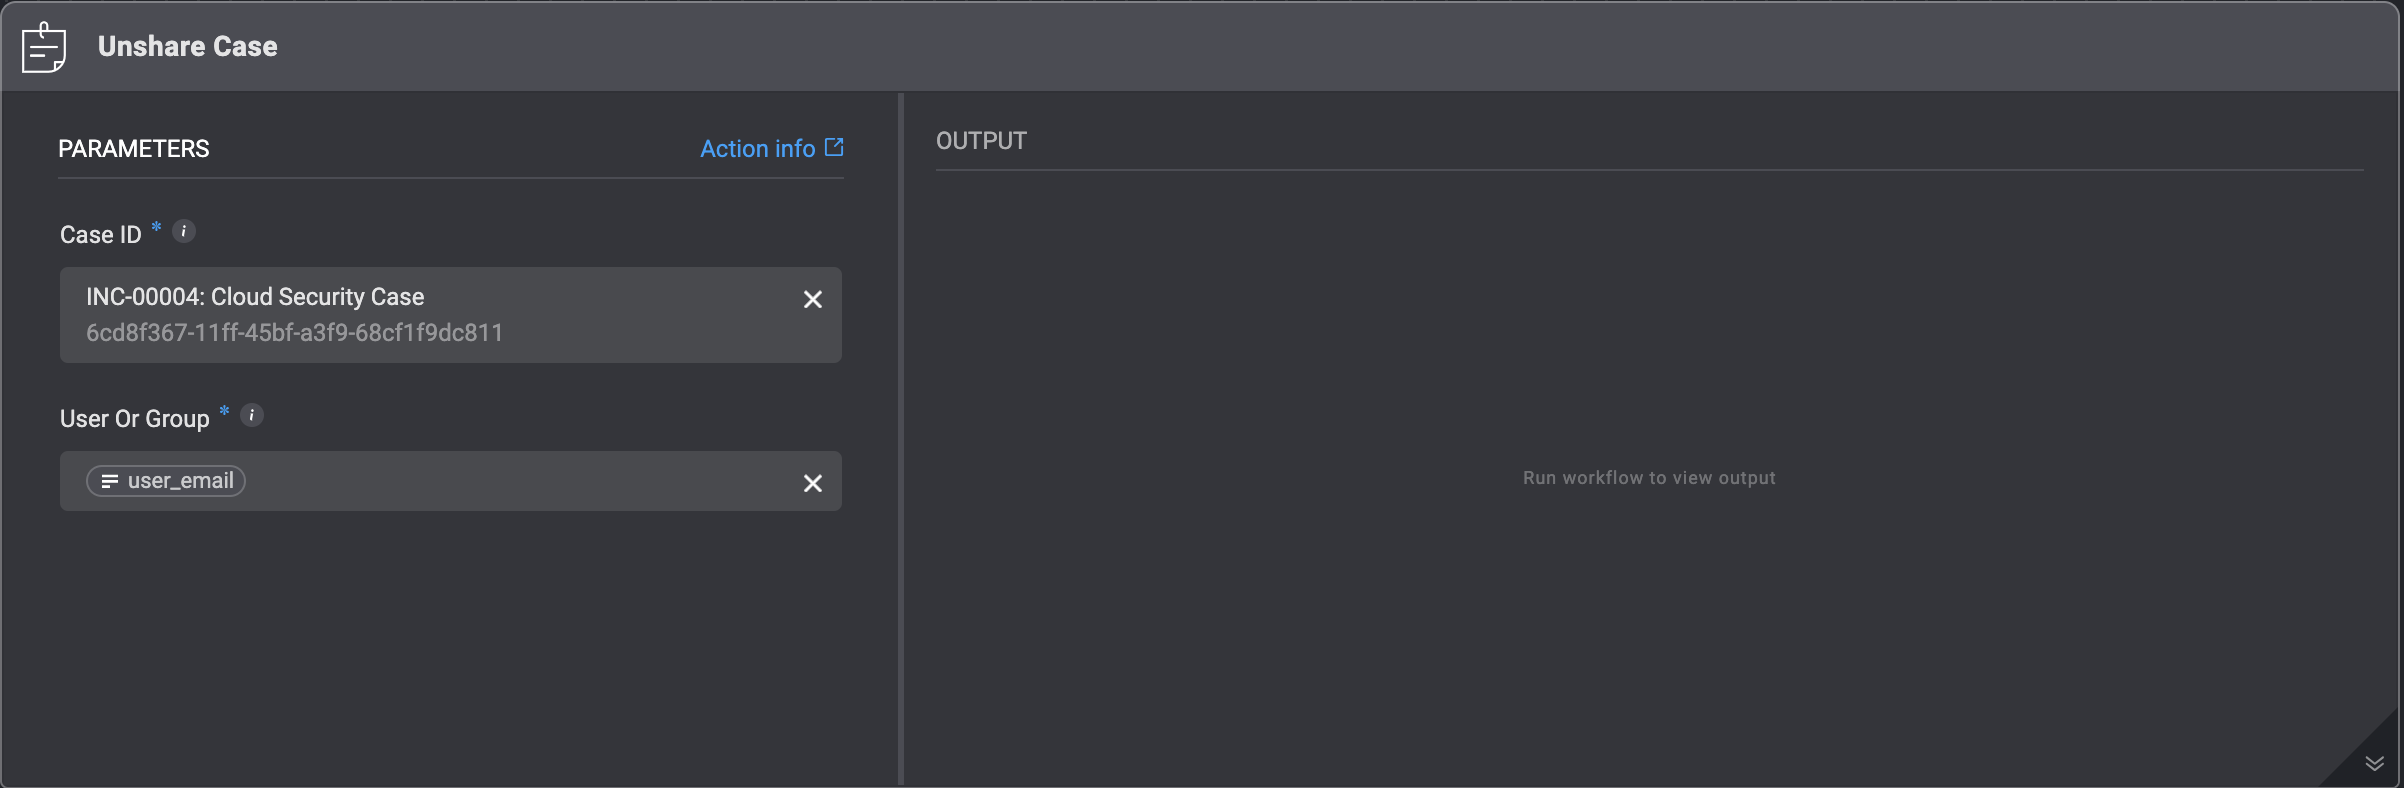
Unshare Case
| Parameter | Description |
|---|
| Case ID | The ID of the Case. It can be the id or the case_id field of the Case. |
| Users and Groups | The internal user or group to share the selected case with. |
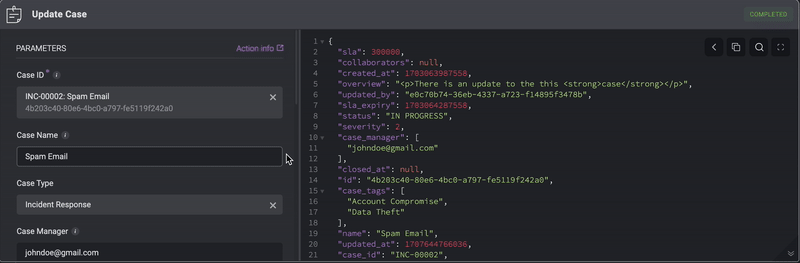
Update Case
Updating Case in the Case Management Table by filling in the following parameters in the step. This action overwrites the existing data of the case.
| Parameter | Description |
|---|
| Case ID | The ID of the Case. It can be the id or the case_id field of the Case |
| Case Name | The name of the case. |
| Case Type | The type of the case. |
| Case Manager | The email address of the person who created the case |
| Severity | The severity rank of your Case. It can be: Low, Medium, High or Critical |
| SLA | The duration of time within which a task pertaining to the case must be completed before the SLA time period is reached |
| Tags | Tags linked to the case |
| Vendors | Vendors involved in the case |
| Overview | A brief overview of the case. |
| Case Summary | A brief summary of the case. |
| Status | The case’s status. |
| Collaborator | Email Address of people collaborating on the case with you |
| Custom Fields (JSON Format) | Add a Custom Field in JSON format. Please note that this applies only if you have manually added a custom record column to the subject table. |
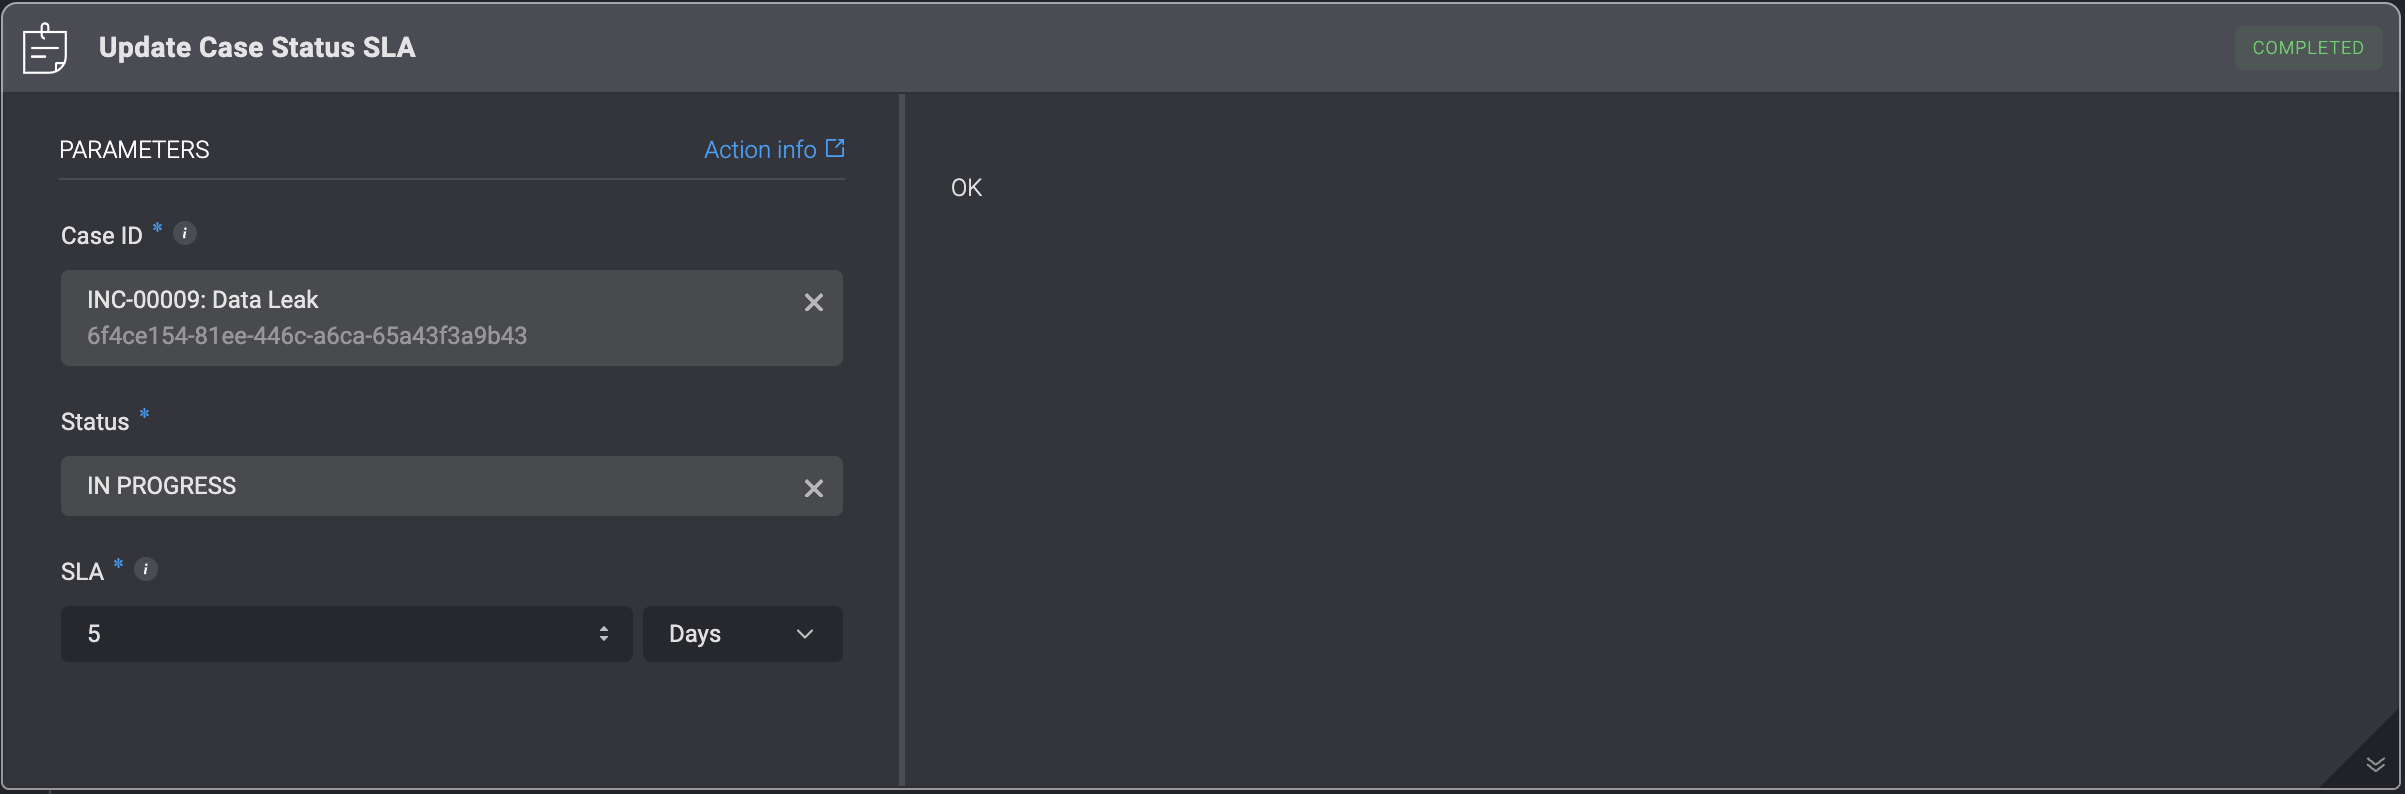
Update Case Status SLA
Changing the Case Status SLA by filling in the following parameters in the step.
Note: Use the
variable picker to select either the
id or the
case_id of the case to be updated from a previous step or the Workflows inputs. Alternatively, you can choose a specific case directly from the dropdown menu.
| Parameter | Description |
|---|
| Case ID | The ID of the Case. It can be the id or the case_id field of the Case |
| Status | The case’s status |
| SLA | The time duration in Days, Hours, or Minutes. |
Escalate Case
The Escalate Case action is used to elevate a selected case to a higher level of attention, priority, or ownership. This action ensures that the case is formally marked as escalated and that all required escalation details are captured in a structured and consistent manner.
When triggered, the action records the reason for escalation and any additional information defined in the Escalation Form settings.
| Parameter | Description |
|---|
| Case ID | The unique identifier of the case. This can be either the id or the case_id field of the case record. |
| Escalation Reason | A required explanation describing why the case is being escalated (e.g., severity increase, SLA breach, need for higher-level investigation). |
| Additional Fields | Any extra fields configured in the Escalate Case Form section of Case Management Settings. These fields are dynamic and depend on your environment configuration (e.g., vendors, attachments, tags, case manager). |
Card Actions
When using
HTML in the
rich text editor, only elements supported by the rich text editor will be rendered. Any unsupported
HTML may not be displayed as expected.
Create Card
Create a new card and add it to a custom tab within a case. Cards allow you to display formatted information, notes, or investigation details directly inside the case interface.
| Parameter | Description |
|---|
| Case ID | The ID of the Case. It can be the id or the case_id field of the Case |
| Tab Name | The name of the custom tab where the card will appear. Create a custom tab in your Case Management Settings. |
| Card Name | The title of the card as it will appear in the case tab. |
| Rich Text | The formatted content to include in the card. This field supports rich text for structured notes, investigation details, or other contextual information. |
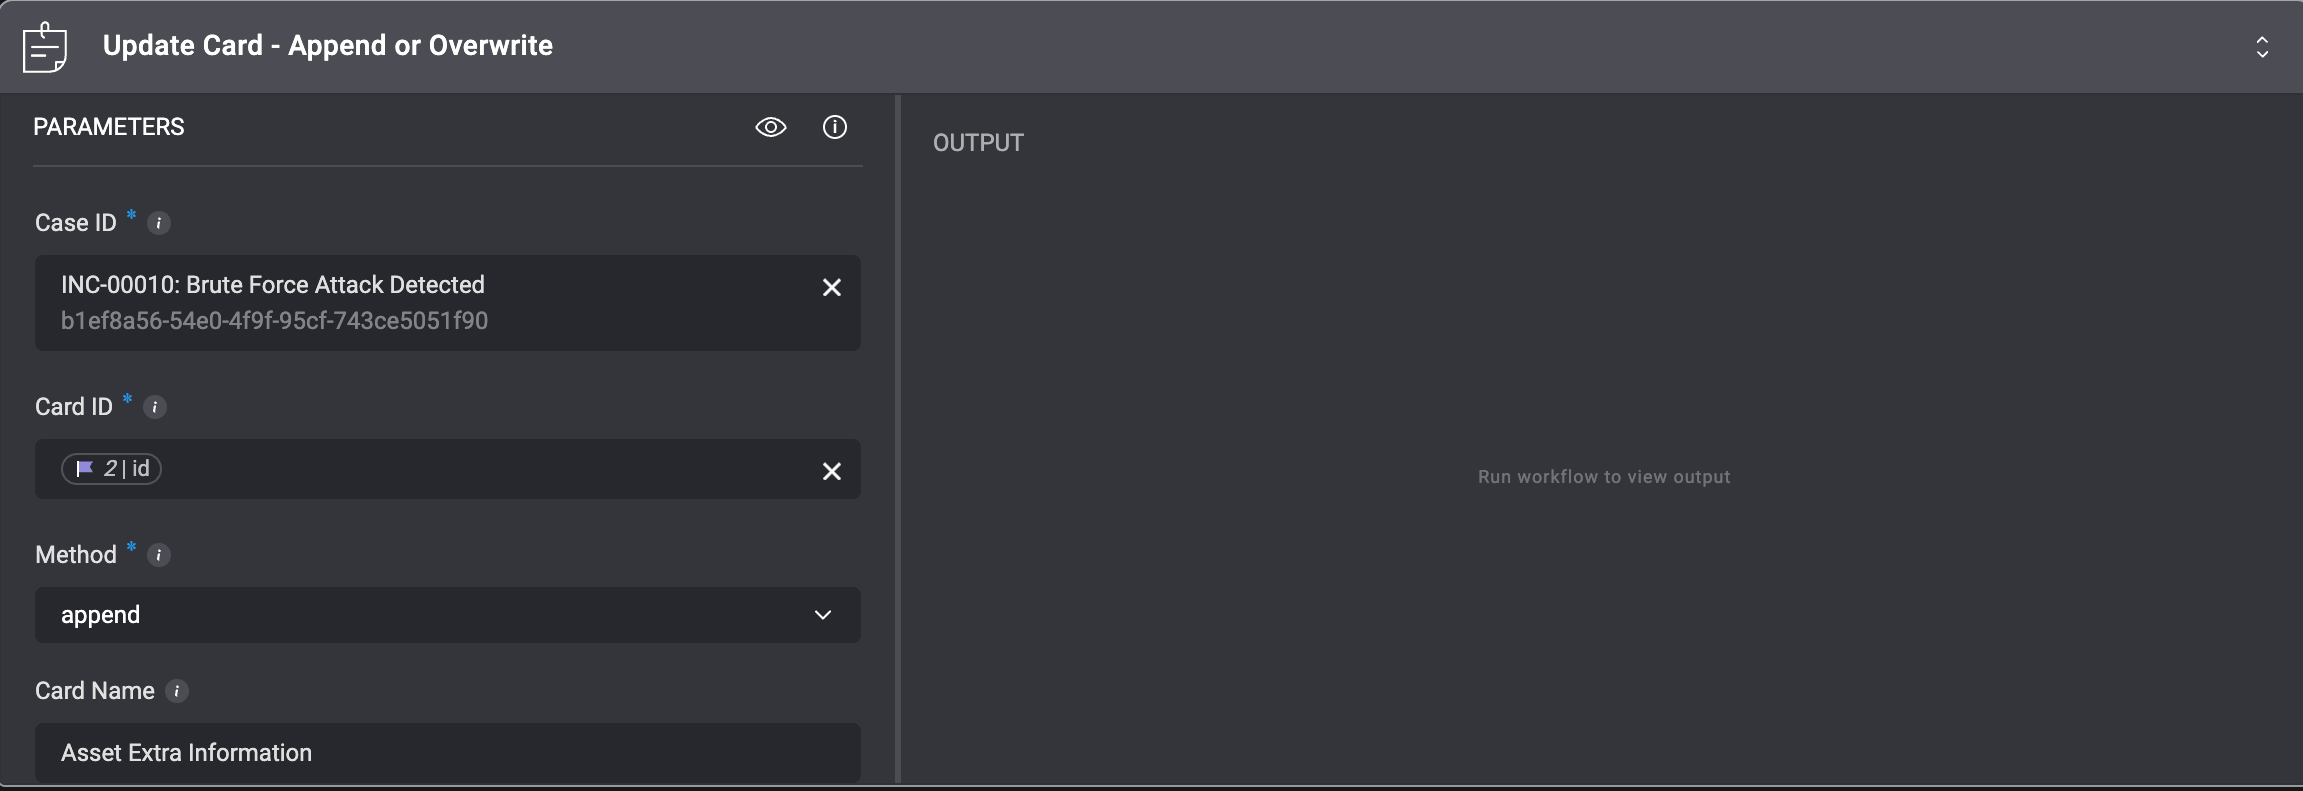
Update Card
Update an existing card within a case. This action allows you to modify the card by either replacing its content or adding new content to the existing text.
Two update methods are supported:
- Overwrite – Replaces the card’s name and/or its existing content with the new values provided.
- Append – Adds the provided rich text to the end of the card’s current content without removing what is already there.
| Parameter | Description |
|---|
| Case ID | The unique identifier of the case where the card exists. This can be either the id or the case_id field of the case. |
| Card ID | The unique identifier of the card you want to update. |
| Method | Determines how the update is applied: Append adds the provided rich text to the existing card content, while Overwrite replaces the card’s current name and content with the new values. |
| Card Name | The updated name or title of the card. This is typically used when the Overwrite method is selected. |
| Rich Text | The rich text content to add or replace in the card, depending on the selected update method. |
Clear Card
This action removes all content from an existing card within a case, effectively resetting it while keeping the card itself intact.
| Parameter | Description |
|---|
| Case ID | The unique identifier of the case containing the card. This can be either the id or the case_id field of the case. |
| Card ID | The unique identifier of the card whose content you want to clear. |
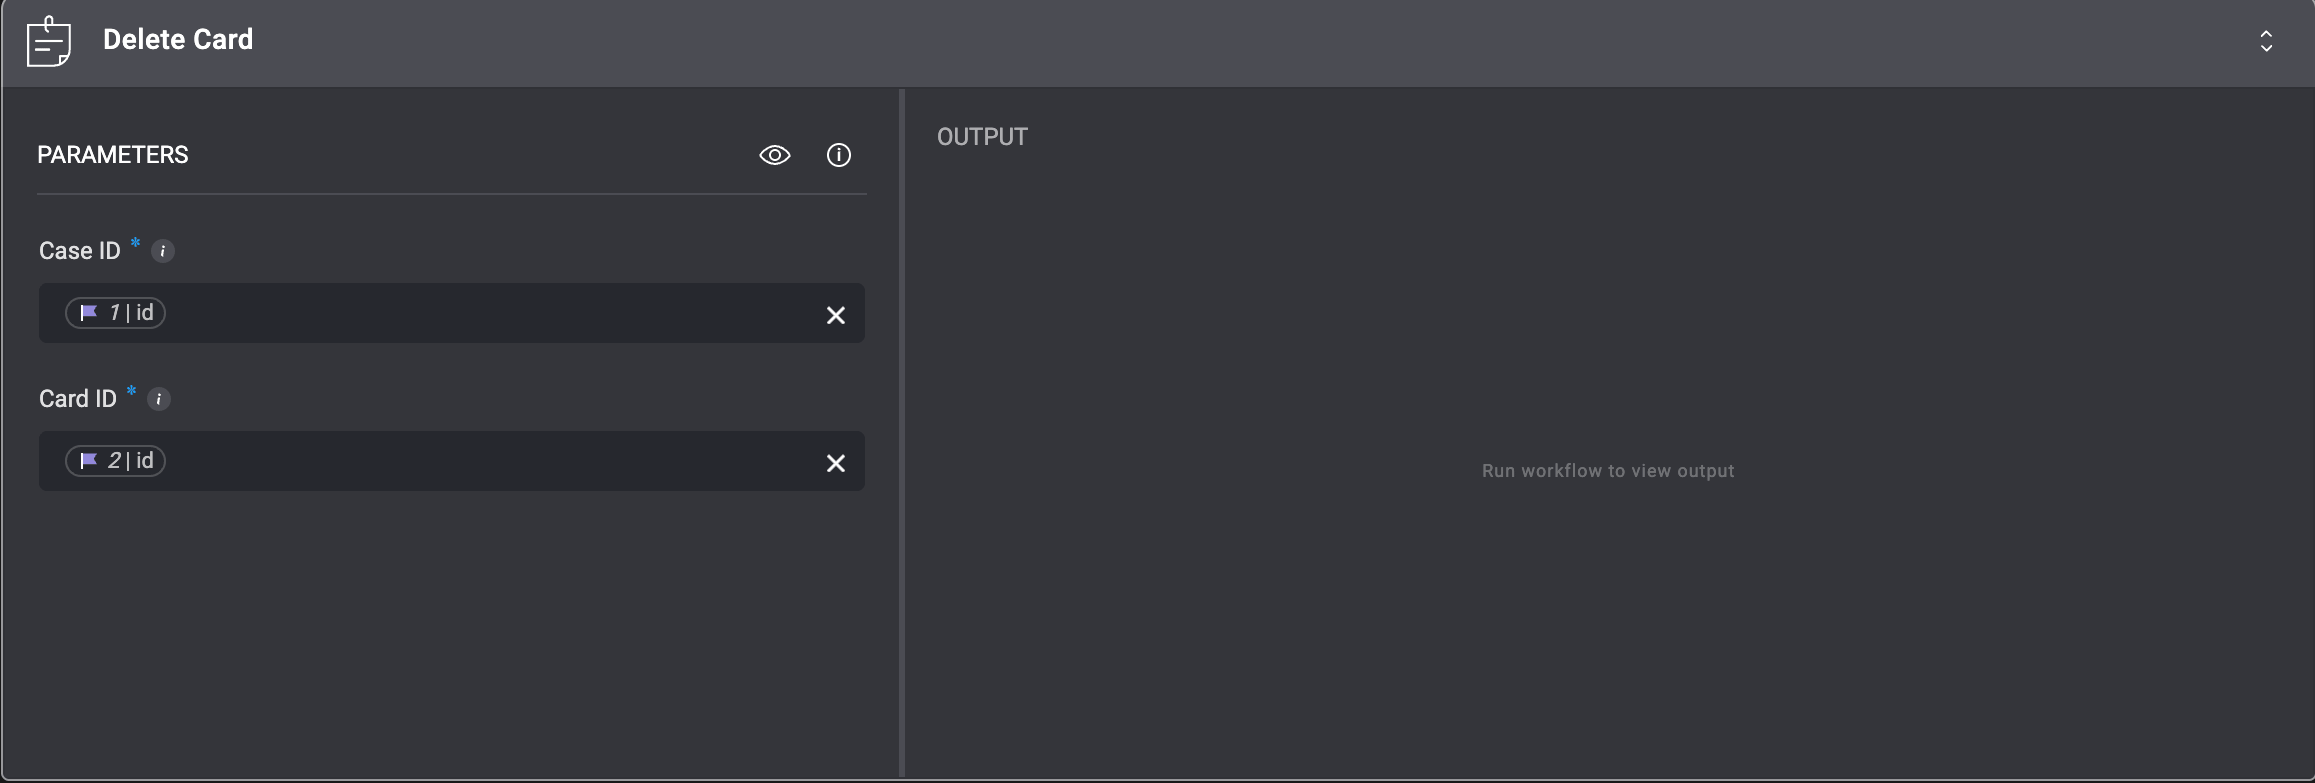
Delete Card
This action deletes the card entirely
| Parameter | Description |
|---|
| Case ID | The ID of the Case. It can be the id or the case_id field of the Case |
| Card ID | The ID of the Card, you want to delete |
Clear Tab
This action removes all cards within a specific tab for a given case, while keeping the tab itself intact.
| Parameter | Description |
|---|
| Case ID | The unique identifier of the case containing the tab. This can be either the id or the case_id field of the case. |
| Tab Name | The name of the tab you want to clear. All cards within this tab for the selected case will be deleted. |
Notes Actions
Create Note
This action creates a new note and attaches it to the selected case in the Case Overview
| Parameter | Description |
|---|
| Linked Case | The case where the note will be created |
| Content | The text or details you want to include in the note |
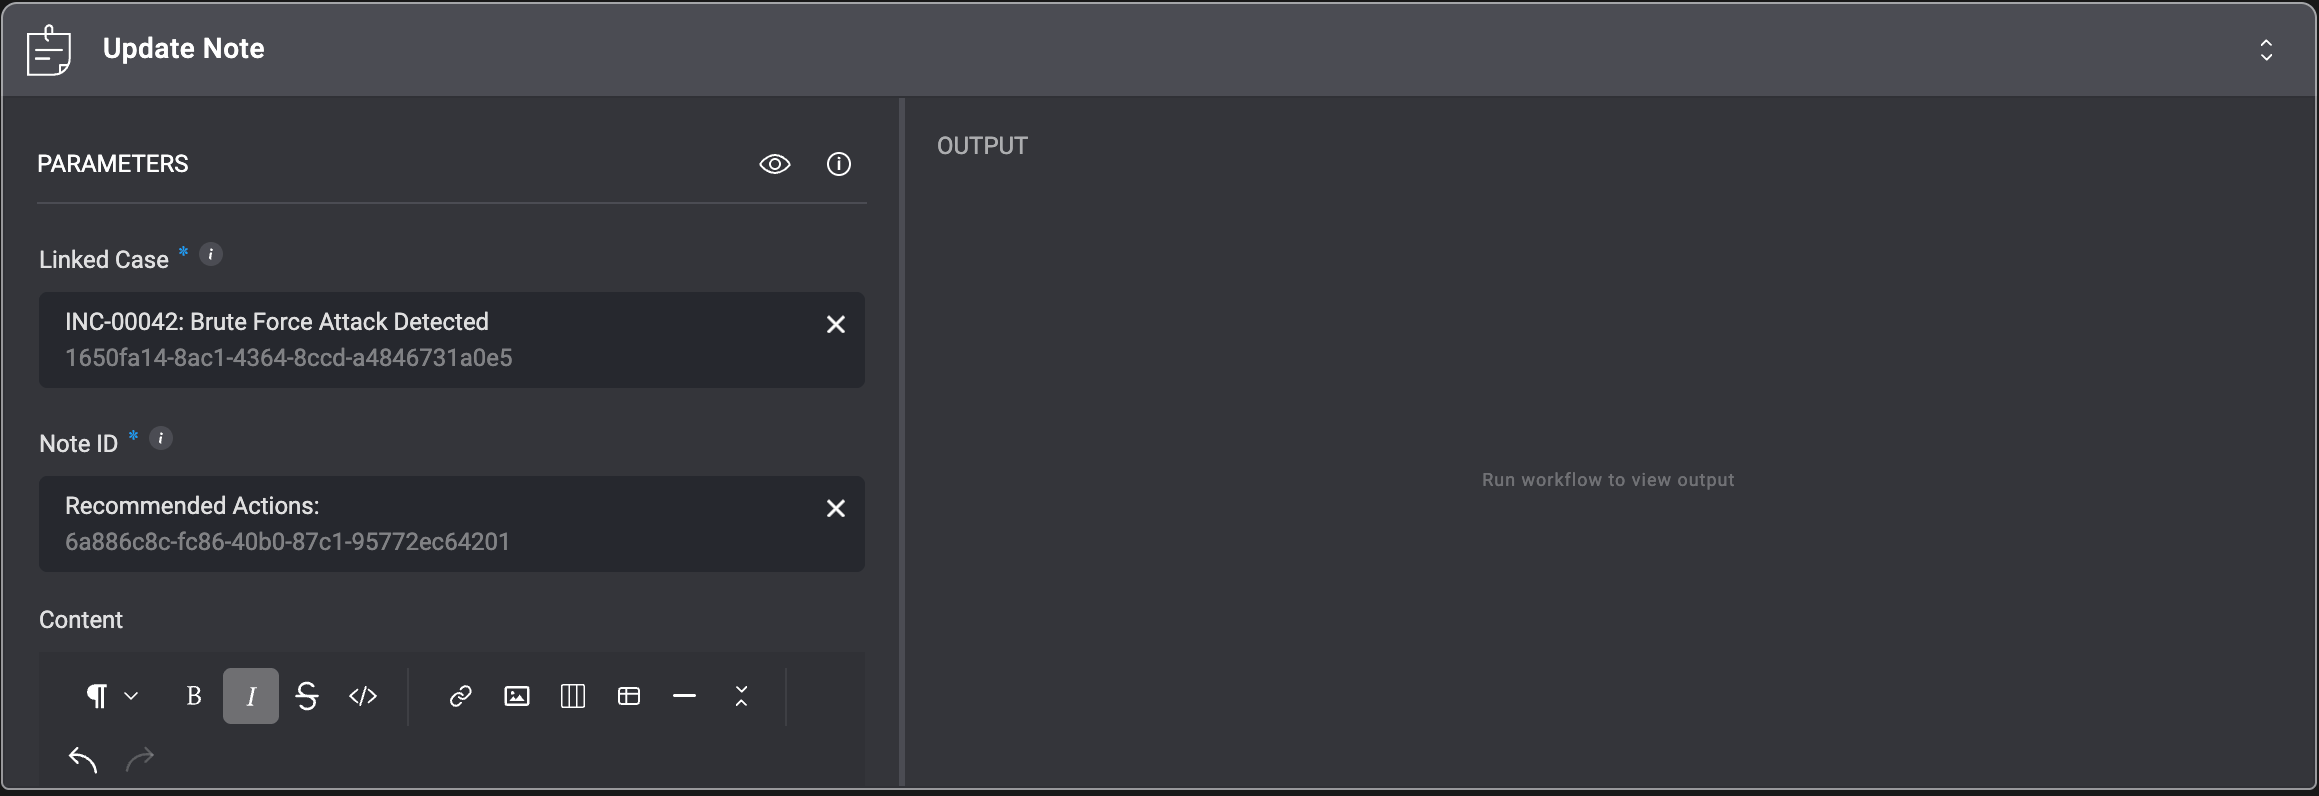
Update Note
This action updates an existing note within the selected case.
| Parameter | Description |
|---|
| Linked Case | The case that contains the note you want to update |
| Note ID | The unique identifier of the note you want to modify |
| Content | The new or updated text that will replace the existing note content |
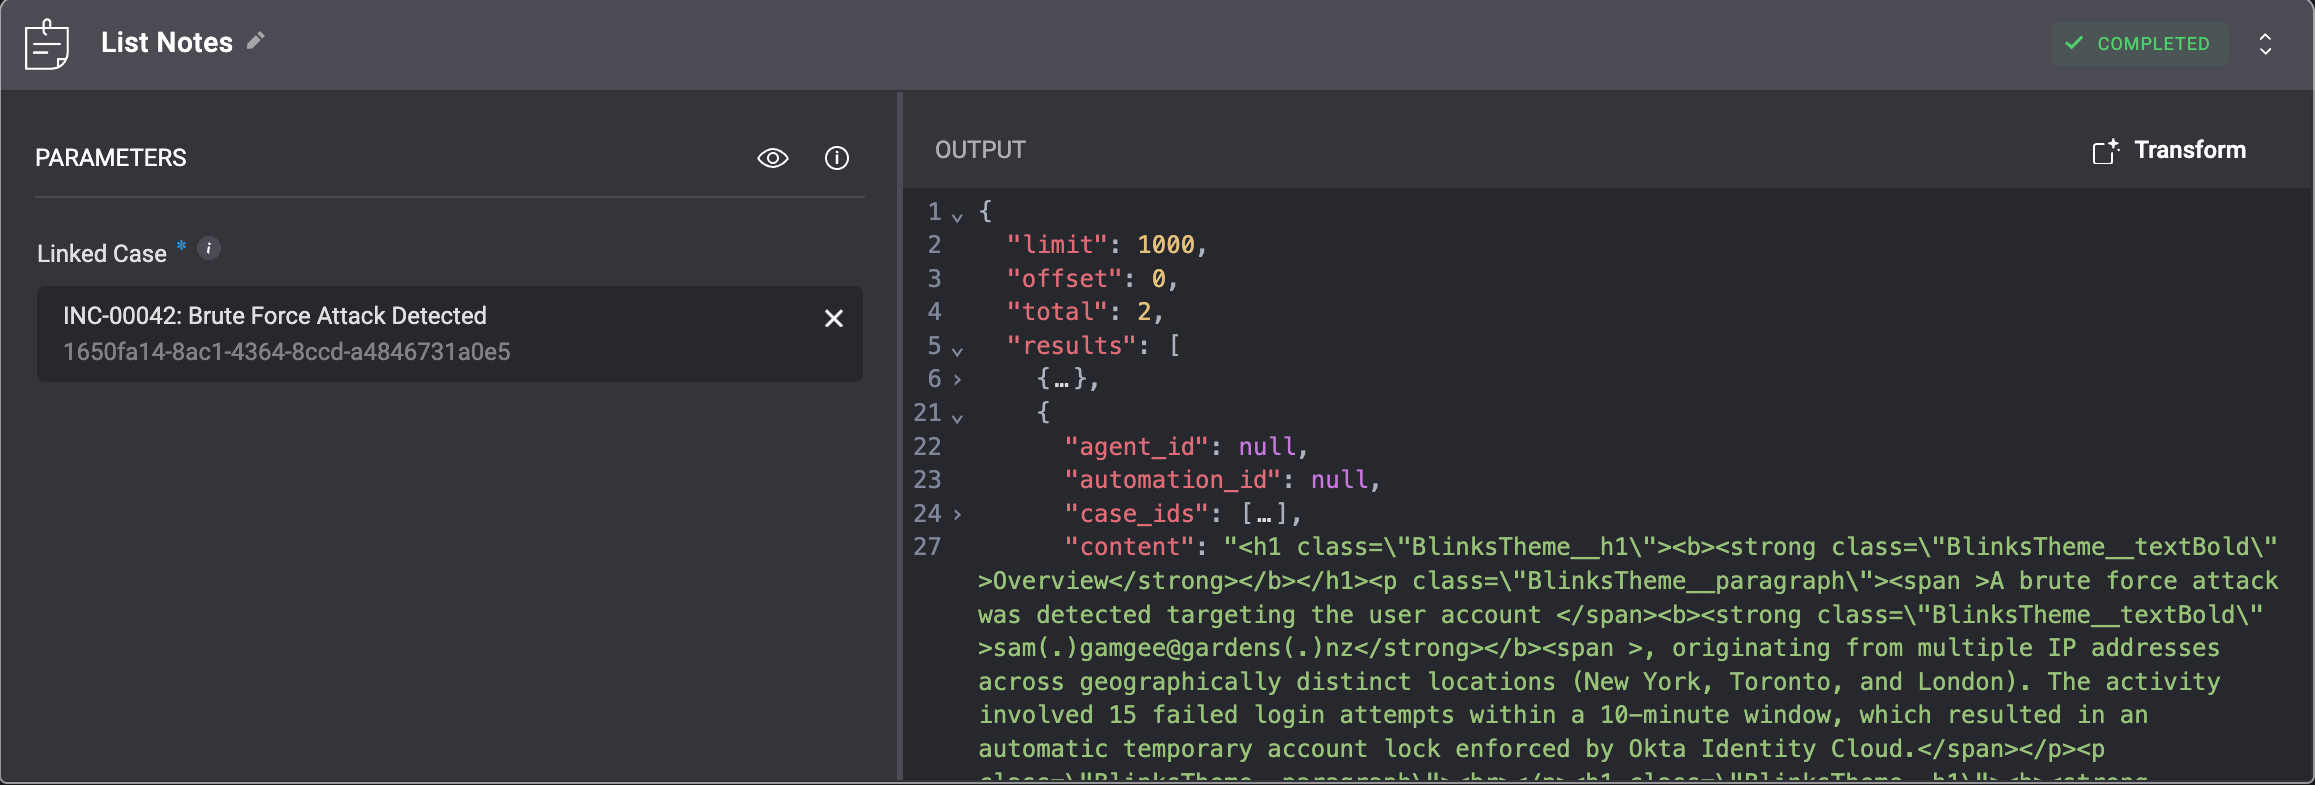
List Notes
This action retrieves all notes associated with the selected case.
| Parameter | Description |
|---|
| Linked Case | The case from which all associated notes will be retrieved |
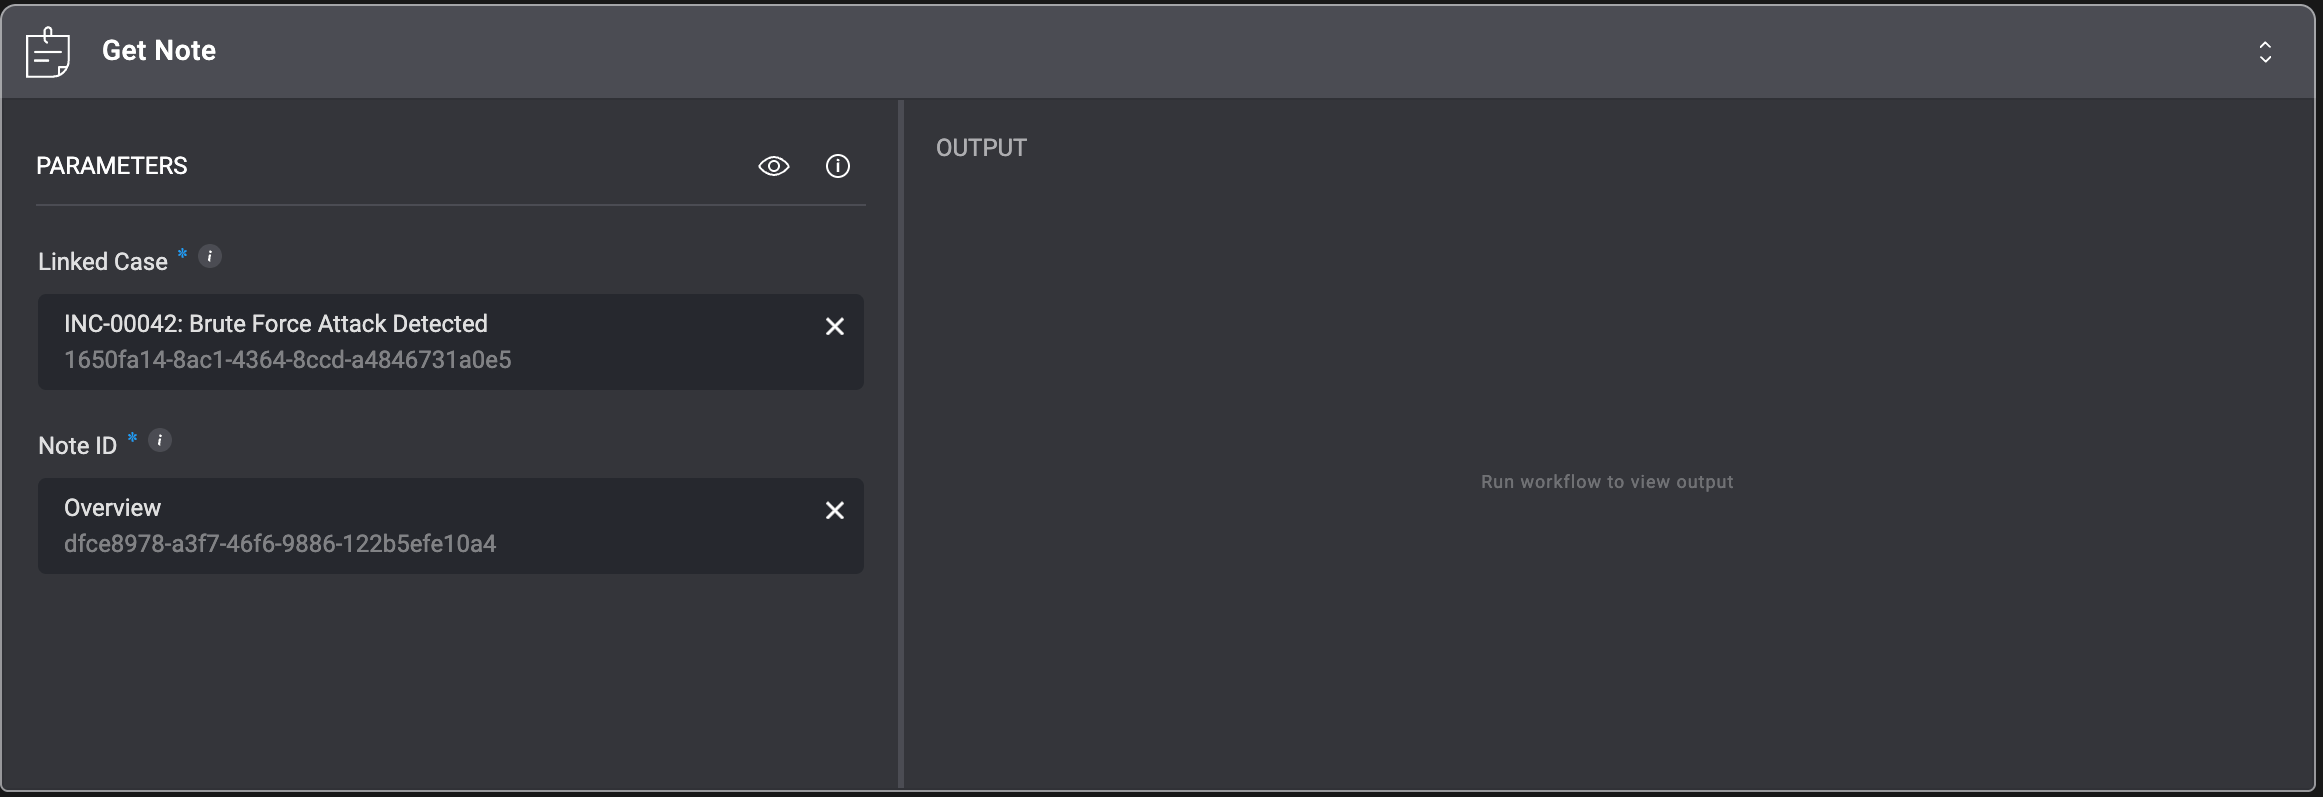
Get Note
This action retrieves the details of a specific note from the selected case.
| Parameter | Description |
|---|
| Linked Case | The case that contains the note you want to retrieve |
| Note ID | The unique identifier of the note you want to view |
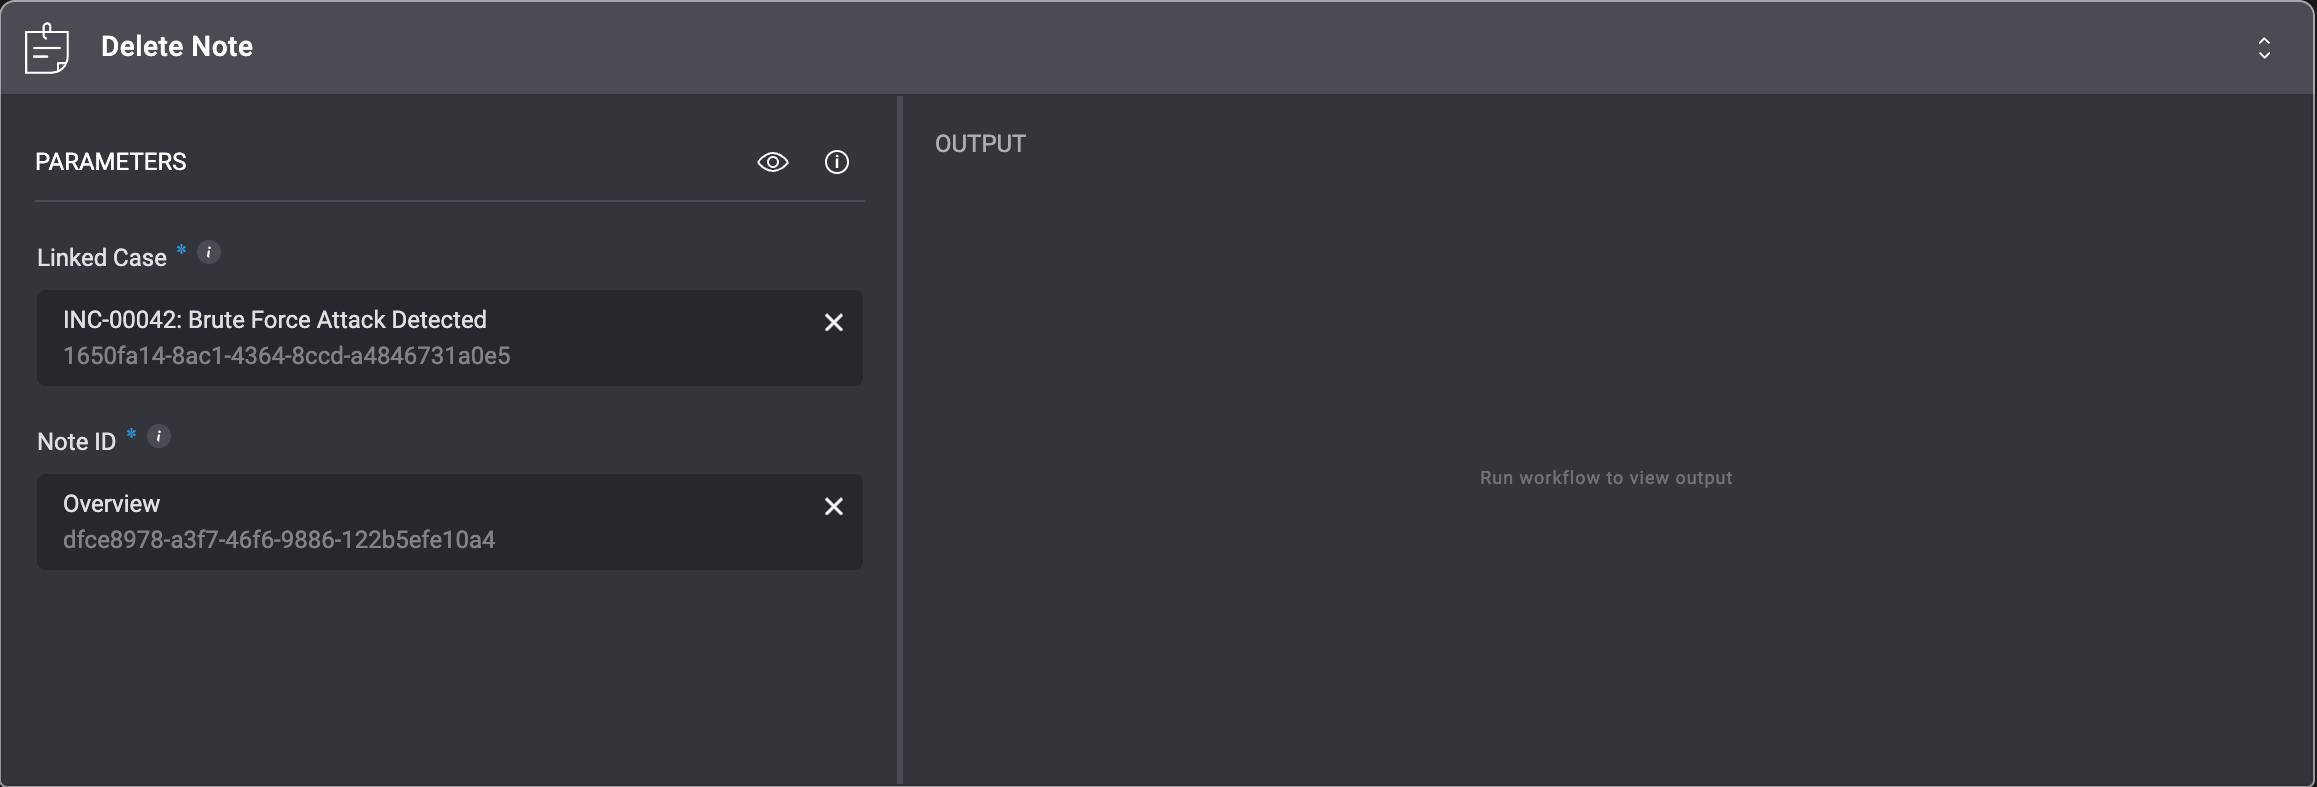
Delete Note
This action permanently deletes a note from the selected case.
| Parameter | Description |
|---|
| Linked Case | The case that contains the note you want to delete |
| Note ID | The unique identifier of the note you want to remove |