Note: Only users with the Tenant Admin role have permission to perform this configuration.
1
Navigate to Settings
Click on your initials in the bottom-left corner of the screen to open the settings menu. Then select Workspace to view your available workspaces.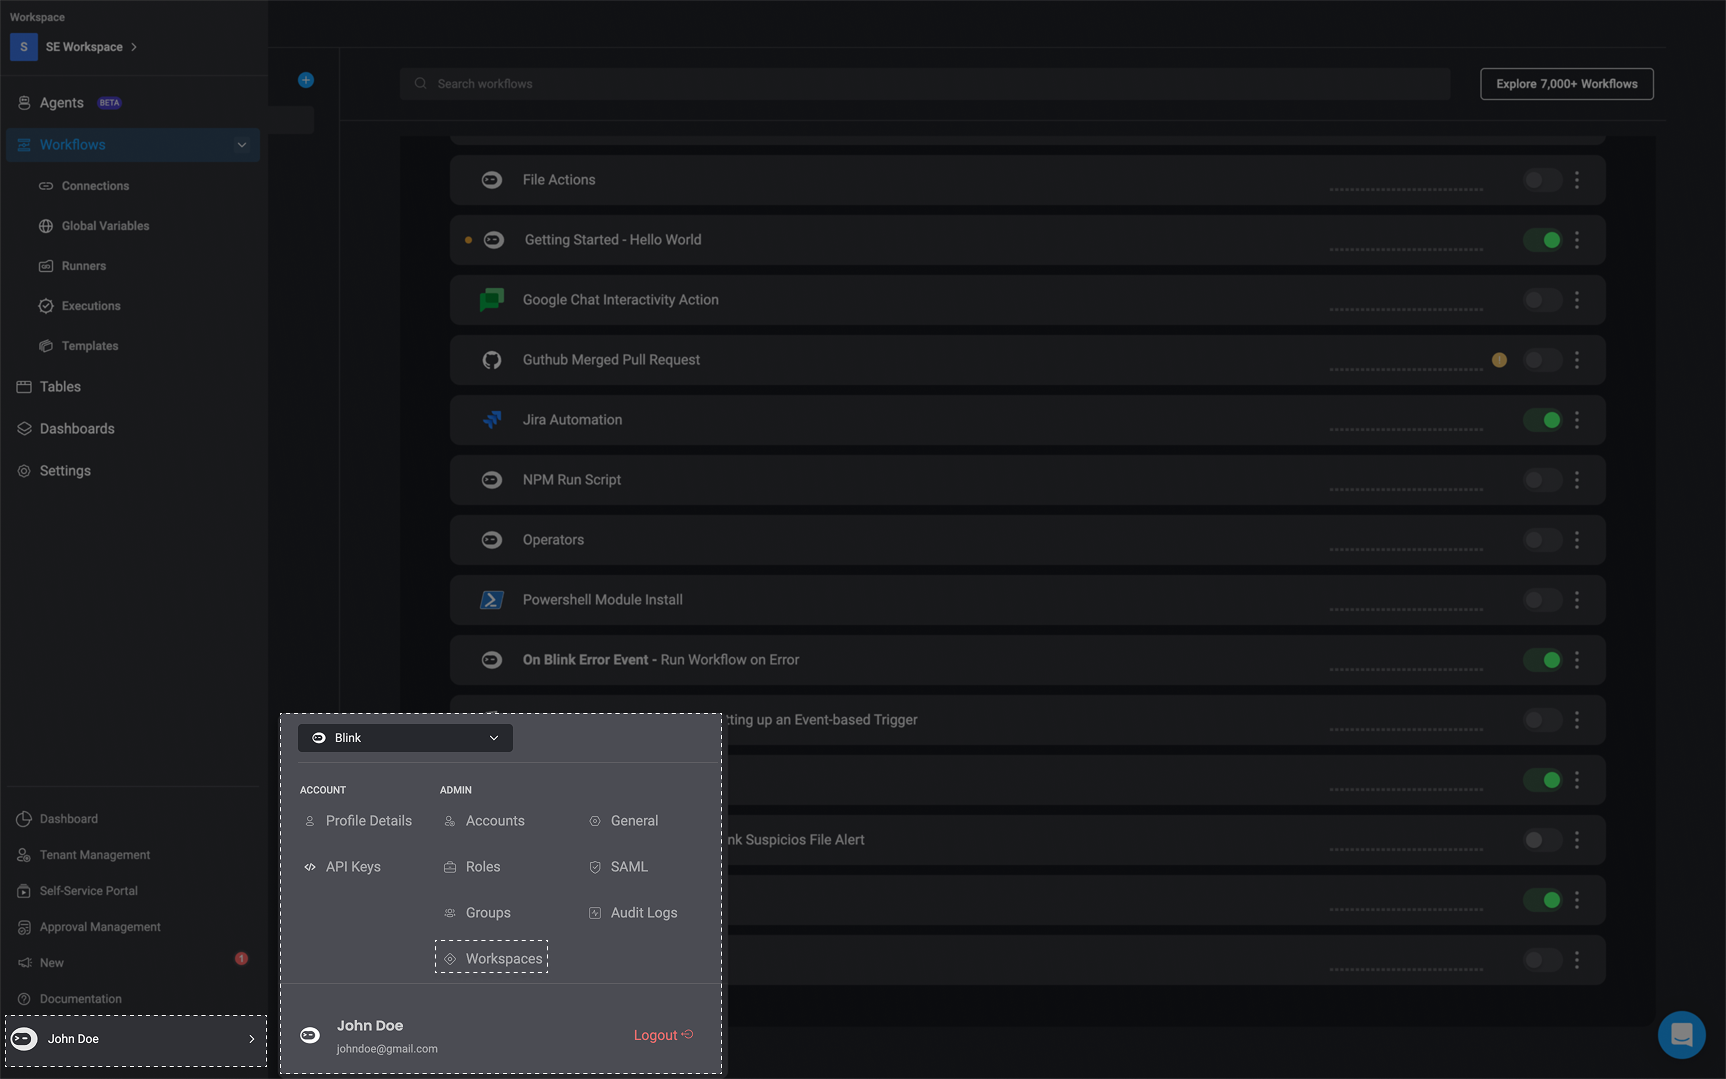
2
Select the Relevant Workspace
You will be directed to your ‘Workspace Settings’ showing all workspaces you are a member of. Use the search bar to find the specific workspace where you want to enable Case Management.
3
Enable the Case Management Feature
Under the Enable Feature column, click the dropdown menu and check the box next to ‘Case Management’ to enable it for the selected workspace.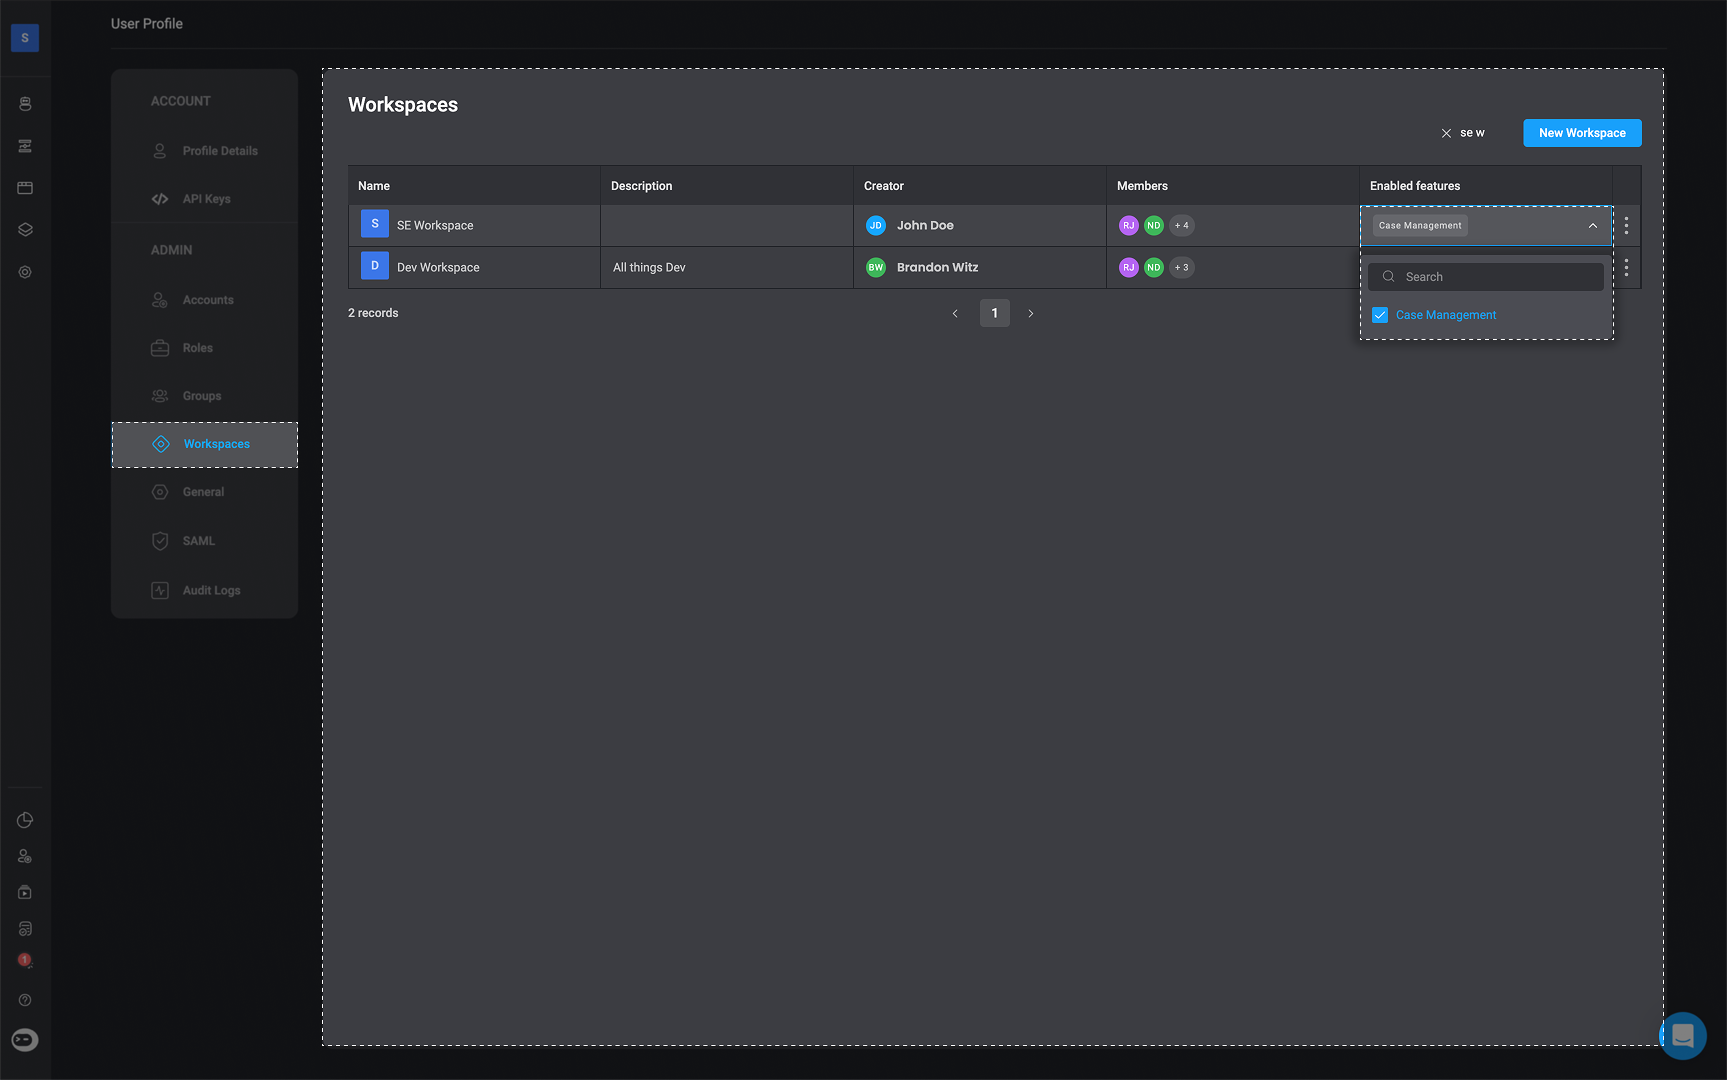
4
Confirm Feature Activation
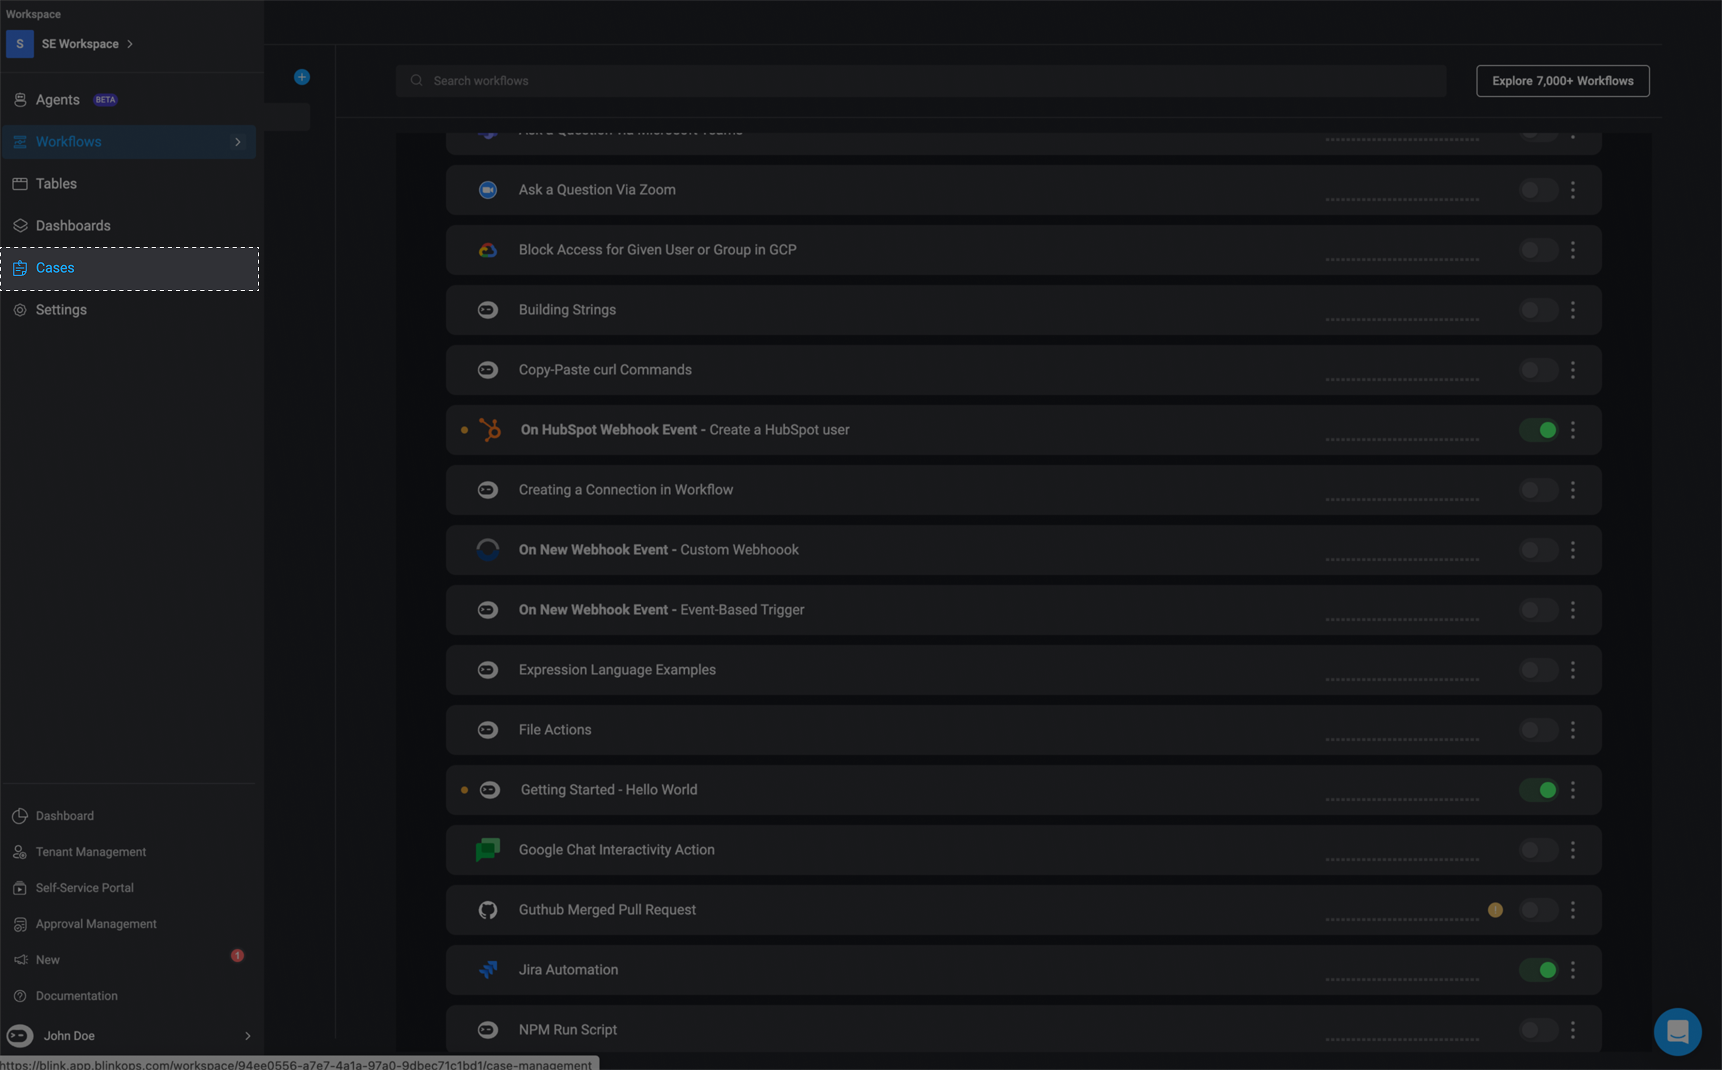
Once enabled, the ‘Cases’ feature will appear in your left-hand navigation menu.