Manage and organize hyperautomation resources and teams with workspaces.
Workspaces are compartmentalized environments within your organization designed to help you efficiently manage and organize hyperautomation resources and teams. Each workspace operates independently, with no hierarchical connections between them, enabling complete control over managing resources and workflows. Workspaces can be created based on specific functions or team needs, allowing team members to collaborate effectively on projects and share resources. When a new user joins Blink, a personal workspace is automatically created, named after the email used to sign up. Access to resources within a workspace is governed by Role-Based Access Control (RBAC), linked to user roles, ensuring secure and controlled collaboration.
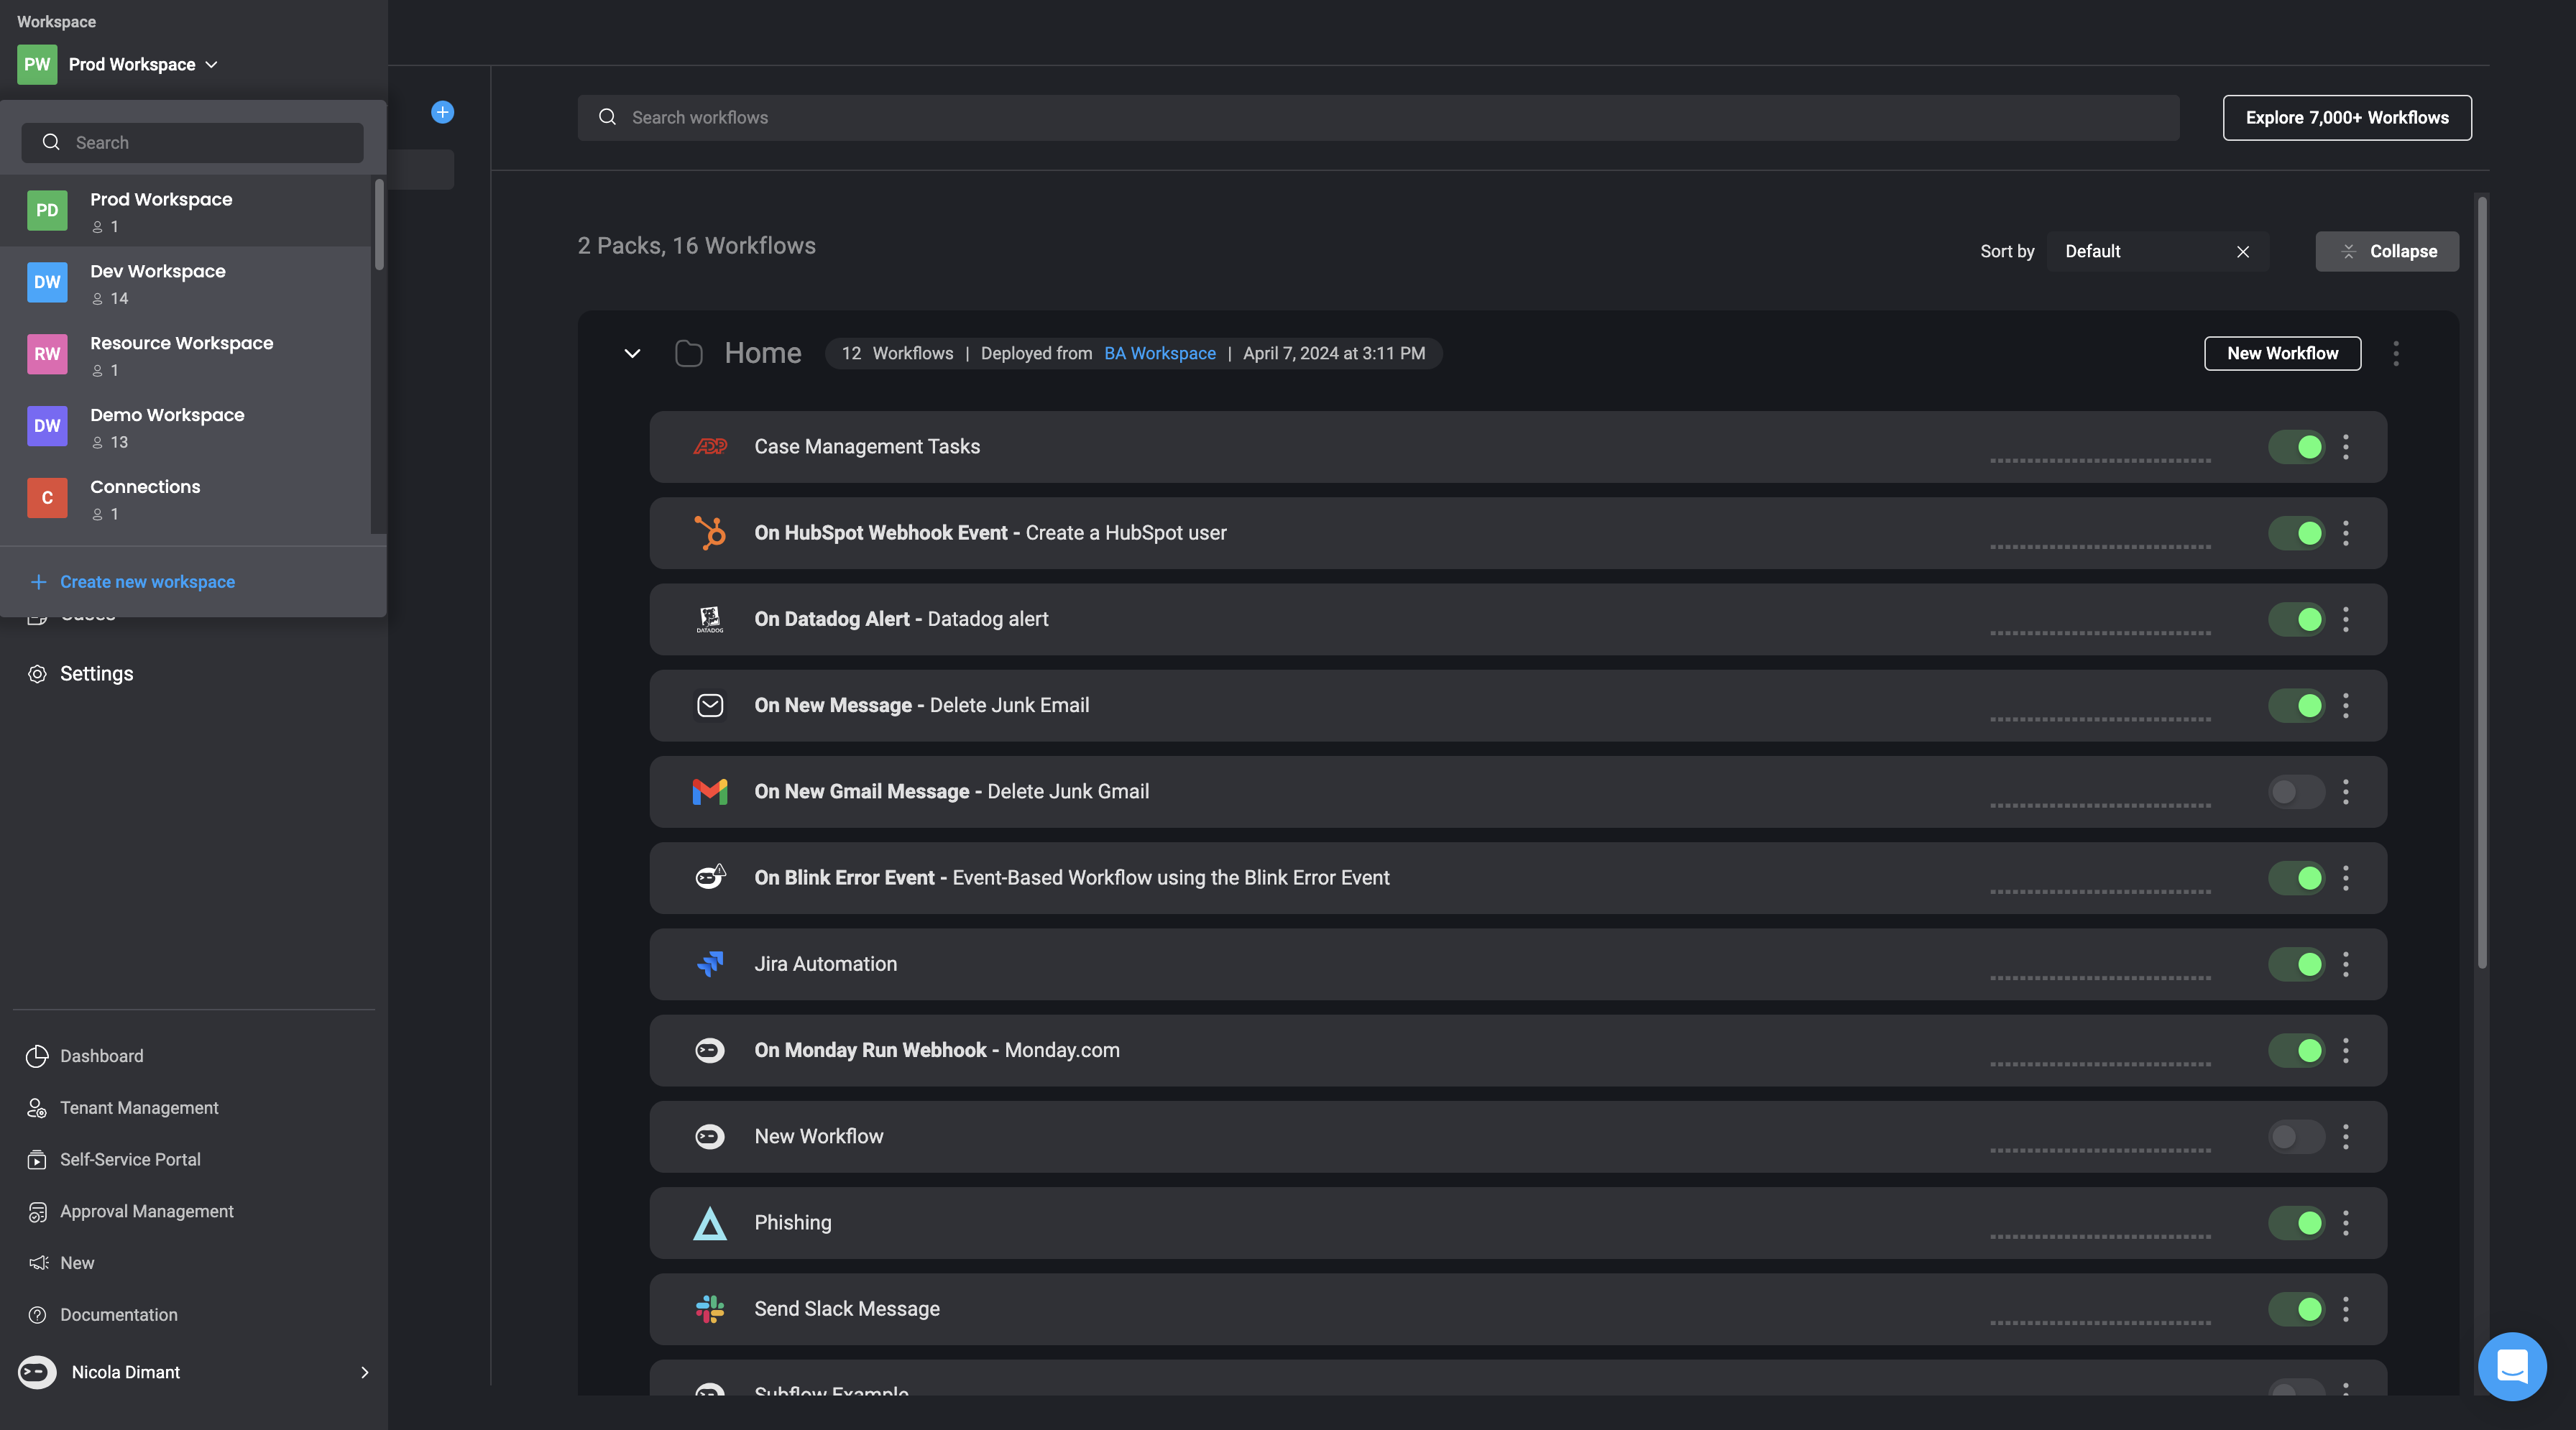
The name of your workspace and a dropdown menu showing other workspaces you have access to, appear in the upper left-hand corner of the navigation bar. You can also search for a specific workspace by entering its name in the search bar.