Case Details
In the Case table, click on the Case you want to view or edit. The Case Overview will open, displaying all the details for that Case.Note:
You can customize which case details are displayed by going to Case Overview Fields in your Case Management Settings. From there, you can choose to show or hide specific properties according to your preference.However, the following fields are mandatory and cannot be modified: Severity, Status, and Case Manager.
Case ID
The Case ID is the unique identifier assigned to each case in Blink’s Case Management. It is used to reference the case across workflows, and any other components or linked entities within the platform. This ensures every action, update, or integration reliably points to the correct case.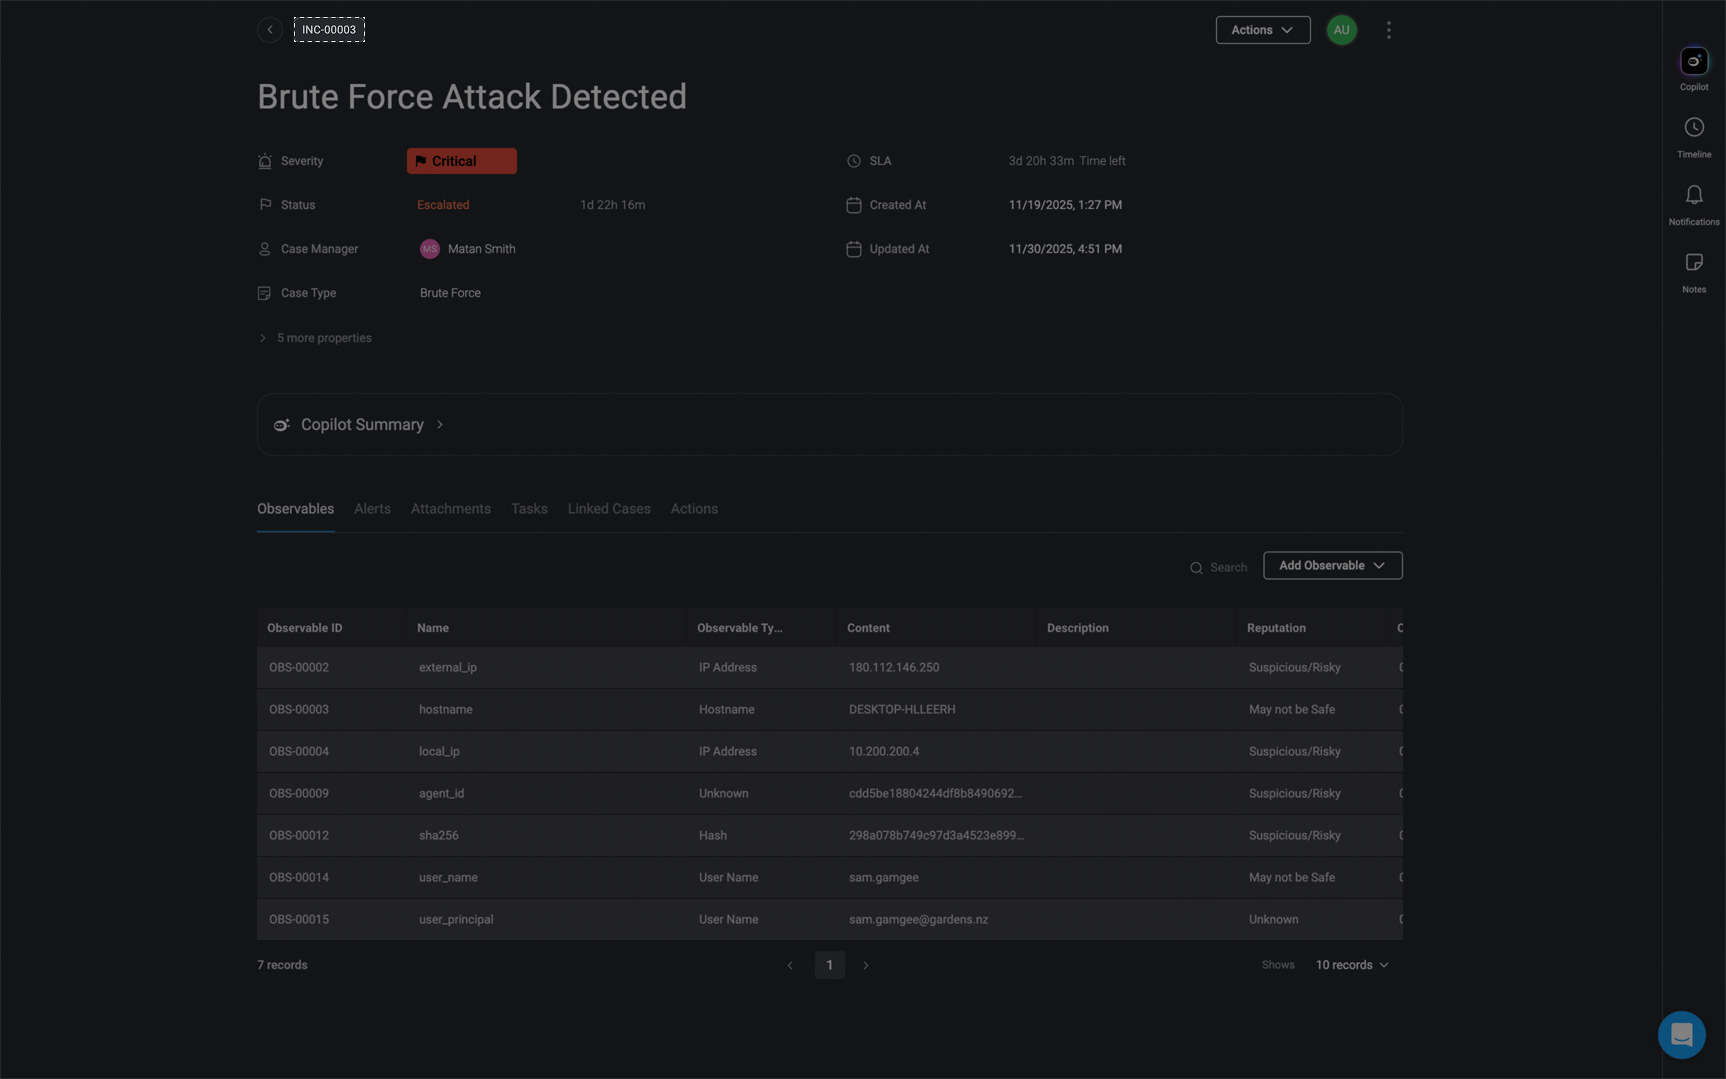
Case Name
The Case Name serves as the primary identifier for your case, making it easier to track and reference.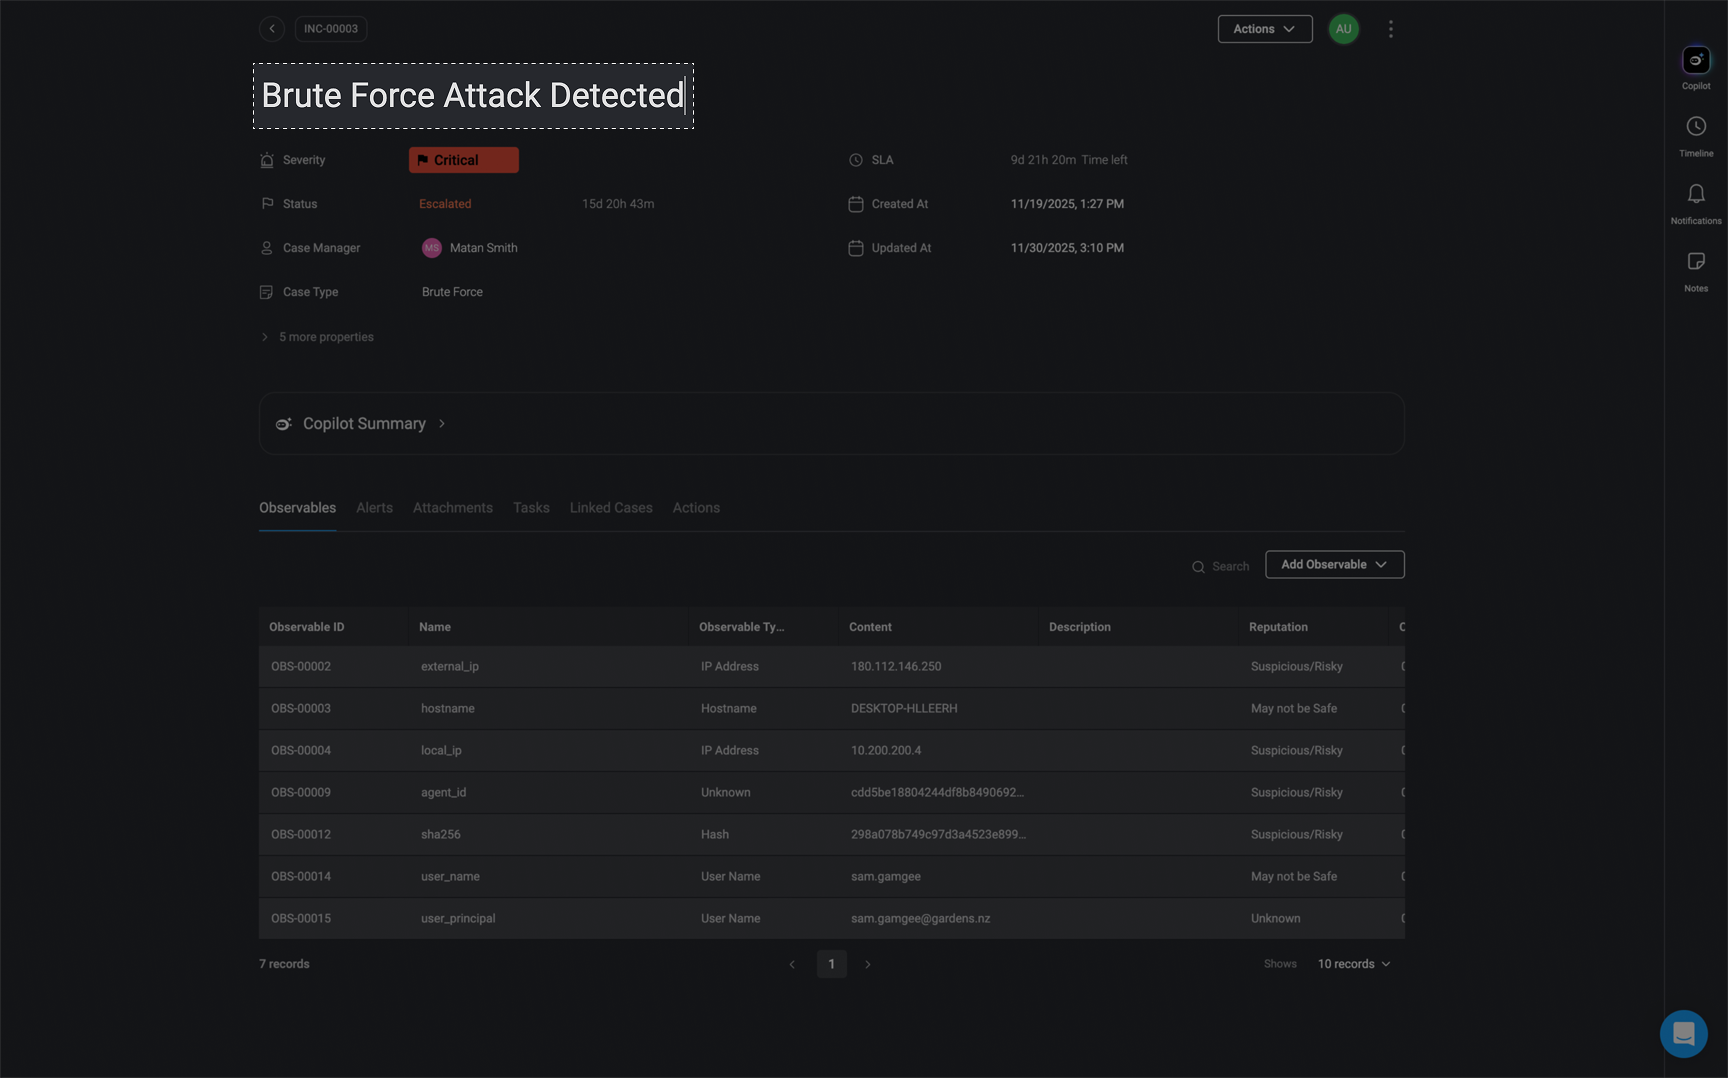
Severity Level
The Severity Level helps prioritize cases based on their urgency and impact. Choose the appropriate Severity level for your case by selecting from the available options: Low, Medium, High, or Critical. This classification ensures that high-priority cases receive immediate attention while lower-severity cases are handled accordingly.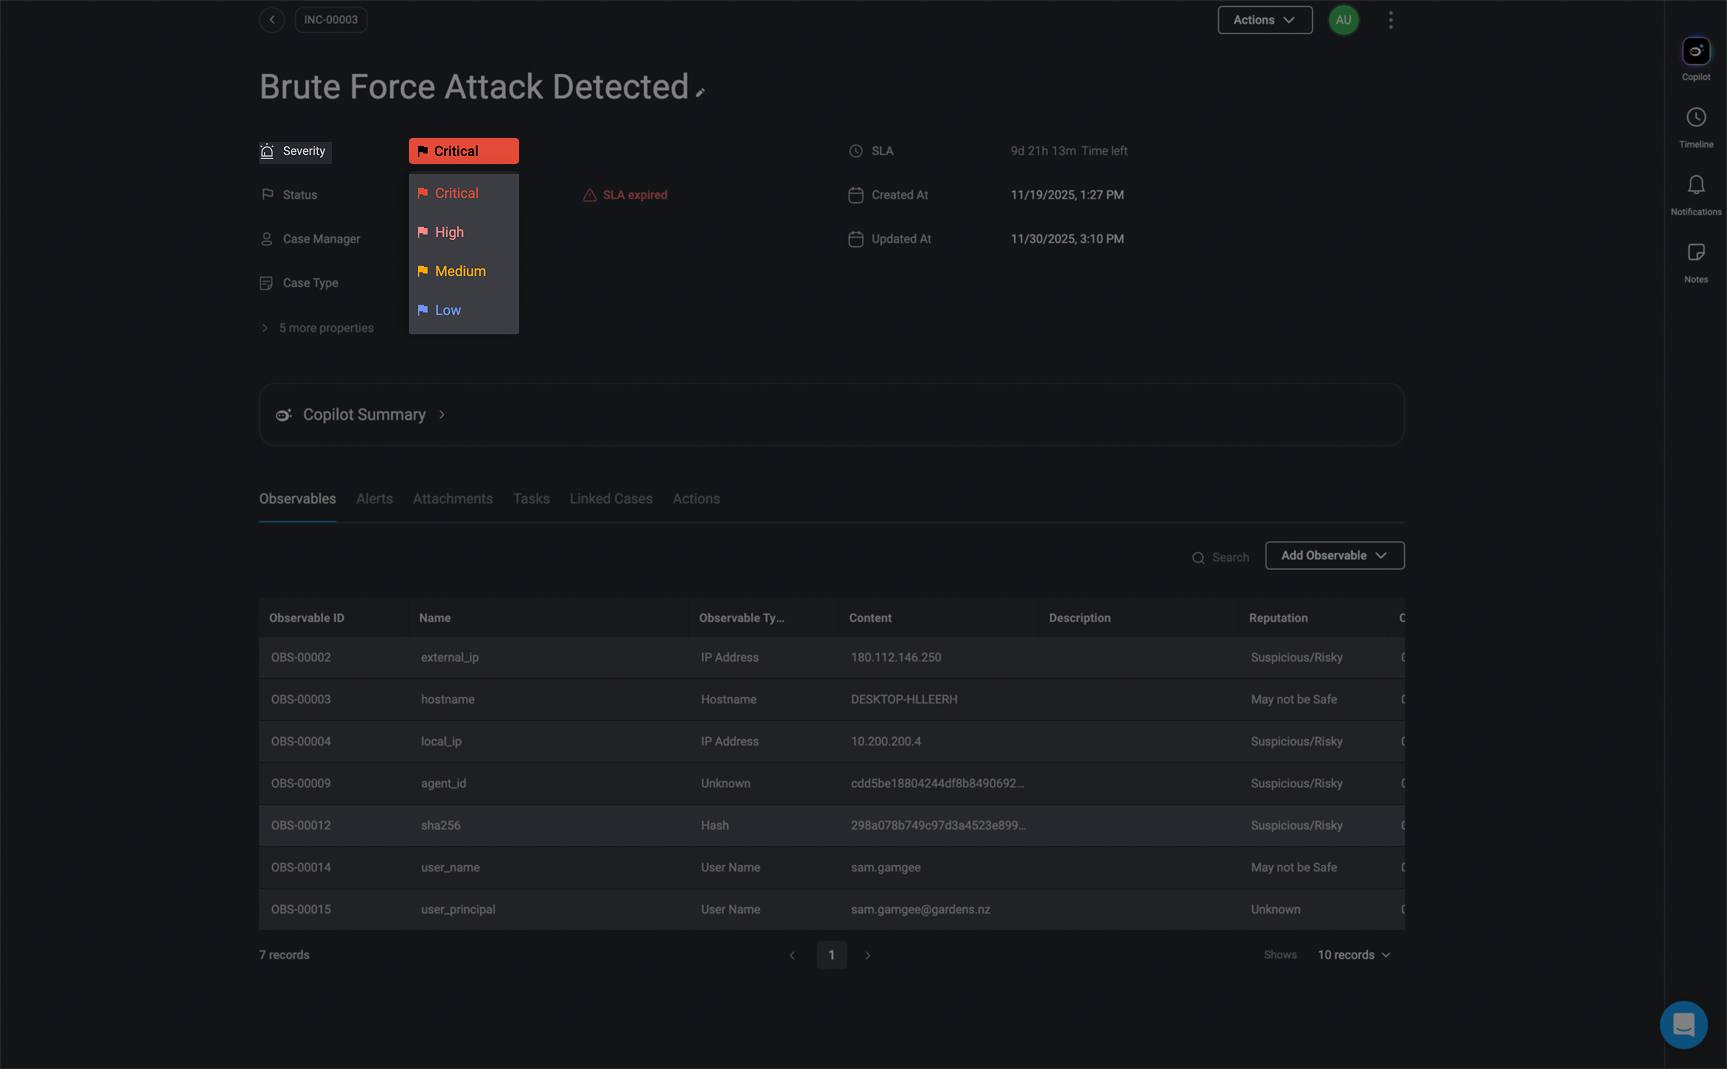
Case Status
The Case Status indicates the current progress of the case. Choose from the available status options: New, Open, In Progress, Escalated, Closed, or a customized status. Keeping the case status updated ensures transparency and helps teams manage case workflows efficiently.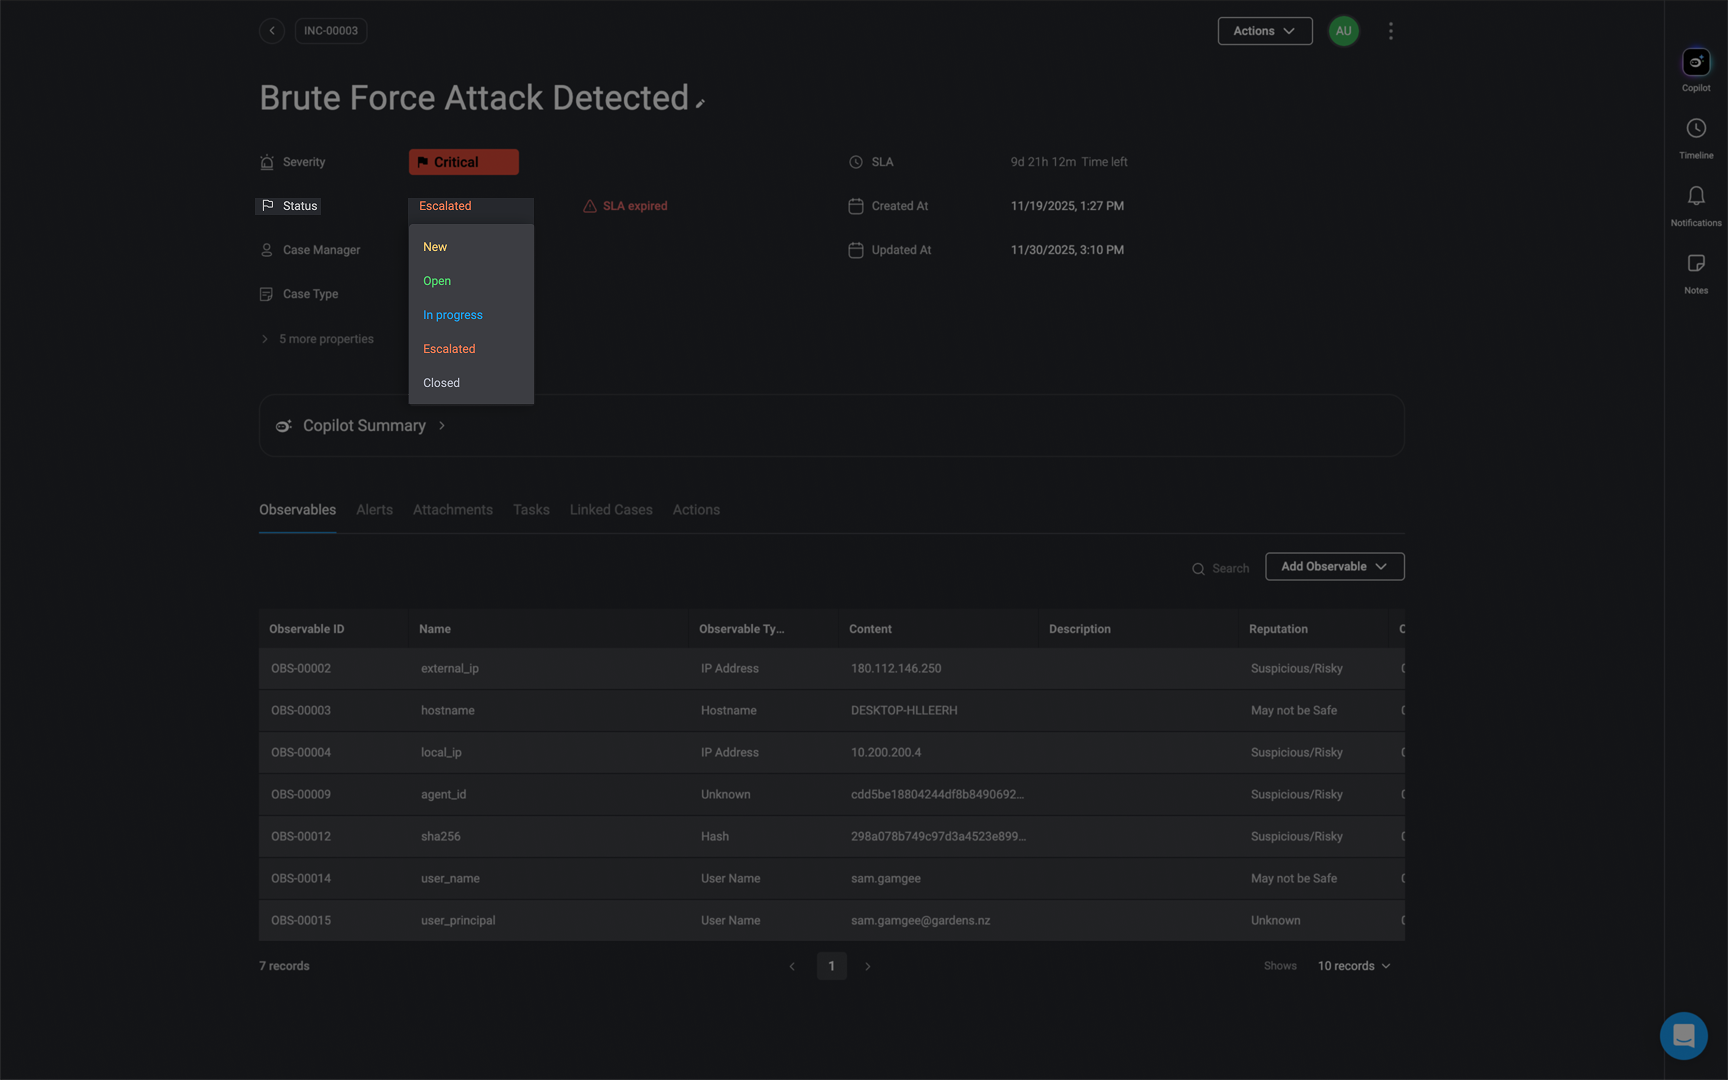
Case Status SLA
The Case Status SLA defines the maximum time a case should remain in a specific status. Set a Status SLA by choosing a time duration in days, hours, or minutes. This helps in tracking time-sensitive cases and ensures they progress through the workflow within expected timelines.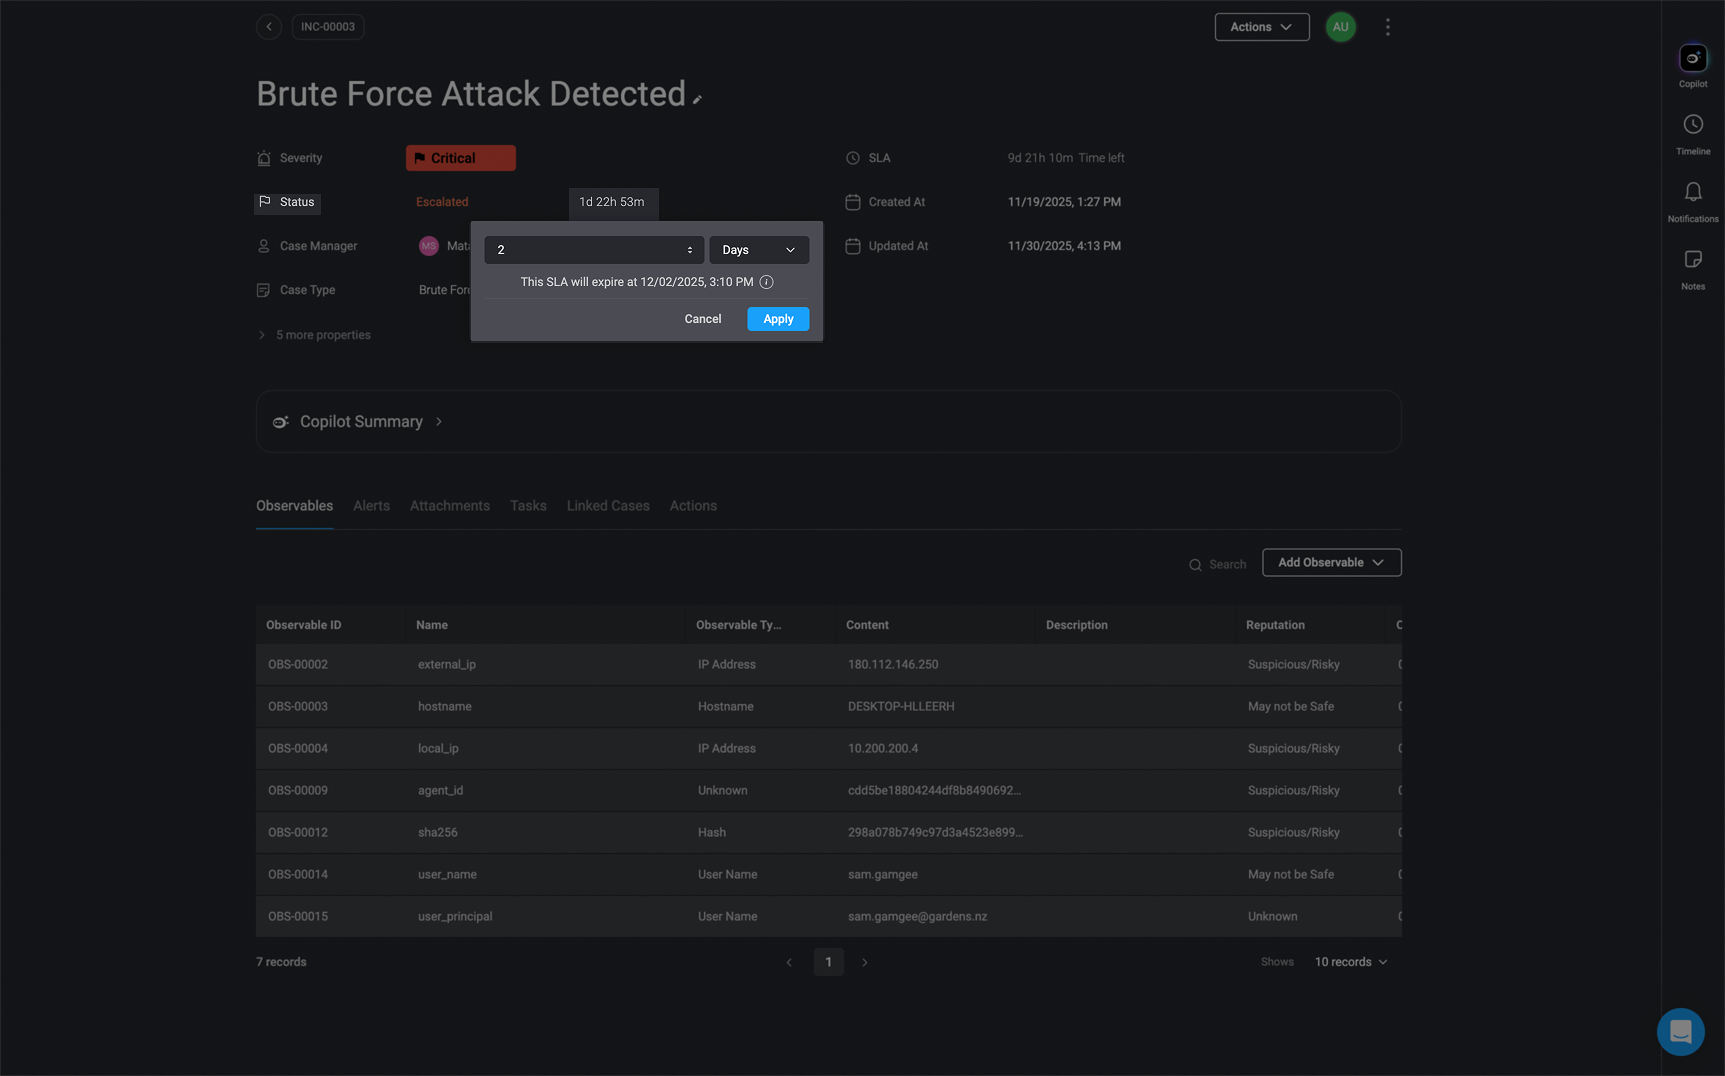
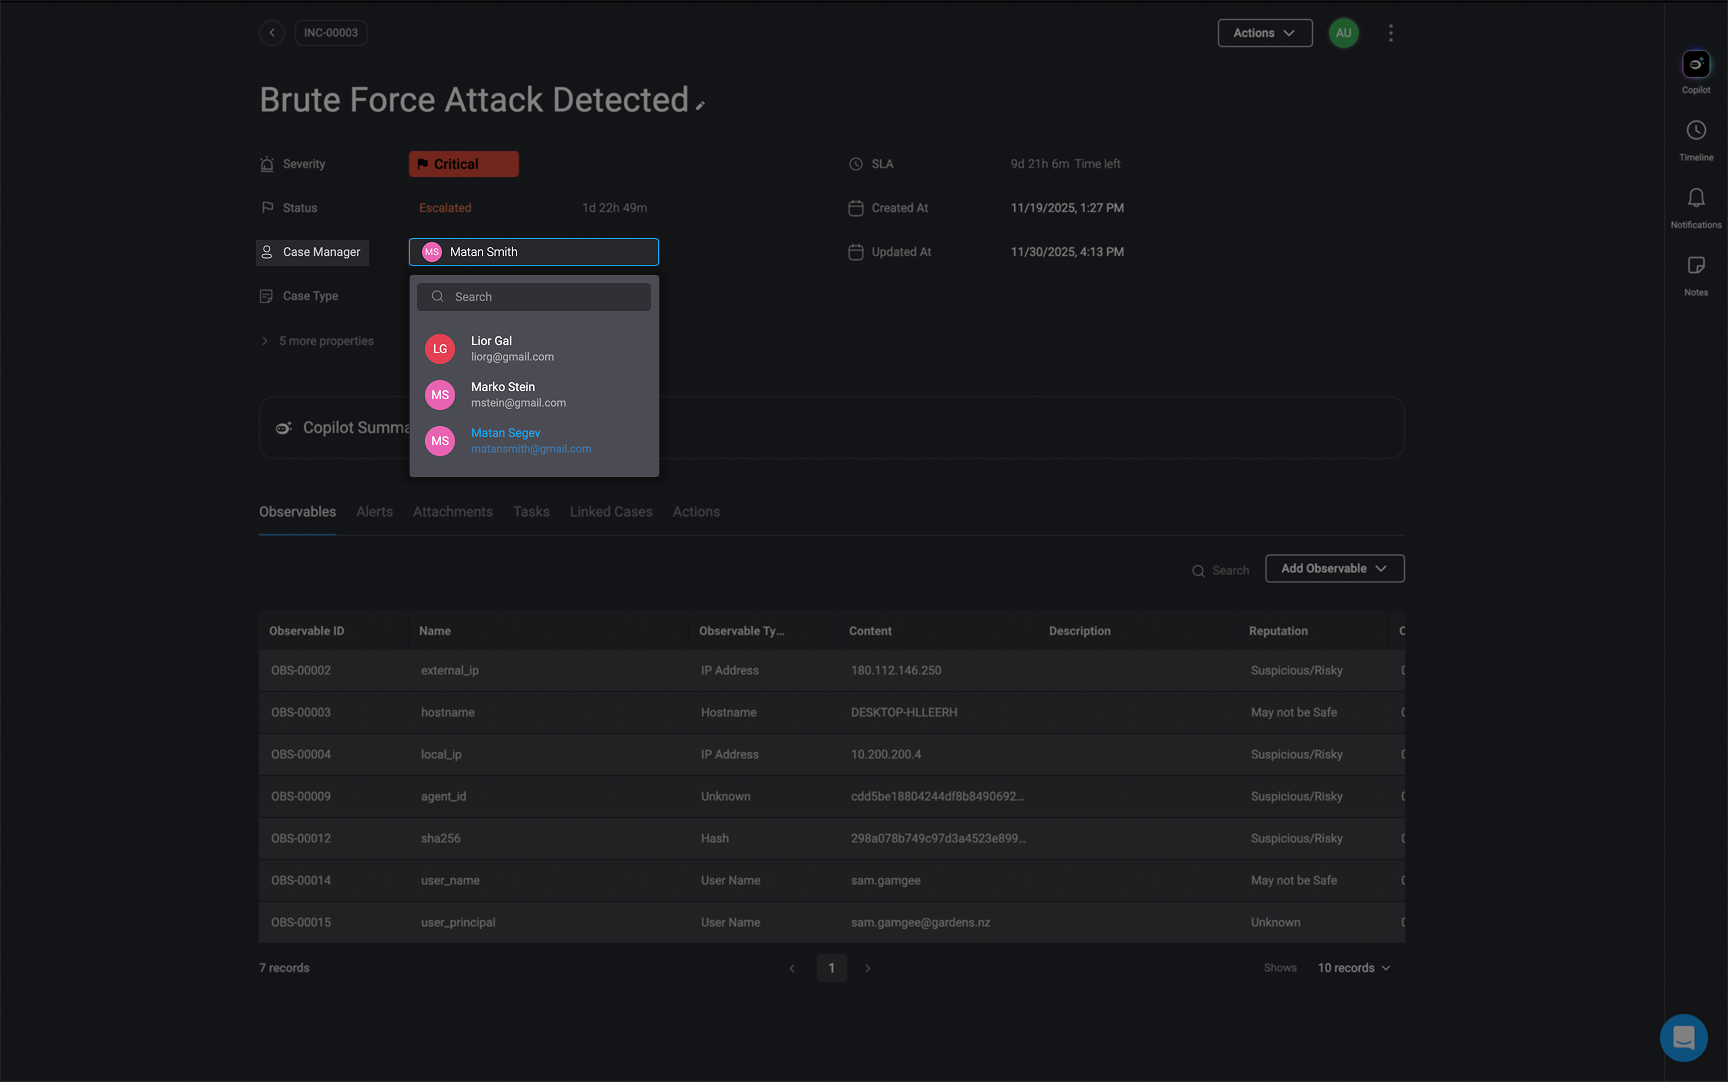
Case Manager
The case manager is the individual responsible for overseeing and managing the case resolution process. Assigning a dedicated manager helps in accountability and efficient case handling.When selecting a user in the ‘Case Manager’ field, the dropdown will now display:Users in the workspace who have one of the following permissions:
case_management:admincase_management:editcase_management:viewcase_management:restricted(only if the case is explicitly shared with them)
Case Type
The Case Type categorizes your case, helping to streamline case management and reporting. Select a category from the predefined case types to classify the nature of the case. Proper categorization ensures that the case is handled by the appropriate team and follows the correct resolution process.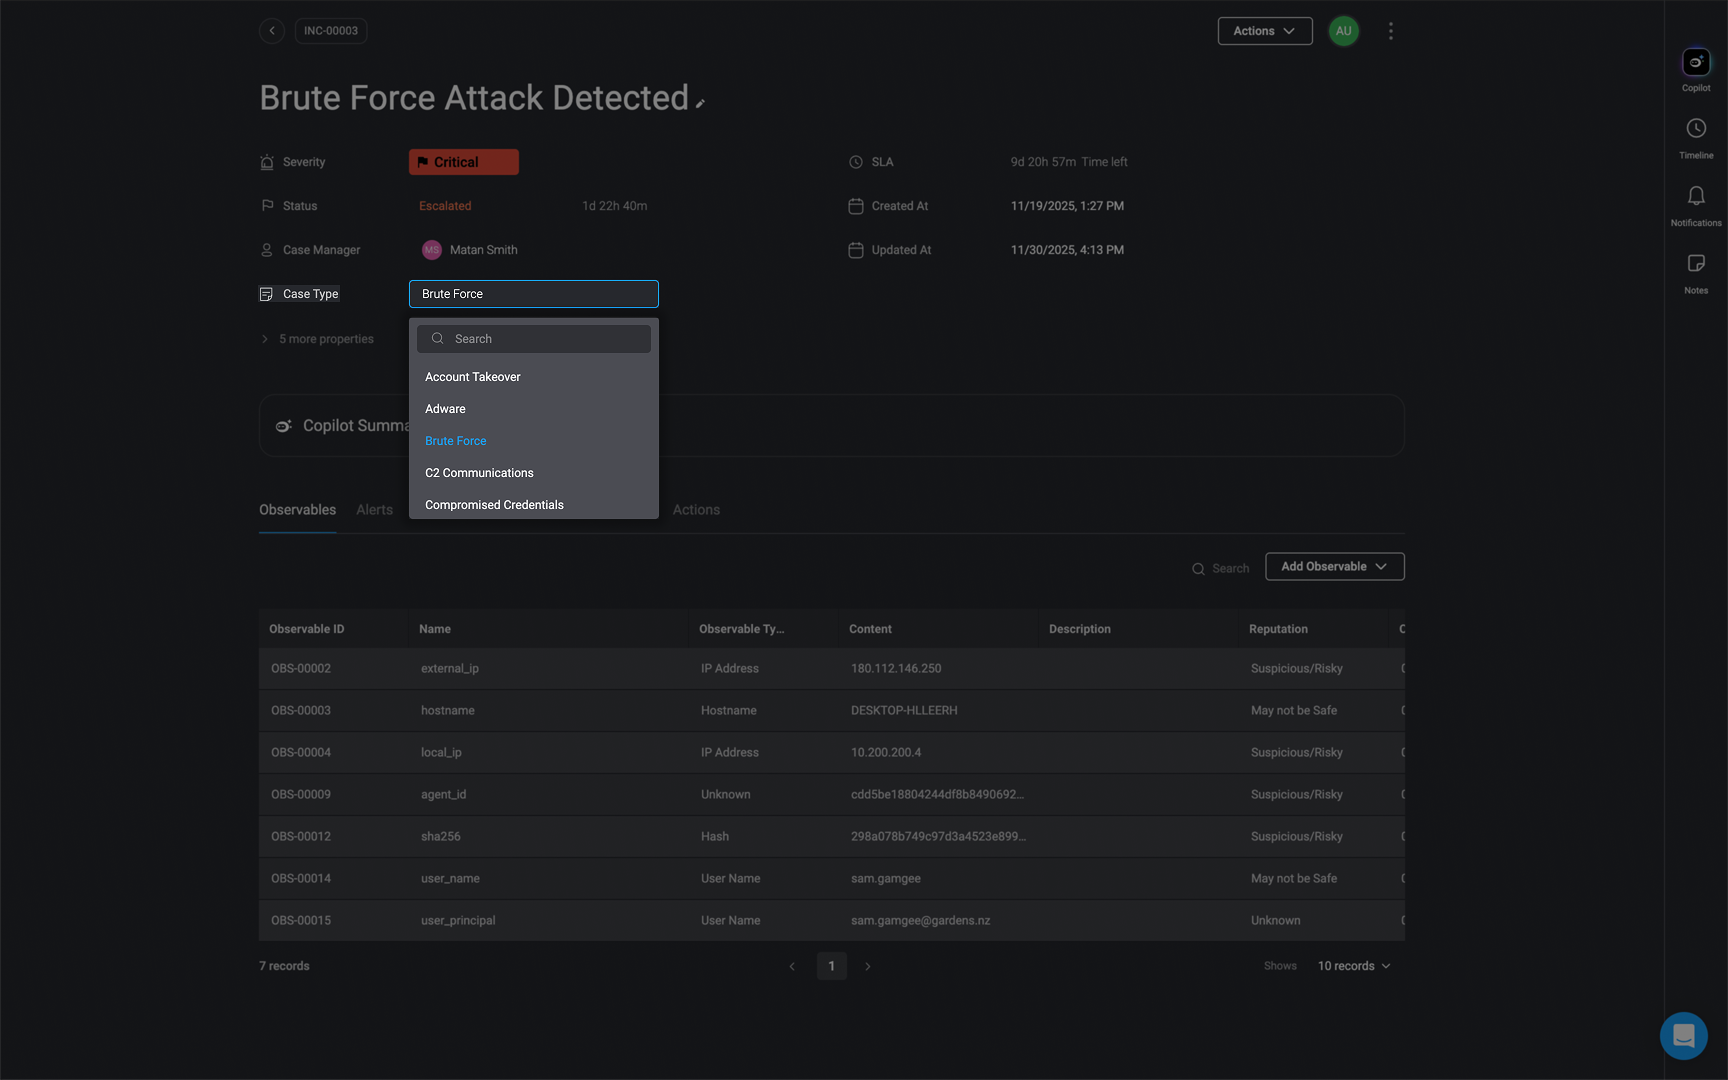
Case SLA
The Case SLA (Service Level Agreement) defines the overall resolution time for a case. Set the SLA by selecting a time duration in days, hours, or minutes. This ensures that cases are resolved within the agreed timeframe and helps maintain operational efficiency.
Created and Updated
Displays the date and time the case was created and updated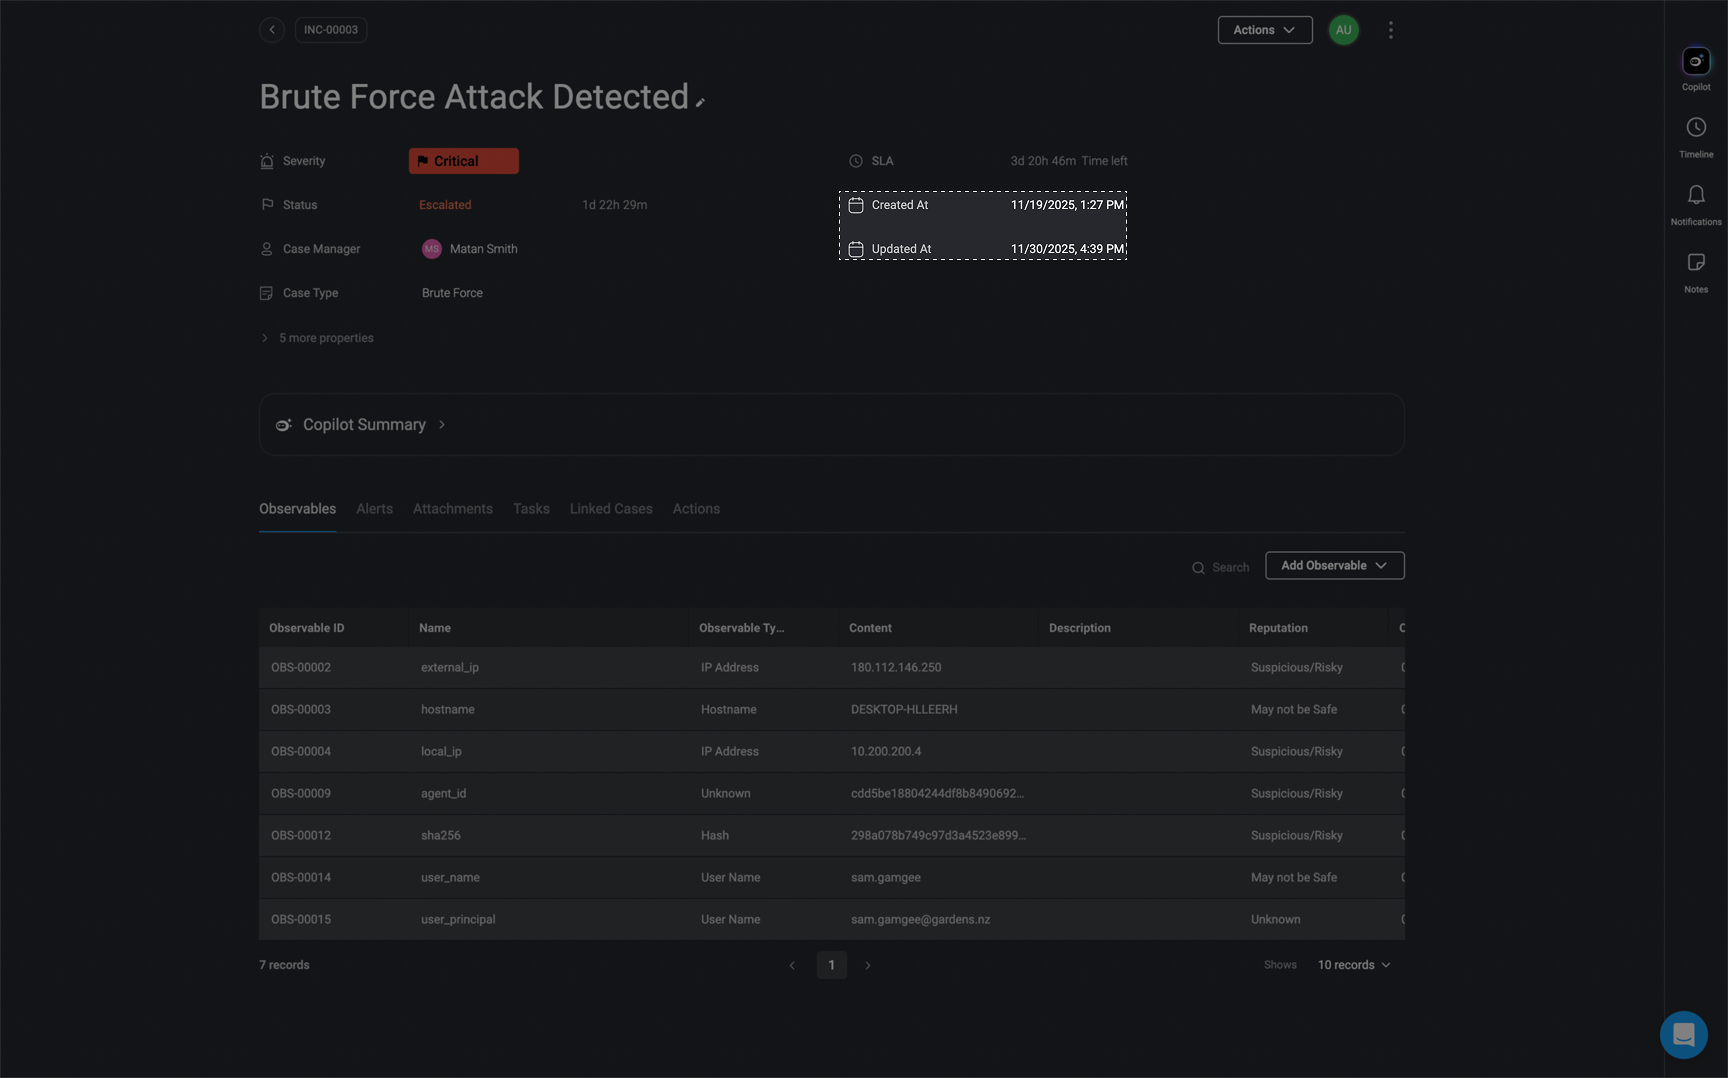
Case Tags
Case Tags allow you to add relevant keywords to your case for better filtering and searchability. Customize your case by attaching relevant tags. Simply check the boxes corresponding to your preferred tags. Using tags makes it easier to track and manage similar cases in the system.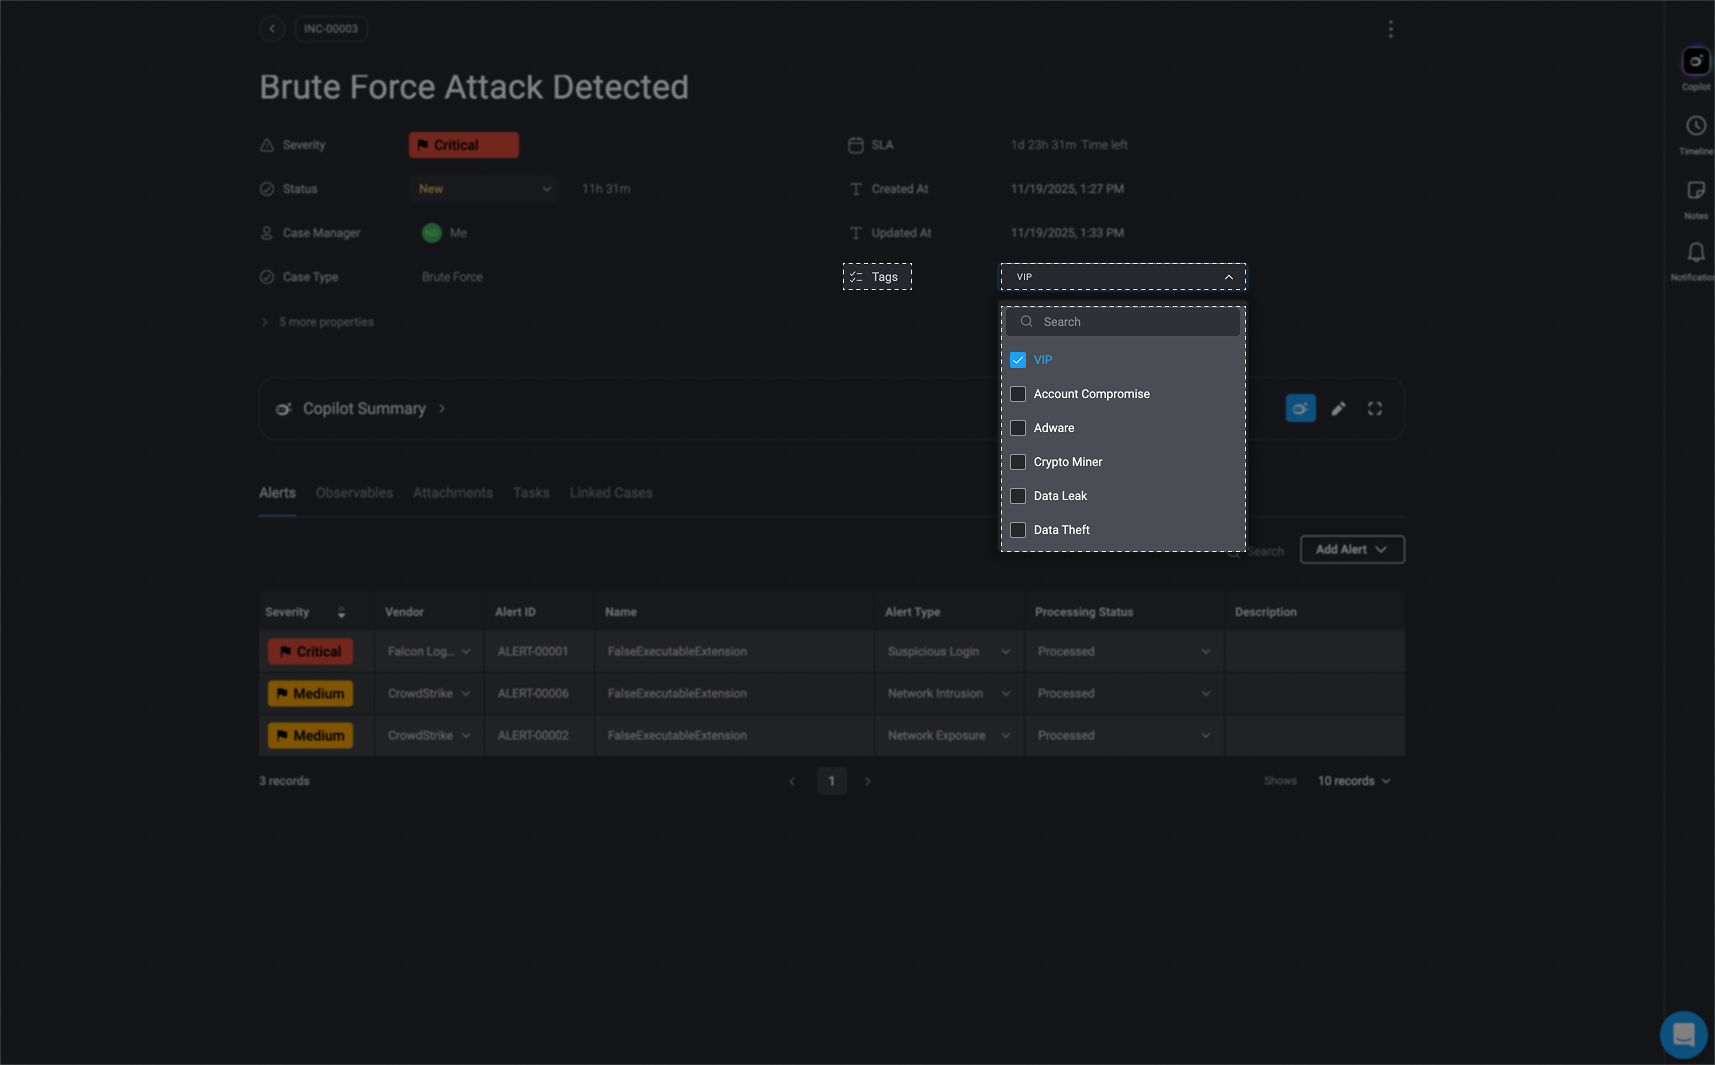
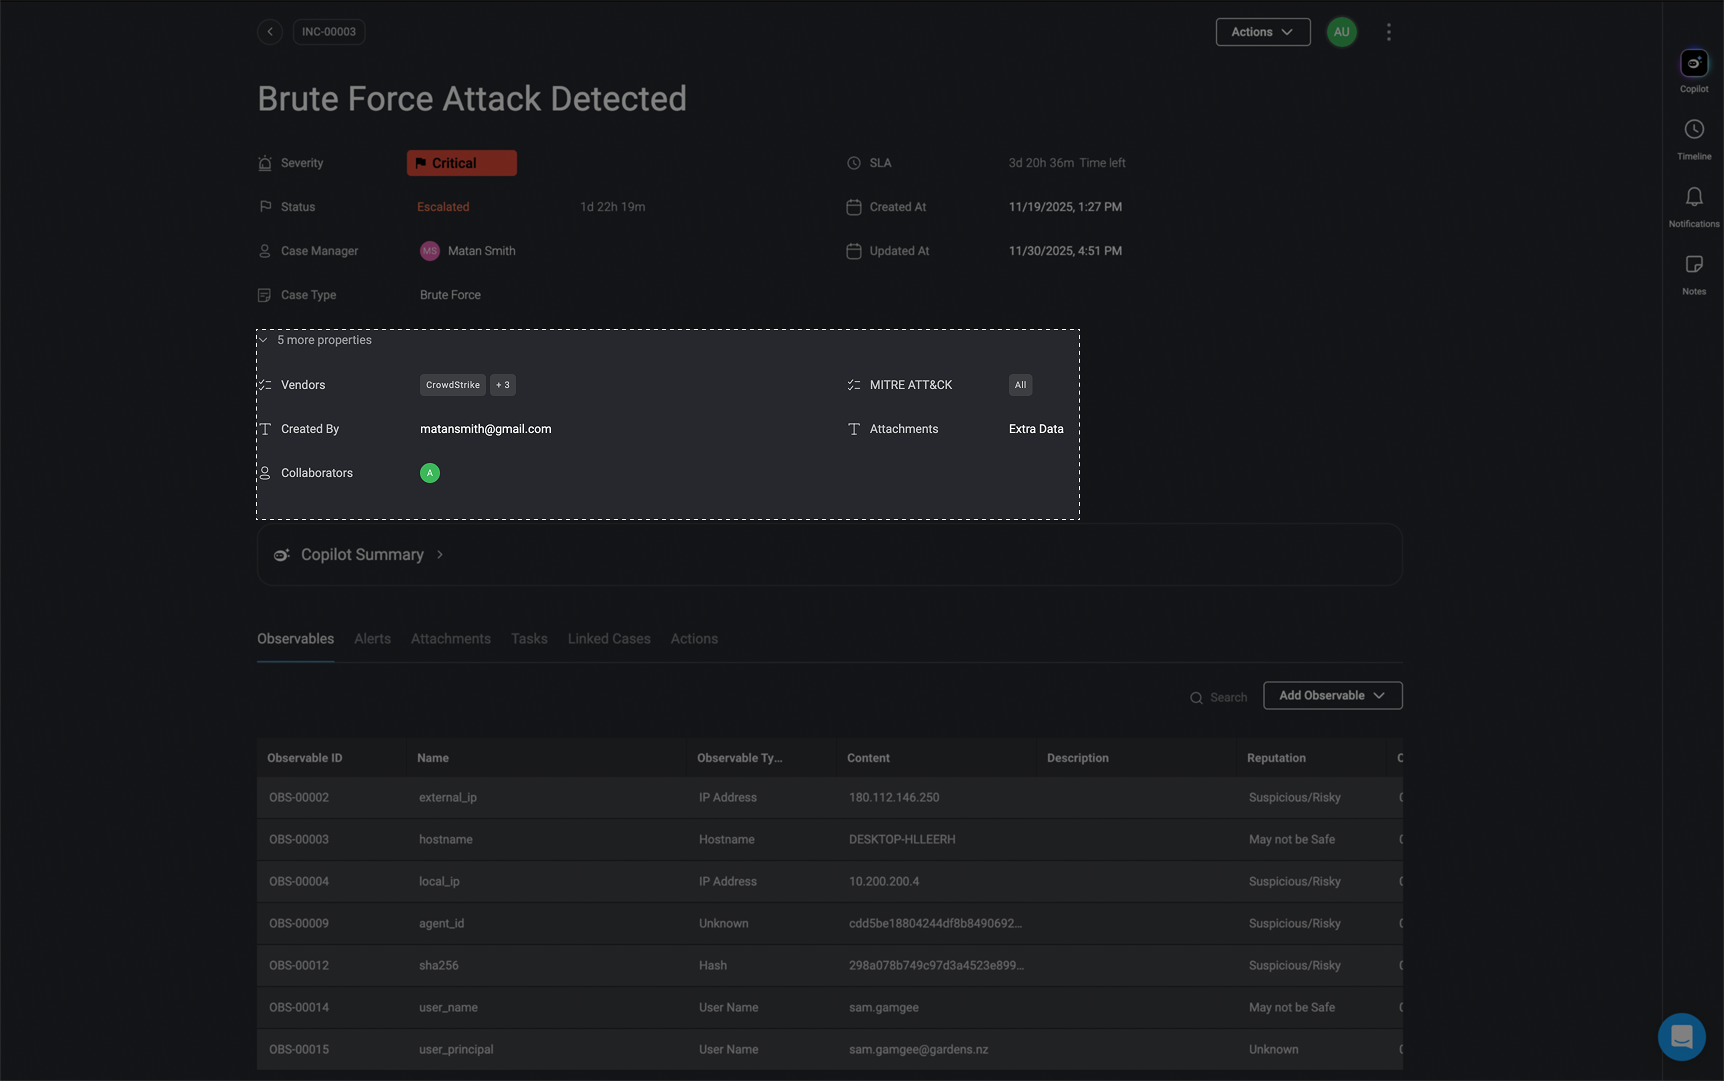
Additional Case Properties
Click on the to see additional details about the Case including- MITRE ATT&CK- The associated MITRE ATT&CK technique.
- Vendors- The vendor linked to the case (if applicable).
- Created By- The user who created the case.
- Collaborators- Users assigned or involved in the case.
- Attachments- Files uploaded to the case.
Note: Any custom fields you add to the Case table will automatically appear in the ‘Additional Case Properties’ section. You can also control which additional properties are shown or hidden by adjusting the Case Overview Fields in your Case Management Settings. This allows you to show or hide specific fields based on what’s most relevant to your case.