If you are using Case Management version
9.0, you should refer to this pageAlert Template Table
The Alert Template Table plays a critical role in the alert processing phase. Each alert requires a corresponding template to define how the system extracts observables from the raw payload. Without a predefined template, the system cannot process the alert and causes disruption to the execution of the remaining workflow processes. The Alert Template Table contains the following fields- Vendor name, Alert Name, Template, Description, and the Case Type. This structure ensures that the system knows how to process different types of alerts from various vendors. Please do not change this table scheme to maintain system functionality.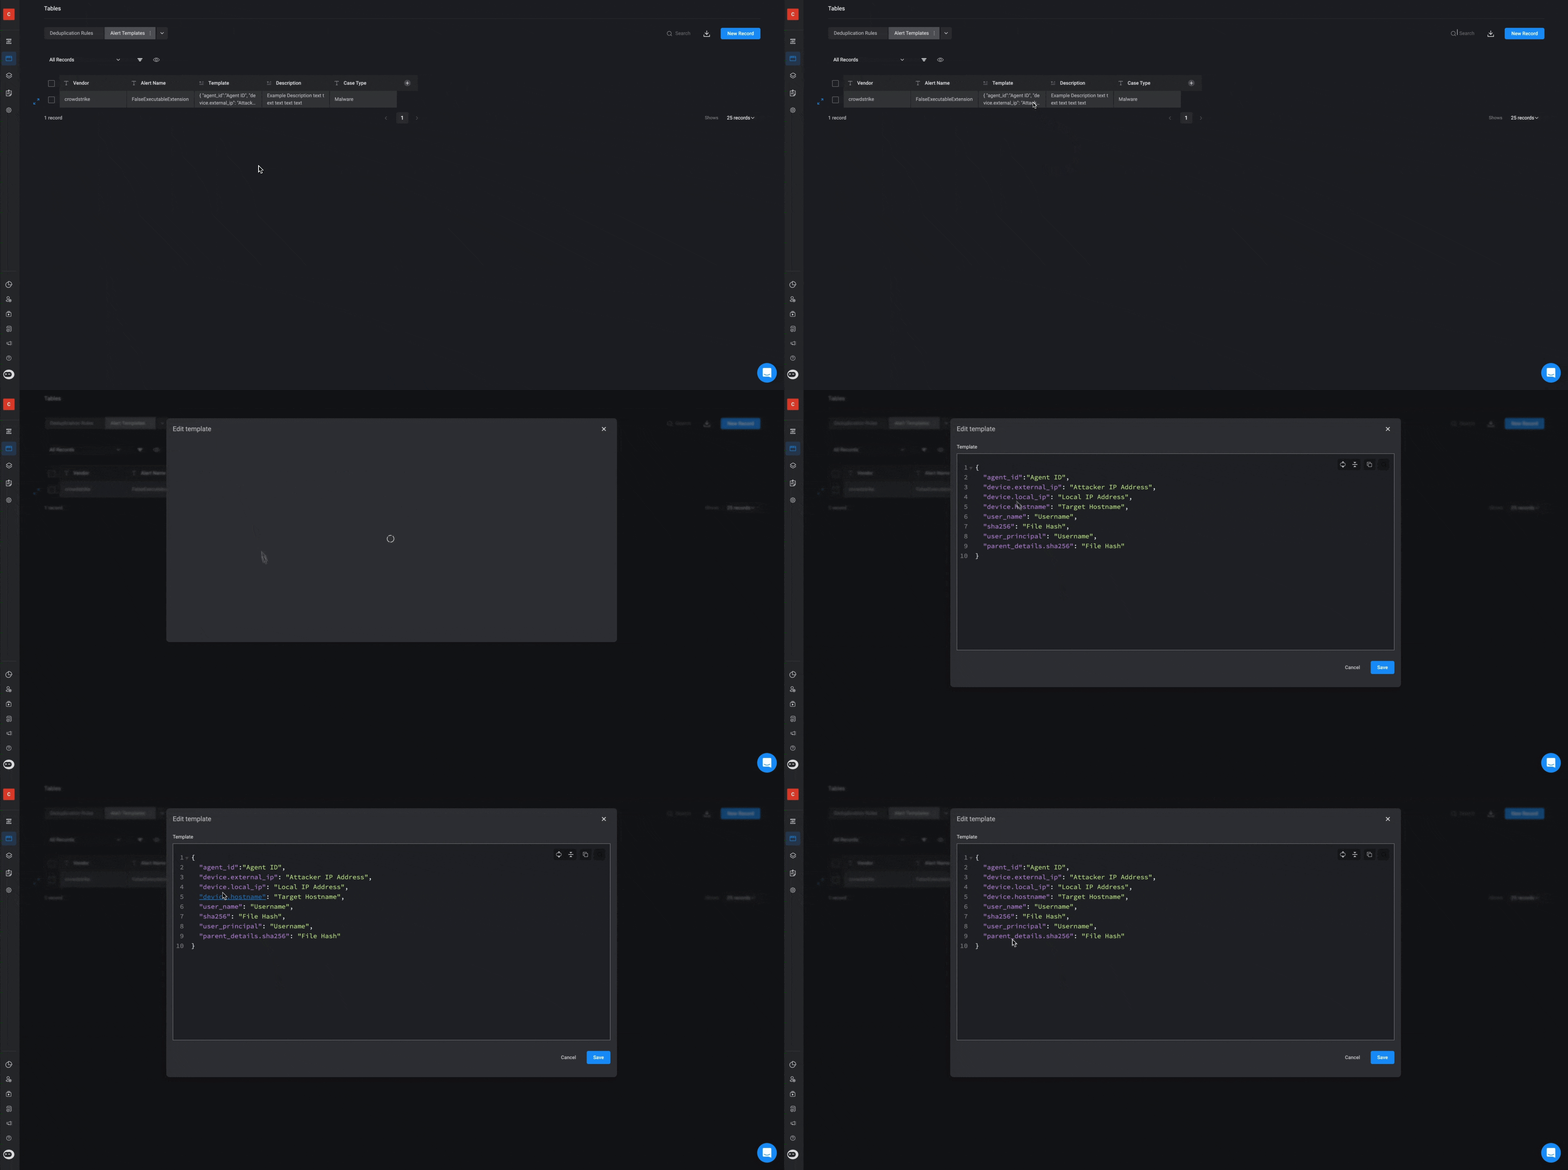
Alert Name Syntax
- The alert name parameter is mutually exclusive with the other parameters in the Deduplication Table
-
If the
Nameparameter is selected as a deduplication parameter, it will cancel any other parameter and be used exclusively for the deduplication rule. -
The
%symbol can be used as a wildcard in alert names. This means that you can substitute%for any sequence of characters. This allows you to match multiple alert names without needing to specify each one exactly. -
When the
*symbol is used in alert names, it indicates that the deduplication rule must be applied to all alerts that include*in their name.
Here’s how the templates work:
-
Unique Template for Each Alert
- Every alert must have a unique template associated with it. Alerts cannot be processed unless they have an existing template in the system.
-
Templates are Defined Using JSON
- Templates are structured as JSON entries. These entries define the “path” within the alert payload where each observable can be located, along with its corresponding type (e.g., IP Address, Username, File Hash).
-
Template JSON Format Example
- Below is an example of a template in JSON format. The key (e.g.,
device.external_ip) represents the location of the observable in the alert payload, while the value (e.g.,"IP Address") specifies the type of observable.
- Below is an example of a template in JSON format. The key (e.g.,
Creating an Alert Template
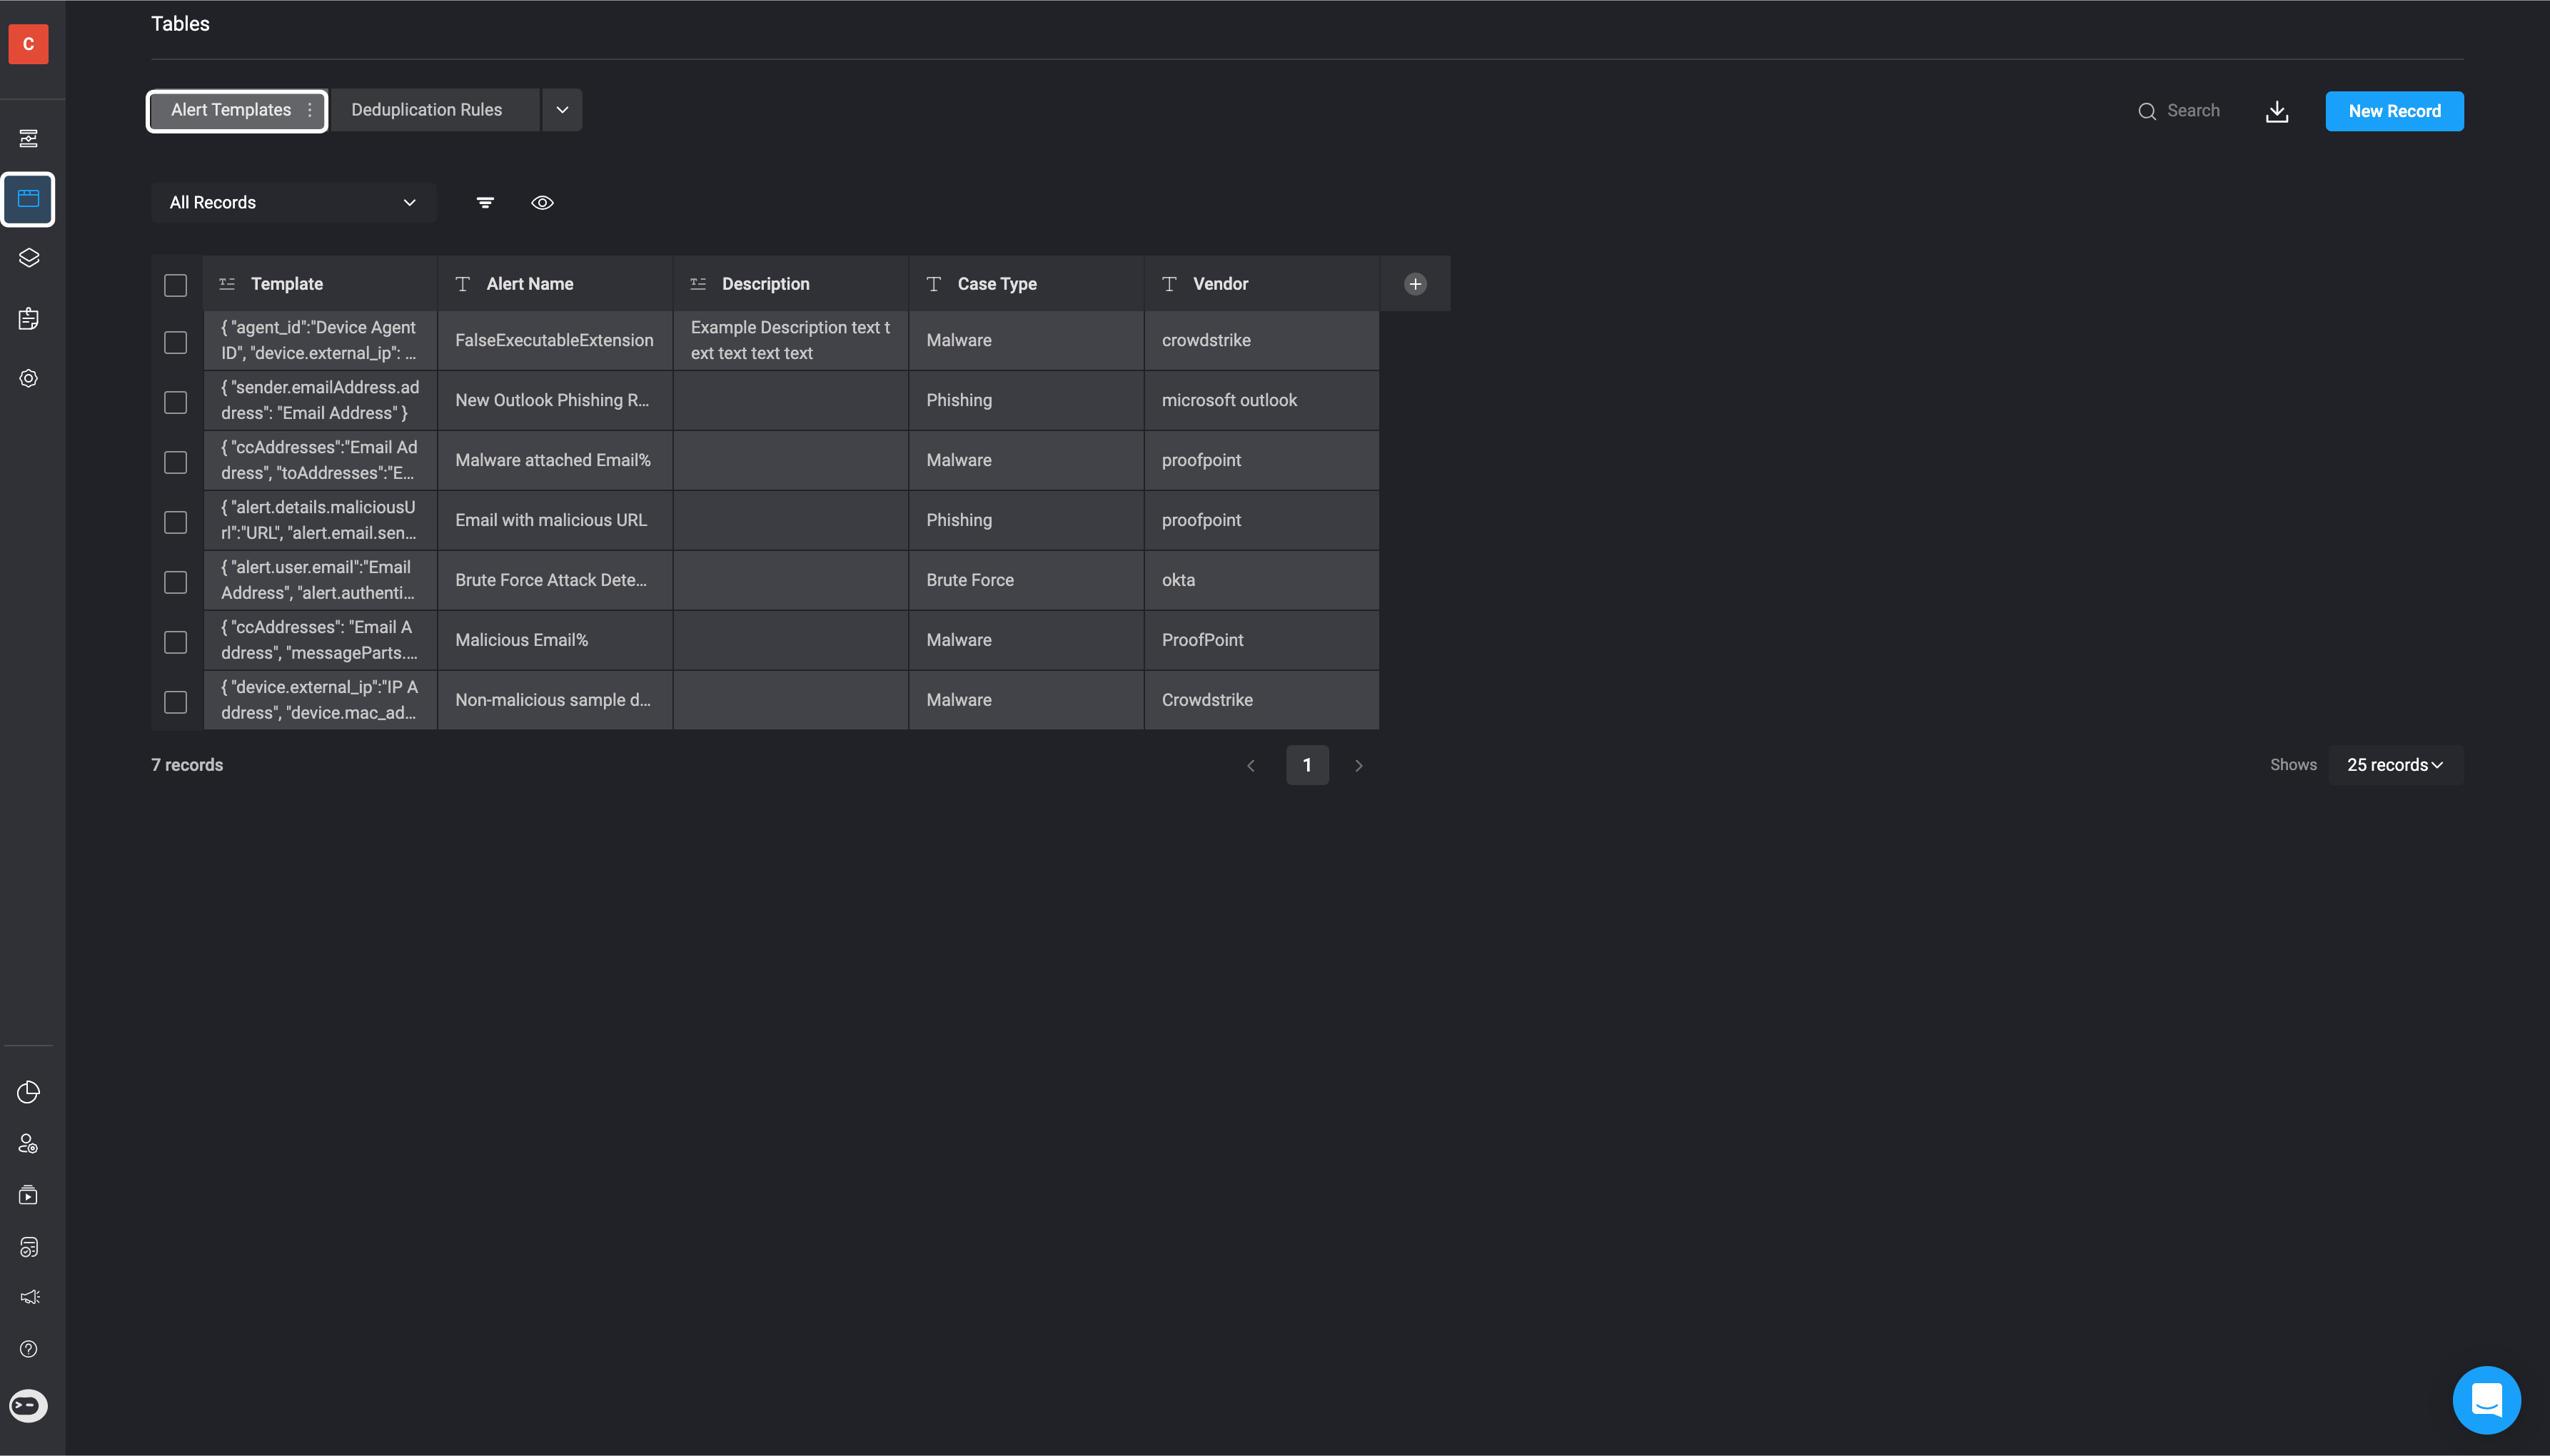
- In the left-hand sidebar, click on the “Tables” and select the “Alert Templates” tab at the top.
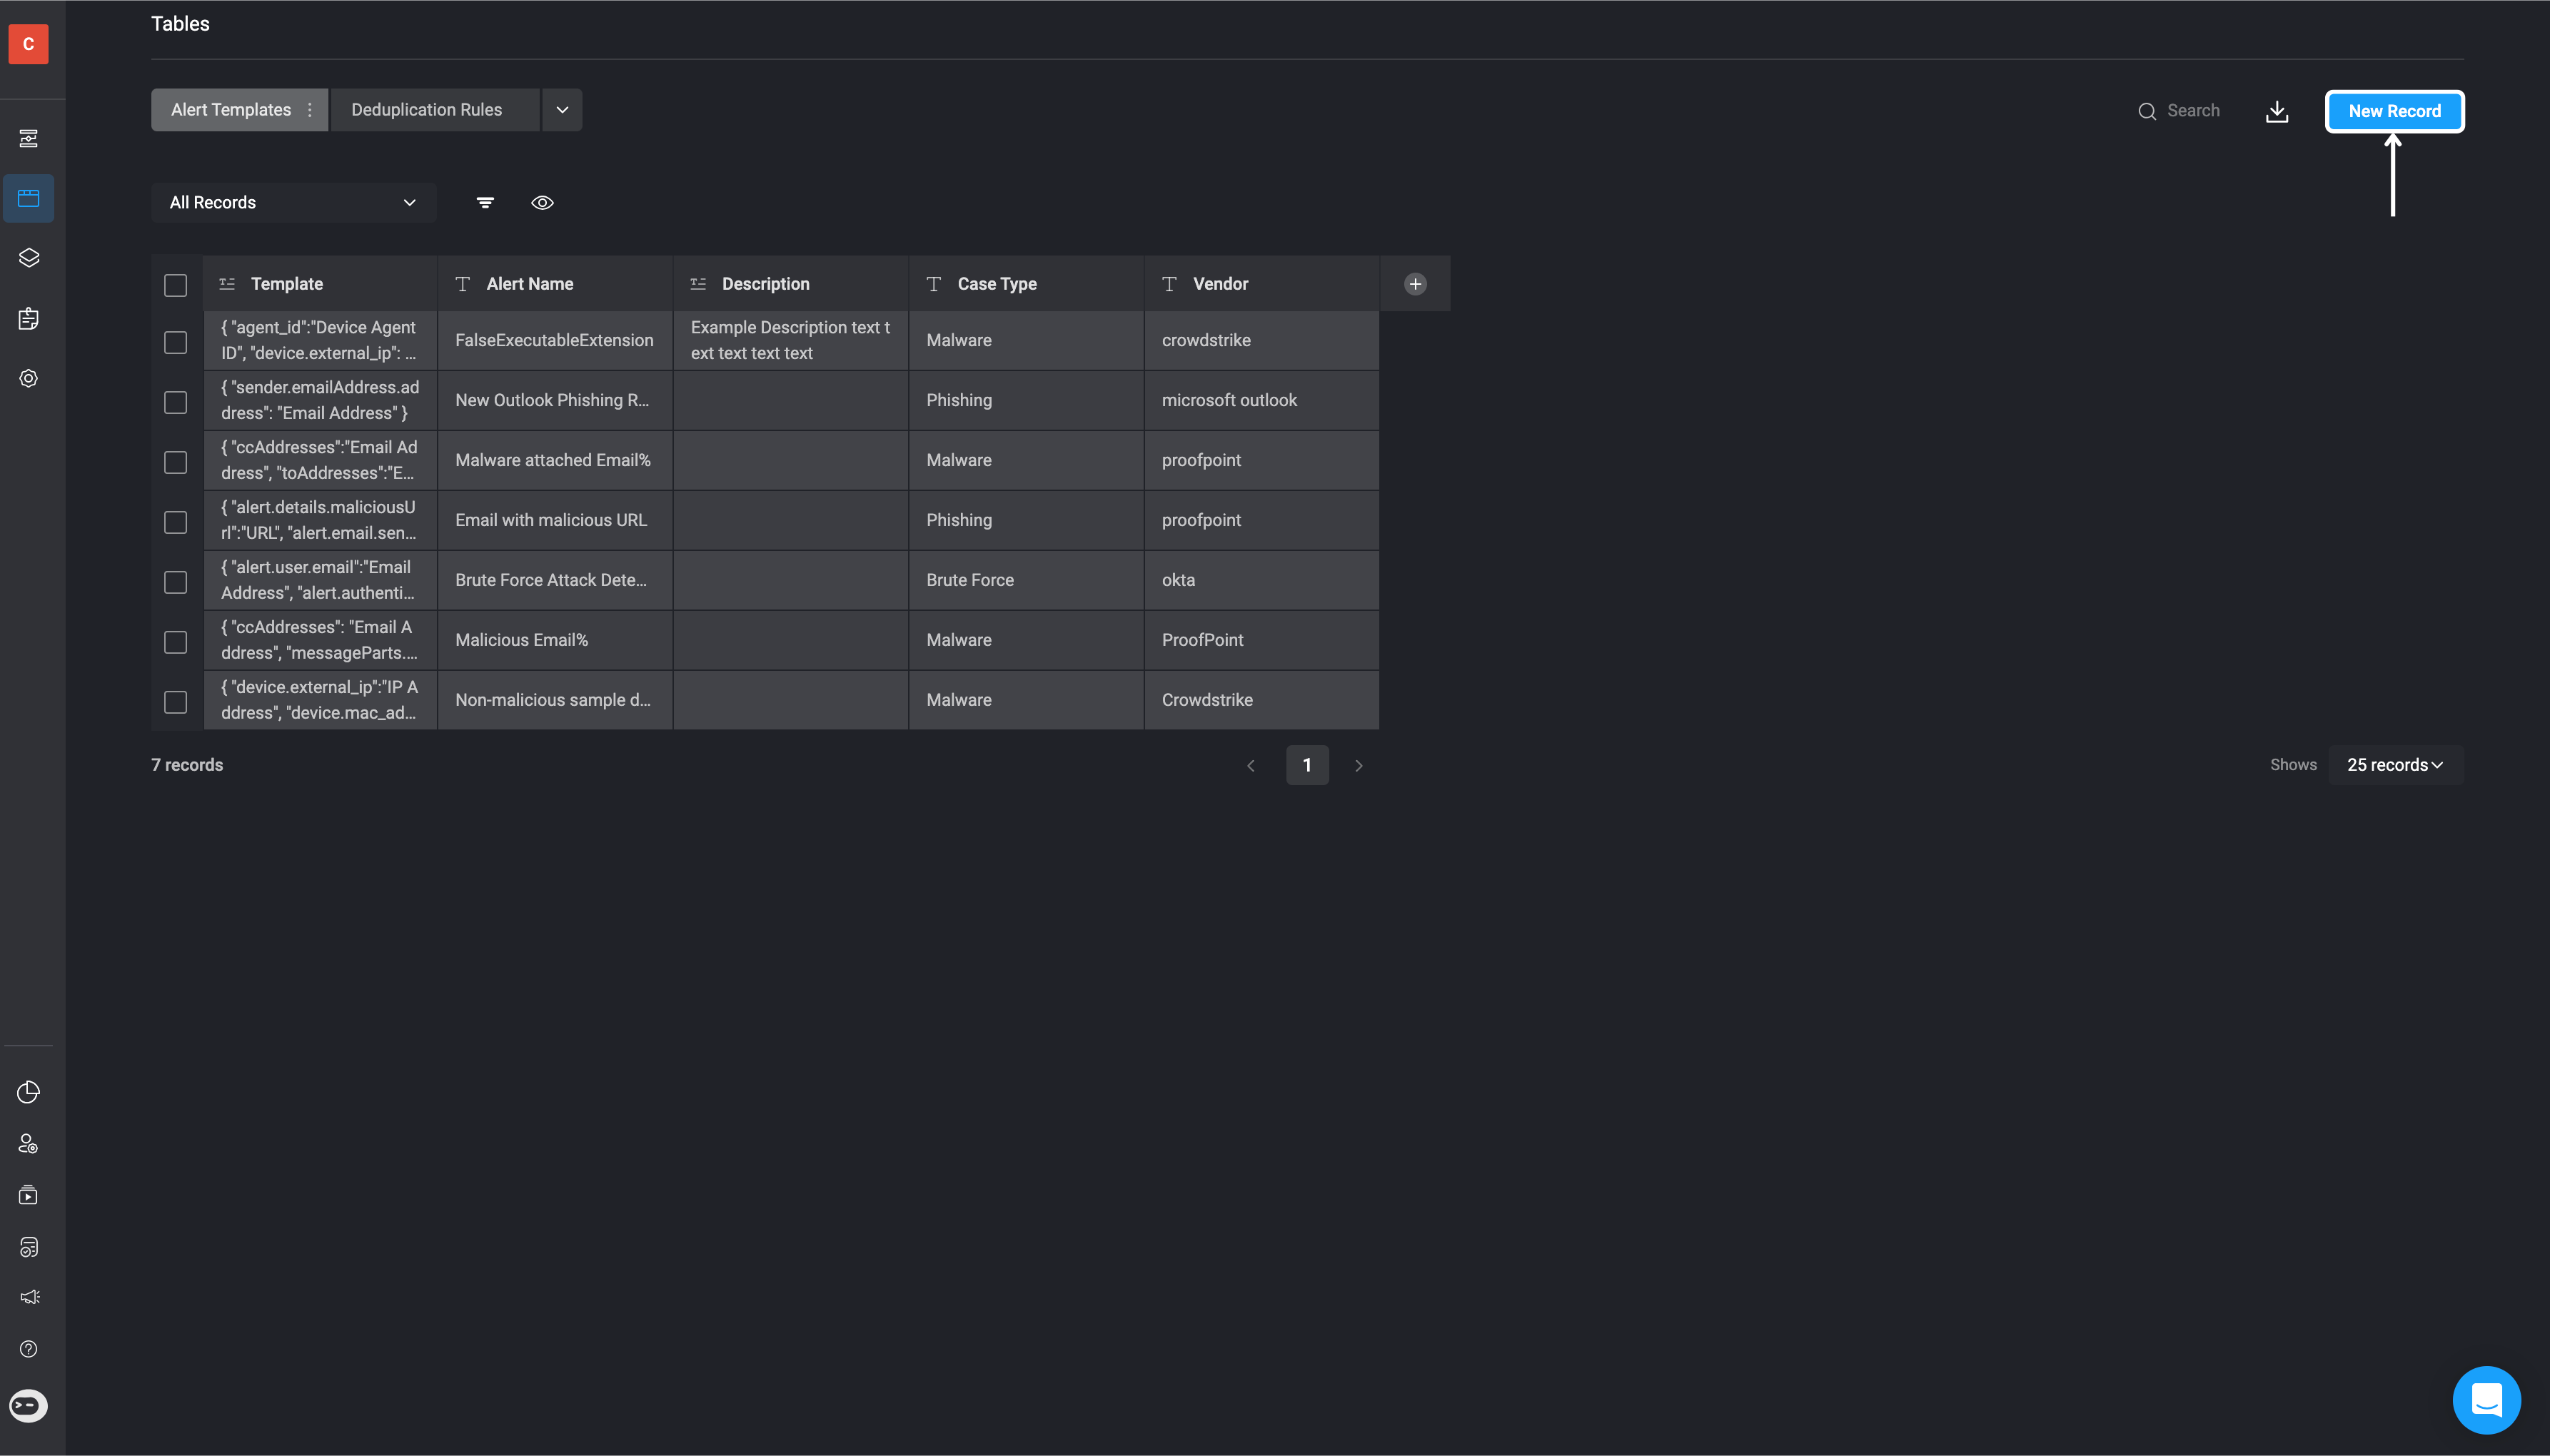
- Click on the blue “New Record” button located in the top-right corner of the page.
- Understand the Alert Structure
- Before creating a custom template, you need to examine the alert payload. The payload contains important information, such as the sender’s email address or the device information, which will be extracted as observables.
-
Identify the Observable
-
In this example, we want to extract the email address (
[email protected]) from the alert payload and store it as an observable of type User Email. - The email address can be found under:
-
In this example, we want to extract the email address (
-
Define the Observable Type
- Next, we need to determine the type of the observable. In this case, we are extracting an email address, so the type will be
"User Email".
- Next, we need to determine the type of the observable. In this case, we are extracting an email address, so the type will be
-
Create the Path in the JSON Template
- The path is the location within the alert payload where the observable can be found. The path follows a dotted notation, starting from the root of the JSON object and navigating to the value you want to extract.
- In this example, the path to the email address is
-
Build the Custom JSON Template
- Now that we have both the observable type and path, we can build the JSON template. The template will map the path in the alert payload to the observable type.
- The custom template looks like this:
-
Apply the Template for Other Observables
- The same process can be repeated for other observables in the alert. For example, if you wanted to extract the sender’s name, you would identify the path (
"sender.emailAddress.name") and define the appropriate type (e.g.,"User Name").
- The same process can be repeated for other observables in the alert. For example, if you wanted to extract the sender’s name, you would identify the path (
-
Fill in the rest of the parameters
- Alert Name: Enter the name of the alert
- Description: Optional add a short description explaining your custom alert template
- Case Type: Enter the type of Case
- Vendor: Enter the vendor associated with this alert.

- Test the Template
- After creating the template, test it, using the Extract Observables Subflow, to ensure that the system correctly extracts the observables based on the path and type you defined in the template table.
- For this example, the final JSON template looks like this:
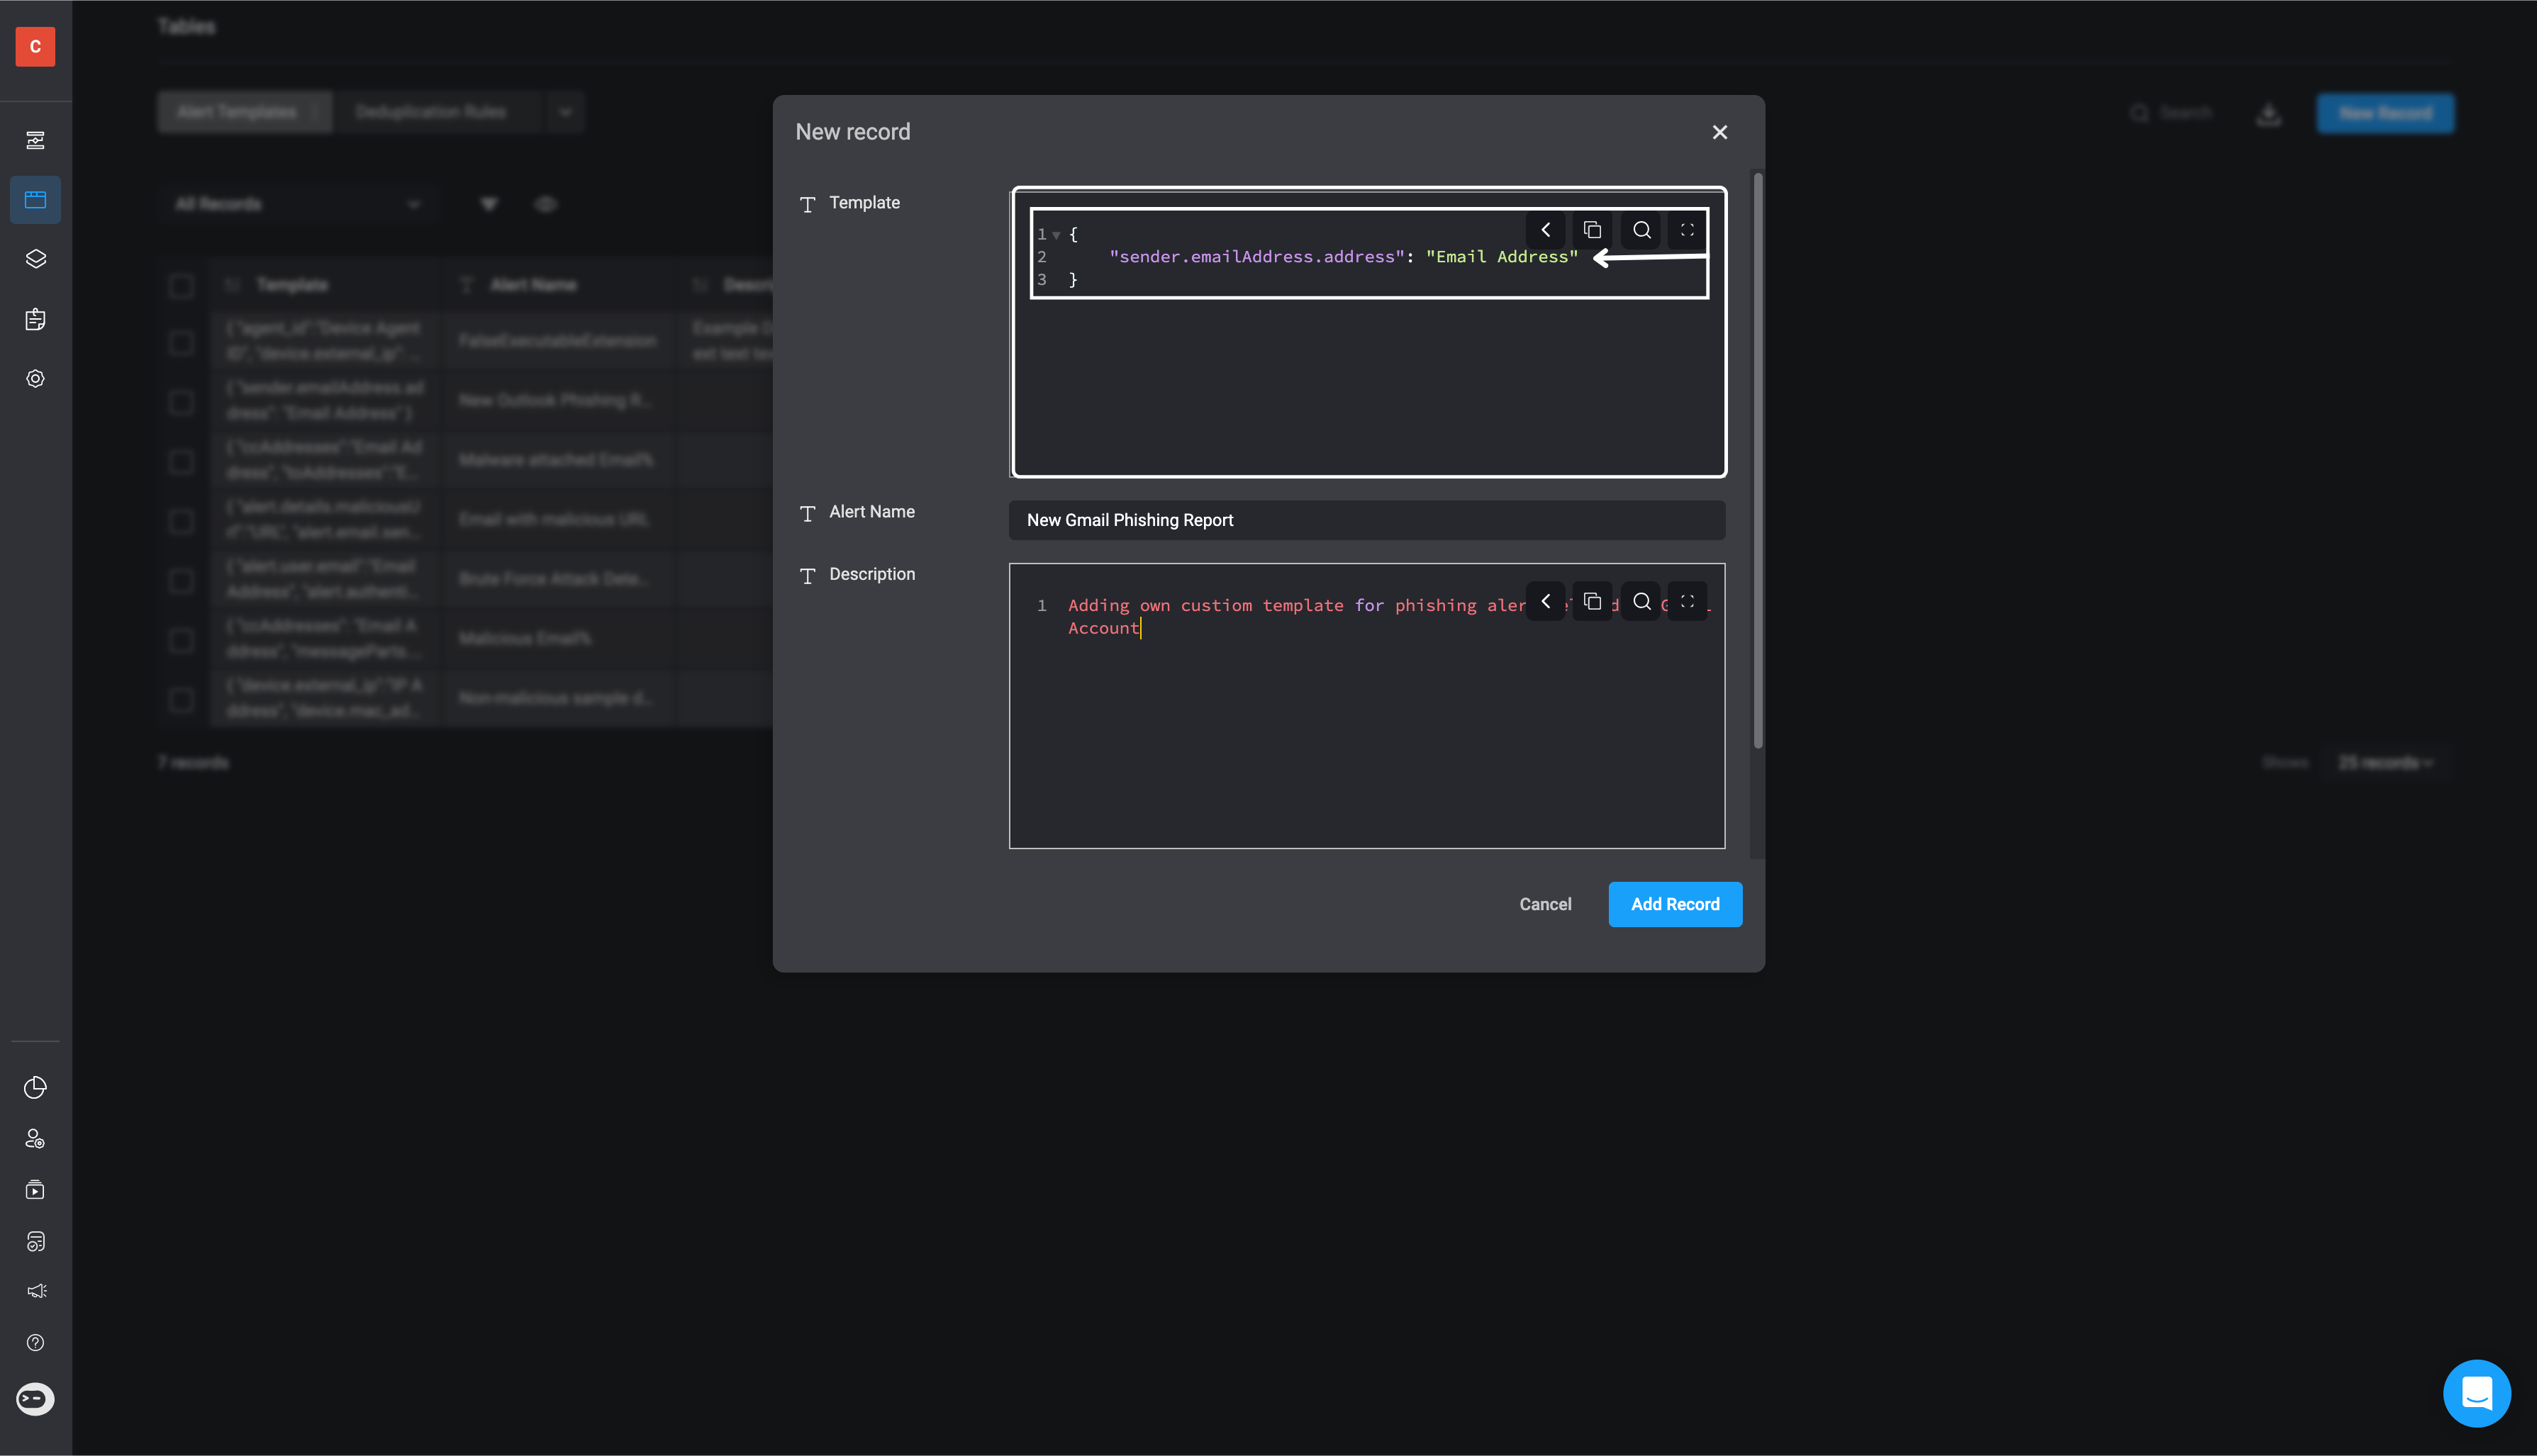
- This template tells the system to extract the email address from the alert payload and label it as an Email Address observable.By following these steps, you can create custom JSON templates for different observables in your alert payloads, ensuring that key data is accurately extracted and categorized for case management.
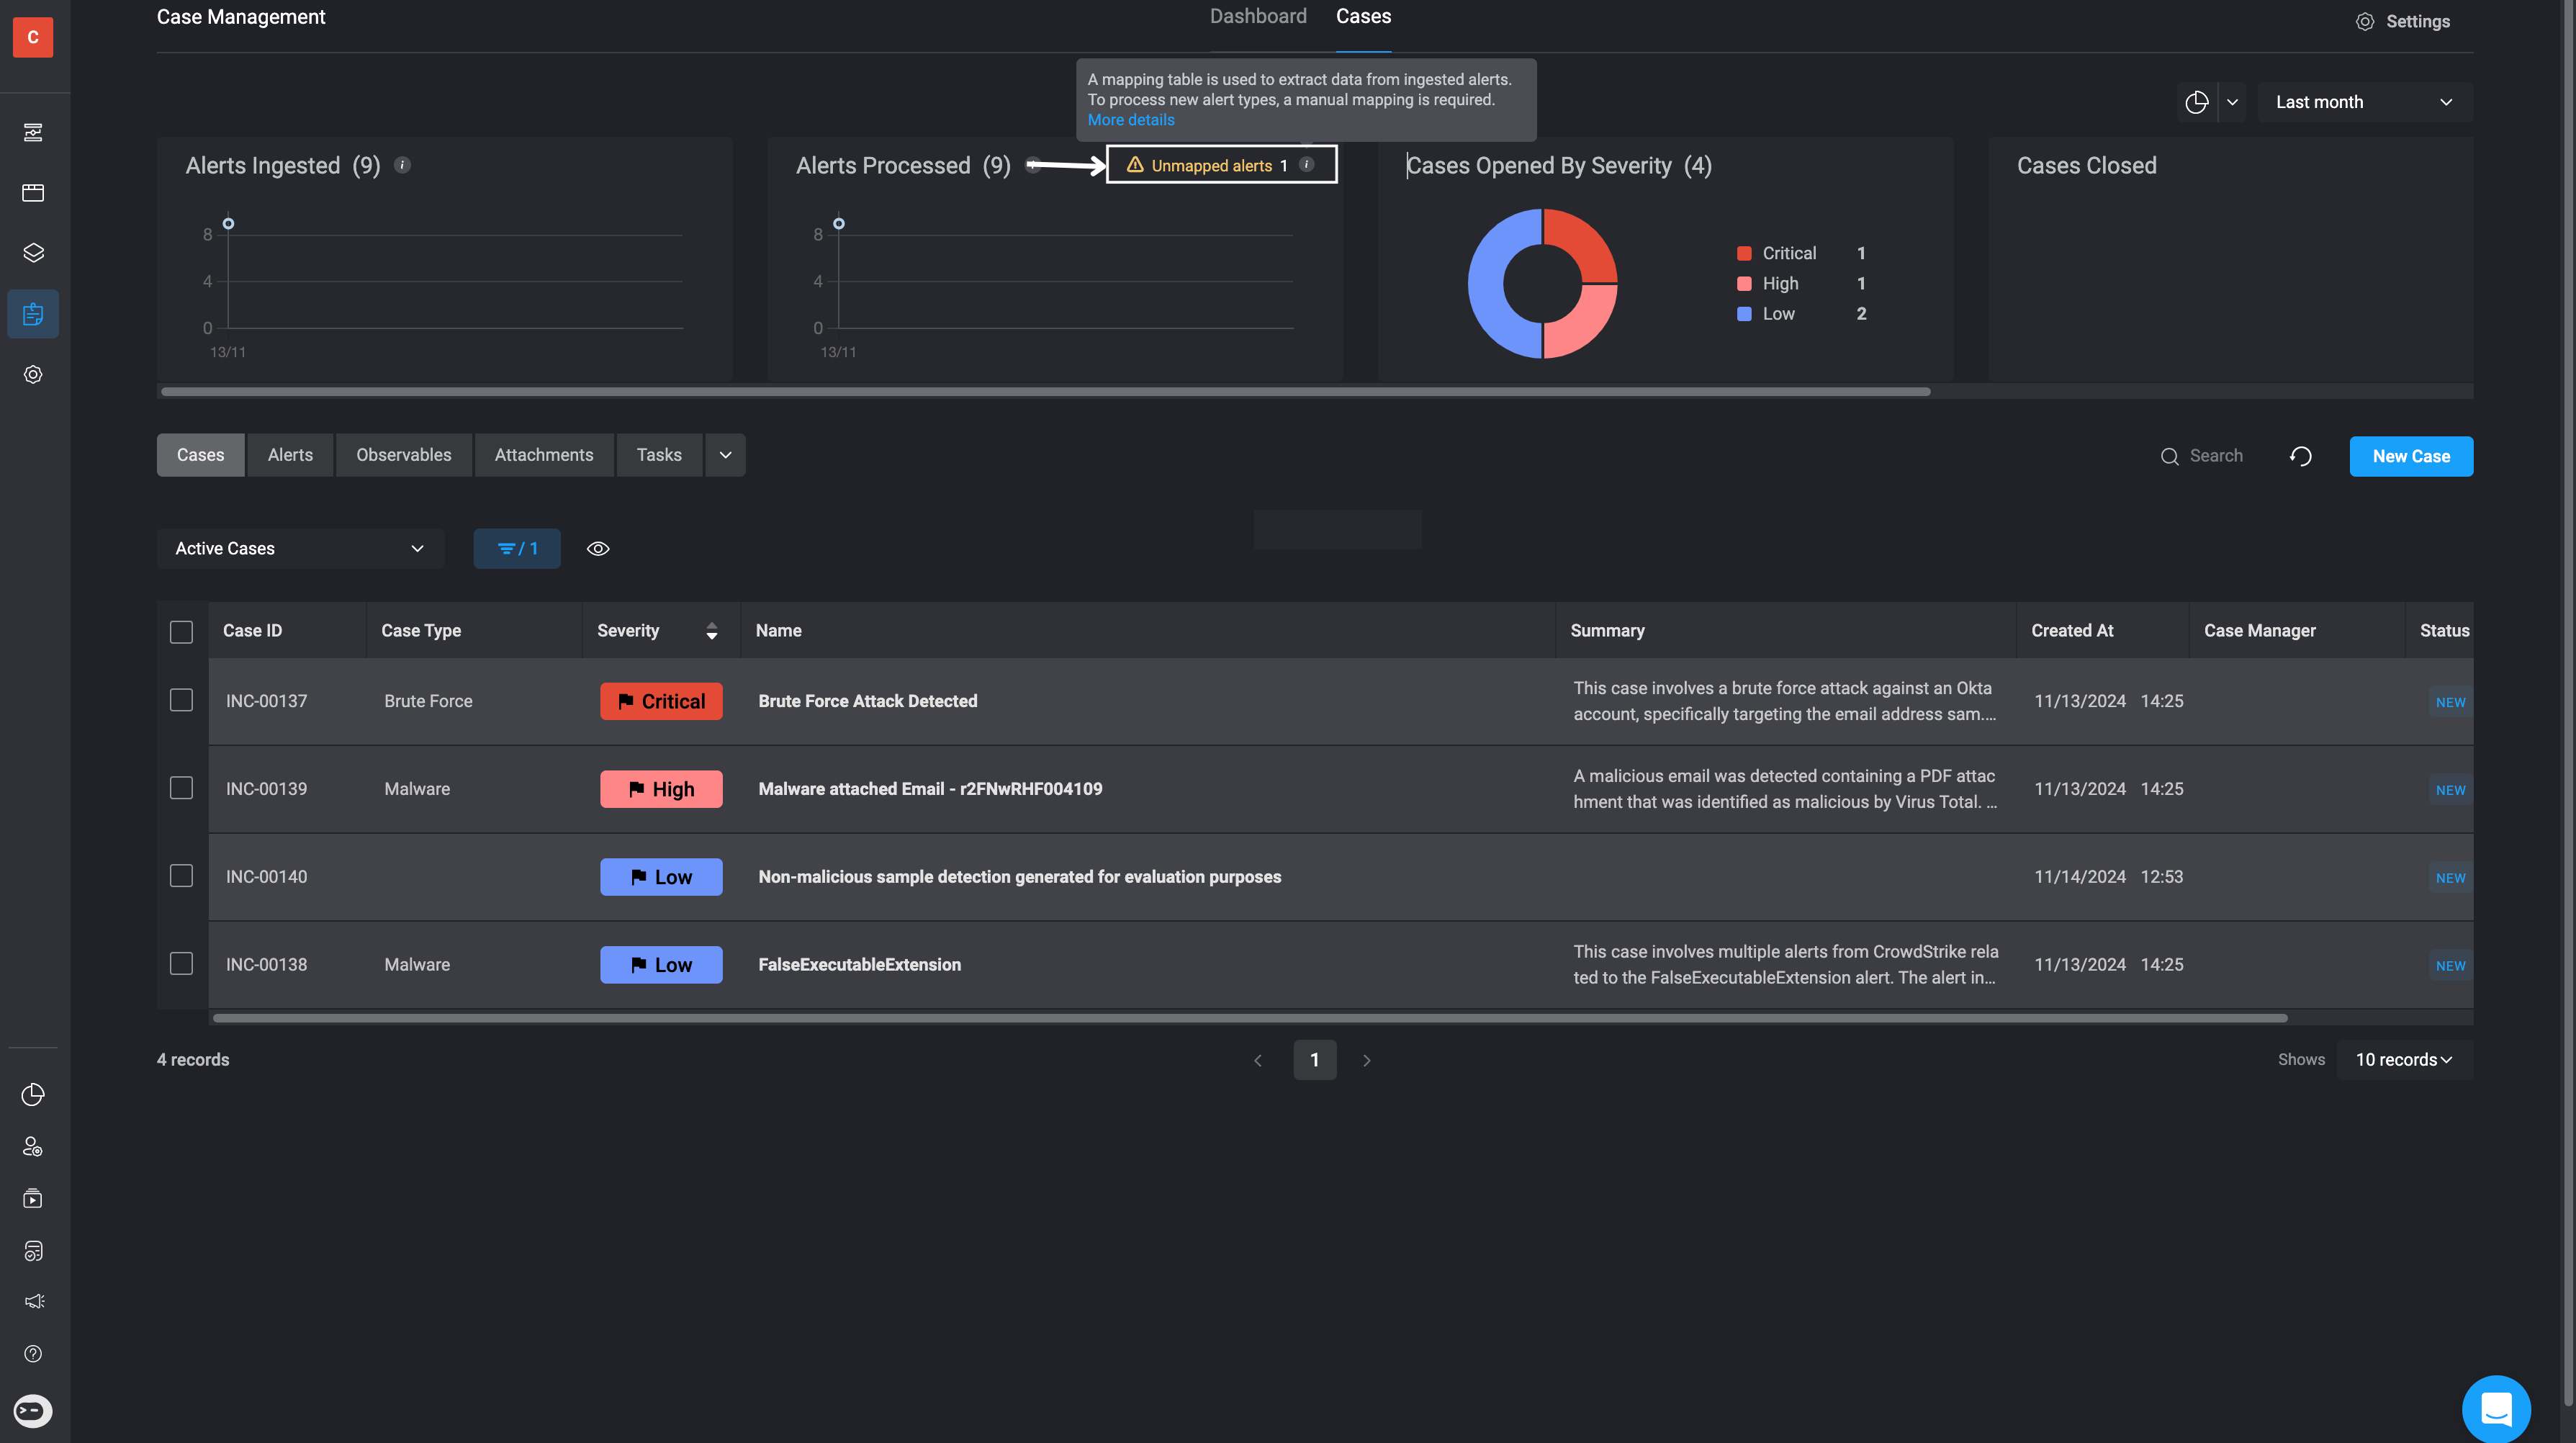
Unmapped Alerts
In the “Alert Processed” widget within Case Management, if you receive a notification about “unmapped alerts,” it indicates that certain alerts need to be manually mapped. To resolve this, follow the steps outlined above to create custom templates based on the alert payloads.