Documentation Index
Fetch the complete documentation index at: https://docs.blinkops.com/llms.txt
Use this file to discover all available pages before exploring further.
The Case Management interface includes multiple interconnected tables, Cases, Alerts, Attachments, Observables, and Tasks, each designed to help you track and respond to security incidents with precision. This section of the documentation explains the universal features available across all tables in the Case Management interface. Regardless of which table you are viewing, you can access the same set of management tools to organize, filter, and take action on records efficiently.
Select Multiple Records
Quickly take action on multiple cases. You can select multiple cases using the checkboxes next to each row in the table. Once selected, a floating toolbar will appear at the top of the screen, allowing you to:- Change the status of selected cases
- Export selected cases to CSV
- Delete selected cases

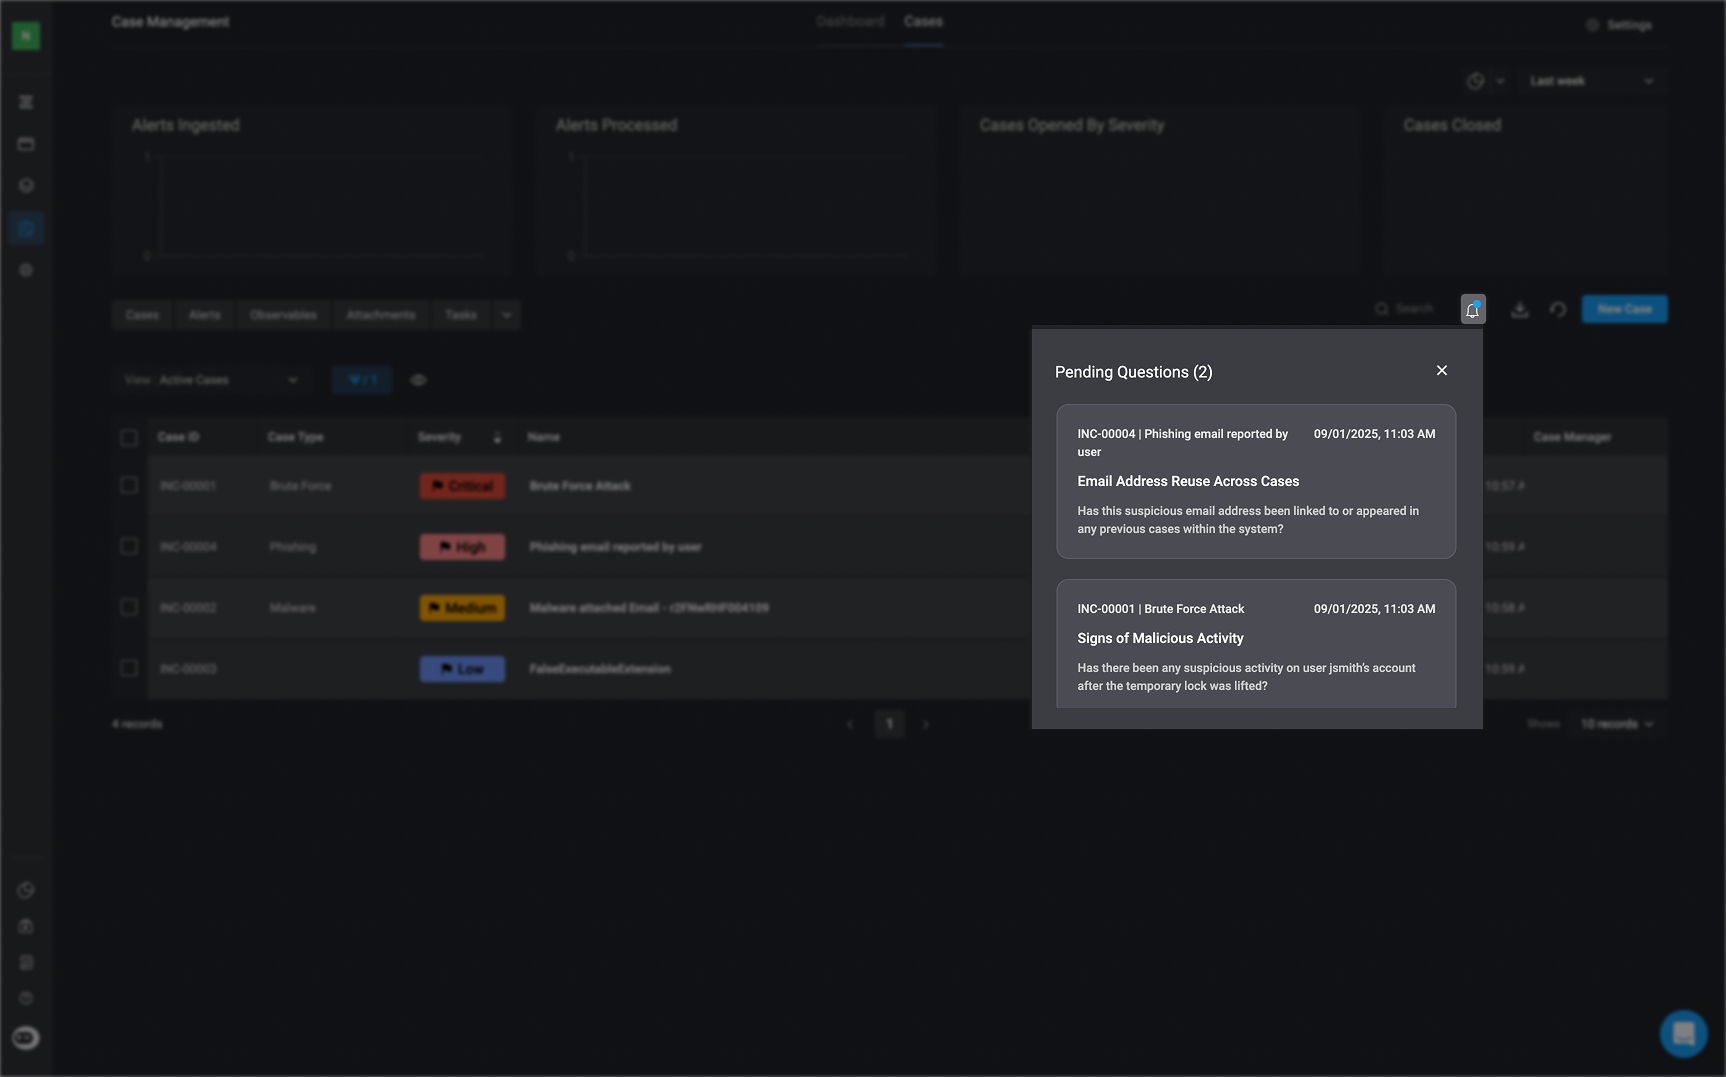
Pending Question Notifications
In the top-right corner, click the to view all questions submitted through the Ask a Question on a Case action. Each question is tied to a specific case. Clicking on a pending question will take you directly to that case’s overview, where you can review the details and provide your response.
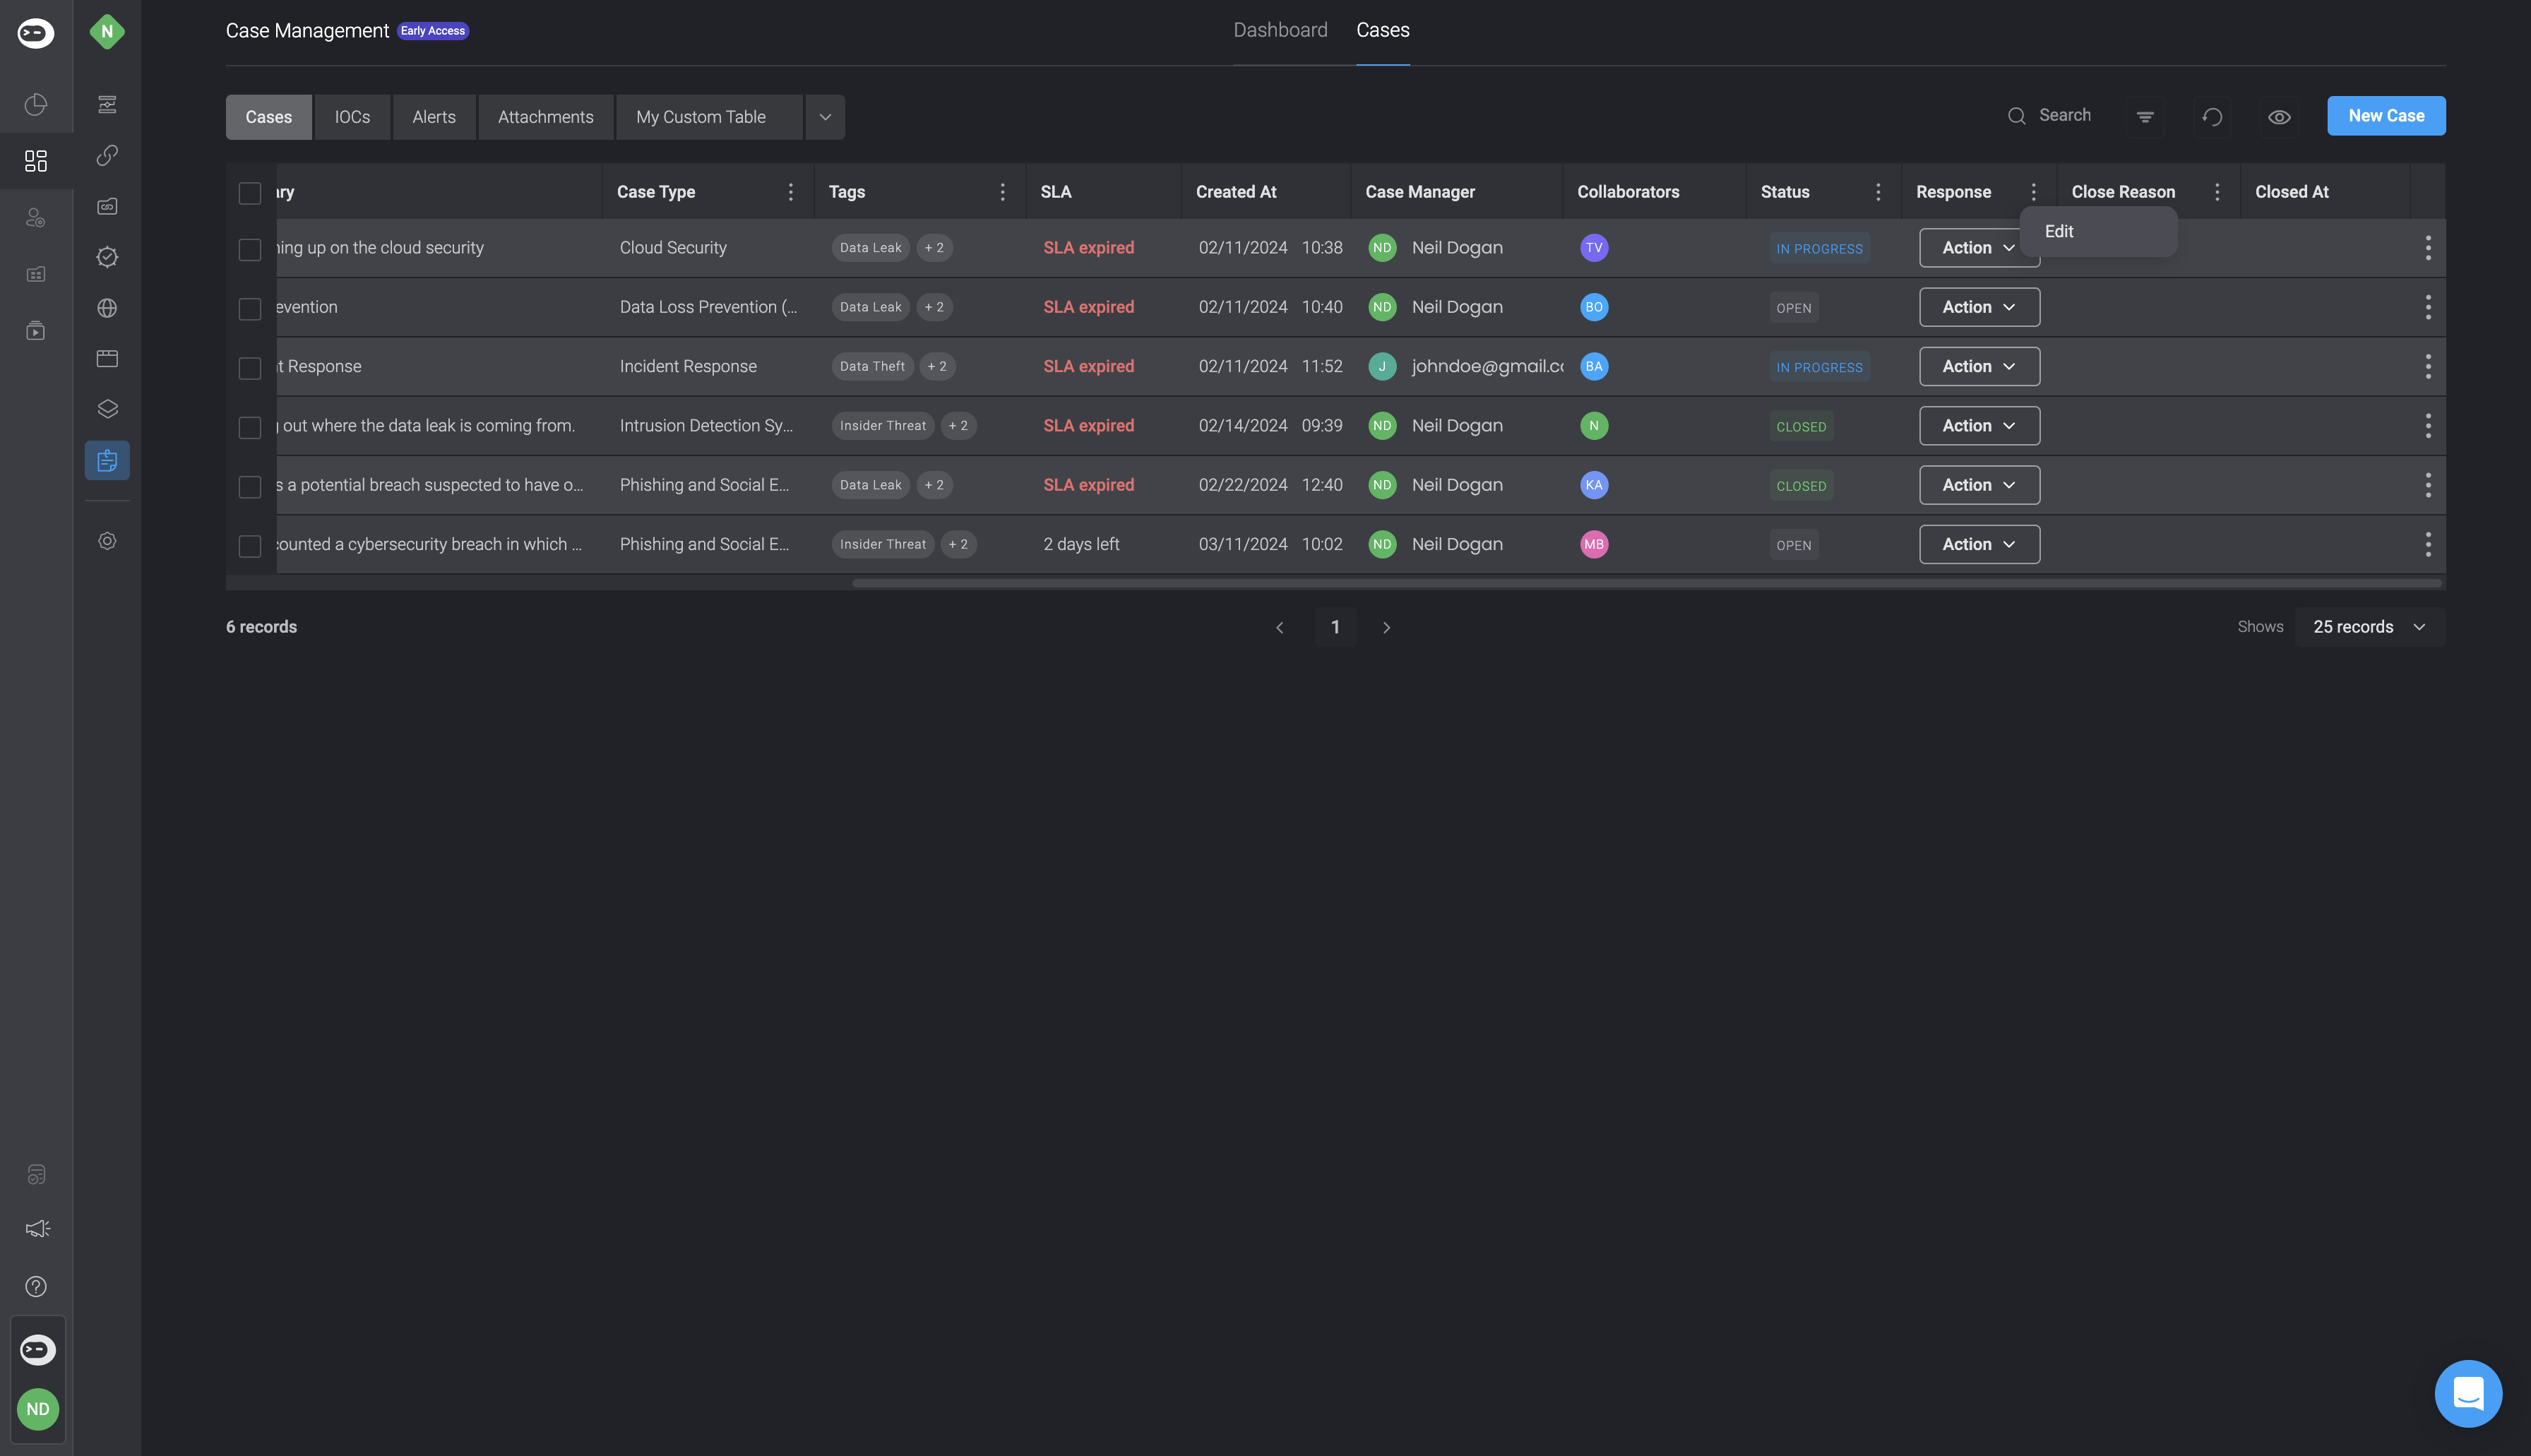
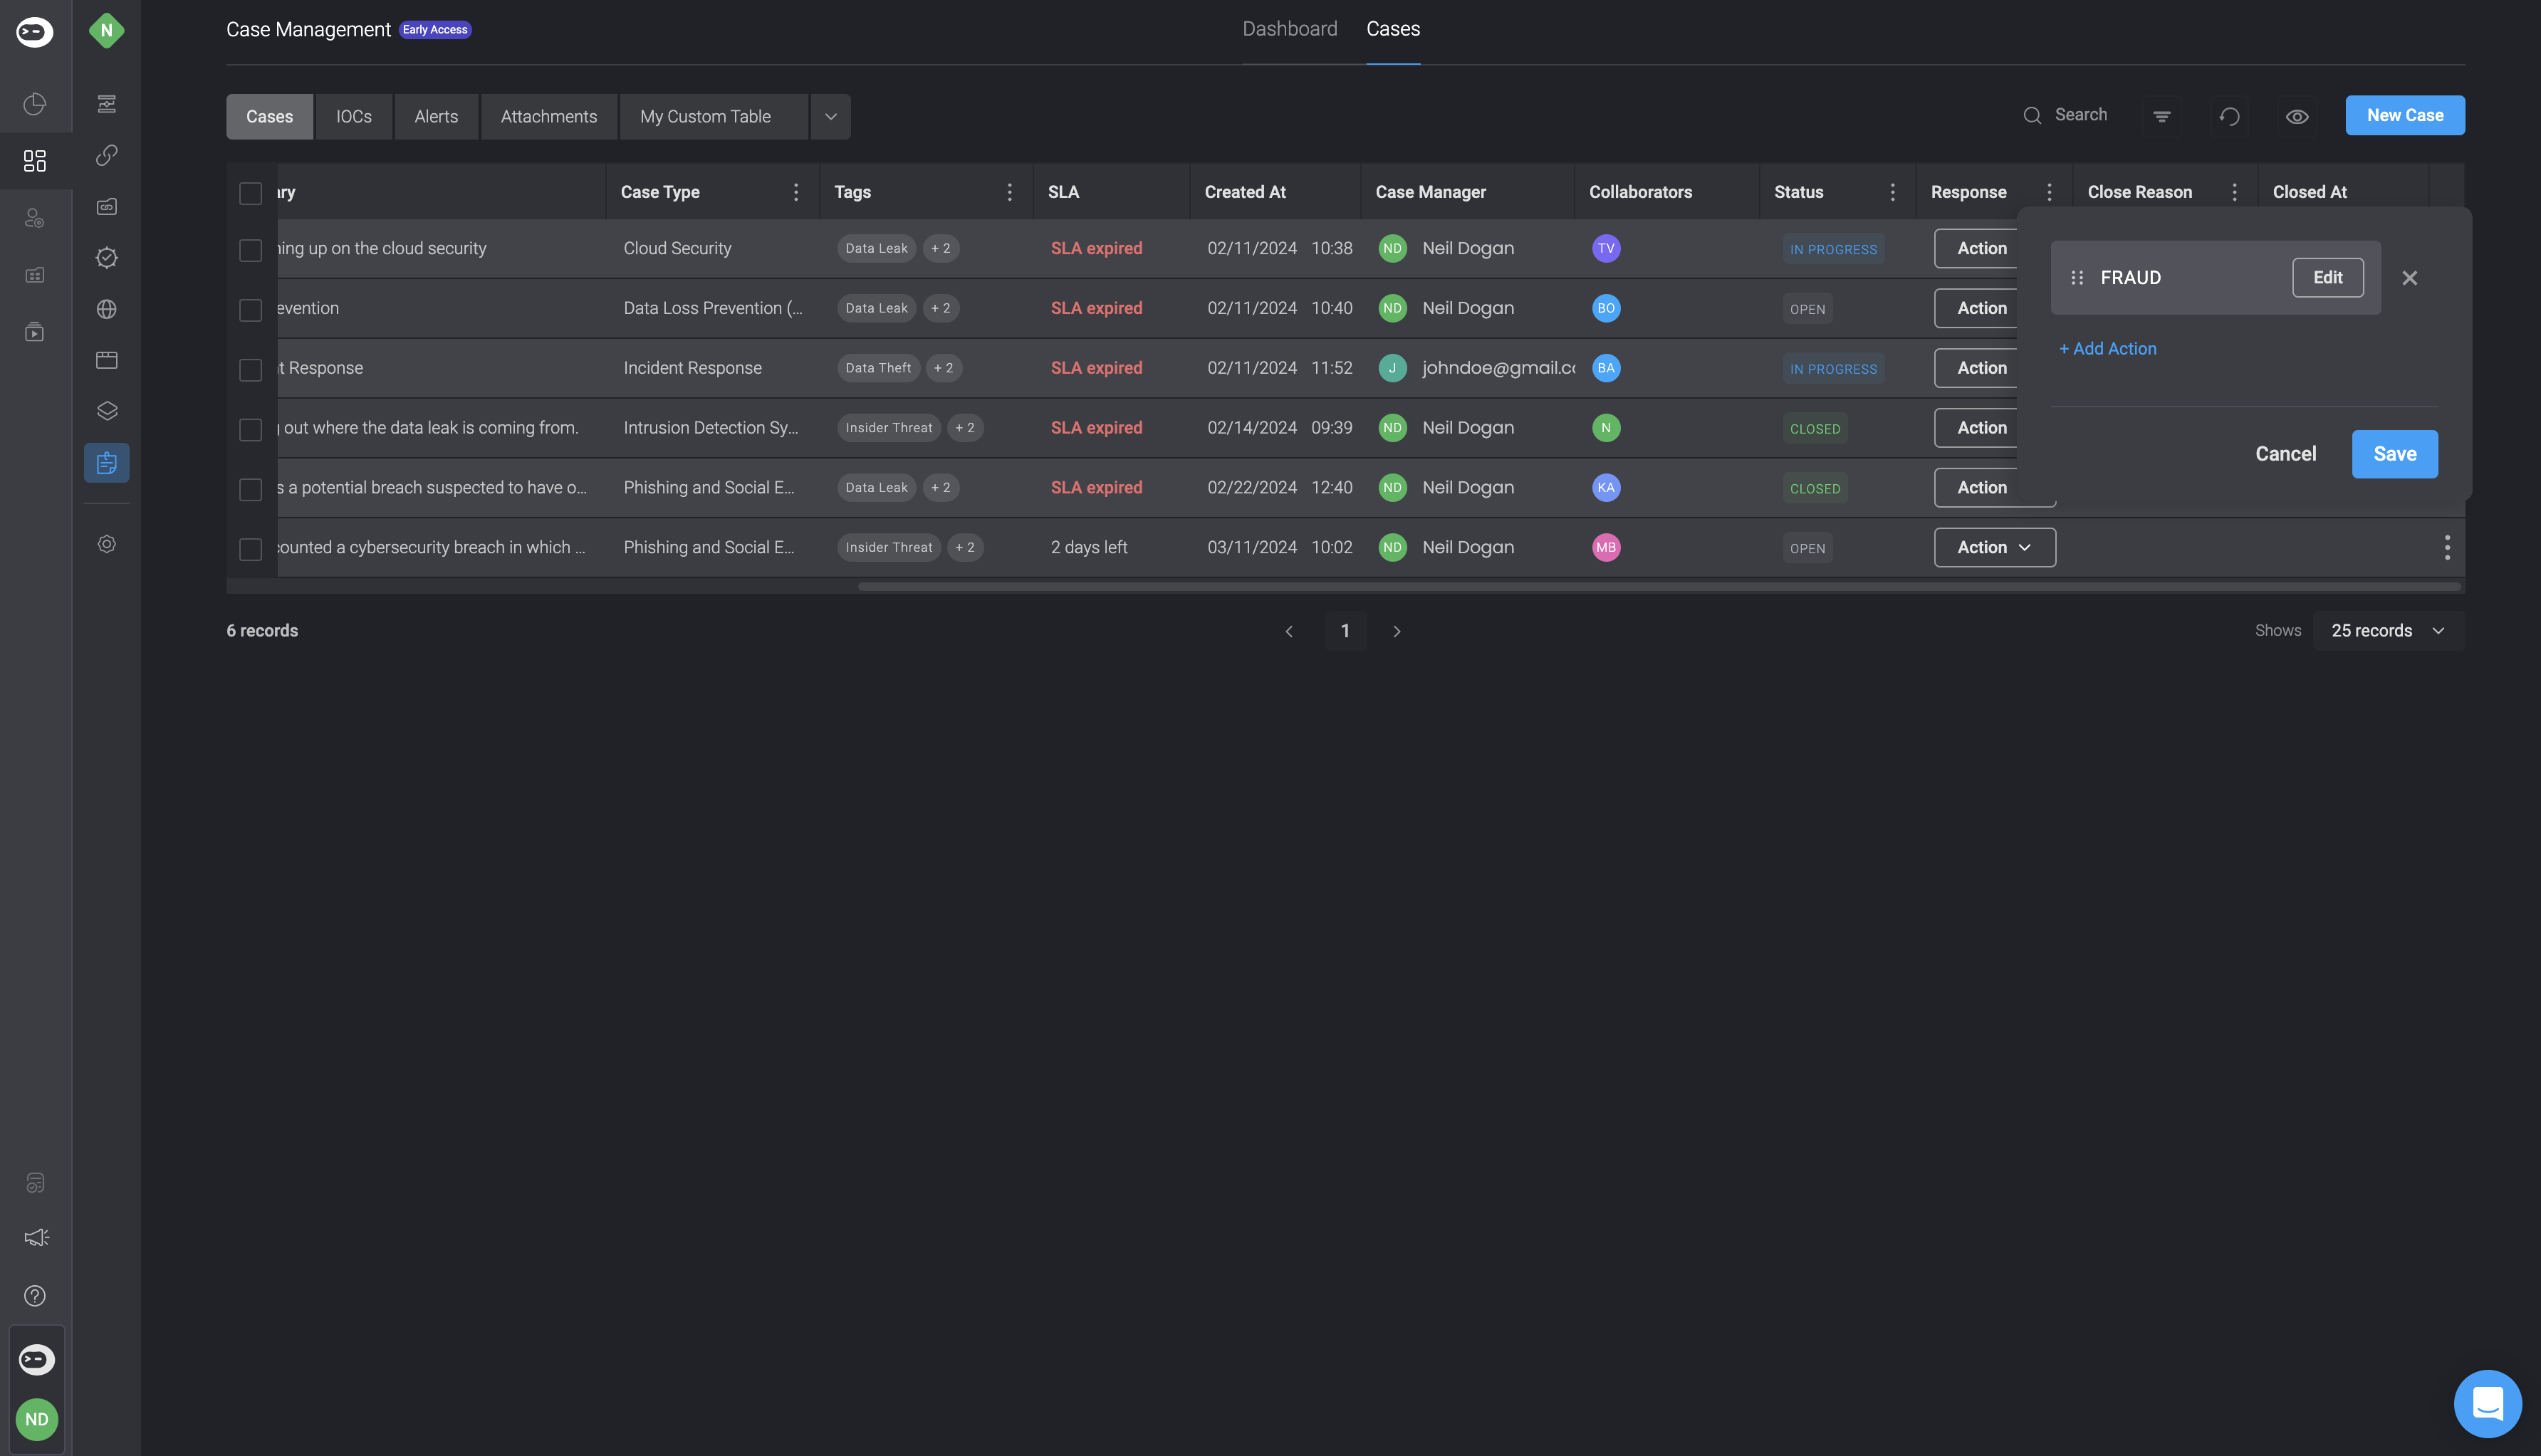
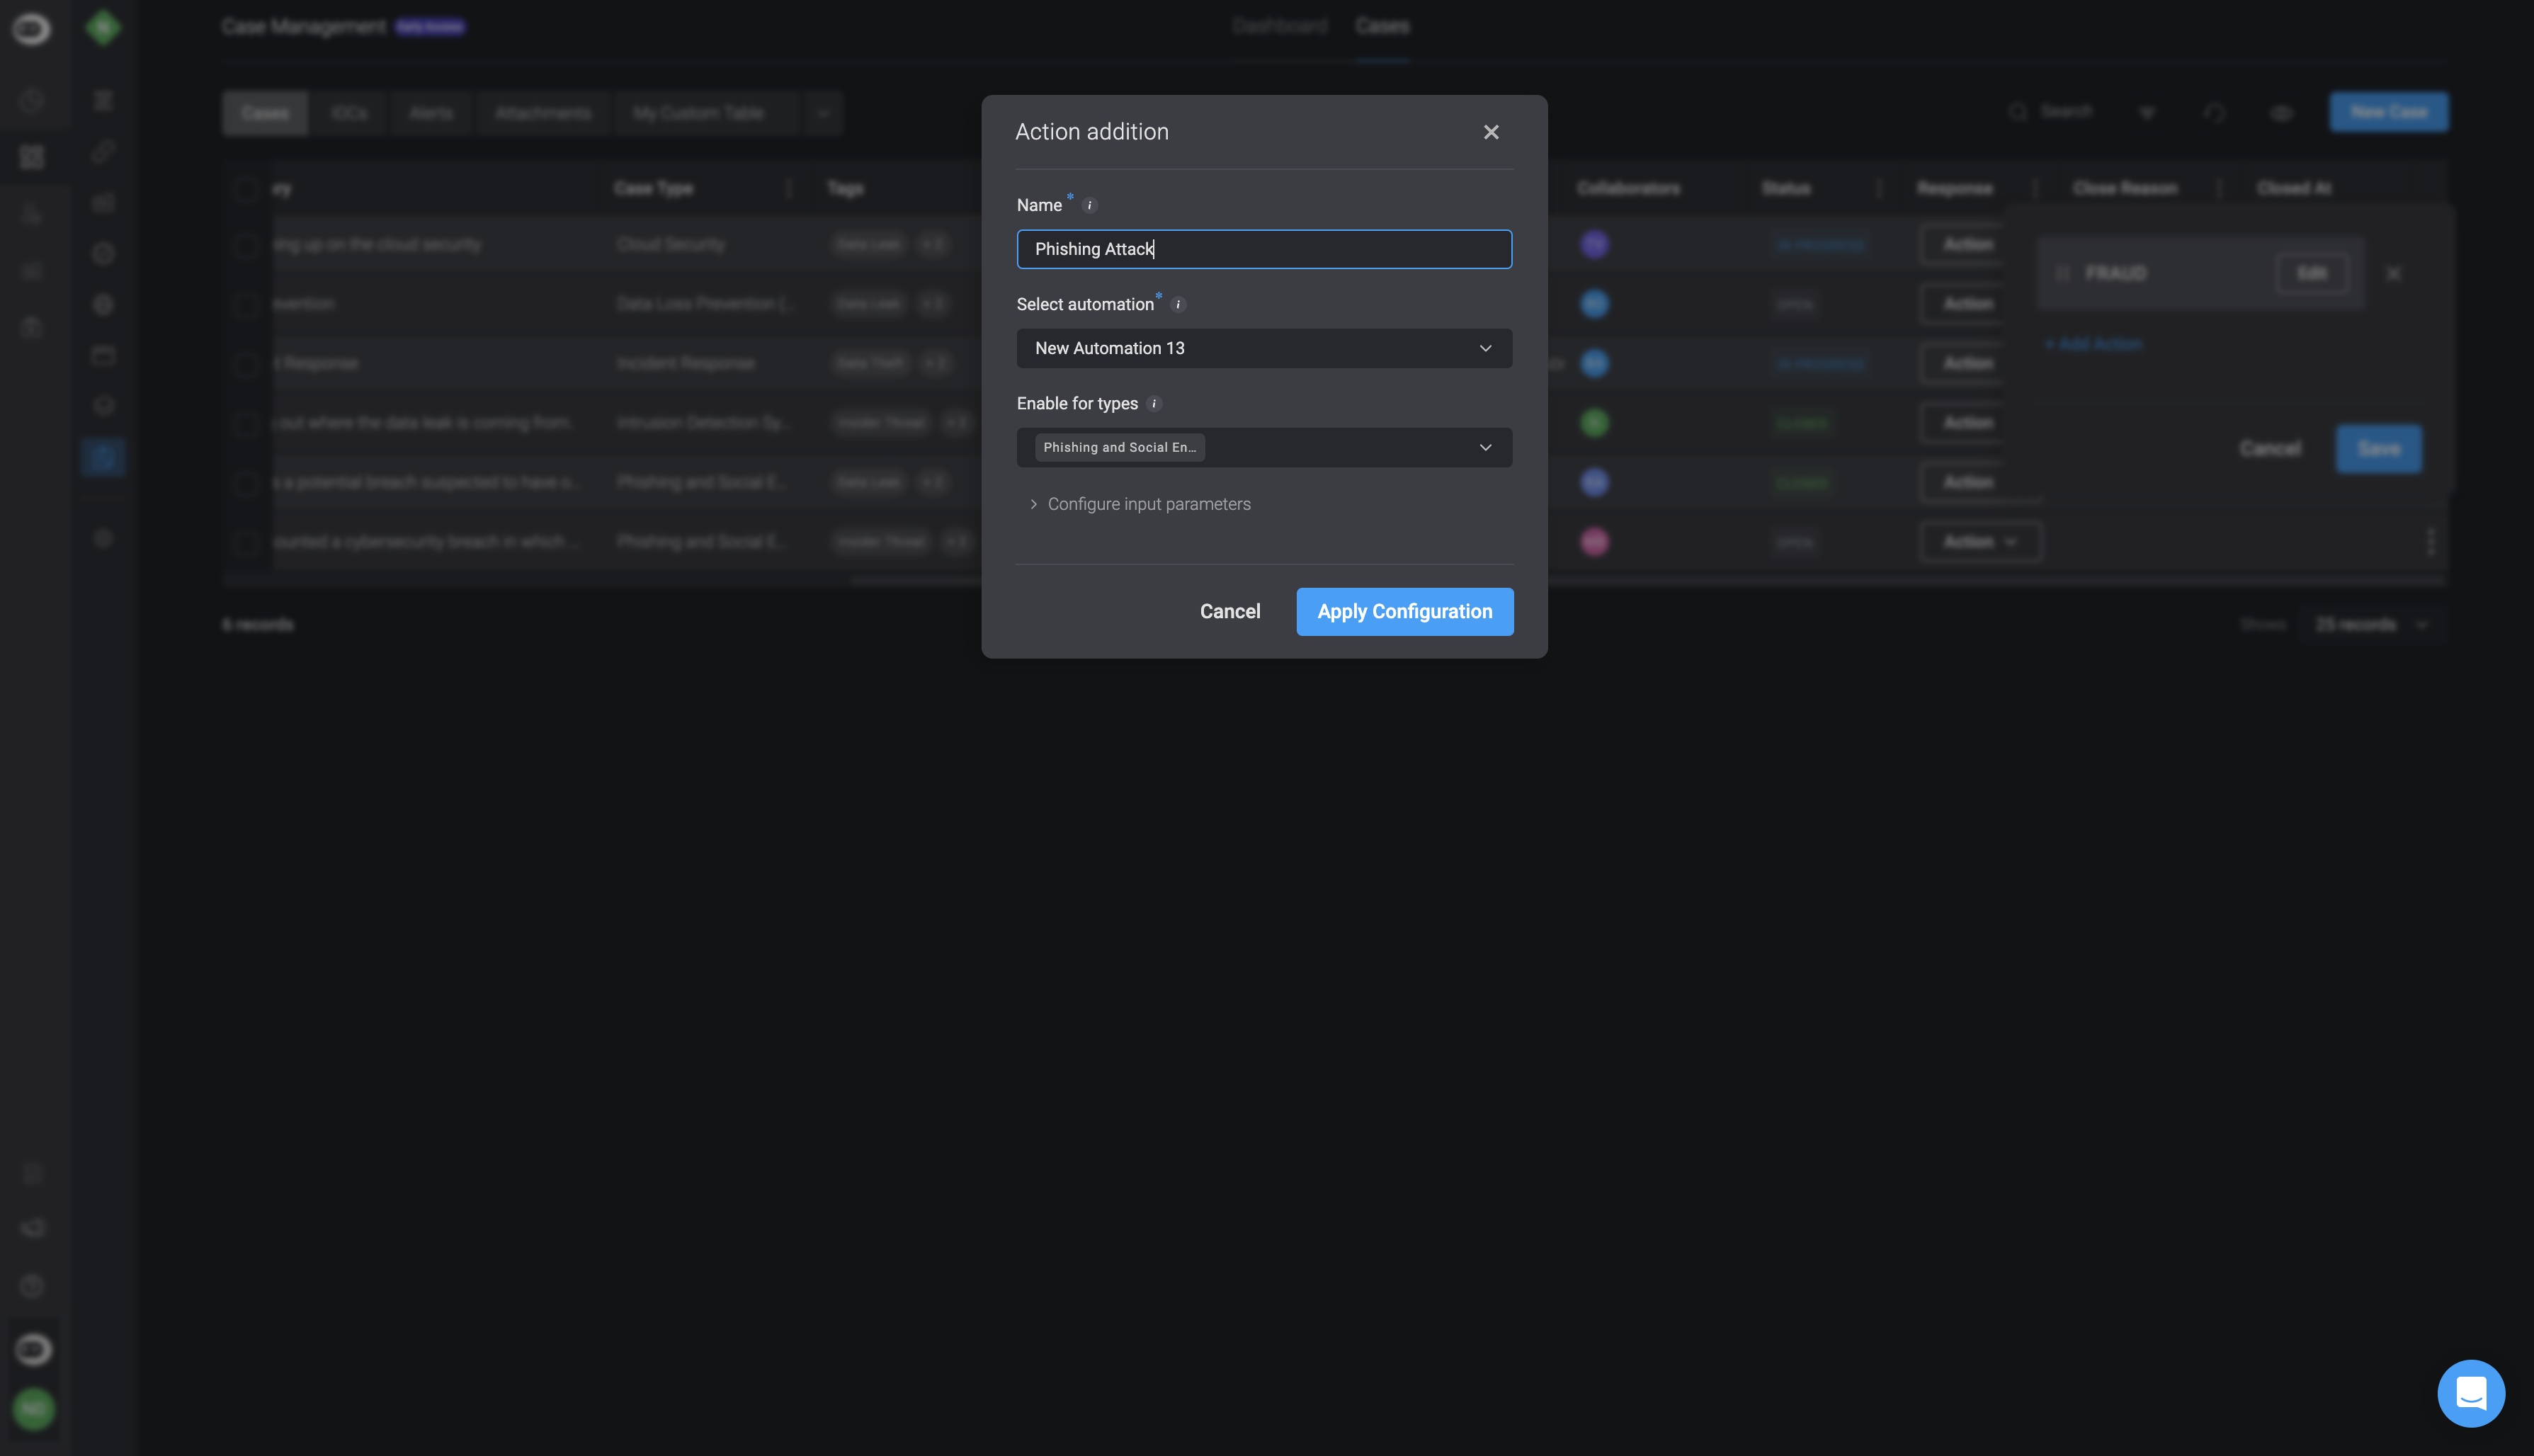
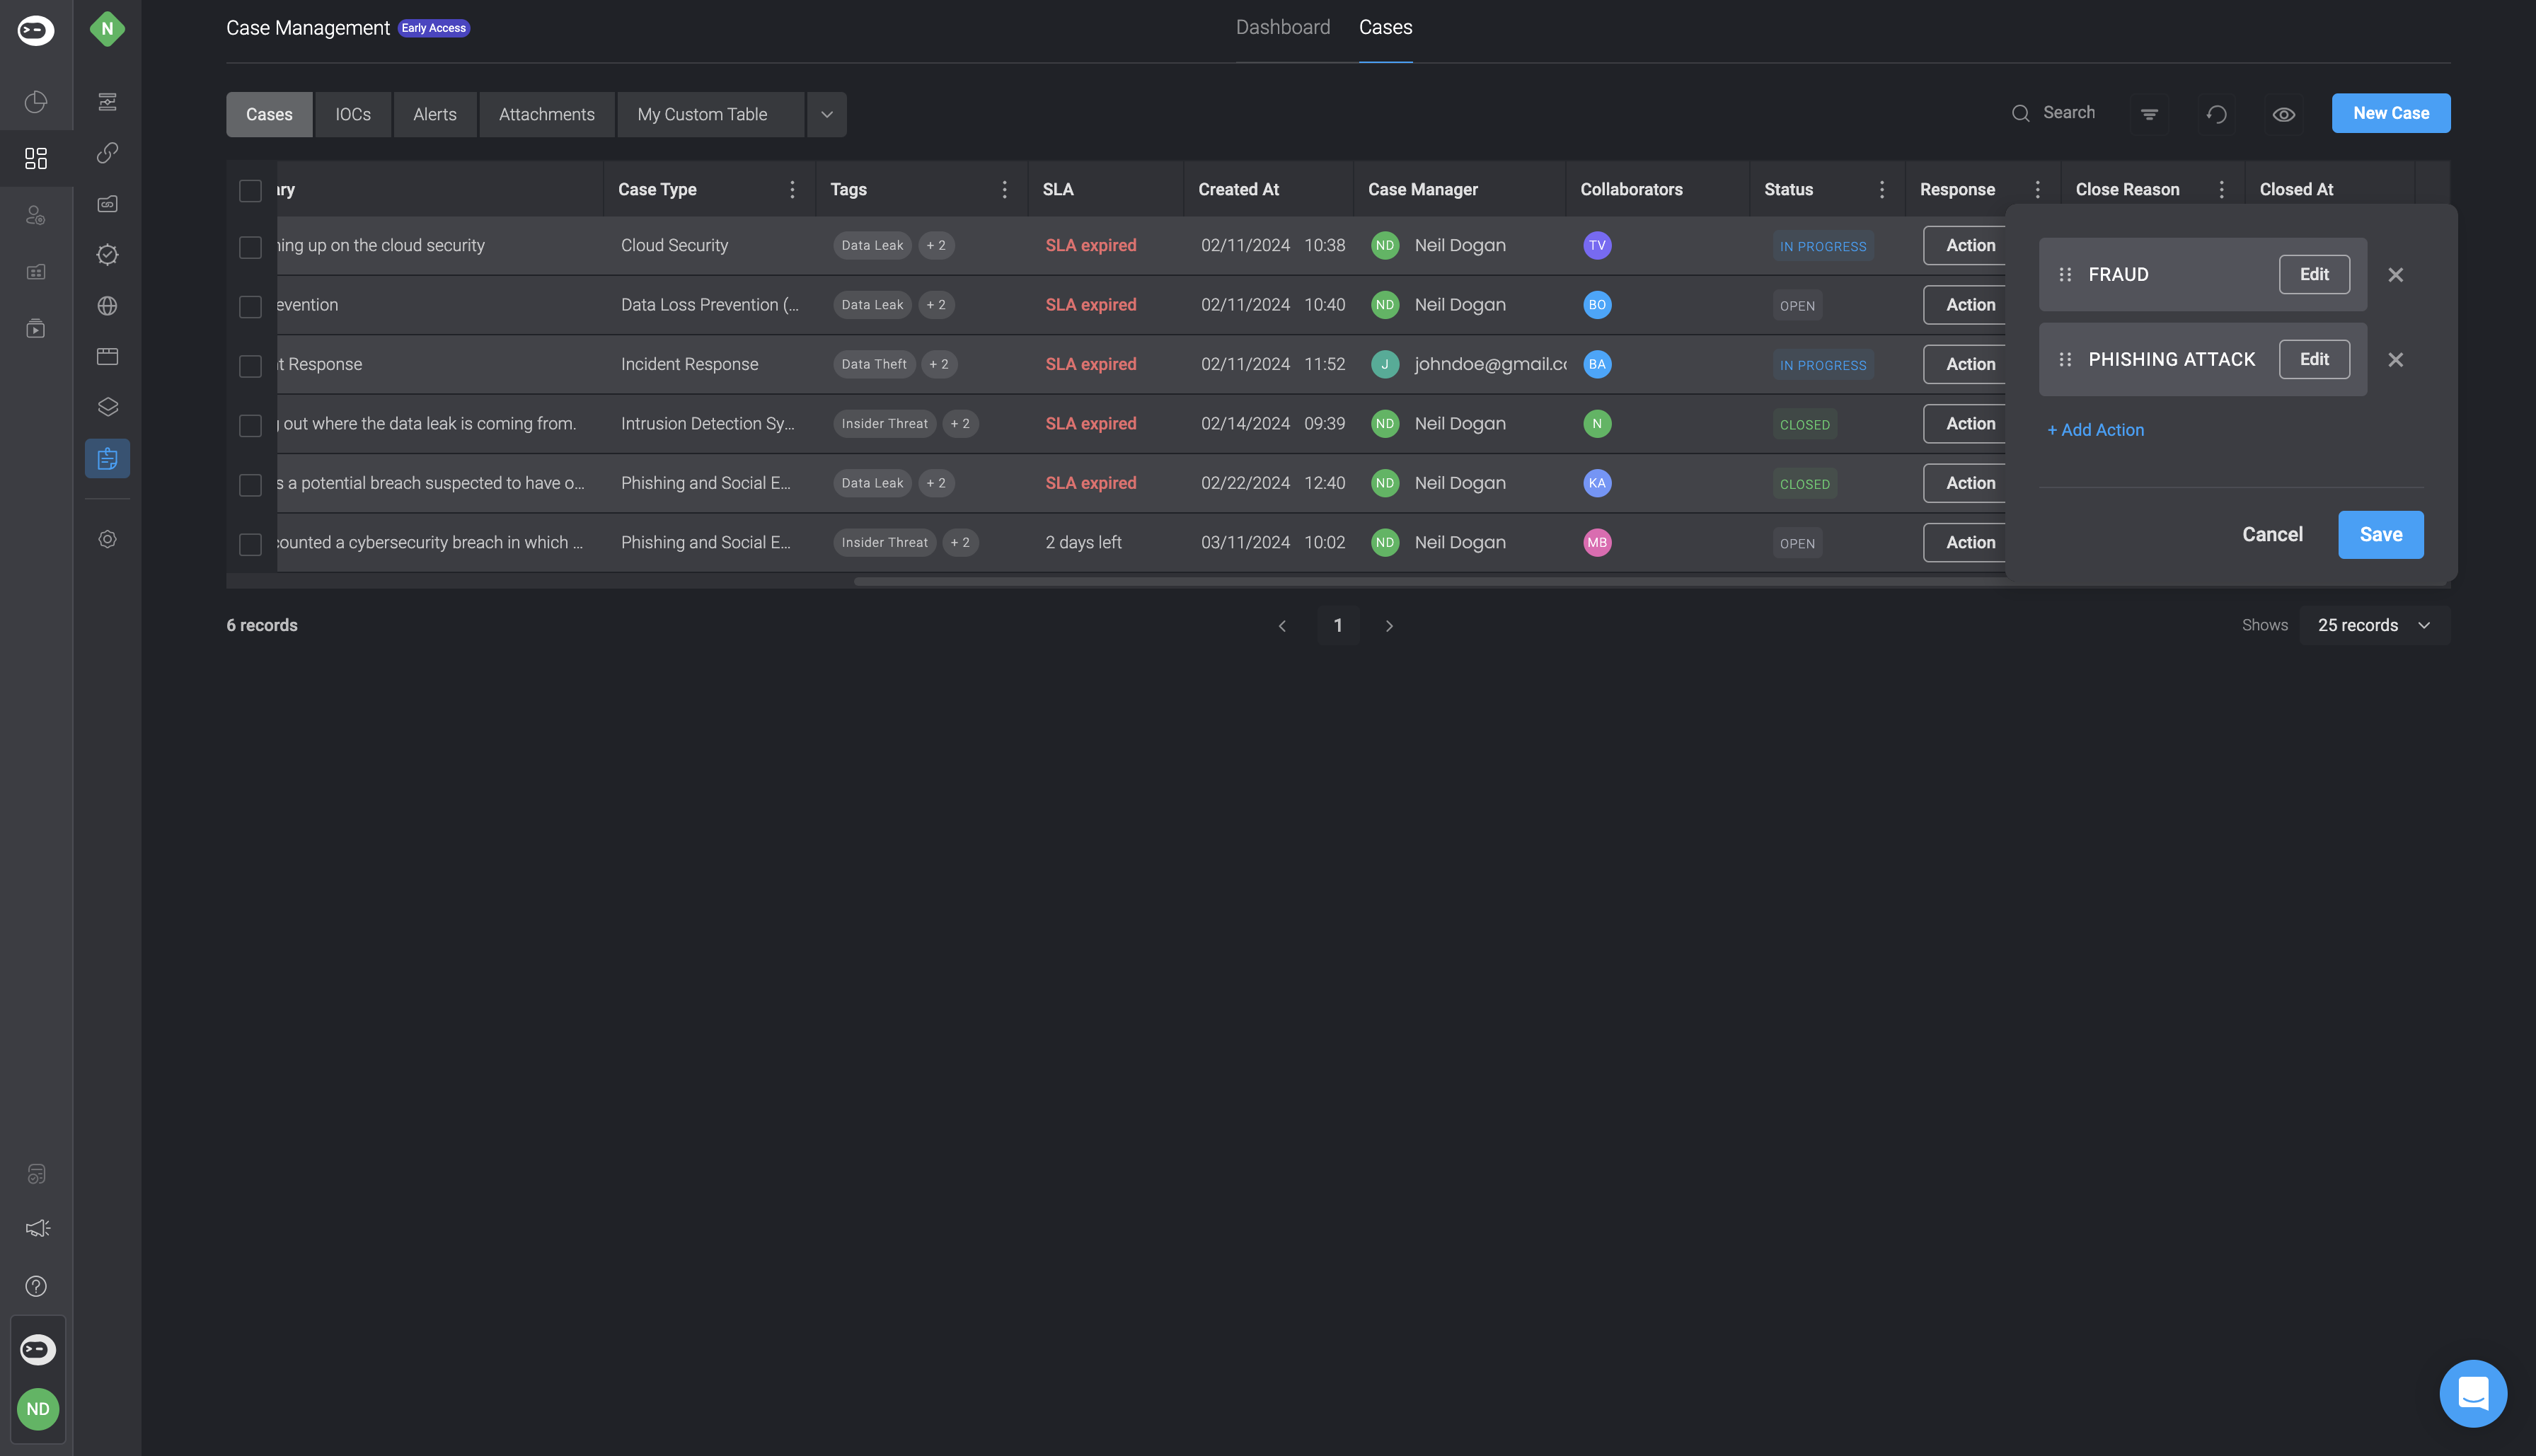
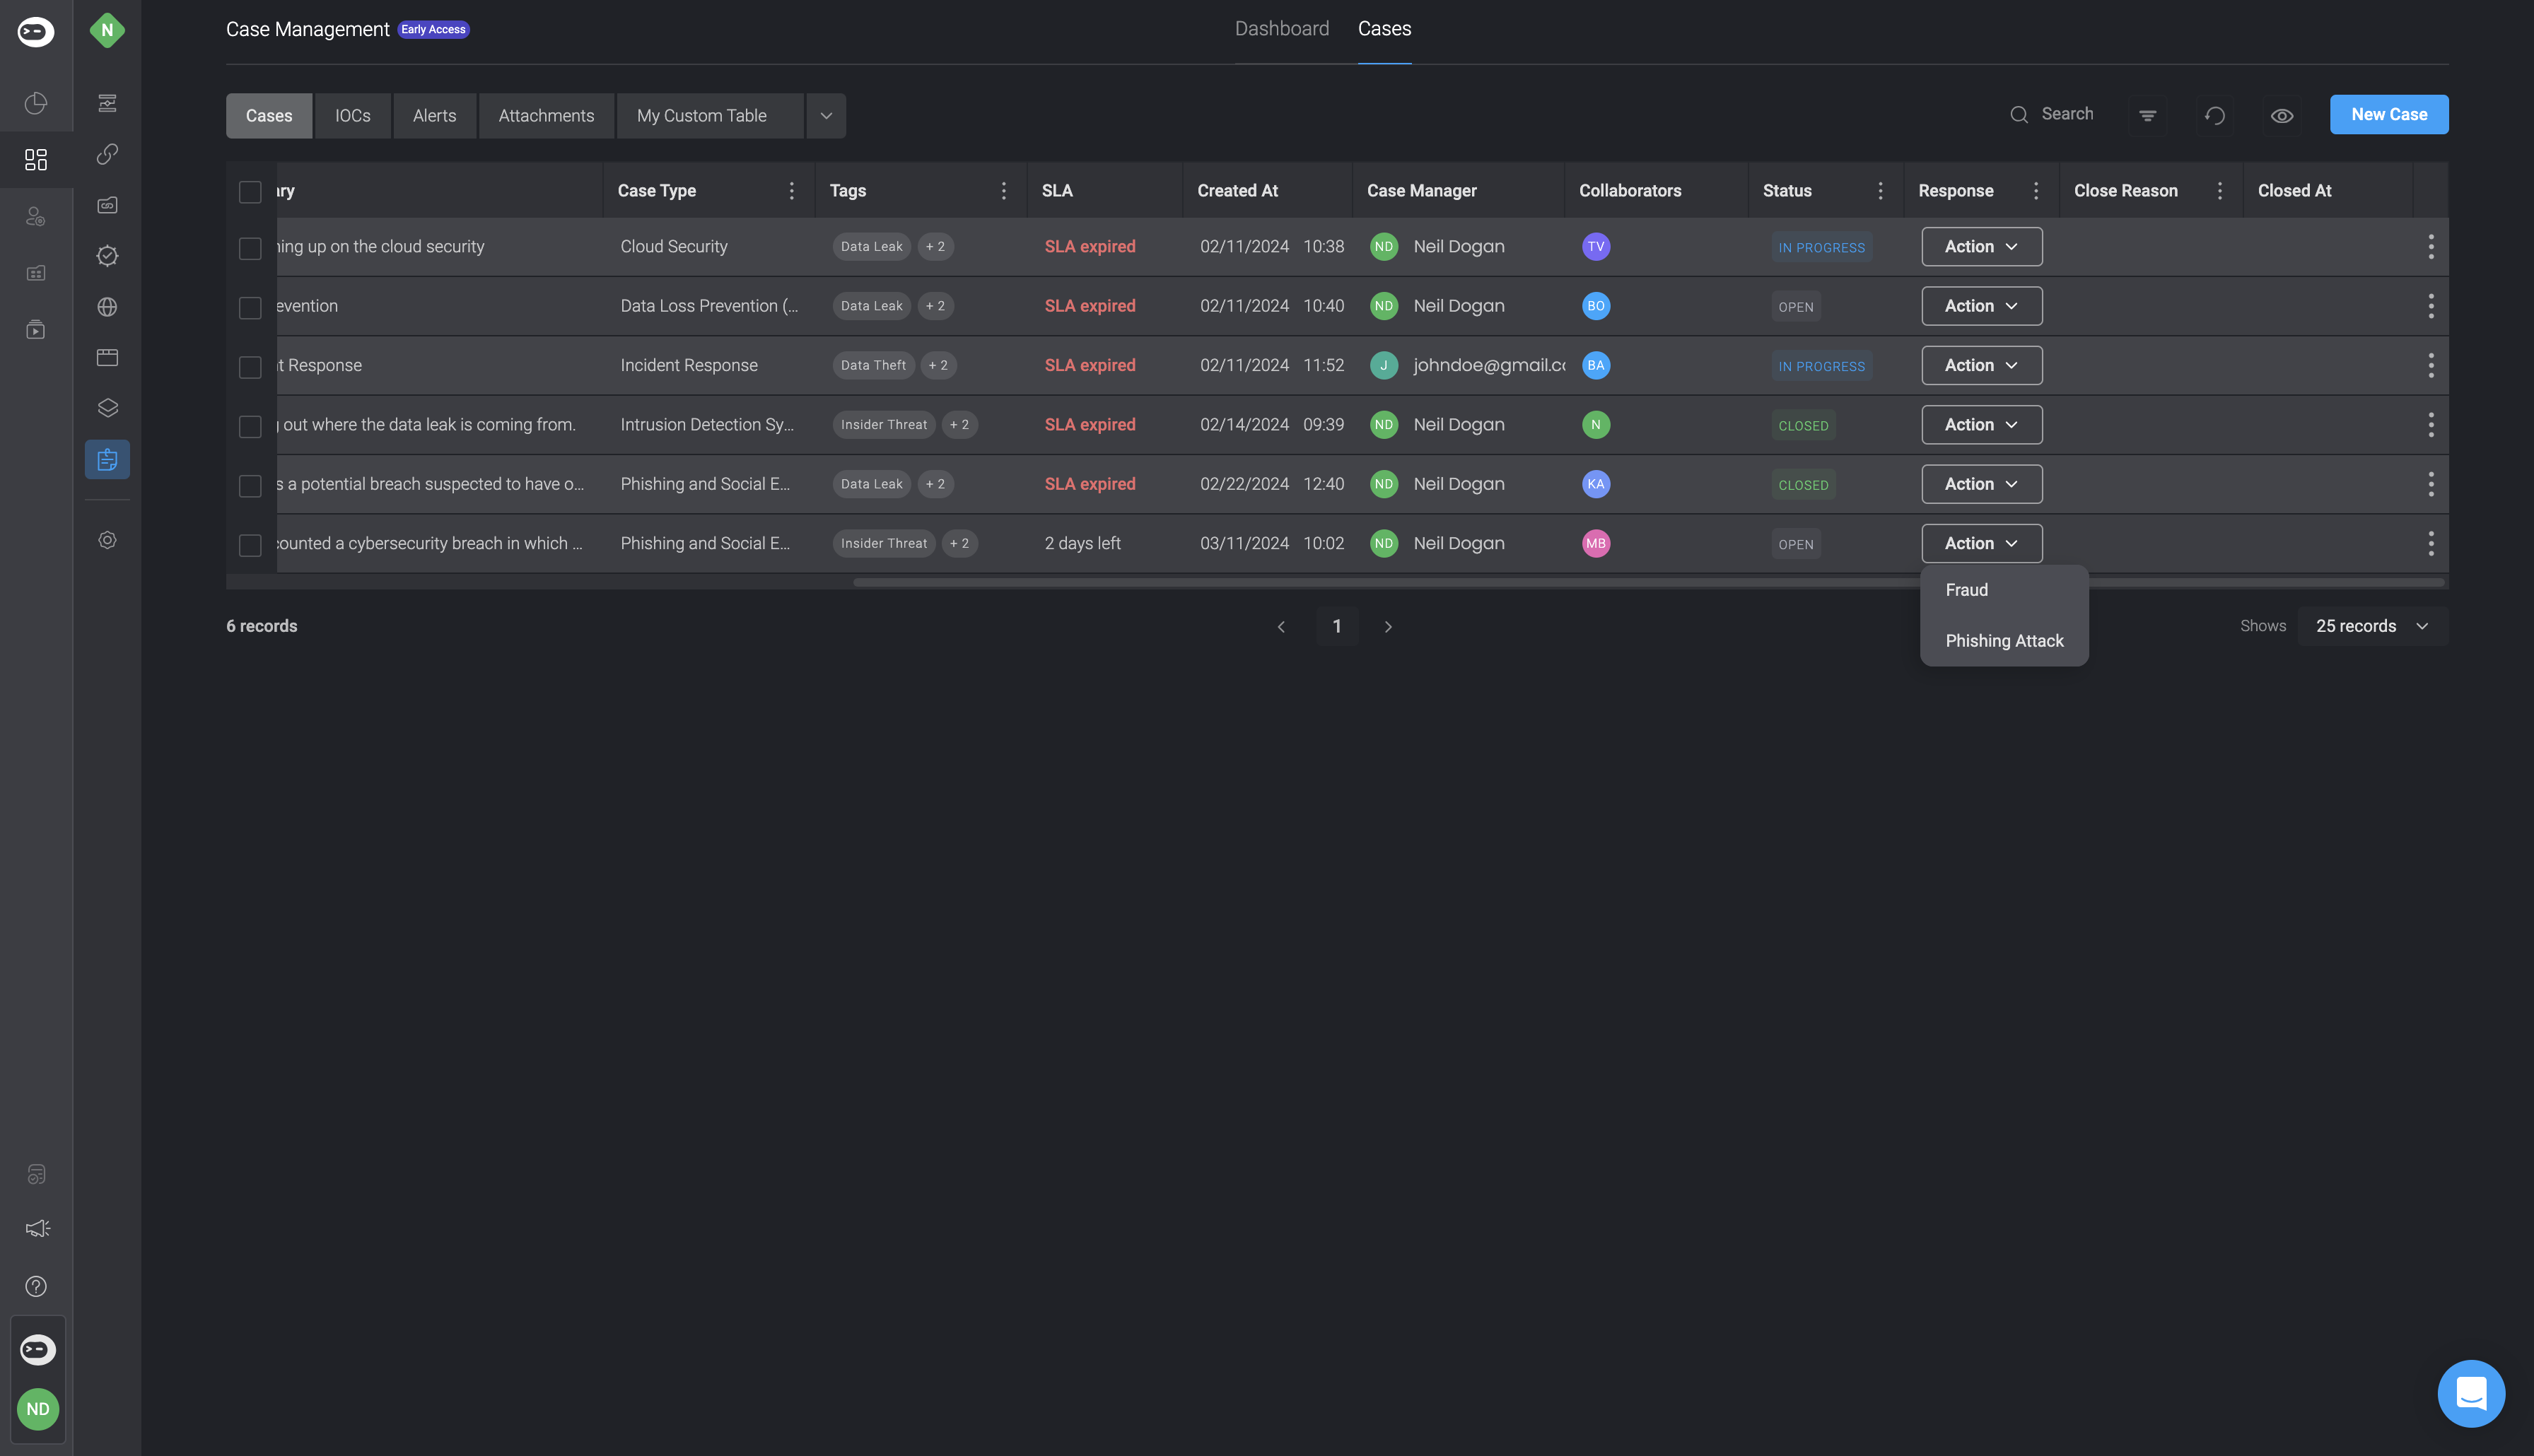
Responses
The Response field allows you to configure and trigger incident response workflows for each table. These workflows can be tailored to match your operational needs for Cases, Alerts, Attachments, Observables, and Tasks.Instructions: Configuring The Response Field
Instructions: Configuring The Response Field
The Search Bar
Quickly find records by name, tags, and other metadata. Use the search to find records by entering keywords such as case names, tags, vendors, or overviews.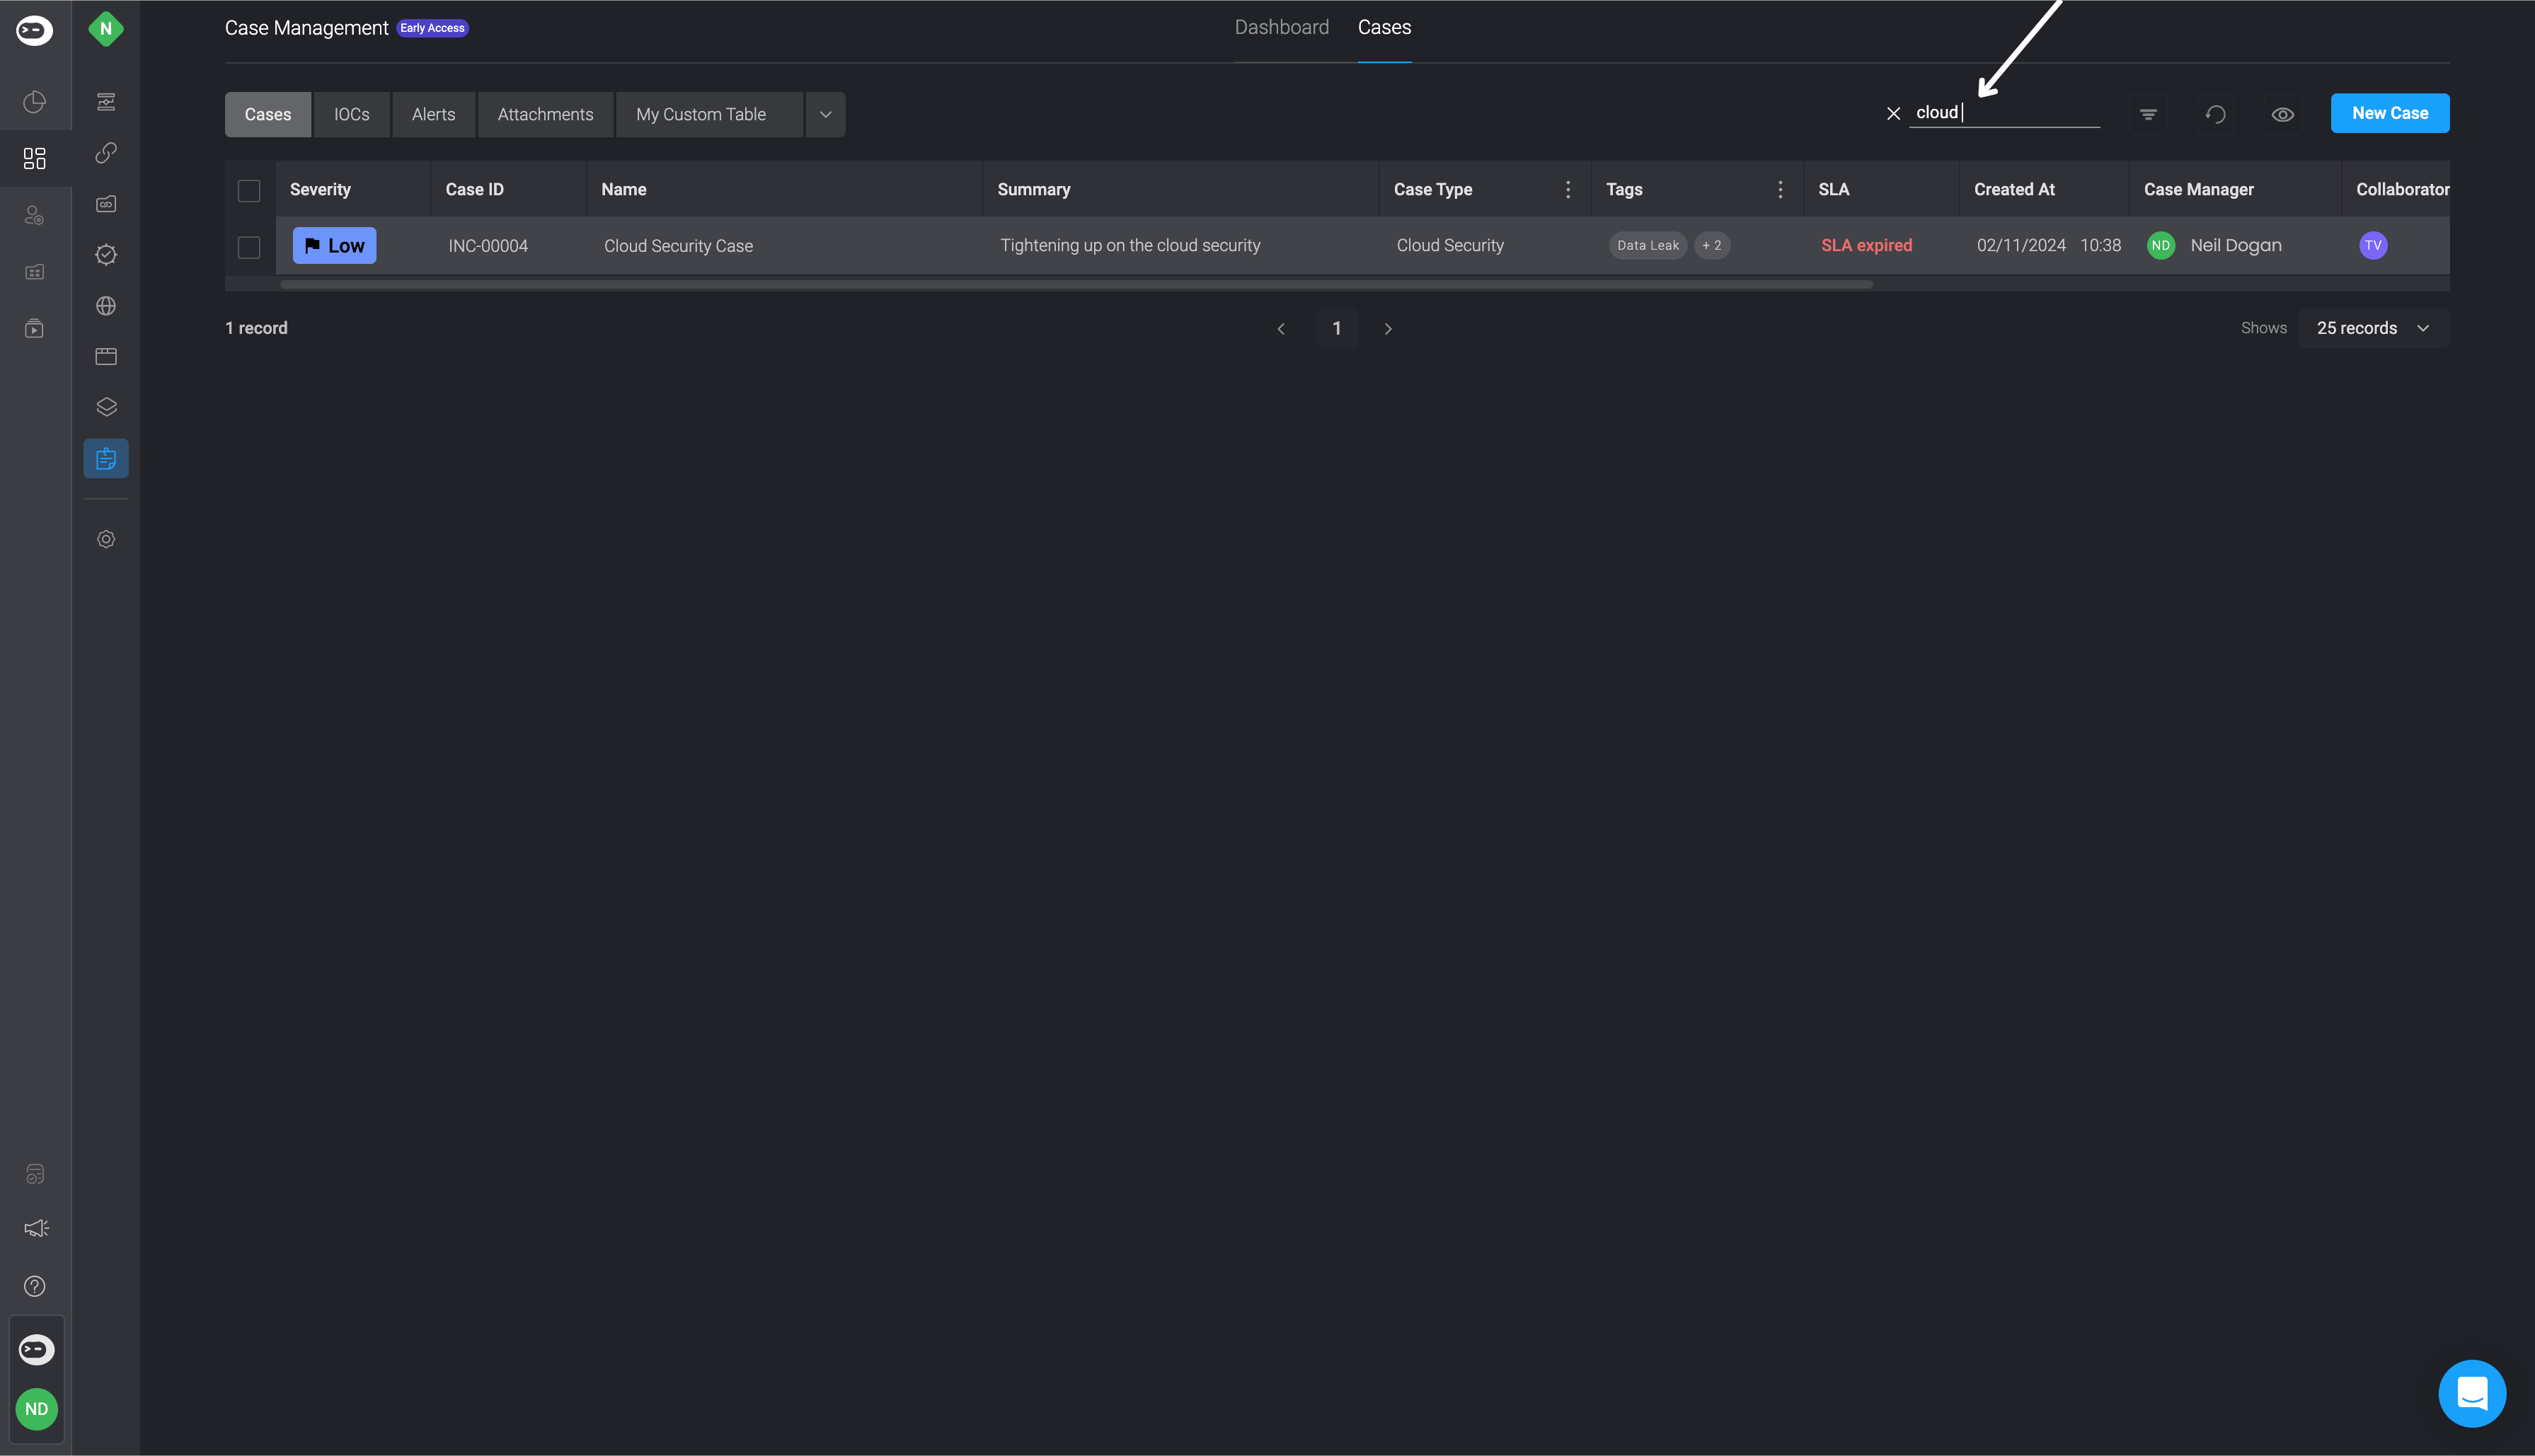
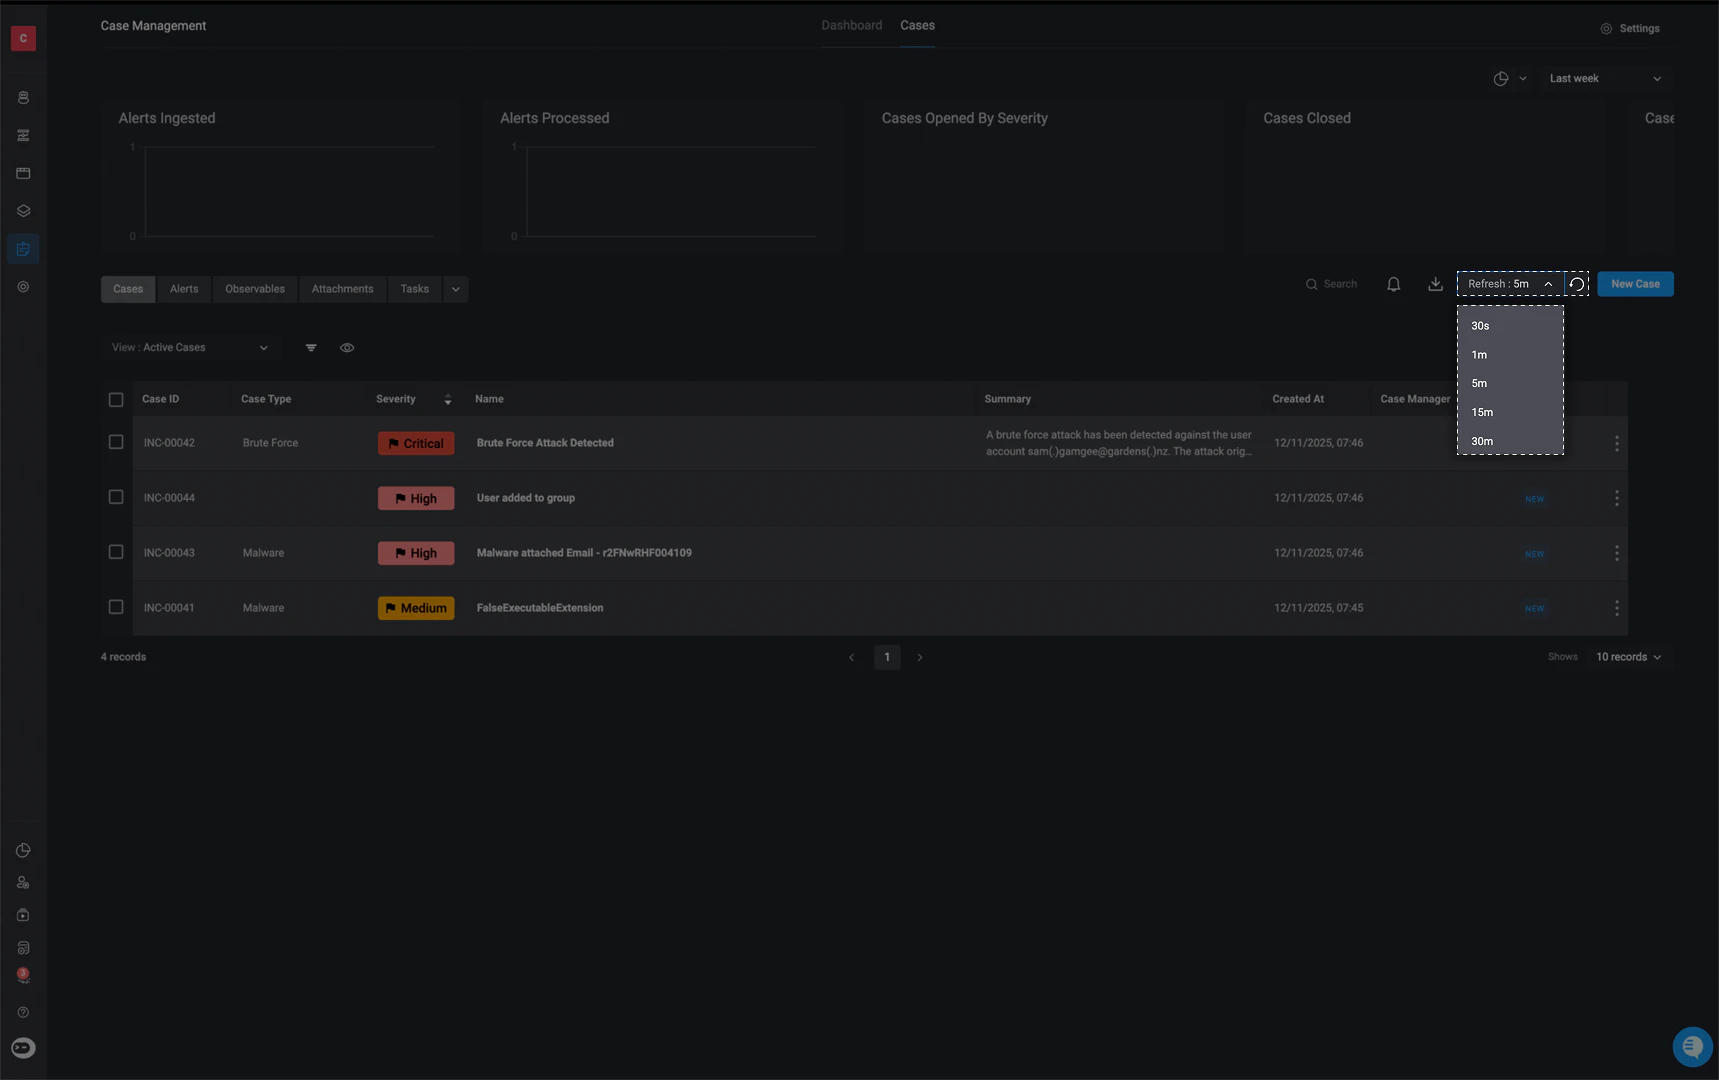
Refresh Button
All tables in case management refresh automatically every 5 minutes by default, ensuring the data stays up to date. You can customize this interval to match your needs by selecting one of the following refresh options:- 30 seconds
- 1 minute
- 5 minutes
- 15 minutes
- 30 minutes
- 1 hour
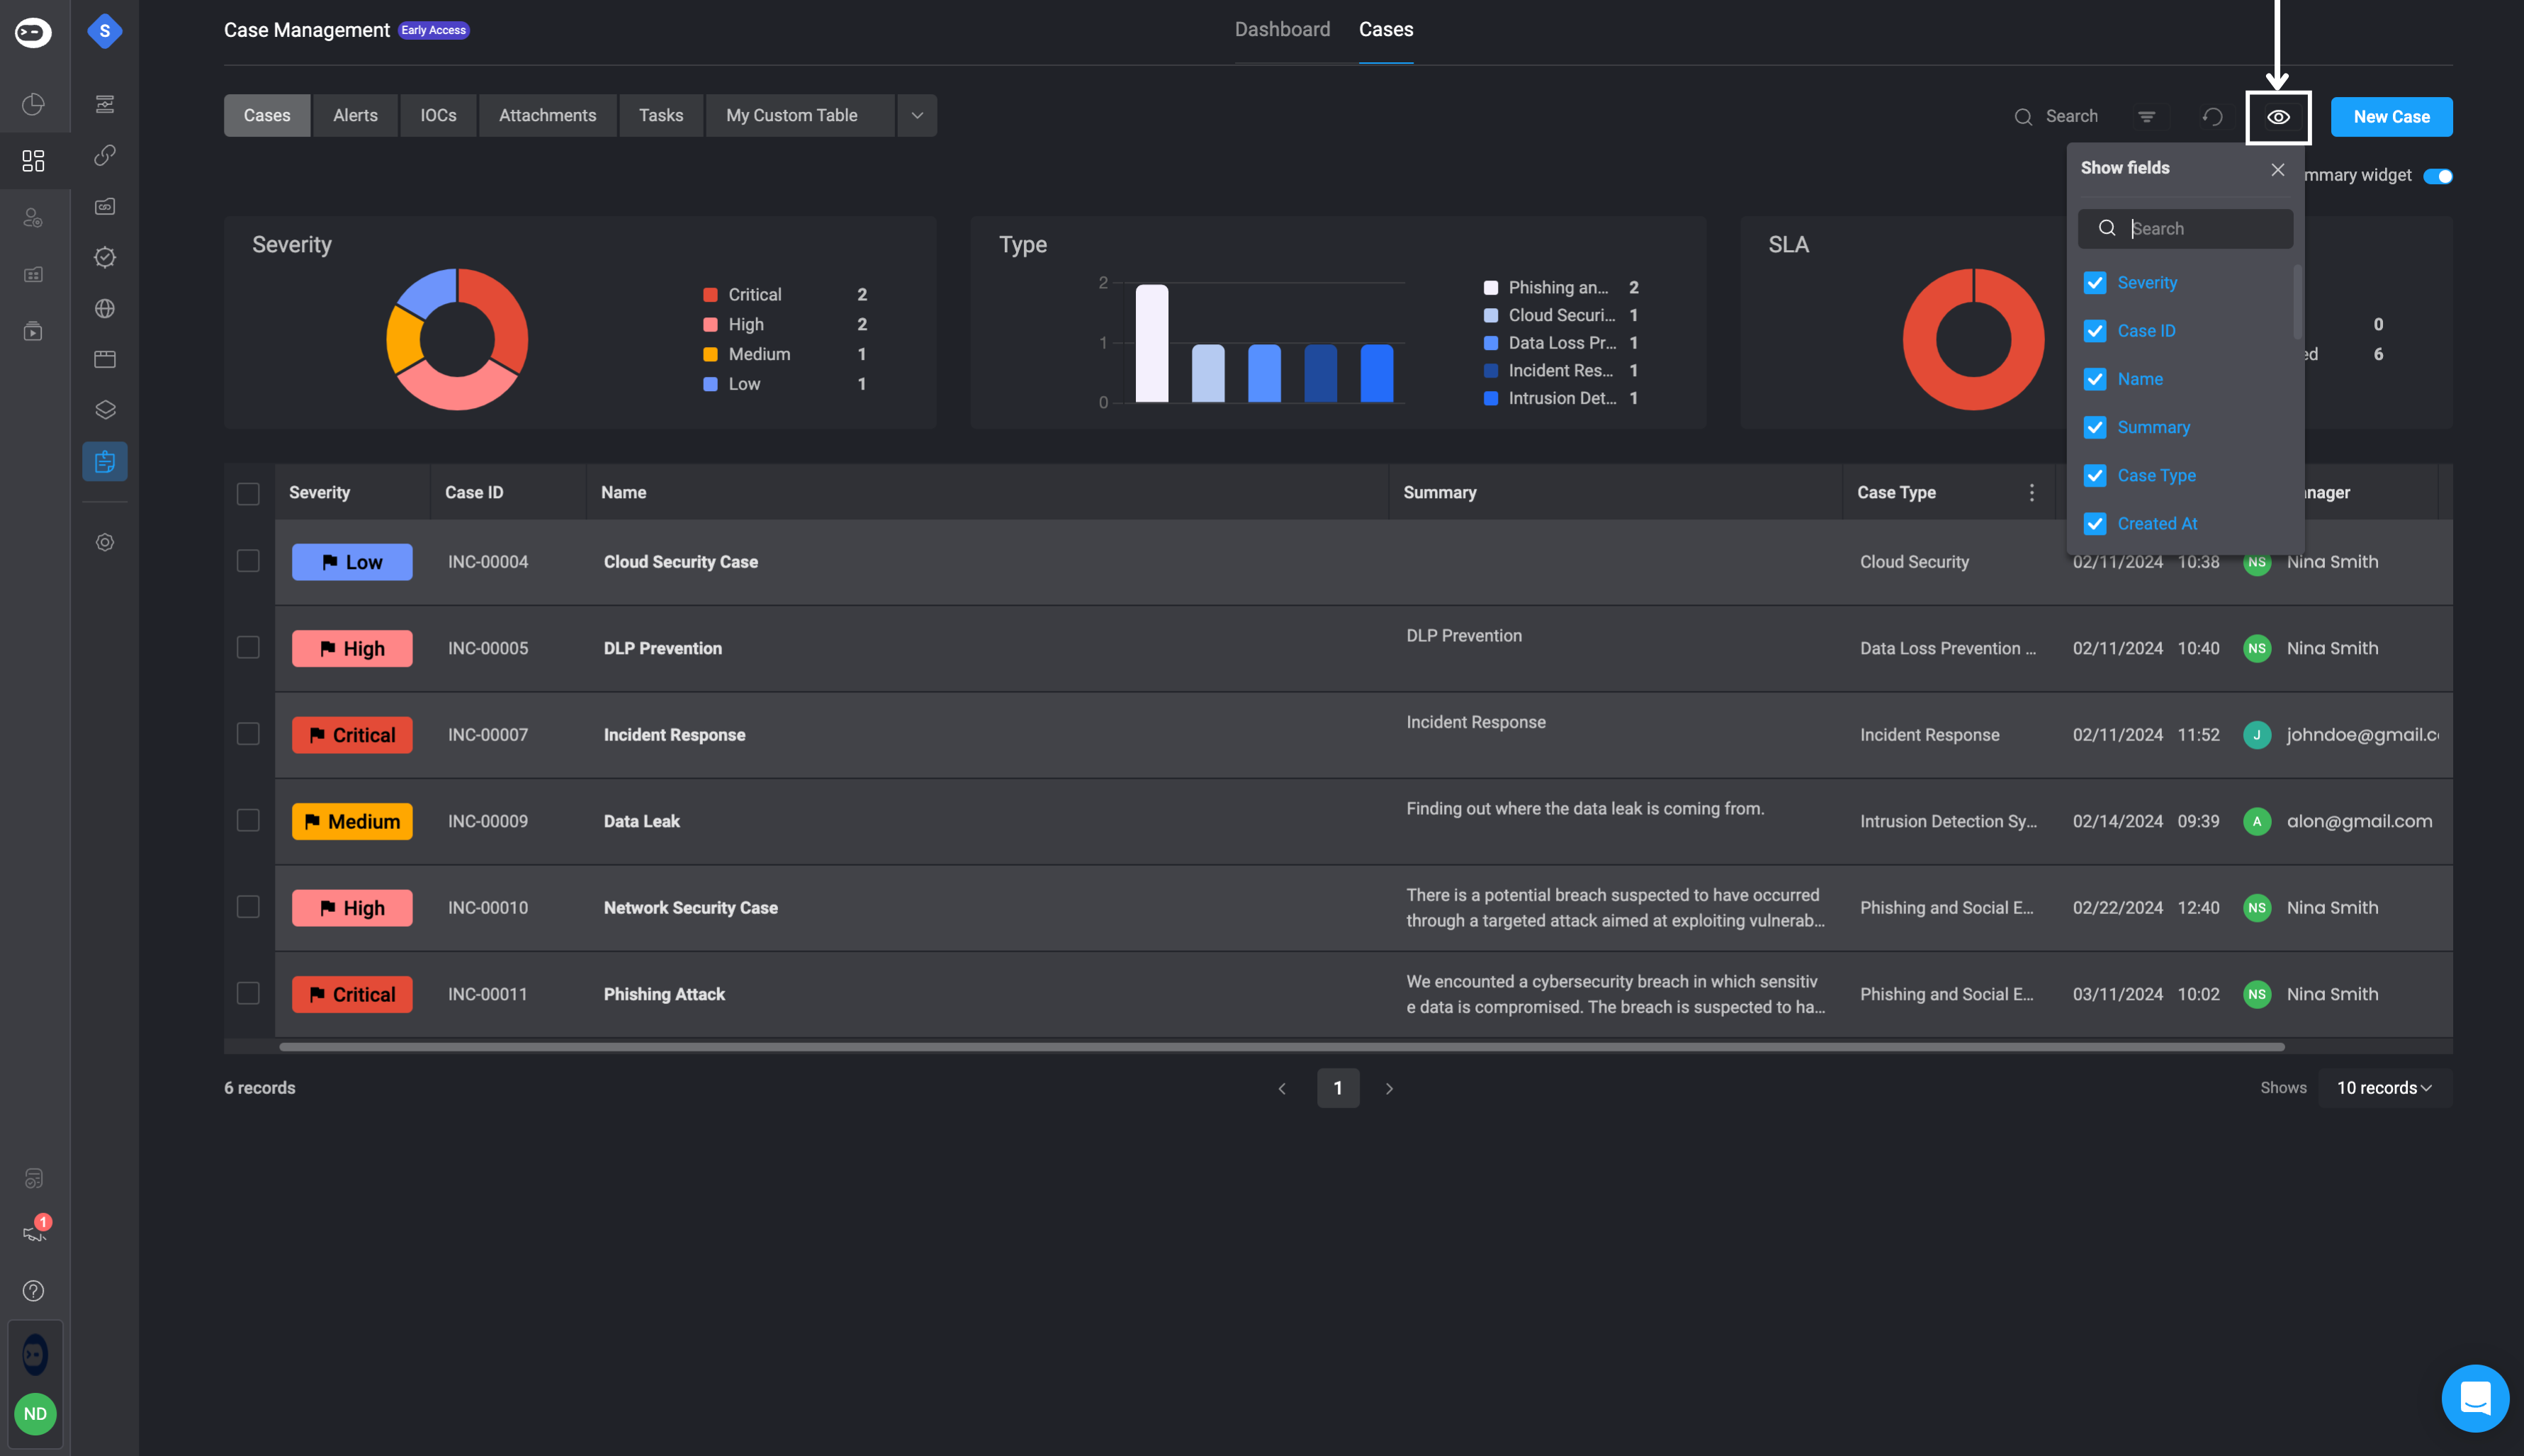
The View Button
The table contains additional fields, but only a few are initially visible by default. Click on the icon above the table, to configure which table field columns you want to make visible and choose which table field columns you want to remain hidden.
The Filter Button
The ‘Filter’ button simplifies filtering through case(s) by applying conditional statements to find the specific case(s) you are looking for.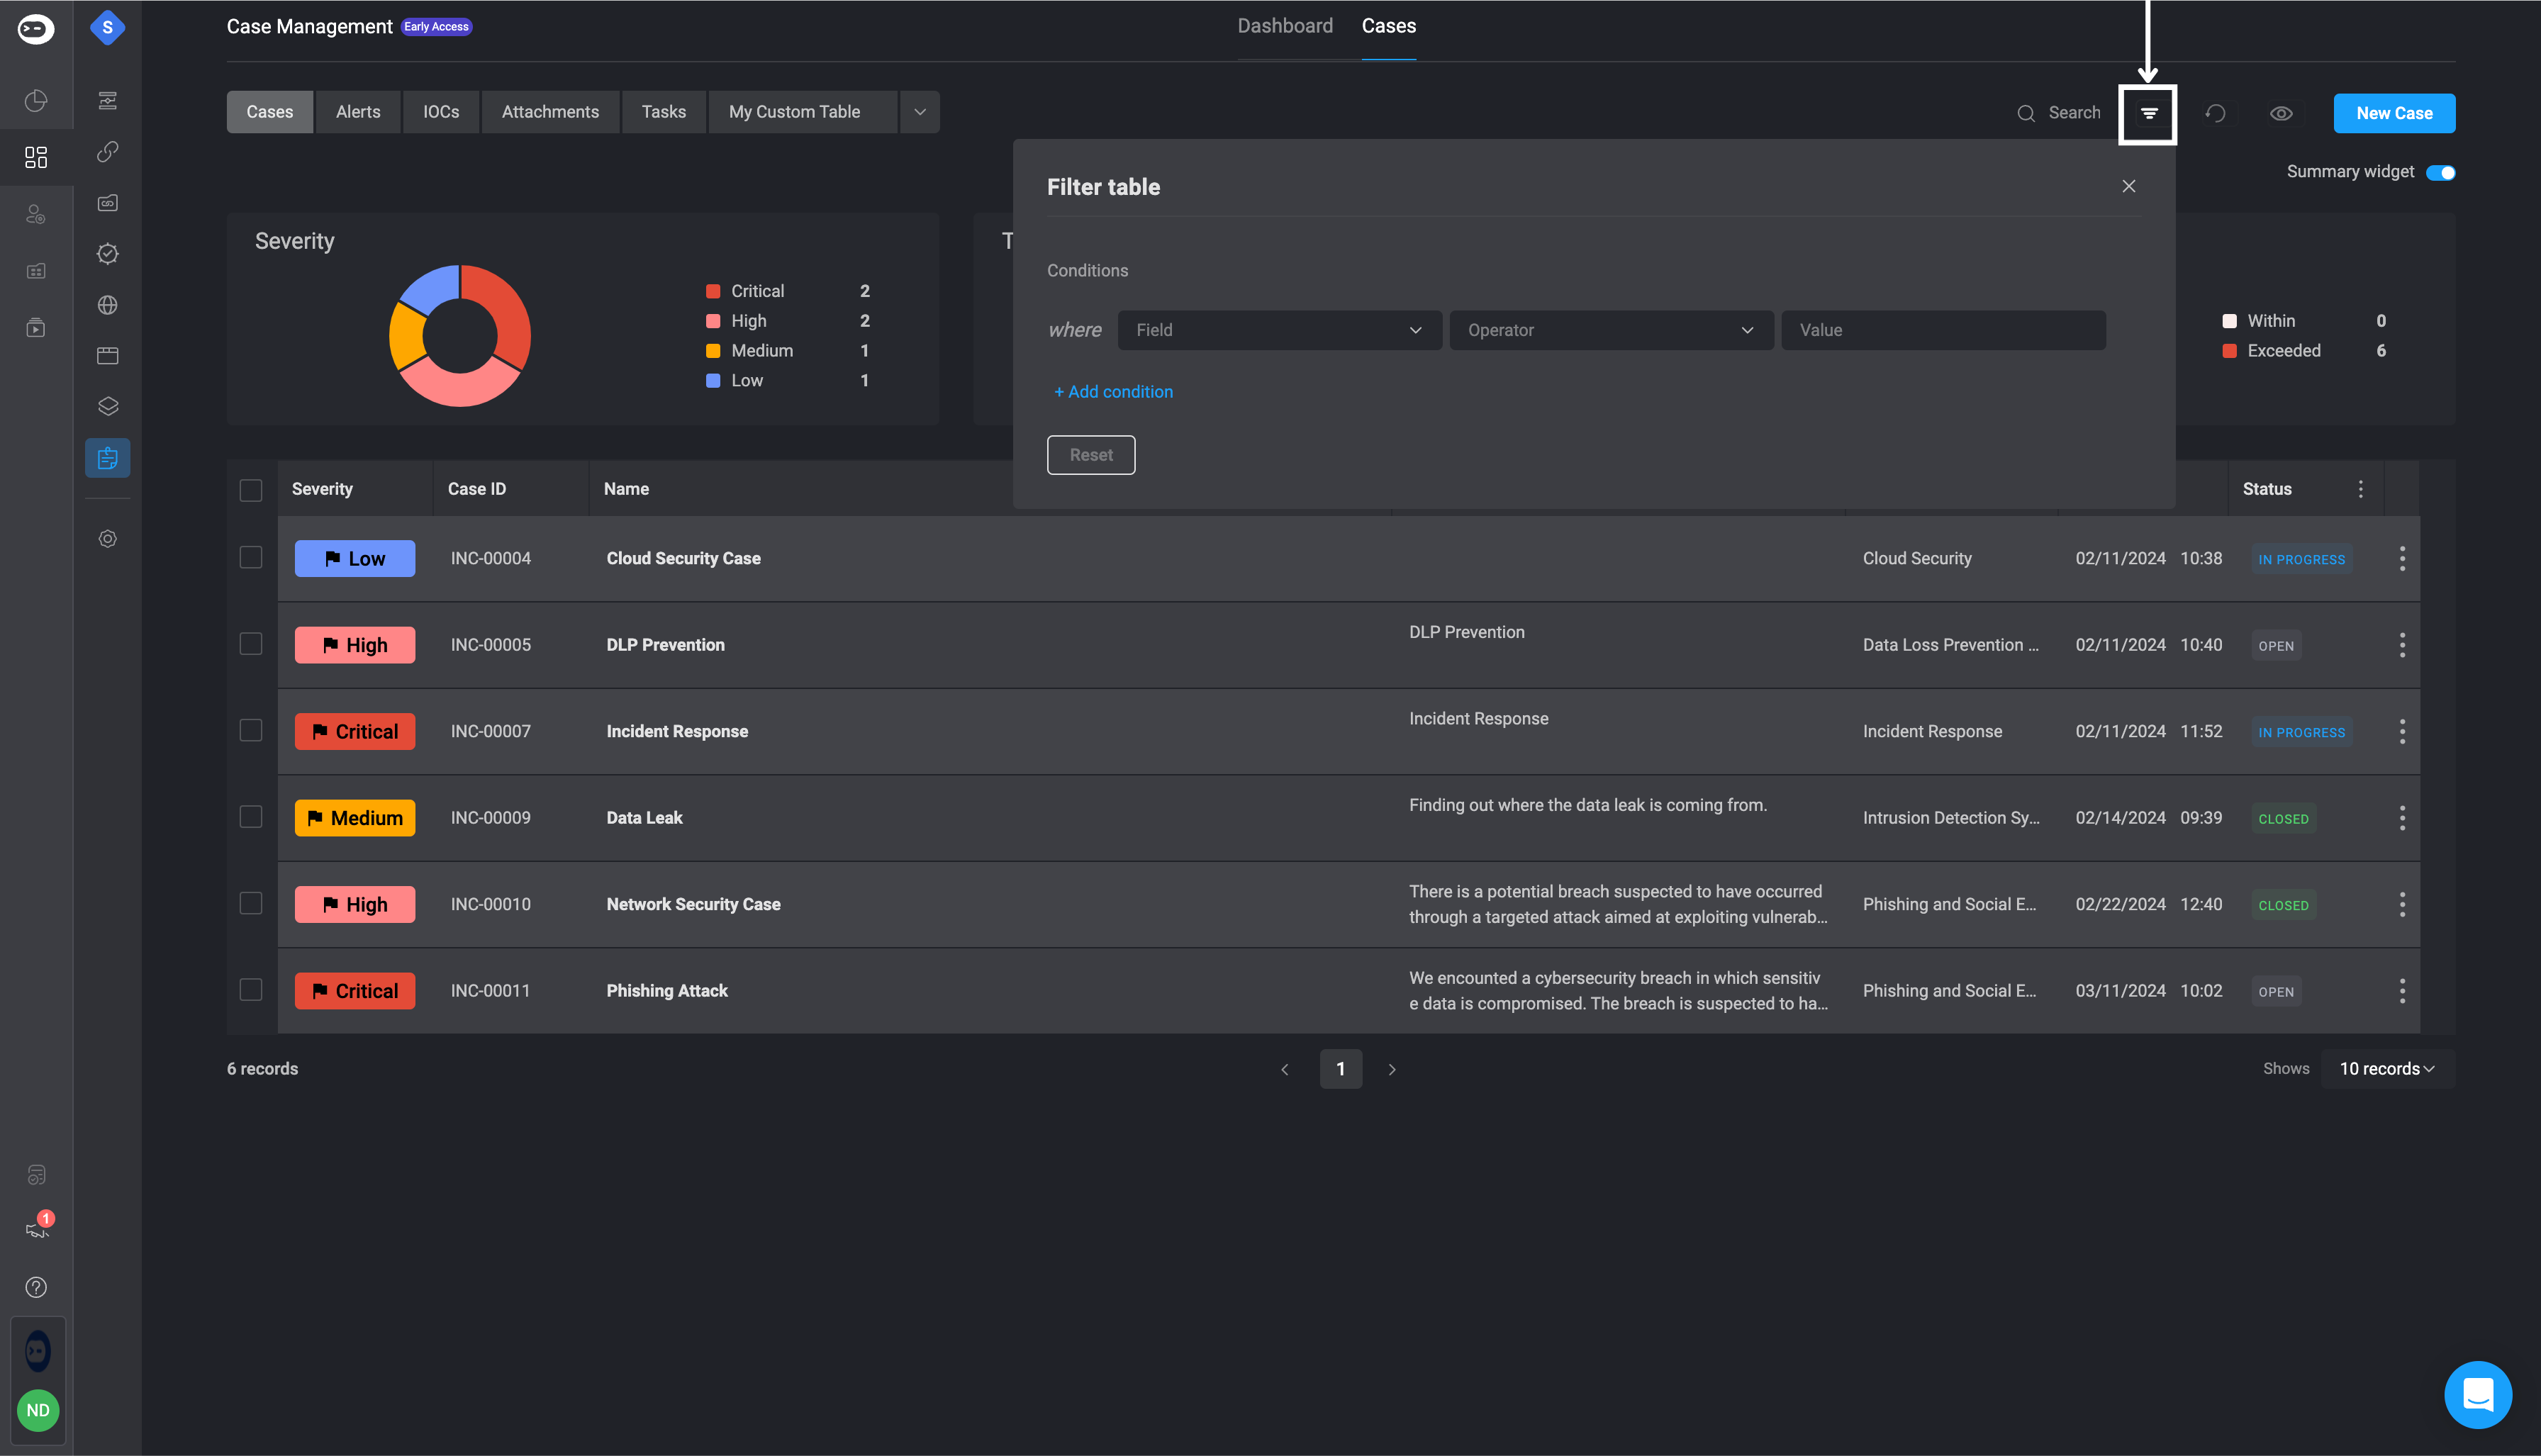
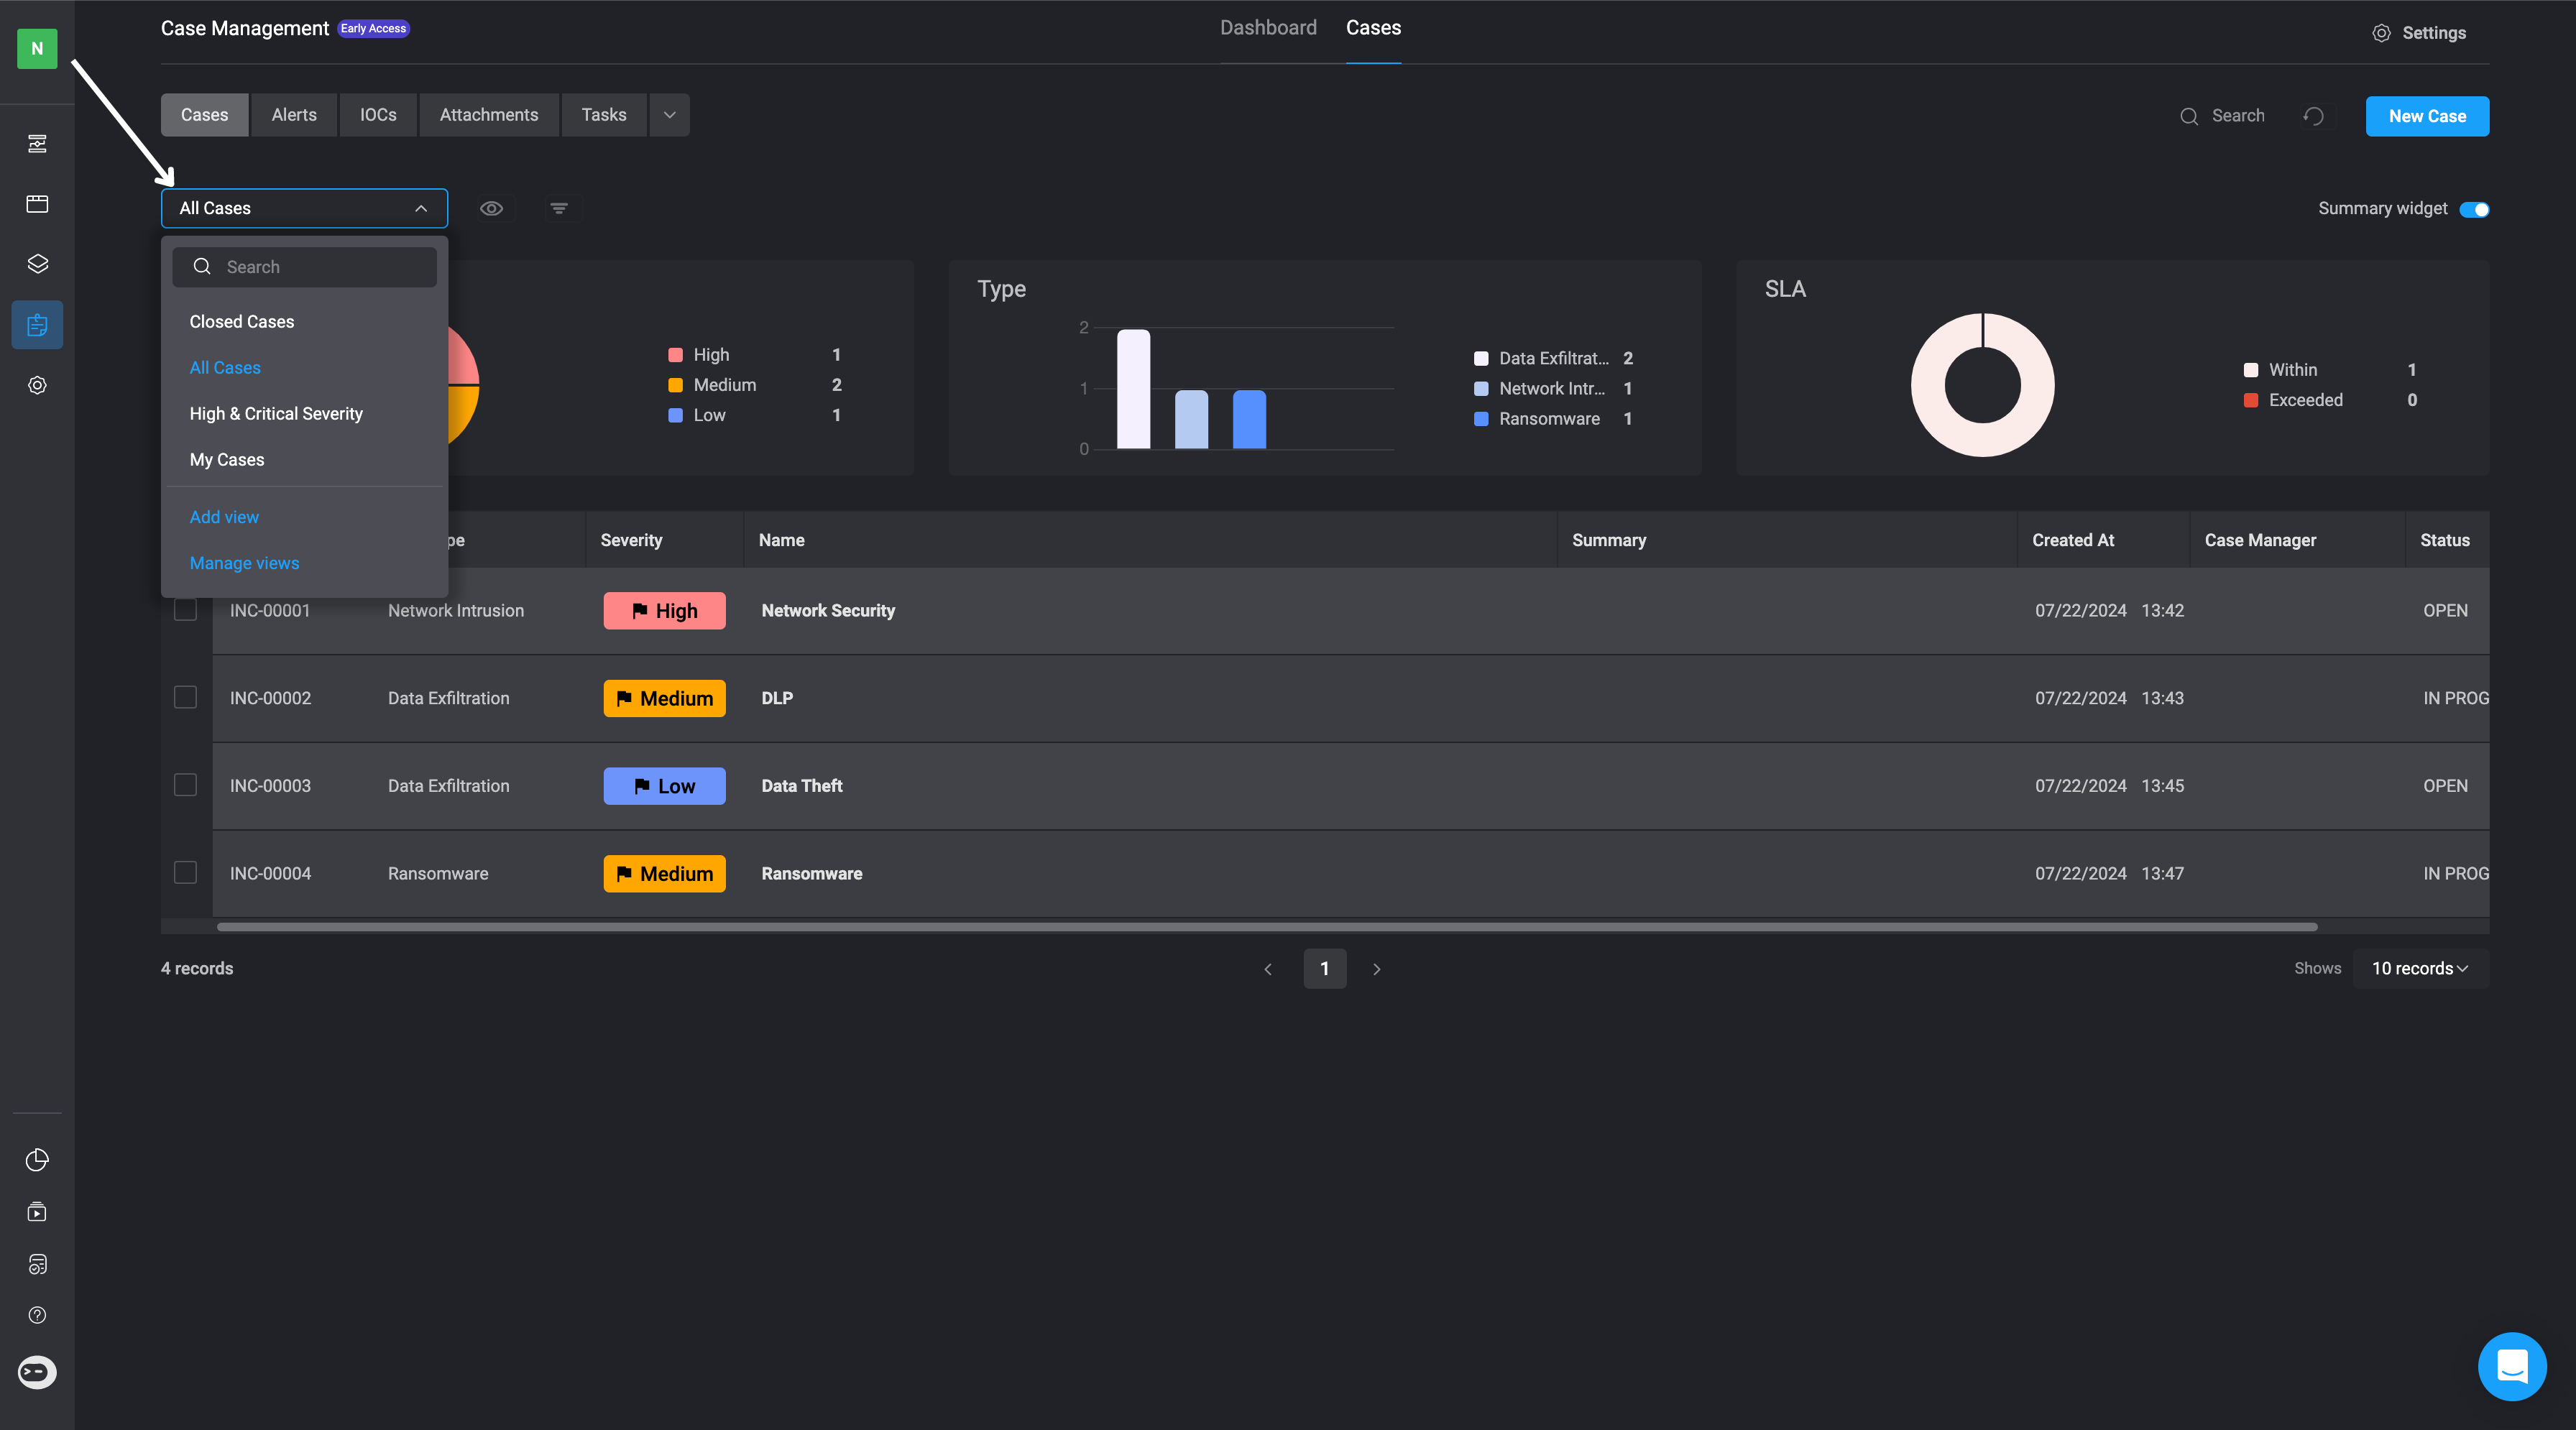
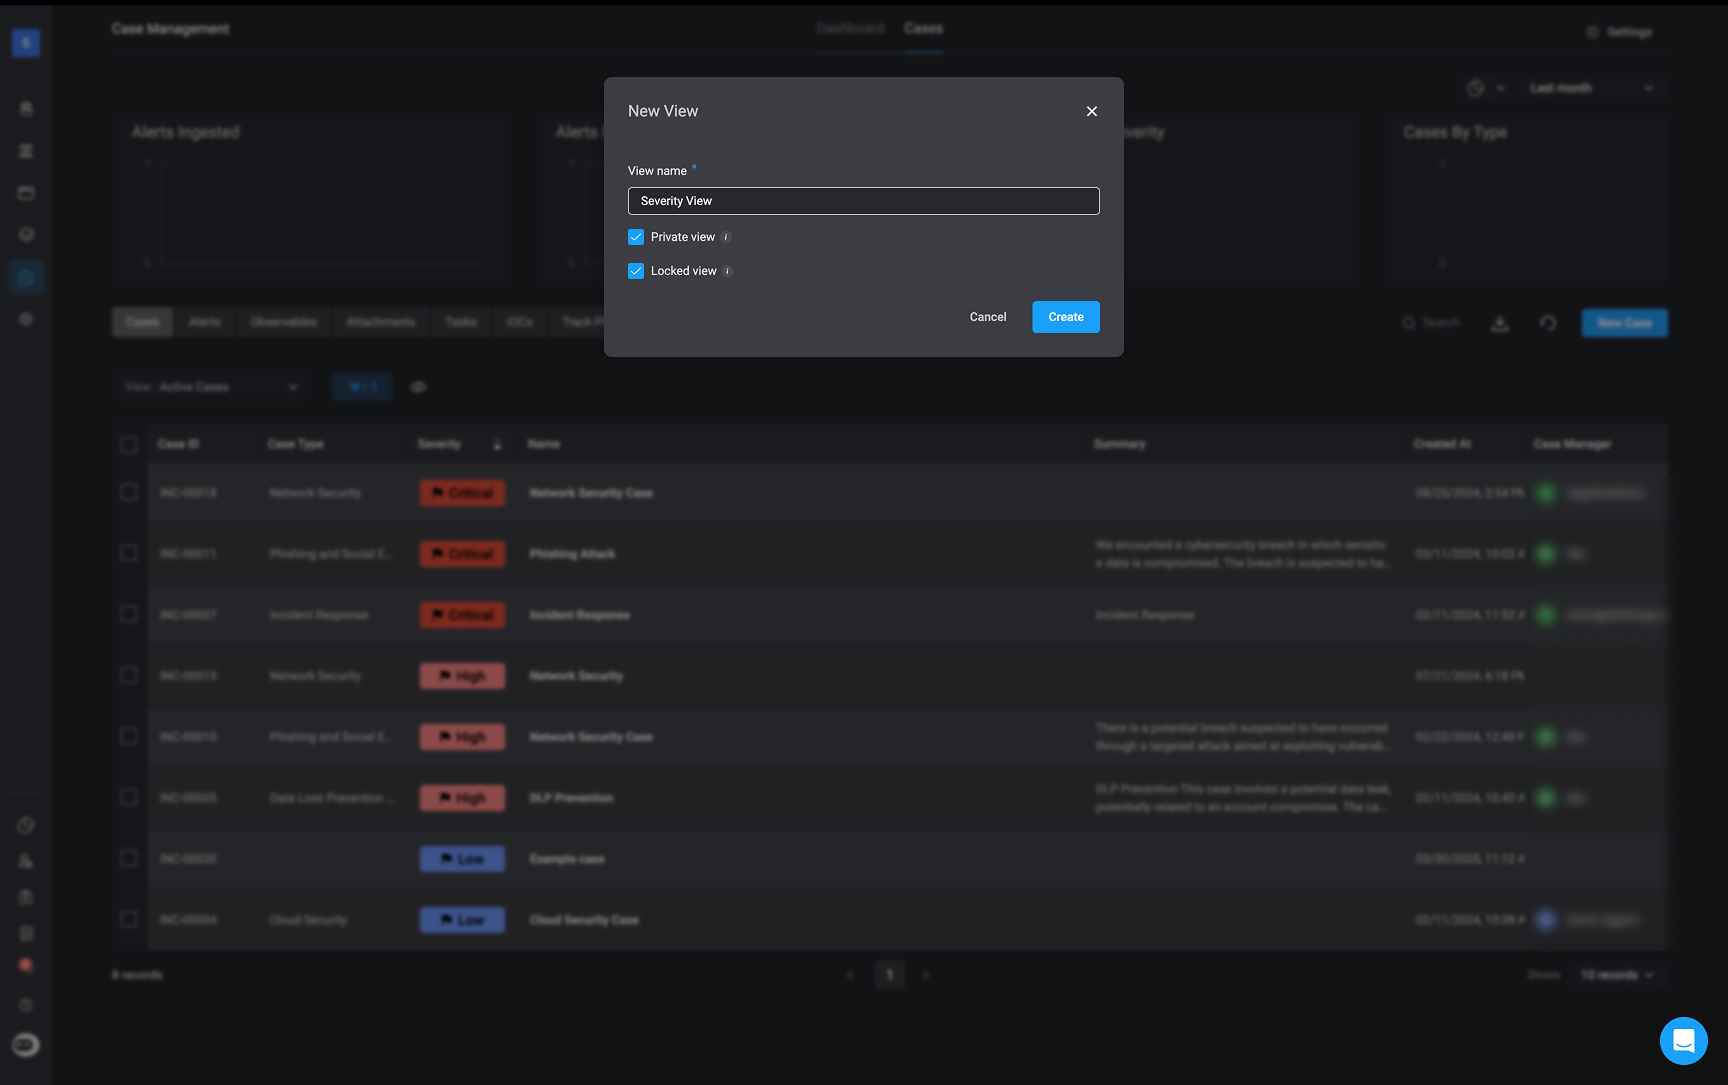
Table Views
Create and manage personalized or shared table views. Each table offers pre-configured views (e.g., All Cases, My Tasks, Critical Alerts) and lets you create custom views with filters and layout preferences.Instructions: Configuring Table Views
Instructions: Configuring Table Views
Navigate to the Dropdown Menu
Customize Table View- Public, Private and Locked View
- Private View: When selected, the view is only visible to the creator and hidden from other users. If left unchecked, the view is public and can be accessed and modified by all users.
- Locked view: When checked, the view will be visible to all users, but only Case Management Admins will be able to make changes to it.
Create Conditional Statements
Proceed by creating a conditional statement you would like to apply to the table view you just created. You can also click on the icon to choose which columns you would like to display, drag columns to change their order in the table or sort the columns by hovering over the column headers and clicking the up or down arrow. Then click “Save View.”
You can also edit the Table View you created by clicking on the dropdown menu and selecting the ‘Manage View’ option. To make any changes, click the “Manage View” button. If you want to delete the view you created, click the button.
Filter Custom Tables by Case Type.
In your Custom Table, if you choose to display the “Linked Cases” column, you can configure it to filter the table by a specific Case Type.Show the Linked Cases Column
After creating your Custom Table, click the button and check the box next to the “Linked Cases” field. This will display the “Linked Cases” column in your Custom Table.
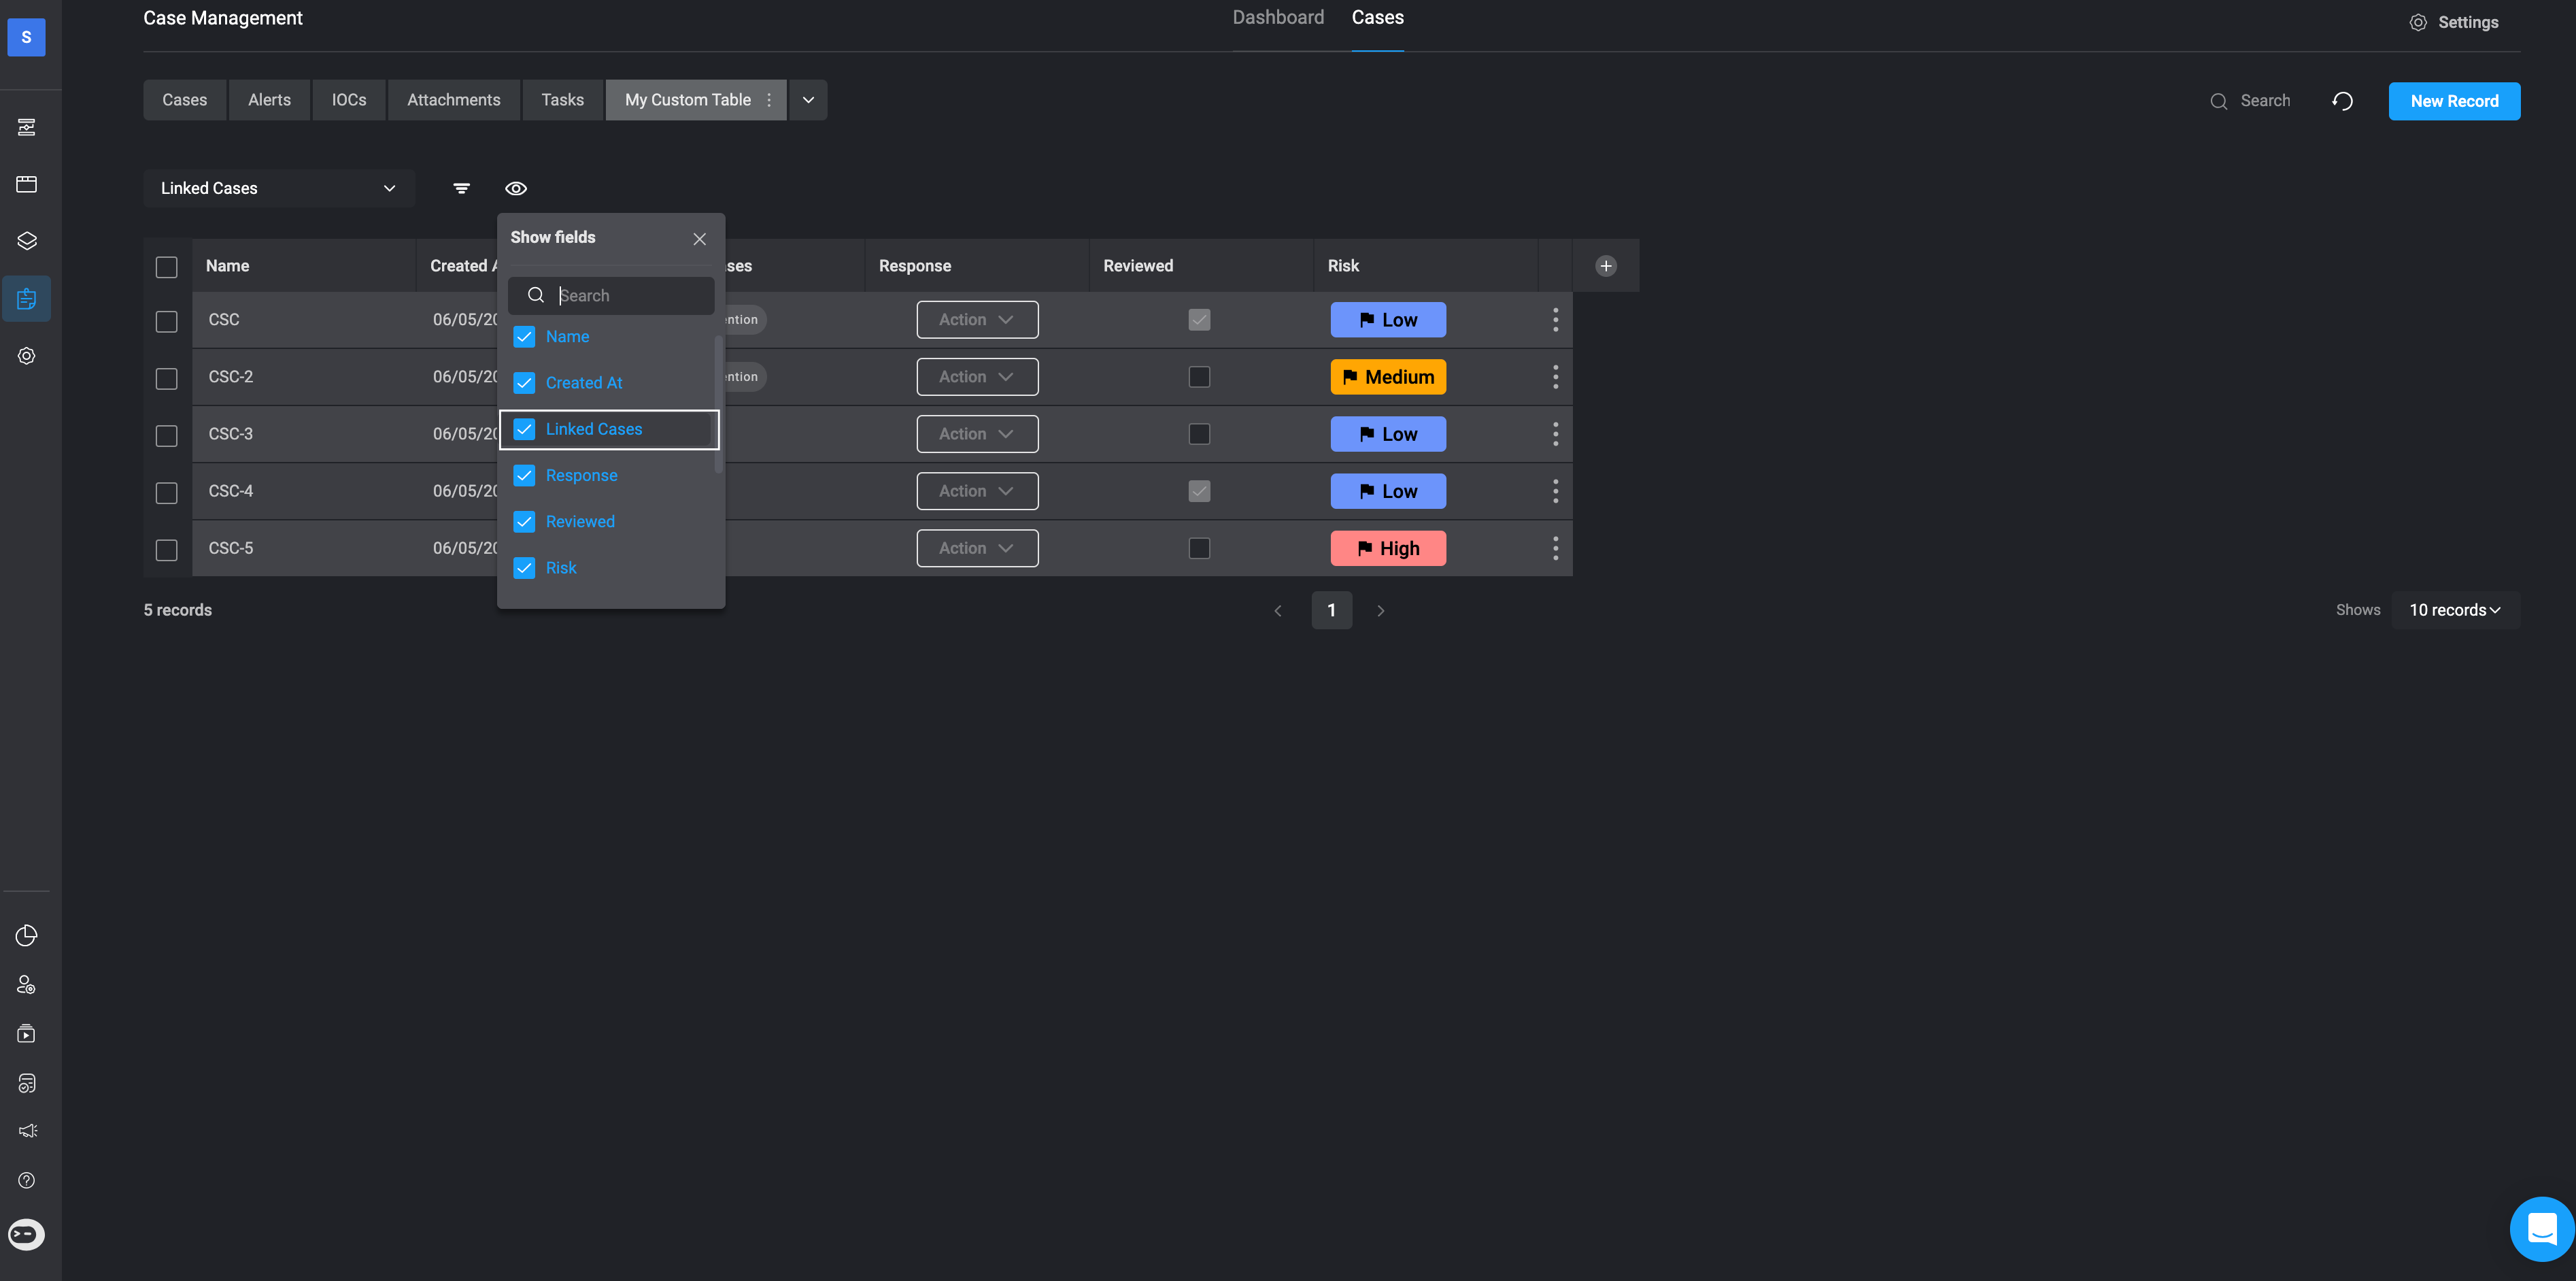
Filter by Specific Case Types
Next, click the icon next to “Linked Cases” and select “Edit.” A popup will appear. In the “Filter By Type” section, check the box next to the Case Types you want to filter the Custom Table by. If you do not select a Case Type under “Filter By Type” section, the Custom Table will be presented on all Cases.