- Start – Interact with the agent’s published version through the chat interface.
- Test – Interact with and test the draft version of the agent while building it, allowing you to validate responses in real time.
For more information about ‘Interactive Test Mode’, see this visit Step 5 of Creating a New Agent
Interactive Mode
1
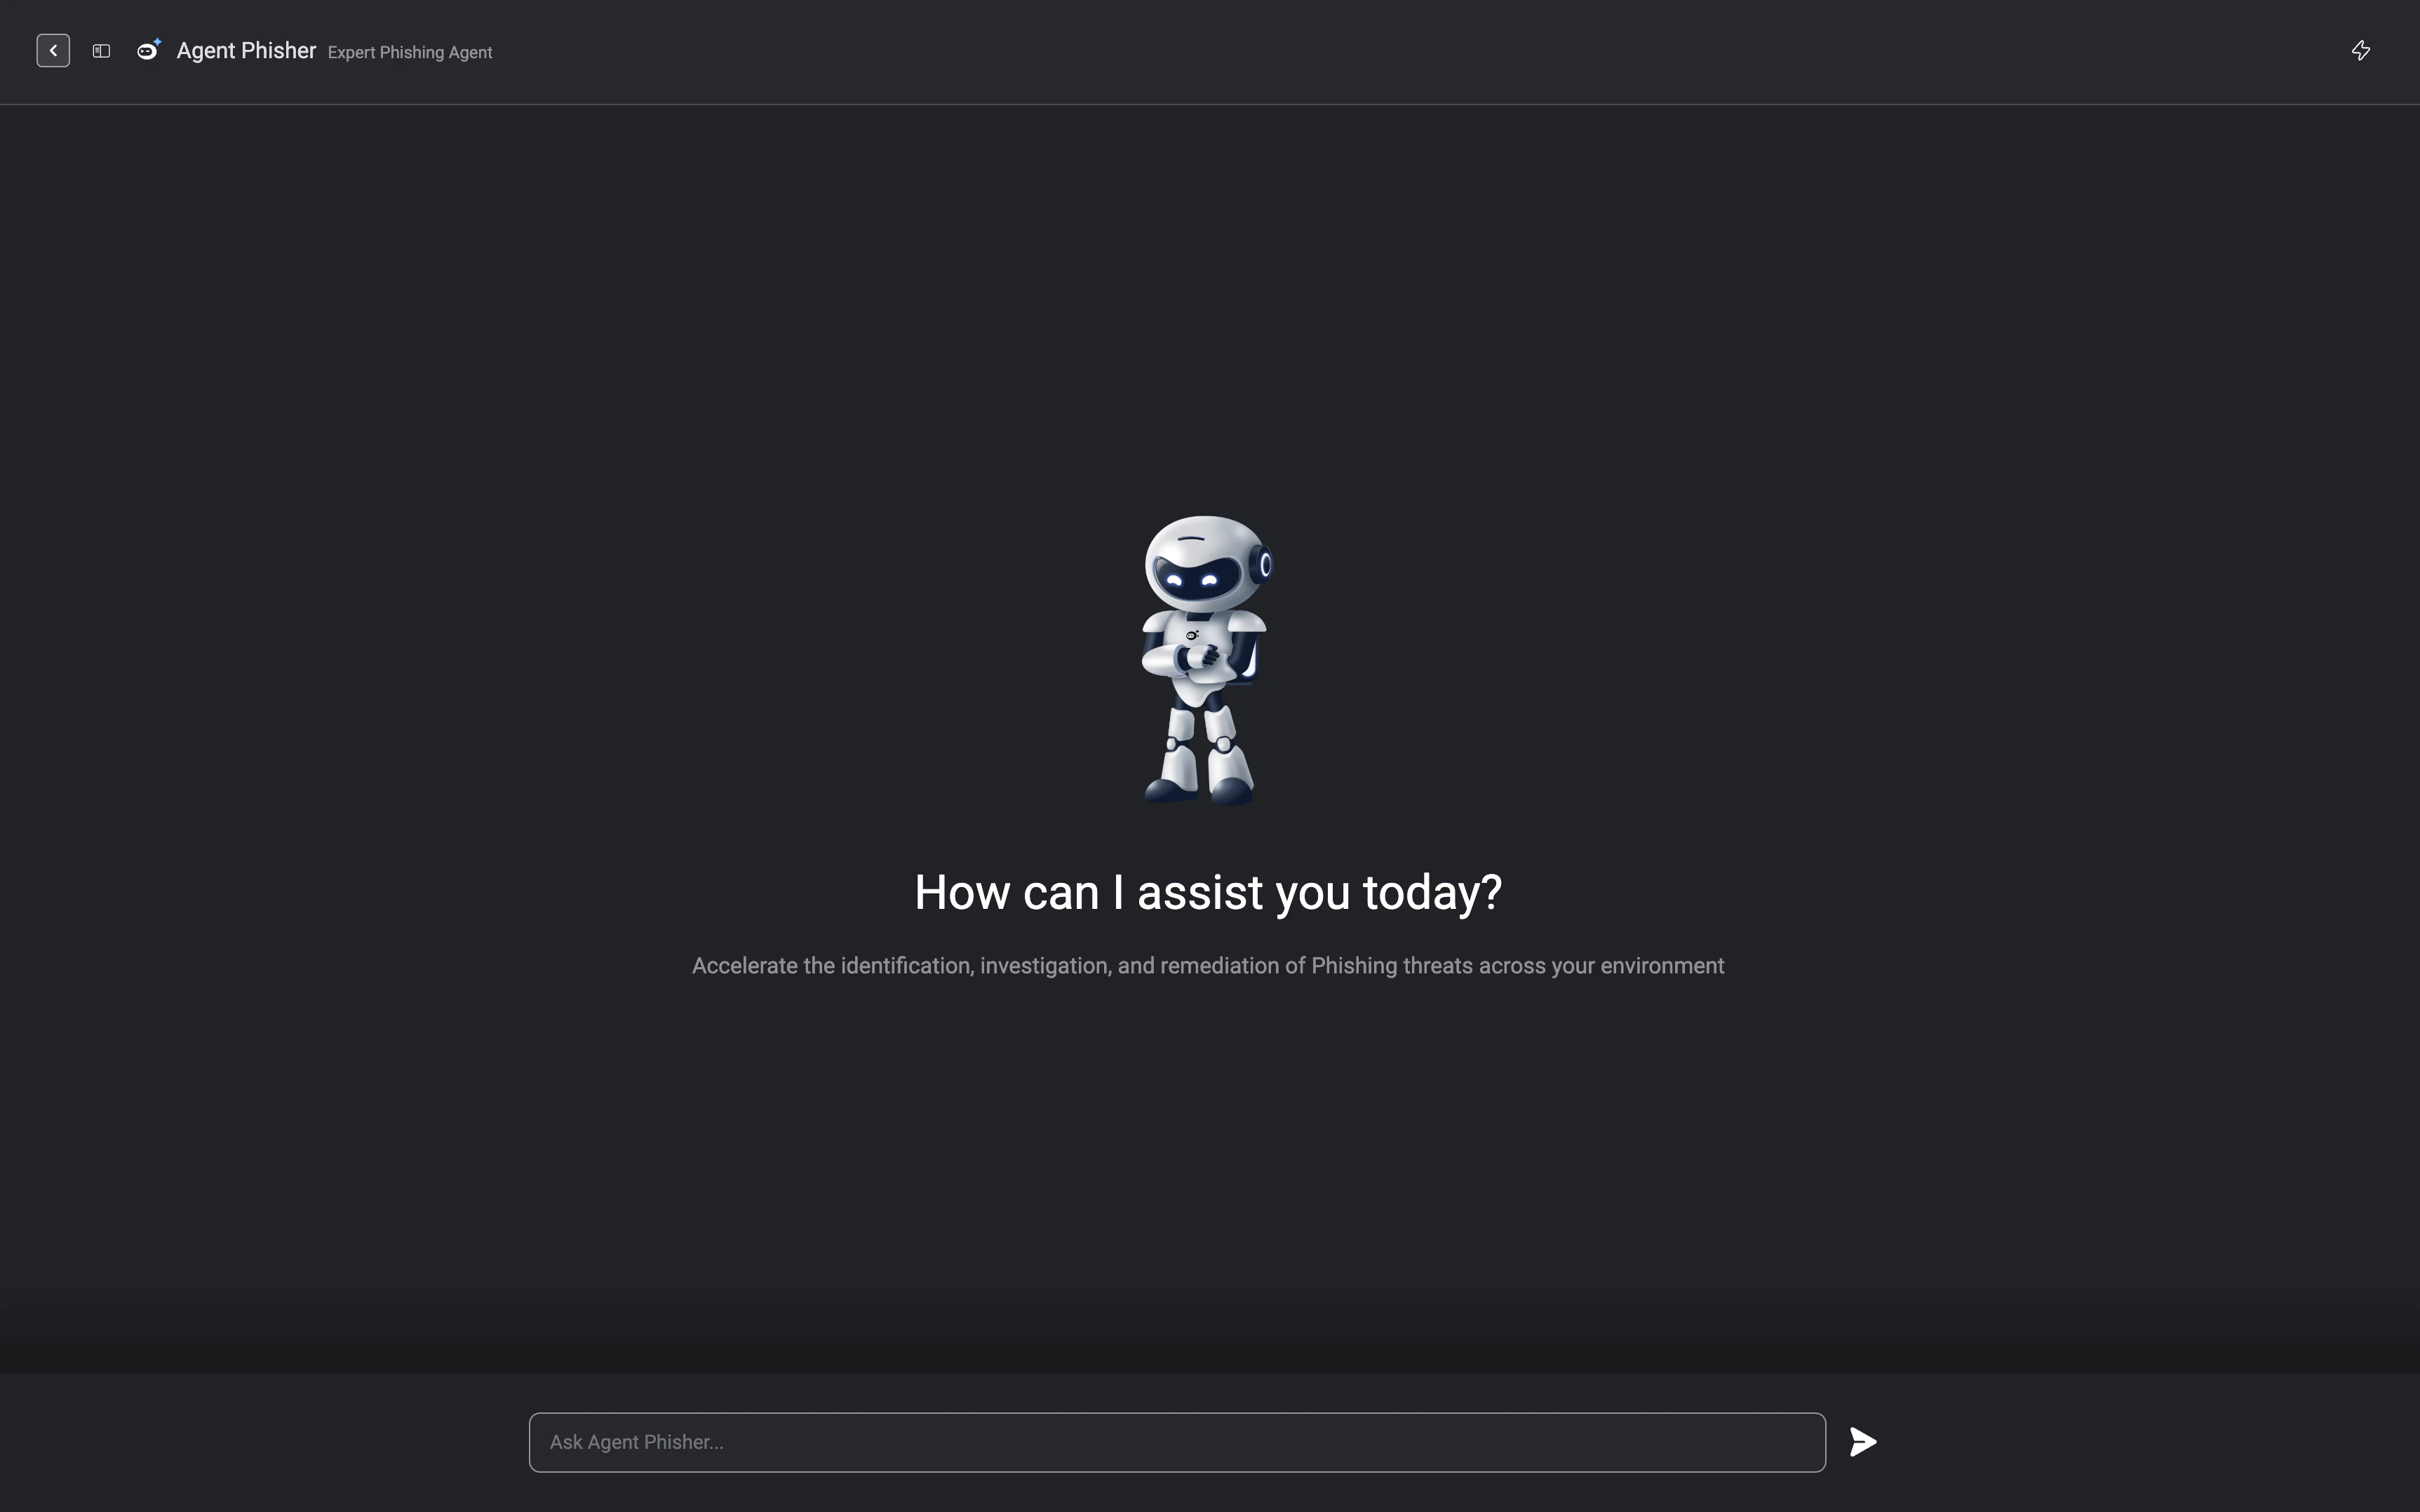
Once your agent is published, you can start interacting with it directly from the agent interface. Simply hover over the published agent and click Start to launch an interactive session.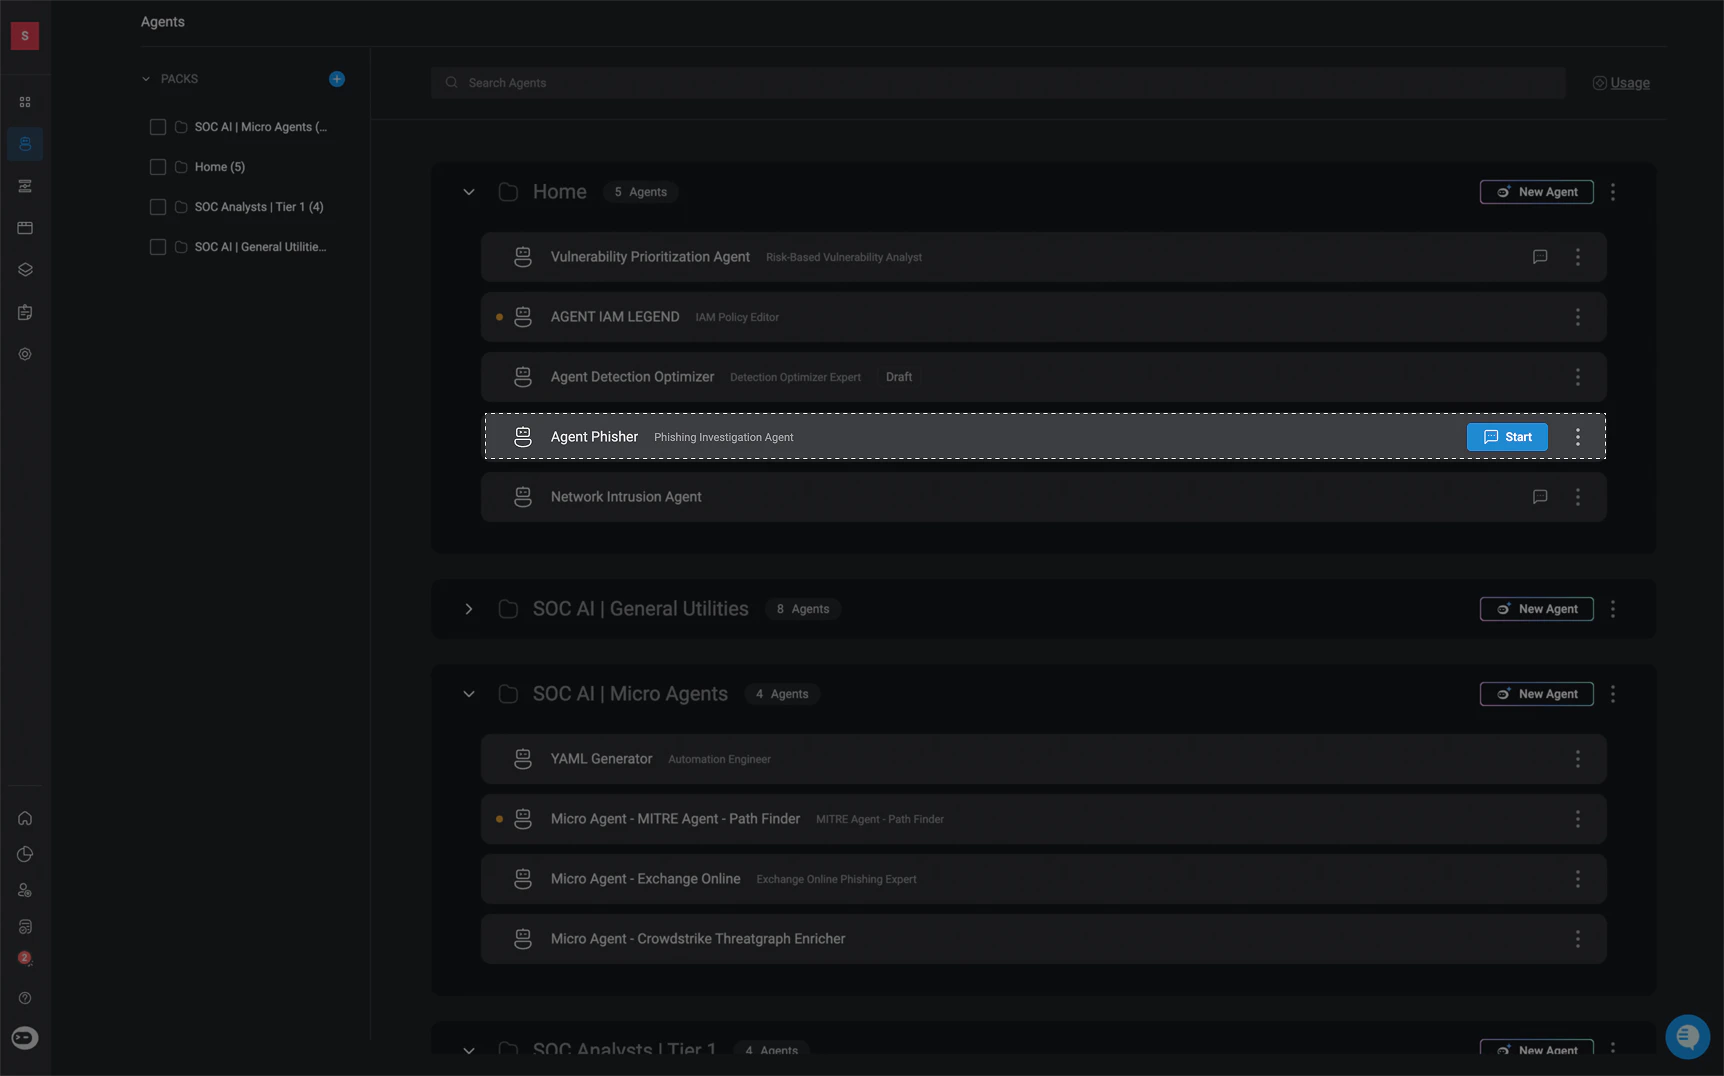
-
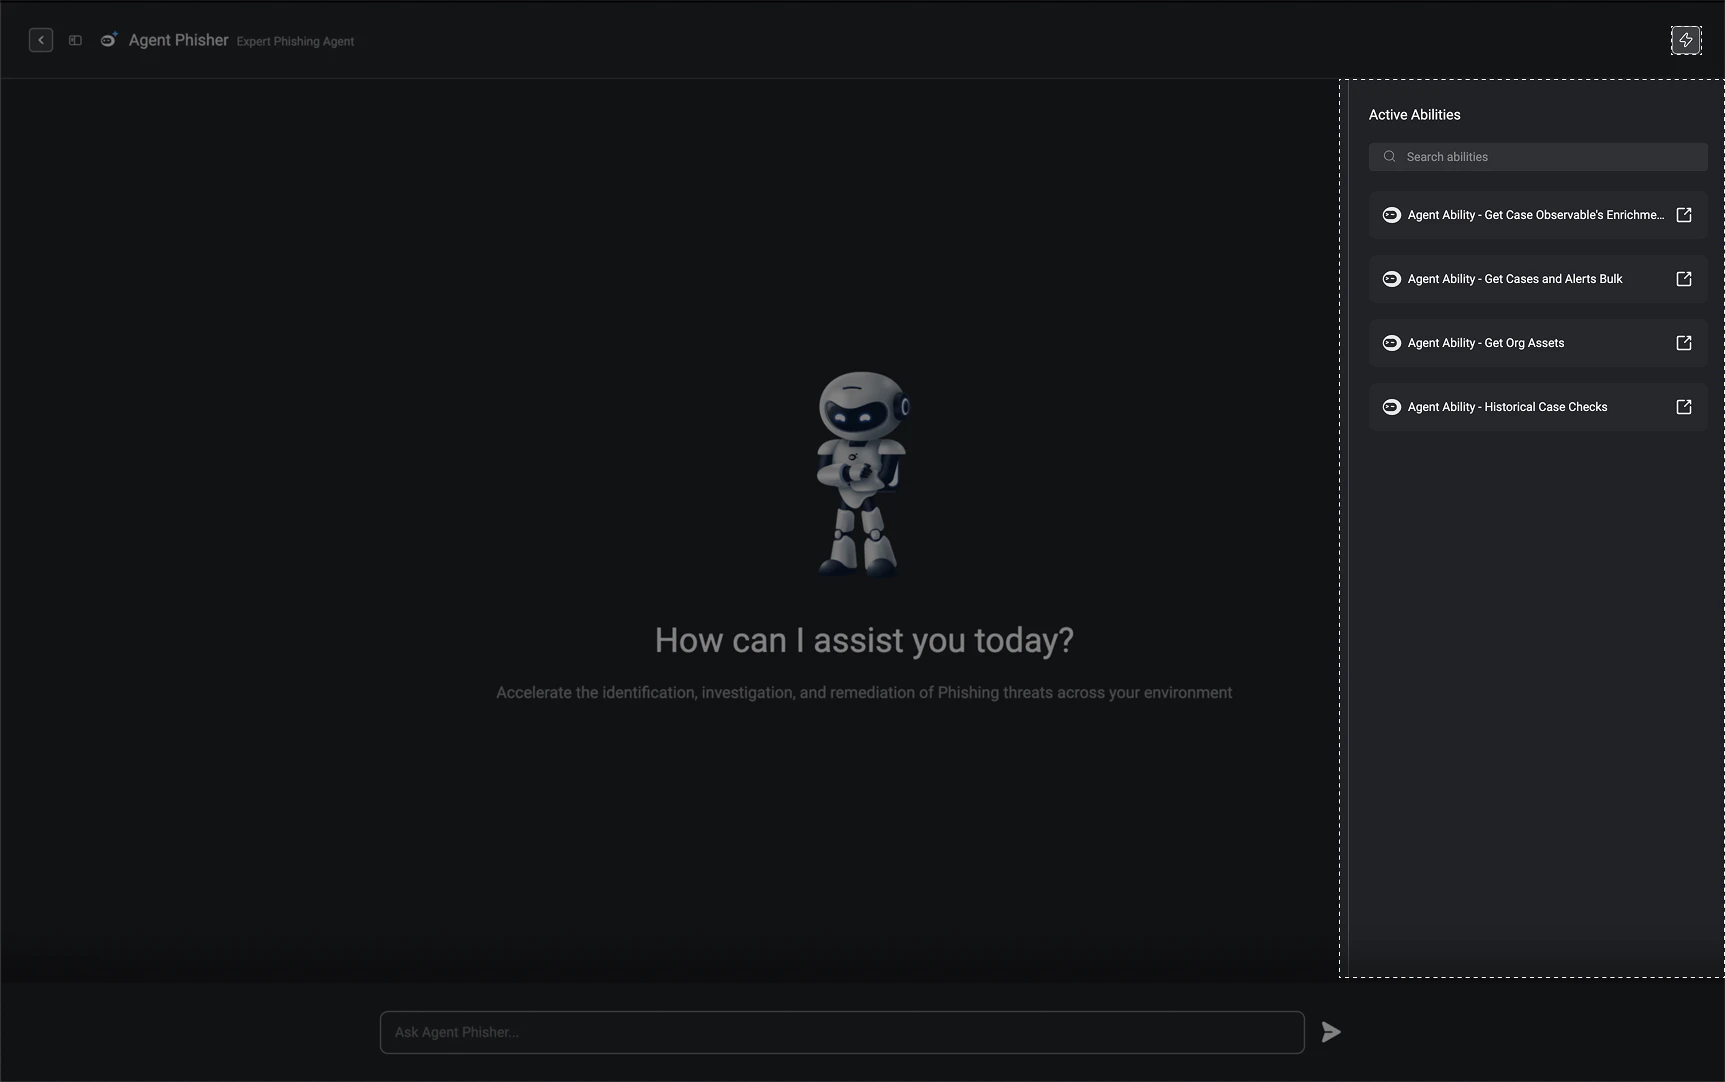
In the top-right corner, click the icon to view all active ability workflows assigned to the agent.
- Interactive Agents support parallel ability execution, enabling multiple abilities to run concurrently. This reduces overall task completion time and can lower token consumption by minimizing the number of agent reasoning iterations.
- The agent automatically determines which abilities can execute in parallel based on their defined dependencies, inputs, and outputs. Parallel execution behavior can also be explicitly controlled through agent instructions when defining it’s roles and responsibilities to enforce concurrent execution for specific abilities. Agent reasoning proceeds only after all required parallel ability executions have completed.
- For Interactive Agents, ability execution may include a combination of automatically executed abilities and abilities requiring user approval. If a user submits a new message instead of approving a pending action, only the pending abilities are marked as stale. Previously completed abilities and their execution results remain preserved and available to the agent.
-
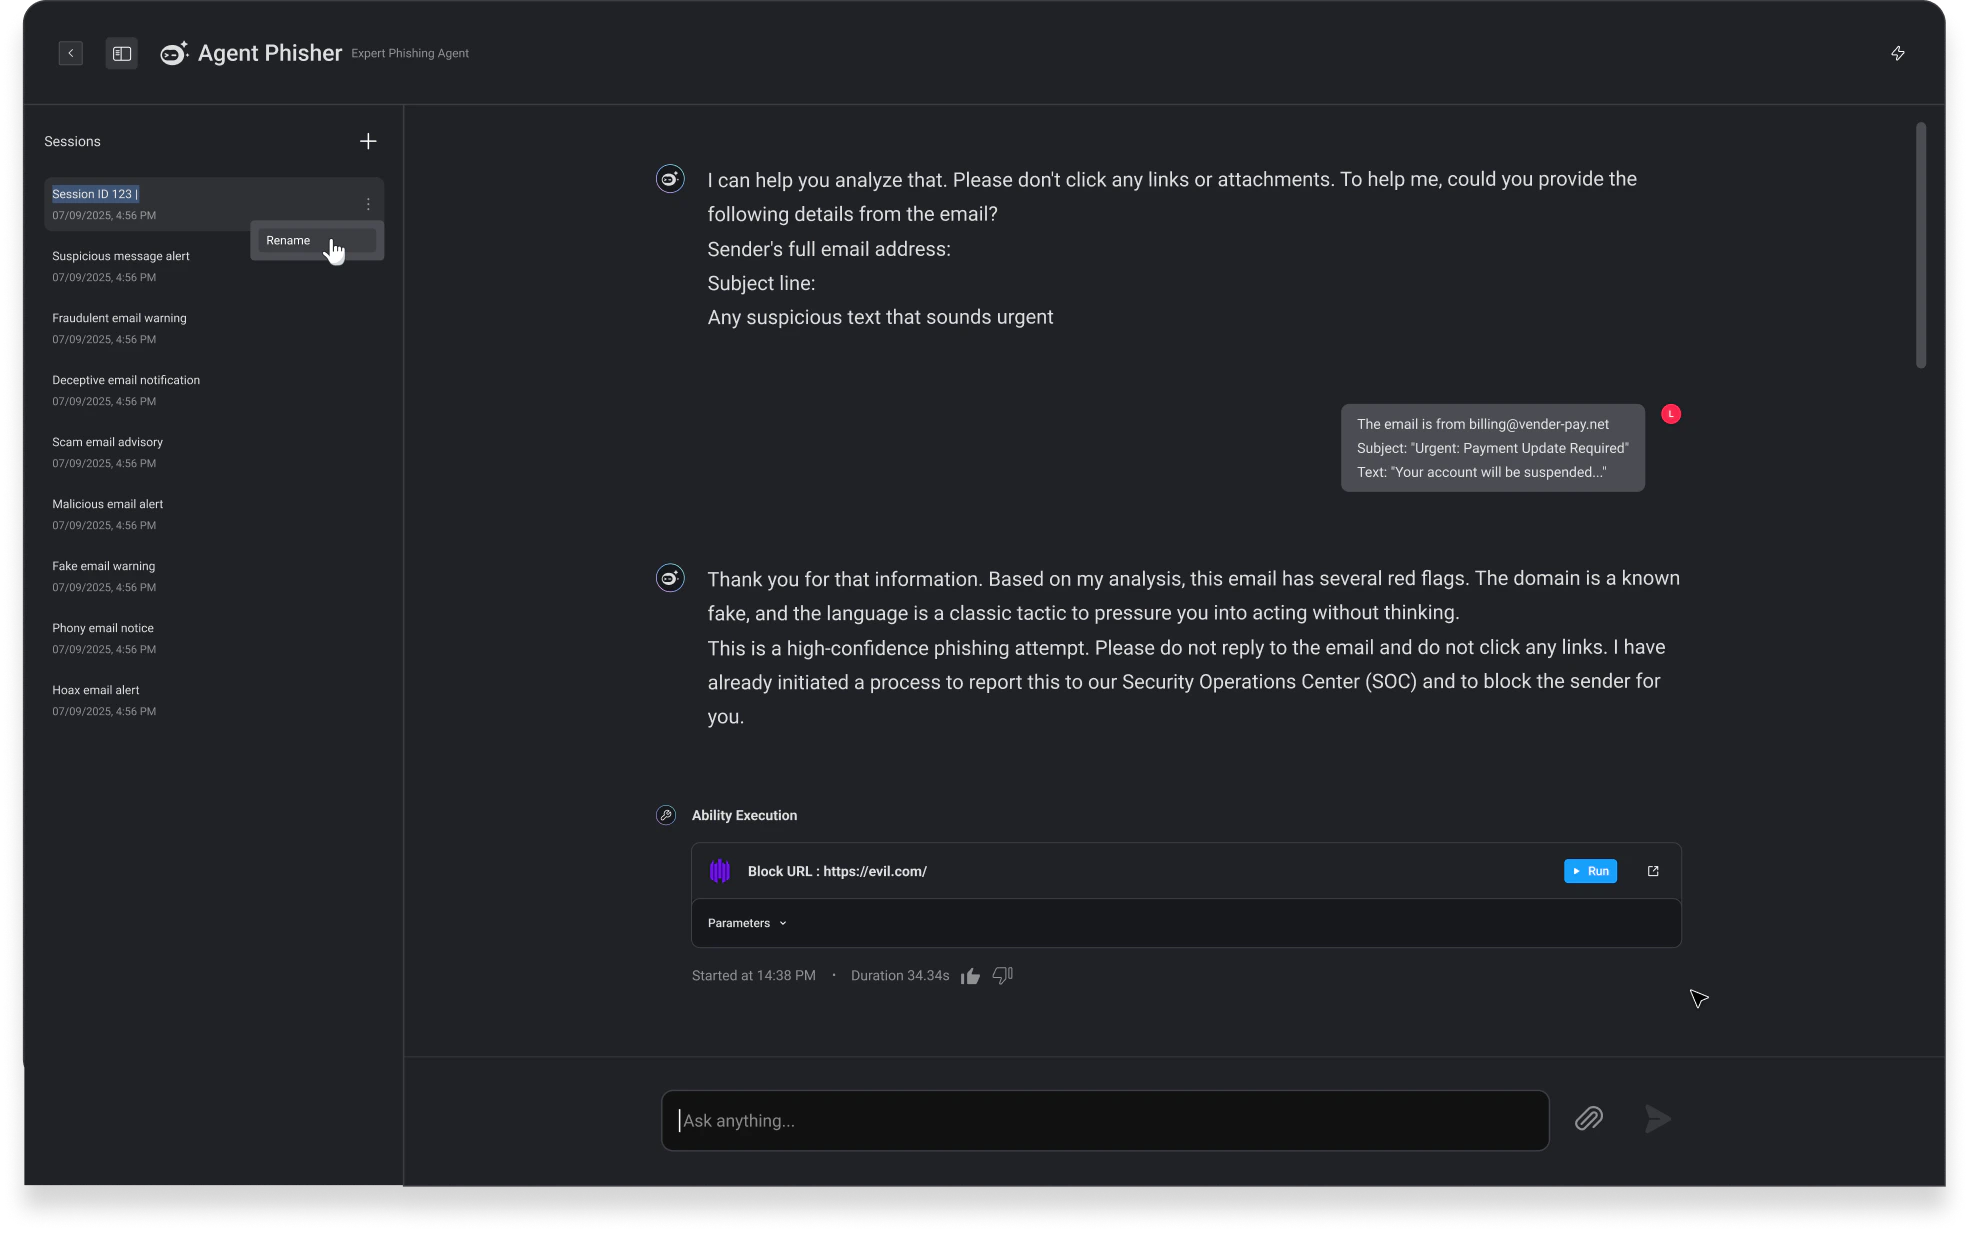
In the top-left corner, click the icon to access all interactive sessions with the agent.
- Rename an interactive session by hovering over the desired session, clicking the menu, and selecting Rename.
- Start a new interactive session by clicking the icon in the top-right corner of the session panel. A new session will begin automatically.