Creating a Workflow using the Google Chat Interactivity Action
Add the Blink App to your Google Chat Account
1
Search for Blink in Google Workspace Marketplace
Go to your Google Chat account and click the + icon in the right-hand navigation bar.
This will open the Google Workspace Marketplace. In the search bar, type Blink and select the Blink app card.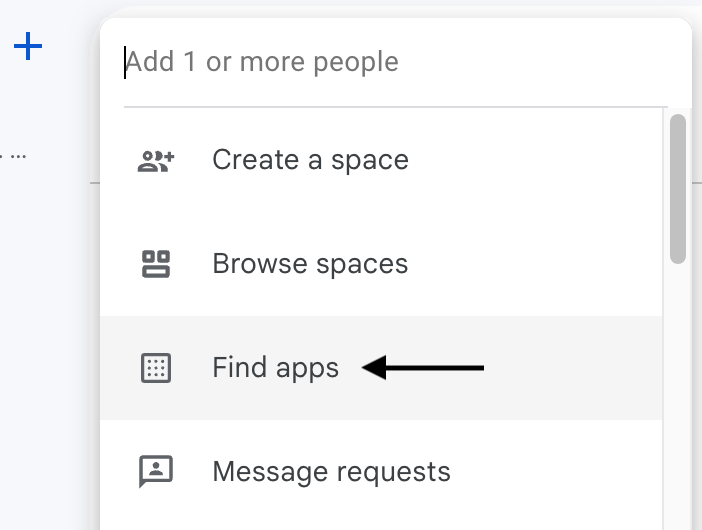
2
Install the Blink App
Click the Install option.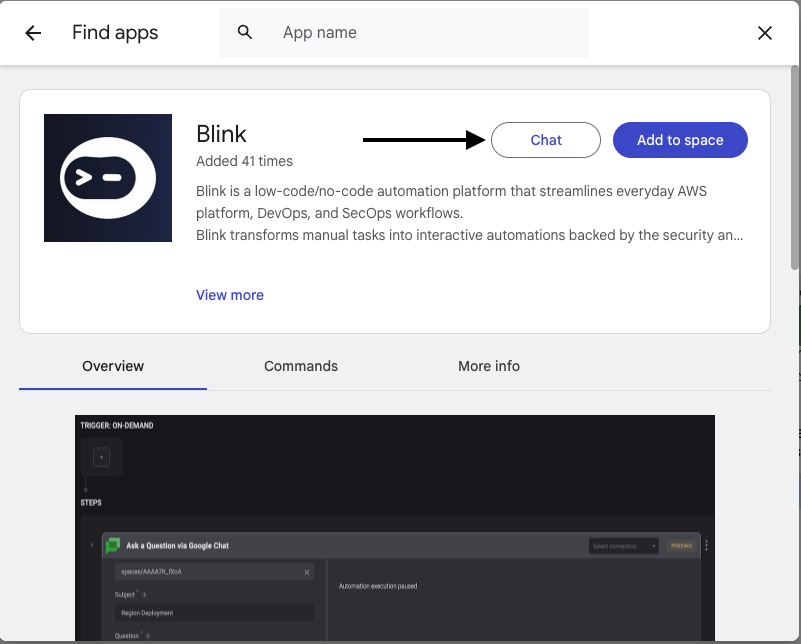
3
Authorize Access to Blink
You’ll be taken to a page prompting you to sign in to your Blink account and authorize access to your Google Chat account information.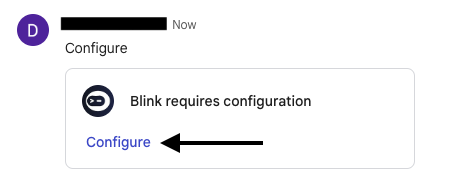
4
Confirm Blink Installation
You will then receive confirmation that the Blink App has been successfully installed. Proceed by clicking the Done button.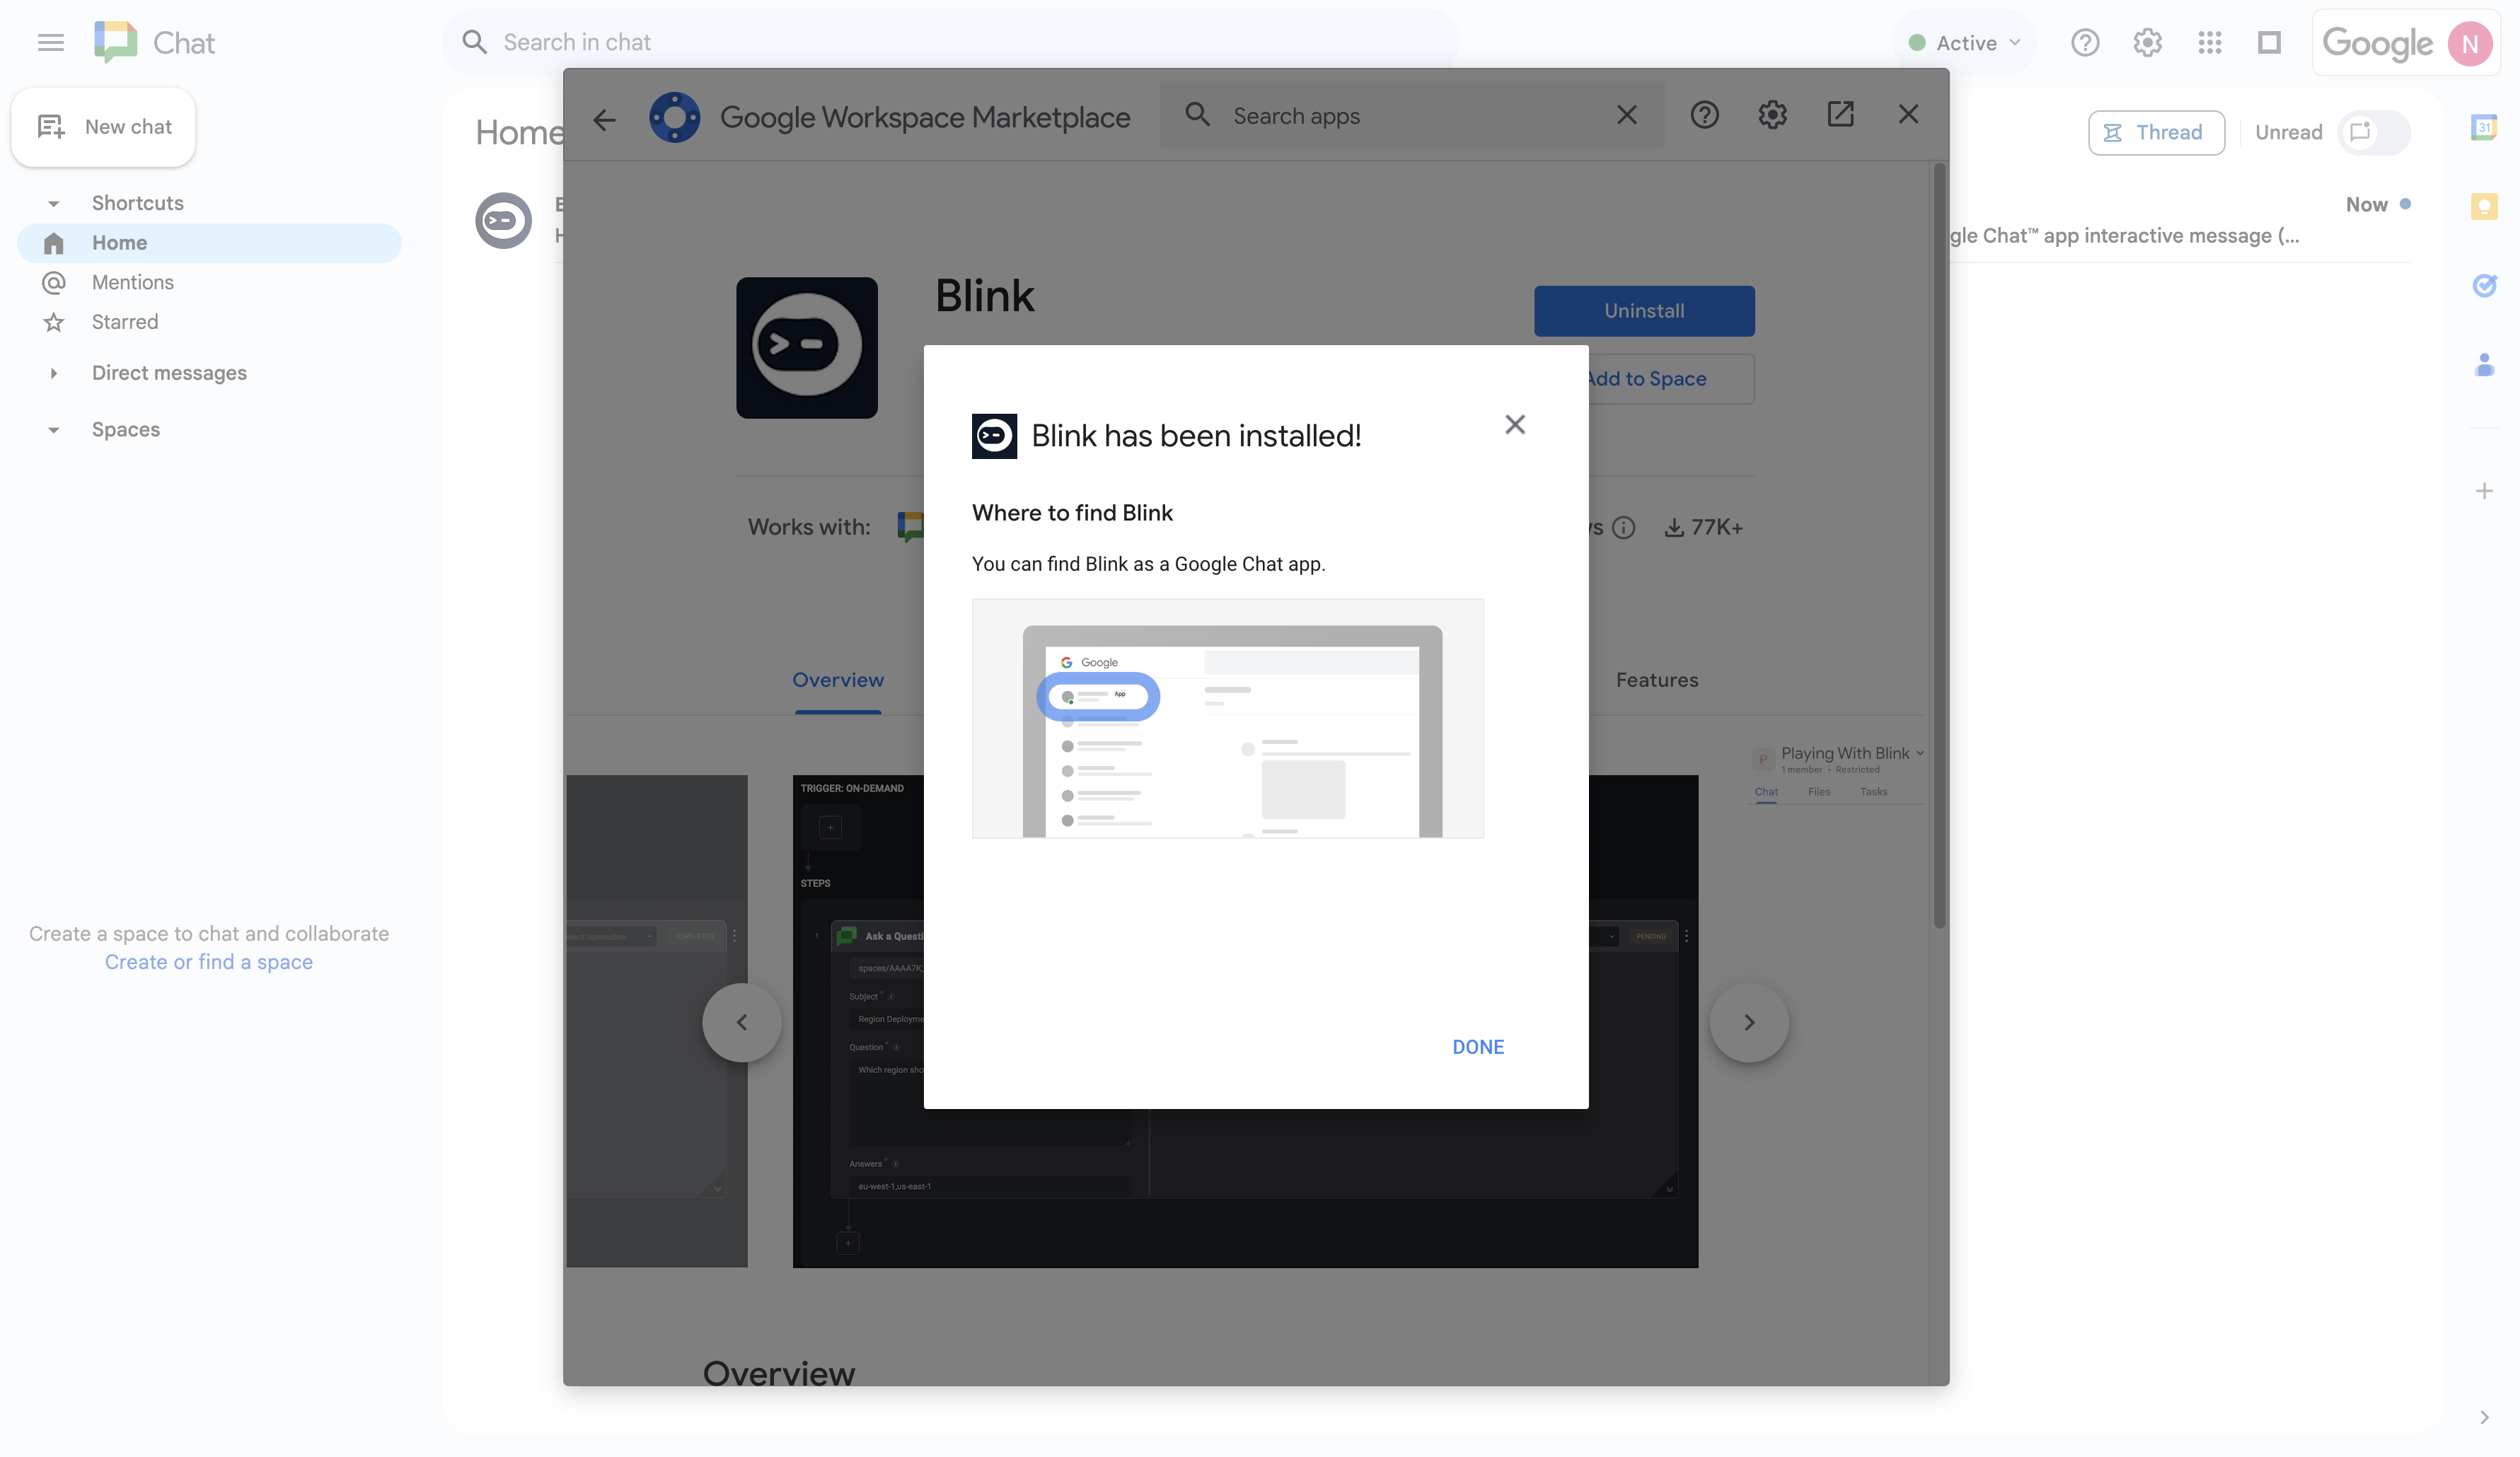
5
Add Blink App to a Space
Next, you need to add the Blink app to your Space. Click on the Add to space button.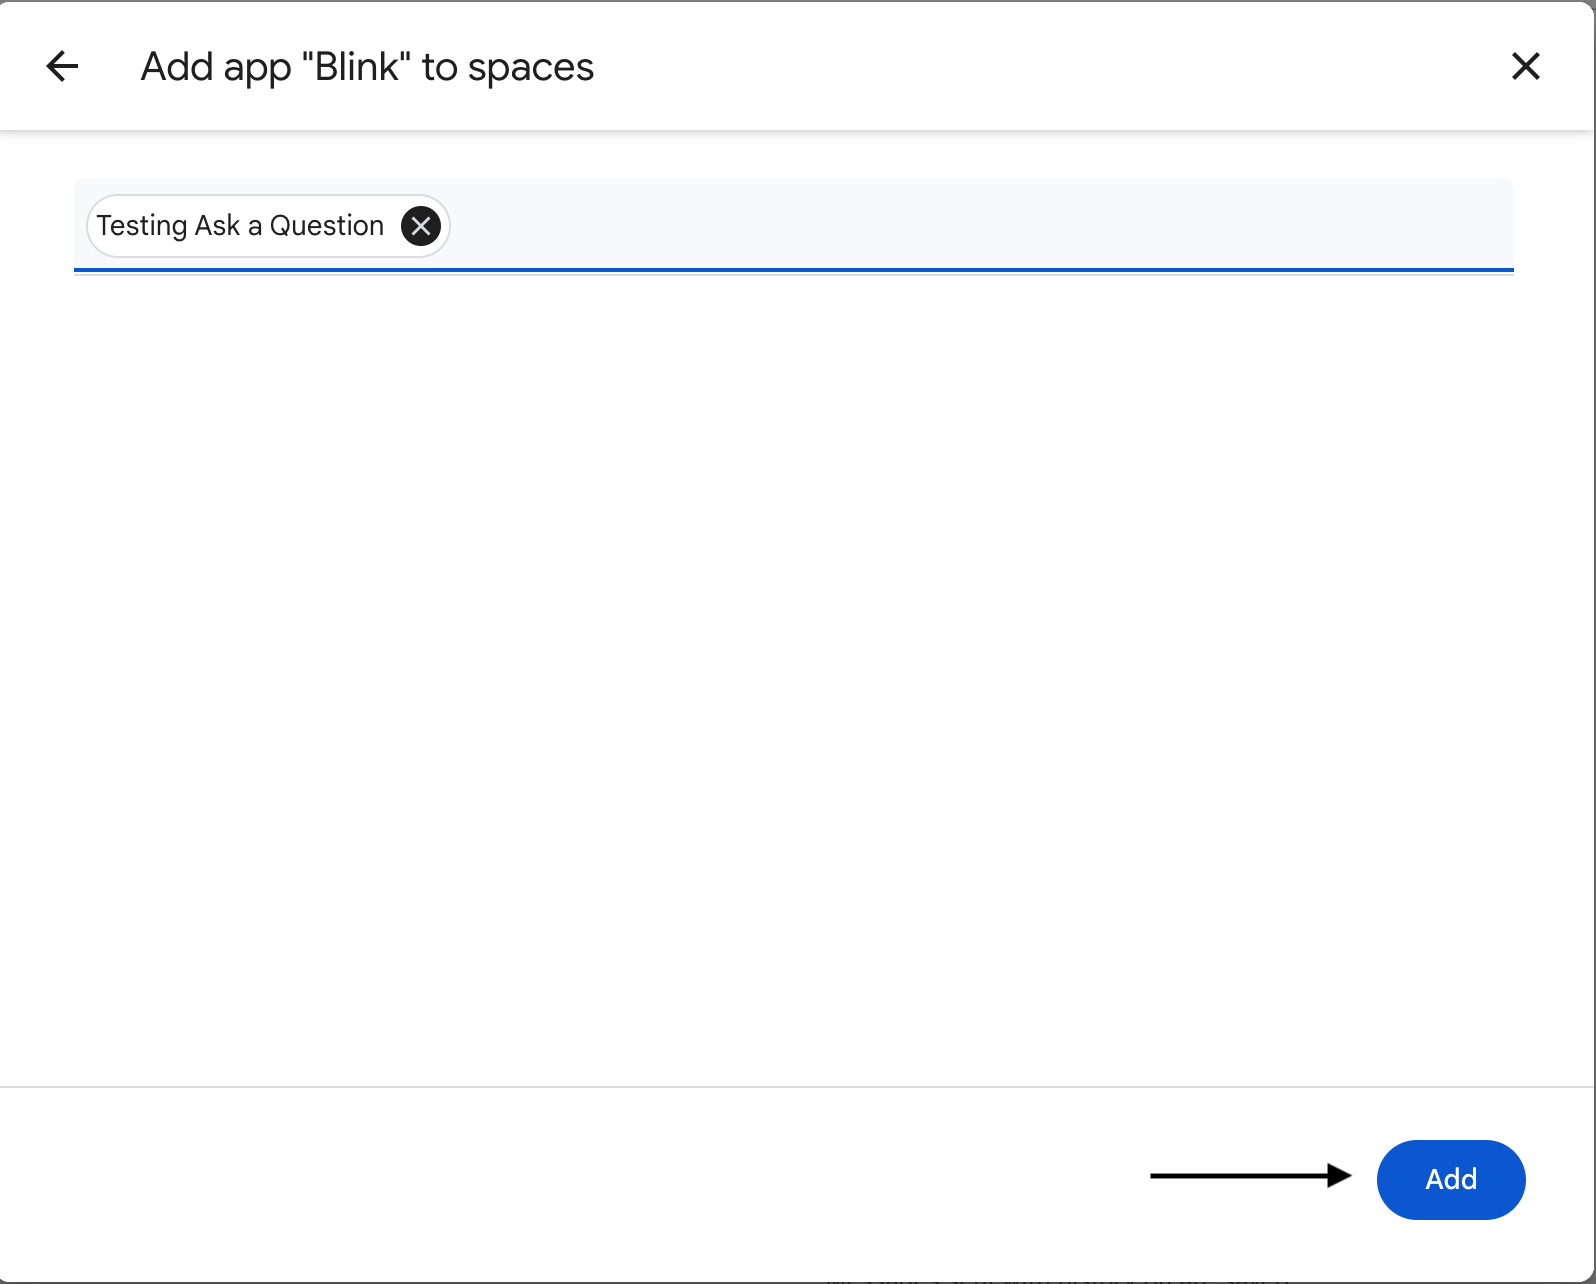
6
Grant Blink Access to the Space
Proceed by granting the Blink app permissions to your Space and then click Continue.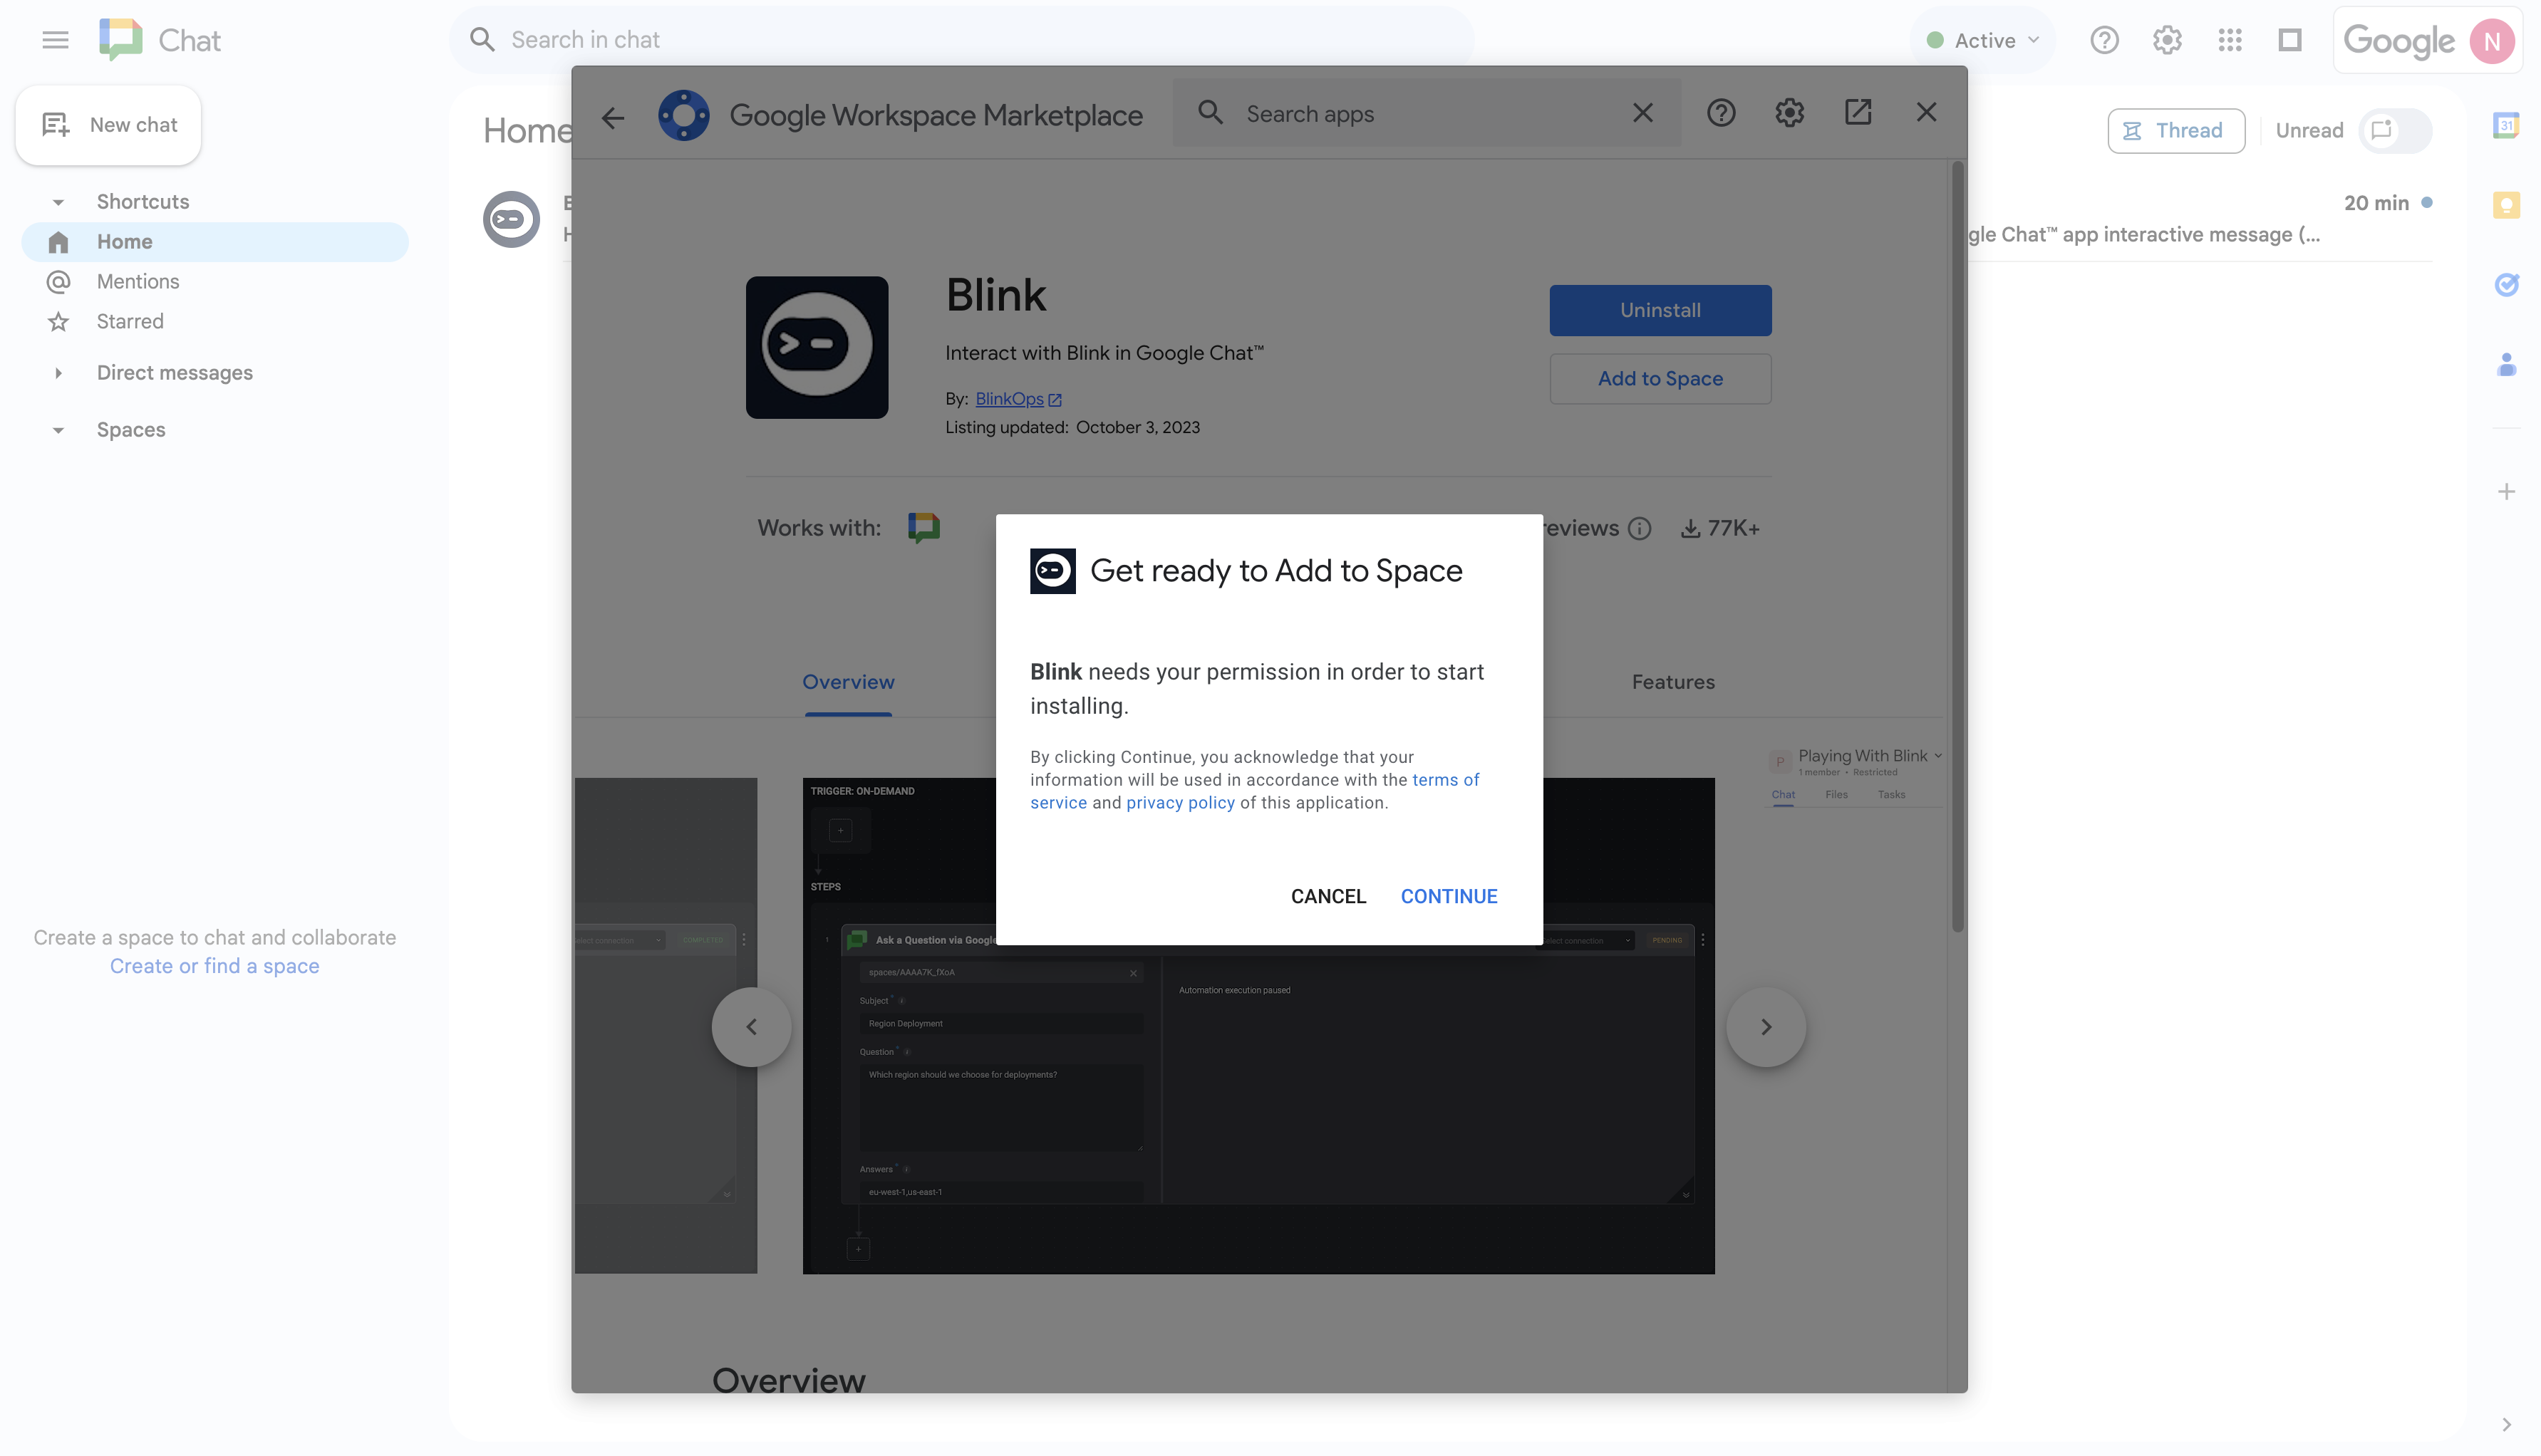
7
Select a Space to Add the Blink App
Enter the name and select the Space you would like to add the Blink App to.
8
Receive Confirmation in Google Chat
You will be redirected to your selected Space and receive a message from the Blink App.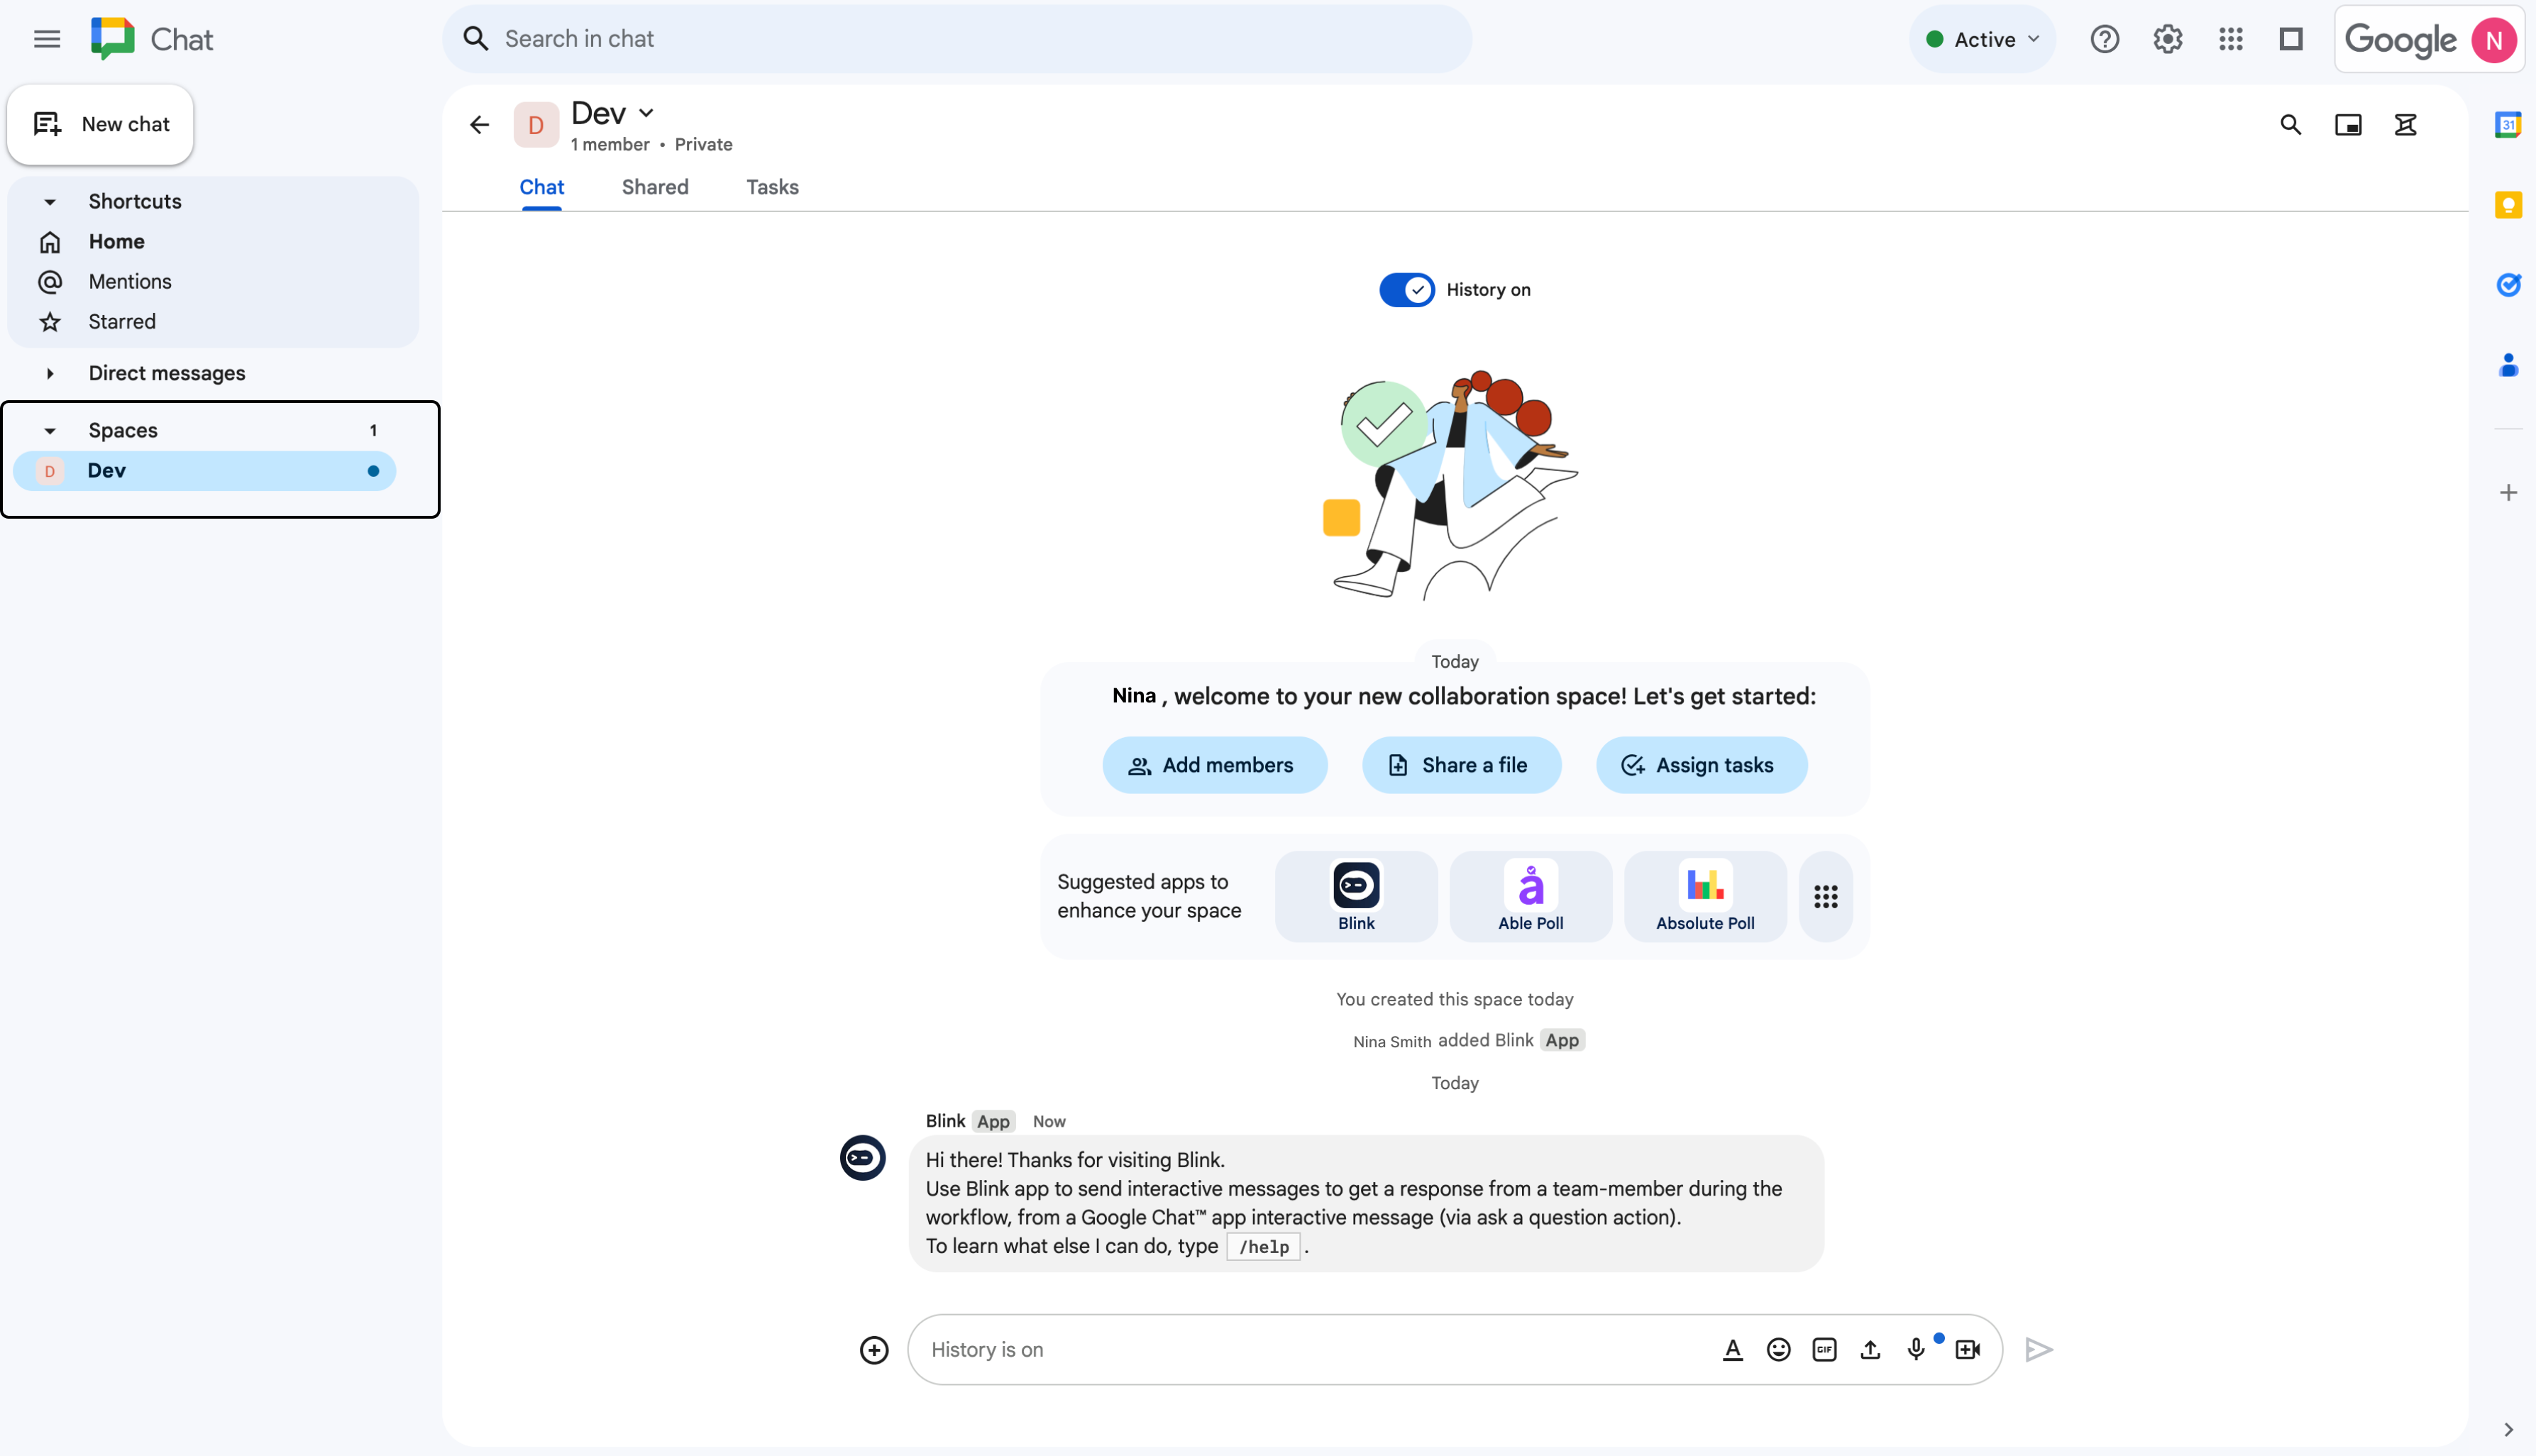
Build Your Workflow
1
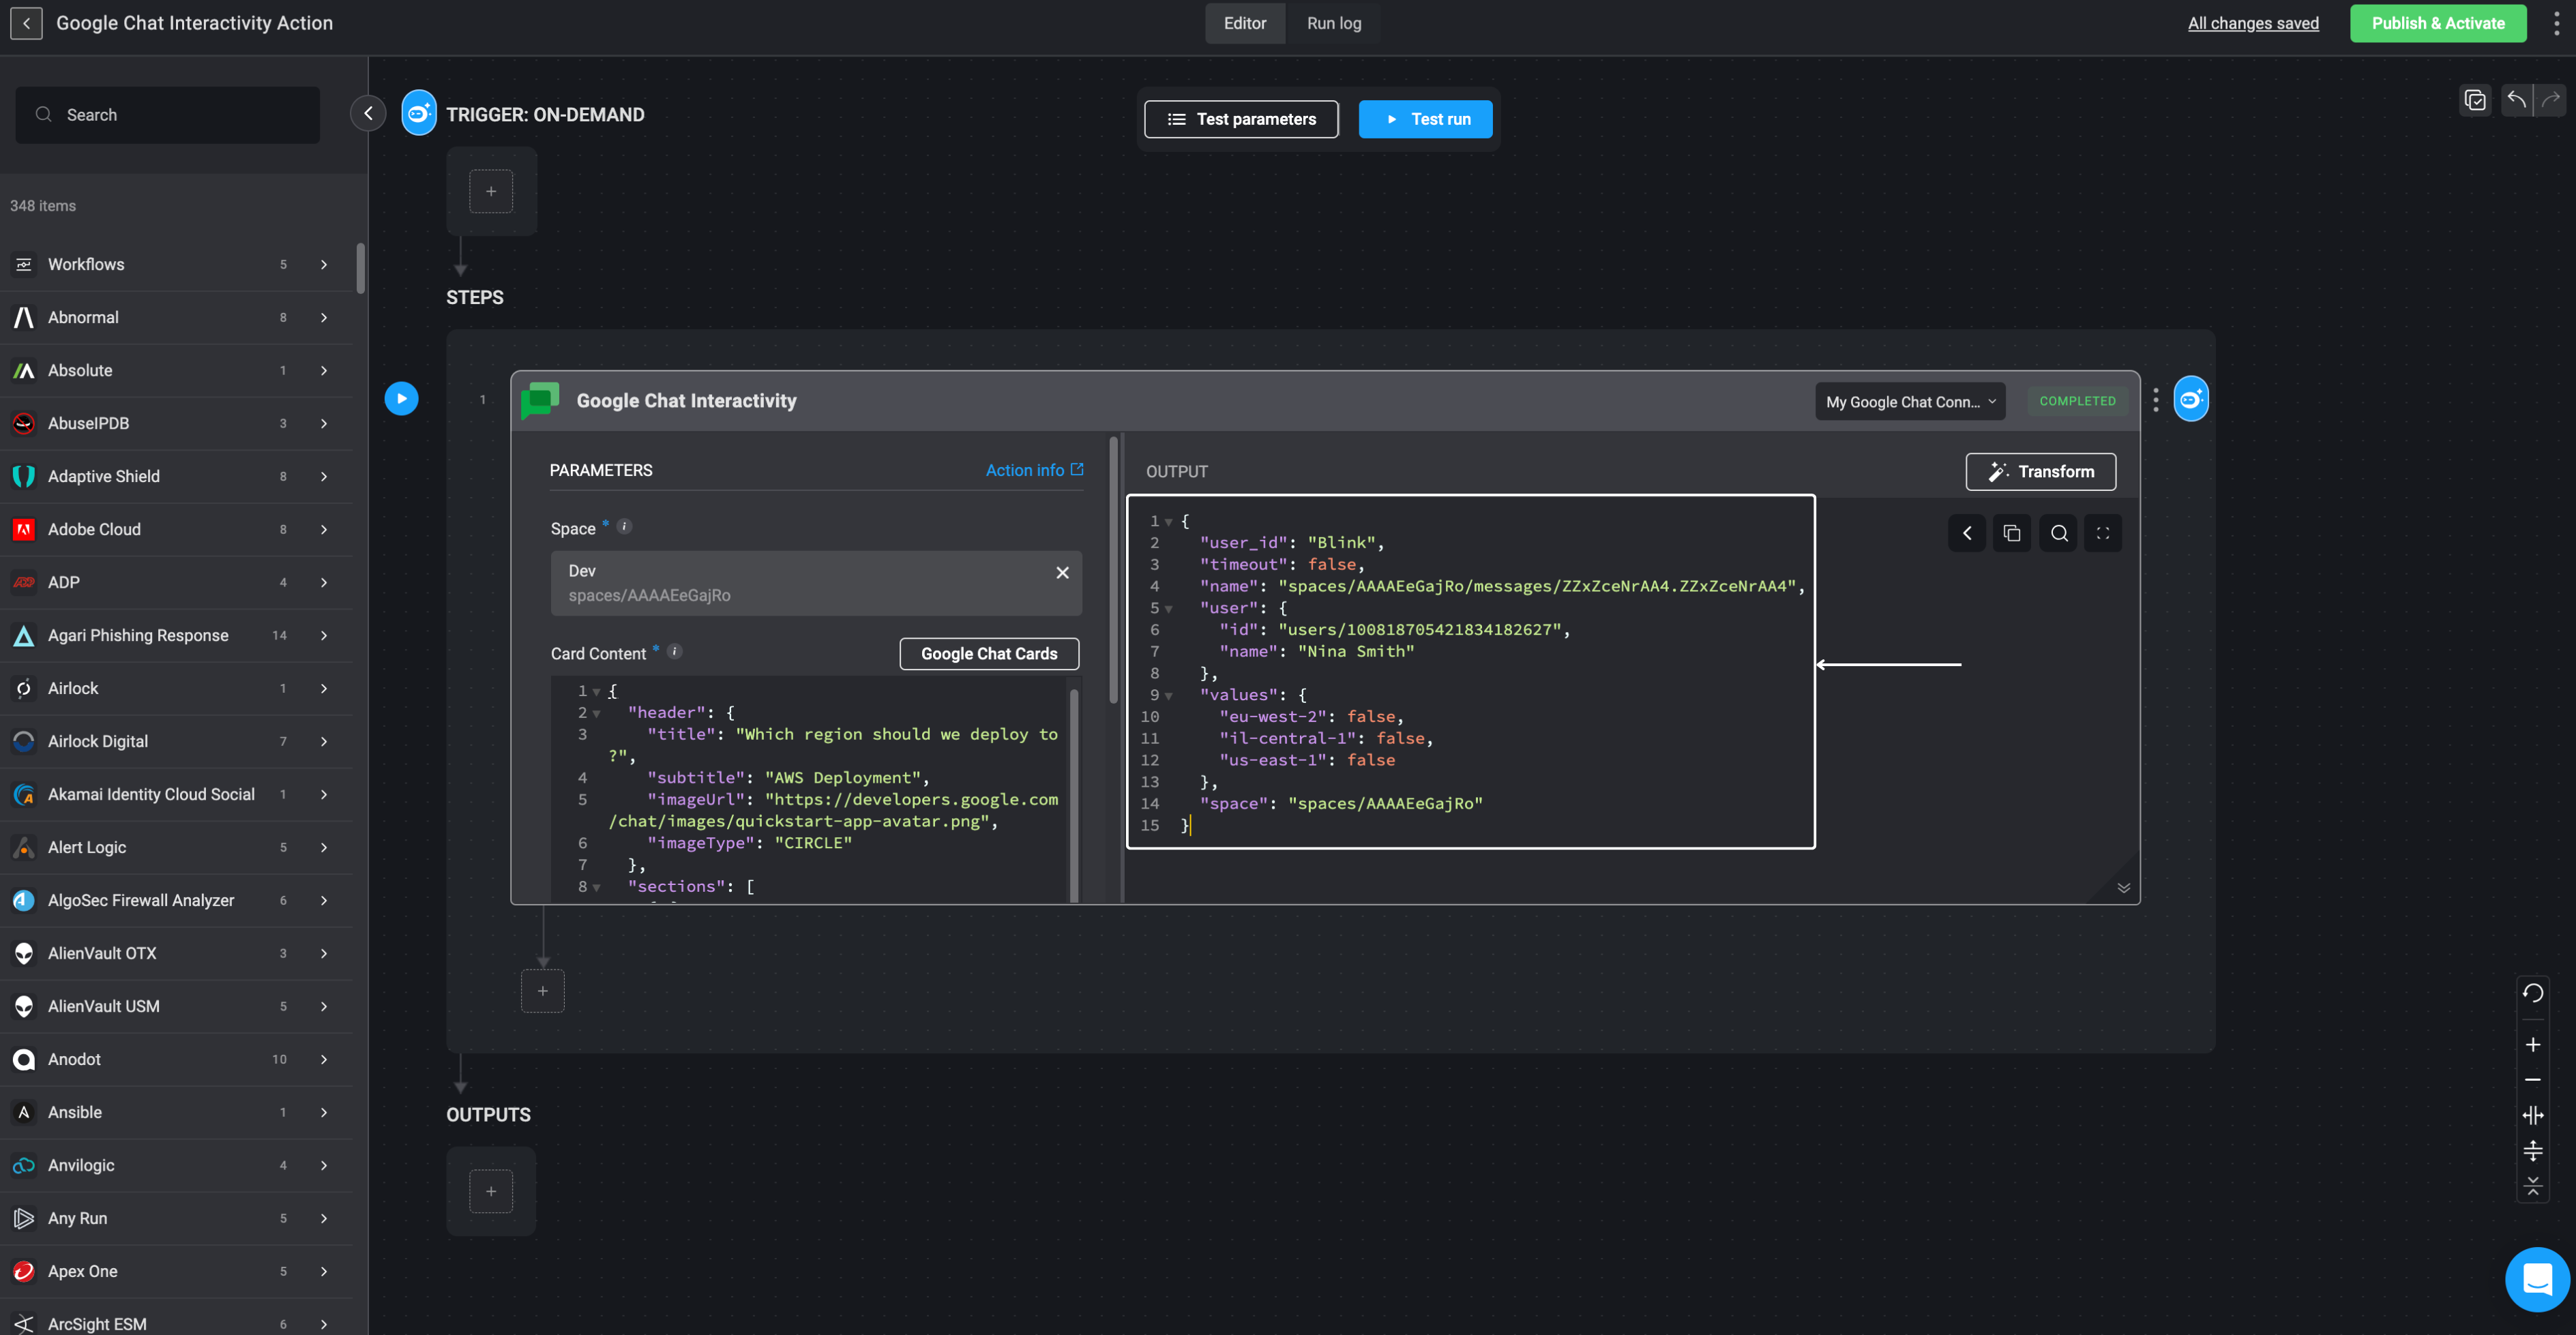
Add Google Chat Interactivity Action to Workflow
In the Workflow Editor, click to open the Action panel and search for “Google Chat Interactivity” action.
Alternatively, drag the action into the step.
2
Enter Google Chat Interactivity Parameters
Within this step, enter the following parameters:
3
Create or Select Google Chat Connection
Next, create a connection with Google Chat.
Click Connection required in the top-right corner of your Step.
If you’ve already set up a Google Chat connection, select one from the available options.
Otherwise, create a new connection by selecting Google Chat connection and following the steps outlined in the Google Chat connection guideline.
Once done, click Create connection to proceed.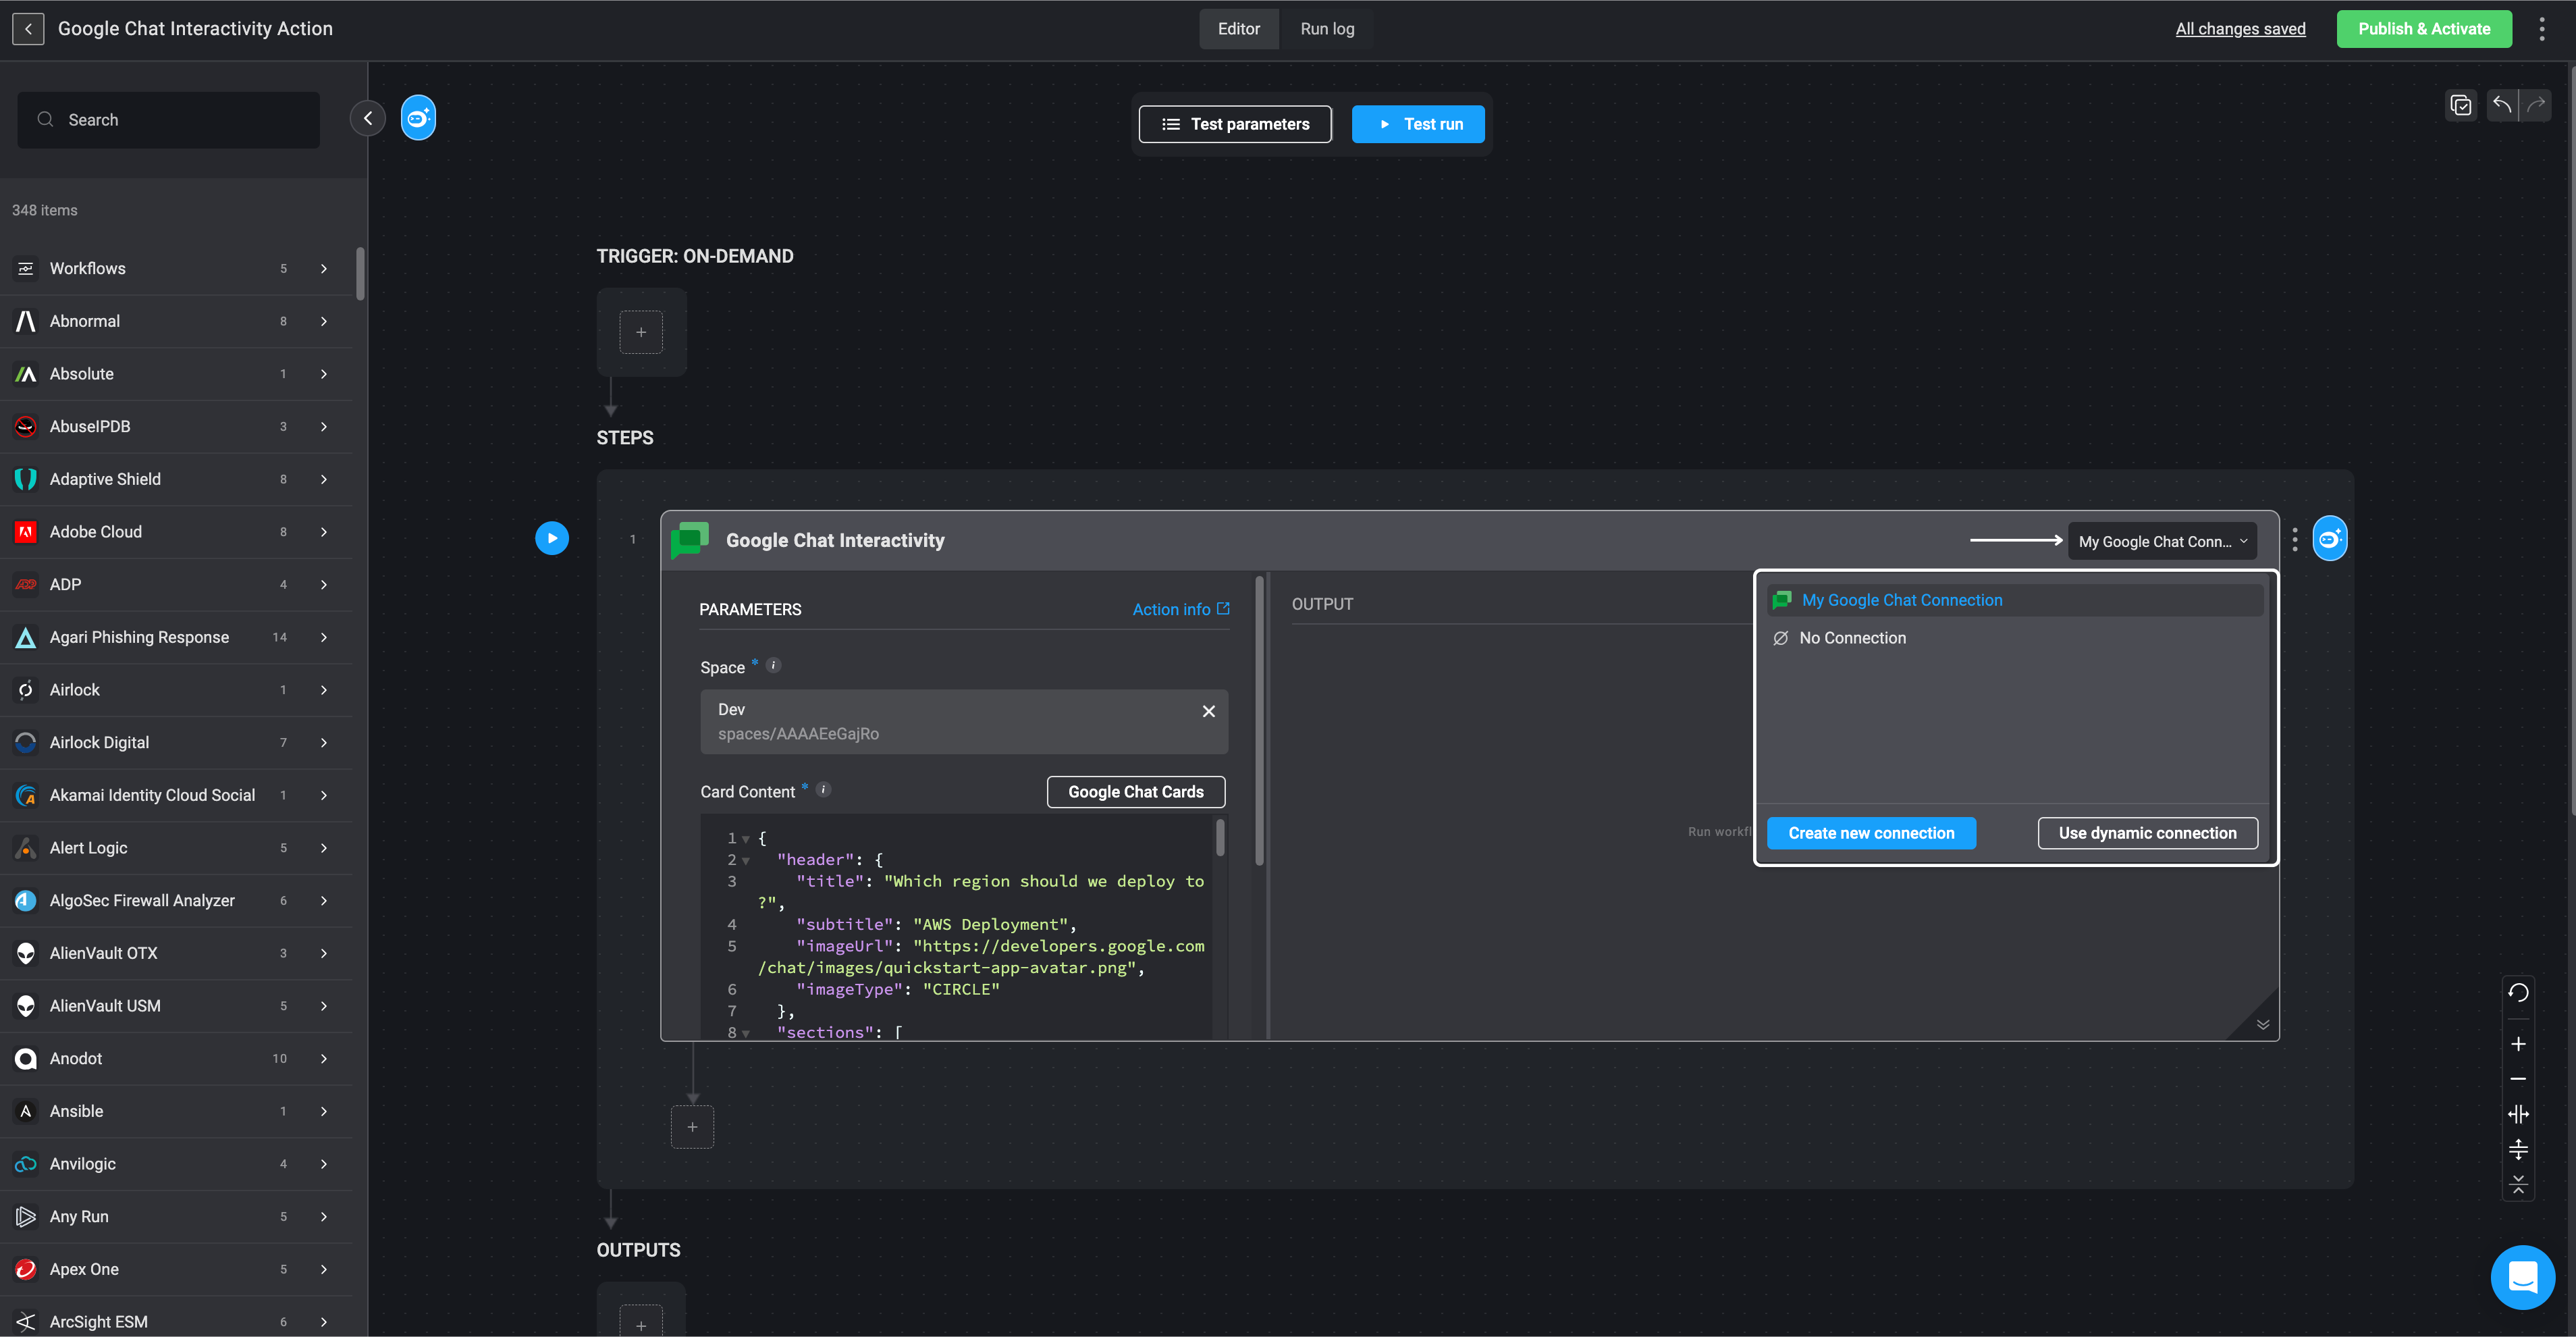
4
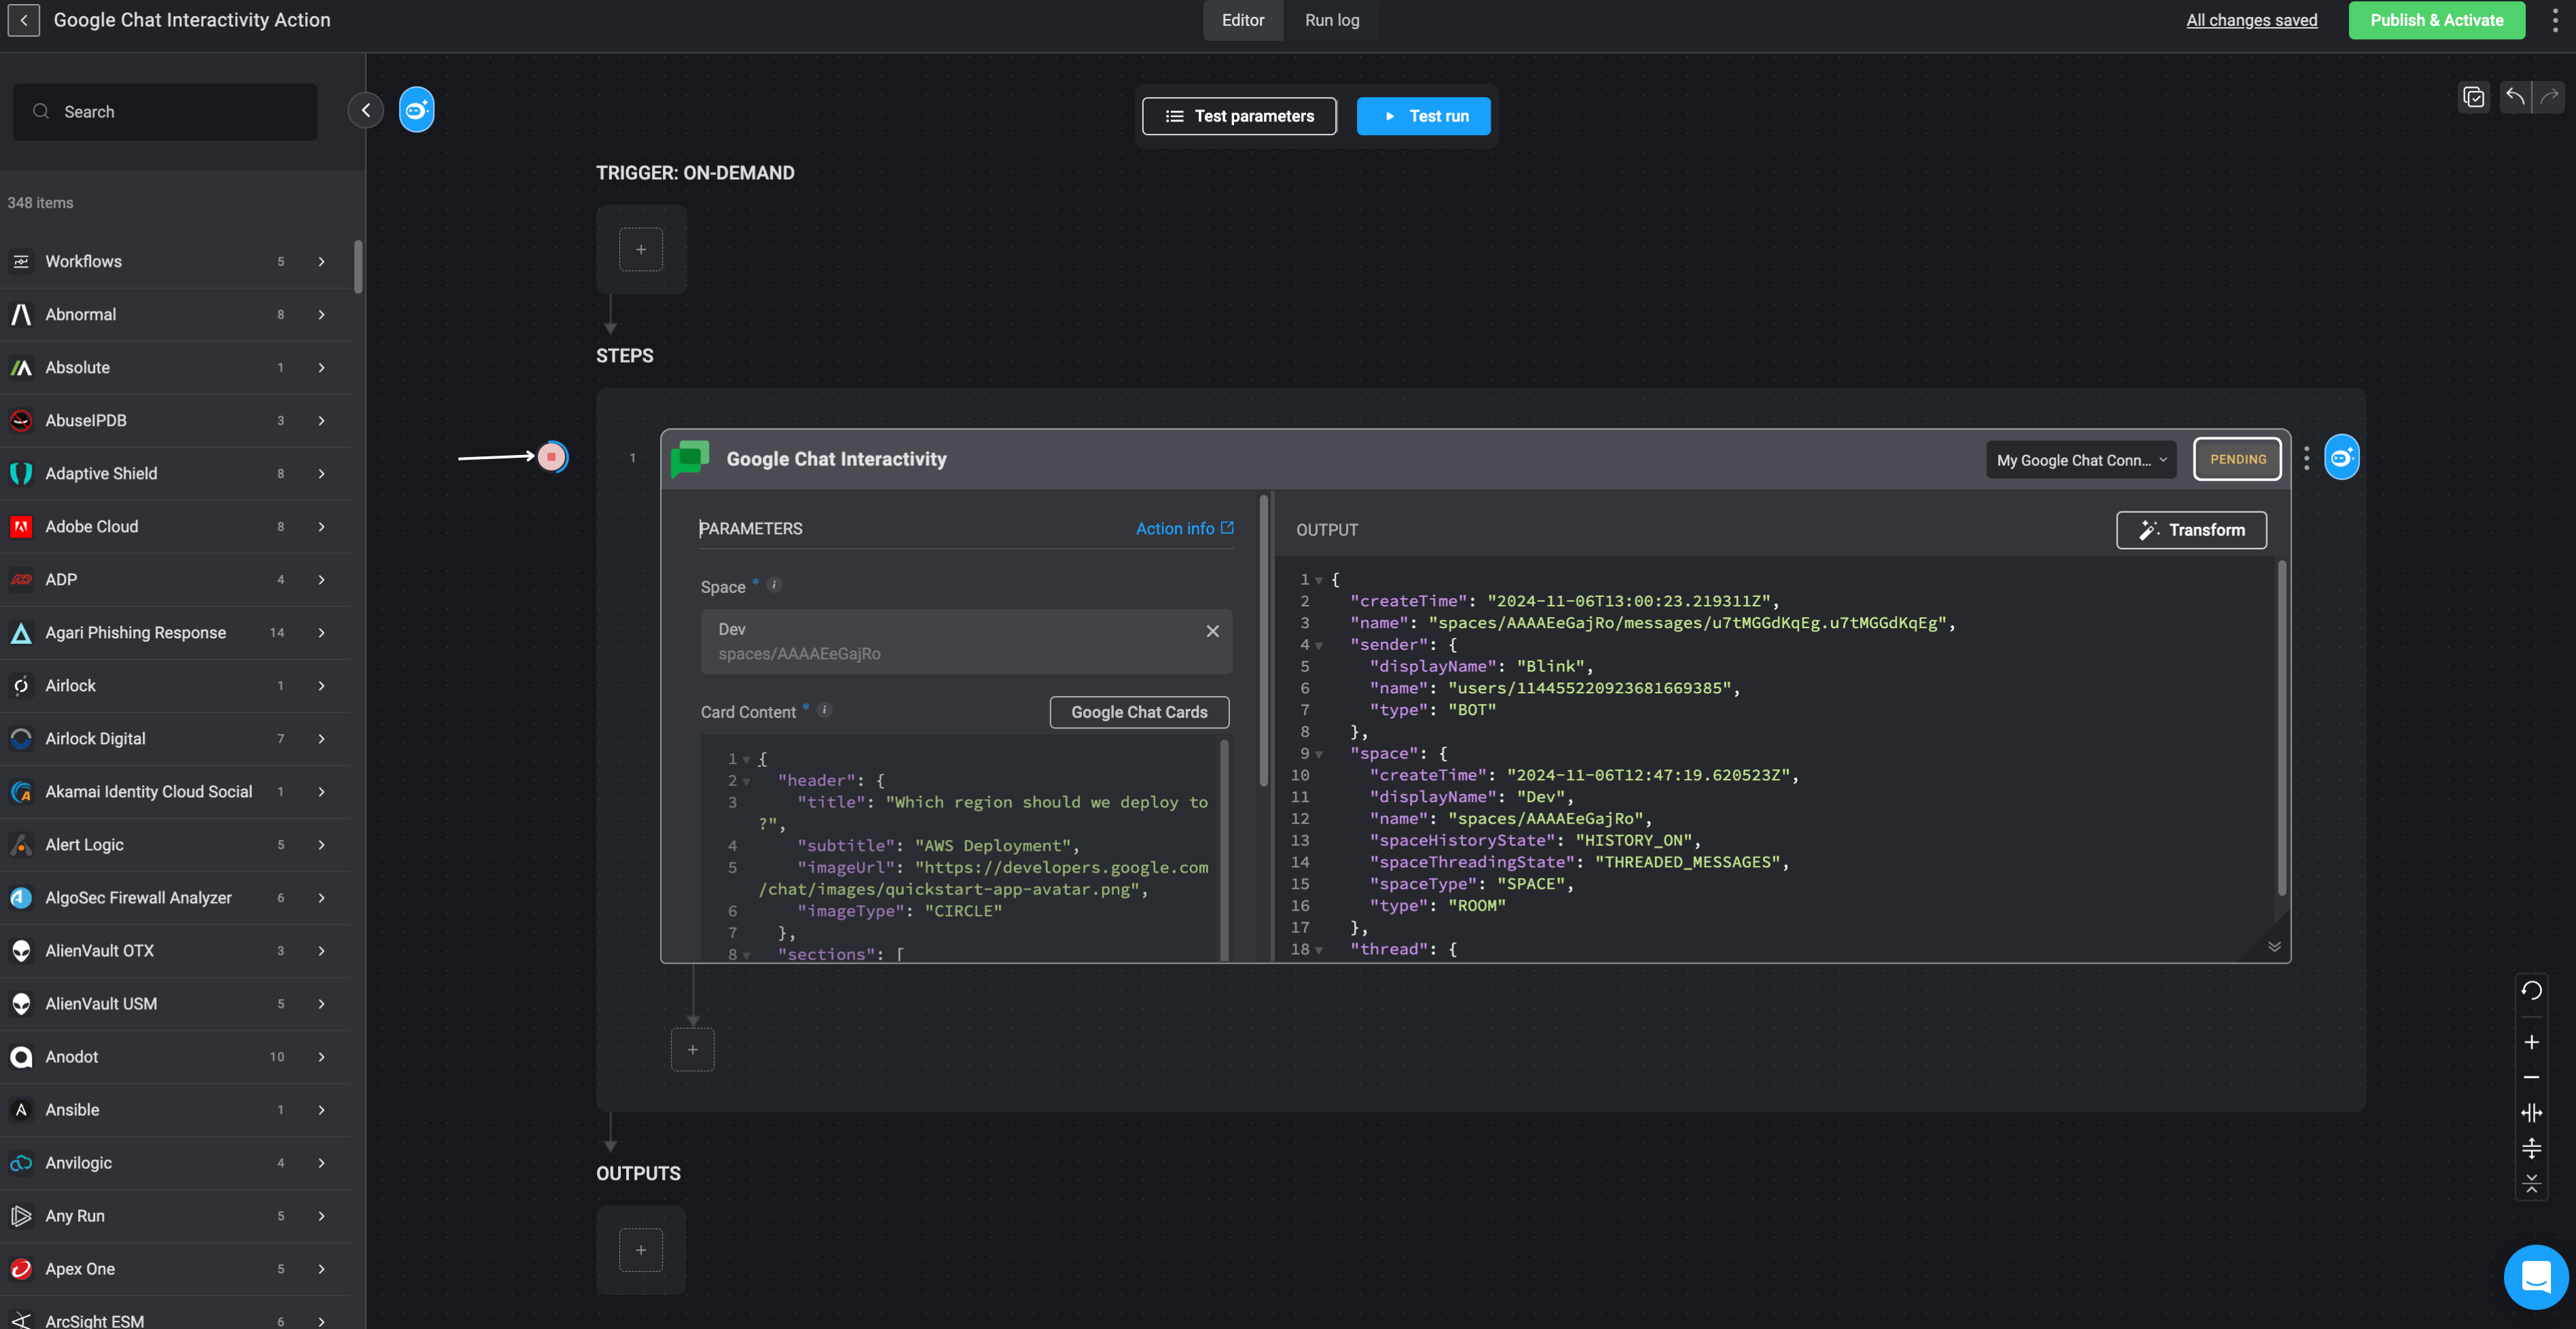
Run a Test Execution of the Step
Once these steps are completed, you can select the button to execute a trial run of the step,
or click the Test run button to test your Workflow. This refers specifically to testing the Google Chat Interactivity steps.
5
Receive and Respond to Google Chat Message
When this Workflow runs, the selected Space in your Google Chat account—specified in the Space field—will receive the message.
Users in the Space can interact with the card and submit a response.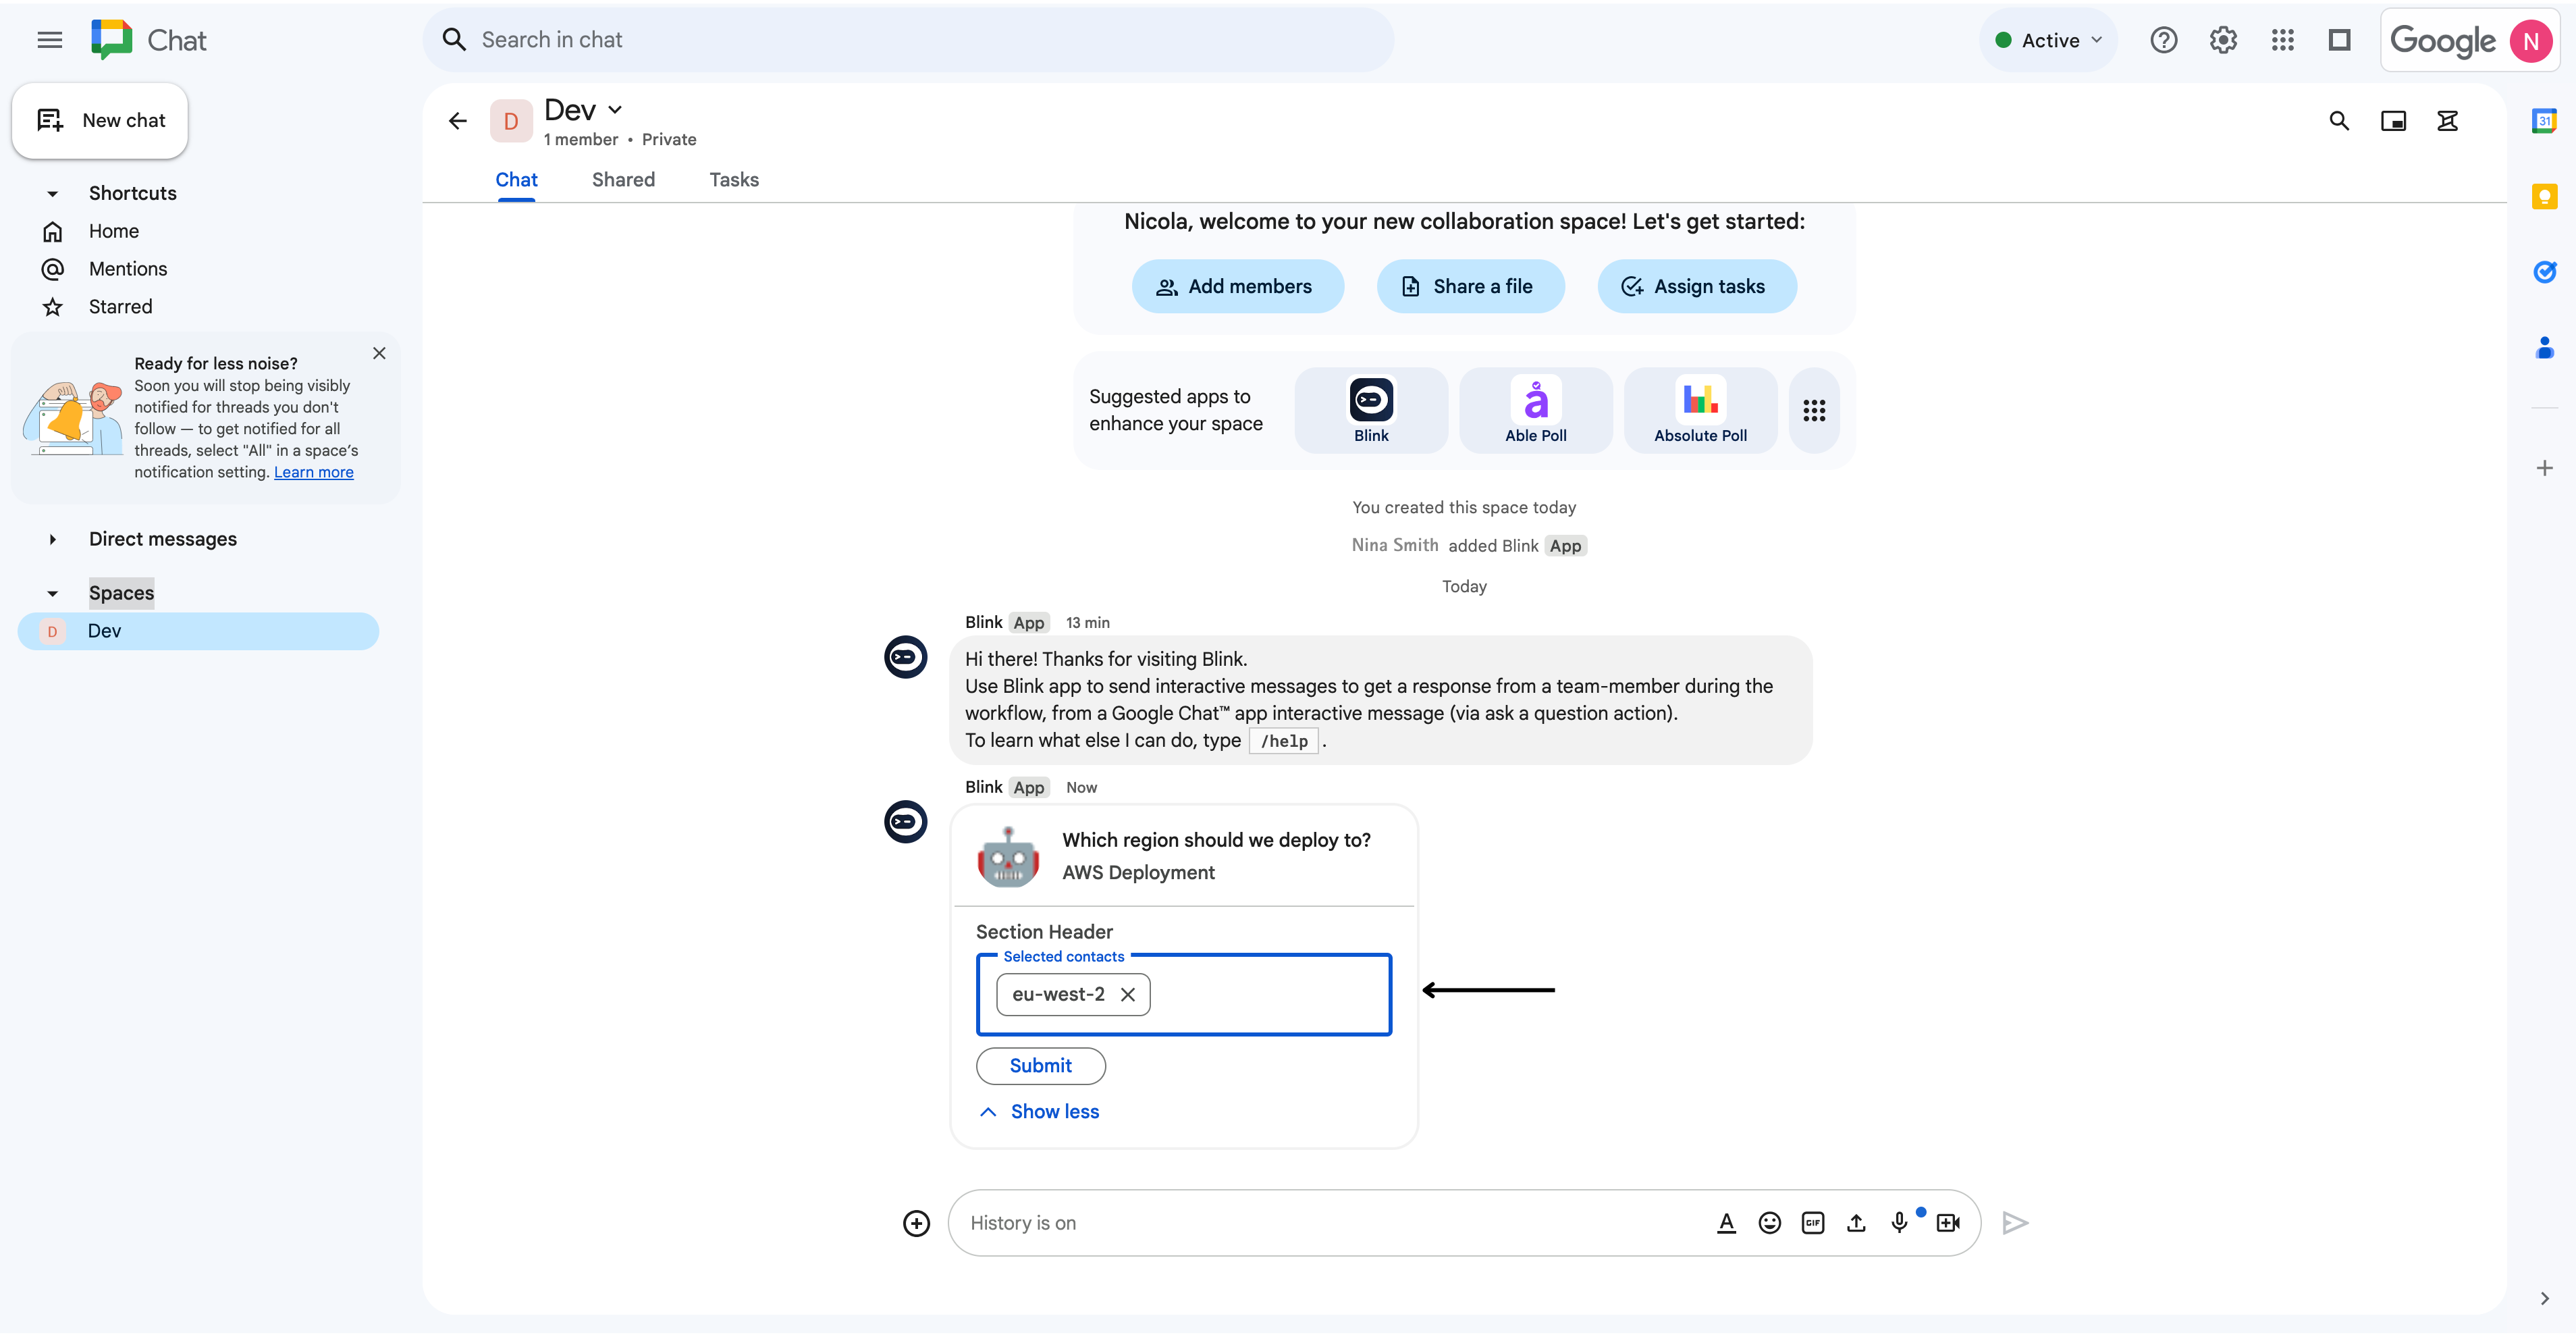
6
View Google Chat Response in Workflow Output
You can then navigate back to your Workflow, where the Google Chat response will appear in the output.