Creating a Wiz connection
To create the connection you need:Obtaining the credentials
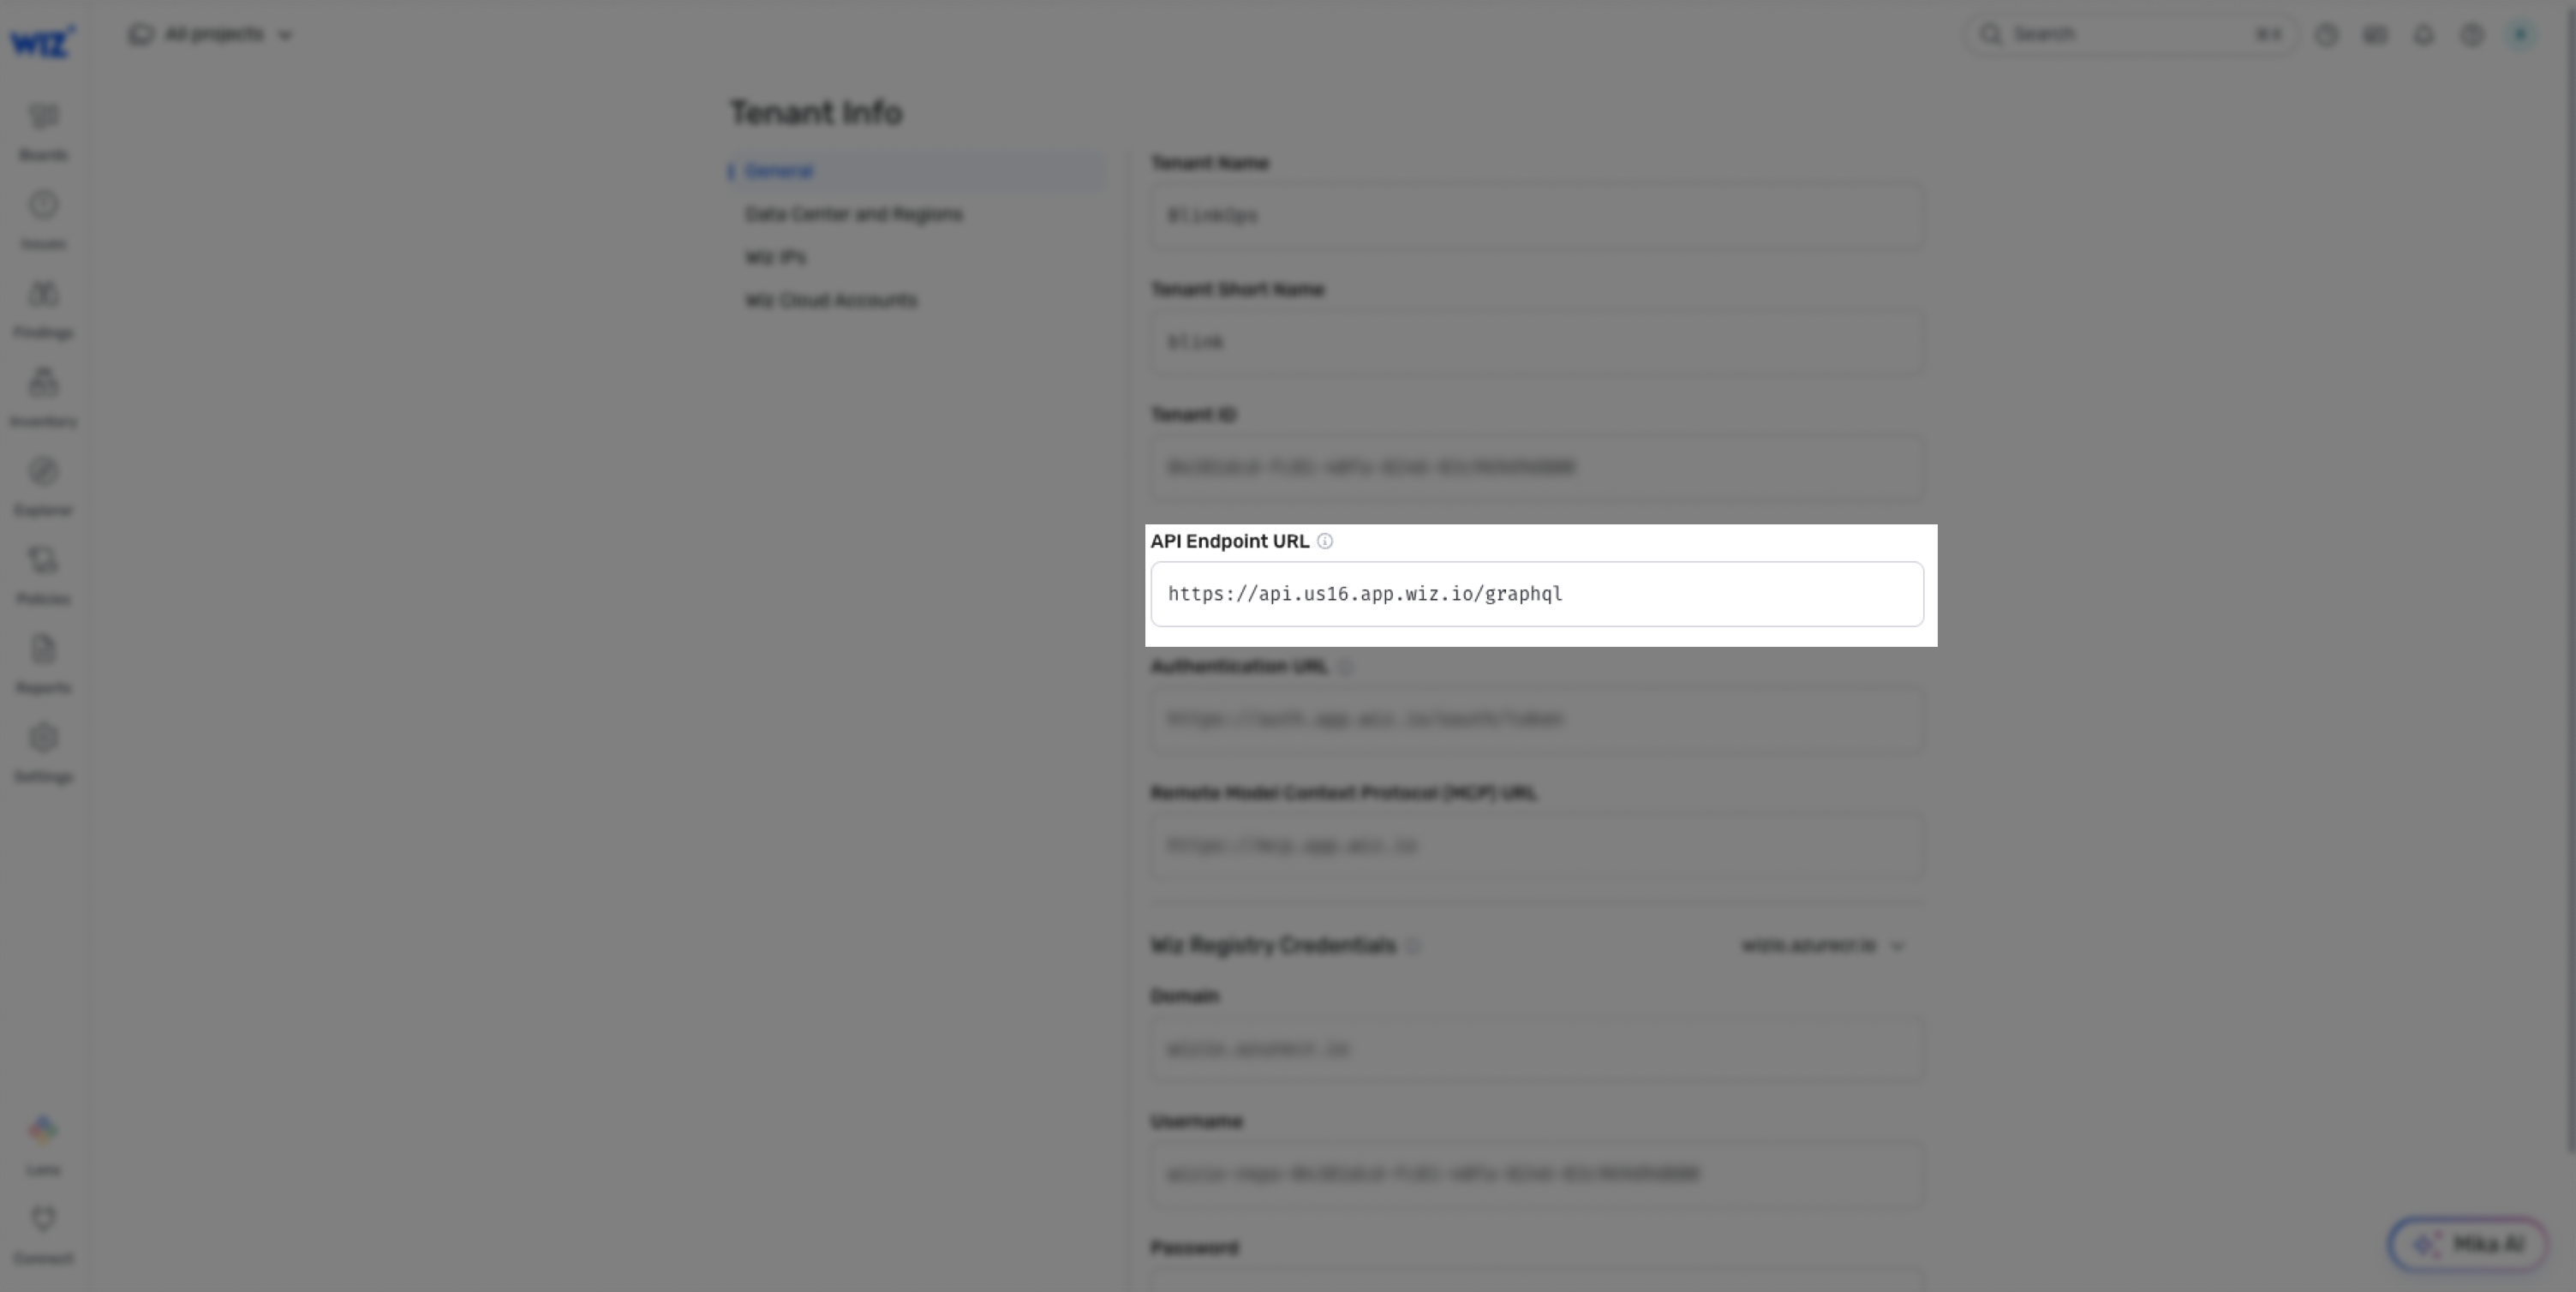
API Address
The Wiz Integration API has a single endpointhttps://api.<region>.app.wiz.io/graphql.
The region defines where the tenant resides, e.g. us1, us2, eu1, or eu2.
-
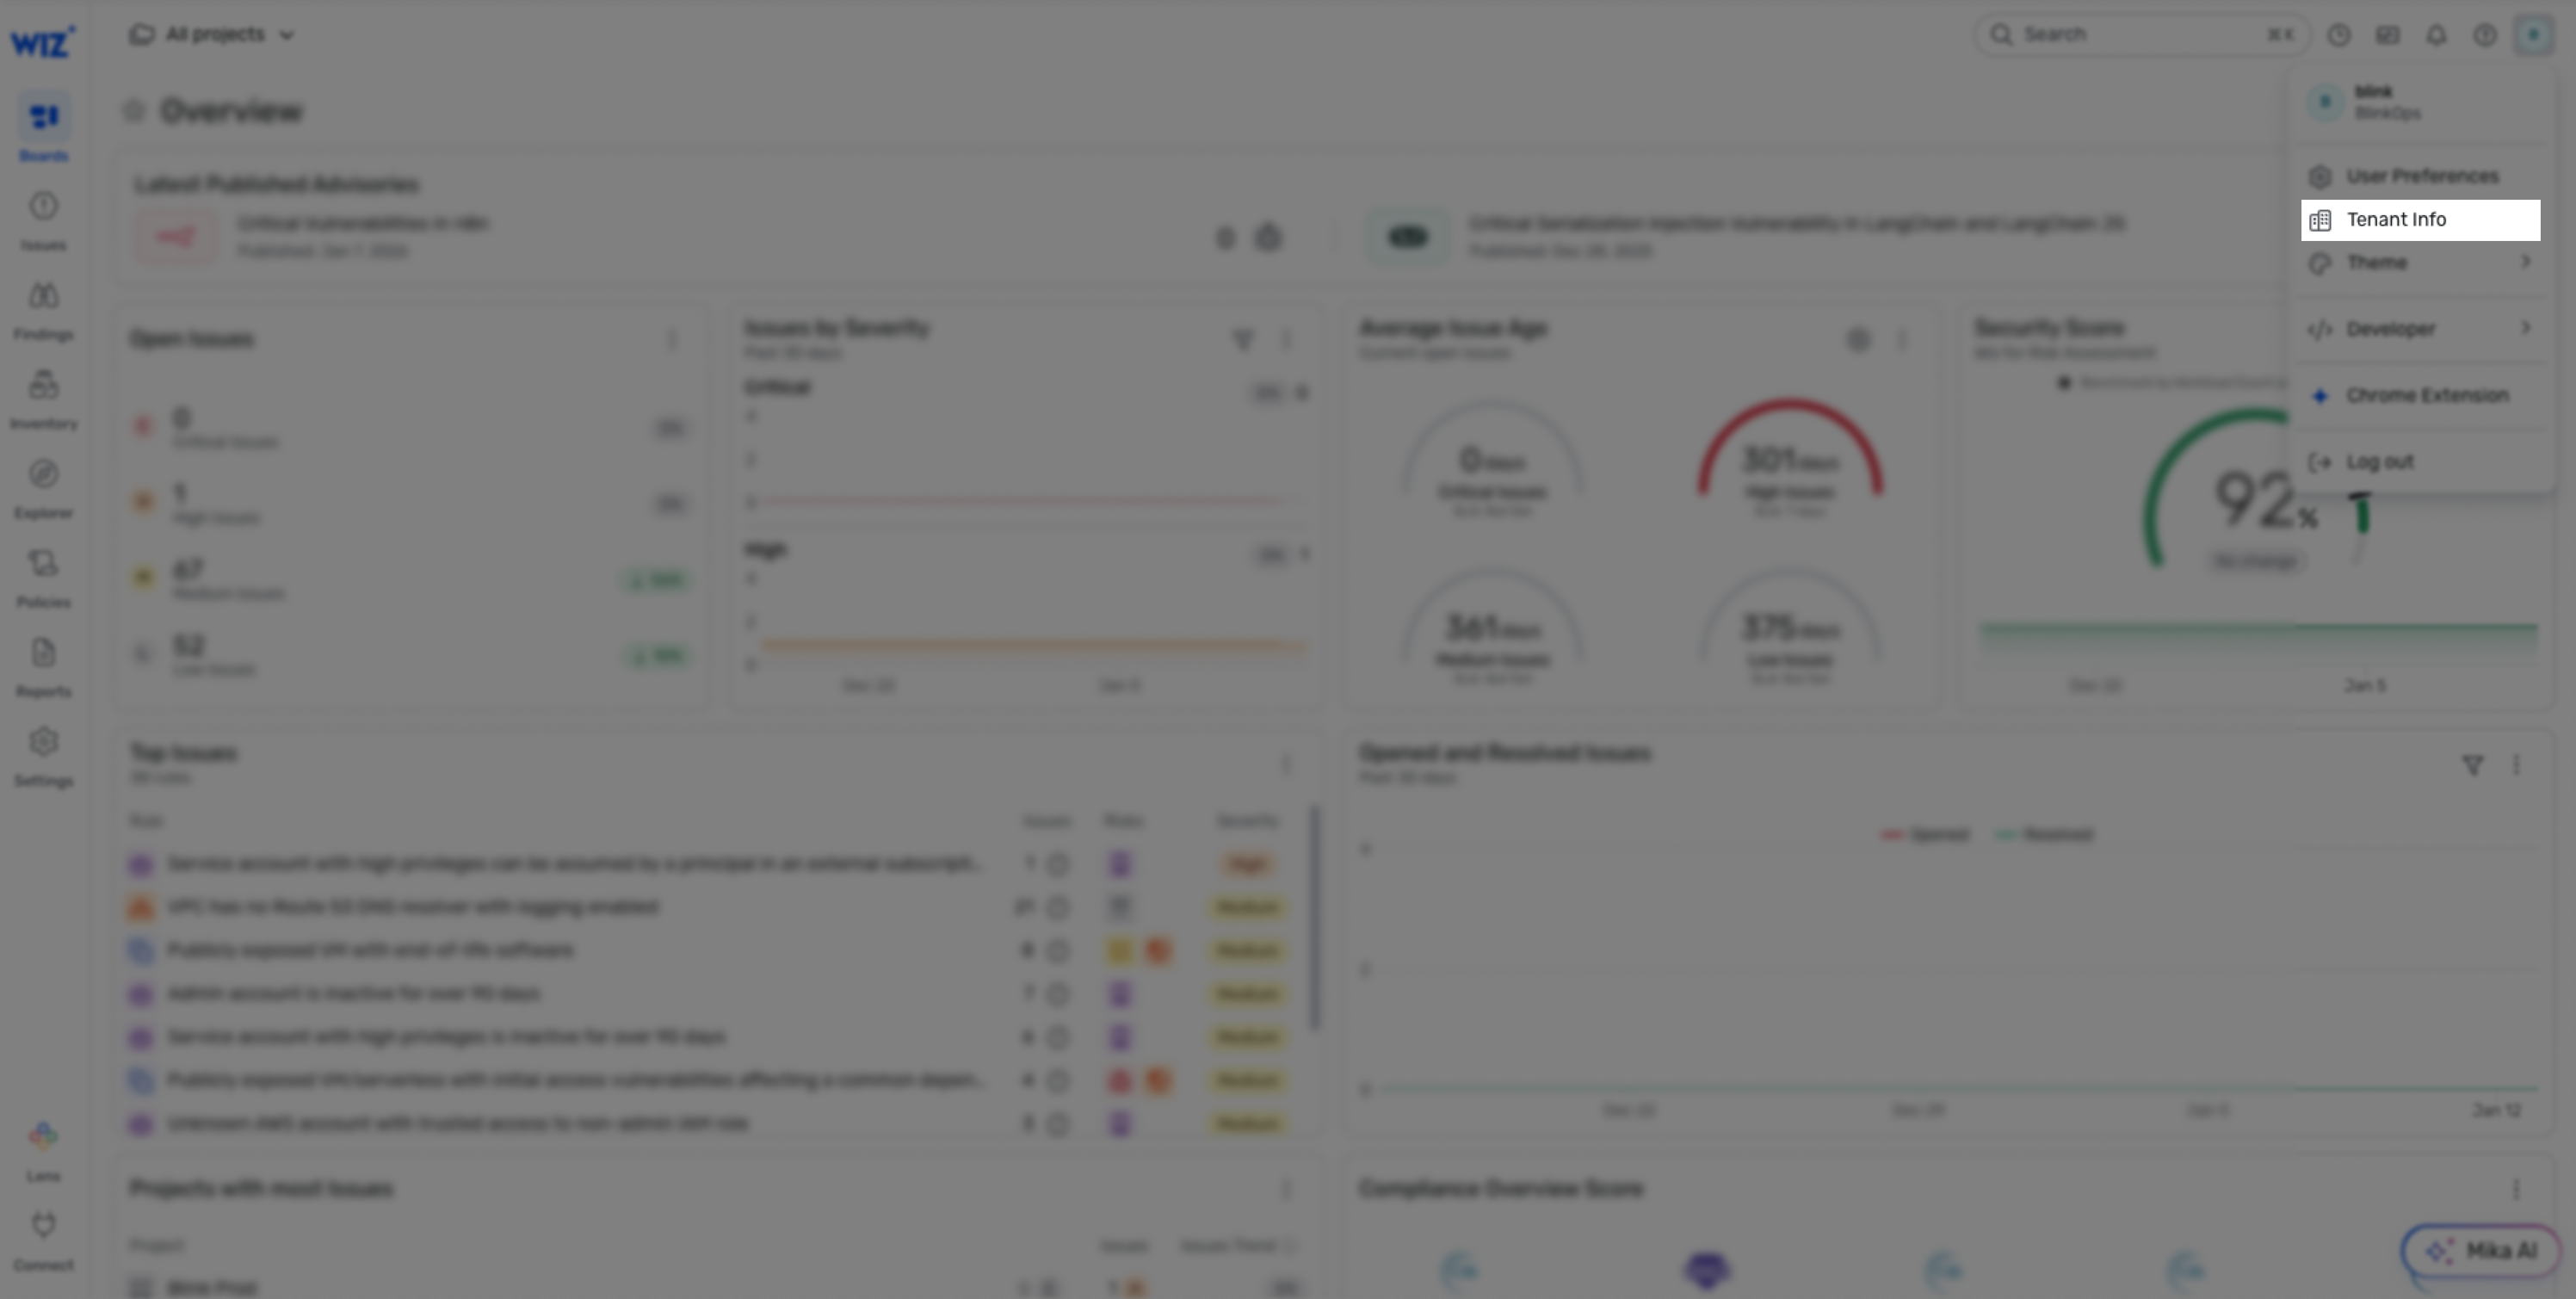
In your Wiz console, click on your profile icon and go to Tenant Info.
-
Copy your API Endpoint URL.
Client ID and Secret
-
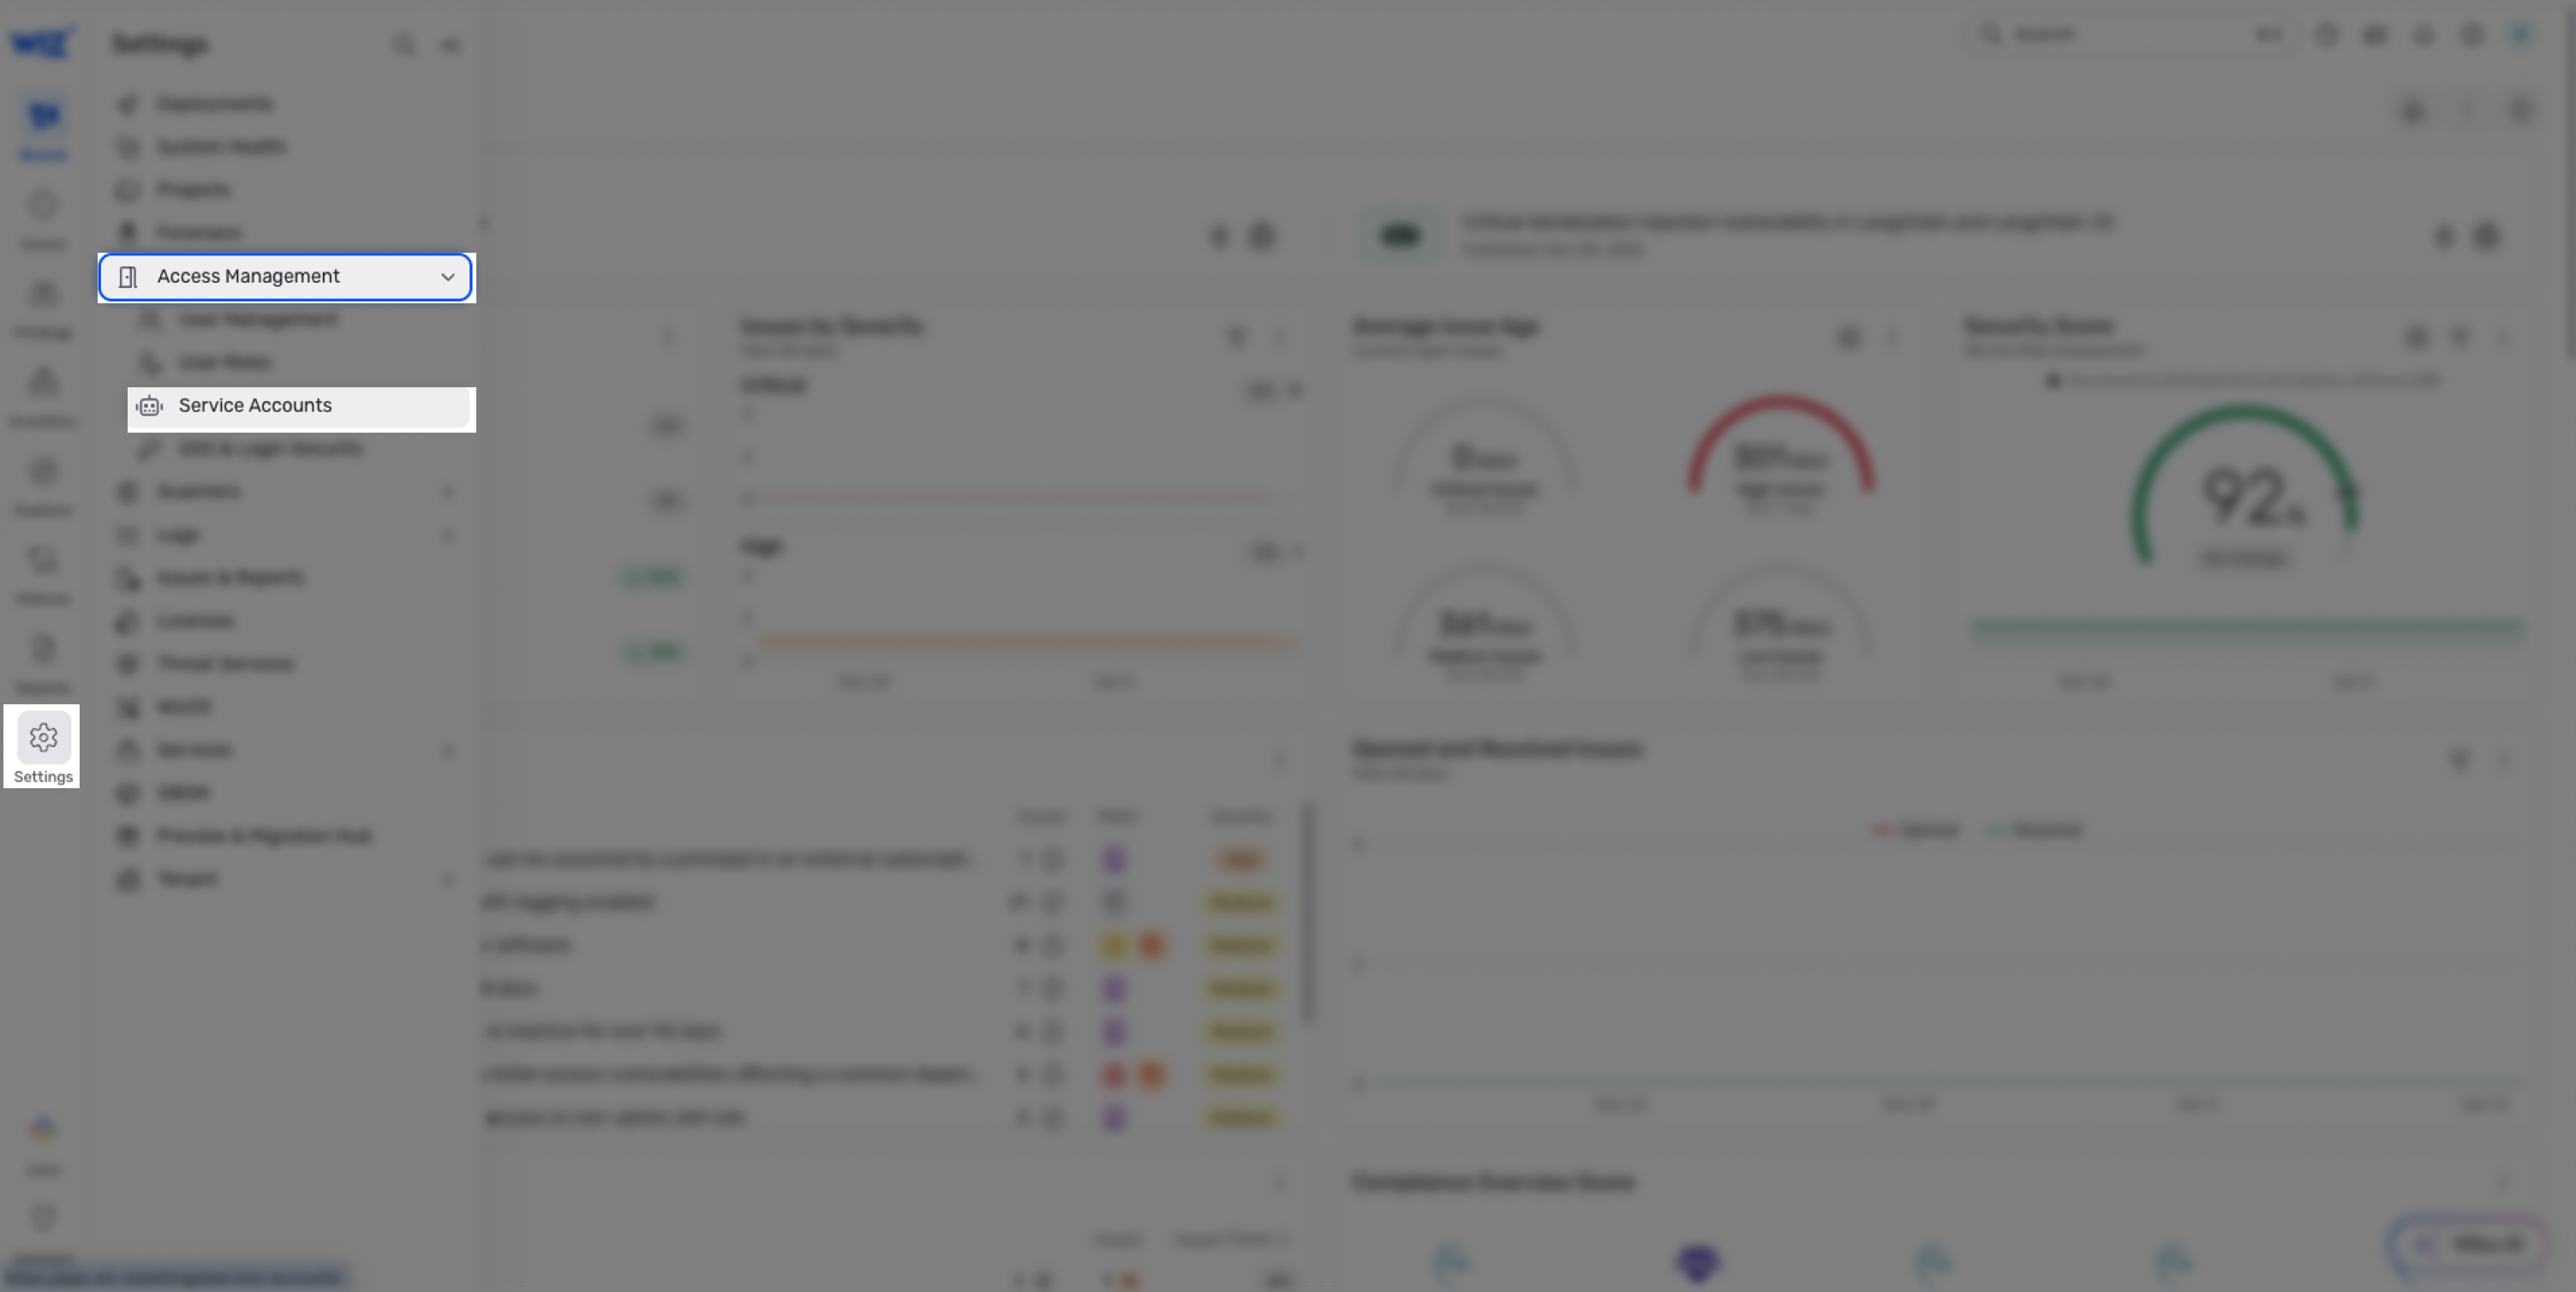
In your Wiz console, go to Settings > Access Management > Service Accounts.
-
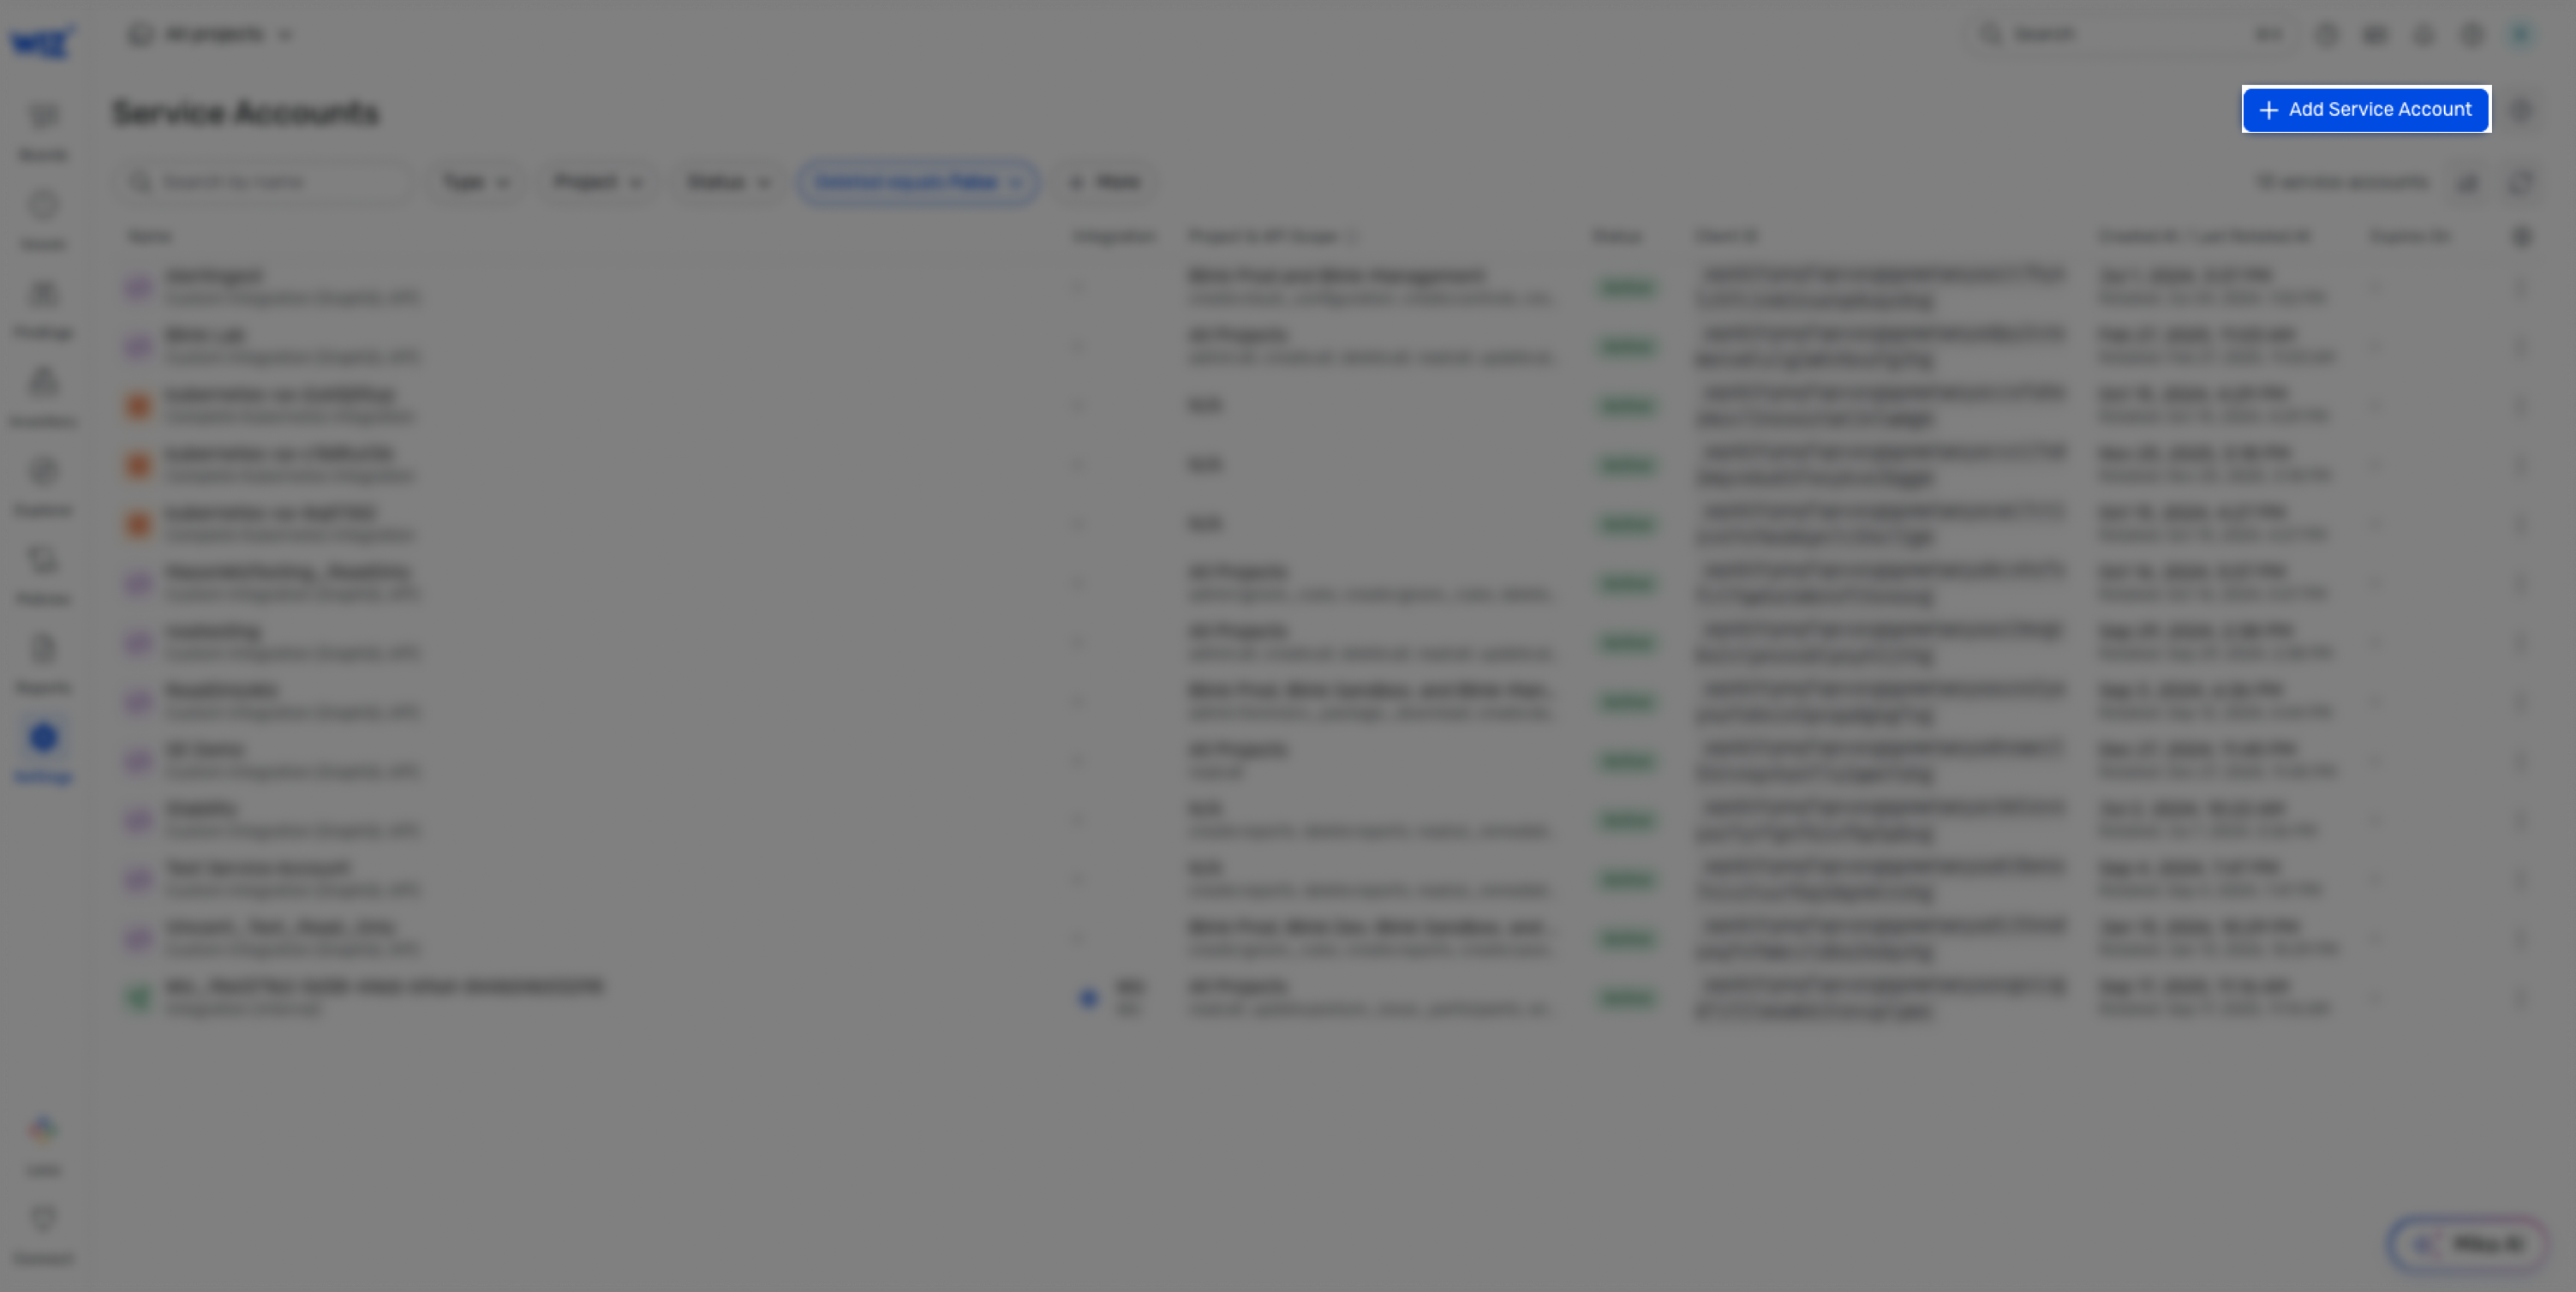
Click Add Service Account.
-
Fill in the parameters:
- Name the account.
- (Optional) Select specific Projects to limit the new service account’s access.
-
Select the scopes you wish to grant the new service account. We recommend assigning the scopes which will suffice for all of out-of-the-box Blink actions:
read:issuesread:usersread:reportscreate:reports
- When completed, Click Add Service Account.
-
Copy the Client ID and Secret, and save in a secure place.
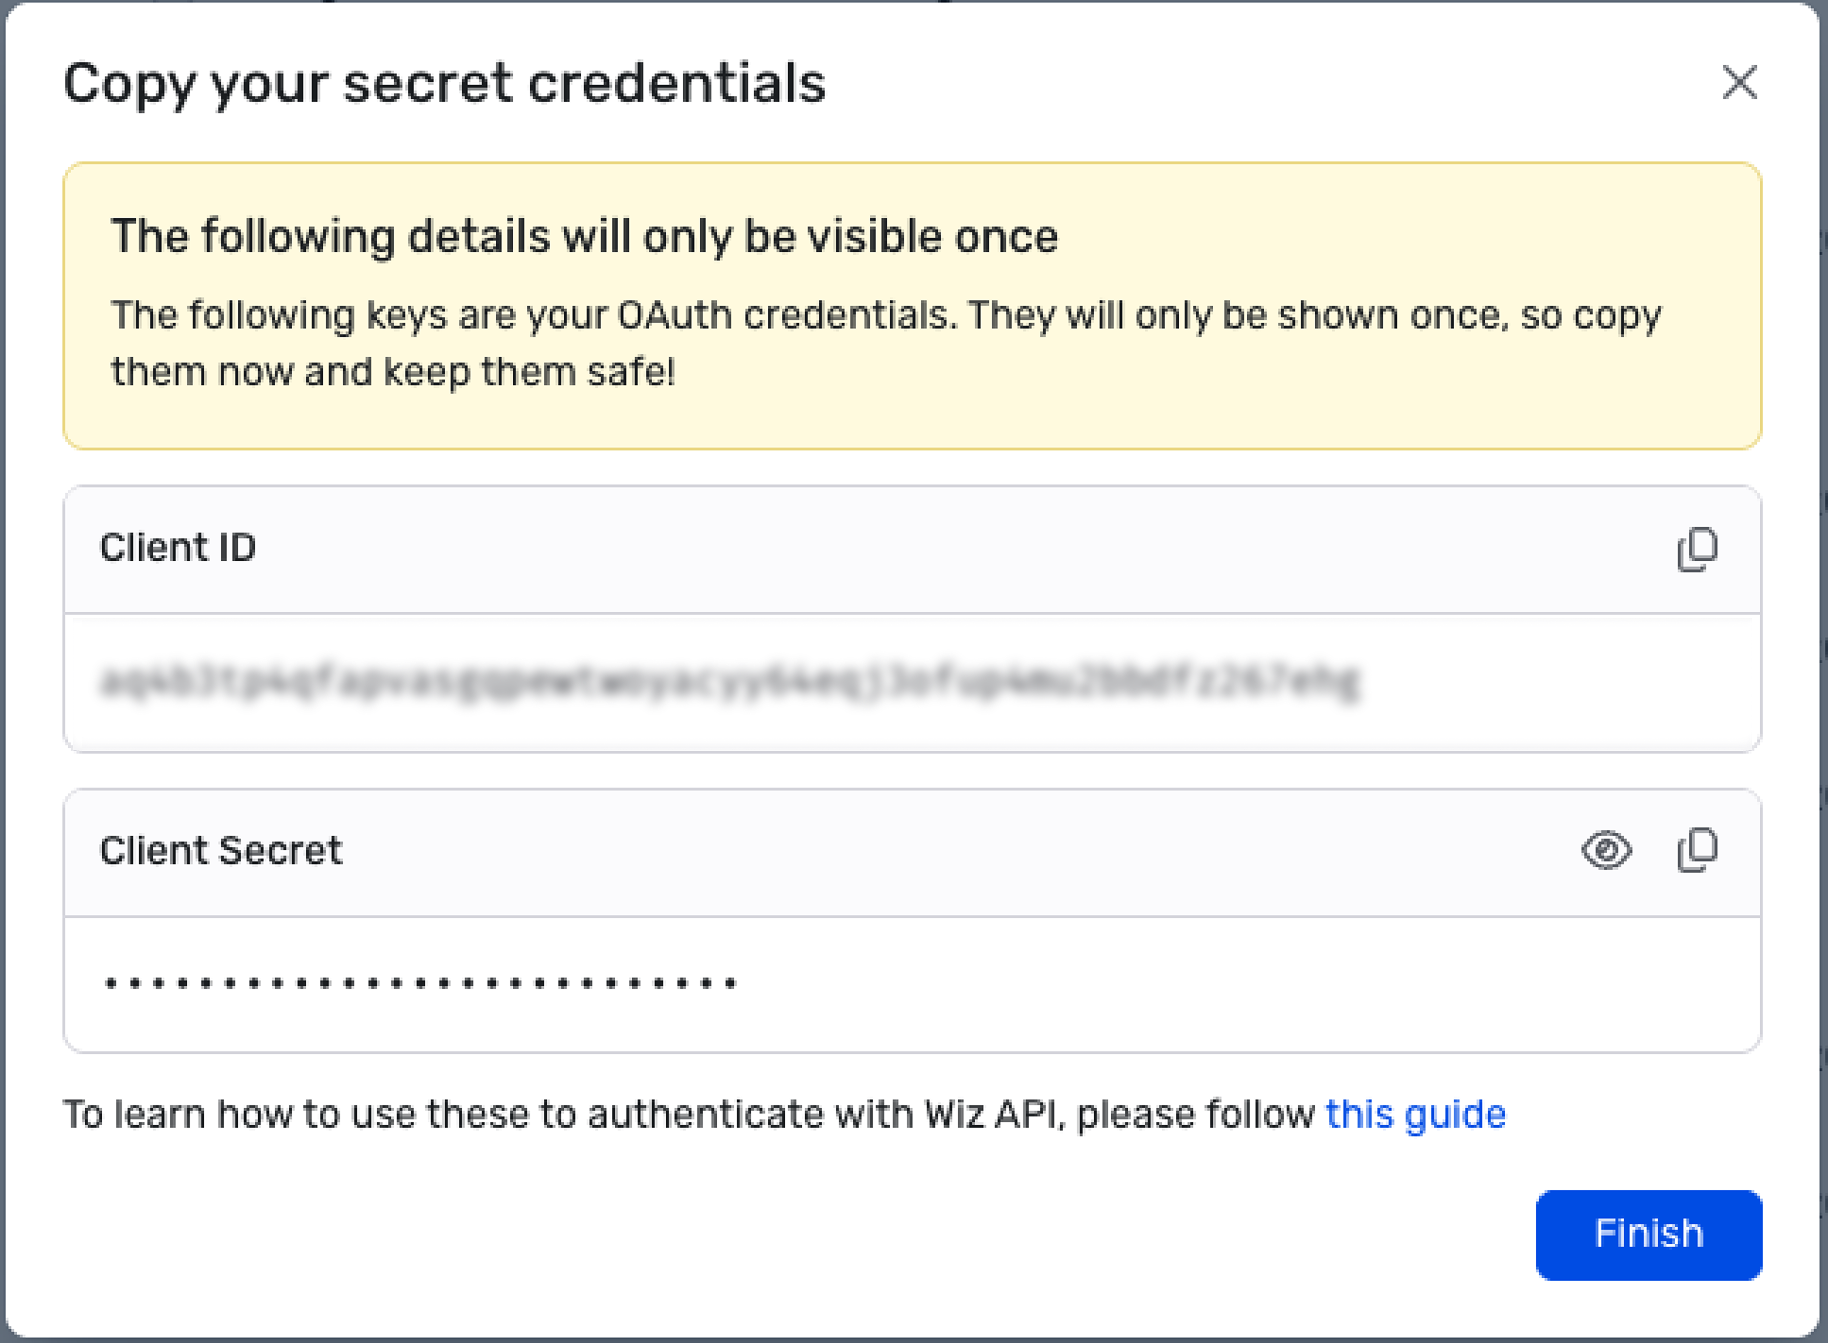
- Click Finish.
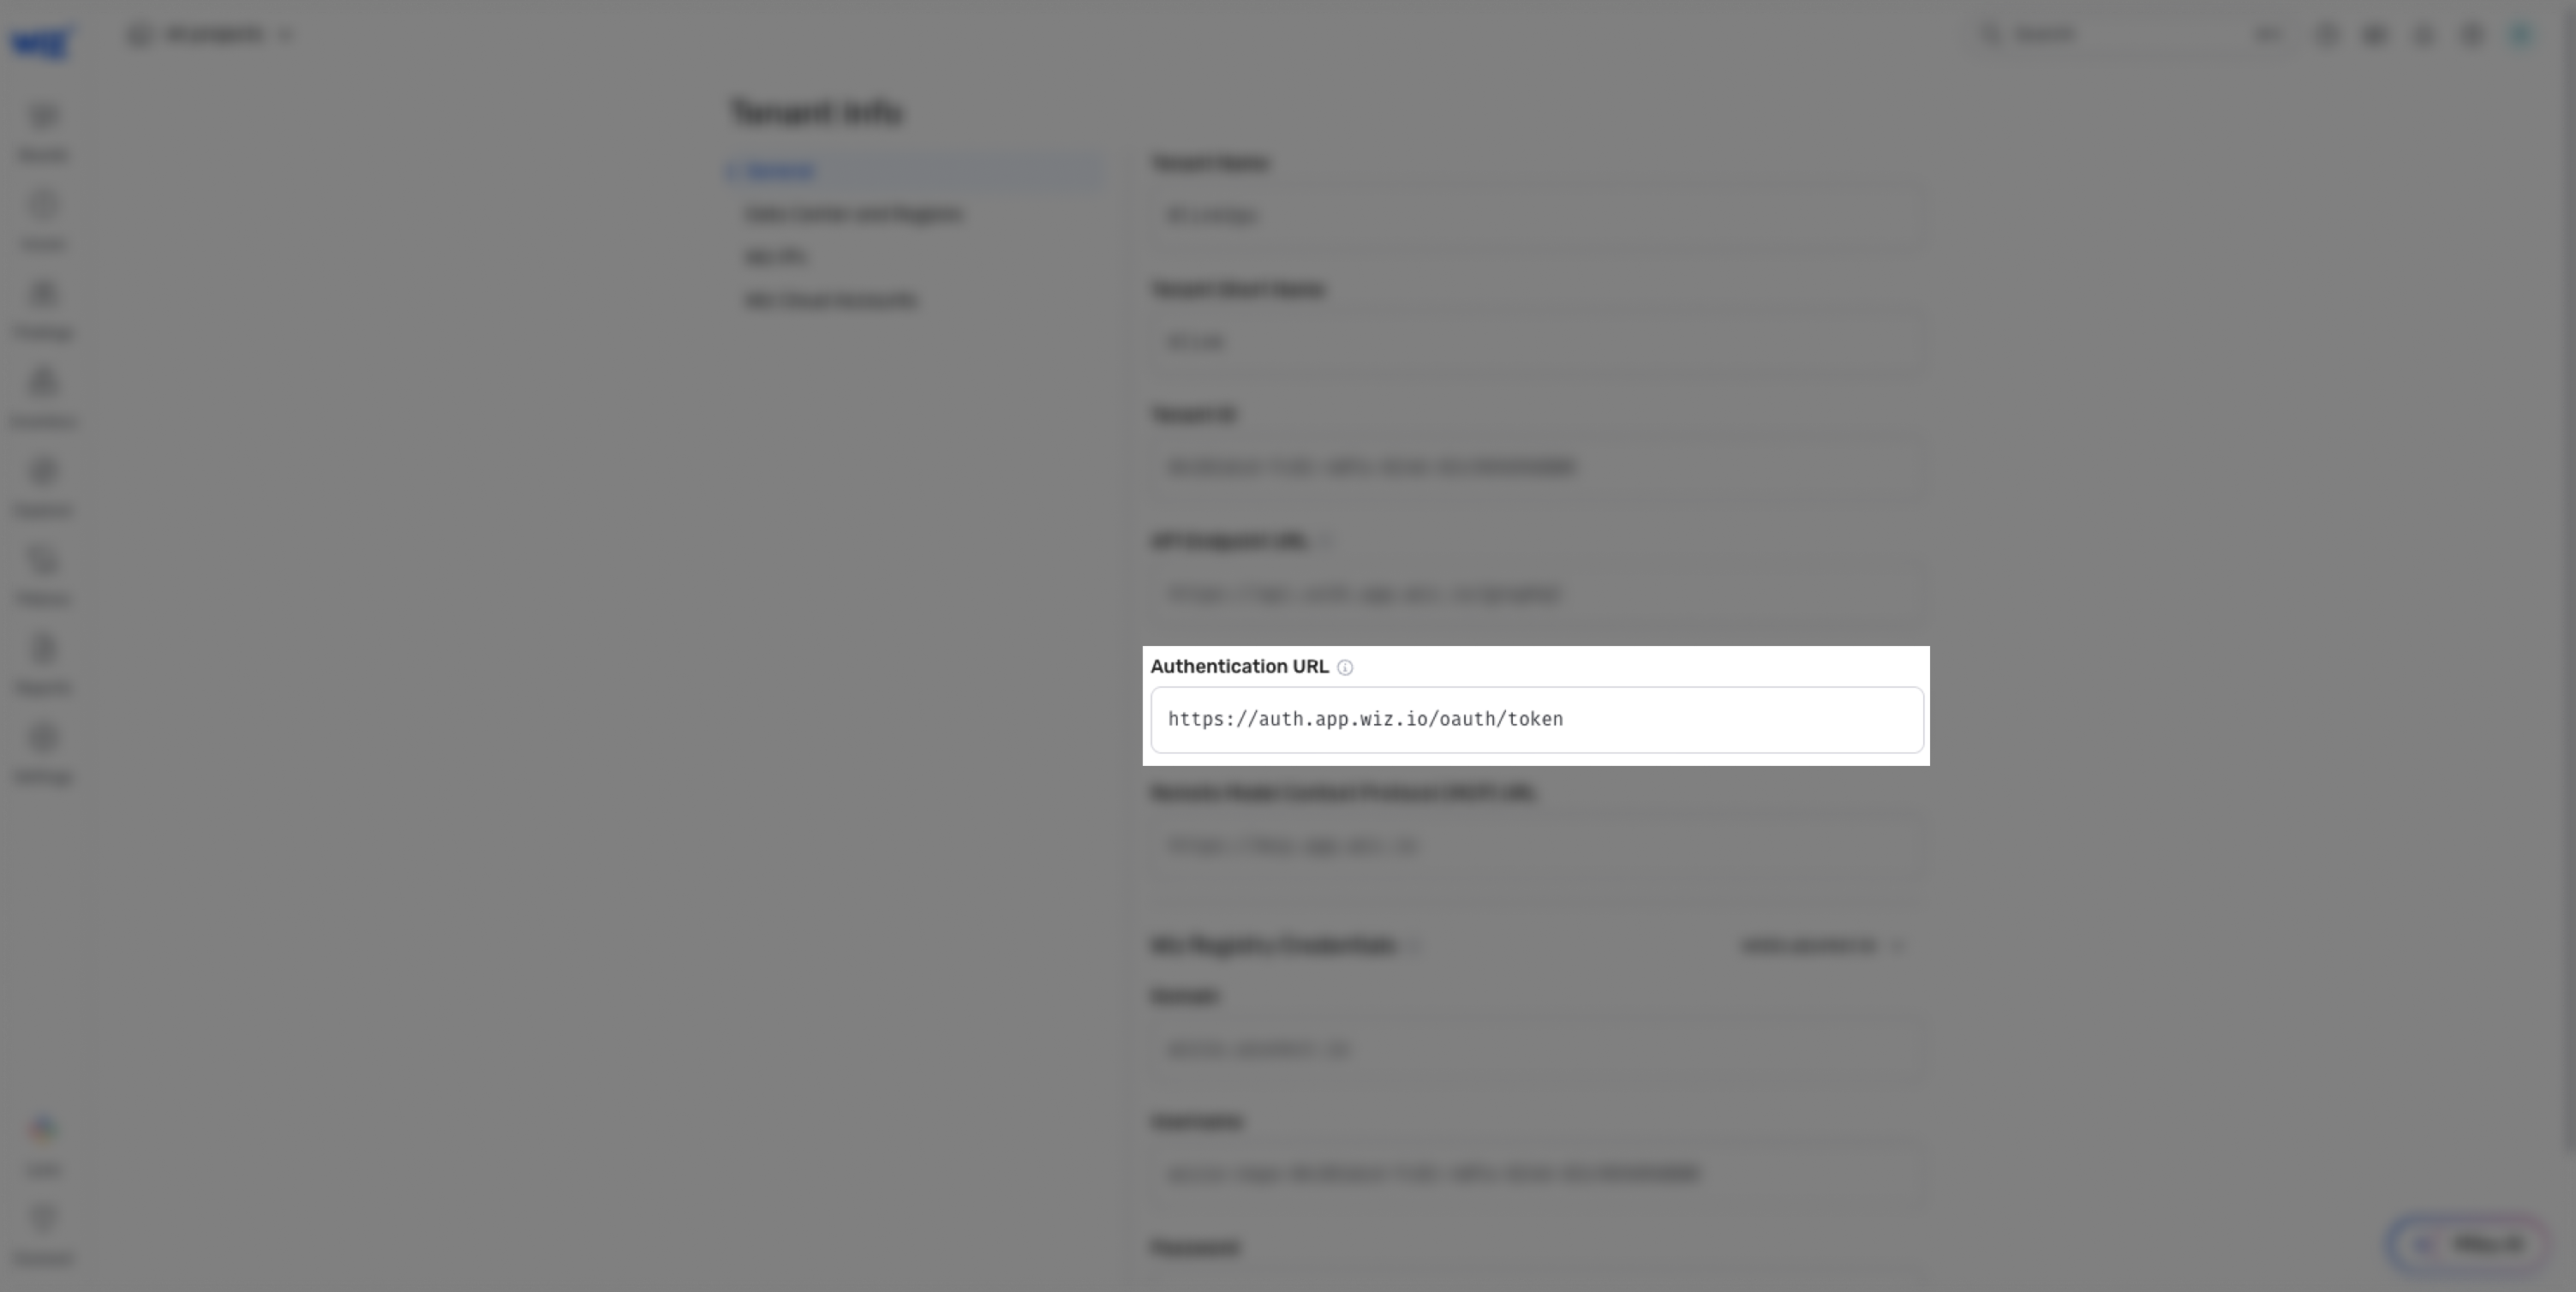
Token URL
- Go to Settings > Access Management > Tenant Info.
-
Copy your Authentication URL.
Creating your connection
- In the Blink platform, navigate to the Connections page > Add connection. A New Connection dialog box opens displaying icons of external service providers available.
- Select the Wiz icon. A dialog box with name of the connection and connection methods appears.
- (Optional) Edit the name of the connection. At a later stage you cannot edit the name.
- Select Service Account as the method to create the connection.
-
Fill in the parameters:
- The API address
- The client ID
- The client secret
- The Token URL
- (Optional) Click Test Connection to test it.
- Click Create connection. The new connection appears on the Connections page.