Creating a Prisma Cloud CWP connection
To create the connection you need:- An access key
- The path to your Console
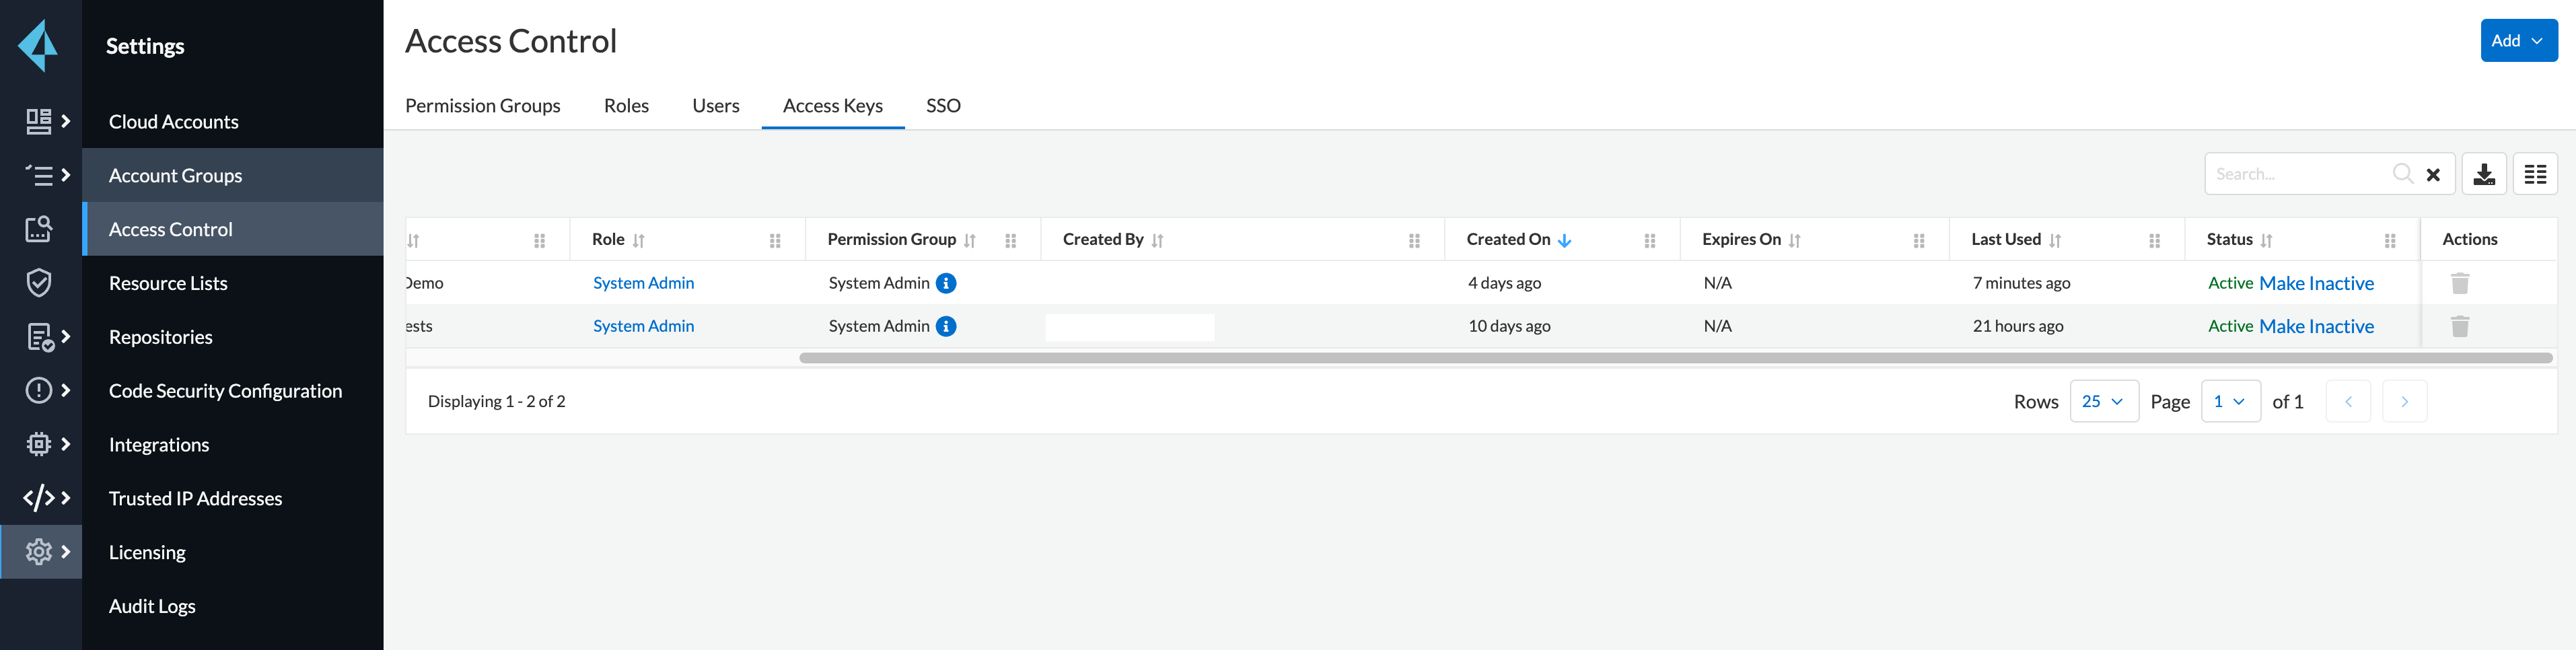
Obtaining the credentials
Creating The Access Key
-
Go to Settings > Access Control.
-
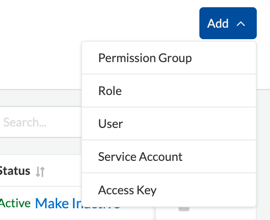
Click Add > Access Key.
-
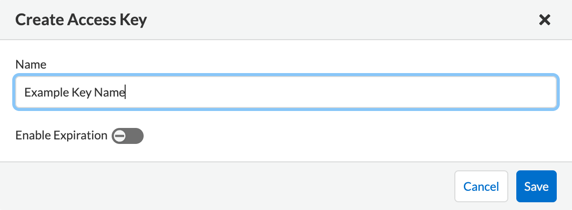
Name your access key.
-
Click Save & Copy your Access Key ID and Secret Access Key.

Find The Path To Your Console
- Go to Compute > Manage > System > Utilities.
- Under Path to Console, click Copy.
Creating your connection
- In the Blink platform, navigate to the Connections page > Add connection. A New Connection dialog box opens displaying icons of external service providers available.
- Select the Prisma Cloud CWP icon. A dialog box with name of the connection and connection methods appears.
- (Optional) Edit the name of the connection. At a later stage you cannot edit the name.
- Select Access Key as the method to create the connection.
-
Fill in the parameters:
- The previously copied Prisma Cloud CWP Console Path
- The Prisma Cloud CWP API version - You can find it in Compute > Radars > Settings by clicking on the bell icon
- The previously copied access key ID
- The previously copied secret access key
- (Optional) Click Test Connection to test it.
- Click Create connection. The new connection appears on the Connections page.