Creating a Jira connection
To create the connection you need:- An API token
Obtaining the credentials
- Log in to Jira.
- Click on Atlassian to create an API token. For a detailed explanation on how to create the API token, click here.
-
Click Create API token.
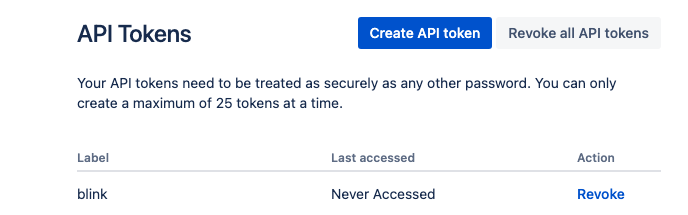
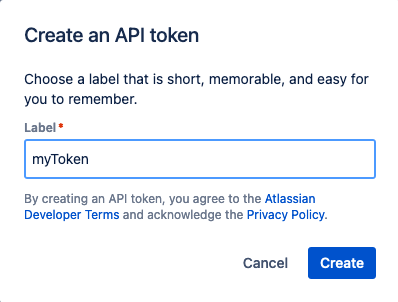
-
Name your token and click Create.
Creating an API token
-
Click on your Jira icon at the top right and click Manage account.
-
Click Security.
-
Go to Create and manage API tokens.

Creating your connection
- In the Blink platform, navigate to the Connections page > Add connection. A New Connection dialog box opens displaying icons of external service providers available.
- Select the Jira icon. A dialog box with name of the connection and connection methods appears.
- (Optional) Edit the name of the connection. At a later stage you cannot edit the name.
- Select API Token as the method to make the connection.
-
Fill in the parameters:
- The API address. This is the fully qualified name of your Jira workspace, without any pathname
- The API token
- The user email
- (Optional) Click Test Connection to test it.
- Click Create connection. The new connection appears on the Connections page.