> ## Documentation Index
> Fetch the complete documentation index at: https://docs.blinkops.com/llms.txt
> Use this file to discover all available pages before exploring further.
# Salesforce WSDL Webhook Event
Salesforce allows you to configure WSDL outbound messages, which send information to a third-party platform like Blink Ops in XML format.
Once outbound messaging is set up, a message is sent to the specified endpoint URL whenever a triggering event occurs.
This message contains the specific fields you selected when creating the outbound message.
## Set Salesforce Webhook
Configuring webhooks in Salesforce involves creating new [Outbound Messages](#create-outbound-message) and setting up a [Trigger Flow](#create-new-flow). For detailed information on outbound messages, refer to [Salesforce Documentation](https://developer.salesforce.com/docs/atlas.en-us.api.meta/api/sforce_api_om_outboundmessaging_understanding.htm).
### Create Outbound Message
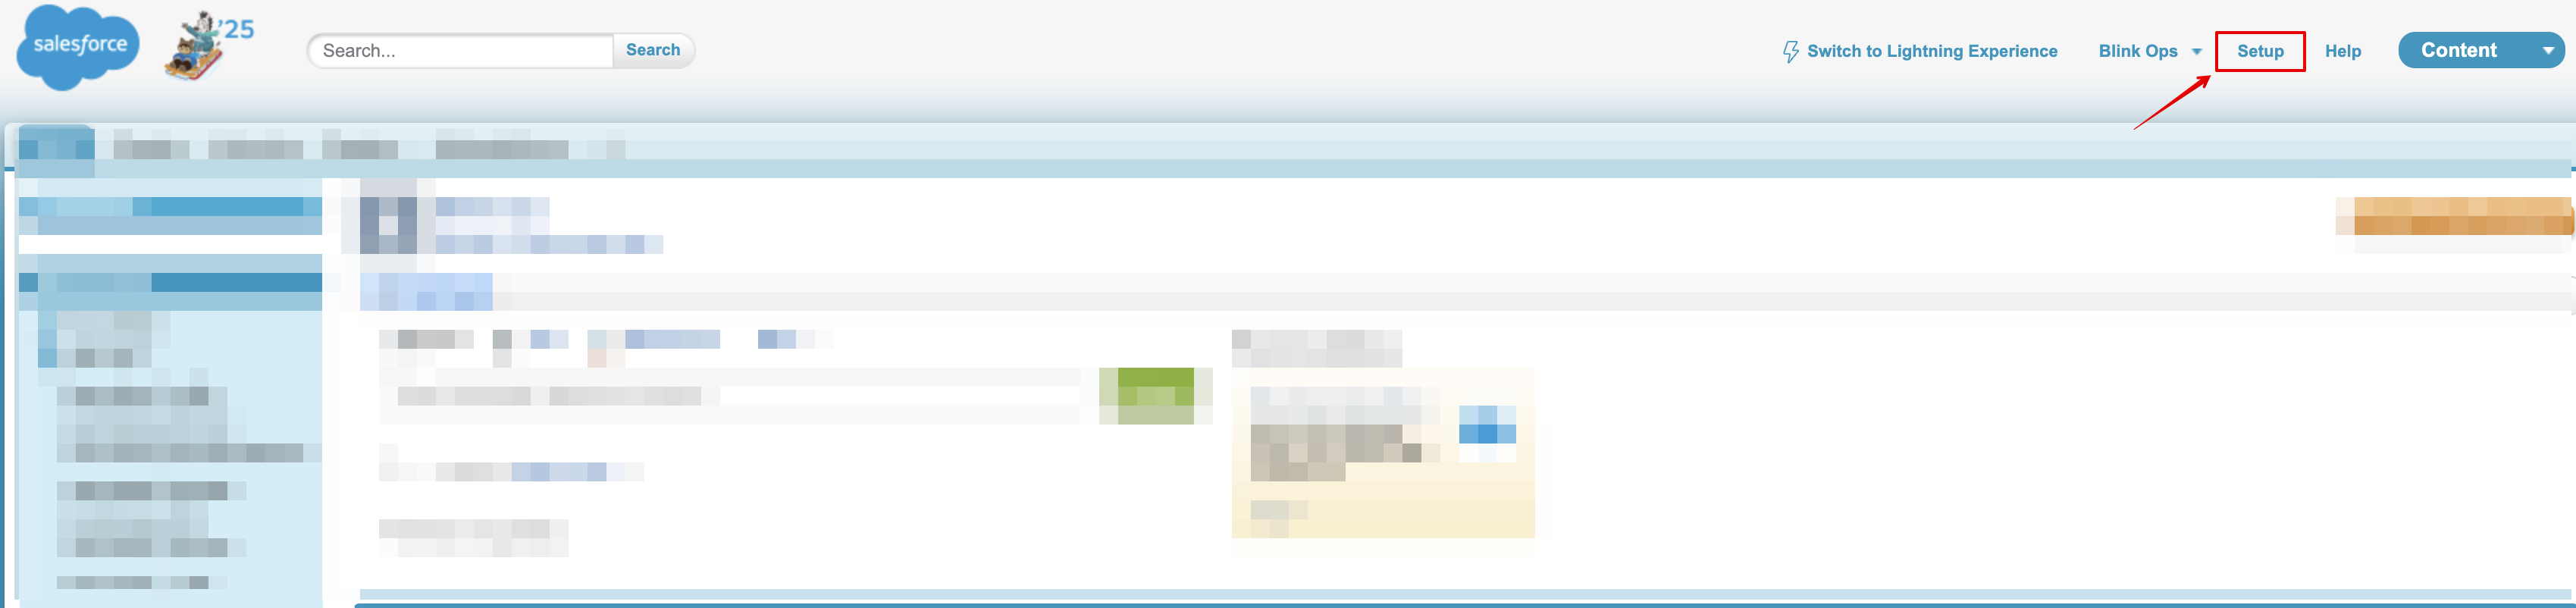
1. Log in to your **Salesforce** account, and go to **Setup**.
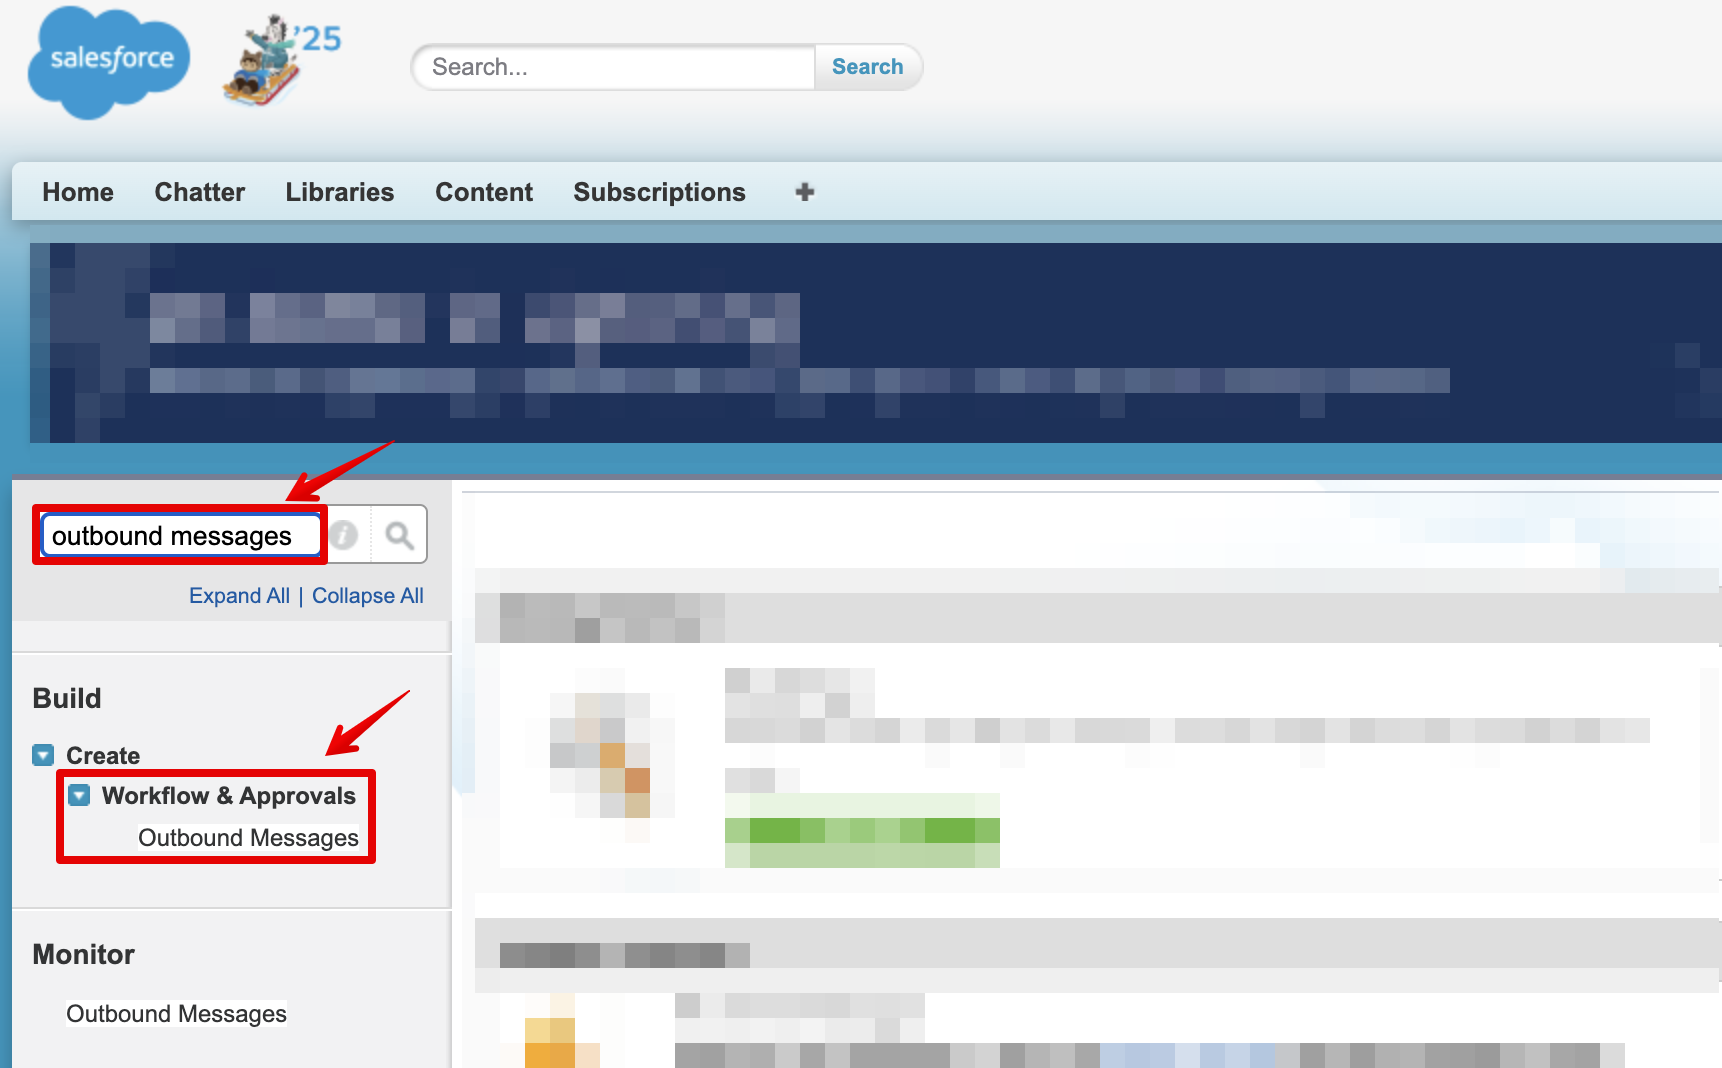
 2. On the left hand search bar, search for **Outbound Messages**. Enter the link under **Workflow and Approvals**.
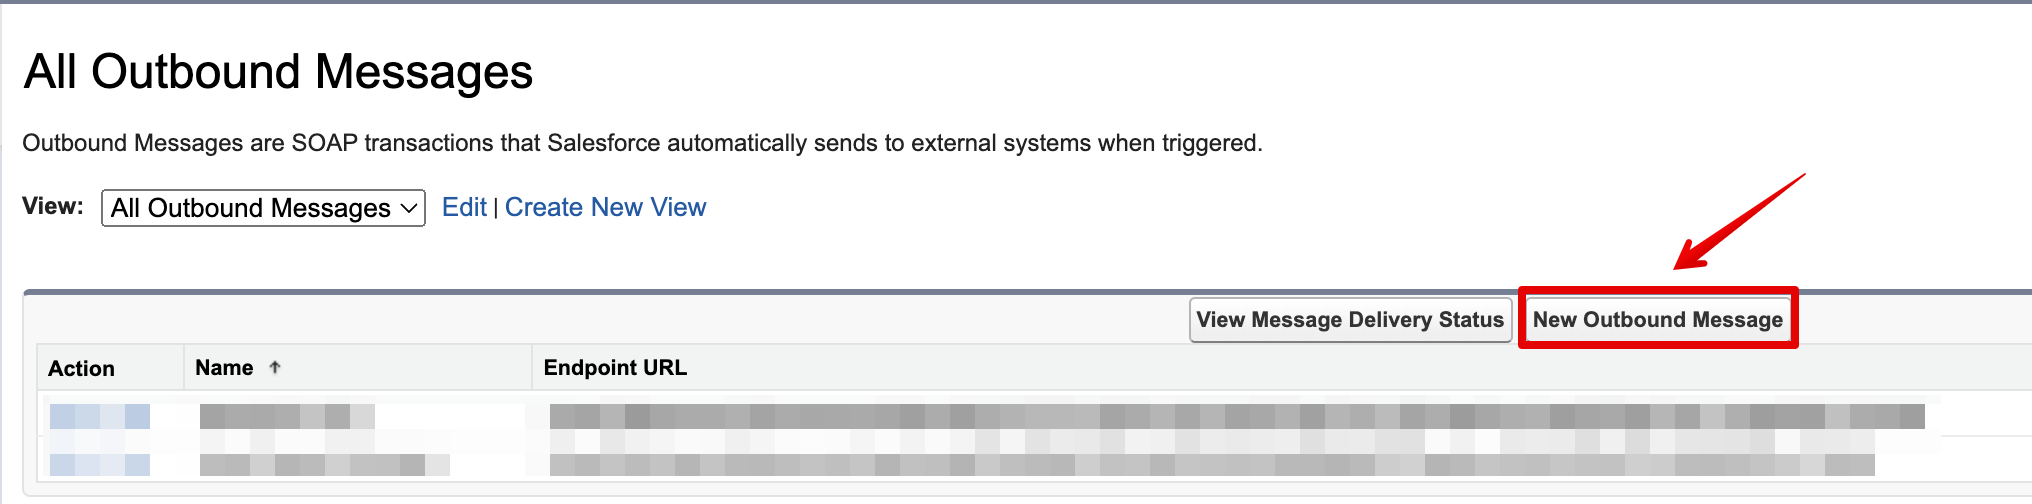
 3. Click **New Outbound Message**.
 4. Choose the **object** that includes the fields you want to retrieve when the webhook is triggered and click **Next**.
 5. Provide the message details, including the **name**, **endpoint URL**, and the **object fields** you wish to retrieve.
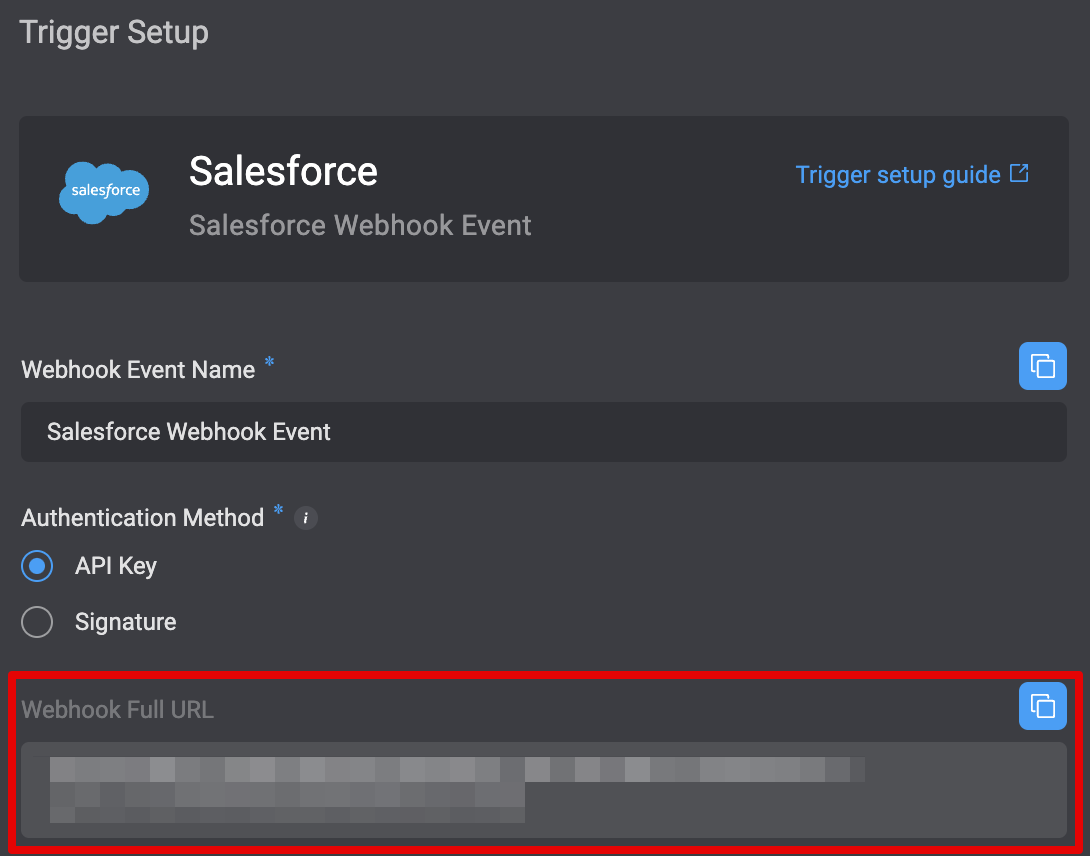
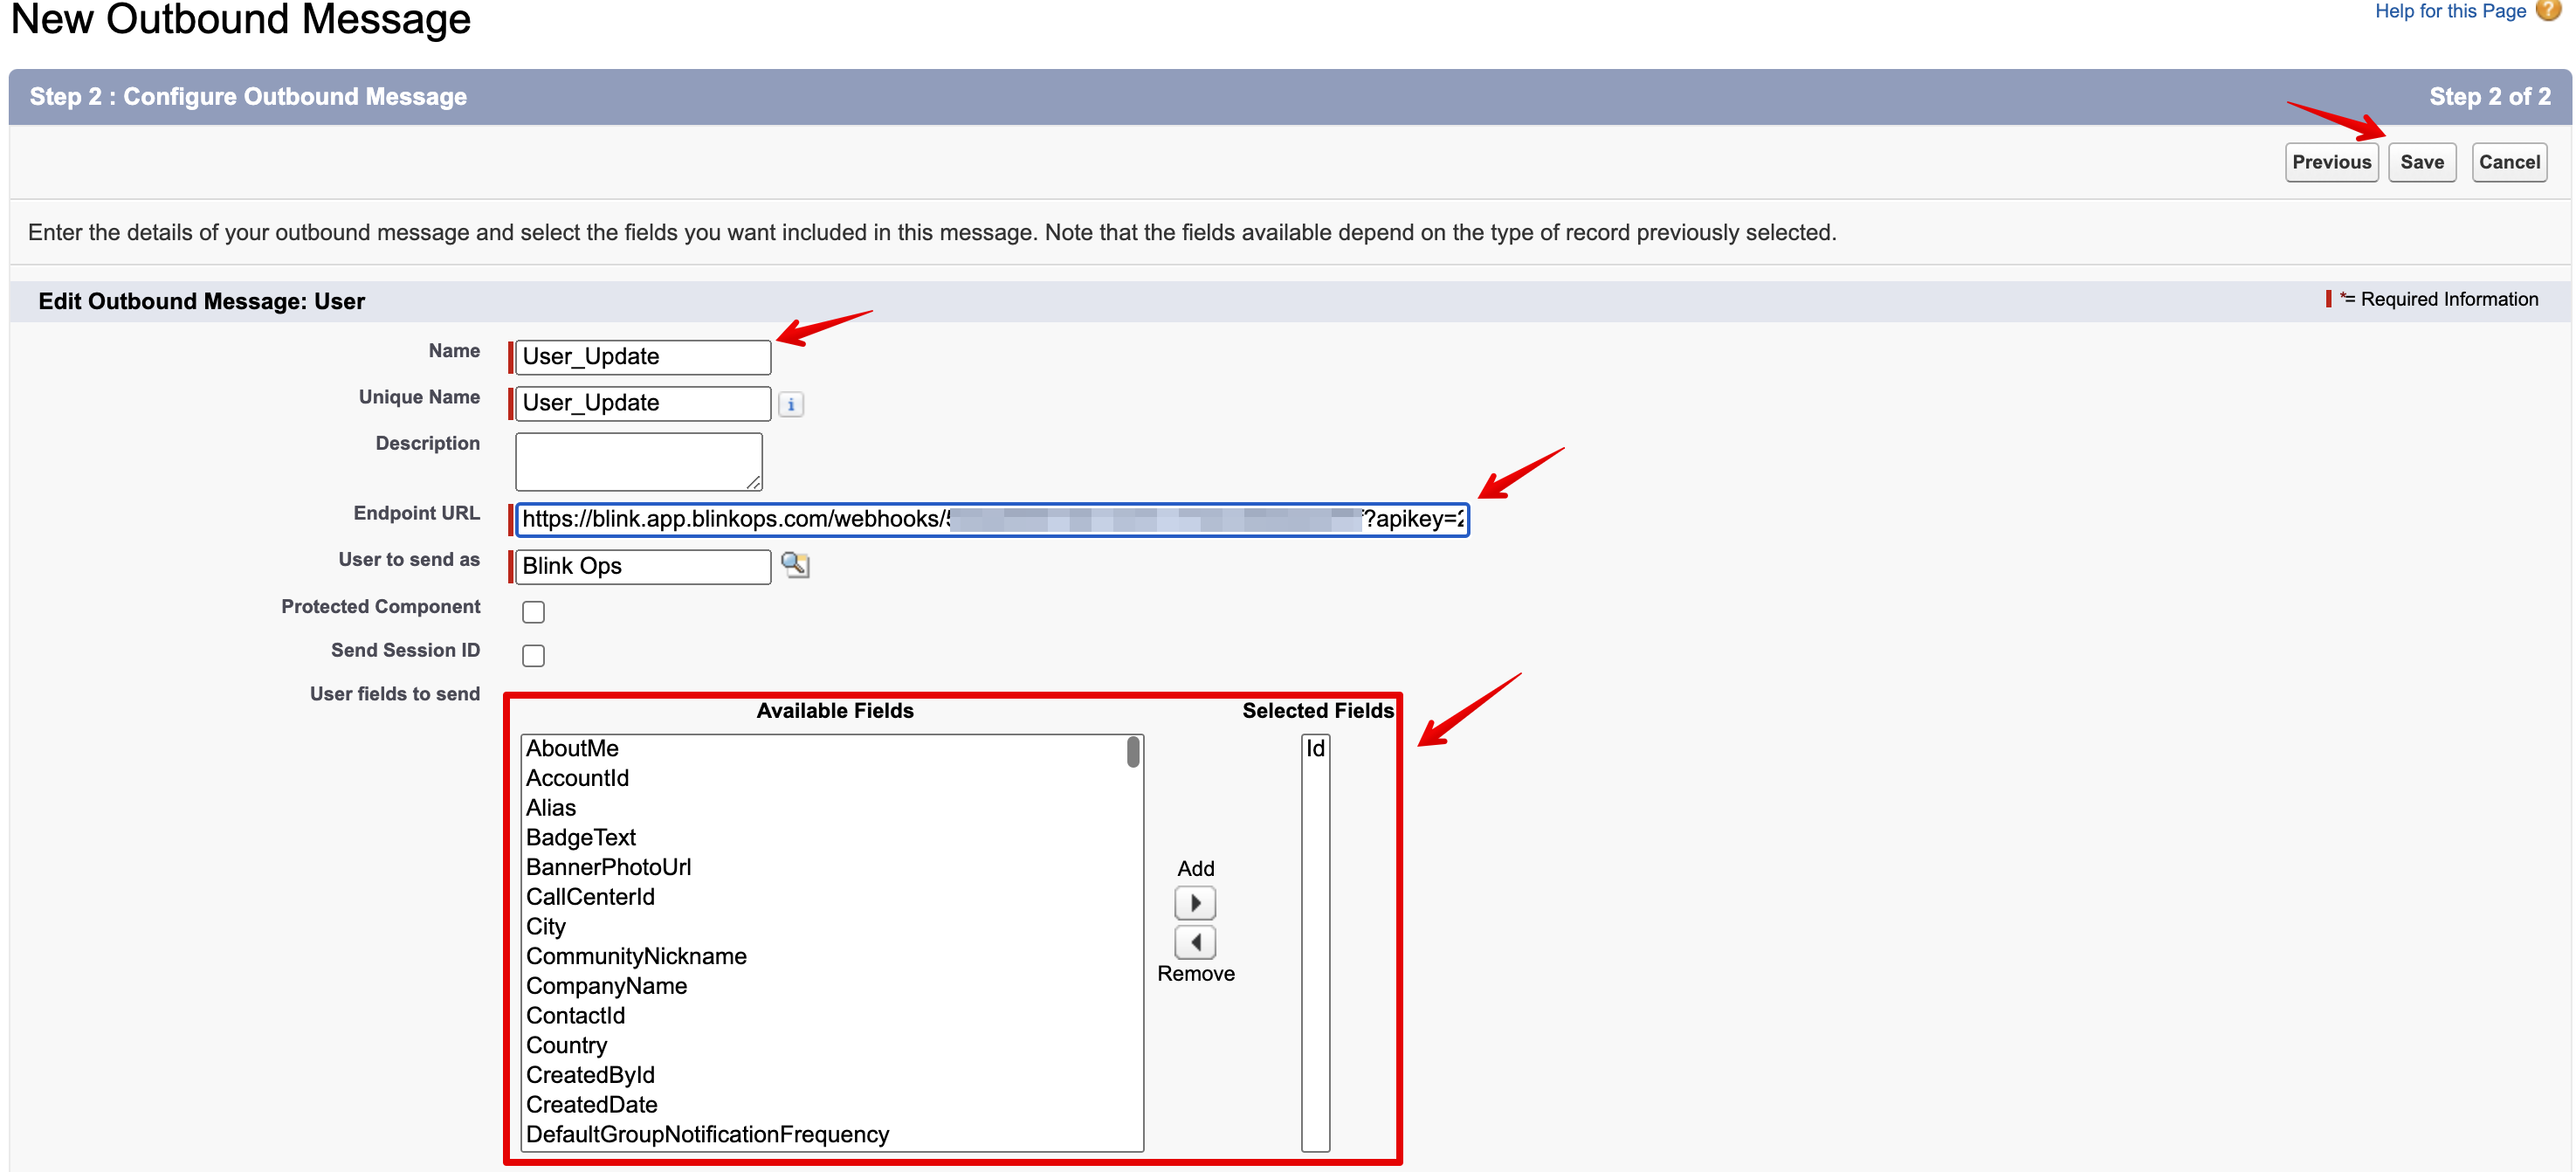 **A reminder**: The Endpoint URL is taken from the Salesforce webhook setup in Blink. For further information on webhooks, please refer to [Blink's Webhooks documentation](/docs/workflows/building-workflows/triggers/event-based-triggers/webhooks).
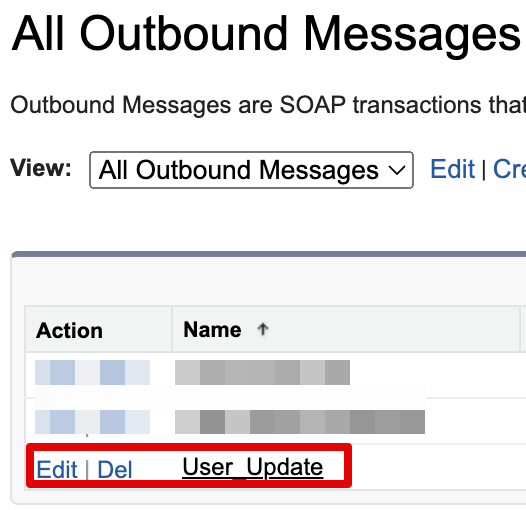
 6. Once done, you will see the new created message on the messages list.
 ### Create New Flow
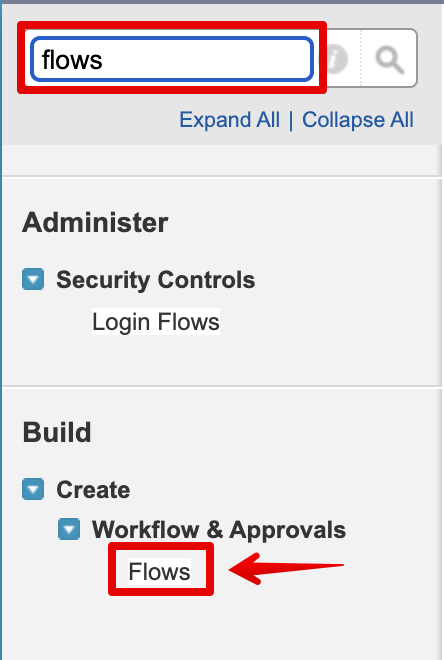
7. Go back to the search bar on the left, and search for **flows**. Click on the link under **Workflow and Approvals**.
### Create New Flow
7. Go back to the search bar on the left, and search for **flows**. Click on the link under **Workflow and Approvals**.
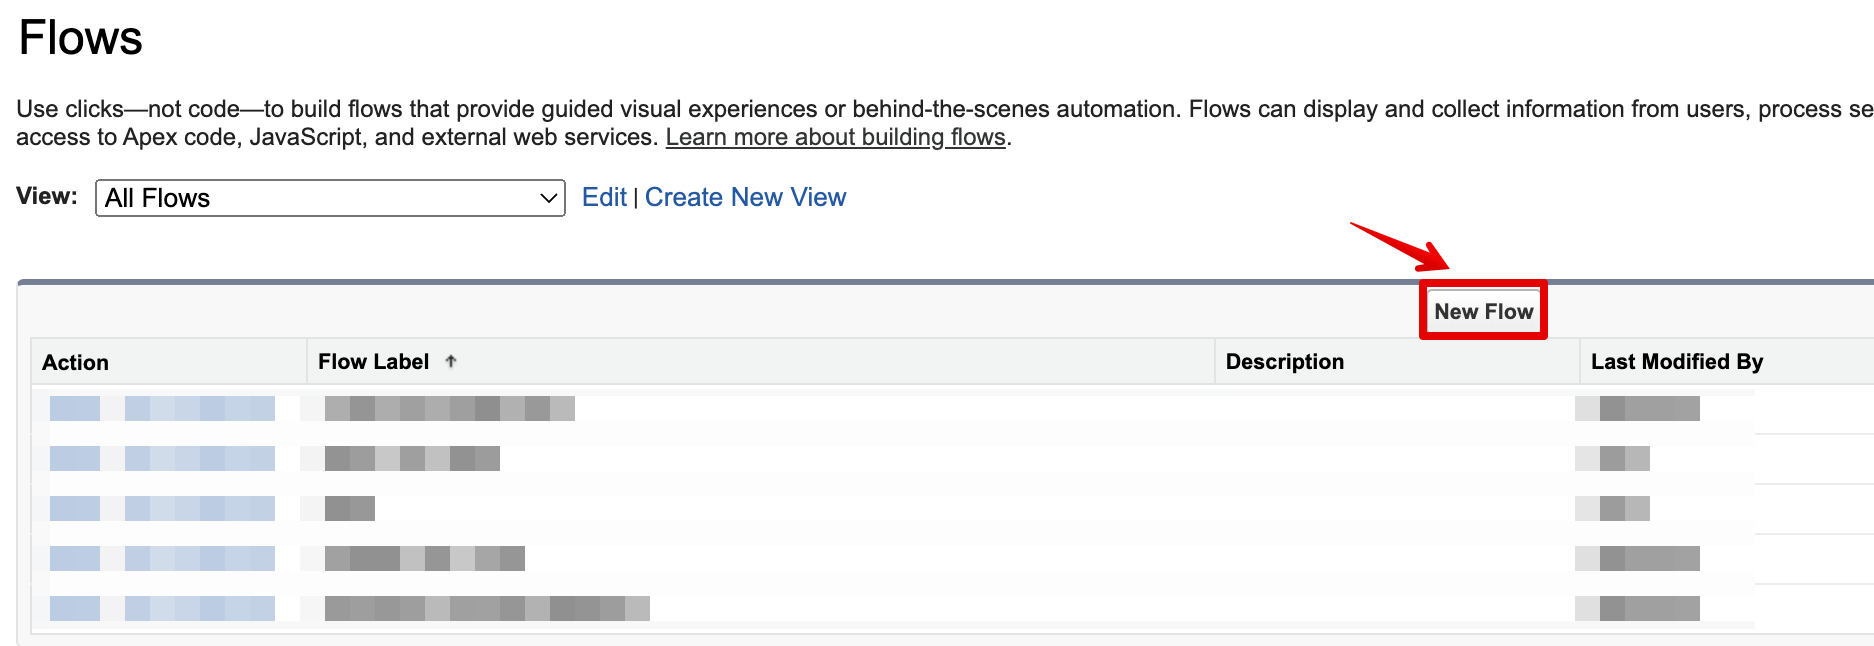
 8. Click **New Flow**
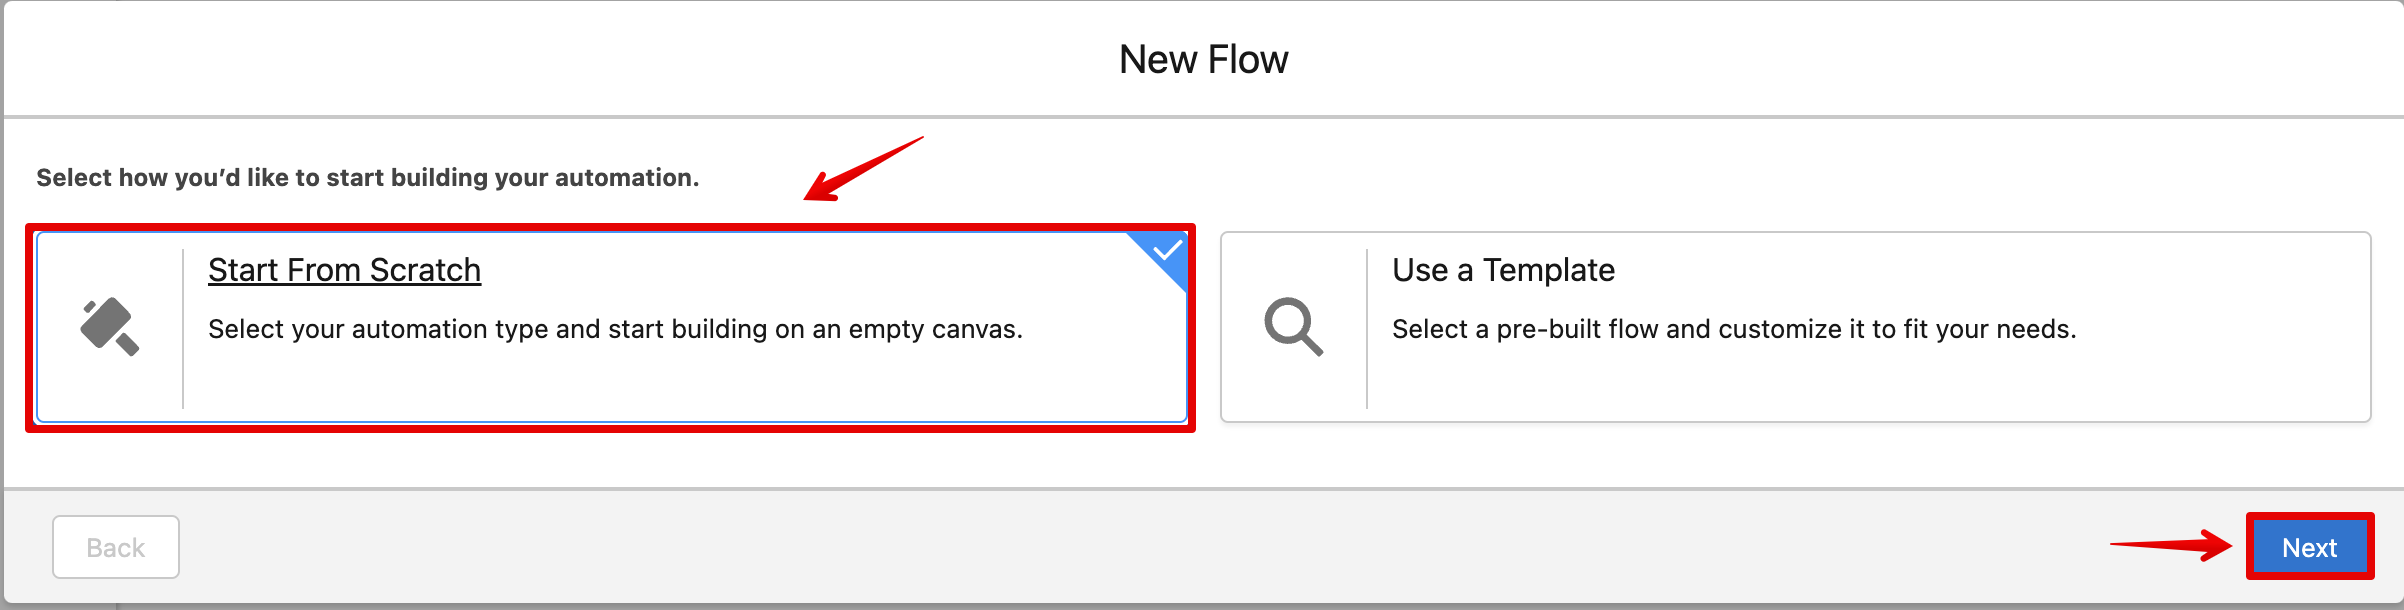
 9. On the flows platform, choose **Start From Scratch** and click **Next**.
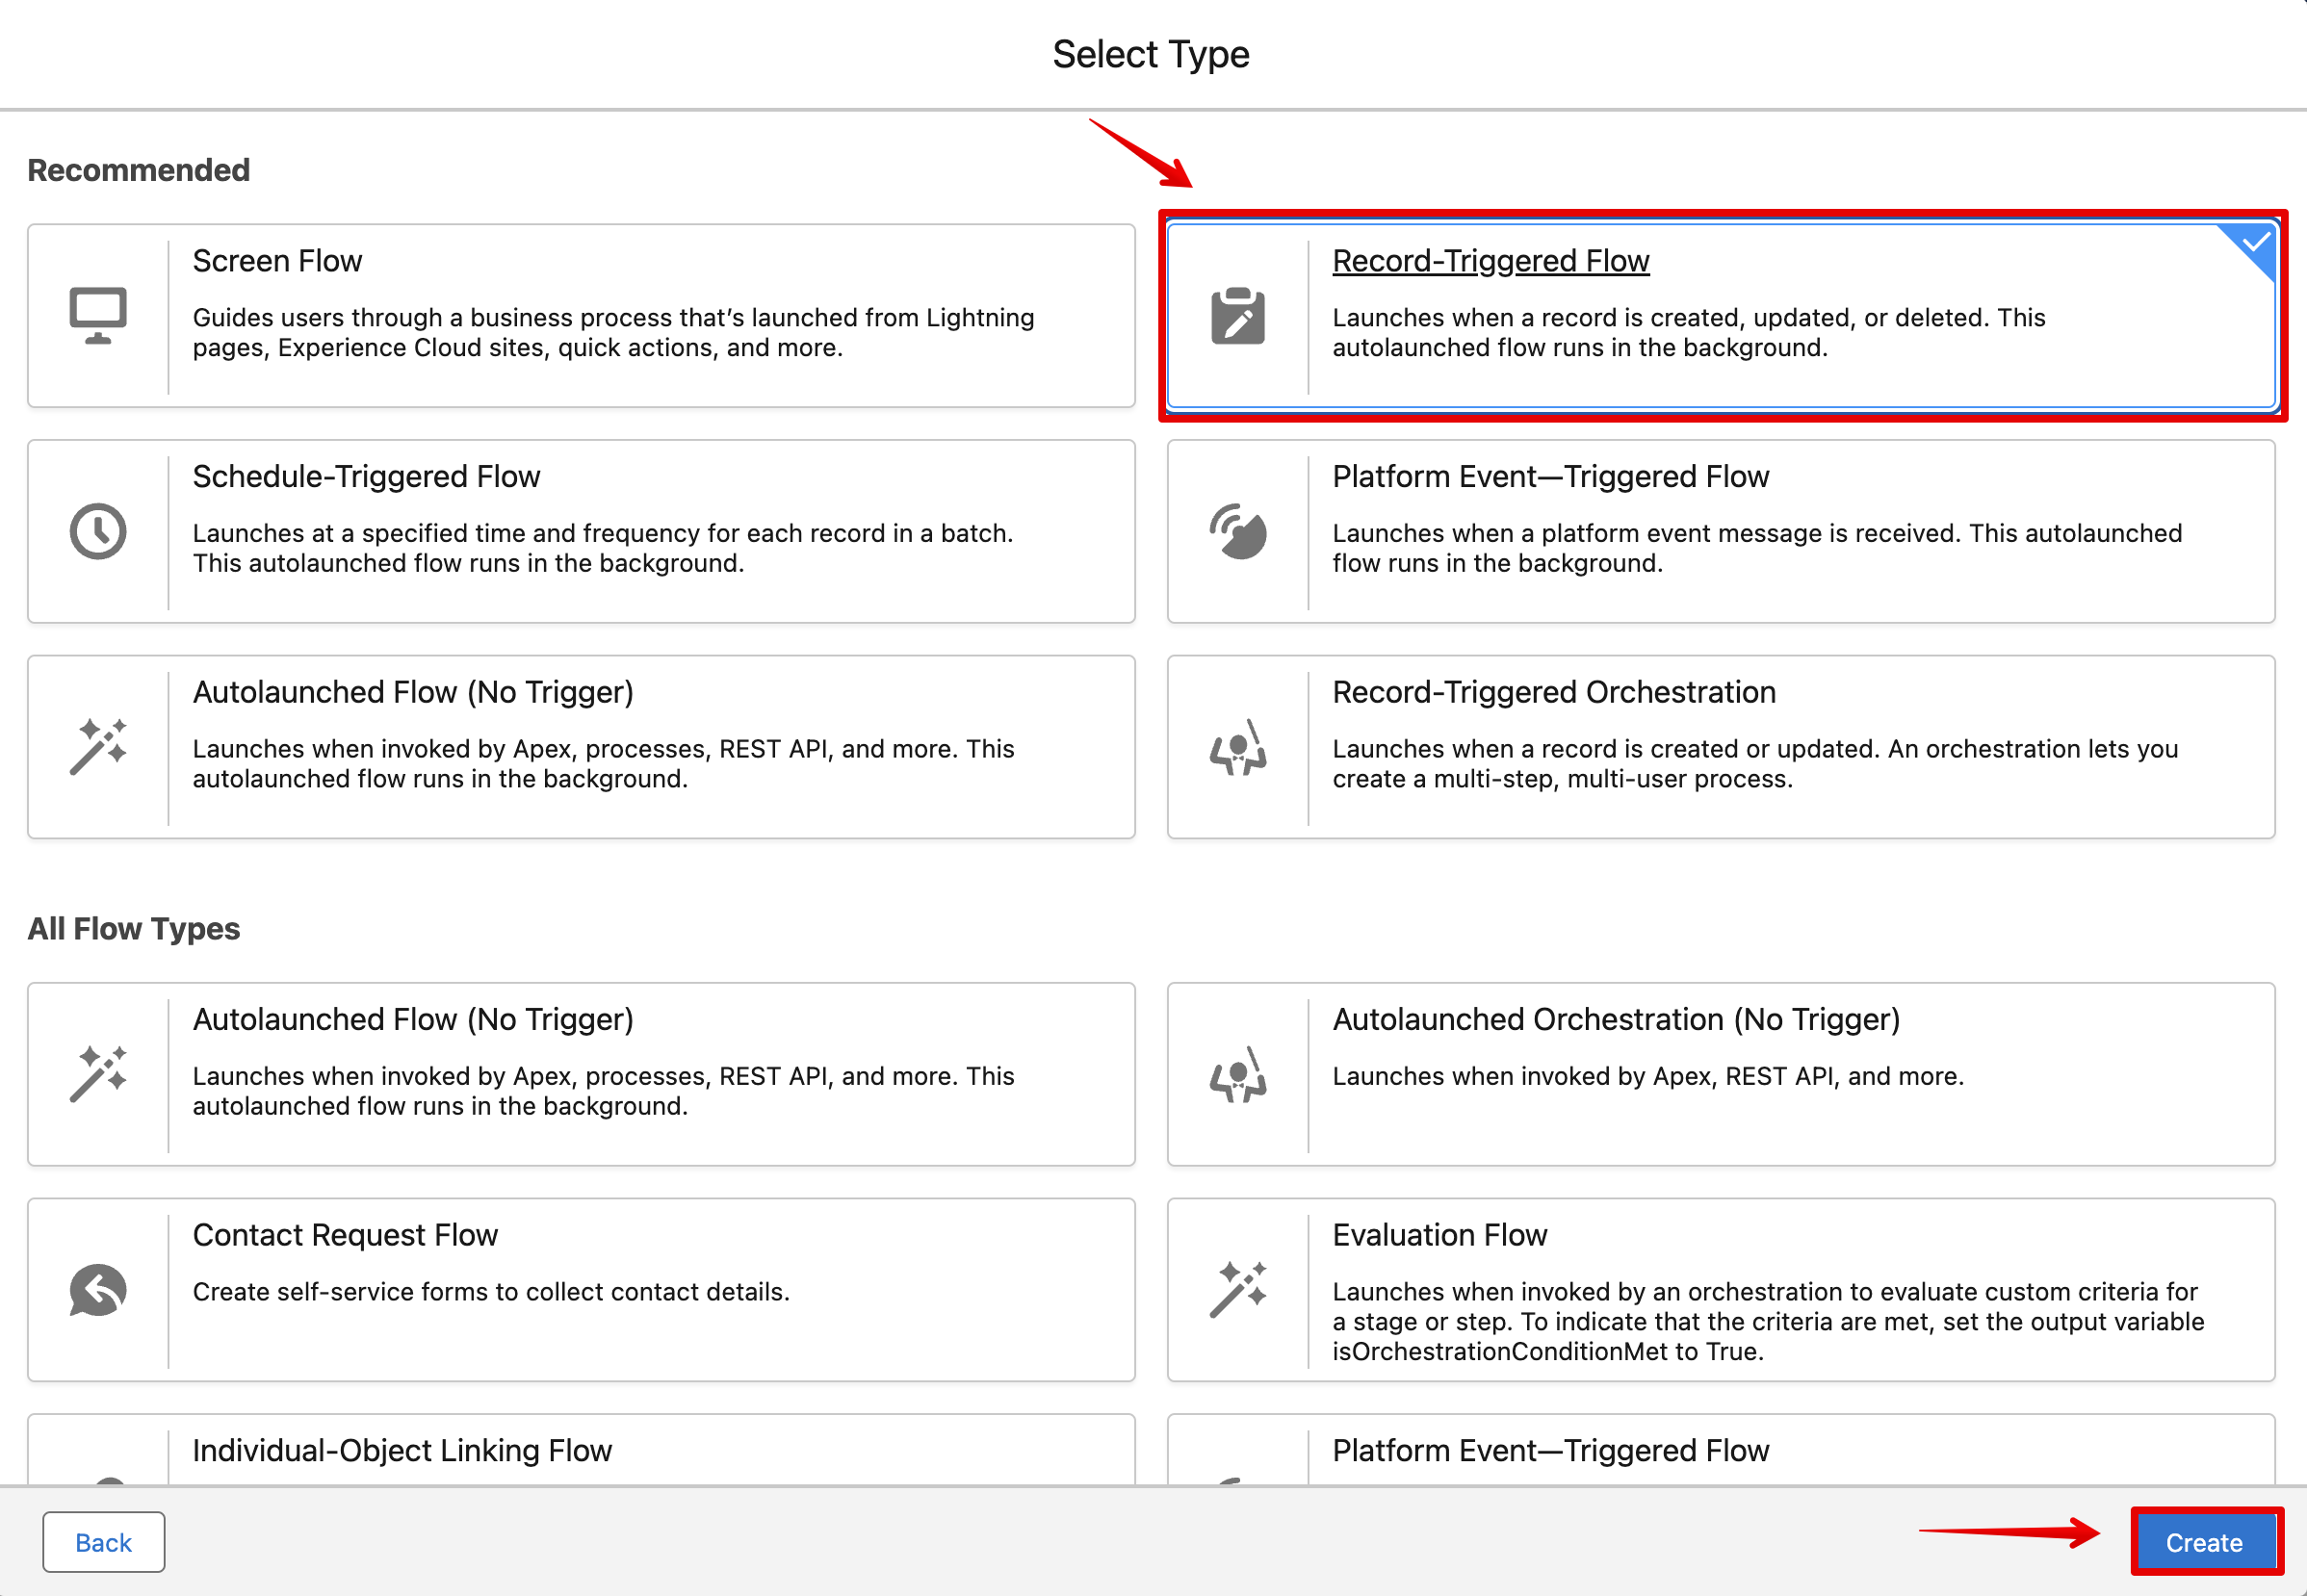
 10. Select **Record Triggered Flow** type and click **Create**.
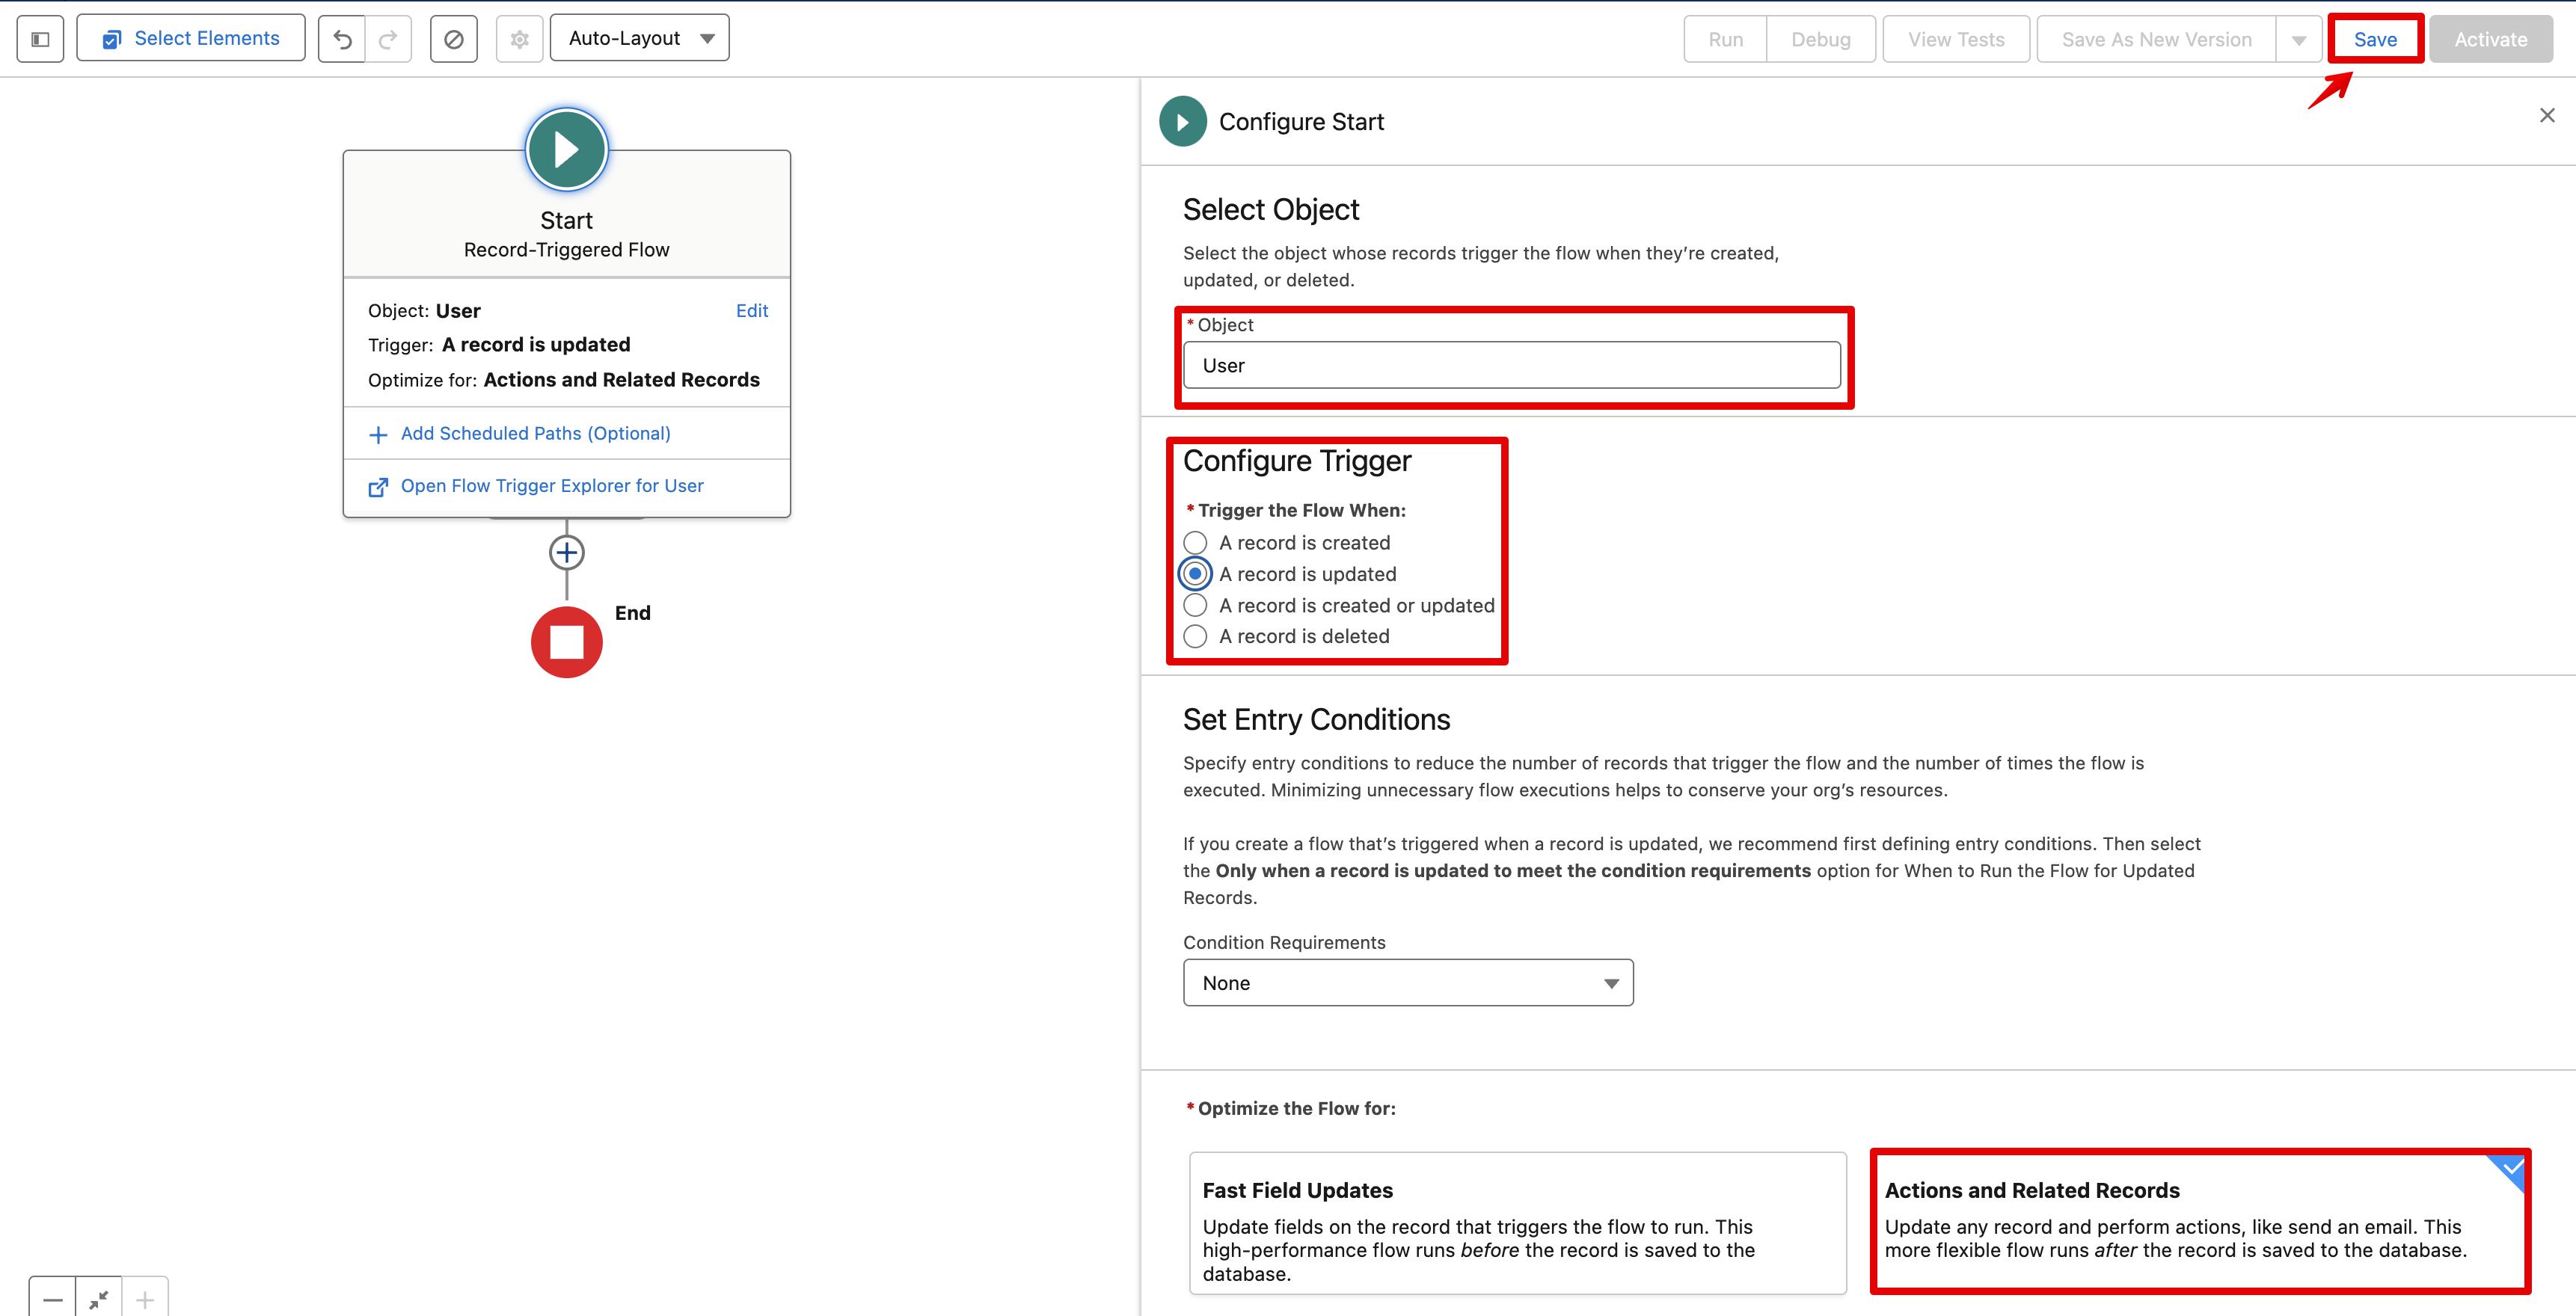
 11. Select the **object** you want to trigger the flow on and specify the **trigger type**. Under **Optimize the Flow for**, select **Actions and Related Records**. Once done, click **Save**.
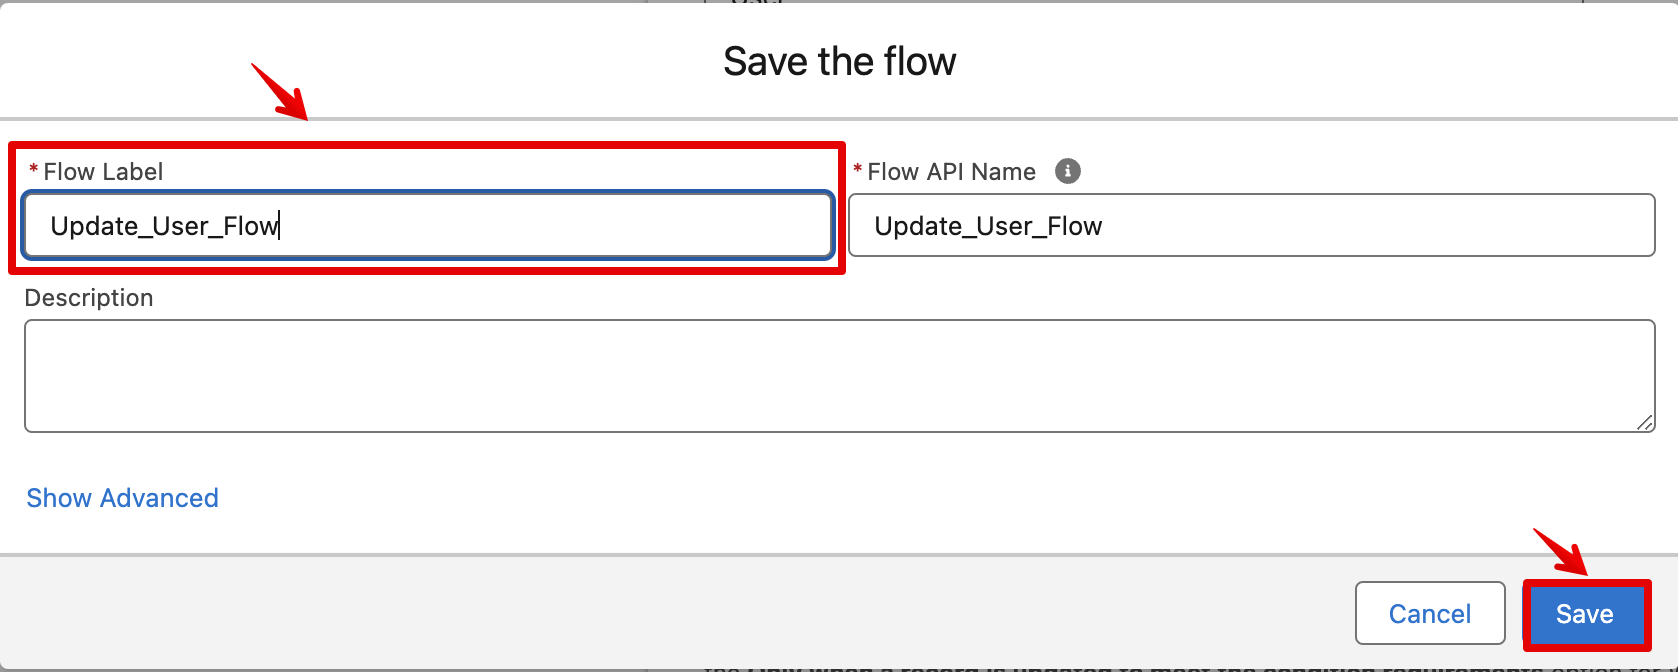
 12. In the **Save Flow** window that appears, enter a **name** for the flow and click **Save**.
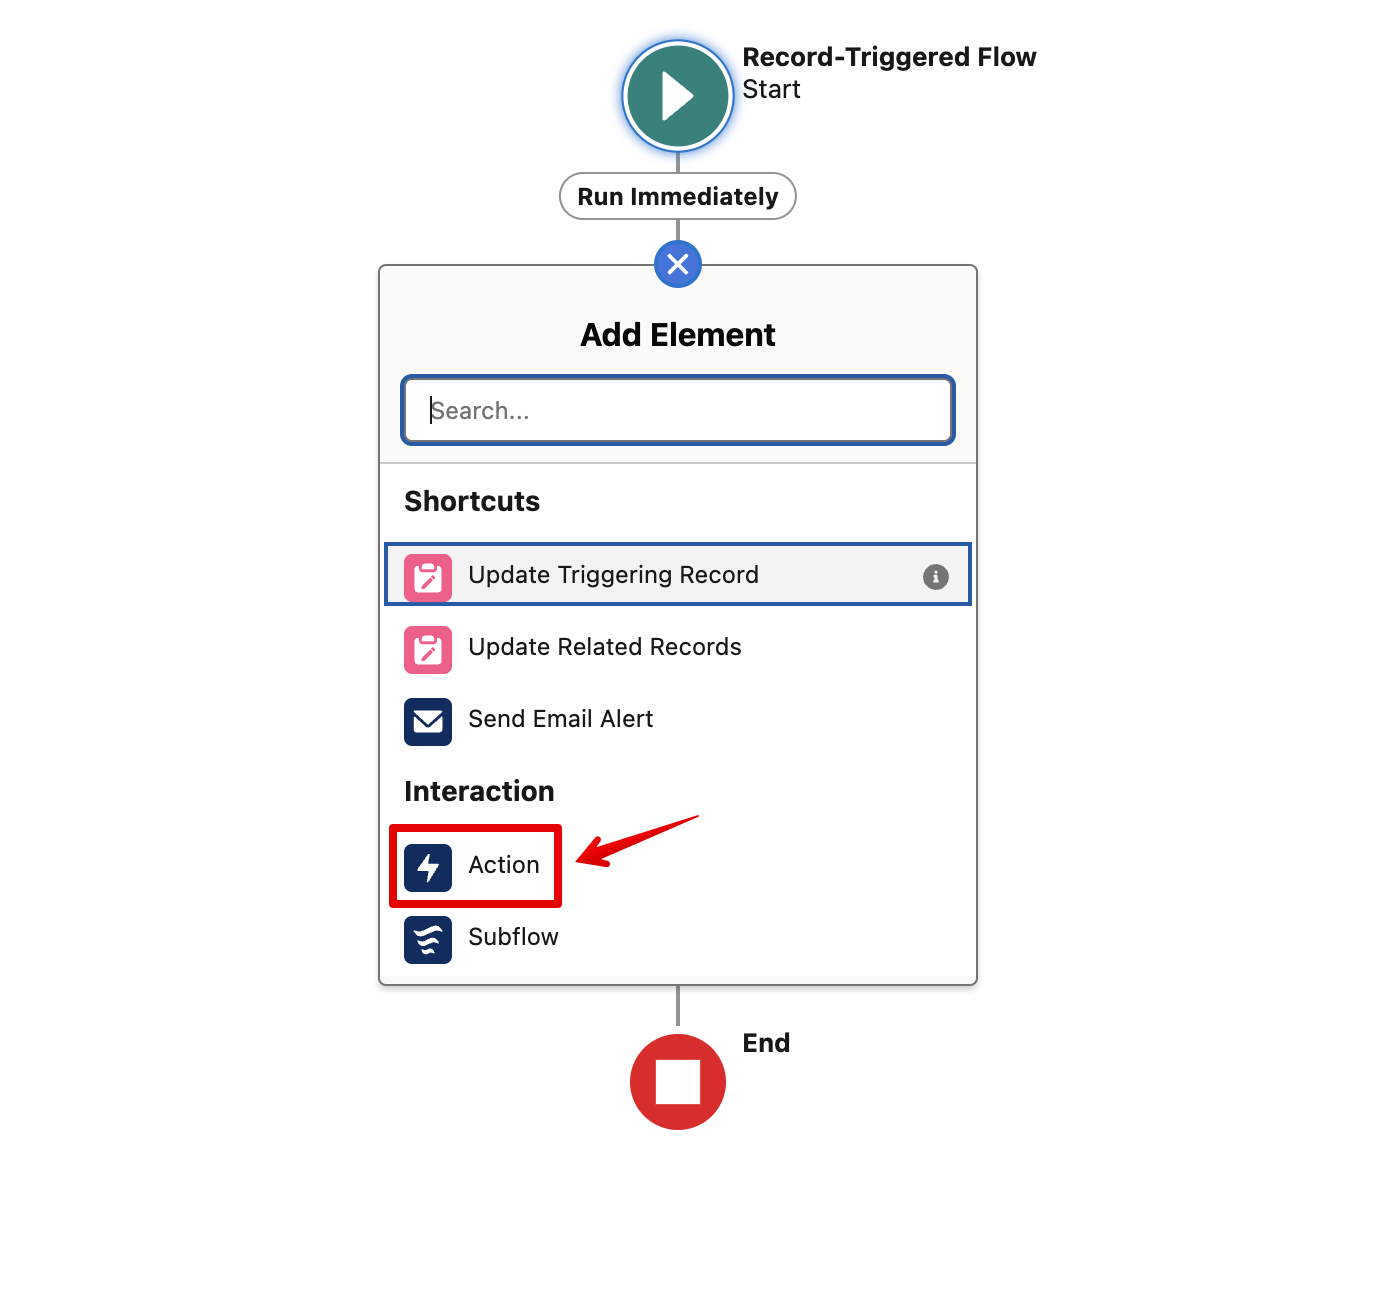
 13. In the flow diagram, click the **+** icon below the "Run Immediately" label. Then, choose **Action**.
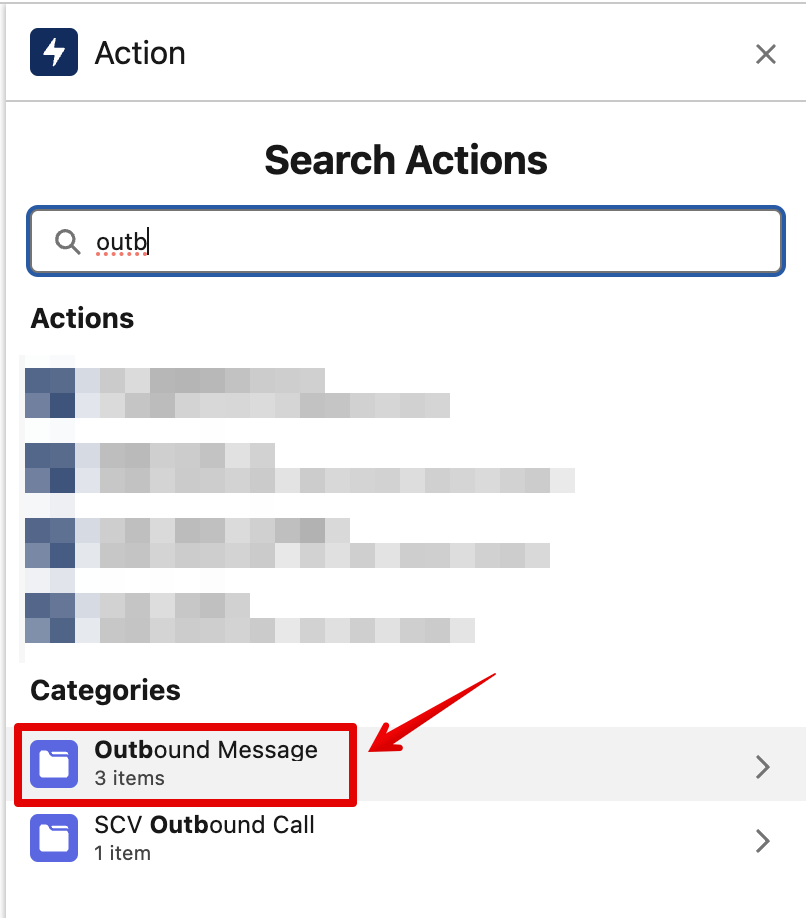
 14. In the **Search Action** Bar, search for **Outbound Message**.
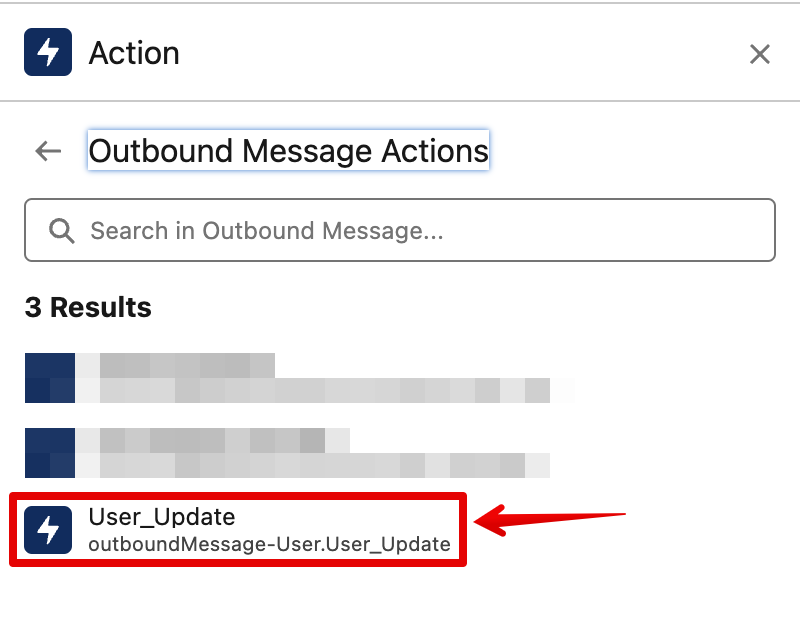
 15. Select your recently added message.
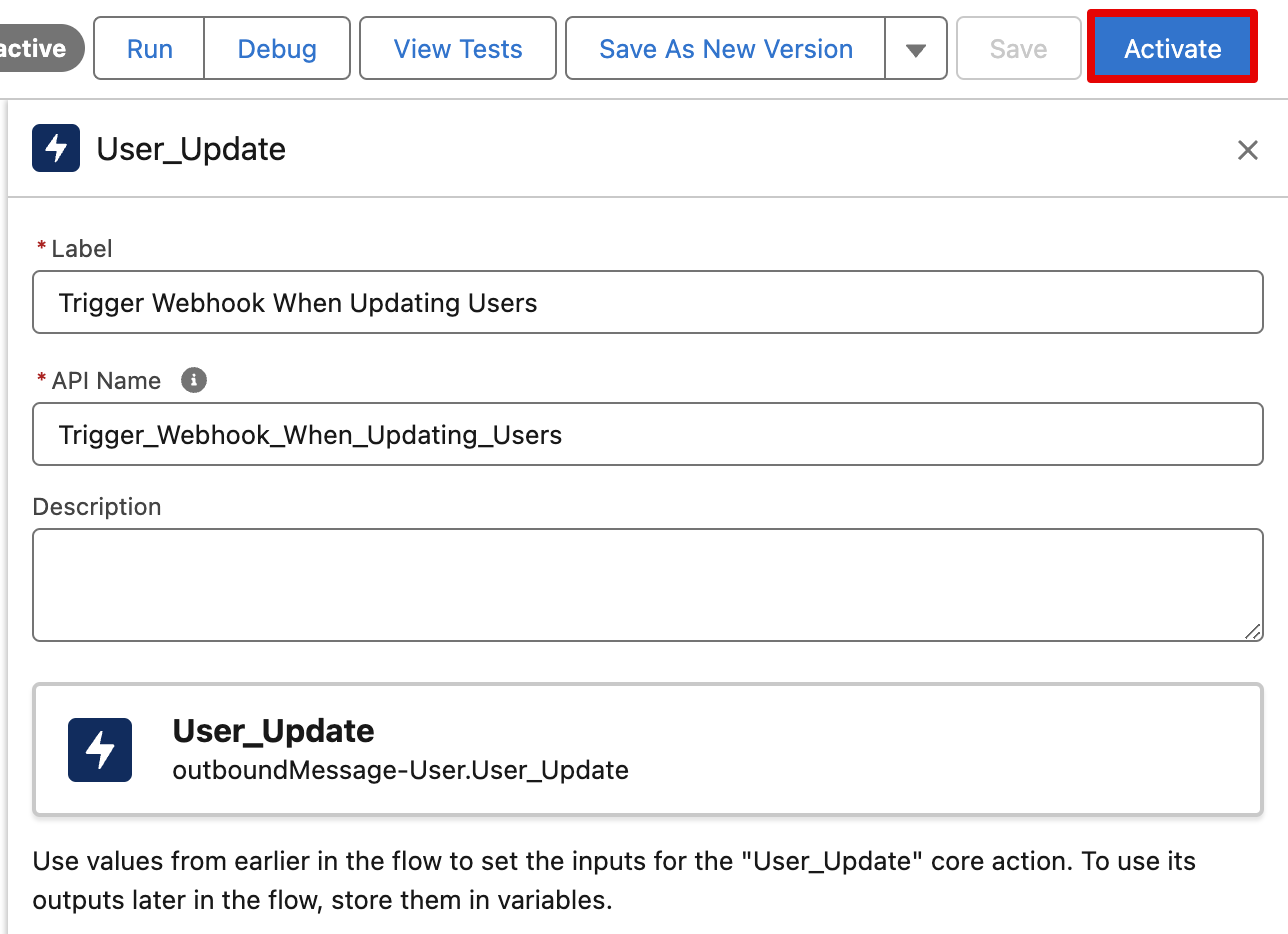
 16. Choose a label for the action and click **Save**.
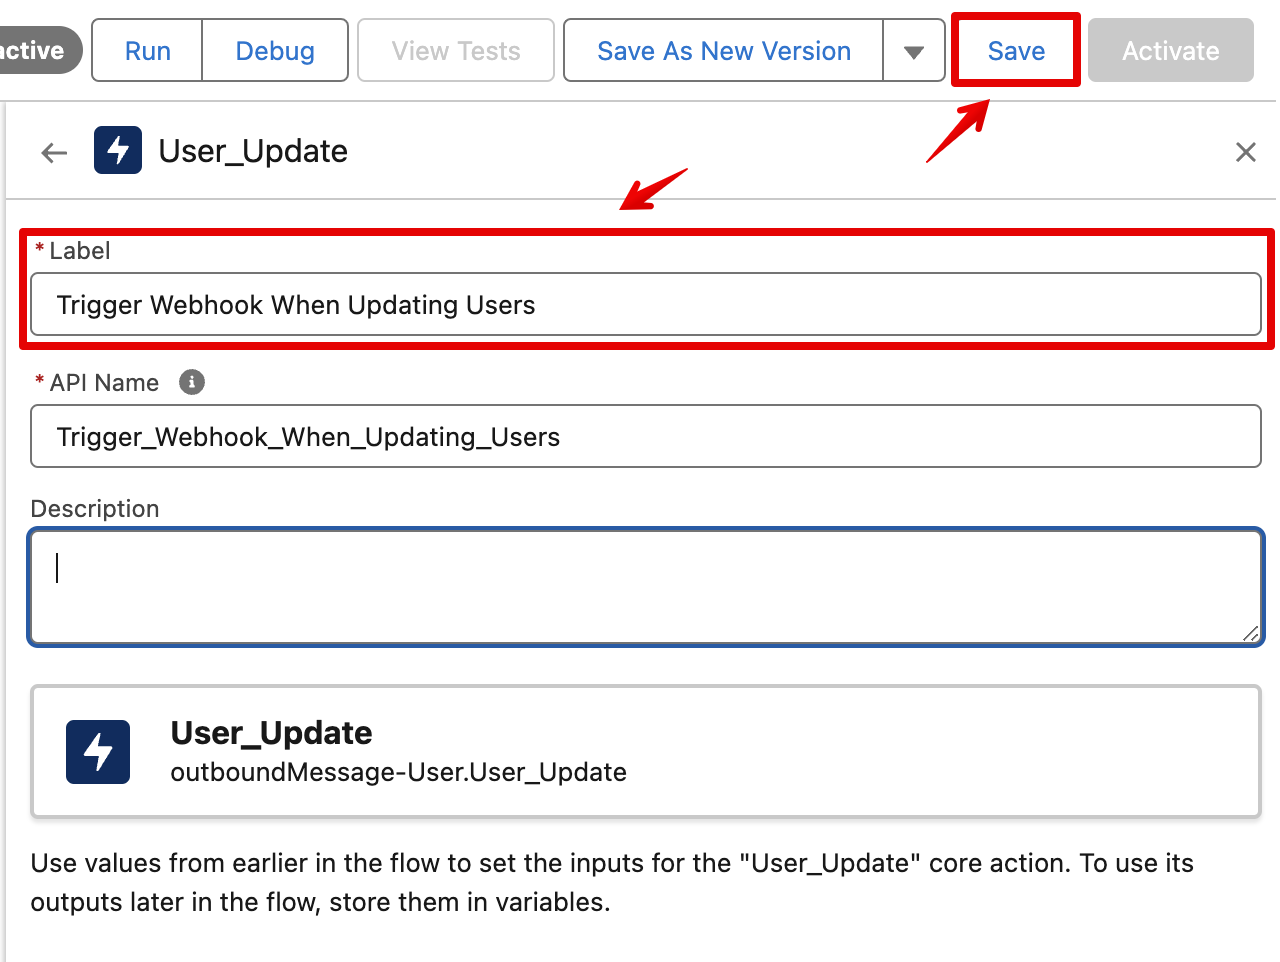 17. **Activate** your flow.