> ## Documentation Index
> Fetch the complete documentation index at: https://docs.blinkops.com/llms.txt
> Use this file to discover all available pages before exploring further.
# Reco
> Reco leverages business context to protect sensitive assets shared through Slack, Jira, Microsoft 365, Google Workspace, and more.
## Creating a Reco connection[](#creating-a-reco-connection "Direct link to Creating a Reco connection")
To create the connection you need:
* An API token
* An API address
### Obtaining the API Token[](#obtaining-the-api-token)
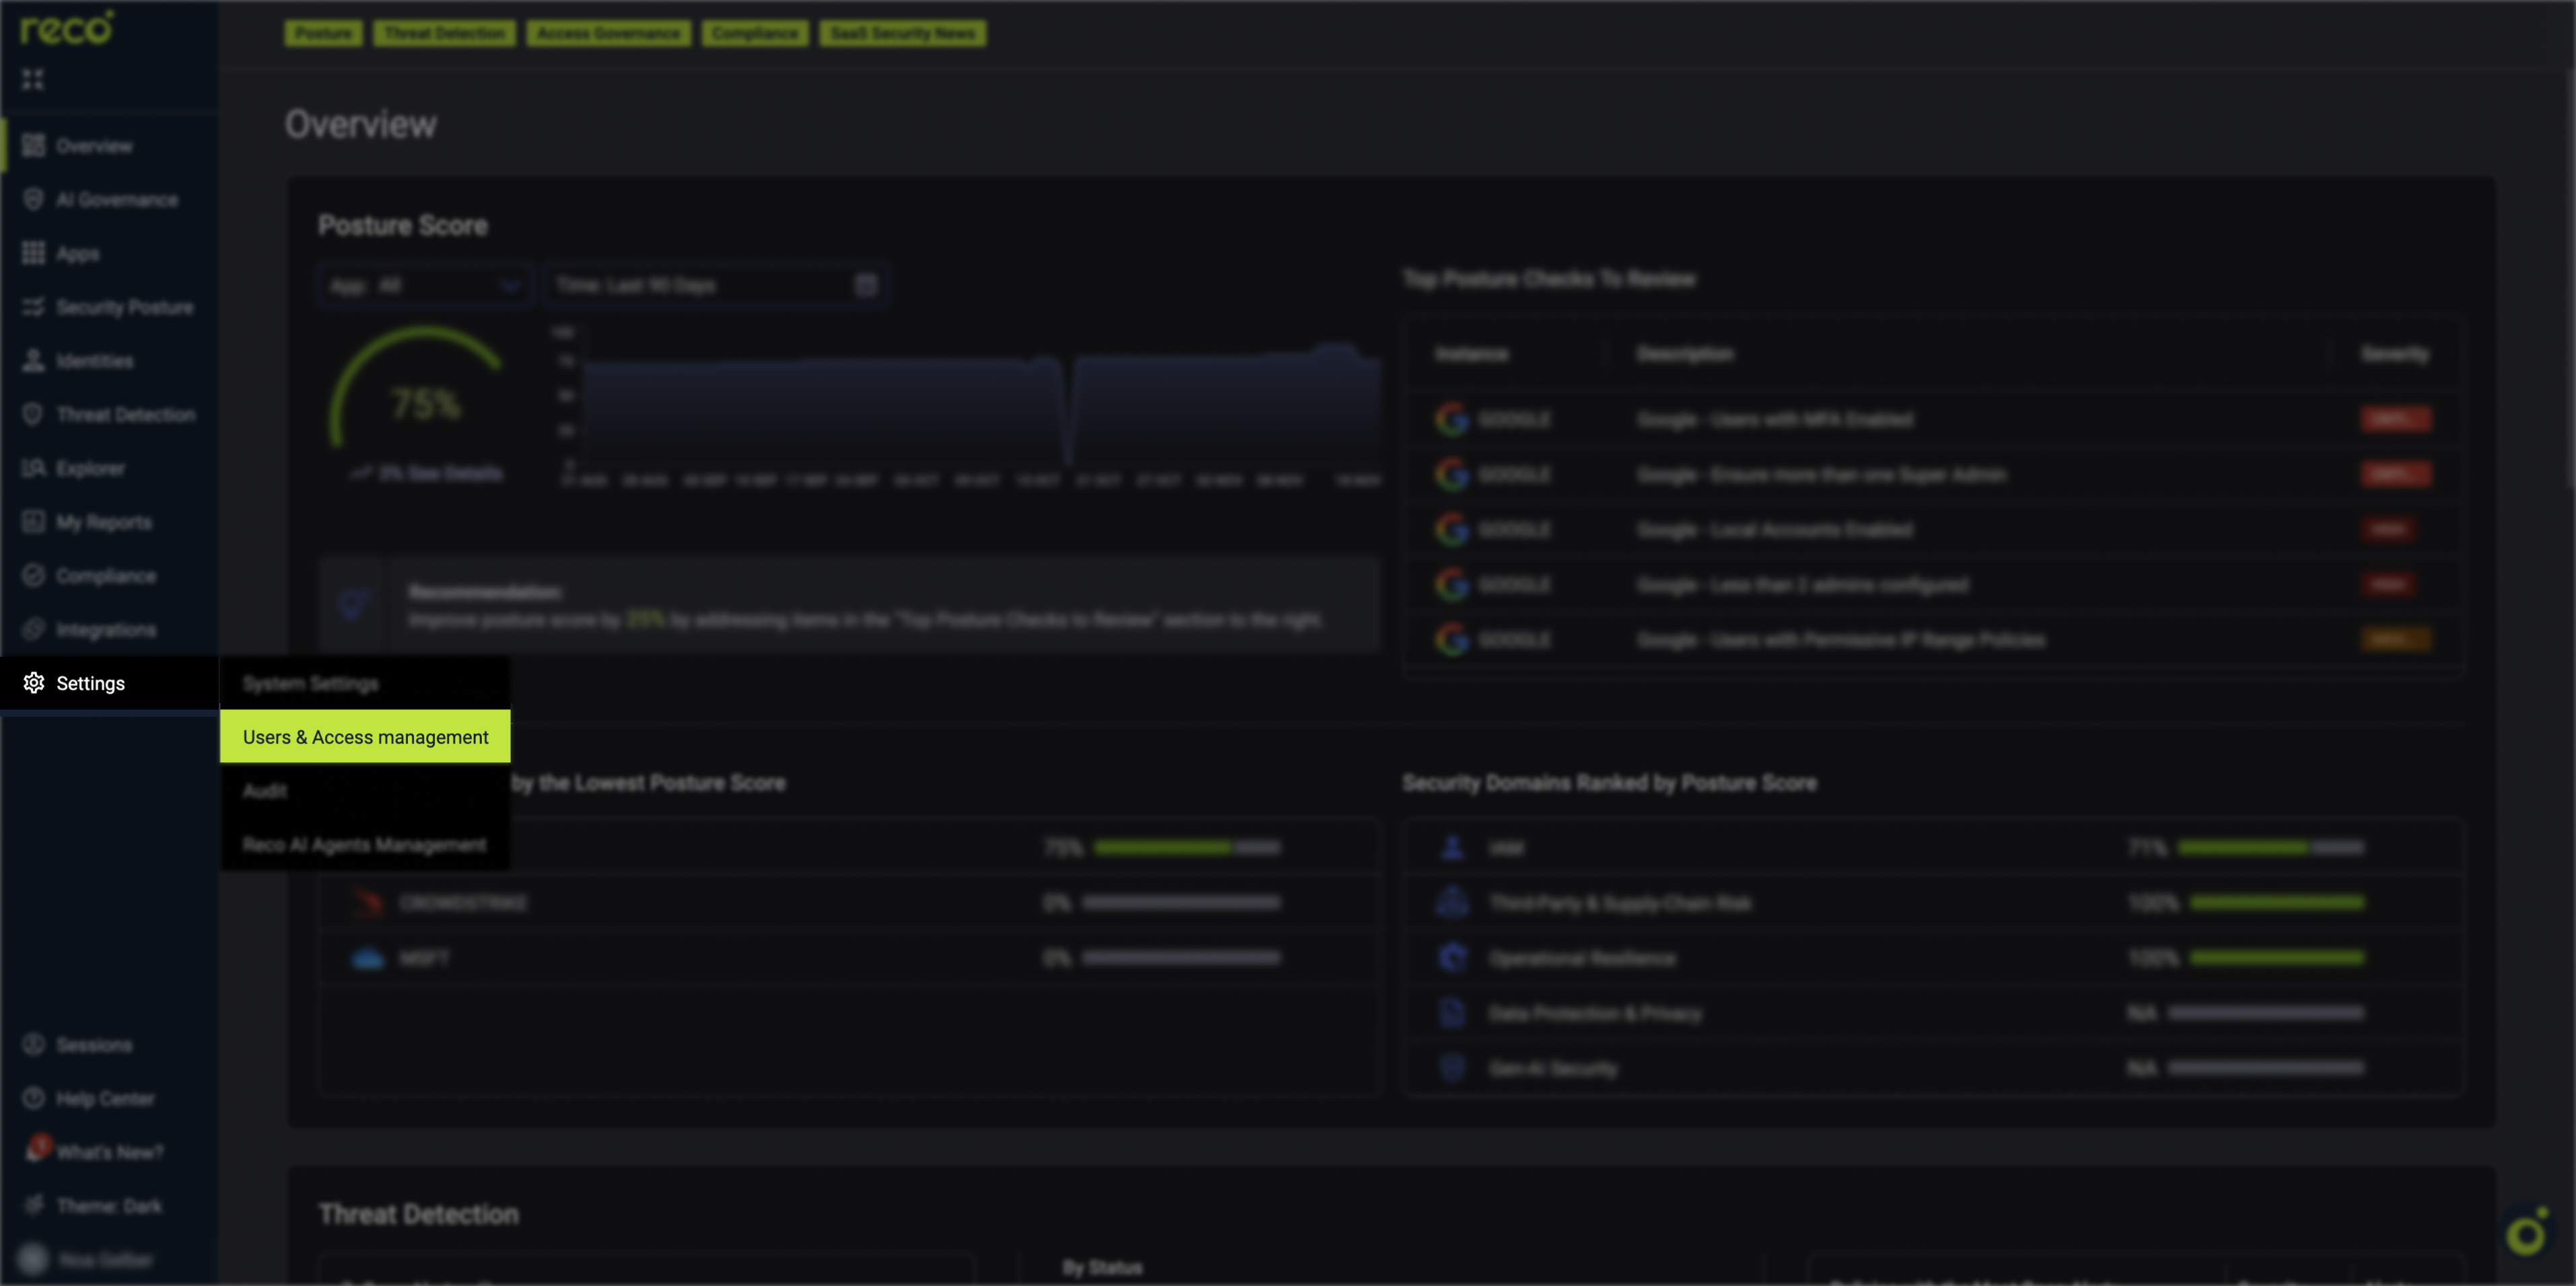
1. Log in to your Reco account and navigate to **Settings** > **User Access and Management**.
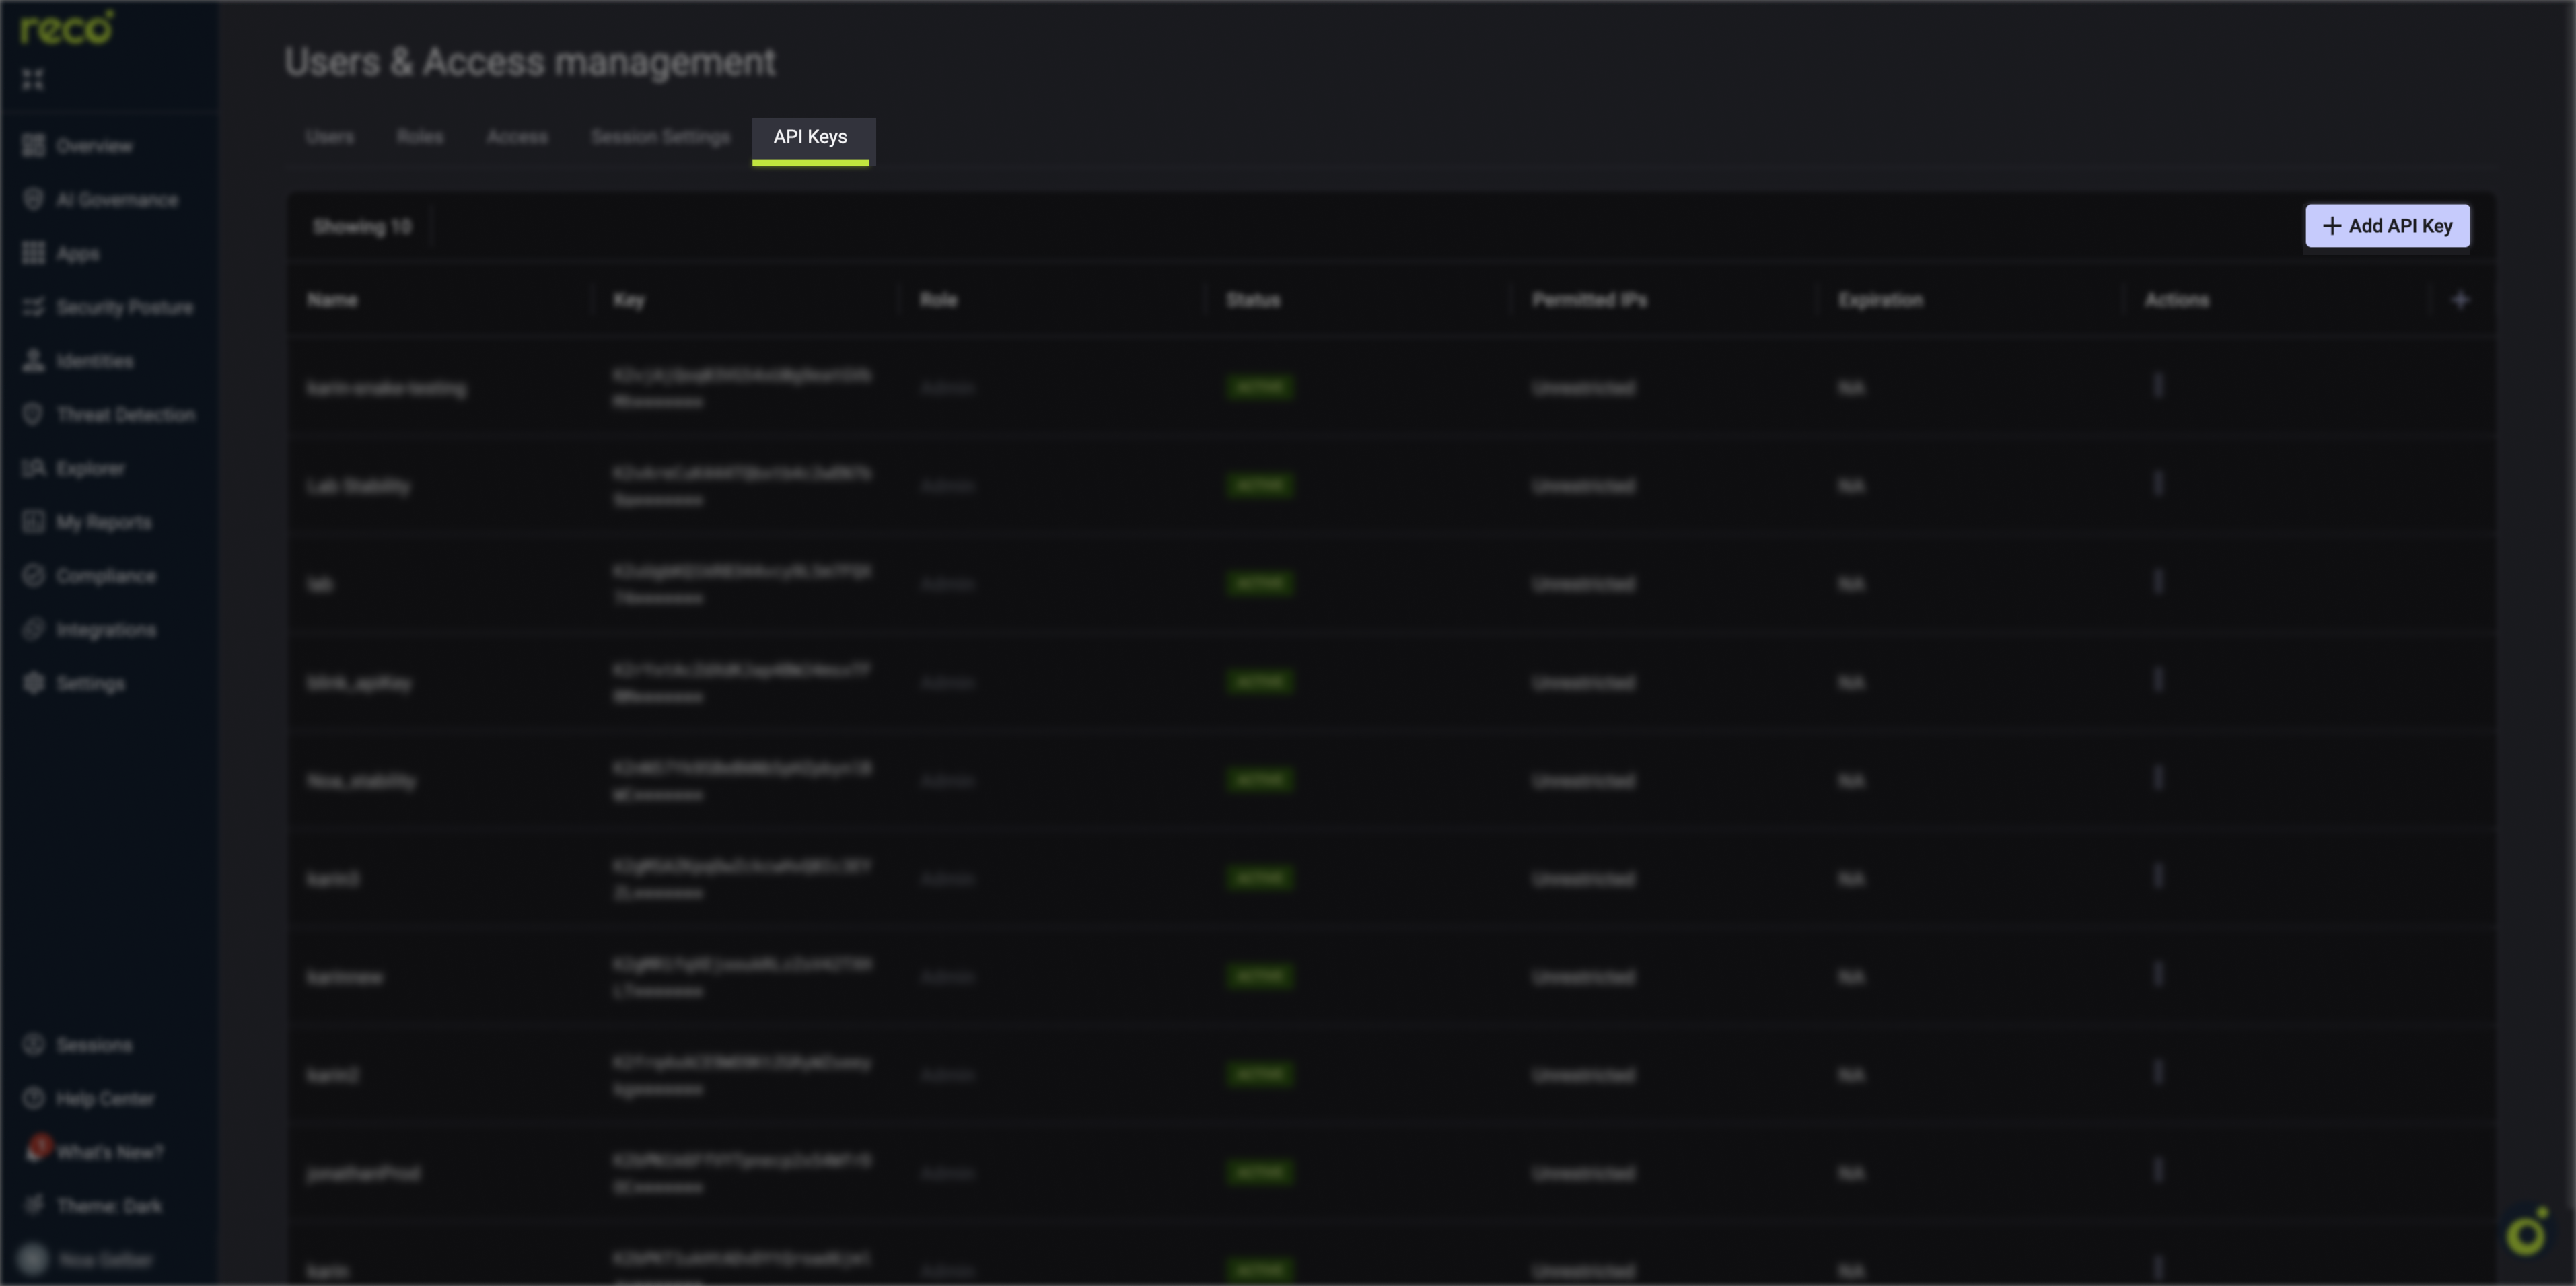
 2. Go to the **API Access Keys** tab and click **Add API Key**.
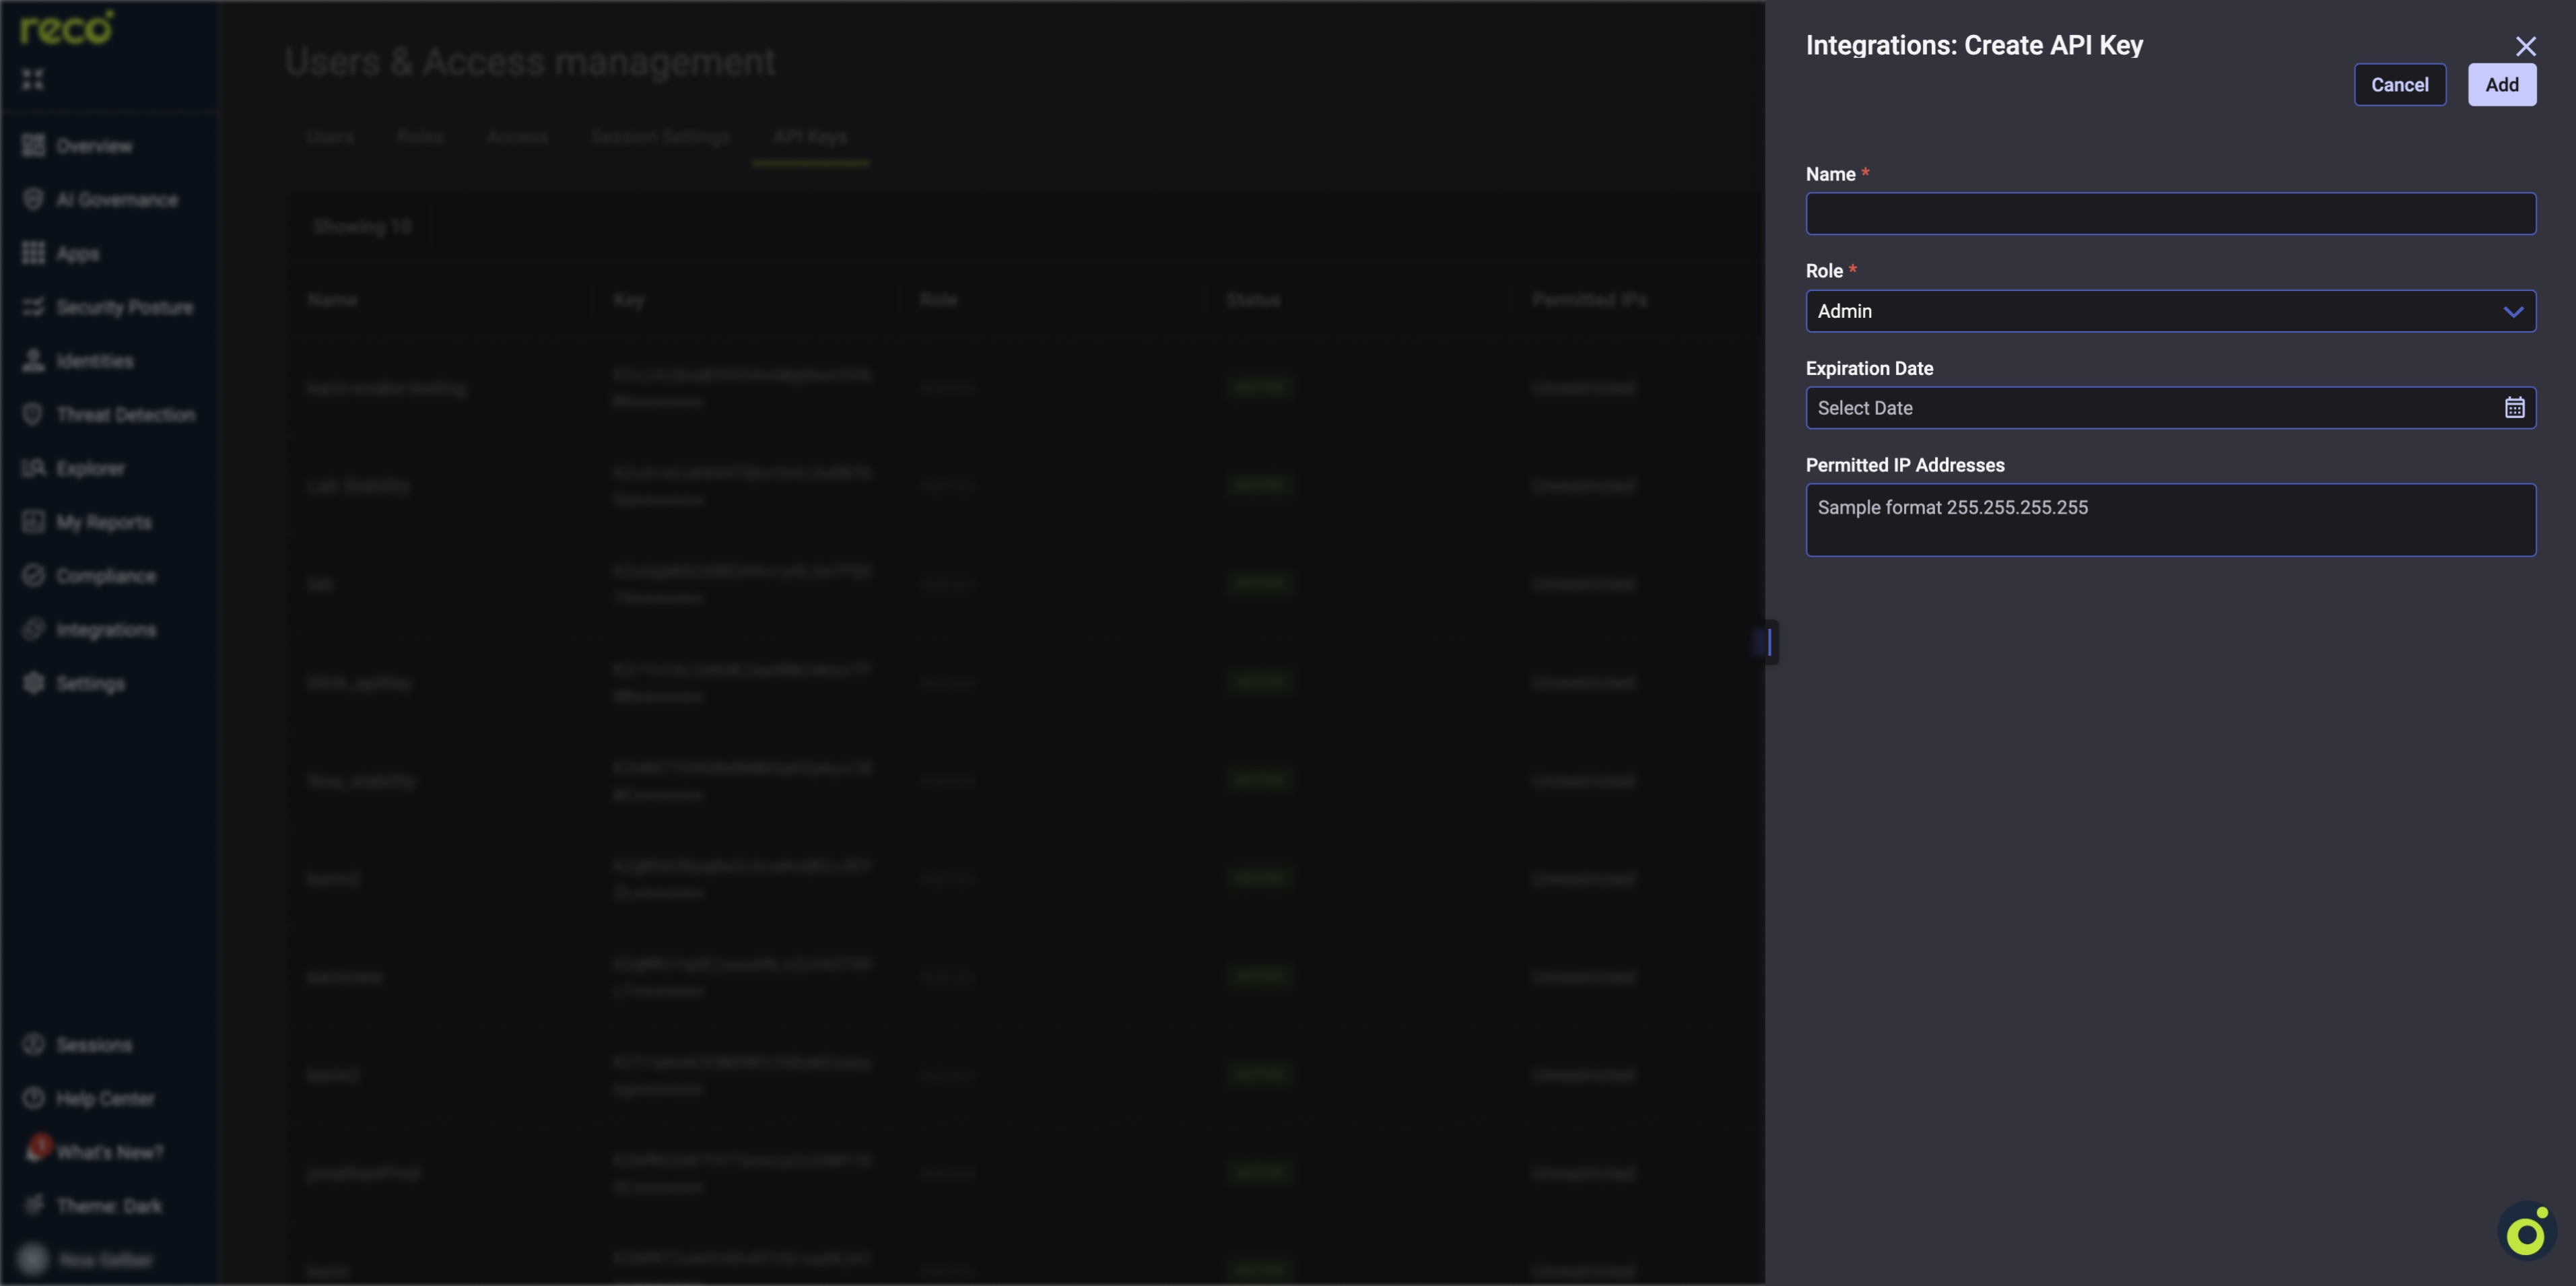
 3. Fill in the API key details:
* Enter the API Key Name.
* For the Role, you can choose from [Reco's built-in roles](https://readme.reco.ai/docs/user-roles-and-permissions#role-definitions), or create a [custom role](https://readme.reco.ai/docs/creating-and-managing-custom-roles-rbac) for a more fine-grained resolution.
* (Optional) Enter an Expiration Date. If left blank, the key never expires.
* (Optional) Enter Permitted IP Addresses. If left blank, access is allowed from any IP.
3. Fill in the API key details:
* Enter the API Key Name.
* For the Role, you can choose from [Reco's built-in roles](https://readme.reco.ai/docs/user-roles-and-permissions#role-definitions), or create a [custom role](https://readme.reco.ai/docs/creating-and-managing-custom-roles-rbac) for a more fine-grained resolution.
* (Optional) Enter an Expiration Date. If left blank, the key never expires.
* (Optional) Enter Permitted IP Addresses. If left blank, access is allowed from any IP.
 4. Click **Add**.
5. The new key appears in the list with `Status: Active`. Copy and securely store the key. It will not be visible once you leave the page.
### Creating your connection
1. In the Blink platform, navigate to the **Connections** page > **Add connection**. A New Connection dialog box opens displaying icons of external service providers available.
2. Select the **Reco** icon. A dialog box with name of the connection and connection methods appears.
3. (Optional) Edit the name of the connection. At a later stage you cannot edit the name.
4. Select **API Token** as the method to create the connection.
5. Fill in the parameters:
* The API token
* The API address
6. (Optional) Click **Test Connection** to test it.
7. Click **Create connection**. The new connection appears on the **Connections** page.
4. Click **Add**.
5. The new key appears in the list with `Status: Active`. Copy and securely store the key. It will not be visible once you leave the page.
### Creating your connection
1. In the Blink platform, navigate to the **Connections** page > **Add connection**. A New Connection dialog box opens displaying icons of external service providers available.
2. Select the **Reco** icon. A dialog box with name of the connection and connection methods appears.
3. (Optional) Edit the name of the connection. At a later stage you cannot edit the name.
4. Select **API Token** as the method to create the connection.
5. Fill in the parameters:
* The API token
* The API address
6. (Optional) Click **Test Connection** to test it.
7. Click **Create connection**. The new connection appears on the **Connections** page.