> ## Documentation Index
> Fetch the complete documentation index at: https://docs.blinkops.com/llms.txt
> Use this file to discover all available pages before exploring further.
# Nexthink
> Nexthink provides real-time visibility and analytics into end-user IT experience, enabling organizations to proactively detect and resolve digital workplace issues.
## Creating a Nexthink connection
### Using Client ID & Secret
To create the connection you need:
* A Region
* An Instance Name
* A Client ID
* A Client Secret
#### Obtaining the credentials
1. Log in to the Nexthink web interface.
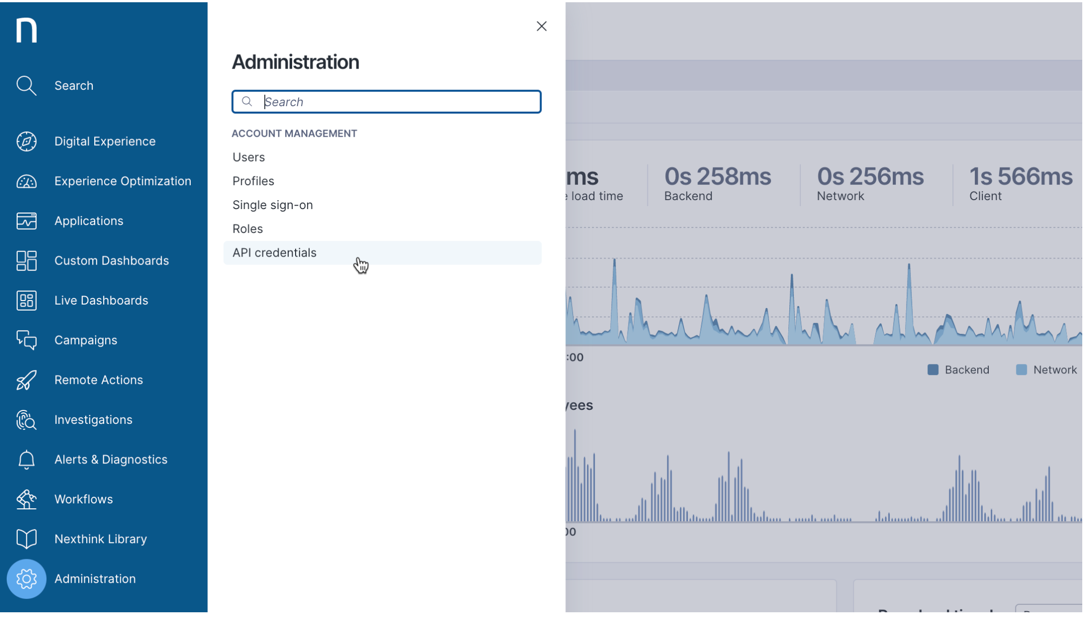
2. Select Administration from the main menu.
3. Click on API credentials in the navigation panel from the Account Management section.
 4. Click on the New OAuth client credentials button located in the top-right of the API credentials page.
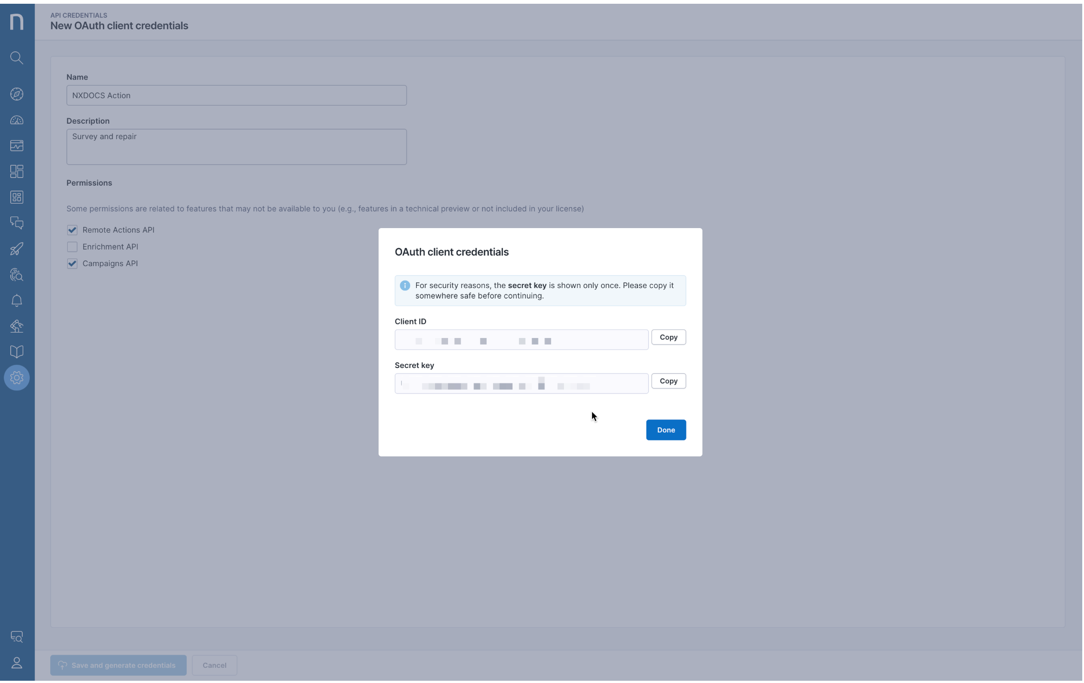
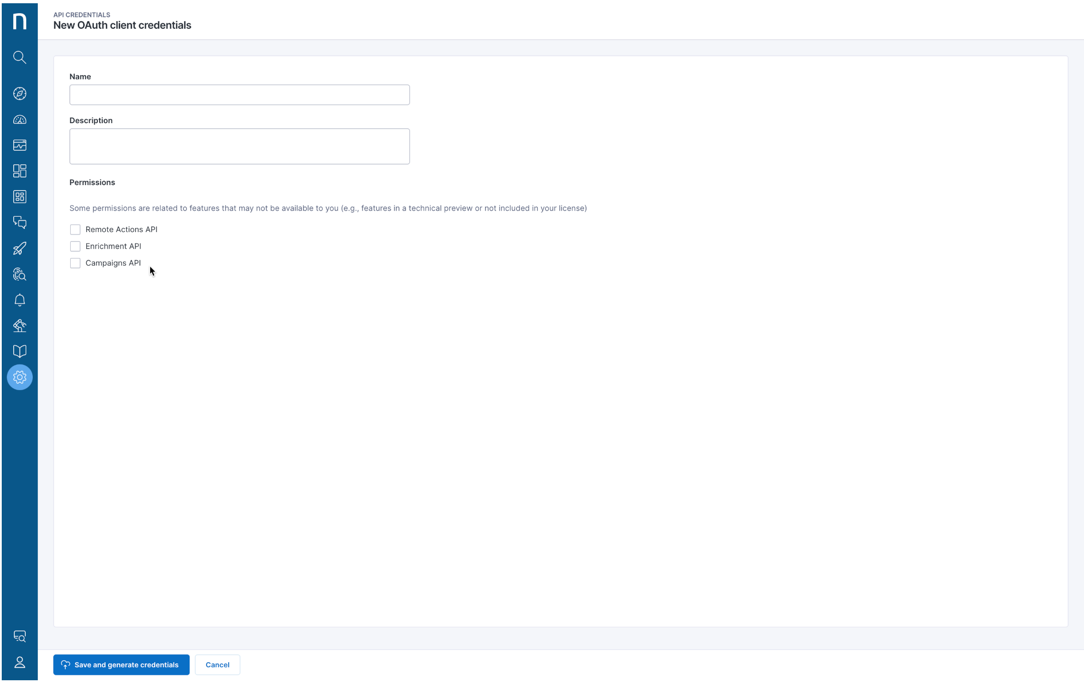 5. After entering all the needed inputs, click on `Save` and generate credentials to generate the credentials.
 #### Creating your connection
1. In the Blink platform, navigate to the **Connections** page > **Add connection**. A New Connection dialog box opens displaying icons of external service providers available.
2. Select the **Nexthink** icon. A dialog box with name of the connection and connection methods appear.
3. (Optional) Edit the name of the connection. At a later stage you cannot edit the name.
4. Select **Client ID & Secret** as the method to create the connection.
5. Fill in the parameters:
* The Region
* The Instance Name
* The Client ID
* The Client Secret
6. (Optional) Click **Test Connection** to test it.
7. Click **Create connection**. The new connection appears on the **Connections** page.
#### Creating your connection
1. In the Blink platform, navigate to the **Connections** page > **Add connection**. A New Connection dialog box opens displaying icons of external service providers available.
2. Select the **Nexthink** icon. A dialog box with name of the connection and connection methods appear.
3. (Optional) Edit the name of the connection. At a later stage you cannot edit the name.
4. Select **Client ID & Secret** as the method to create the connection.
5. Fill in the parameters:
* The Region
* The Instance Name
* The Client ID
* The Client Secret
6. (Optional) Click **Test Connection** to test it.
7. Click **Create connection**. The new connection appears on the **Connections** page.