> ## Documentation Index
> Fetch the complete documentation index at: https://docs.blinkops.com/llms.txt
> Use this file to discover all available pages before exploring further.
# Jira Data Center
> Jira Service Management Data Center is an enterprise ITSM solution that empowers teams to collaborate at high-velocity, so they can meet their security and compliance needs while delivering great service at scale.
This integration is based on Jira Data Center version `9.4.11`
## Creating a Jira Data Center connection
Create the connection by using one of the following methods:
* [Username & Password](#using-username-and-password)
* [API Token](#using-api-token)
### Using Username and Password
To create the connection you need:
* A Data Center Host URL
* A Username
* A Password
#### Creating your connection
1. In the Blink platform, navigate to the **Connections** page > **Add connection**. A New Connection dialog box opens displaying icons of external service providers available.
2. Select the **Jira Data Center** icon. A dialog box with name of the connection and connection methods appear.
3. (Optional) Edit the name of the connection. At a later stage you cannot edit the name.
4. Select **Username & Password** as the method to create the connection.
5. Fill in the parameters:
* The Data Center Host URL
* The Username
* The Password
6. (Optional) Click **Test Connection** to test it.
7. Click **Create connection**. The new connection appears on the **Connections** page.
### Using API Token
To create the connection you need:
* A Data Center Host URL
* An API Token
### Obtaining the credentials
1. Navigate to your Jira Data Center instance
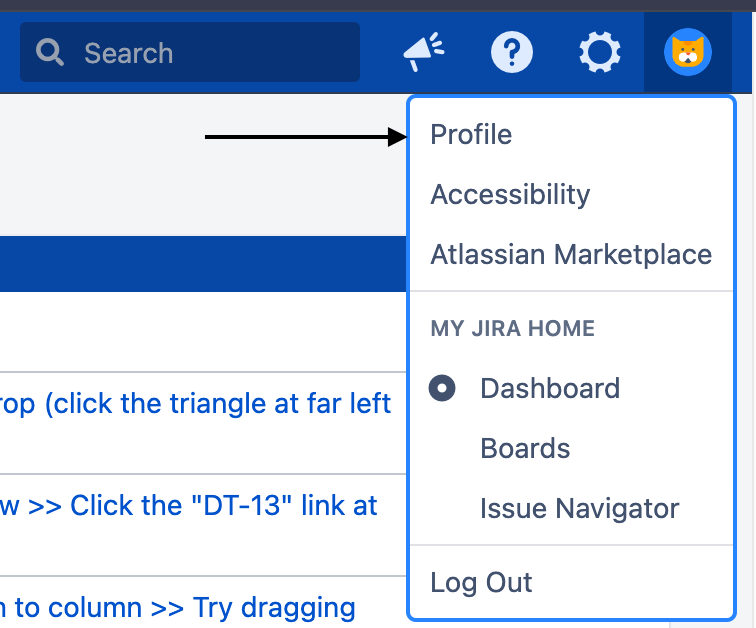
2. On the top right side, click on your profile picture and click **Profile**
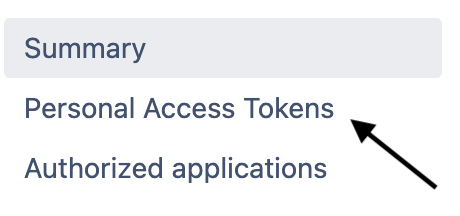
 3. On the left side, click **Personal Access Tokens**
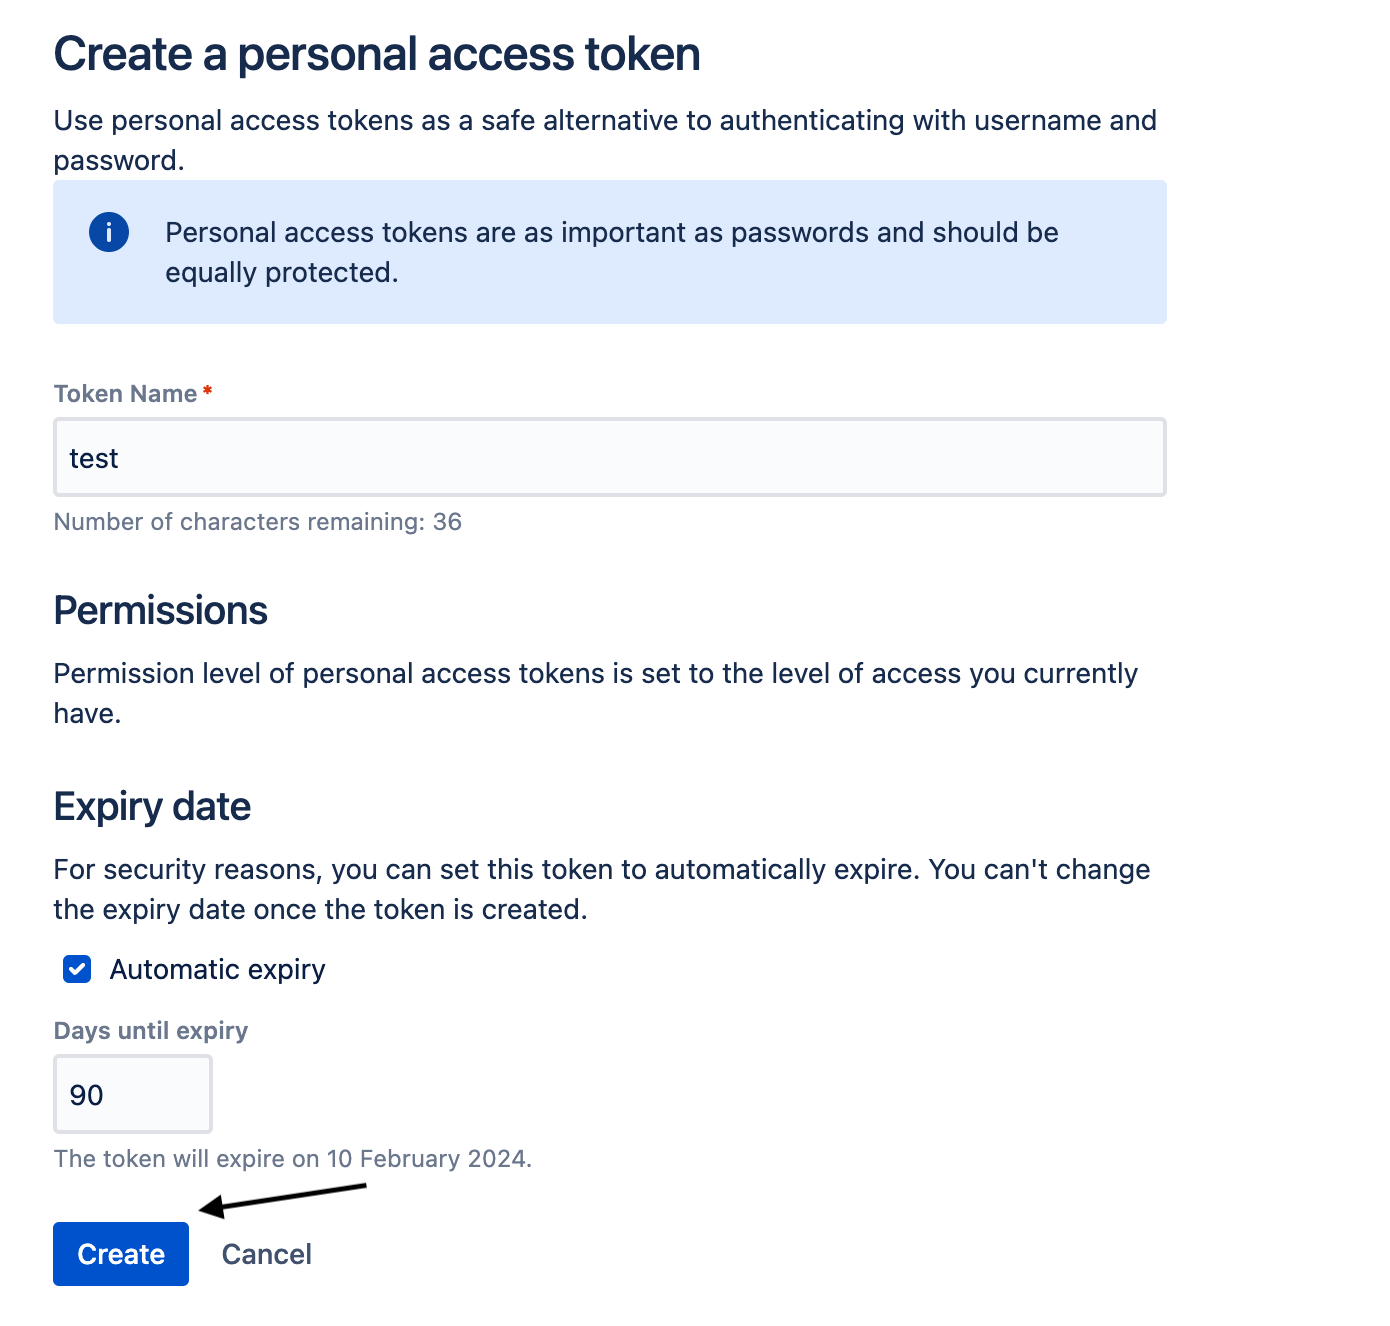
 4. On the top right side, click **Create Token**
 5. Fill in the parameters and click **Create**
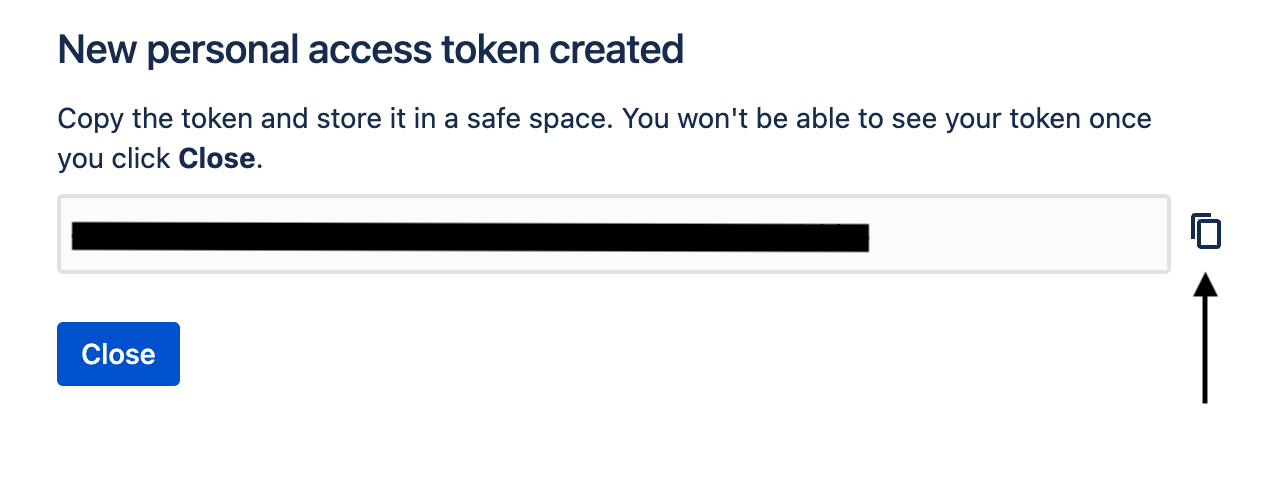
 6. Copy your API token
 #### Creating your connection
1. In the Blink platform, navigate to the **Connections** page > **Add connection**. A New Connection dialog box opens displaying icons of external service providers available.
2. Select the **Jira Data Center** icon. A dialog box with name of the connection and connection methods appear.
3. (Optional) Edit the name of the connection. At a later stage you cannot edit the name.
4. Select **API Token** as the method to create the connection.
5. Fill in the parameters:
* The Data Center Host URL
* The API Token
6. (Optional) Click **Test Connection** to test it.
7. Click **Create connection**. The new connection appears on the **Connections** page.
#### Creating your connection
1. In the Blink platform, navigate to the **Connections** page > **Add connection**. A New Connection dialog box opens displaying icons of external service providers available.
2. Select the **Jira Data Center** icon. A dialog box with name of the connection and connection methods appear.
3. (Optional) Edit the name of the connection. At a later stage you cannot edit the name.
4. Select **API Token** as the method to create the connection.
5. Fill in the parameters:
* The Data Center Host URL
* The API Token
6. (Optional) Click **Test Connection** to test it.
7. Click **Create connection**. The new connection appears on the **Connections** page.