> ## Documentation Index
> Fetch the complete documentation index at: https://docs.blinkops.com/llms.txt
> Use this file to discover all available pages before exploring further.
# CyberArk
> CyberArk safeguards privileged access, a critical security concern, by centralizing and managing credentials for privileged accounts.
## Creating a CyberArk connection
### Using Username & Password
To create the connection you need:
* A CyberArk PVWA server IP
* A Method
* A Username
* A Password
#### Obtaining the credentials
1. Log in to your CyberArk Privilege Cloud portal.
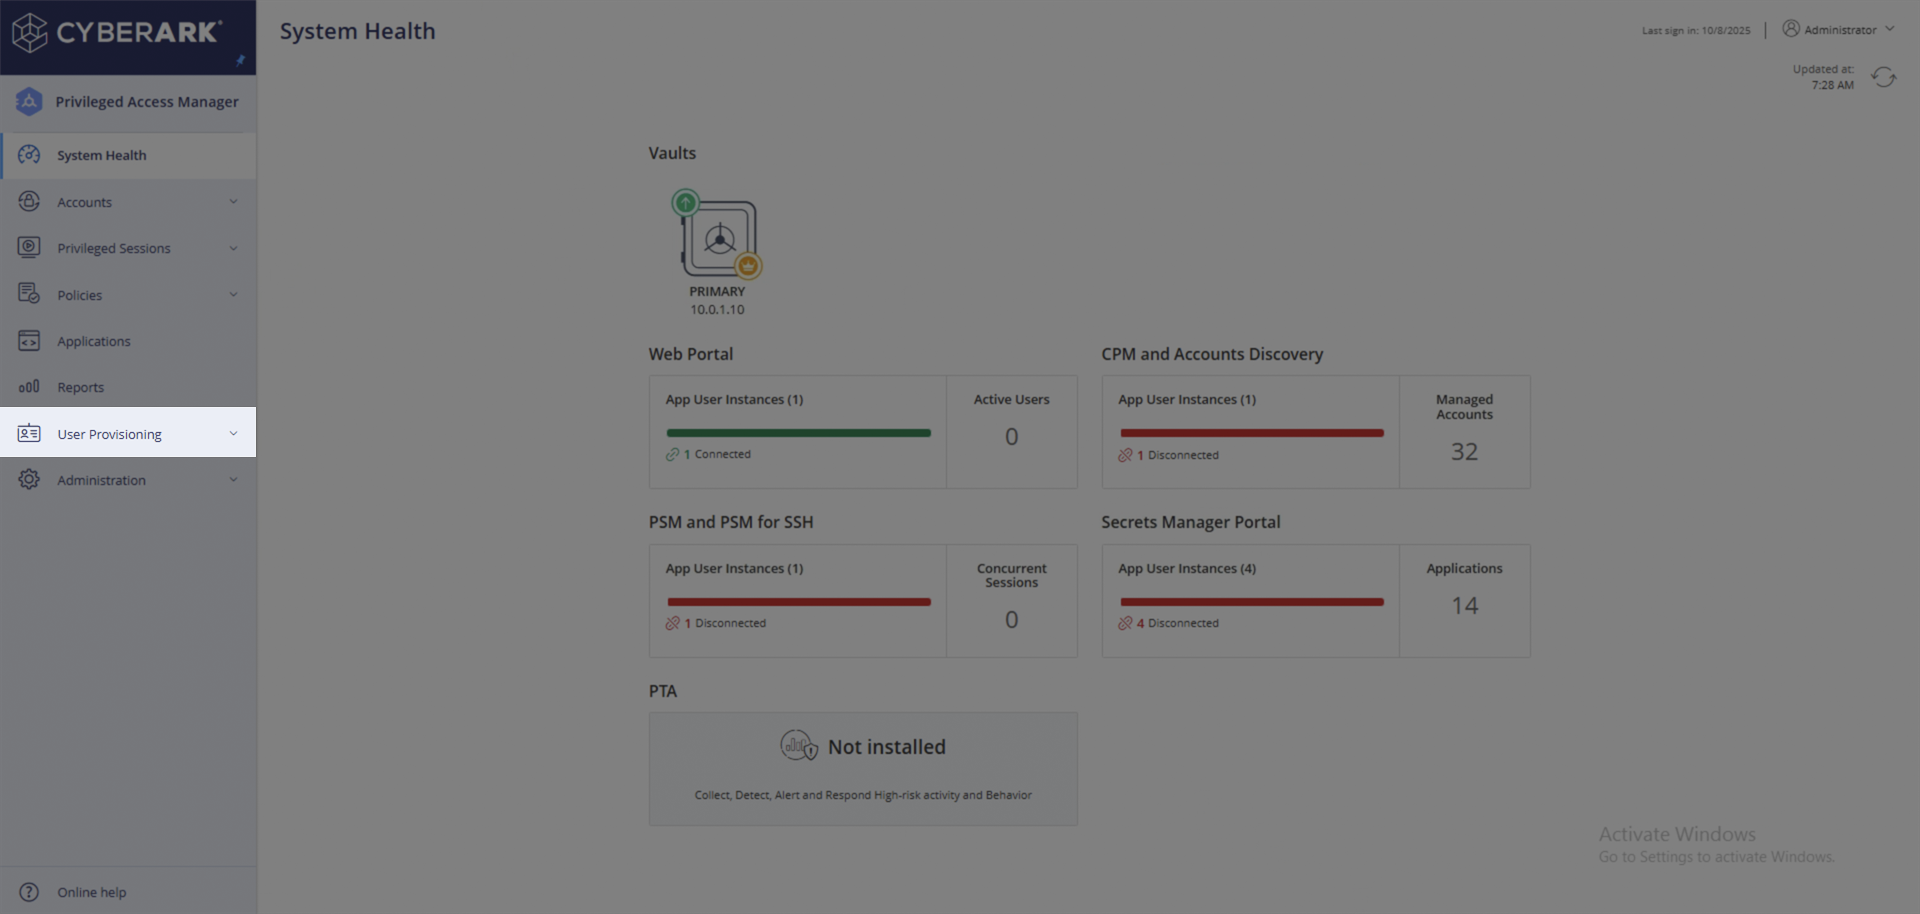
2. In the left sidebar, navigate to **User Provisioning**.
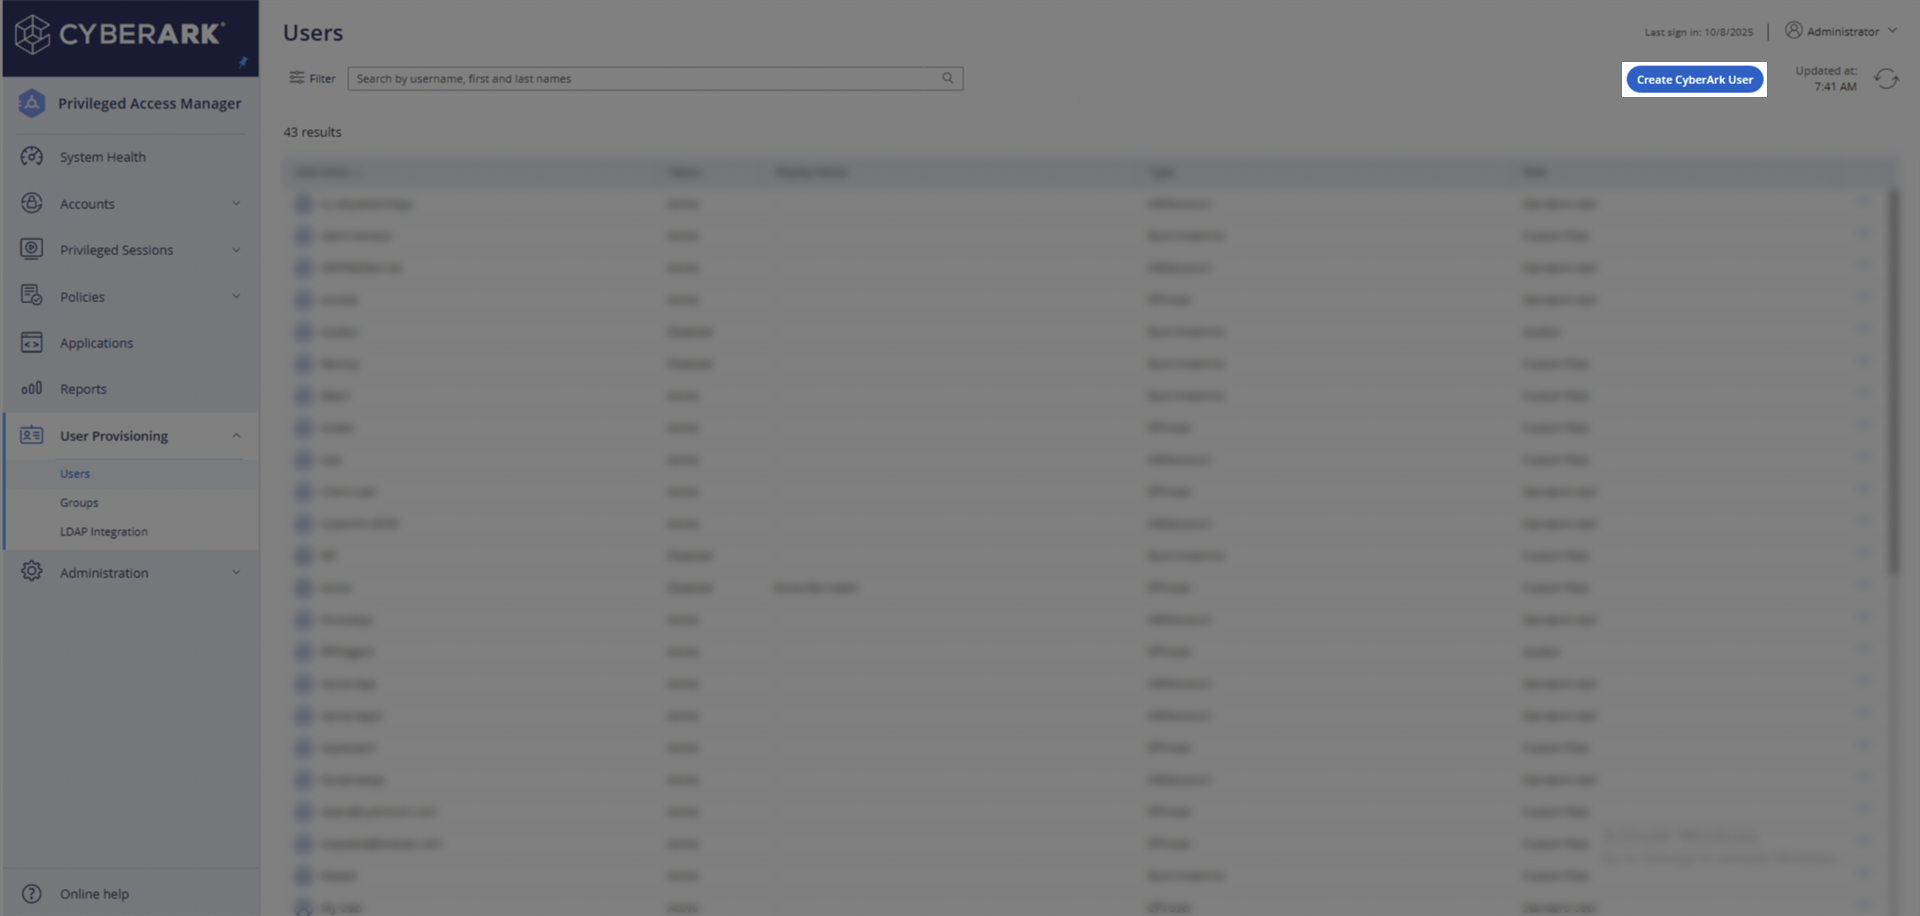
 3. Click the **Create CyberArk User** button in the top-right corner.
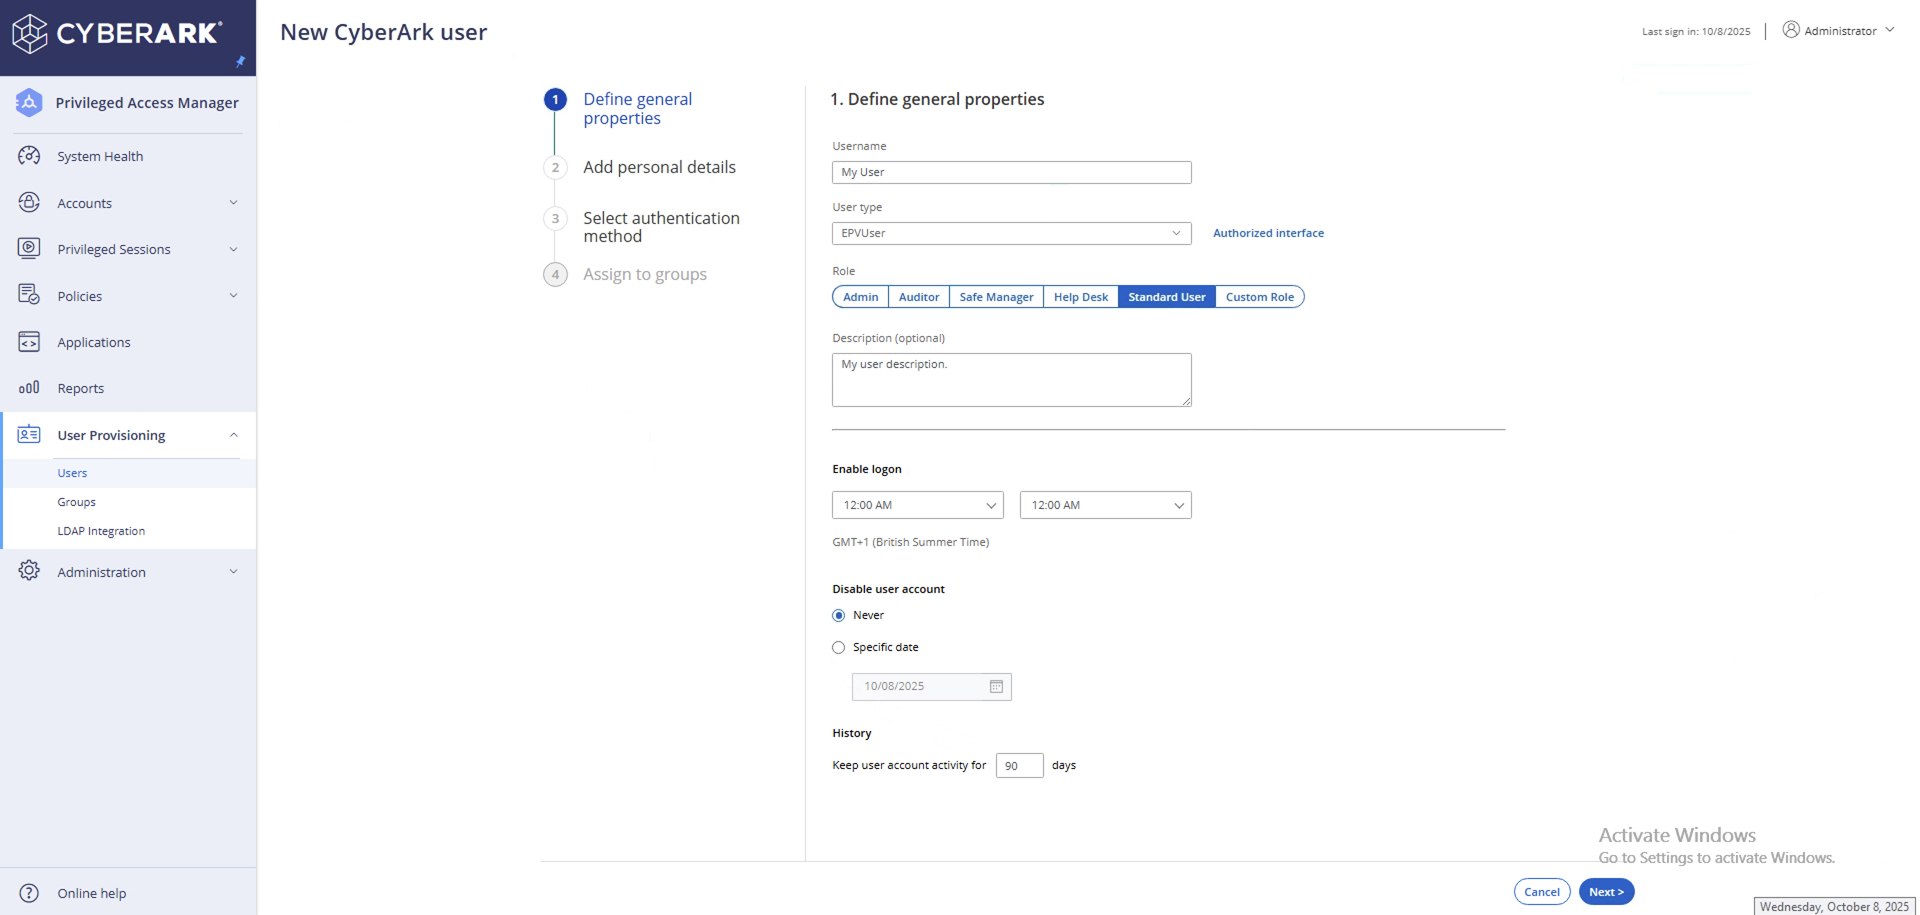
 4. Fill in the required user properties and set you user **Username**.
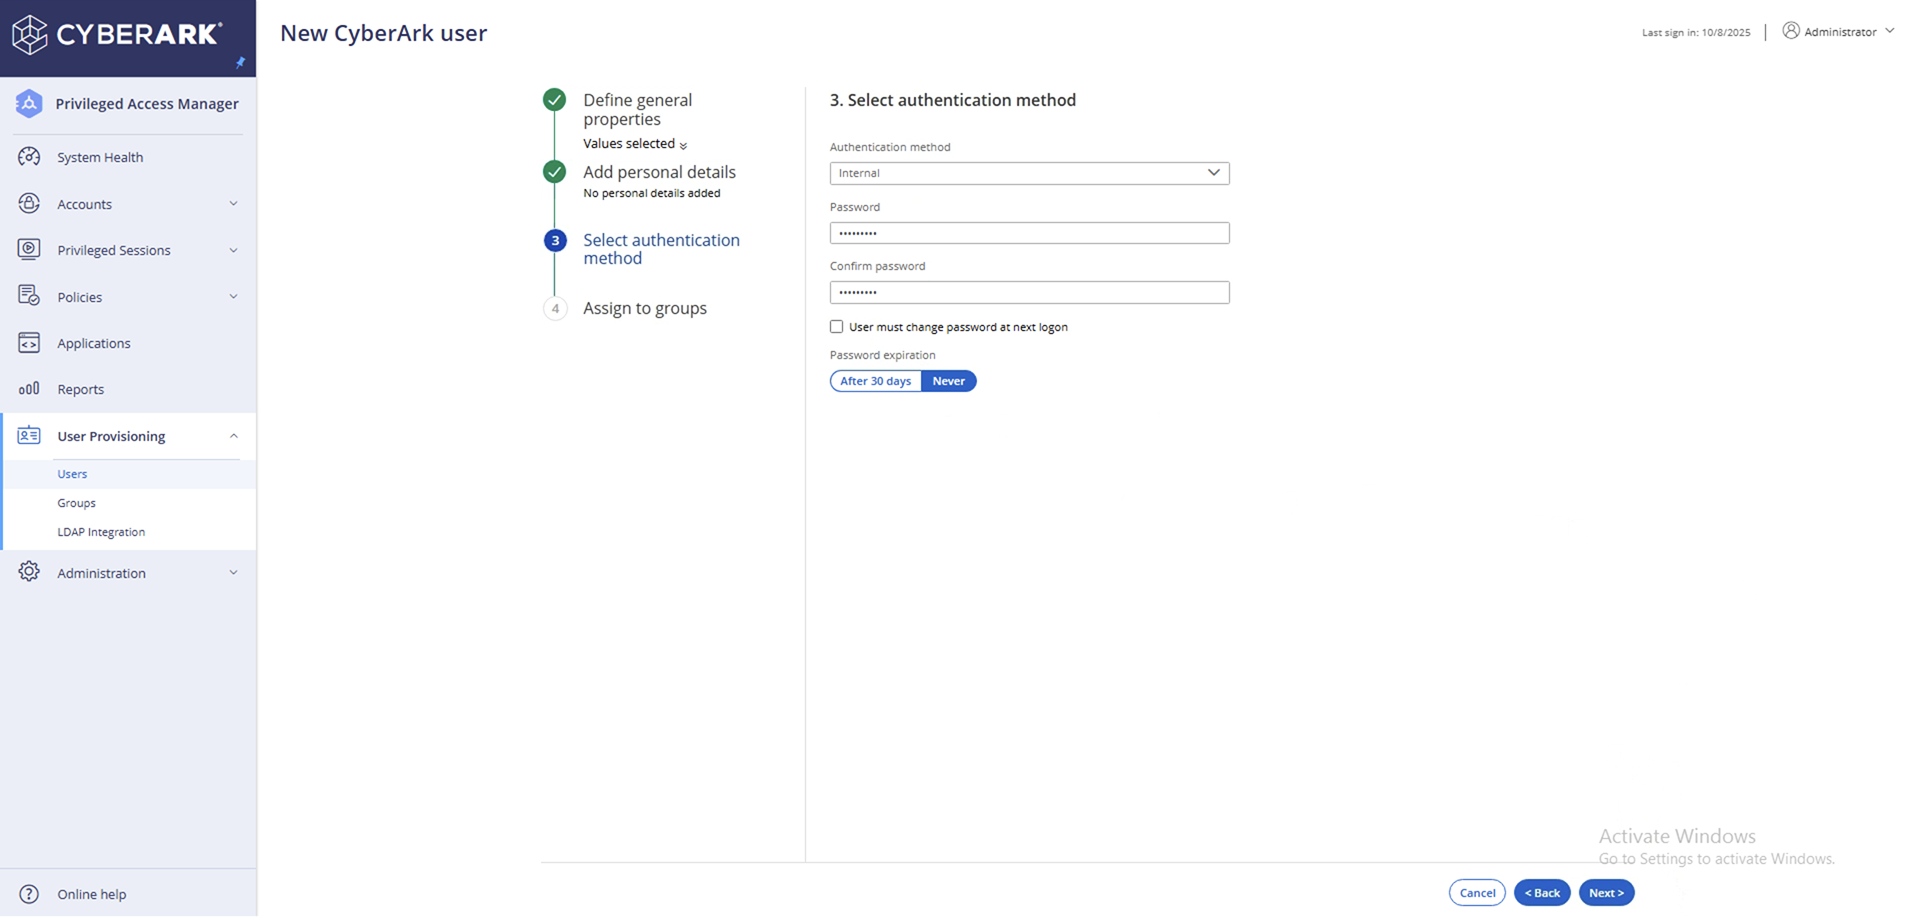
 5. On the **Select authentication method** page:
* Choose **Internal** as the Authentication method
* Enter and confirm the required **Password** for the service account
* Uncheck **User must change password at next logon**.
* Select password expiration settings - **Never**.
5. On the **Select authentication method** page:
* Choose **Internal** as the Authentication method
* Enter and confirm the required **Password** for the service account
* Uncheck **User must change password at next logon**.
* Select password expiration settings - **Never**.
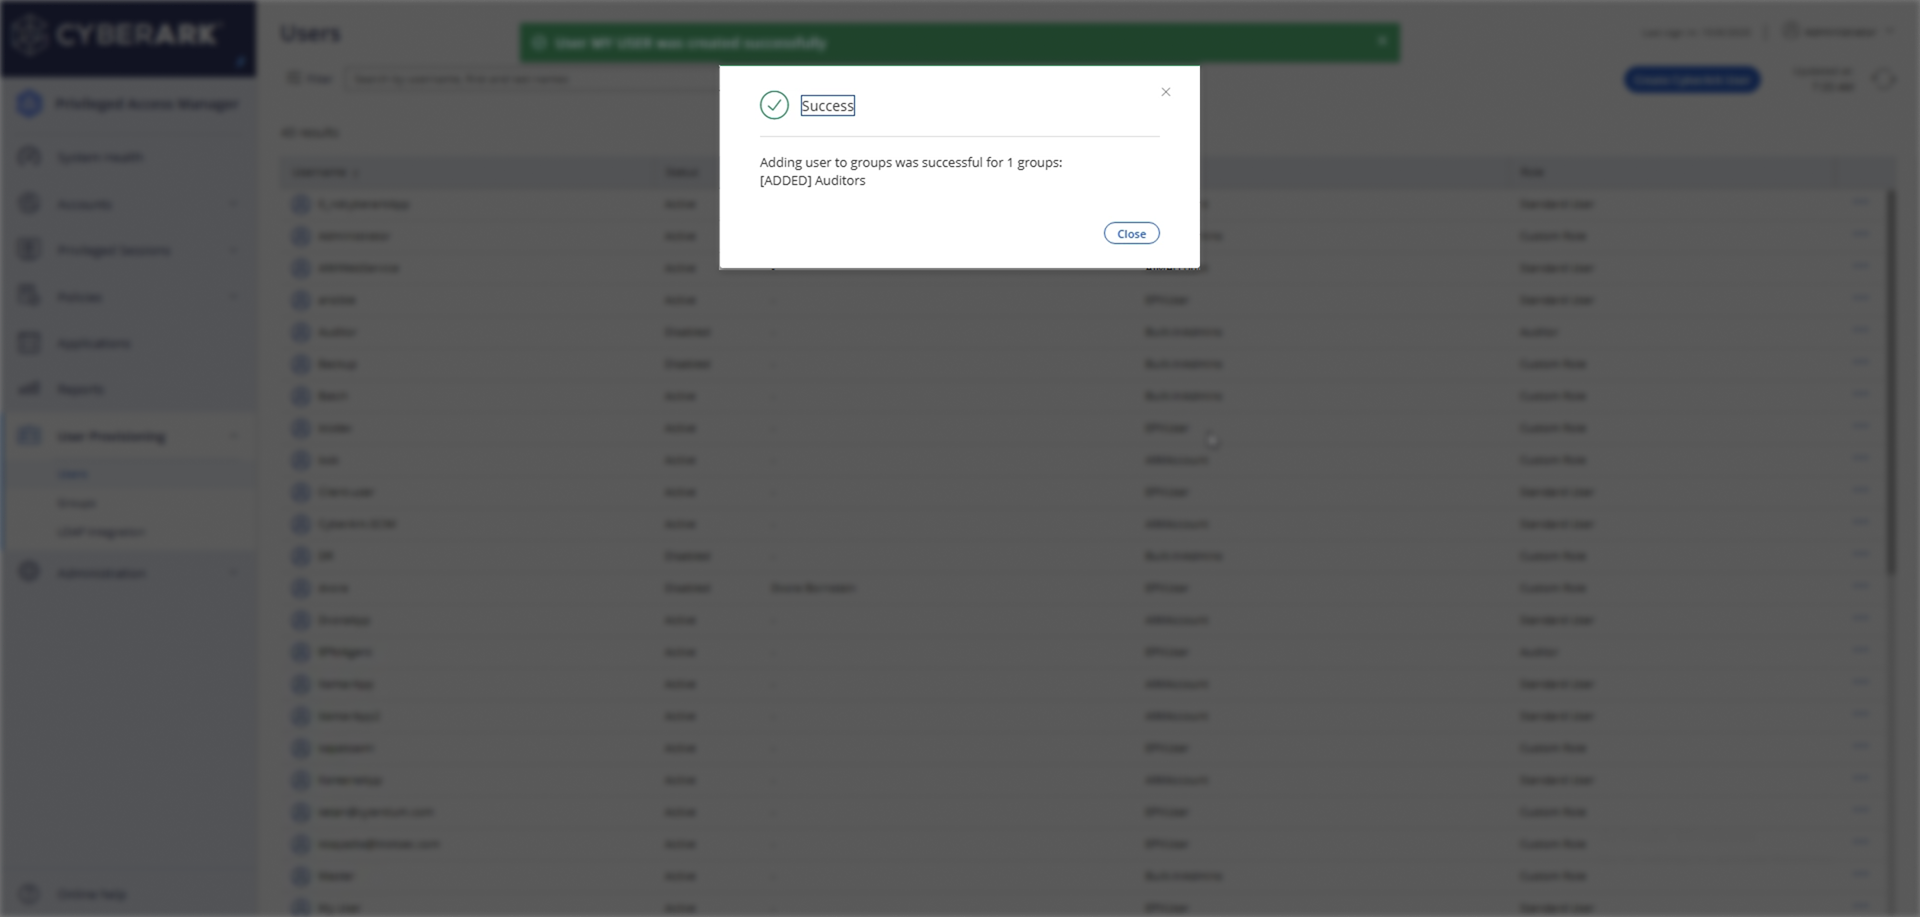
 6. Proceed and finish your user setup. A success message will confirm the user was added to the selected groups.
 #### Creating your connection
1. In the Blink platform, navigate to the **Connections** page > **Add connection**. A New Connection dialog box opens displaying icons of external service providers available.
2. Select the **CyberArk** icon. A dialog box with name of the connection and connection methods appear.
3. (Optional) Edit the name of the connection. At a later stage you cannot edit the name.
4. Select **Username & Password** as the method to create the connection.
5. Fill in the parameters:
* The CyberArk PVWA server IP
* The Method
* The Username
* The Password
6. (Optional) Click **Test Connection** to test it.
7. Click **Create connection**. The new connection appears on the **Connections** page.
#### Creating your connection
1. In the Blink platform, navigate to the **Connections** page > **Add connection**. A New Connection dialog box opens displaying icons of external service providers available.
2. Select the **CyberArk** icon. A dialog box with name of the connection and connection methods appear.
3. (Optional) Edit the name of the connection. At a later stage you cannot edit the name.
4. Select **Username & Password** as the method to create the connection.
5. Fill in the parameters:
* The CyberArk PVWA server IP
* The Method
* The Username
* The Password
6. (Optional) Click **Test Connection** to test it.
7. Click **Create connection**. The new connection appears on the **Connections** page.