> ## Documentation Index
> Fetch the complete documentation index at: https://docs.blinkops.com/llms.txt
> Use this file to discover all available pages before exploring further.
# Step Output Transformation
> Use Builder Copilot to transform and manipulate data outputs within your Blink workflows.
This feature is part of Blink’s Interactive AI Actions and is subject to the same tenant-level limits that apply to those actions:
* Up to `40 requests per minute`
* Up to `3 MB` of processed data per minute
Transform the output of a step that contains any `JSON data` using guidance from [Builder Copilot](/docs/builder-copilot/builder-copilot) or manually entering a `JQ command`. This feature uses build-time AI to generate JQ commands from your text prompts, allowing you to reshape data formats or focus on essential information.
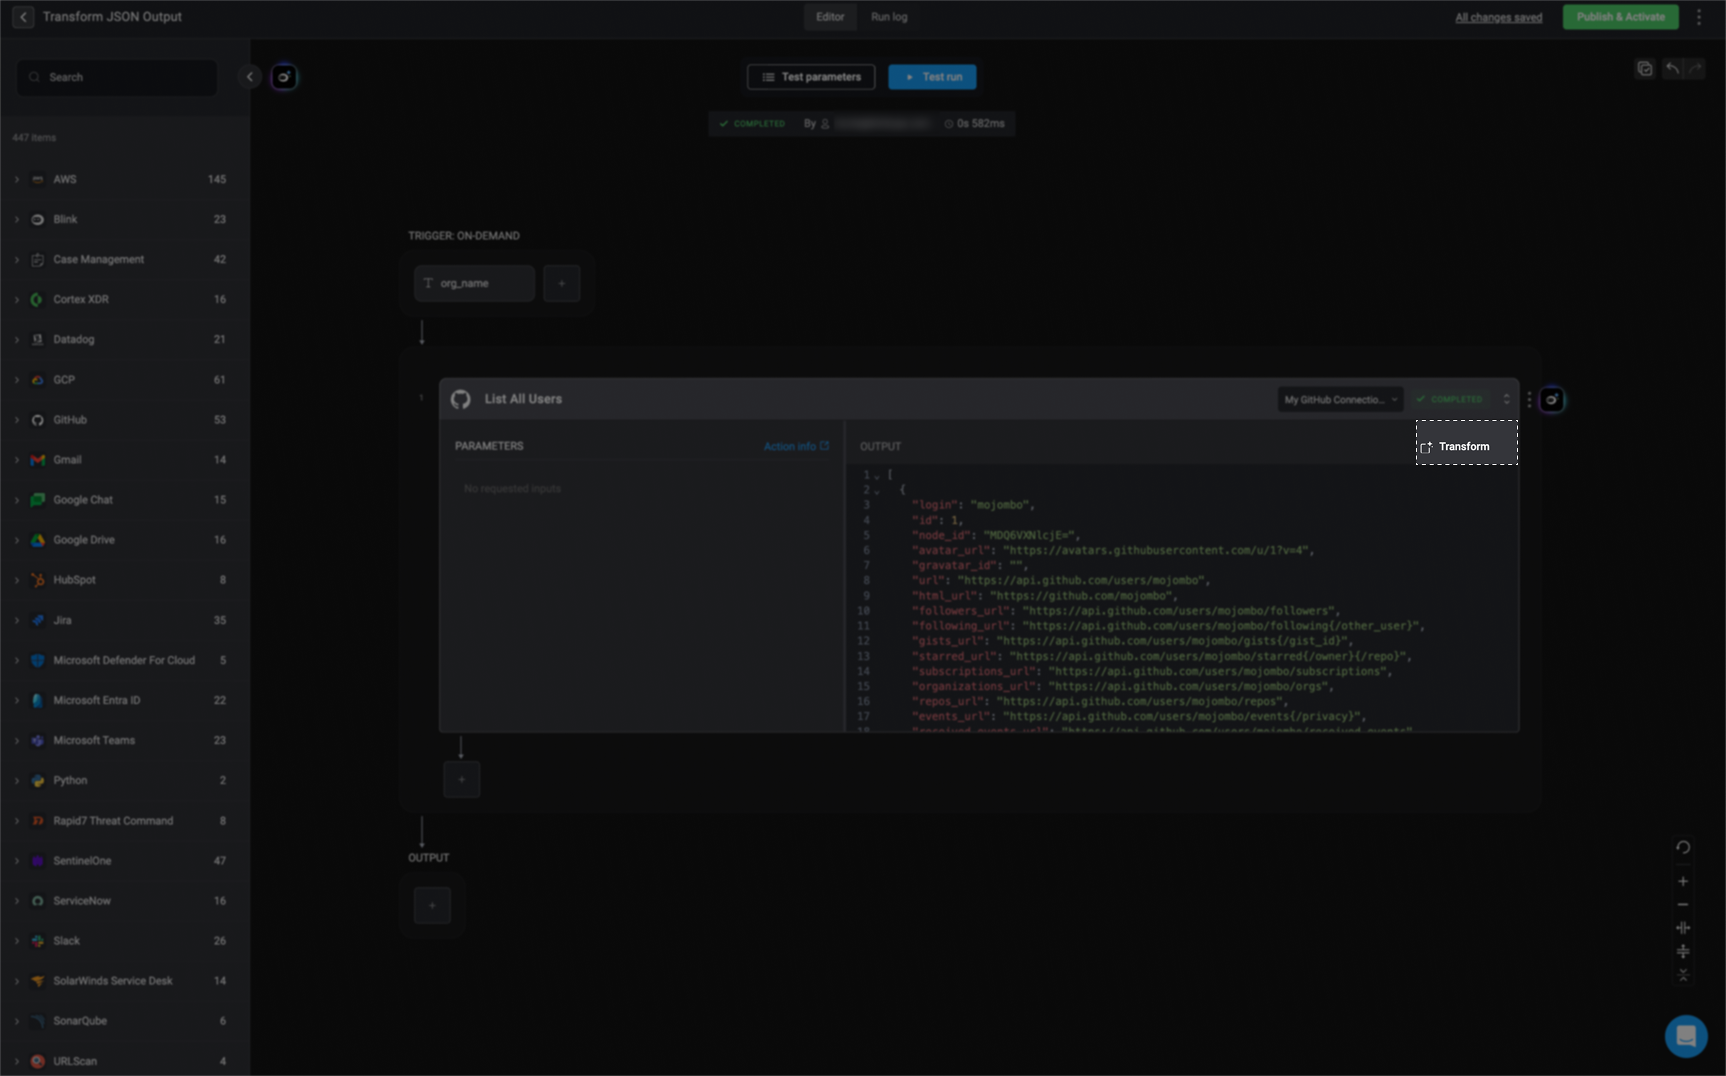
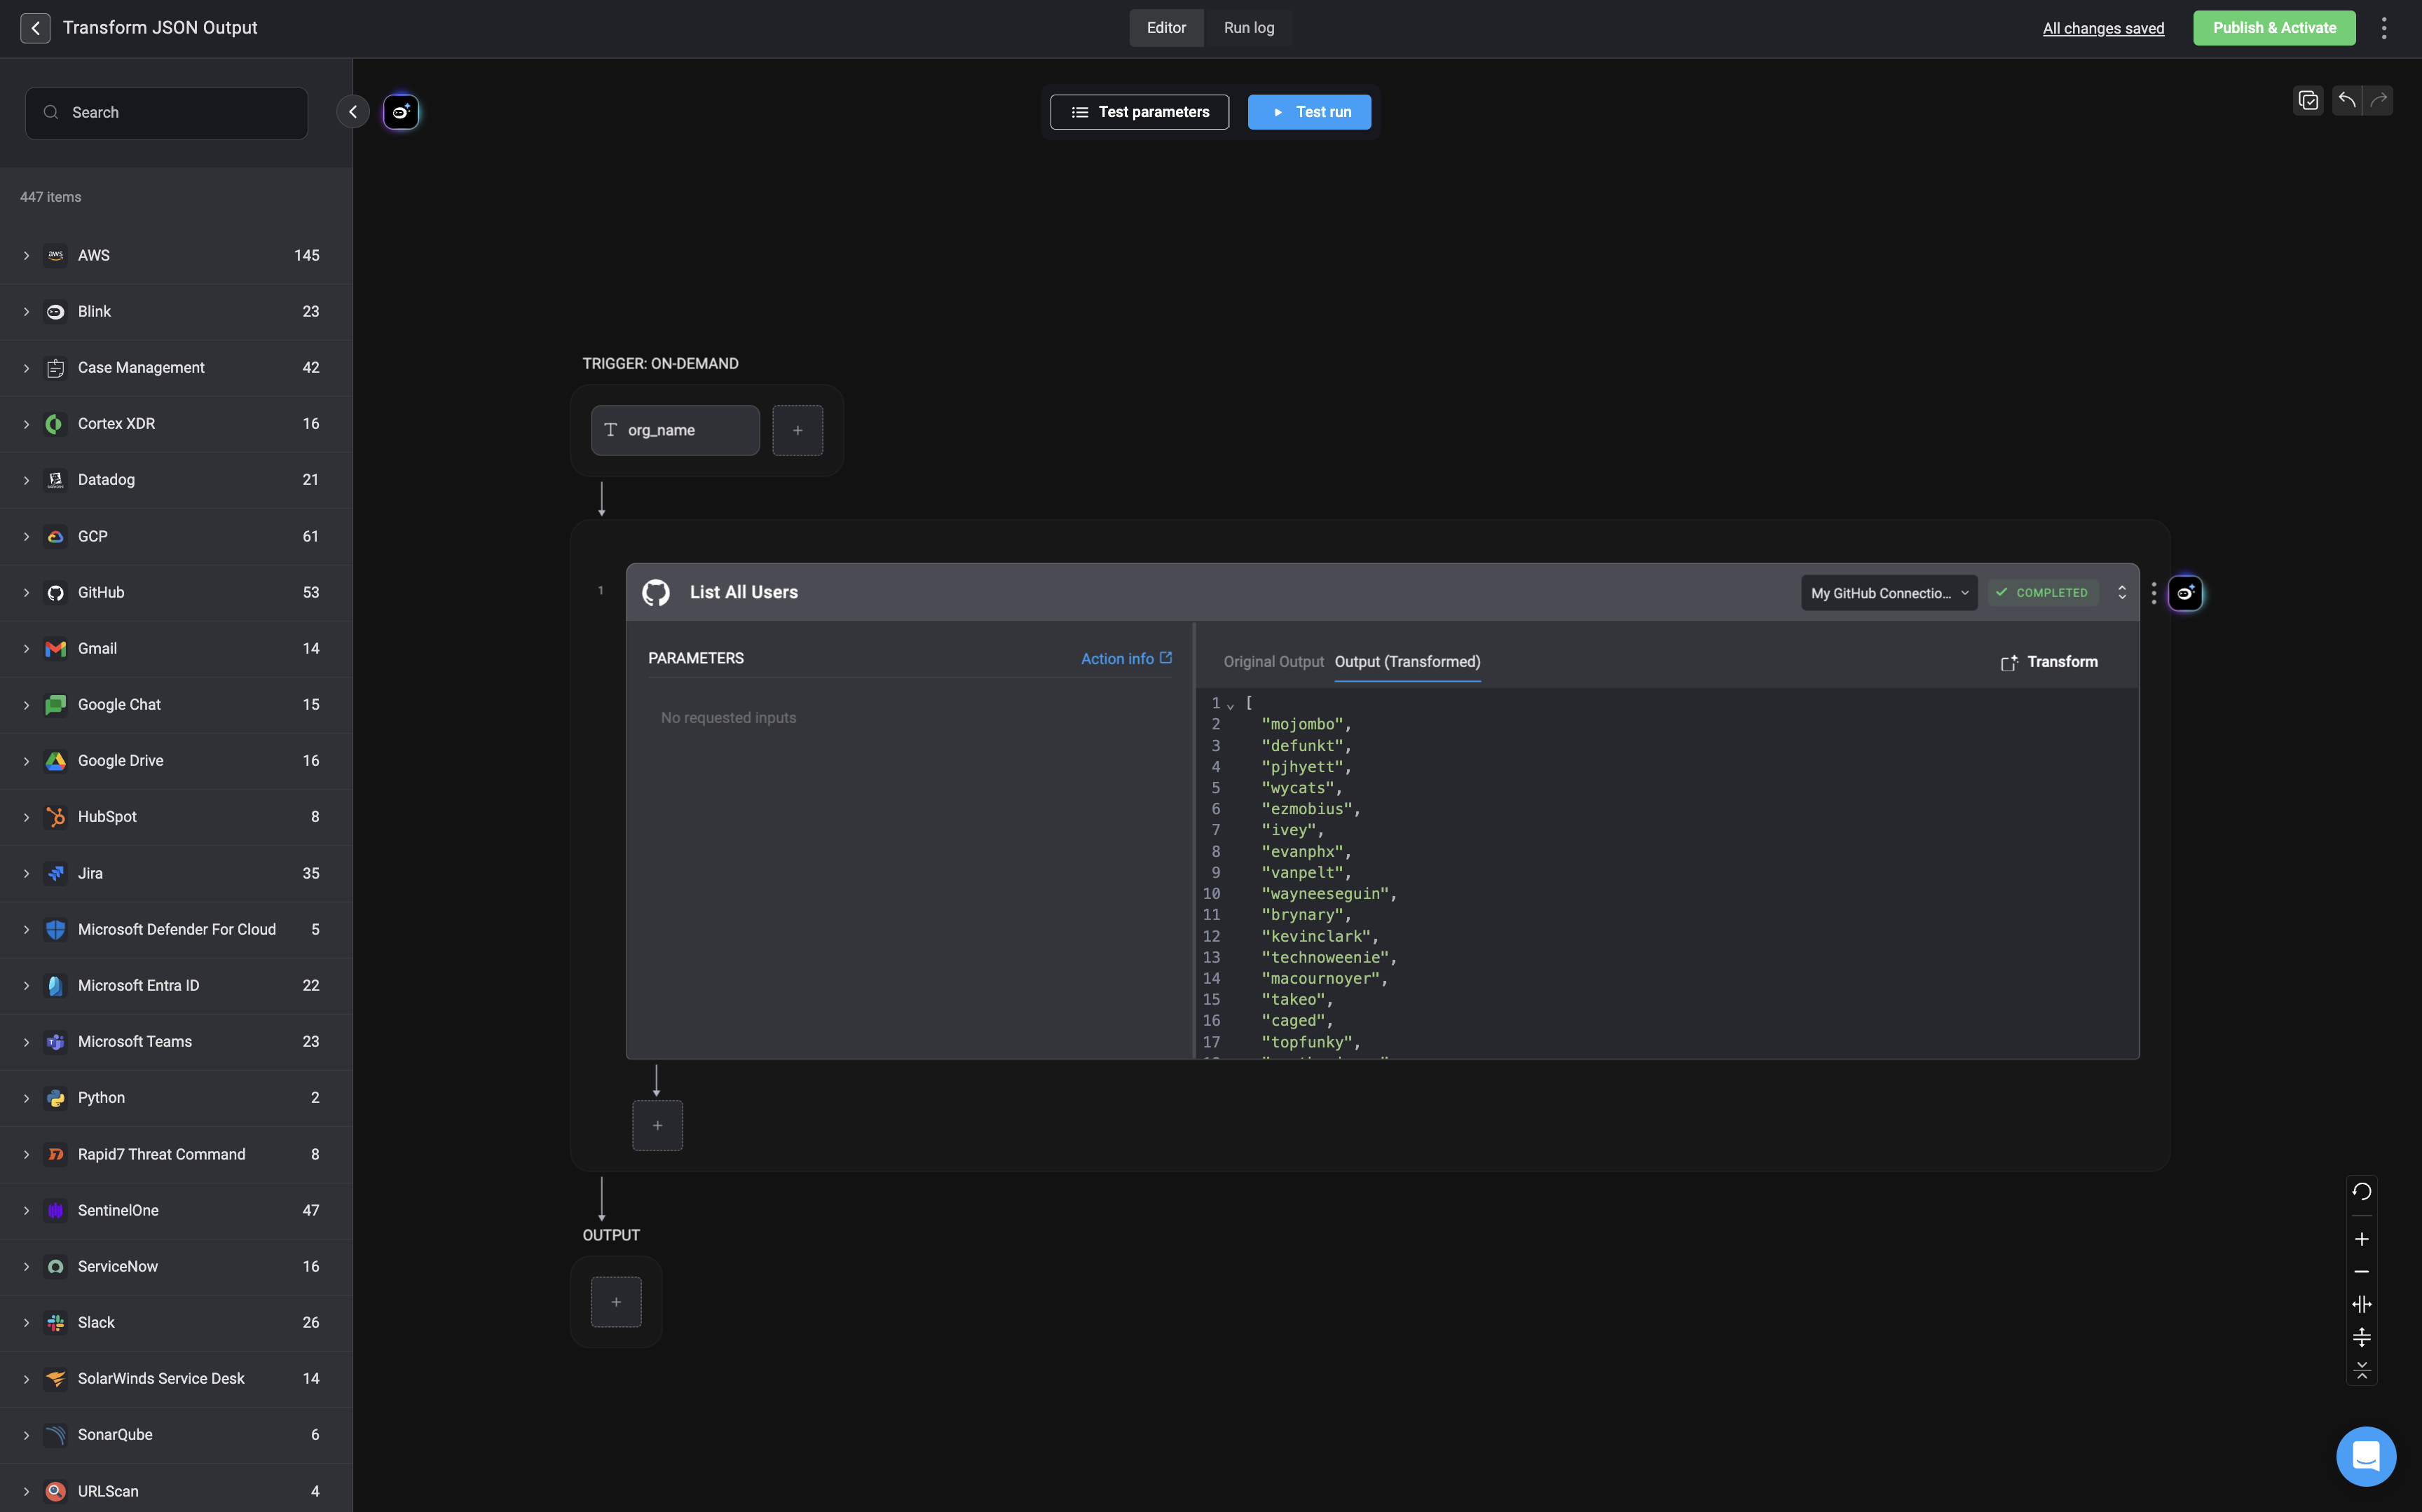
In the Workflow's step output, click the 'Transform' button in the top right corner to open the *Transform Output Editor*.
 This will use the last-received JSON data as the sample. Continue by entering your prompt in plain English with Builder Copilot or add a `JQ Command` manually, then click Generate. You can edit the generated `JQ command` if it's not exactly what you need.
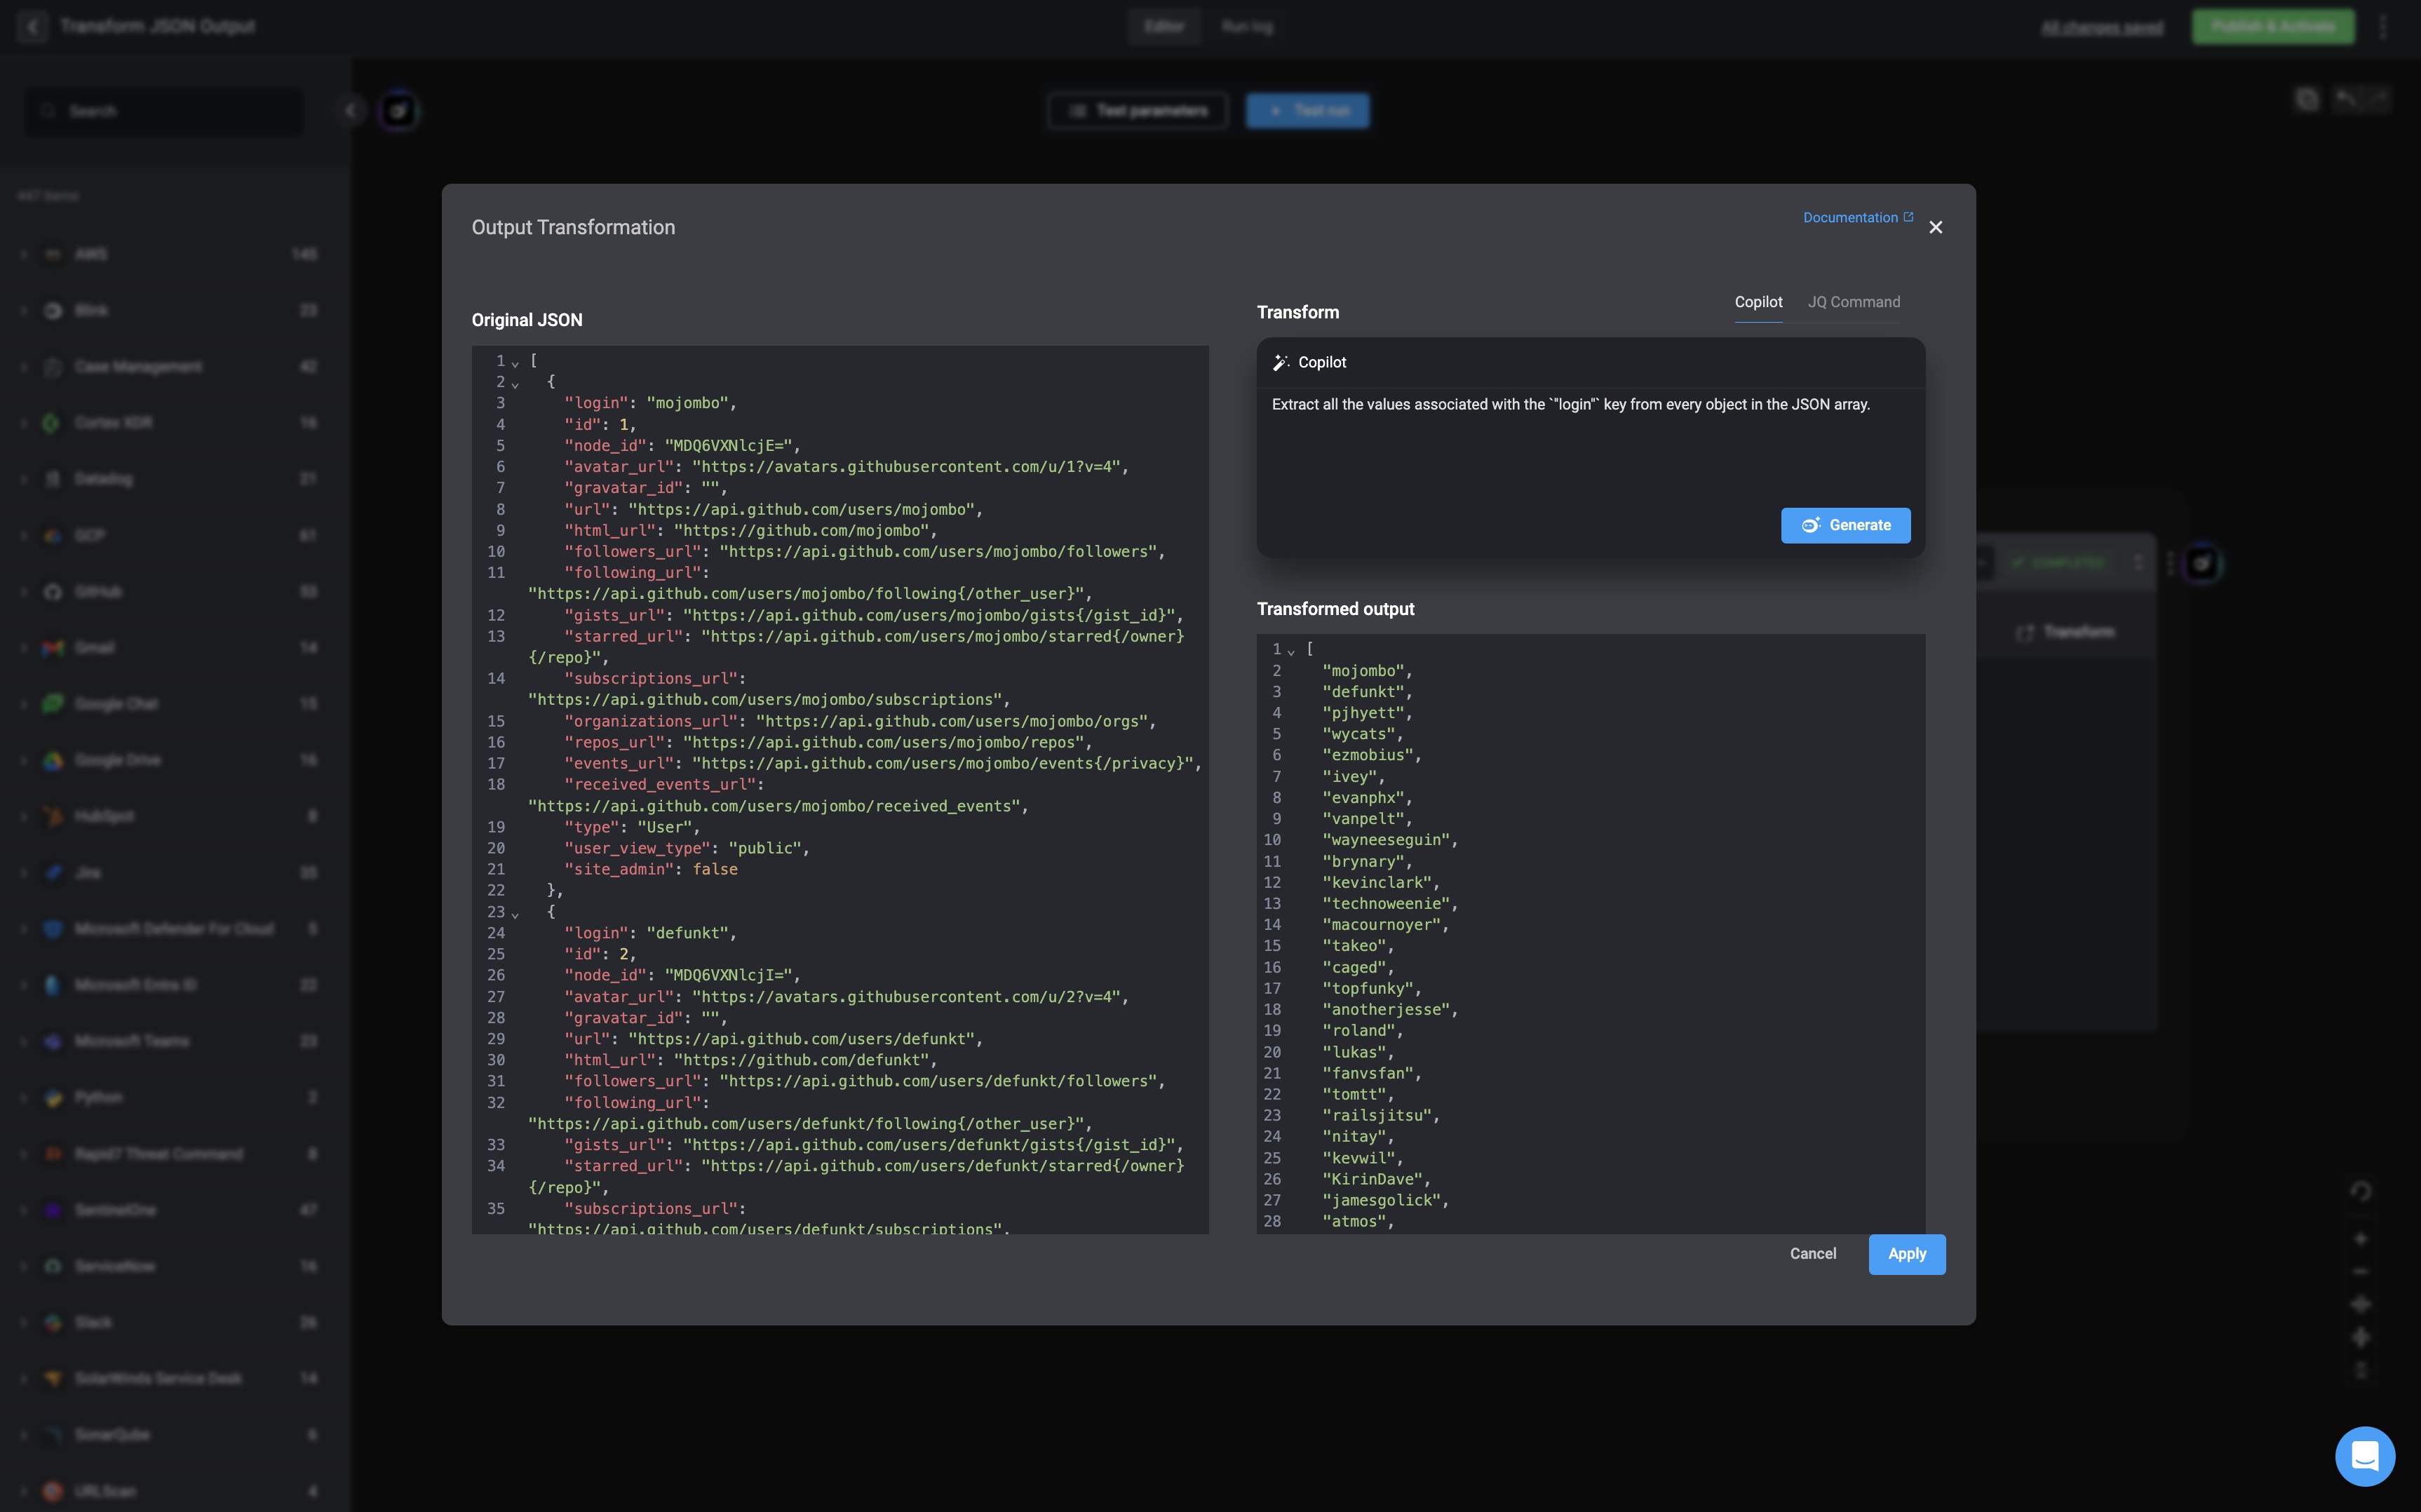
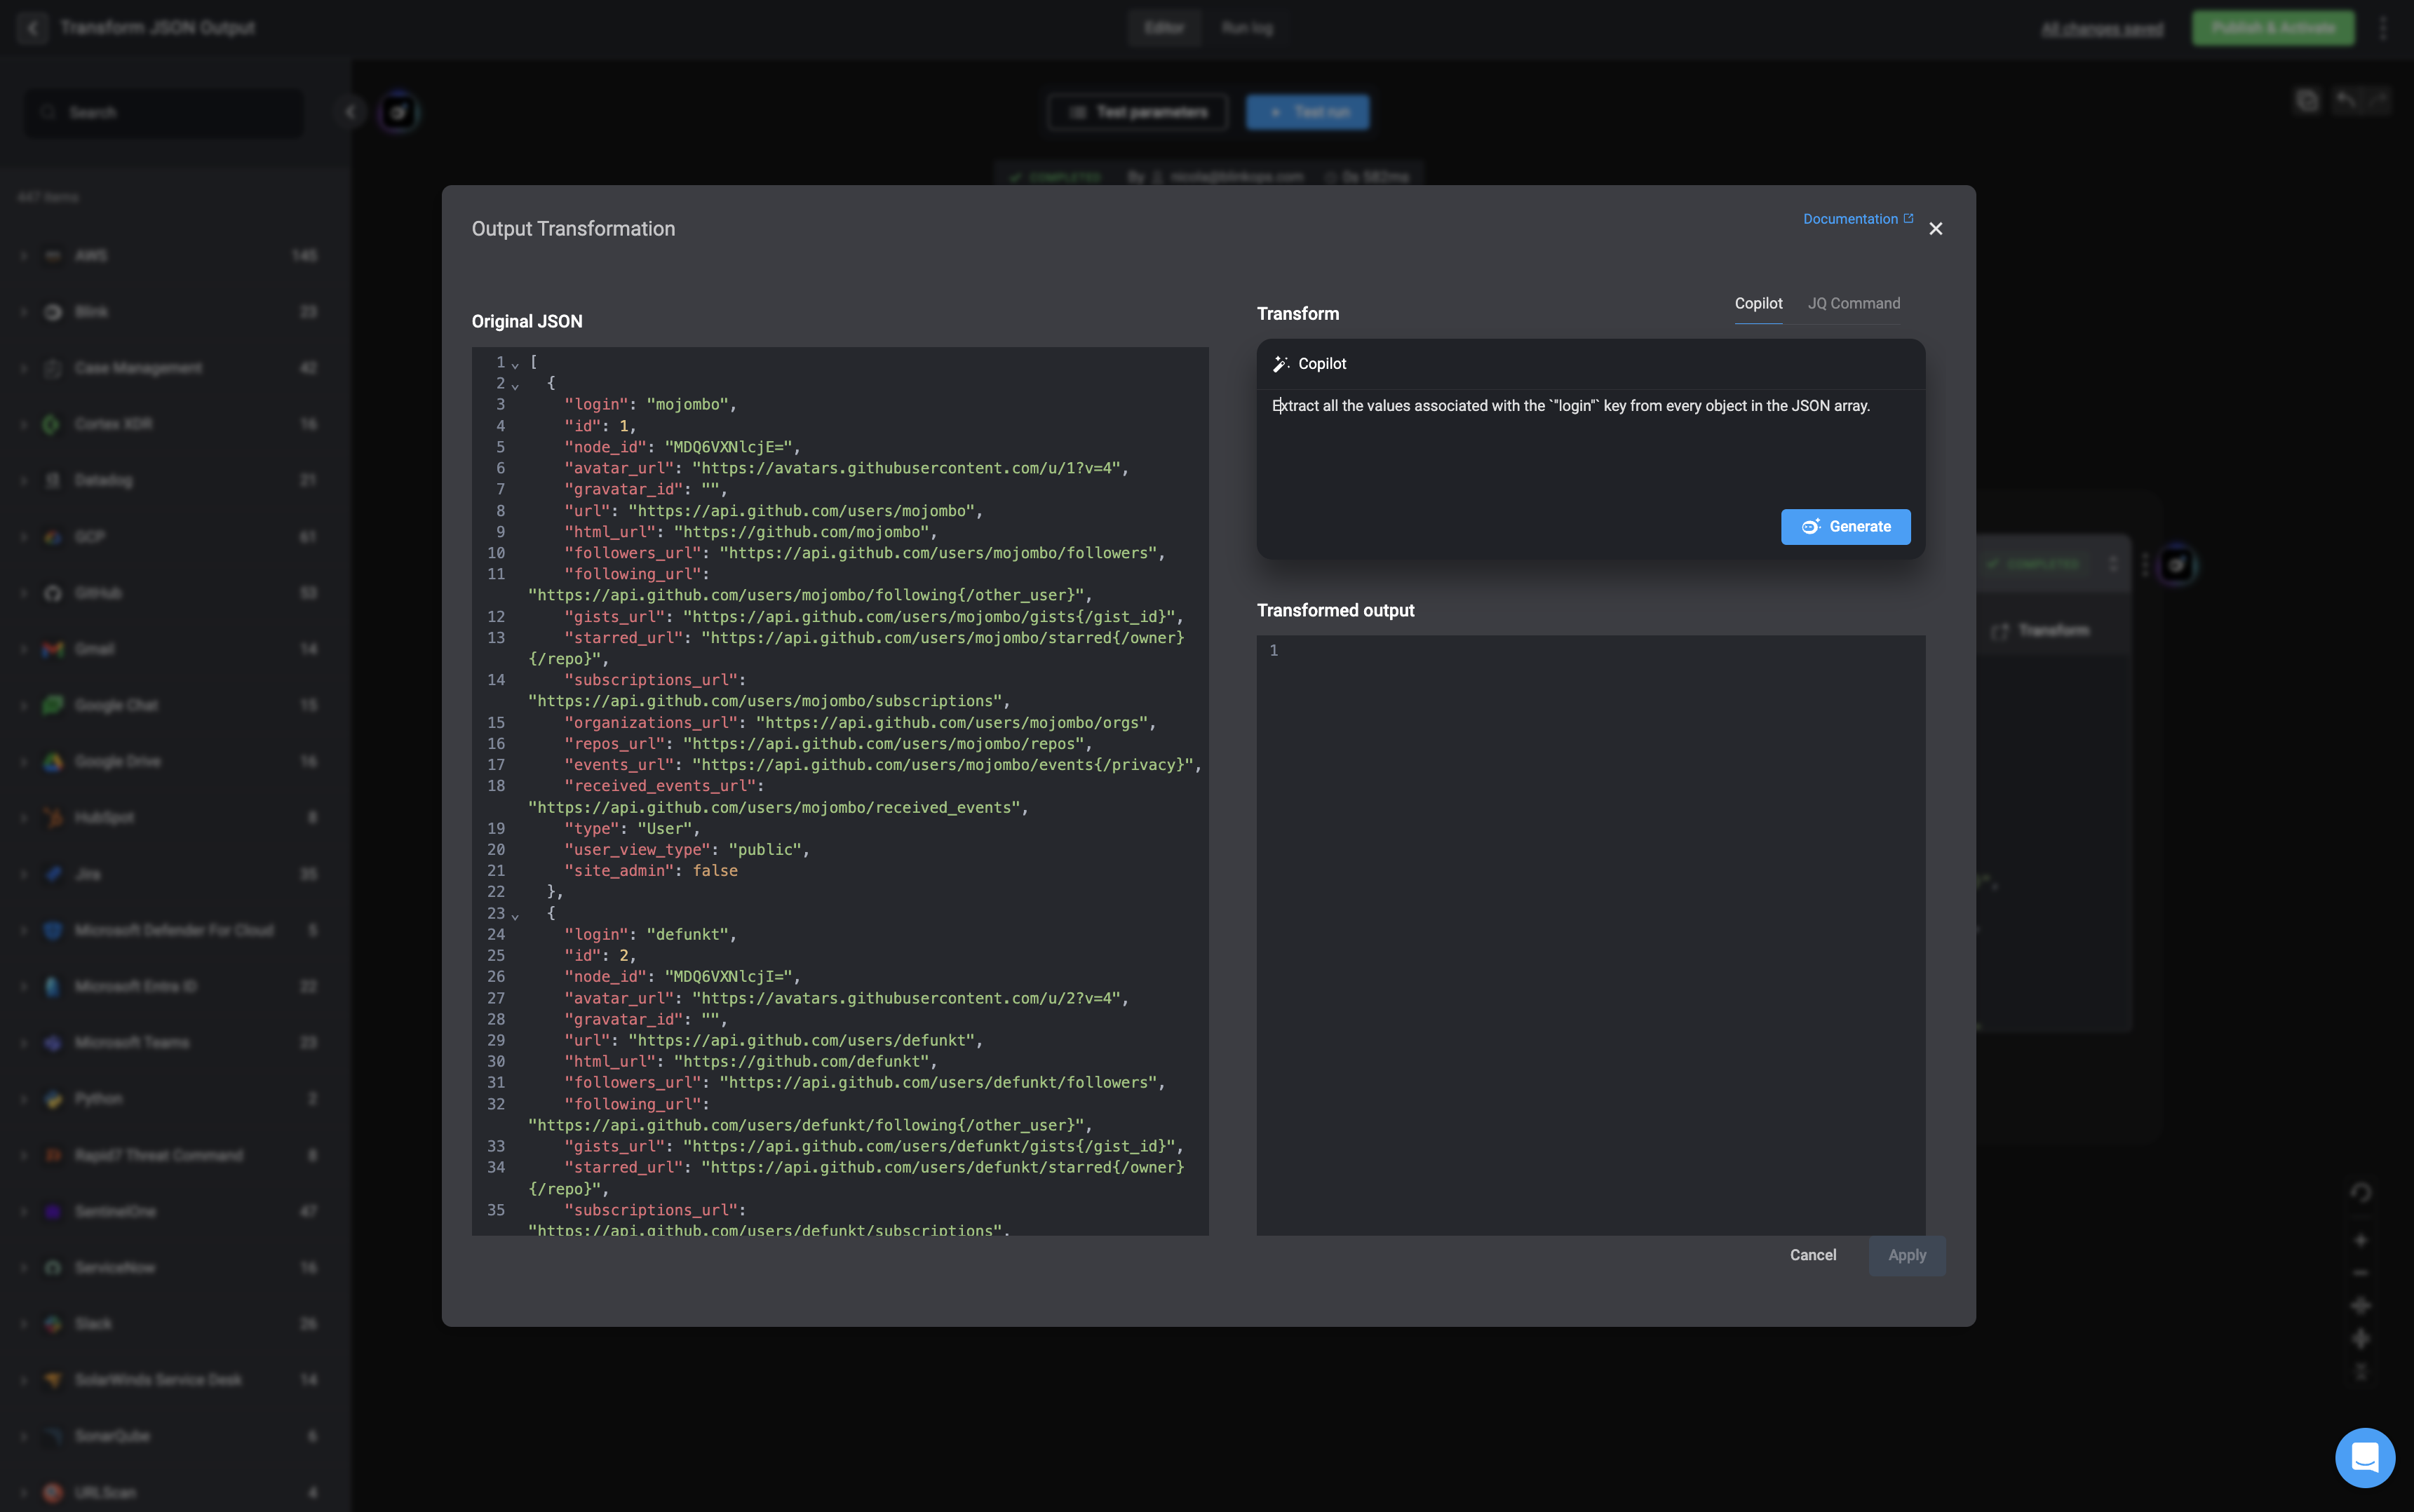 It will also immediately run the generated script with the sample input data and show the result in the "transformed output" section. To apply the transformed output to your Workflow, click the "Apply" button.
 You can find the transformed output data in the "*Output (transformed)*" tab. You can also see the original output, in the *Original Output* tab.
 ***
## Step Output Transformation and Dynamic Variables
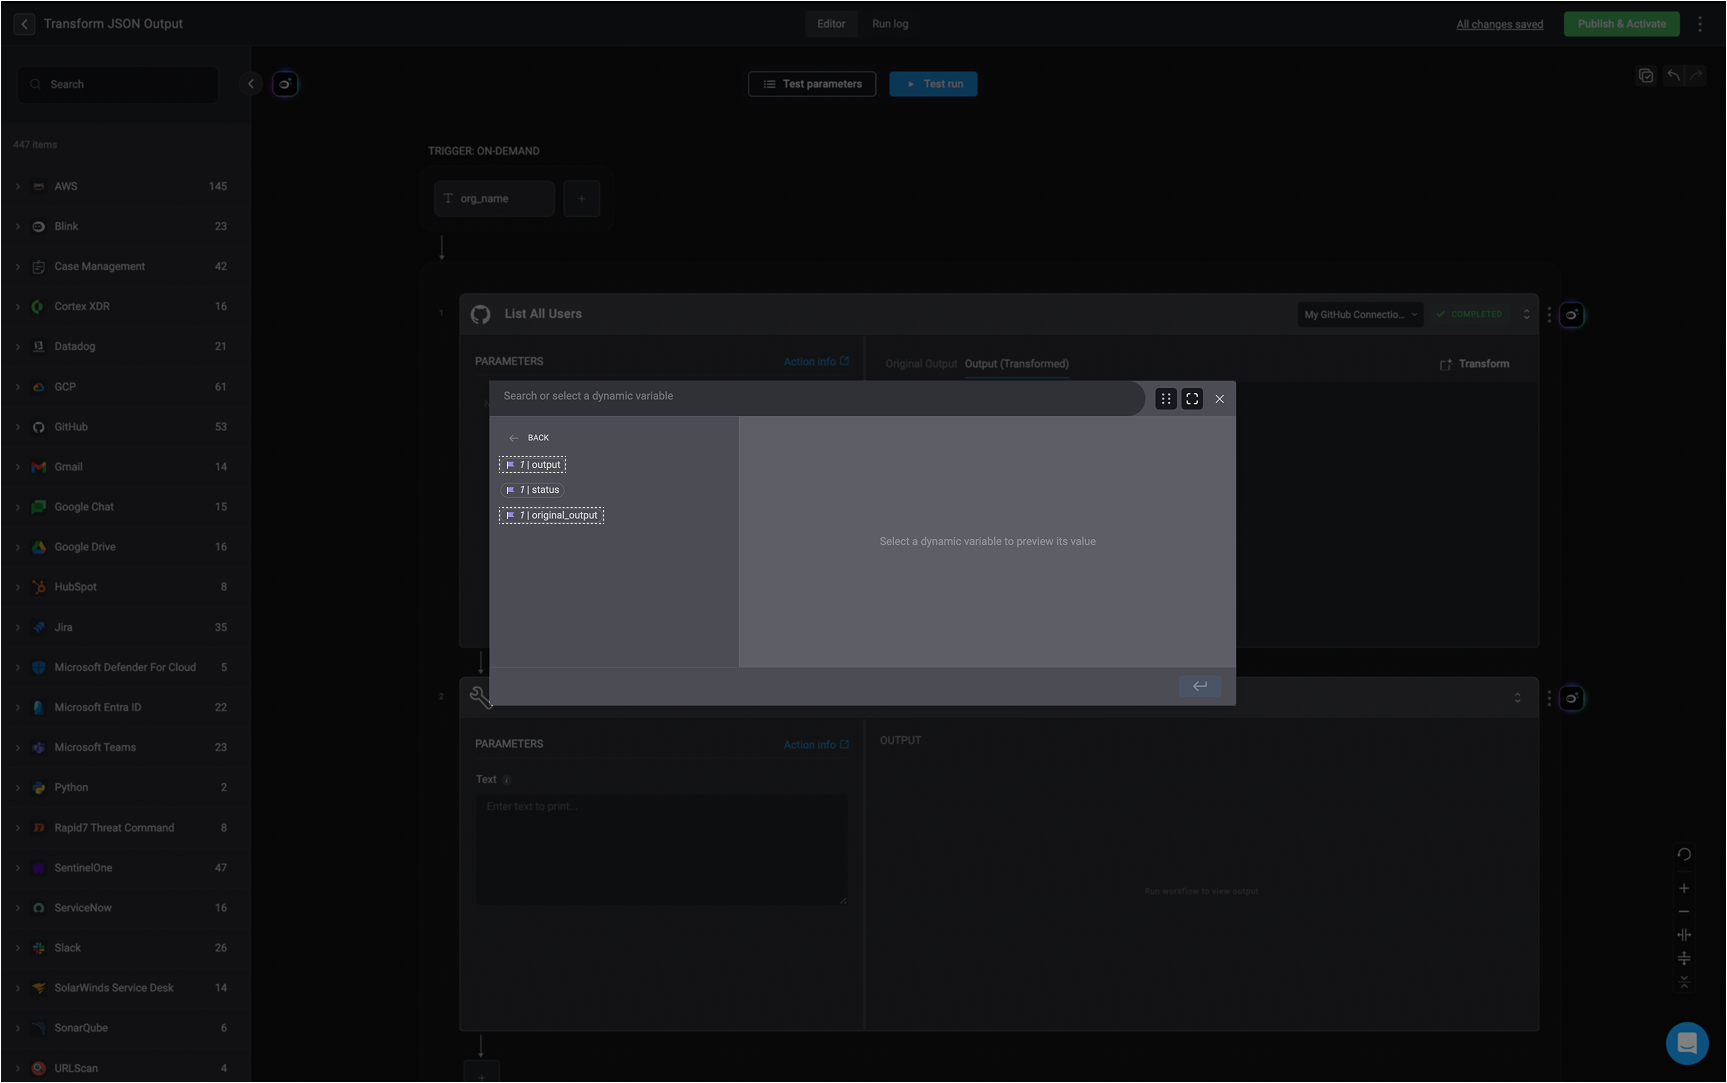
Using the [Variable Picker](/docs/workflows/building-workflows/dynamic-variables/variable-picker) you can add dynamic variables into either the Copilot transformation prompt or JQ command, enabling you to easily extract and return the specific information you need.
***
## Step Output Transformation and Dynamic Variables
Using the [Variable Picker](/docs/workflows/building-workflows/dynamic-variables/variable-picker) you can add dynamic variables into either the Copilot transformation prompt or JQ command, enabling you to easily extract and return the specific information you need.
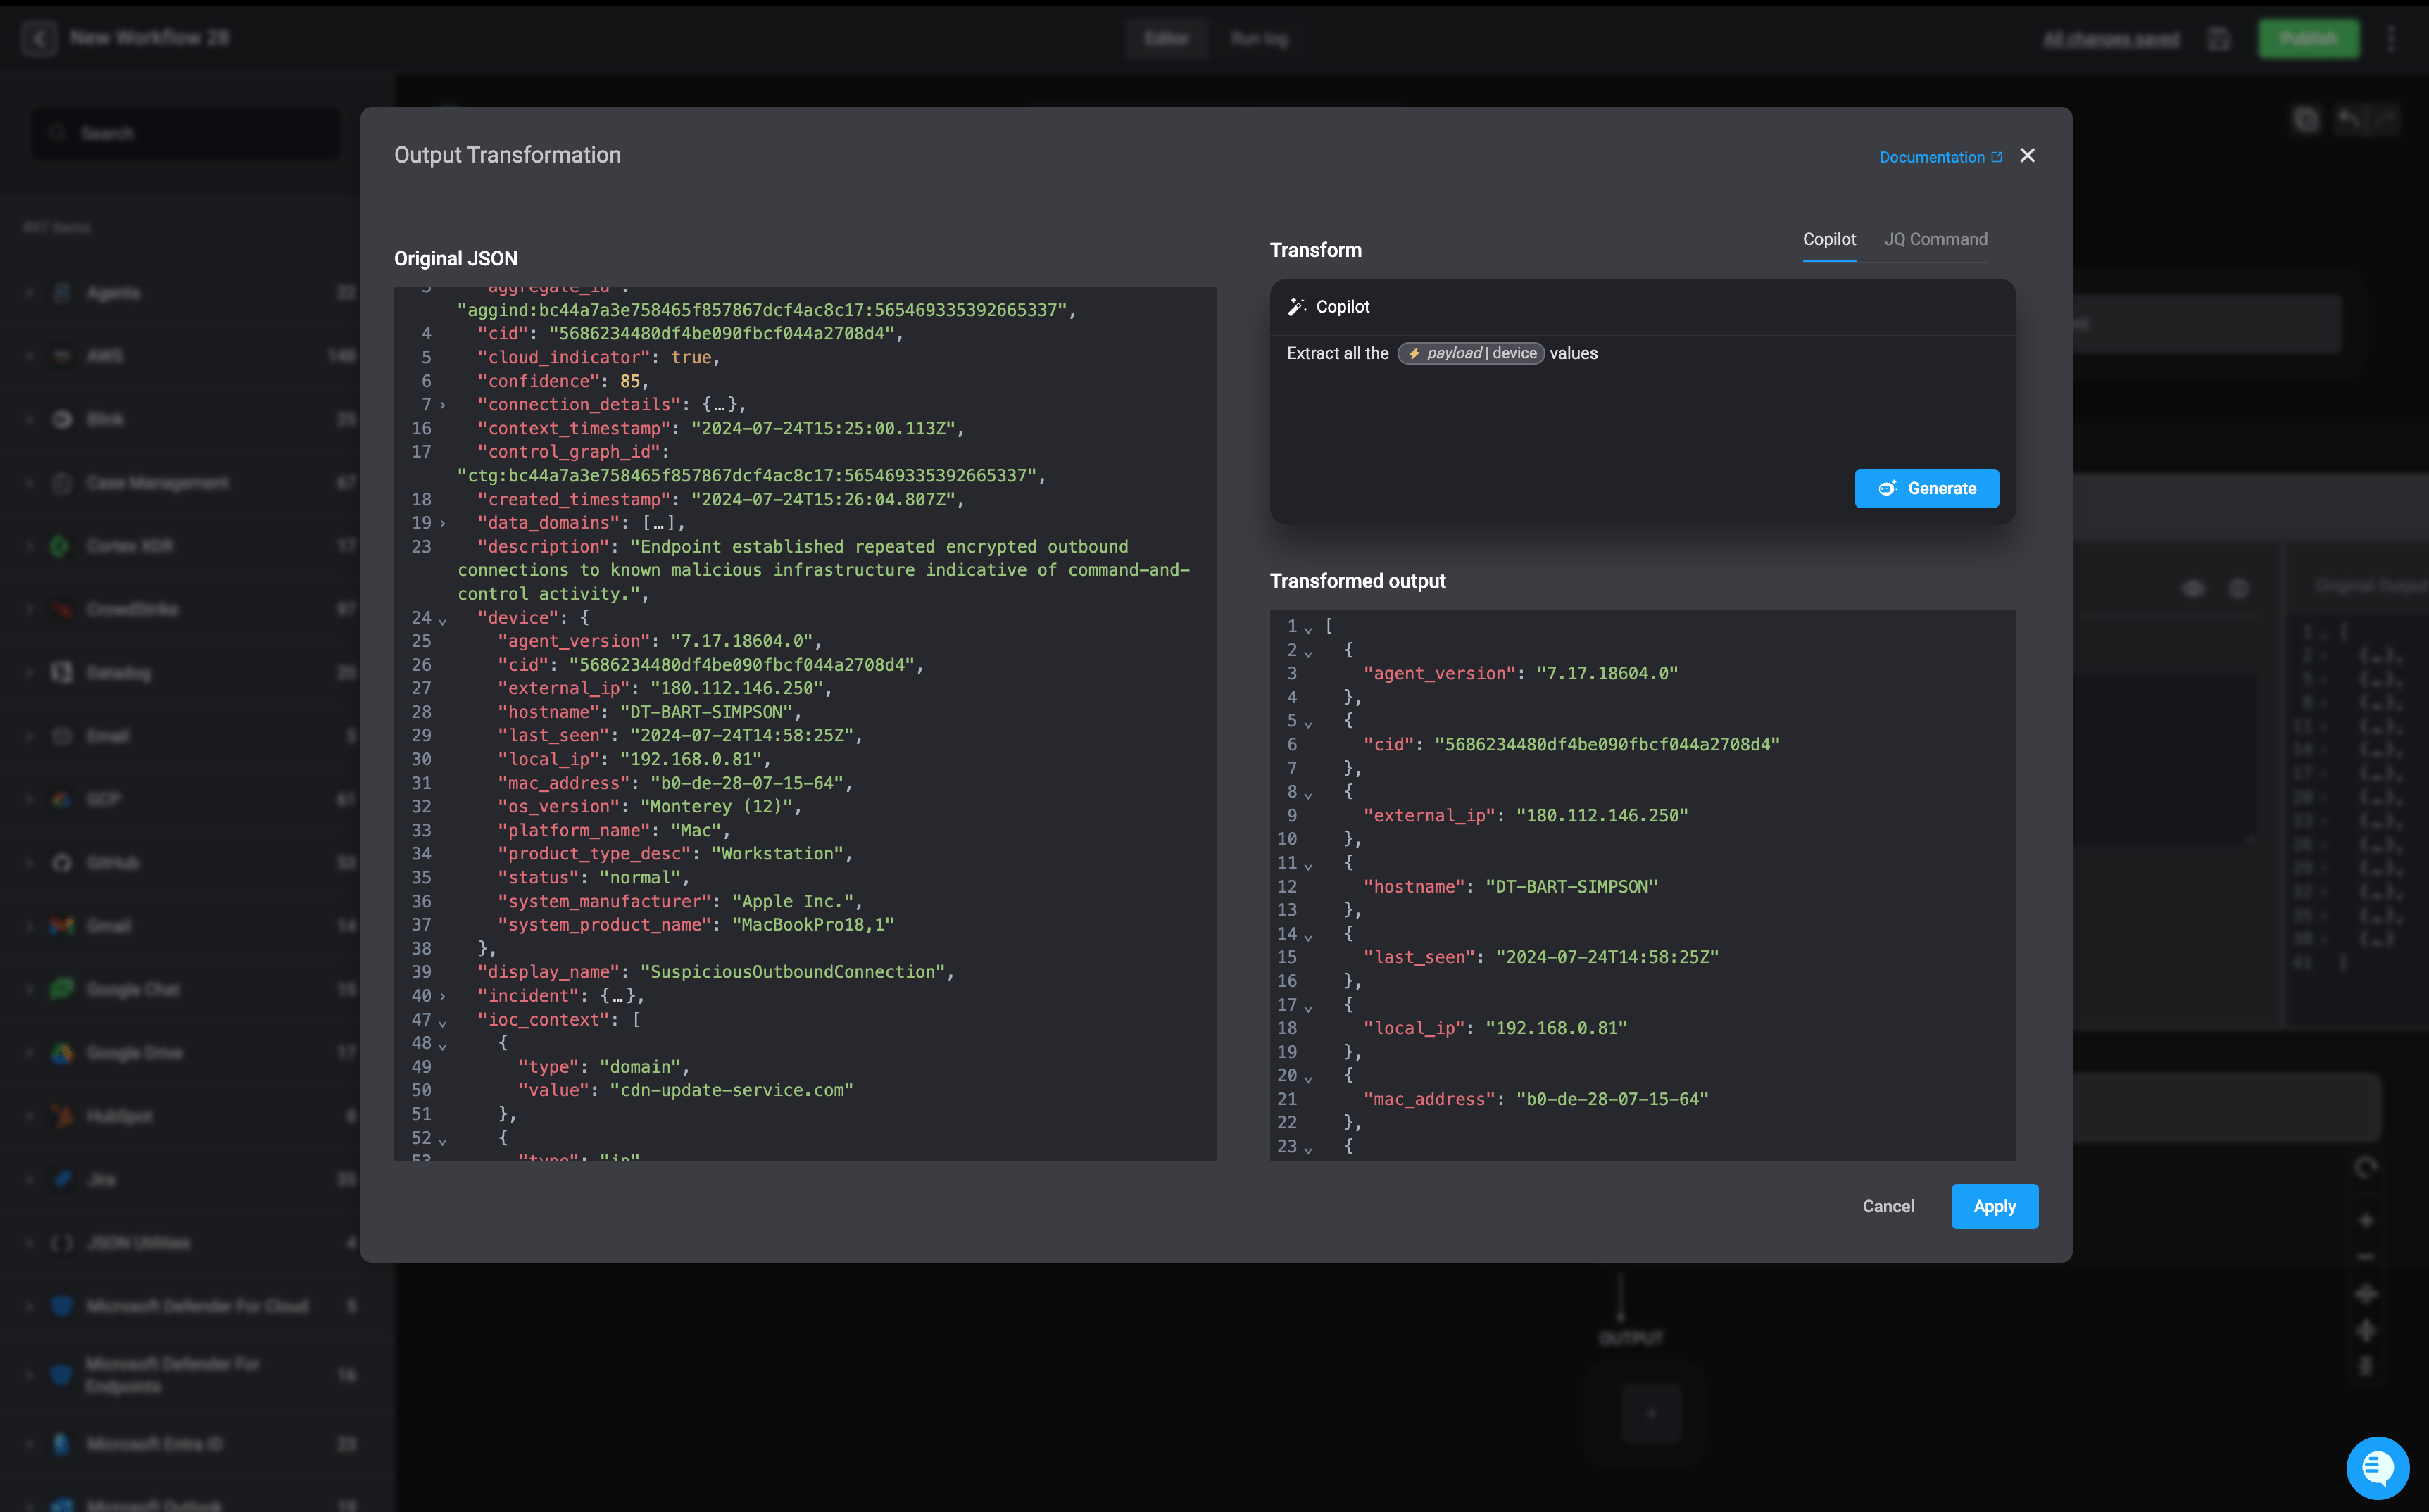 With the help of the [Variable Picker](/docs/workflows/building-workflows/dynamic-variables/variable-picker), you can access a [step dynamic variable](/docs/workflows/building-workflows/dynamic-variables/variable-picker#steps) and choose either the step's original output (`original_output`) or its transformed output (`output`).