> ## Documentation Index
> Fetch the complete documentation index at: https://docs.blinkops.com/llms.txt
> Use this file to discover all available pages before exploring further.
# Creating a New Workspace
> How to create a new workspace in Blink for organizing teams, workflows, and resources.
Blink workspaces enable you to organize your company into smaller subdivisions based on your specific needs. Every team can have one or more workspaces. This enables team members to collaborate on projects and share Workflows and resources efficiently.
### Create a New Workspace
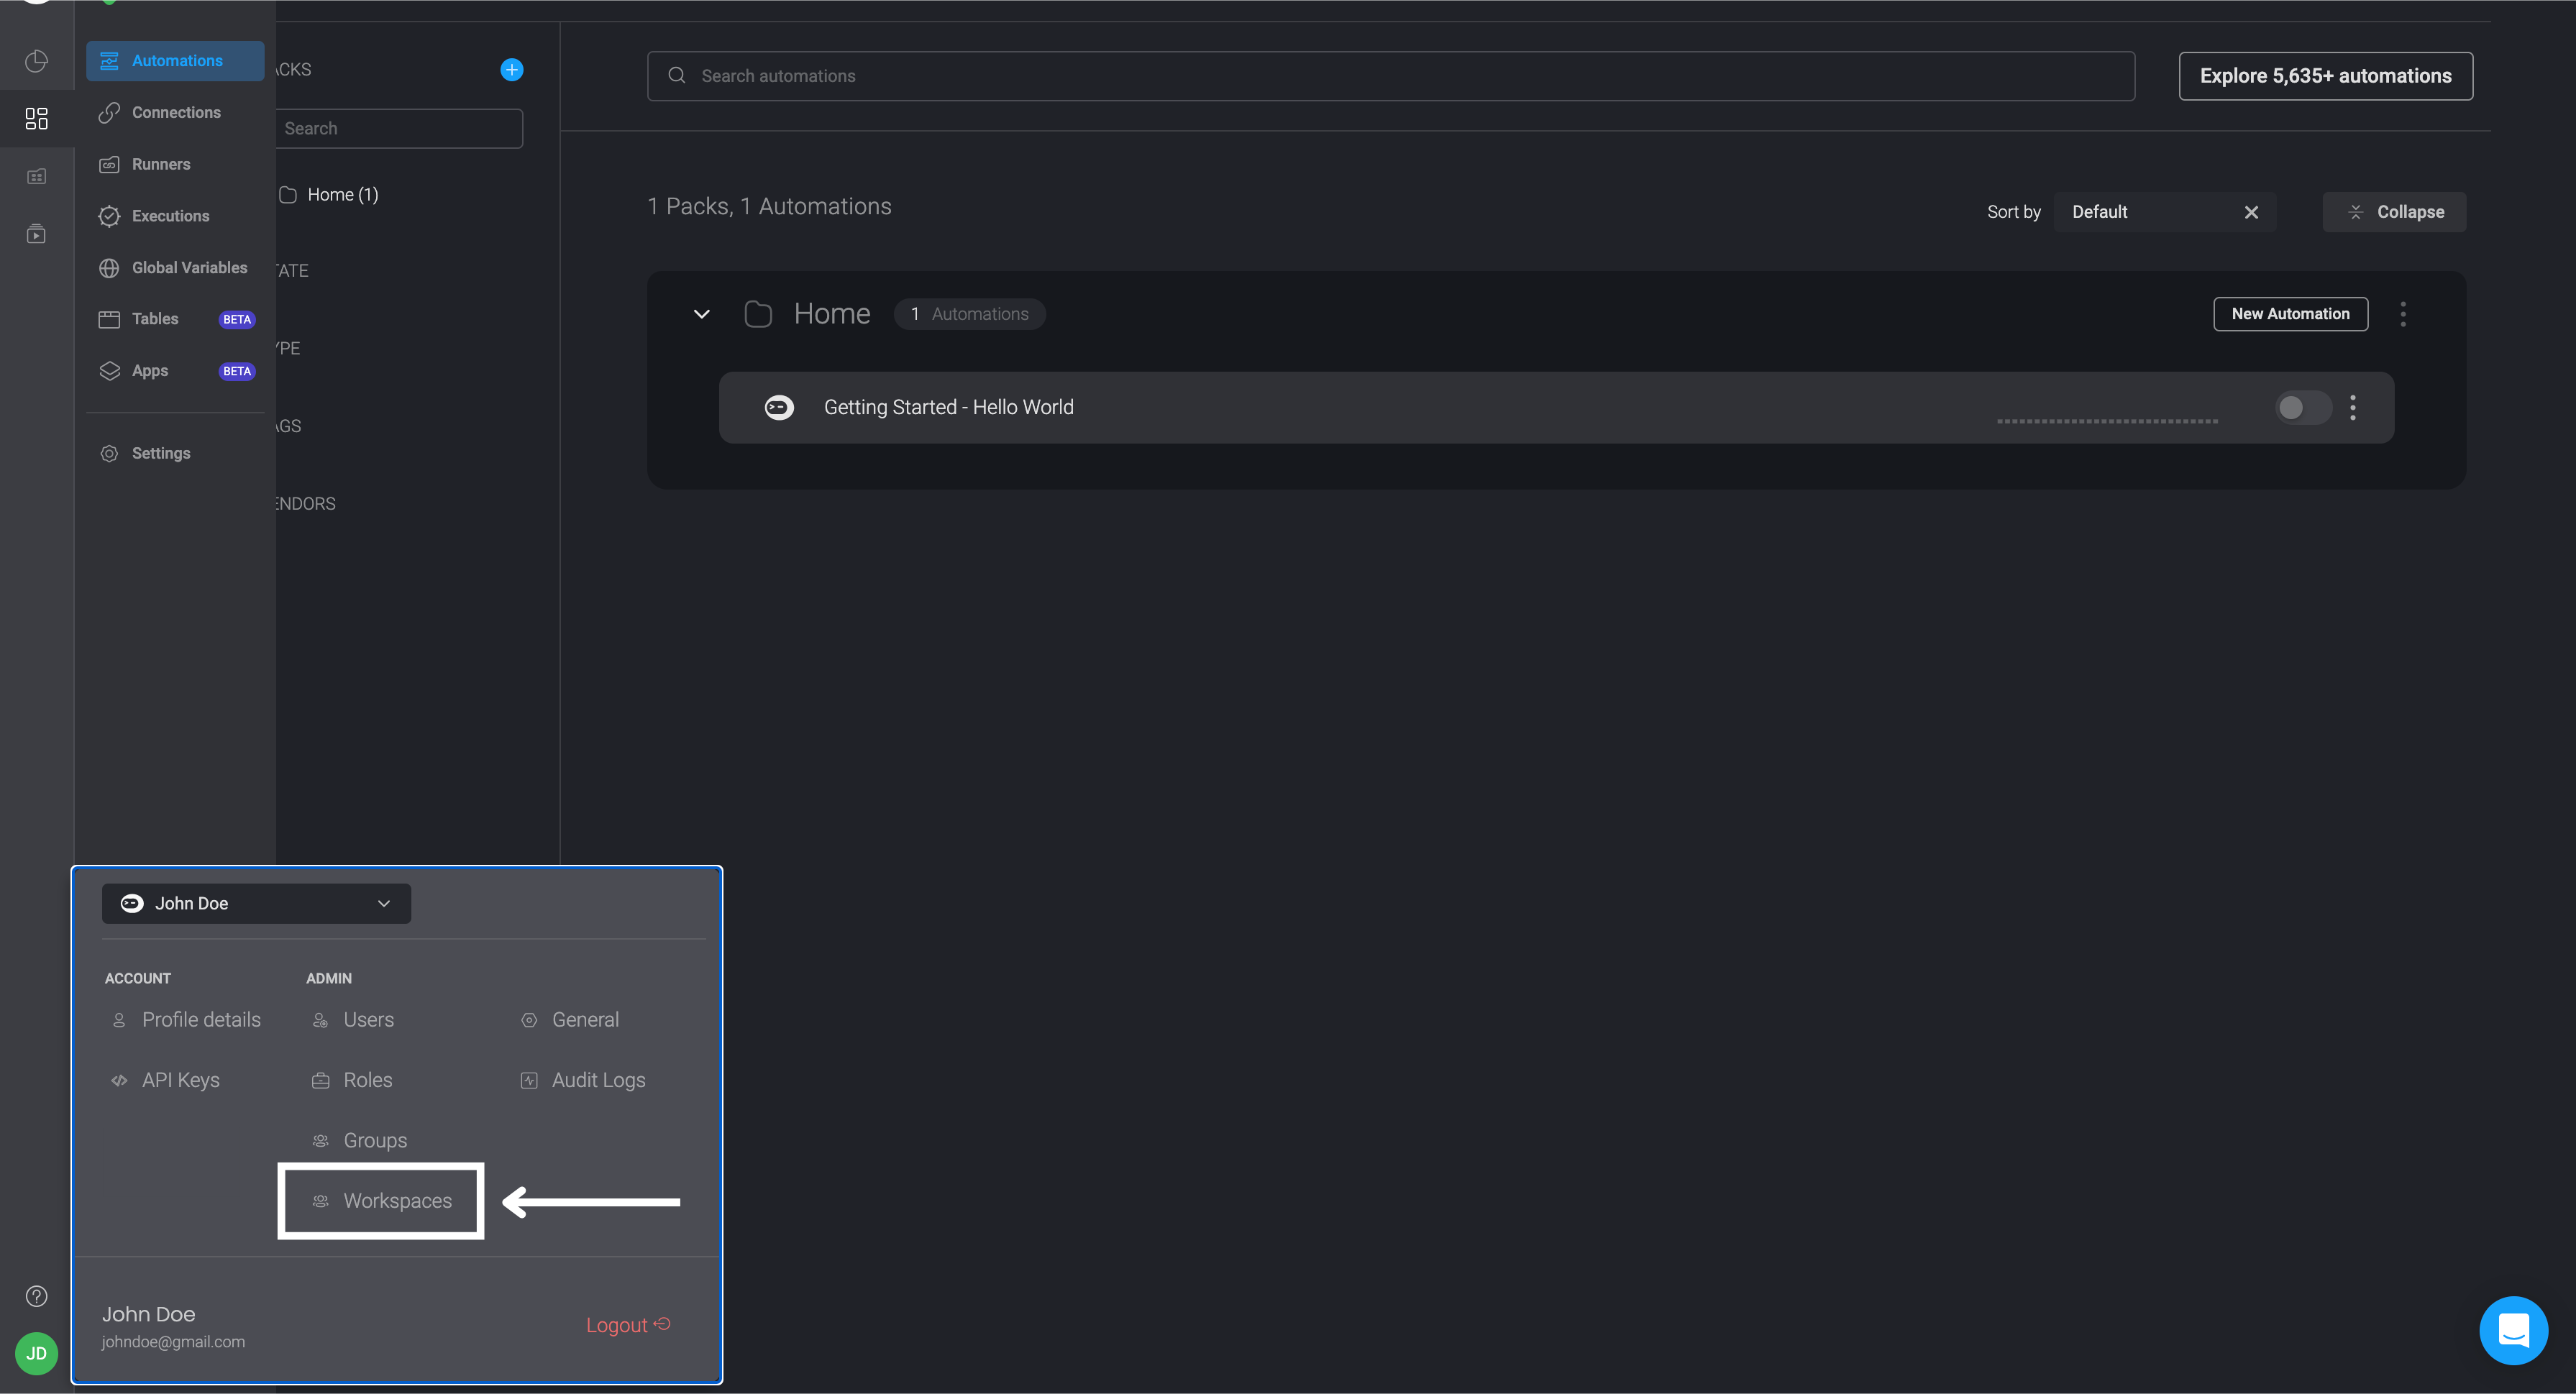
Navigate to **Account Settings** by selecting the circle displaying your initials in the bottom-left corner.
Next, select **Workspaces** from the options provided.
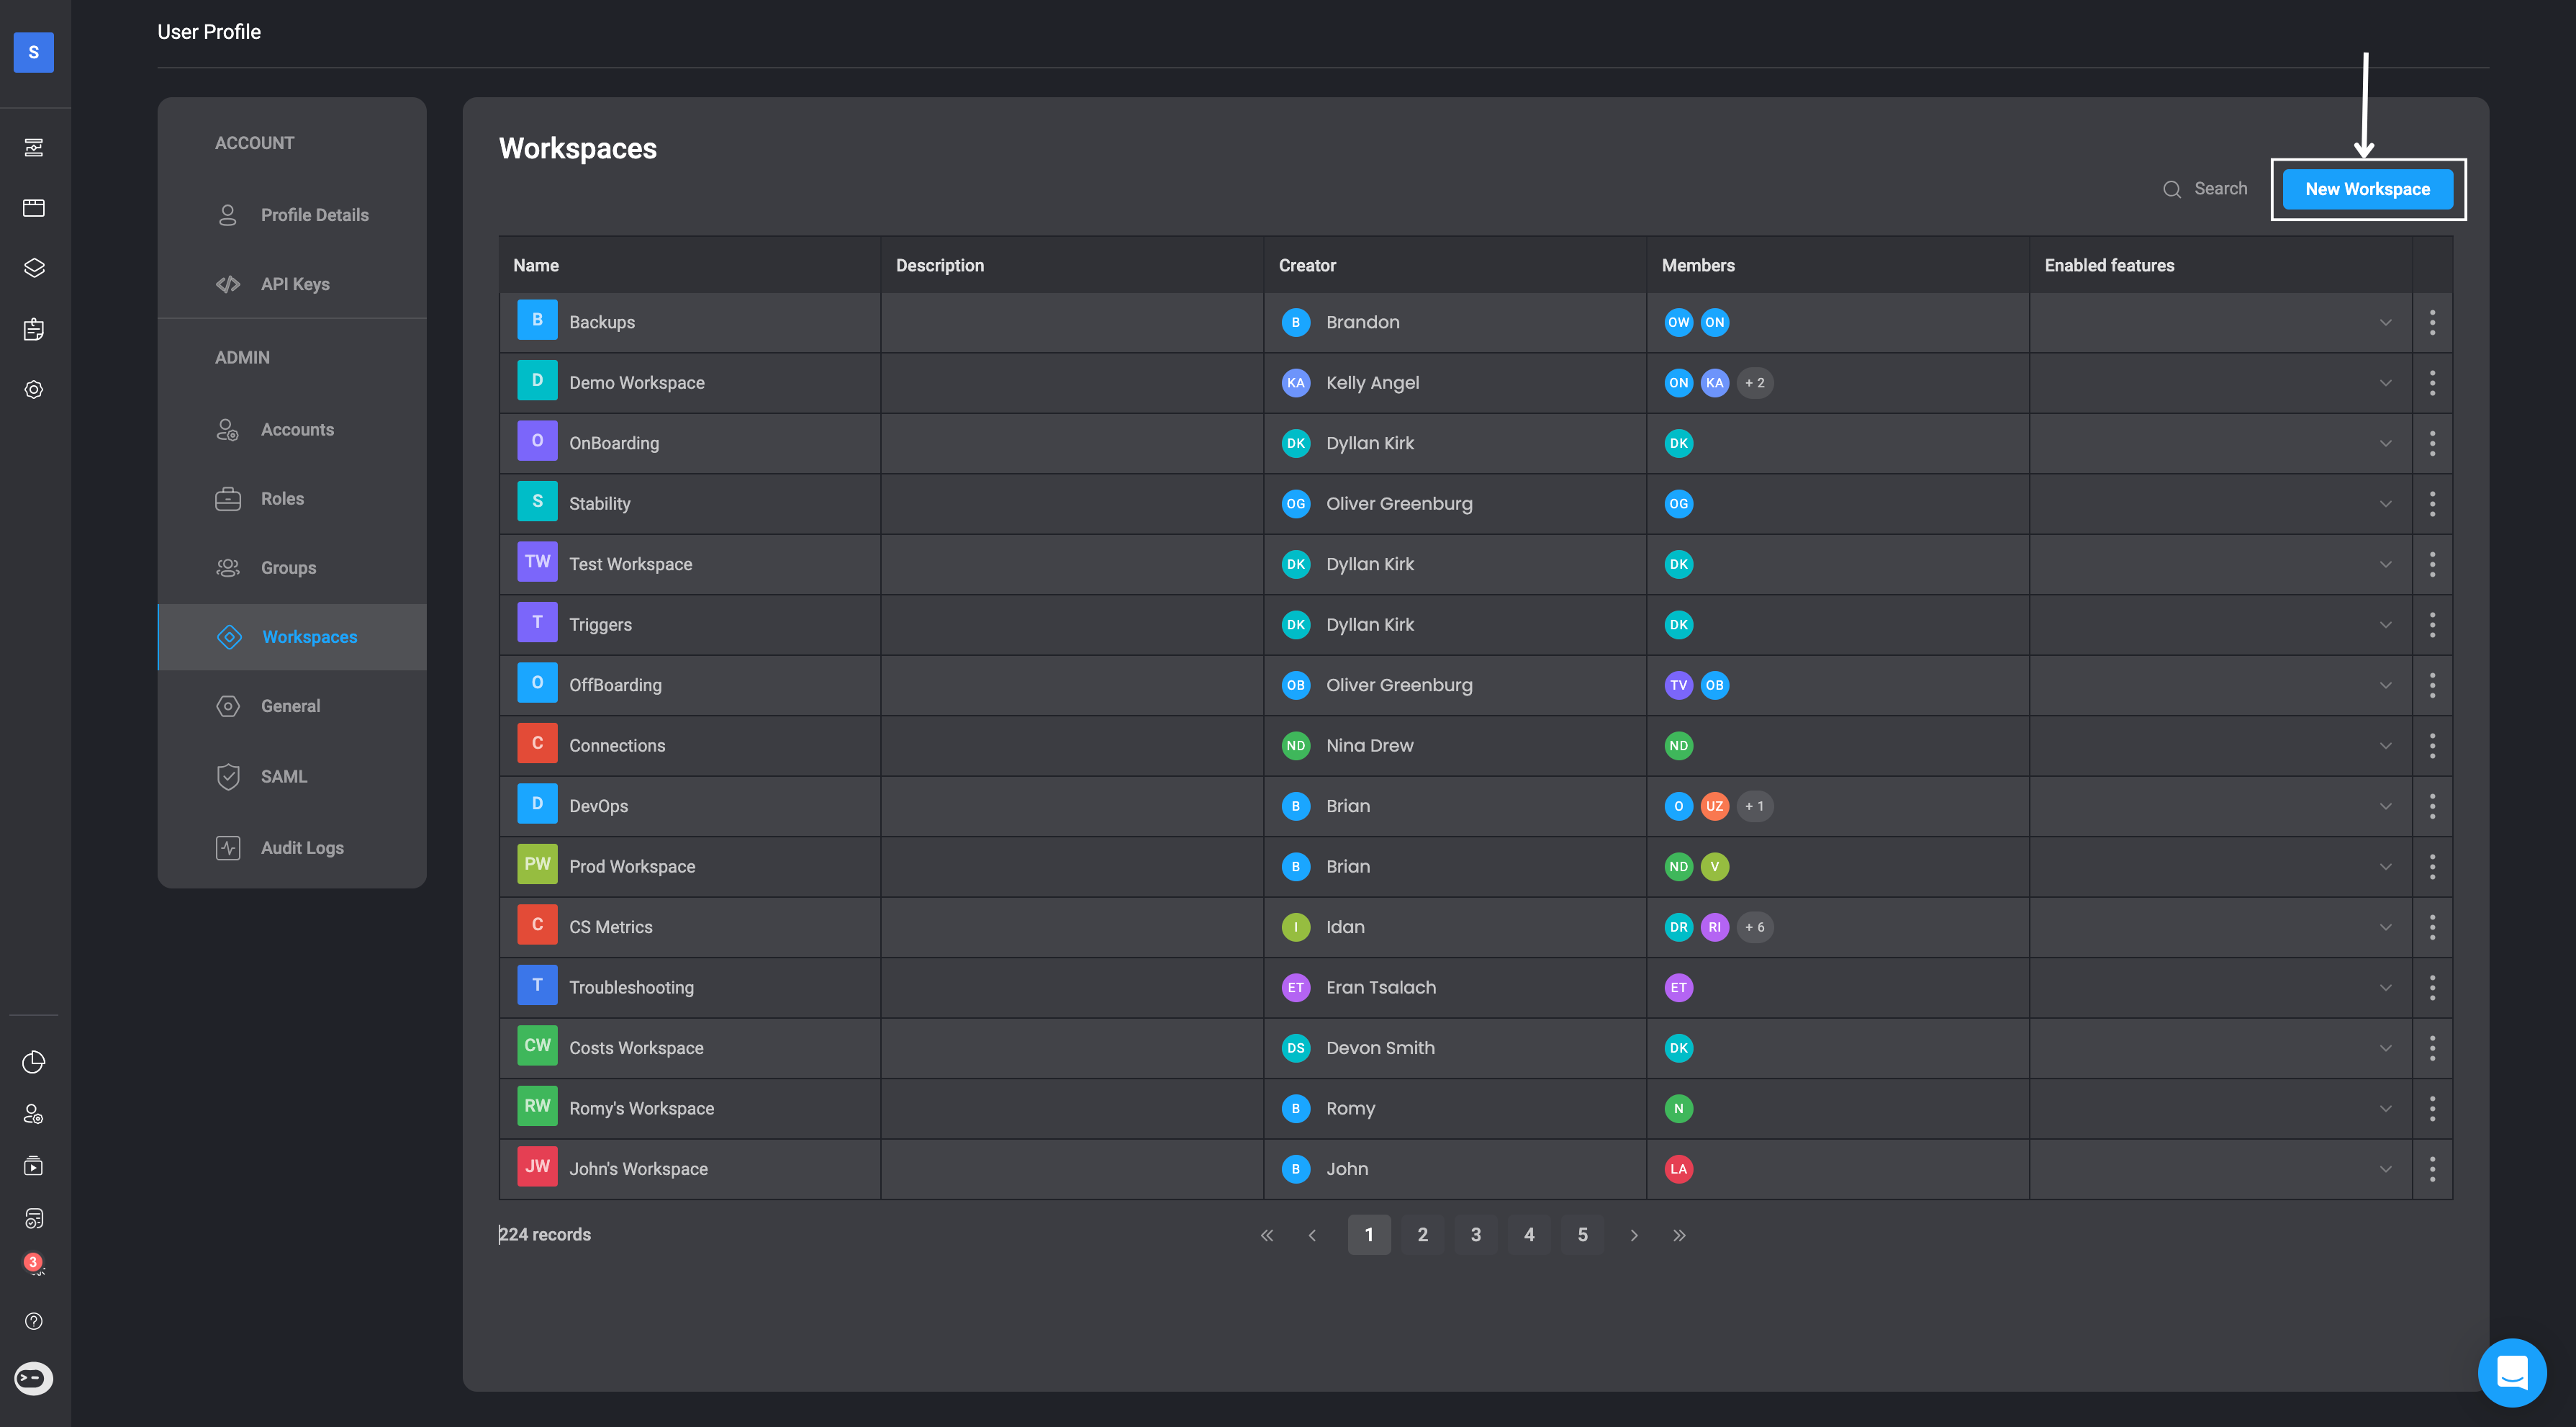
 You will be directed to the **Workspaces** settings. In the top-right corner select the **New Workspace** button.
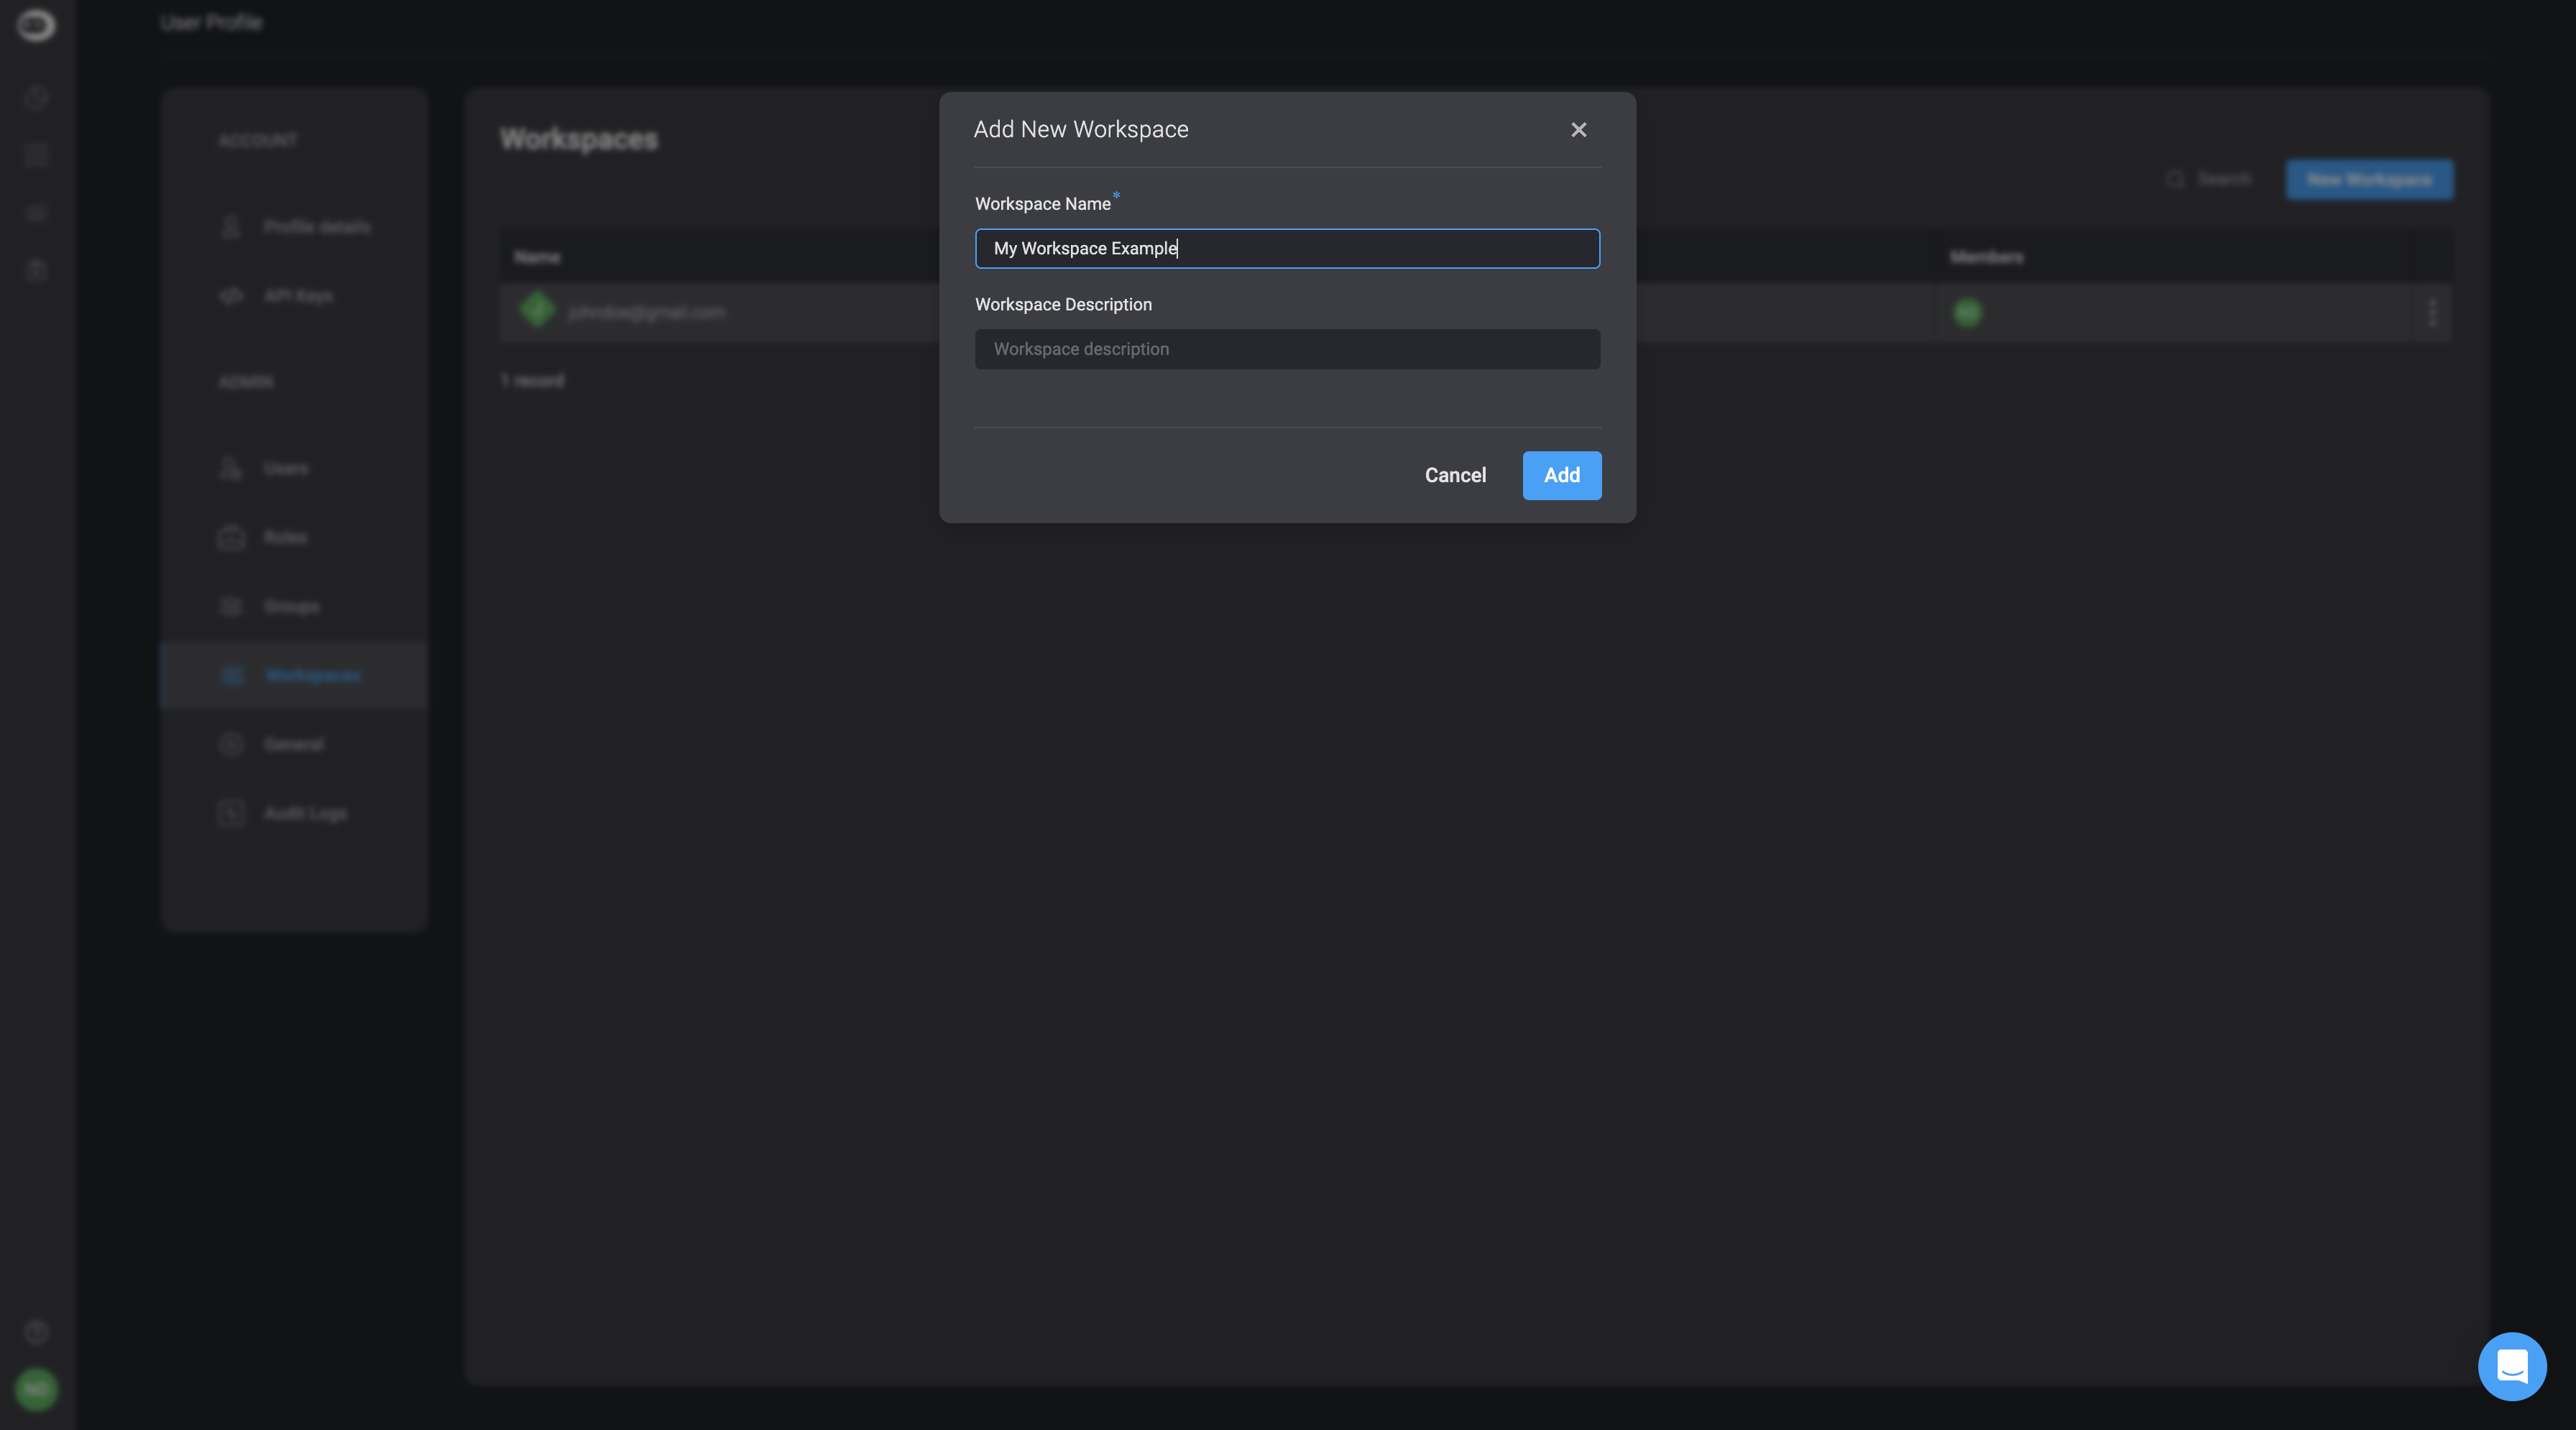
 A popup will appear. Add a workspace name and an optional description. Click the **Add** button in the bottom-right corner to create your new workspace.
 ***
### Editing Workspace
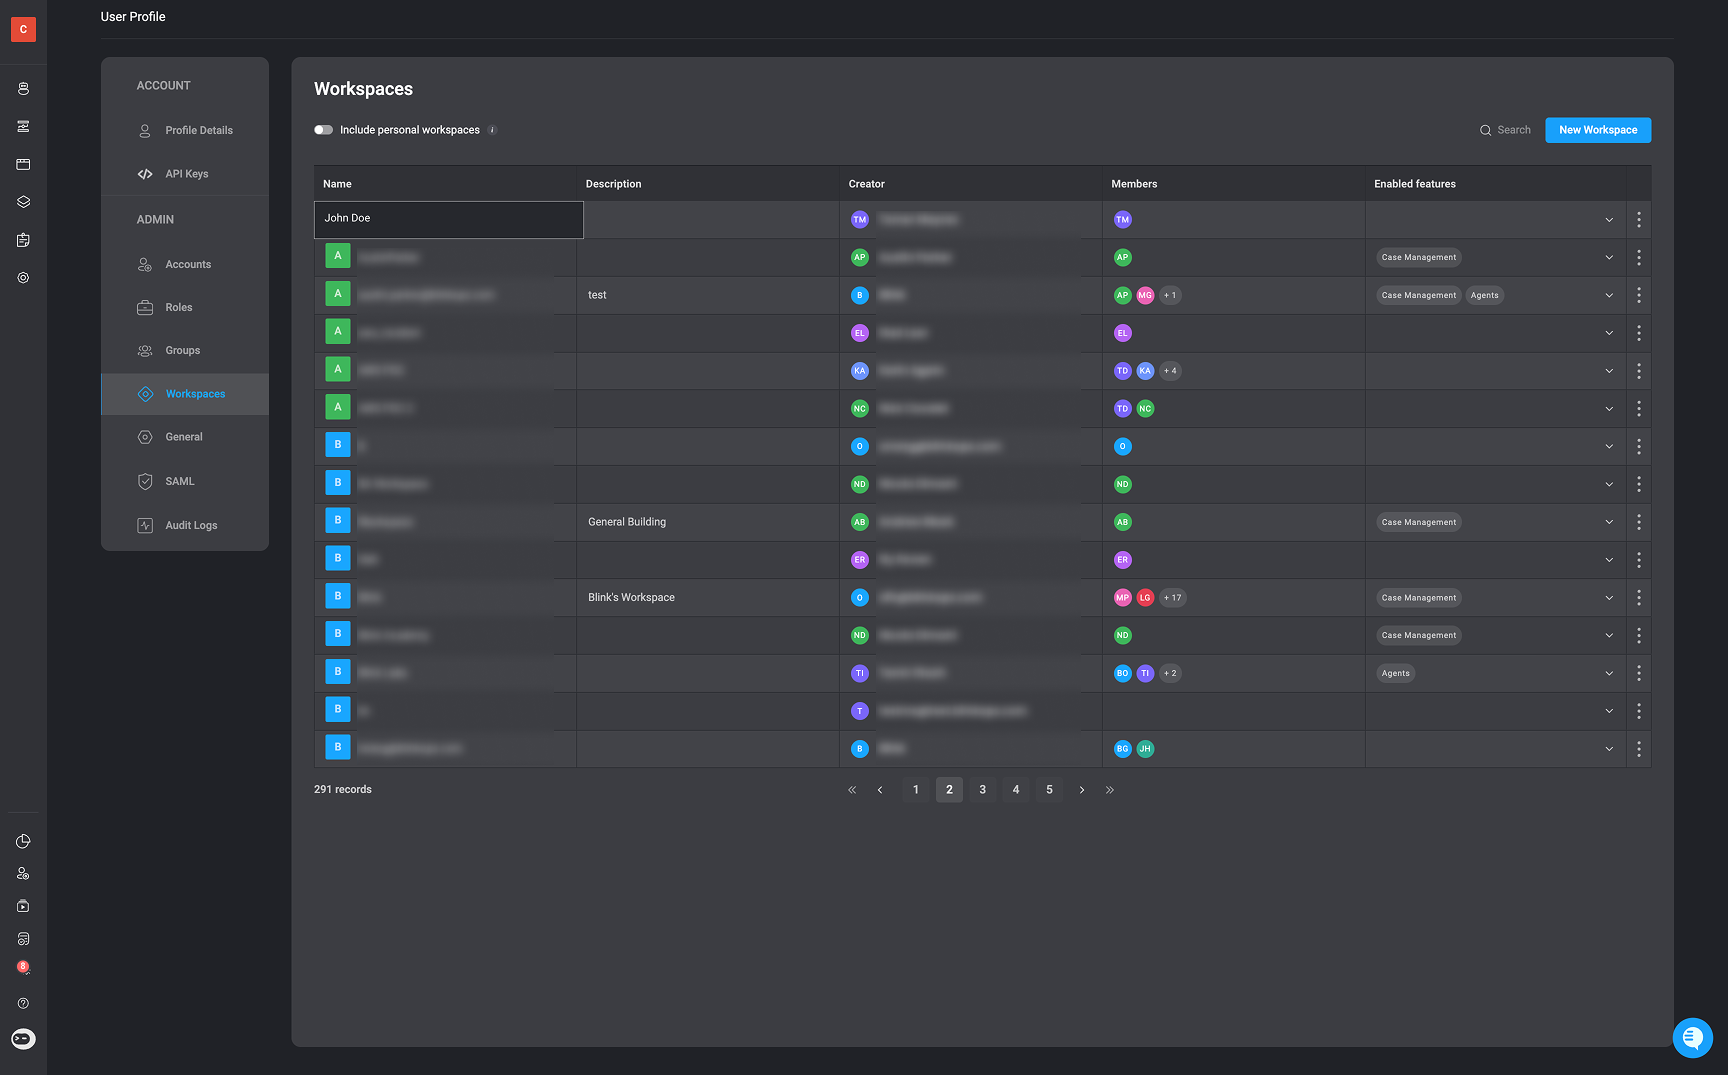
If you wish to edit any details to the workspace table, simply double-click on the cell you want to modify. Make the necessary changes and then click outside the cell to automatically save your updates. For Example:
***
### Editing Workspace
If you wish to edit any details to the workspace table, simply double-click on the cell you want to modify. Make the necessary changes and then click outside the cell to automatically save your updates. For Example:
 ***
### Deleting a Workspace
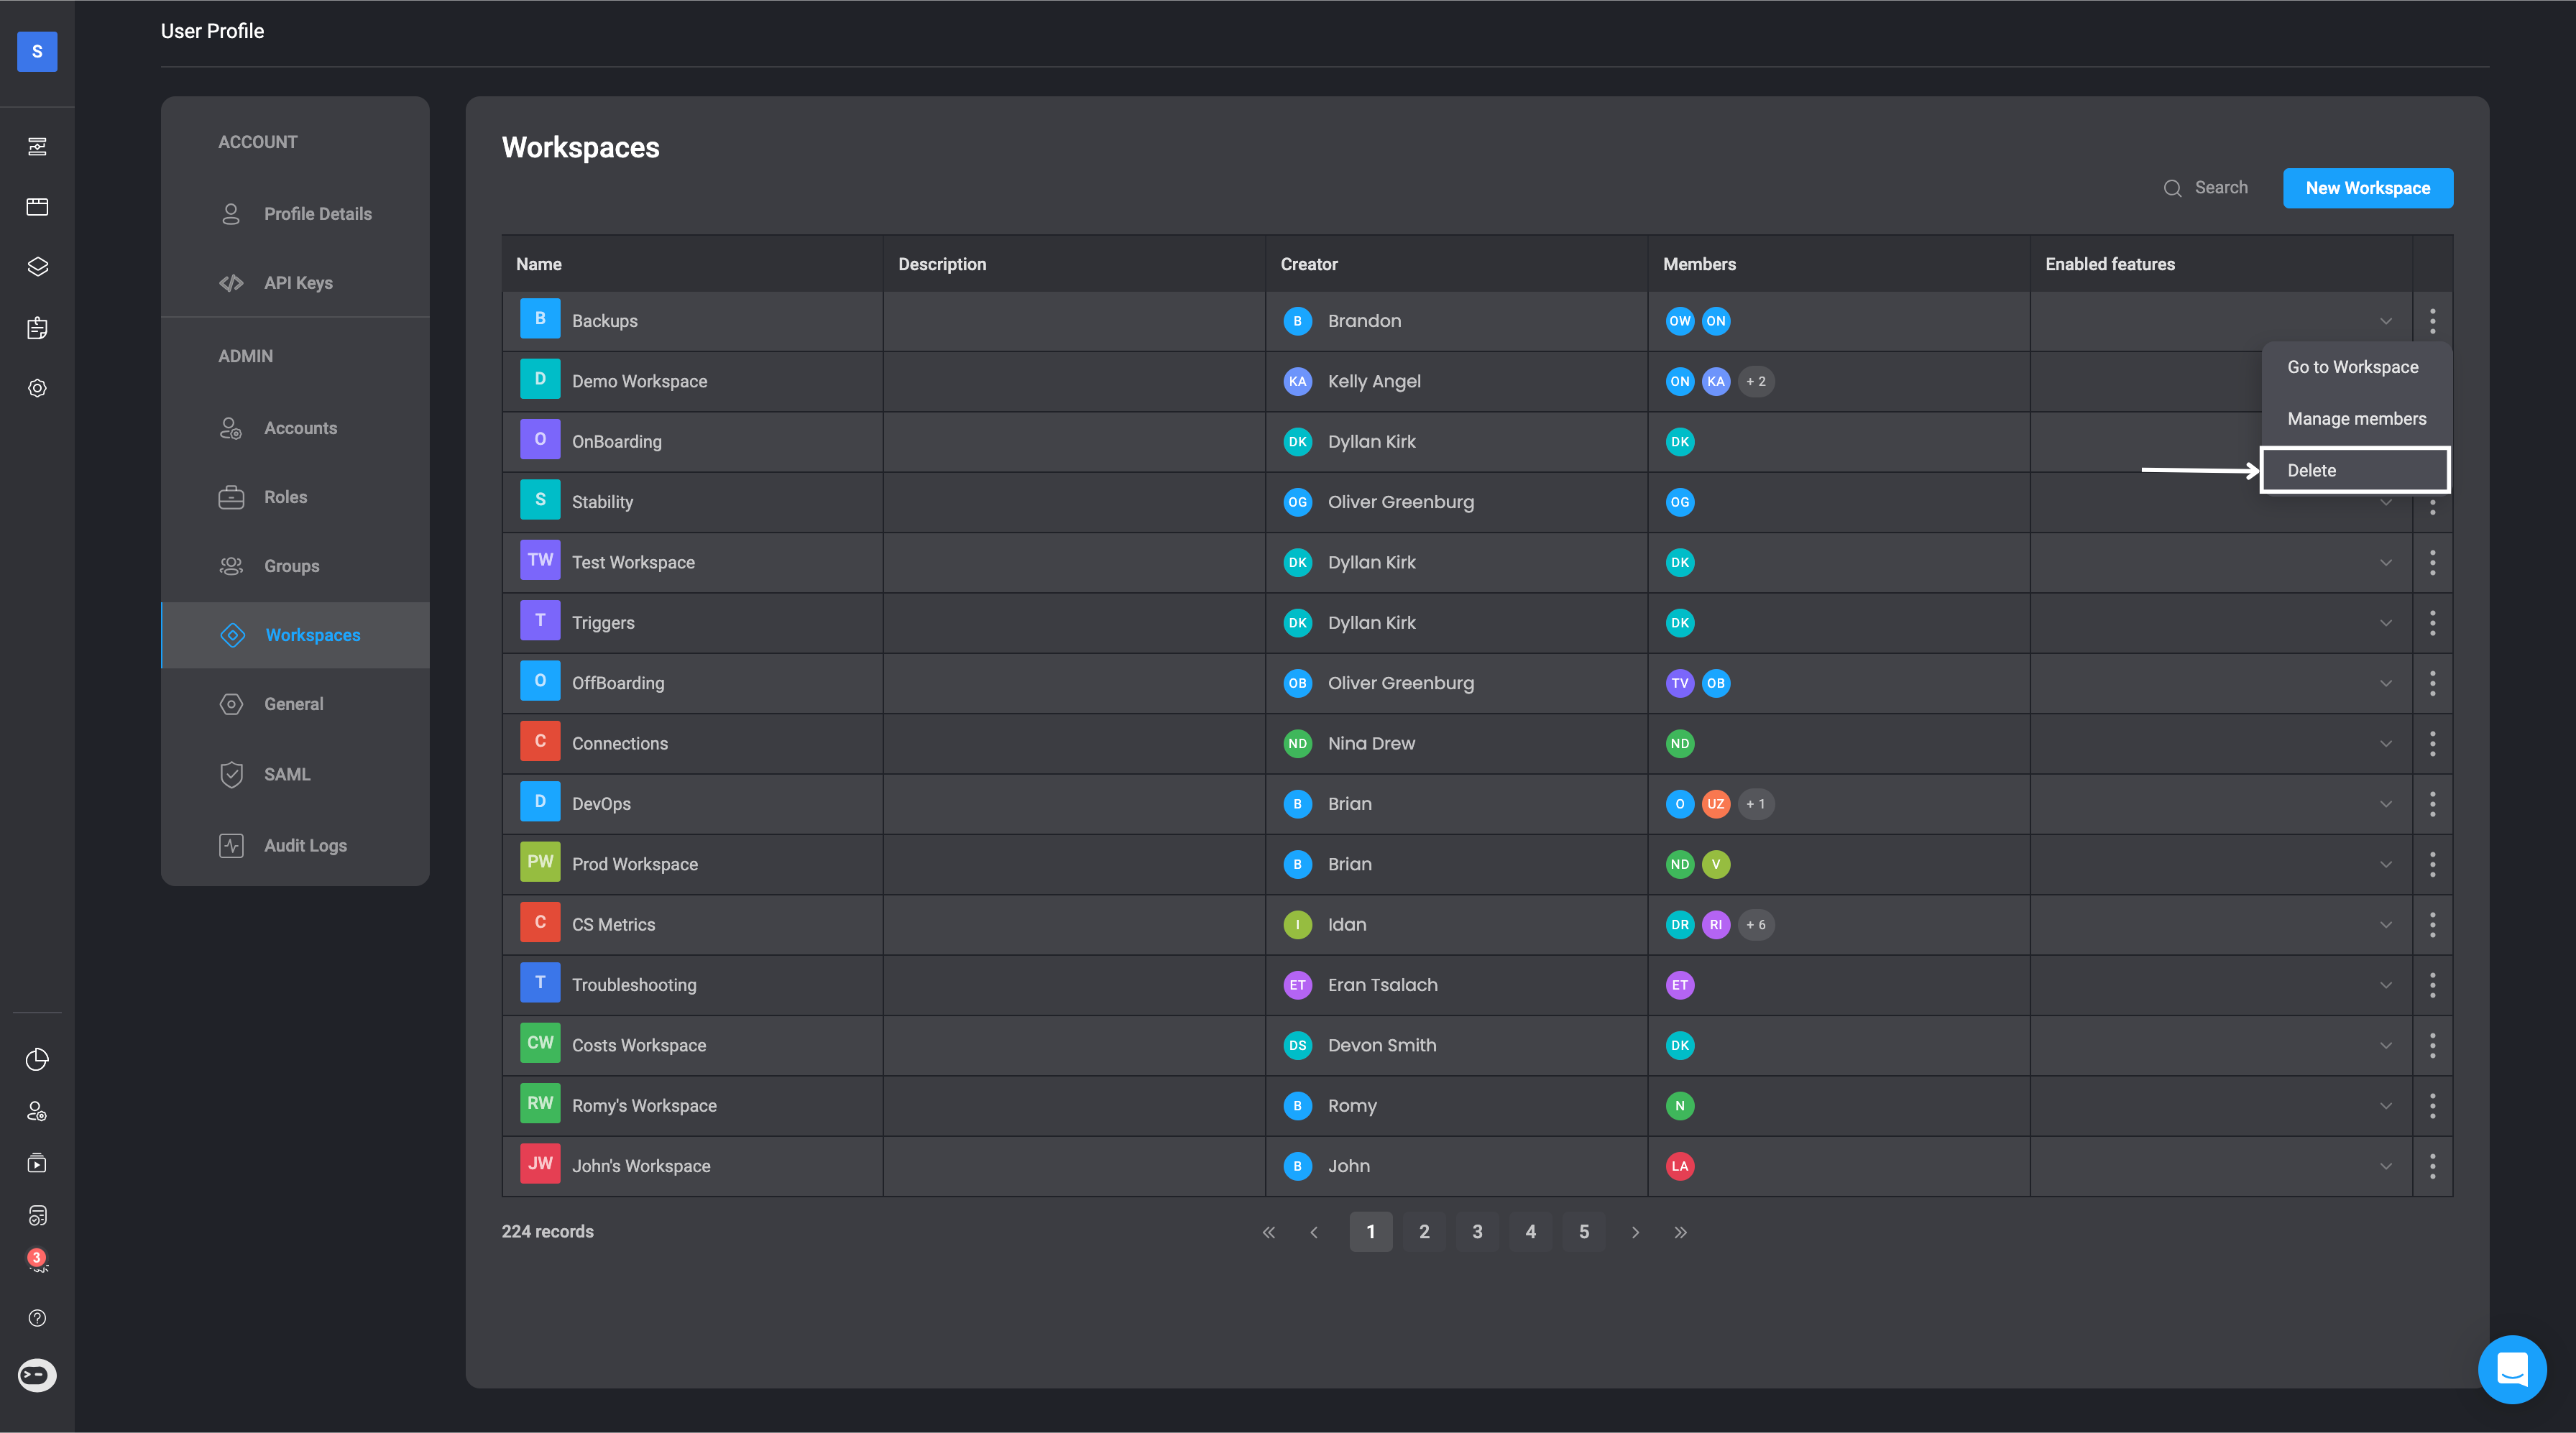
If you would like to delete a **Workspace** from the table, click on the icon on the right-hand side of the row and select the **delete** option.
***
### Deleting a Workspace
If you would like to delete a **Workspace** from the table, click on the icon on the right-hand side of the row and select the **delete** option.
 A popup box will appear asking you to type "delete" to confirm the removal of the selected workspace.
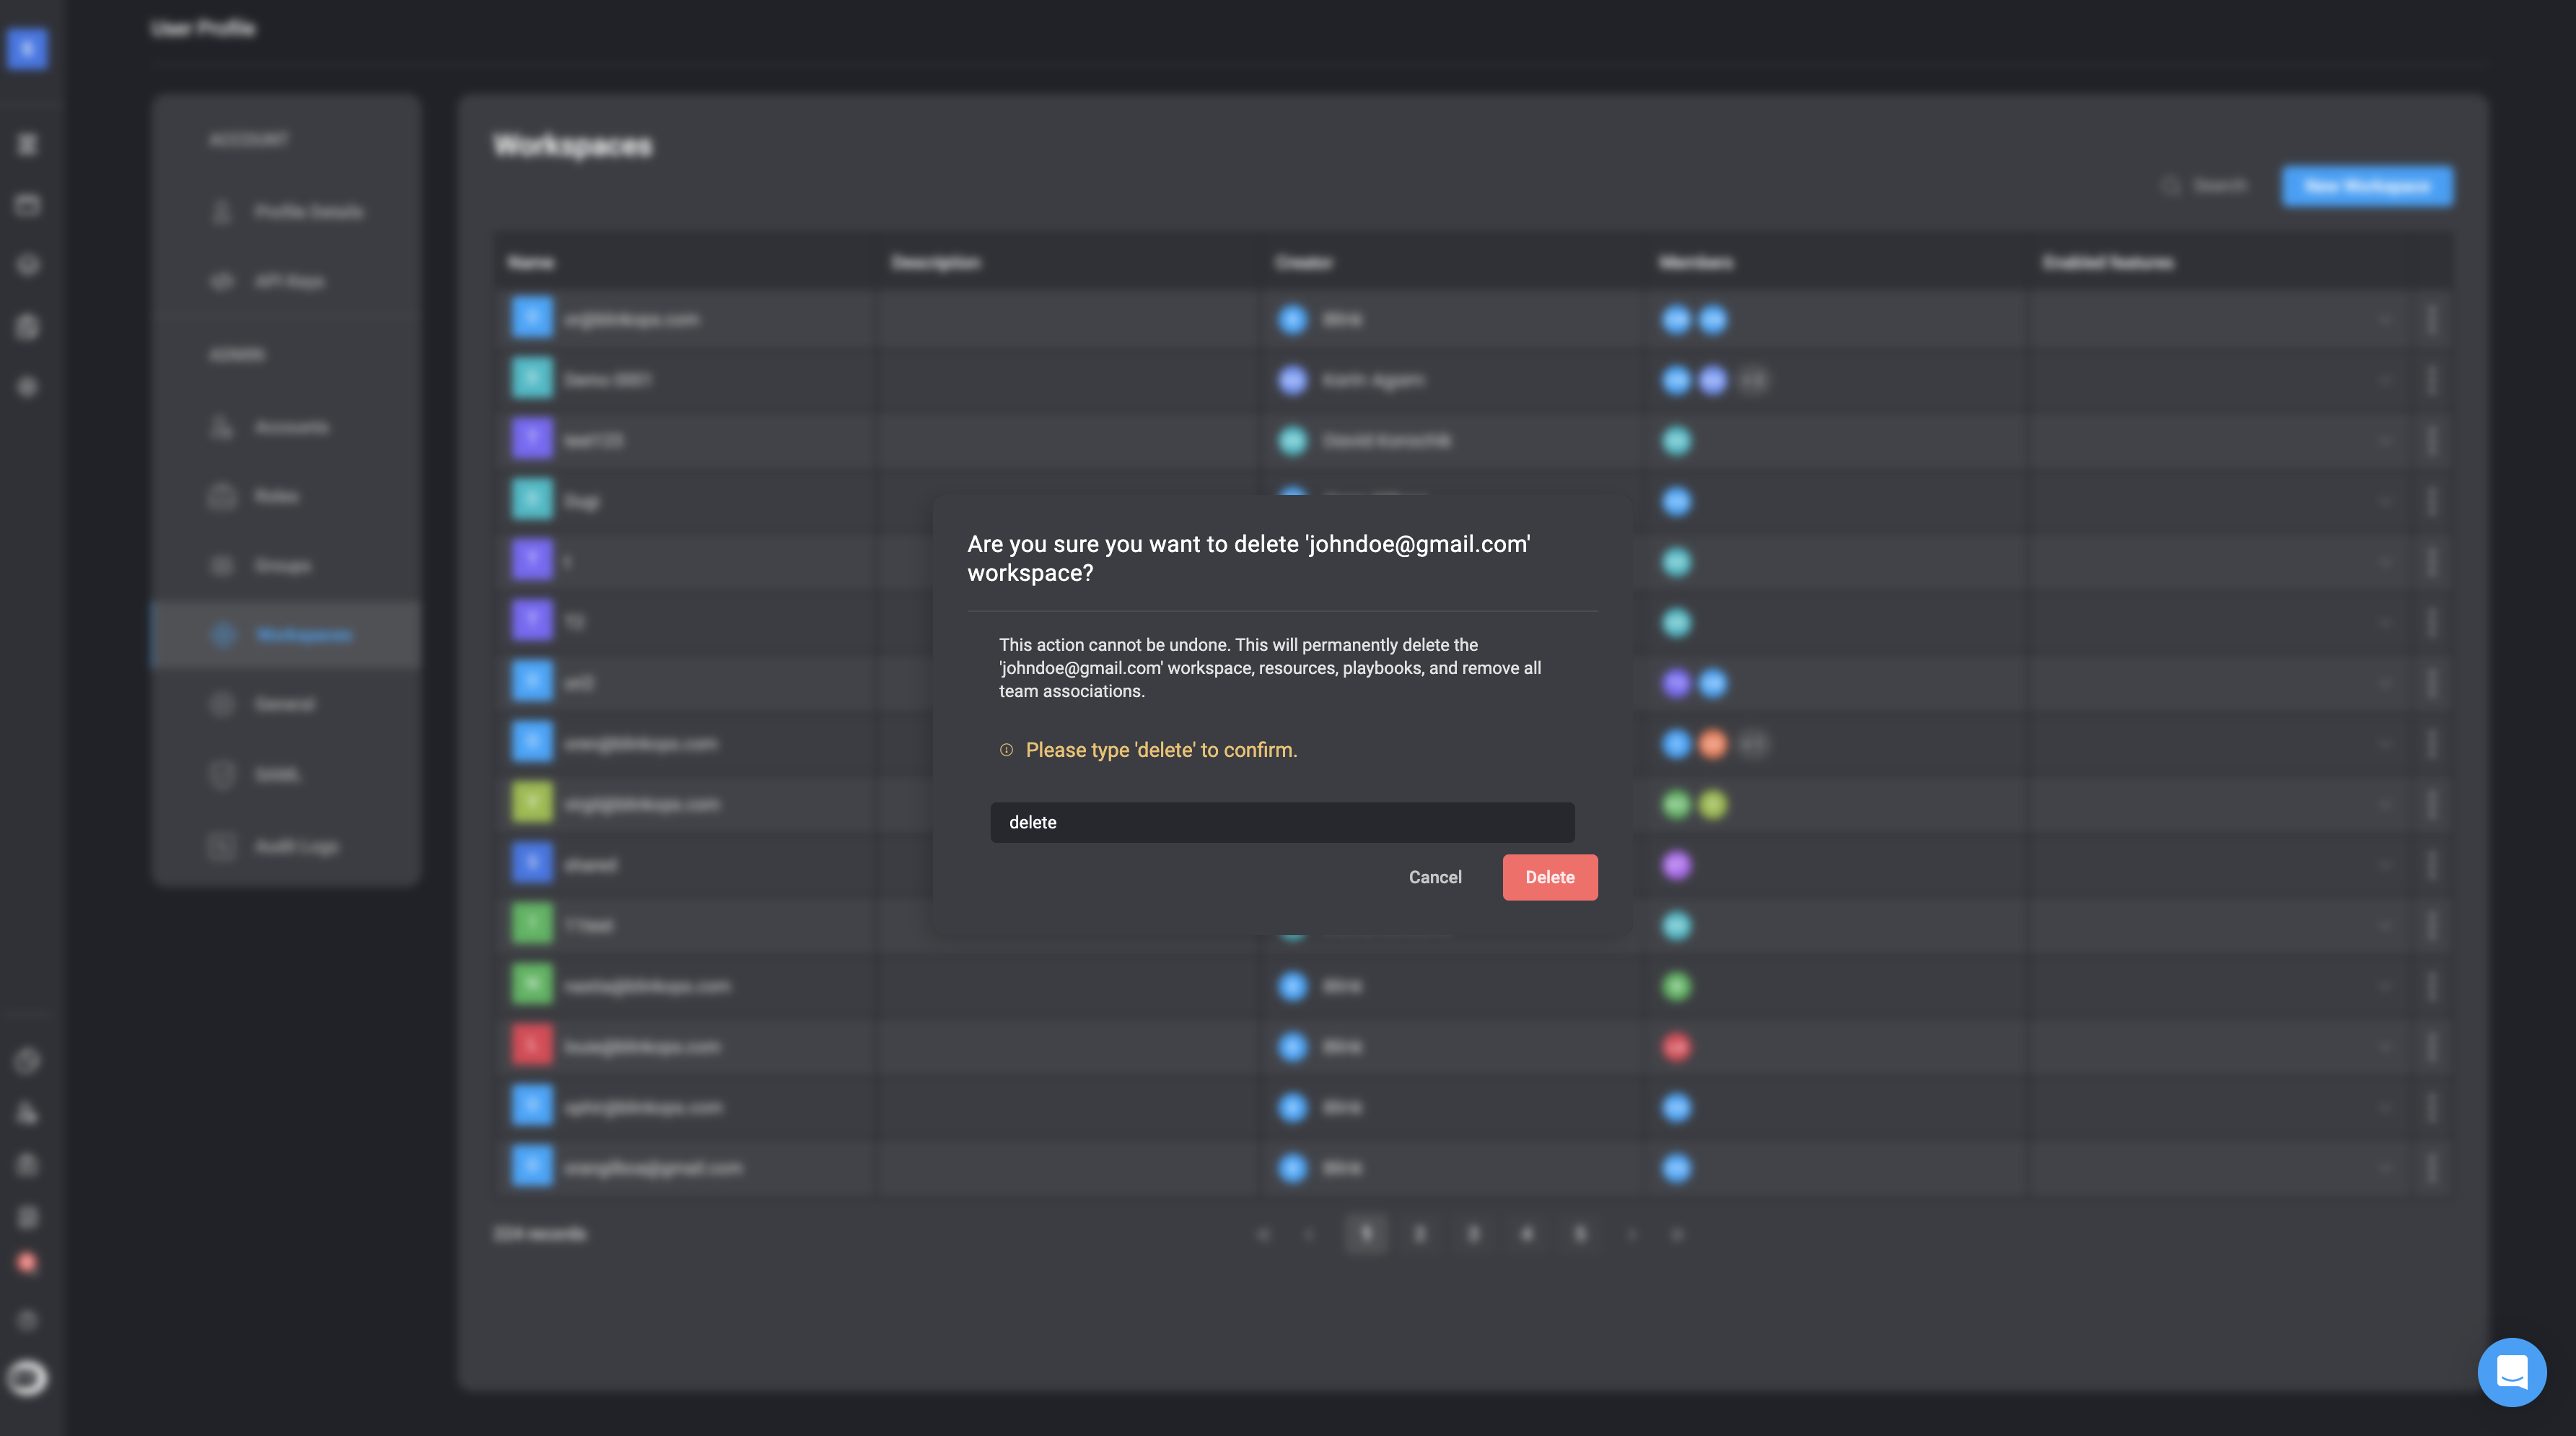 Confirm by typing "delete" in the space given and then select the **delete** button to remove the workspace from the table.