> ## Documentation Index
> Fetch the complete documentation index at: https://docs.blinkops.com/llms.txt
> Use this file to discover all available pages before exploring further.
# Create Your First Table
> Step-by-step guide to creating your first table in Blink for storing and managing structured data.
In your workspace, navigate to the left-hand sidebar and select **Tables**. If this is your first time creating a table, click the **Create First Table** button.
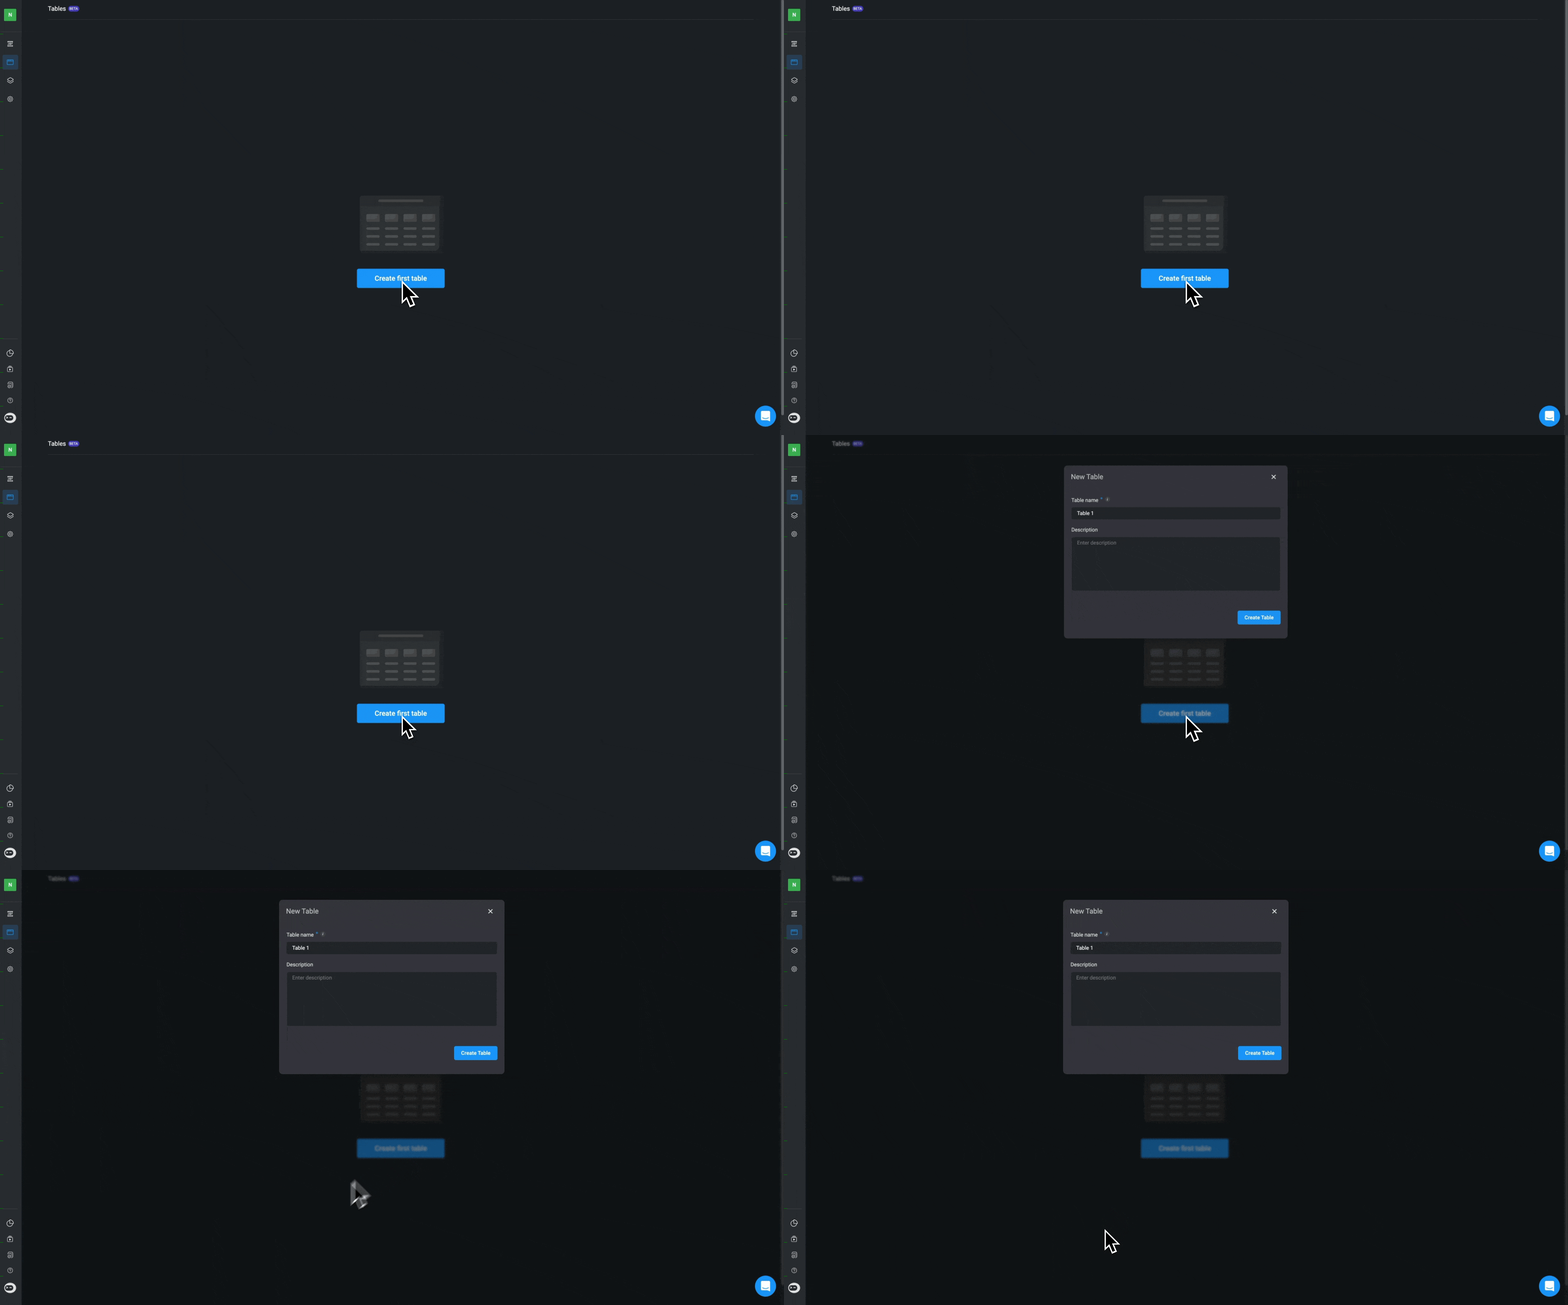 Define the properties of your new table. You can keep the default table name or customize it, and optionally add a description. Once you’ve entered the details, click **Create Table** to proceed.
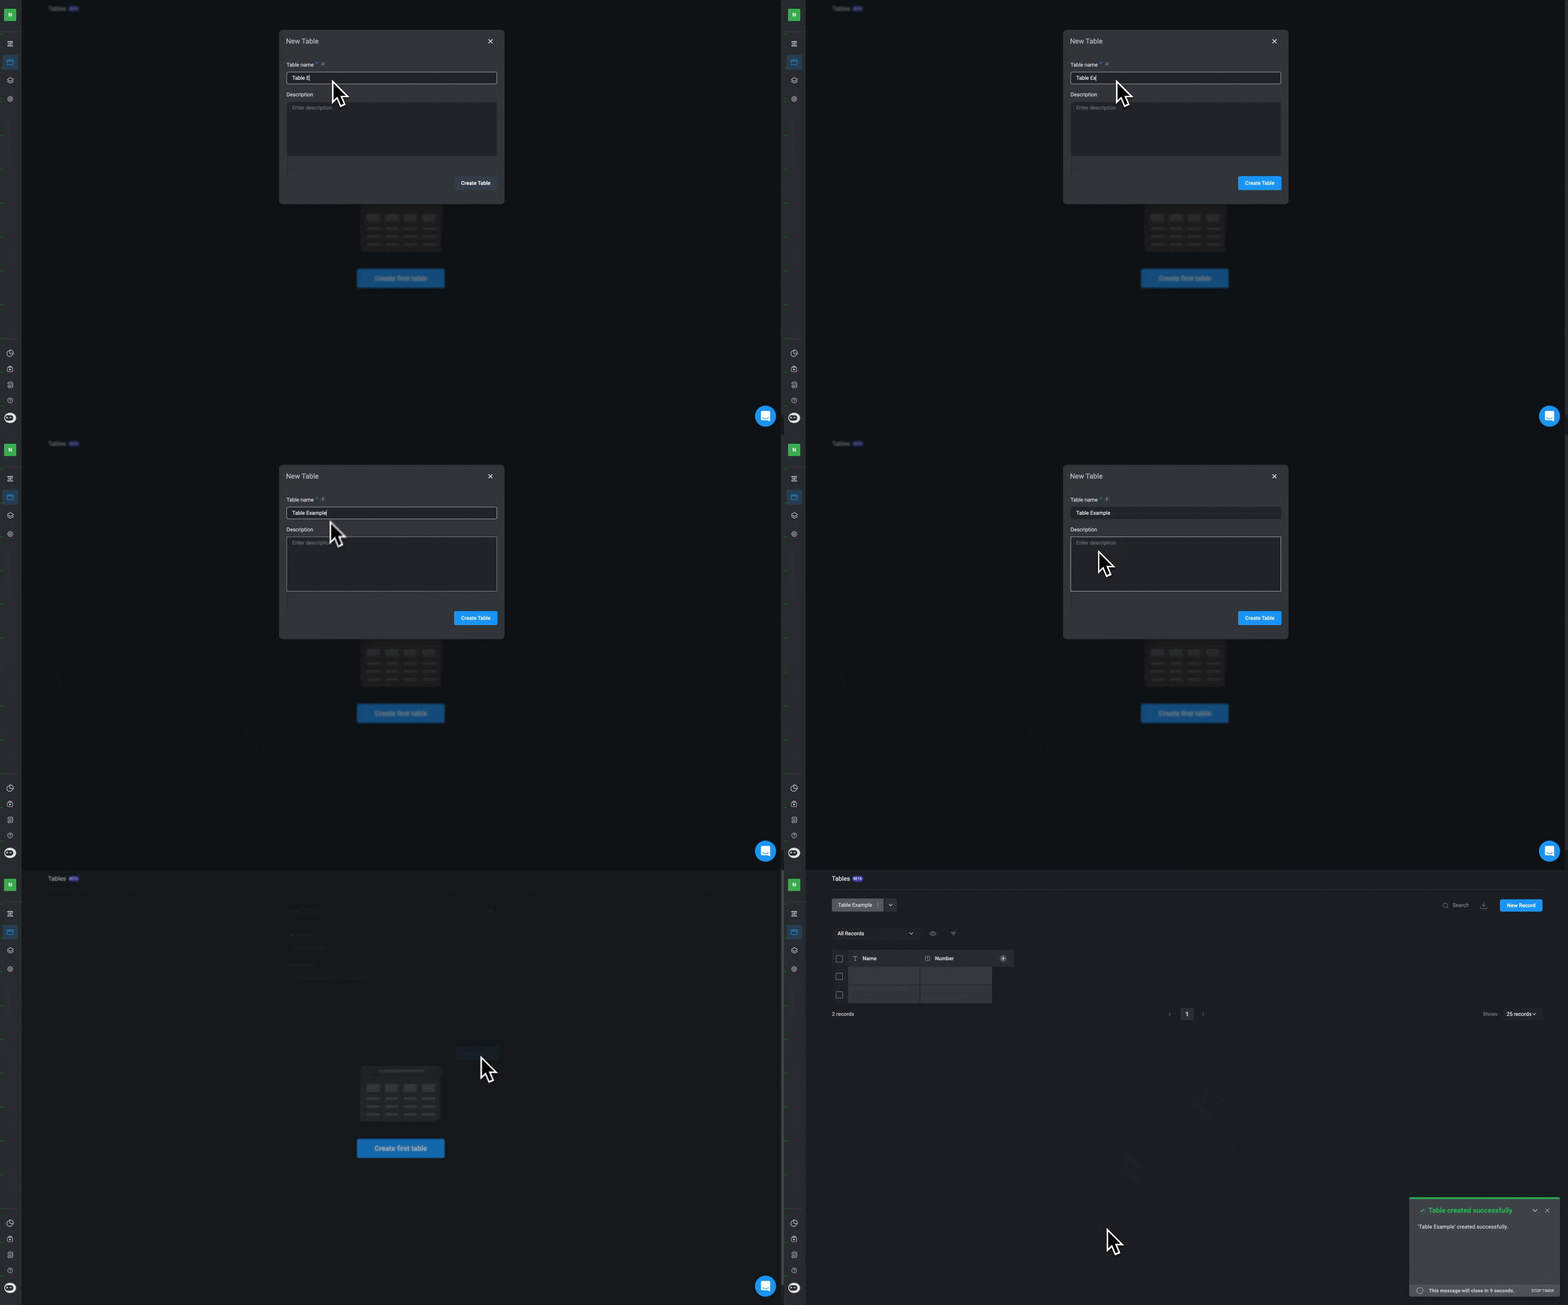 After creation, your new table will appear in the **Tables** list in the left-hand pane. By default, each new table starts with:
* **Two fields**: One **Text** type and one **Number** type
* **Two empty records** ready for data input
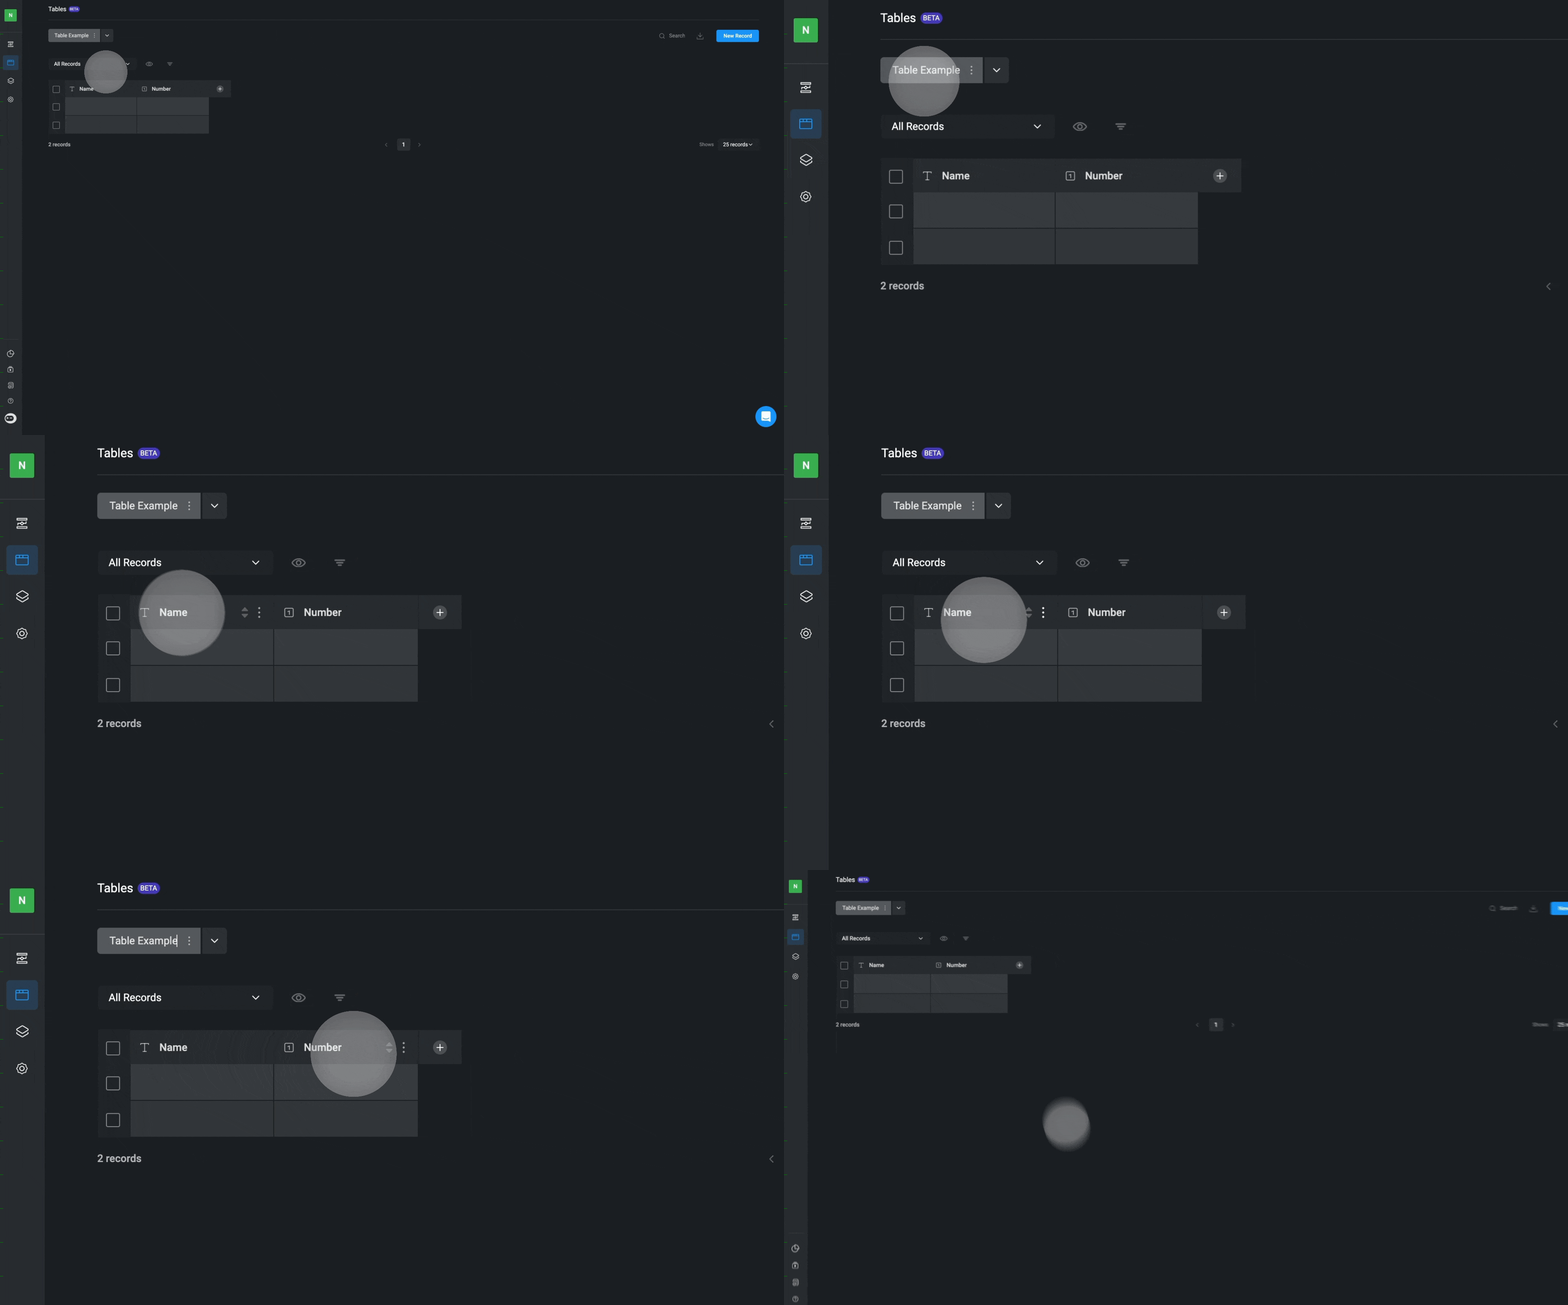
After creation, your new table will appear in the **Tables** list in the left-hand pane. By default, each new table starts with:
* **Two fields**: One **Text** type and one **Number** type
* **Two empty records** ready for data input
 ***
## Adding Table Fields
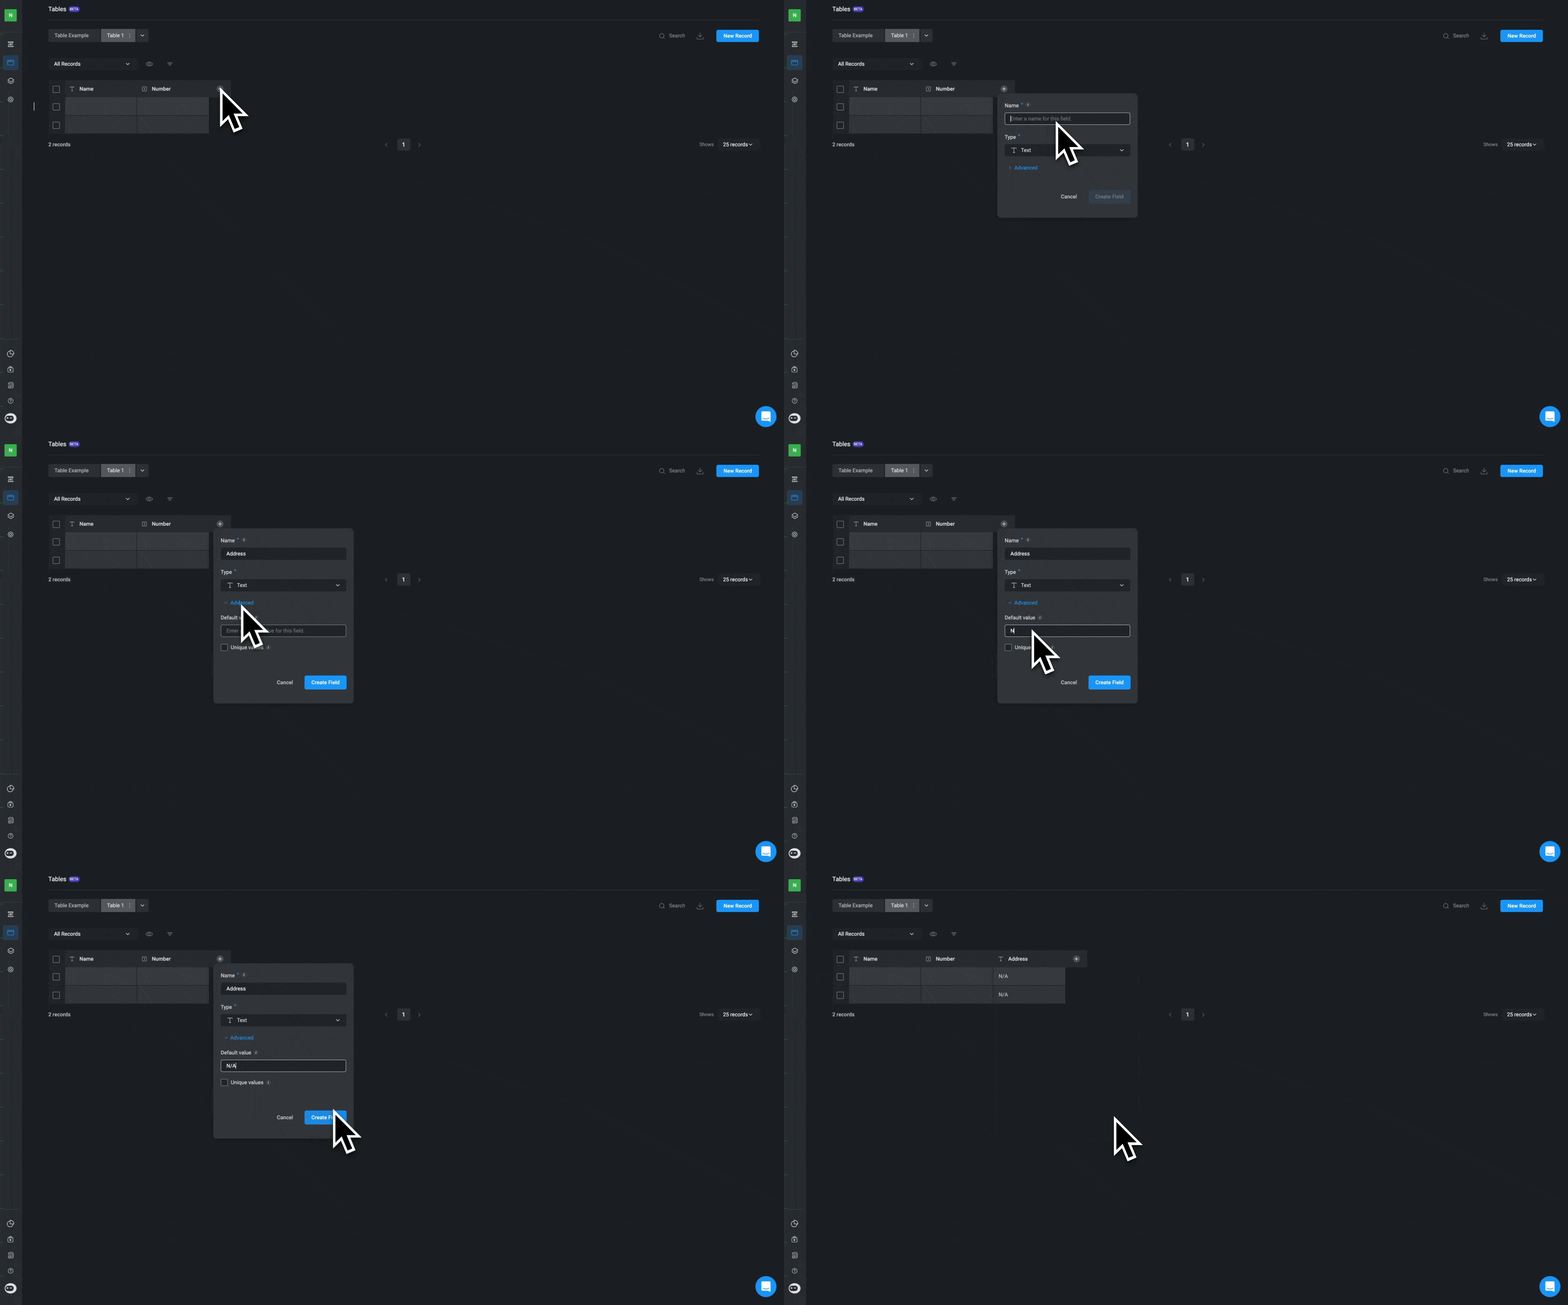
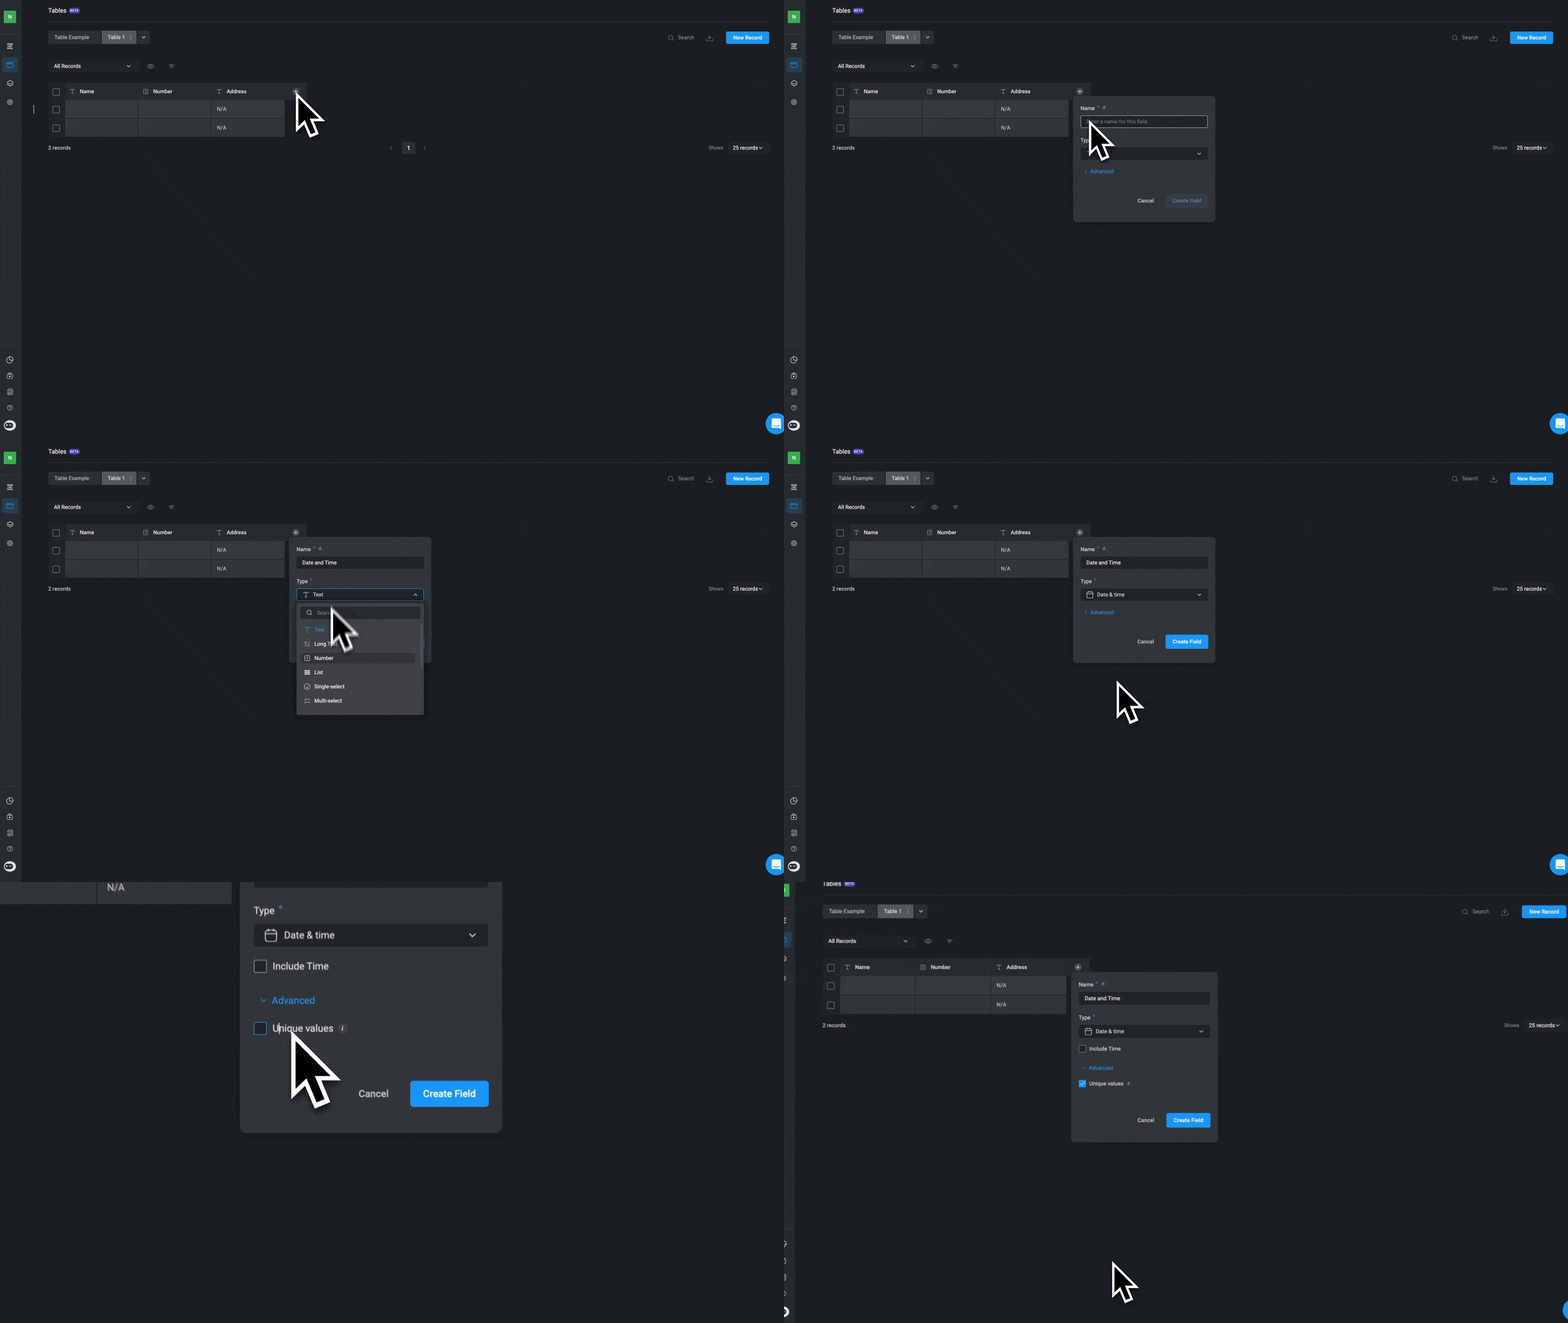
**To add fields to a Table, follow this step-by-step guide:**
Navigate to your table and click the "+" button next to the field headers.
* Enter a Field Name.
* Select a Field Type (e.g., Text, Number, Boolean).
* **(Optional)**- Set a Default Value.
* **(Optional)** Configure Advanced Parameters if needed.
Once all details are set, click Create Field to finalize the addition.
**IMPORTANT**: The **Field Type** cannot be changed after the field is created.
***
## Adding Table Fields
**To add fields to a Table, follow this step-by-step guide:**
Navigate to your table and click the "+" button next to the field headers.
* Enter a Field Name.
* Select a Field Type (e.g., Text, Number, Boolean).
* **(Optional)**- Set a Default Value.
* **(Optional)** Configure Advanced Parameters if needed.
Once all details are set, click Create Field to finalize the addition.
**IMPORTANT**: The **Field Type** cannot be changed after the field is created.
 ***
## Table Field Types
**The following field types are supported:**
* `Text`
* `Long Text`
* `Number`
* `Single-select`
* `Multi-select`
* `Checkbox`
* `Date & Time`
* `User`
* `Risk management`
* `Button`
* `Reference`
* `Lists`
* `File`
* `Vendor`
Use the `checkbox` field type for boolean values:
* If the `checkbox` is checked, the boolean value is `true`.
* If the `checkbox` is unchecked, the boolean value is `false`.
## Table Field Types with Unique Values
This feature ensures that *no duplicate values* are allowed in a particular column within the table. The **Text, Numbers, Users, and Time** field types only offer the option to enable unique values option within a column.
### Enforcing Unique Values in a Table Field
The **Unique Values** feature ensures that each entry in a specific column is distinct, preventing duplicate values. This can be enabled for the following field types:
* `Text`
* `Numbers`
* `Users`
* `Time`
When adding a table field, you have the option to activate the **unique values** feature by choosing the *advanced* option and checking the box next to **unique values** option. After that, simply click on **create field**.
***
## Table Field Types
**The following field types are supported:**
* `Text`
* `Long Text`
* `Number`
* `Single-select`
* `Multi-select`
* `Checkbox`
* `Date & Time`
* `User`
* `Risk management`
* `Button`
* `Reference`
* `Lists`
* `File`
* `Vendor`
Use the `checkbox` field type for boolean values:
* If the `checkbox` is checked, the boolean value is `true`.
* If the `checkbox` is unchecked, the boolean value is `false`.
## Table Field Types with Unique Values
This feature ensures that *no duplicate values* are allowed in a particular column within the table. The **Text, Numbers, Users, and Time** field types only offer the option to enable unique values option within a column.
### Enforcing Unique Values in a Table Field
The **Unique Values** feature ensures that each entry in a specific column is distinct, preventing duplicate values. This can be enabled for the following field types:
* `Text`
* `Numbers`
* `Users`
* `Time`
When adding a table field, you have the option to activate the **unique values** feature by choosing the *advanced* option and checking the box next to **unique values** option. After that, simply click on **create field**.
 ## Adding Table Records
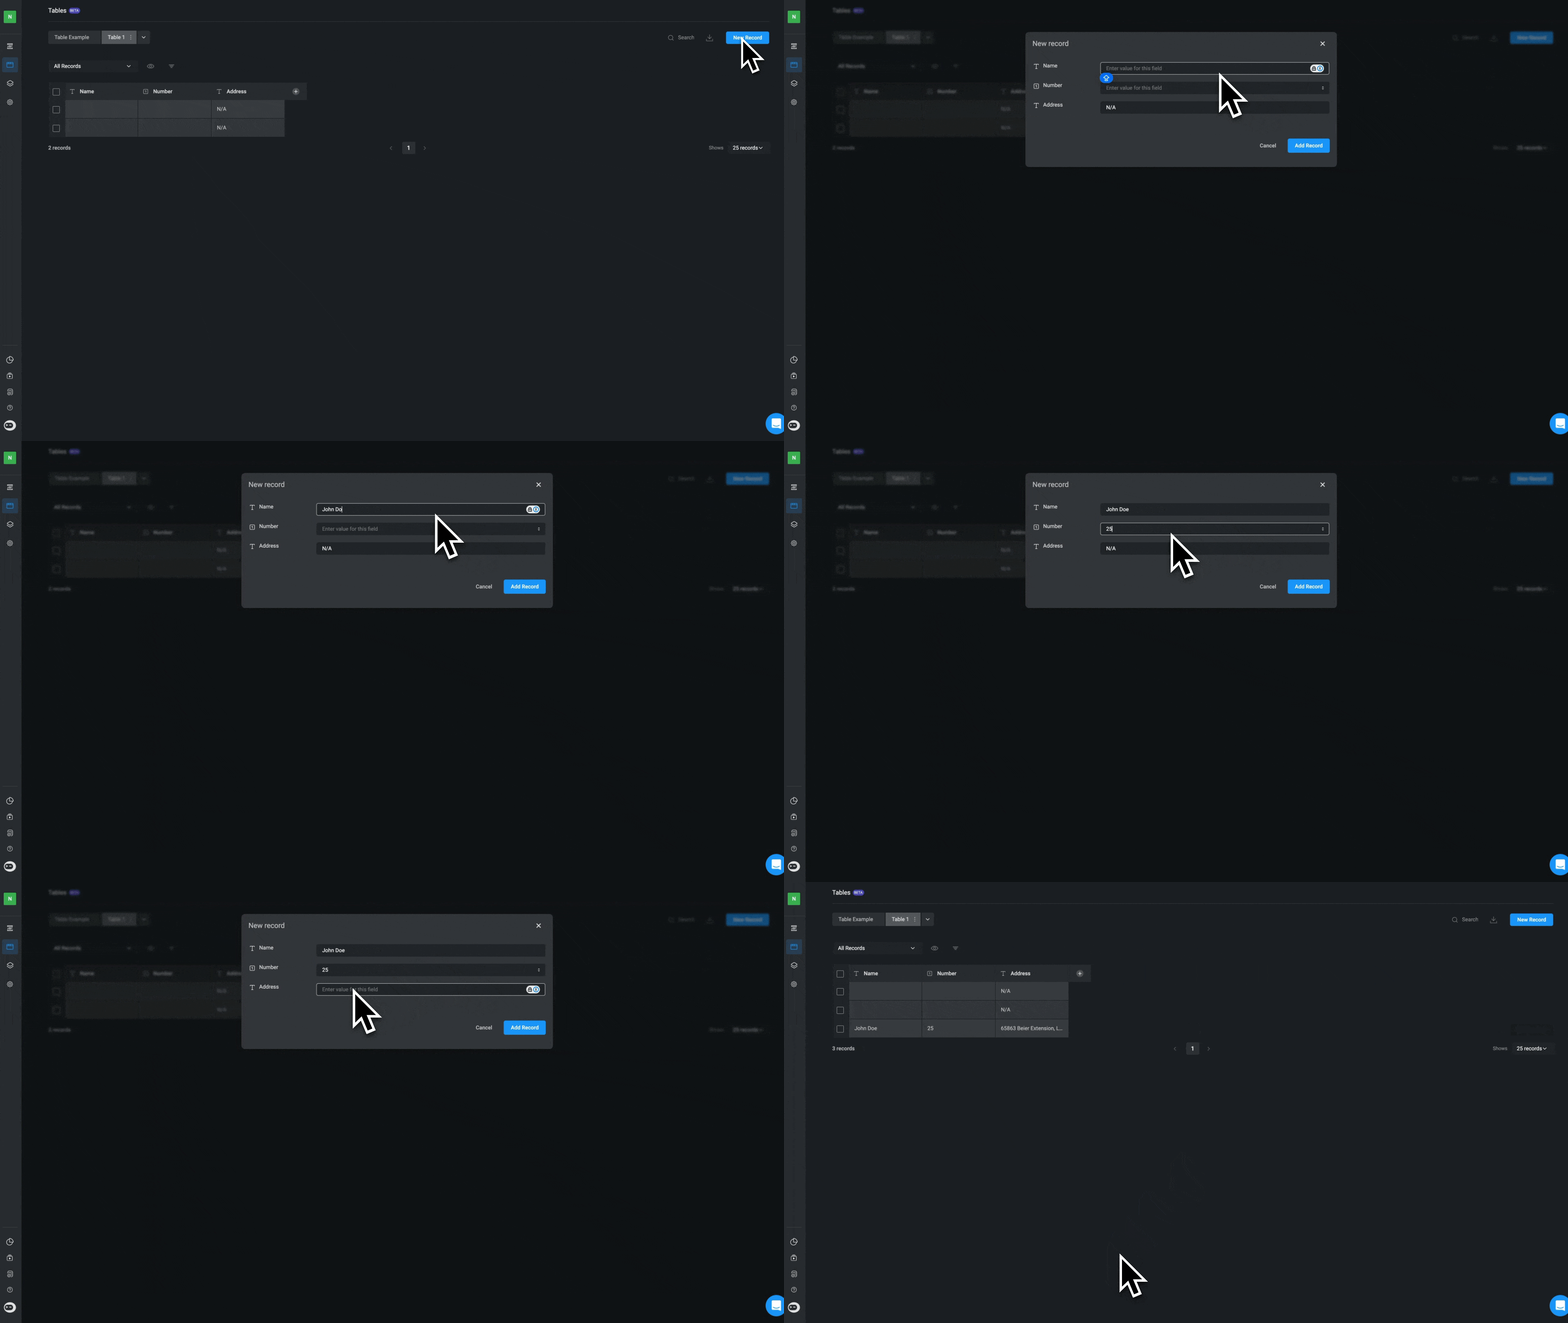
**To add records to a Table, follow this step-by-step guide:**
In your table, click the New Record button located at the top-right corner.
Fill in the required data for the new record. Ensure all necessary fields are completed.
Click the Add Record button to save the entry. The new record will appear in the table instantly.
## Adding Table Records
**To add records to a Table, follow this step-by-step guide:**
In your table, click the New Record button located at the top-right corner.
Fill in the required data for the new record. Ensure all necessary fields are completed.
Click the Add Record button to save the entry. The new record will appear in the table instantly.
 ## Adding Additional Tables
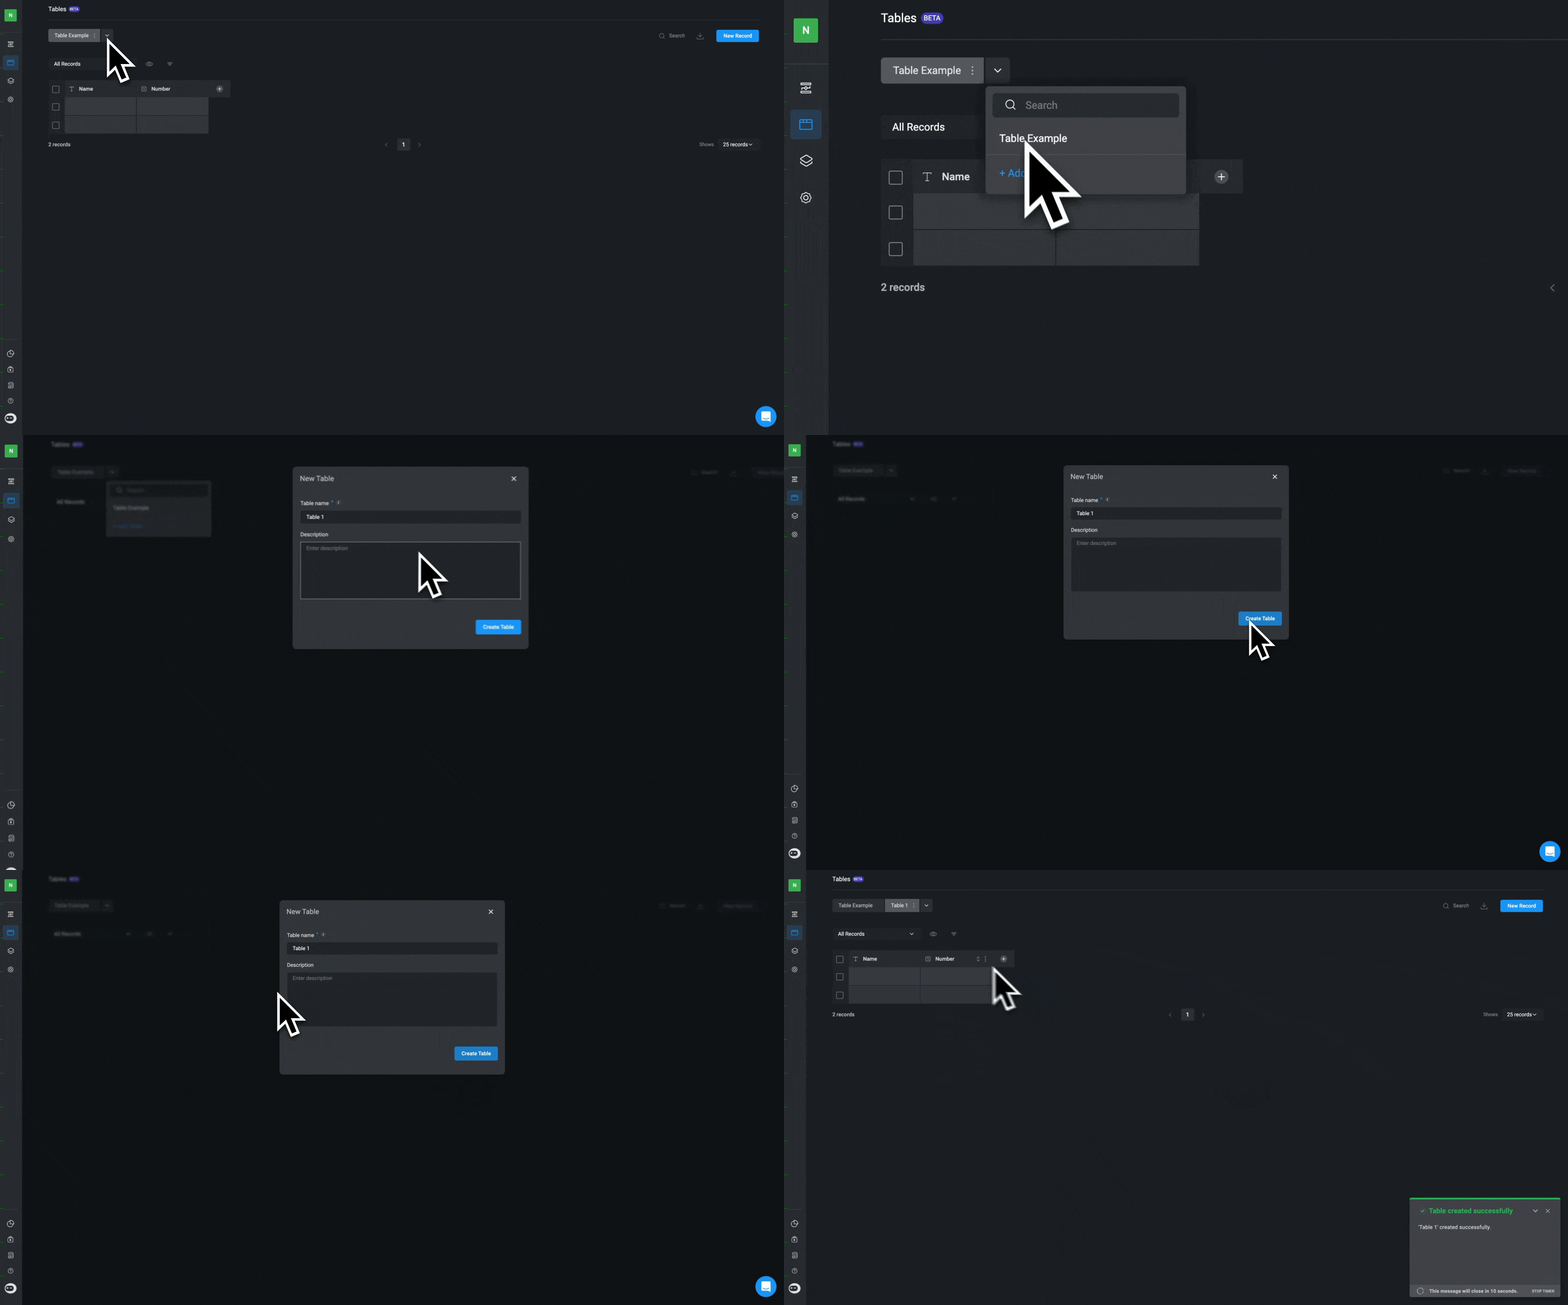
1. Click the **downward-facing arrow** next to the existing tables.
2. Select **Add Table**.
3. Enter the necessary details and click **Create Table**.
The new table will be added to the **Tables** list in the left-hand pane.
## Adding Additional Tables
1. Click the **downward-facing arrow** next to the existing tables.
2. Select **Add Table**.
3. Enter the necessary details and click **Create Table**.
The new table will be added to the **Tables** list in the left-hand pane.
 When creating a new **Table** or **Field** in Blink, users must provide a **Display Name**.
## How Display Names and Unique Names Work
* After creation, each Table and Field is assigned a **permanent, unique name (ID)**.
* The **Display Name** remains editable and can be changed at any time.
* The **Unique Name (ID)** is automatically generated from the Display Name, following these rules:
* All characters are converted to **lowercase**.
* Spaces between words are replaced with **underscores (\_)**.
### Retrieving the Unique Name (ID)
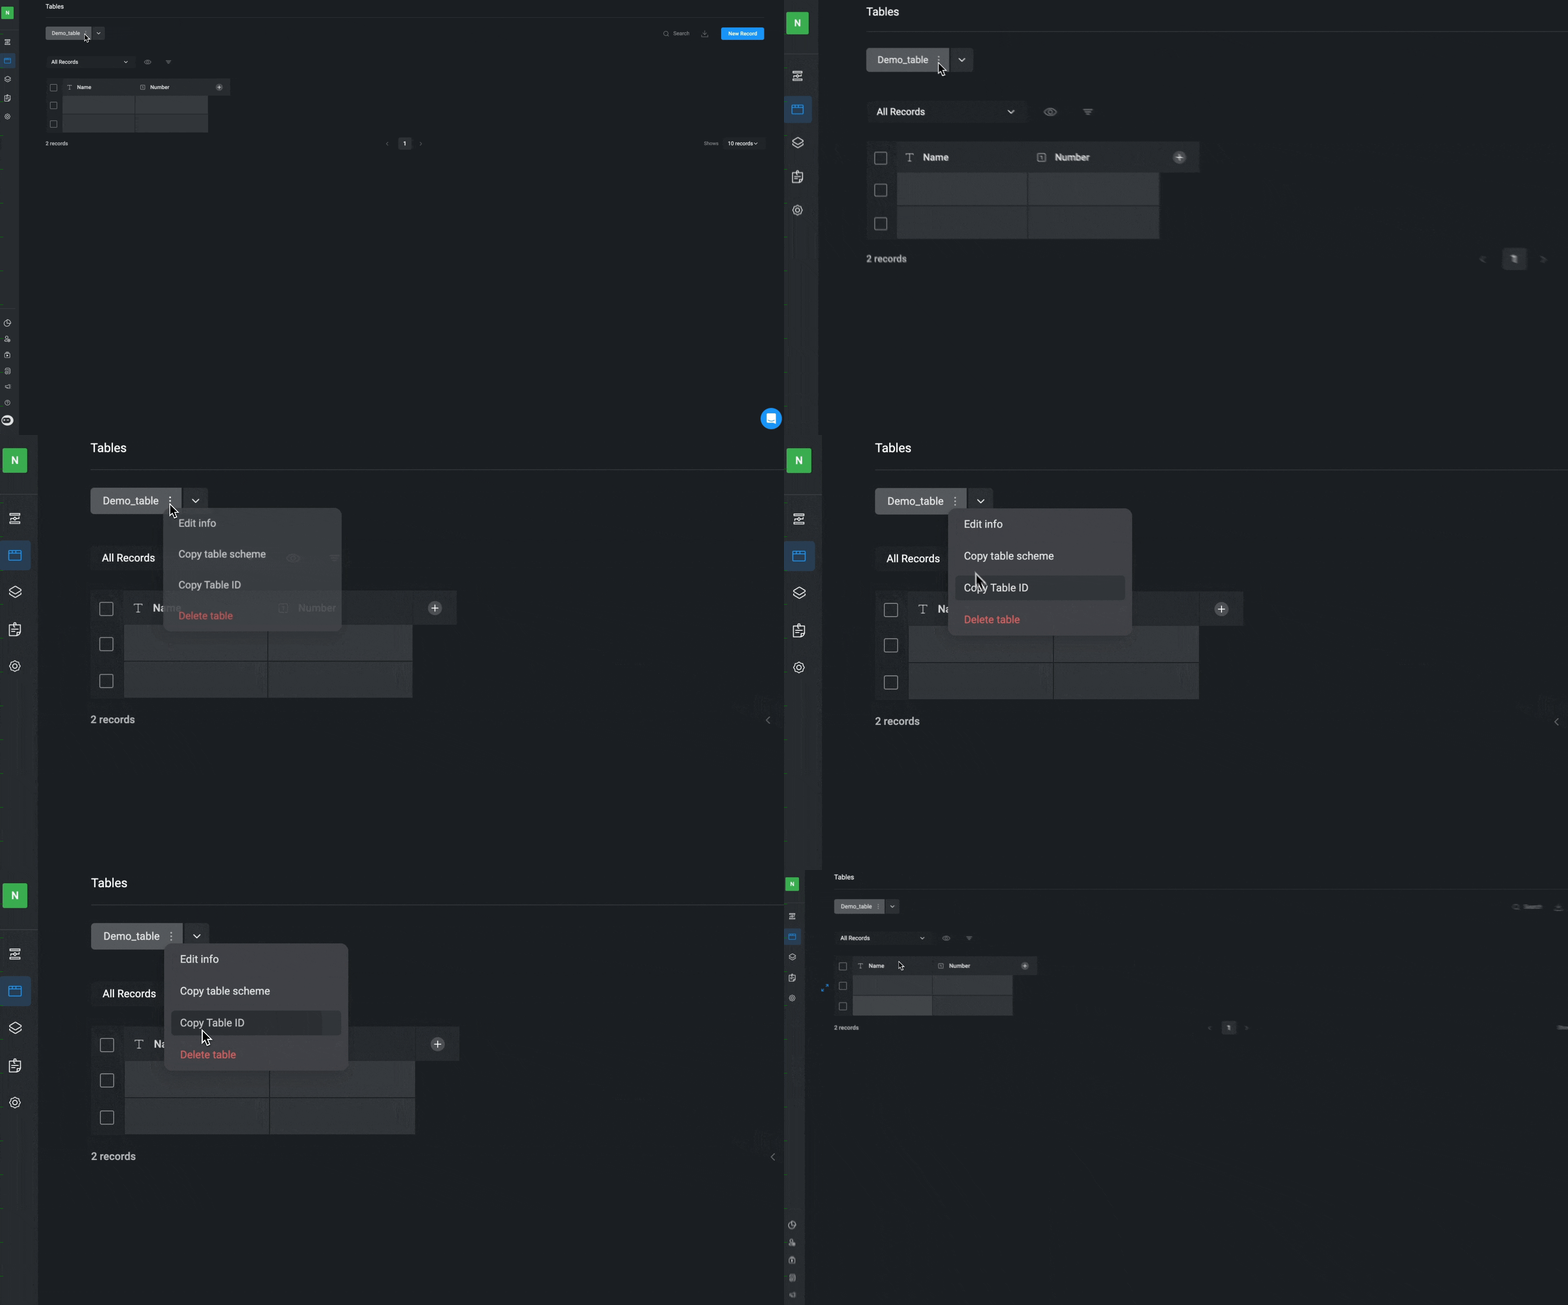
To find the **Unique Name (ID)** of a Table or Field, open the **three-dot menu** next to it.
**Examples**
* *Display Name*: `Demo table`
* *Unique Name(ID)*: `demo_table`
When creating a new **Table** or **Field** in Blink, users must provide a **Display Name**.
## How Display Names and Unique Names Work
* After creation, each Table and Field is assigned a **permanent, unique name (ID)**.
* The **Display Name** remains editable and can be changed at any time.
* The **Unique Name (ID)** is automatically generated from the Display Name, following these rules:
* All characters are converted to **lowercase**.
* Spaces between words are replaced with **underscores (\_)**.
### Retrieving the Unique Name (ID)
To find the **Unique Name (ID)** of a Table or Field, open the **three-dot menu** next to it.
**Examples**
* *Display Name*: `Demo table`
* *Unique Name(ID)*: `demo_table`
 * *Display Name*: `Number`
* *Unique Name(ID)*: `number`
* *Display Name*: `Number`
* *Unique Name(ID)*: `number`
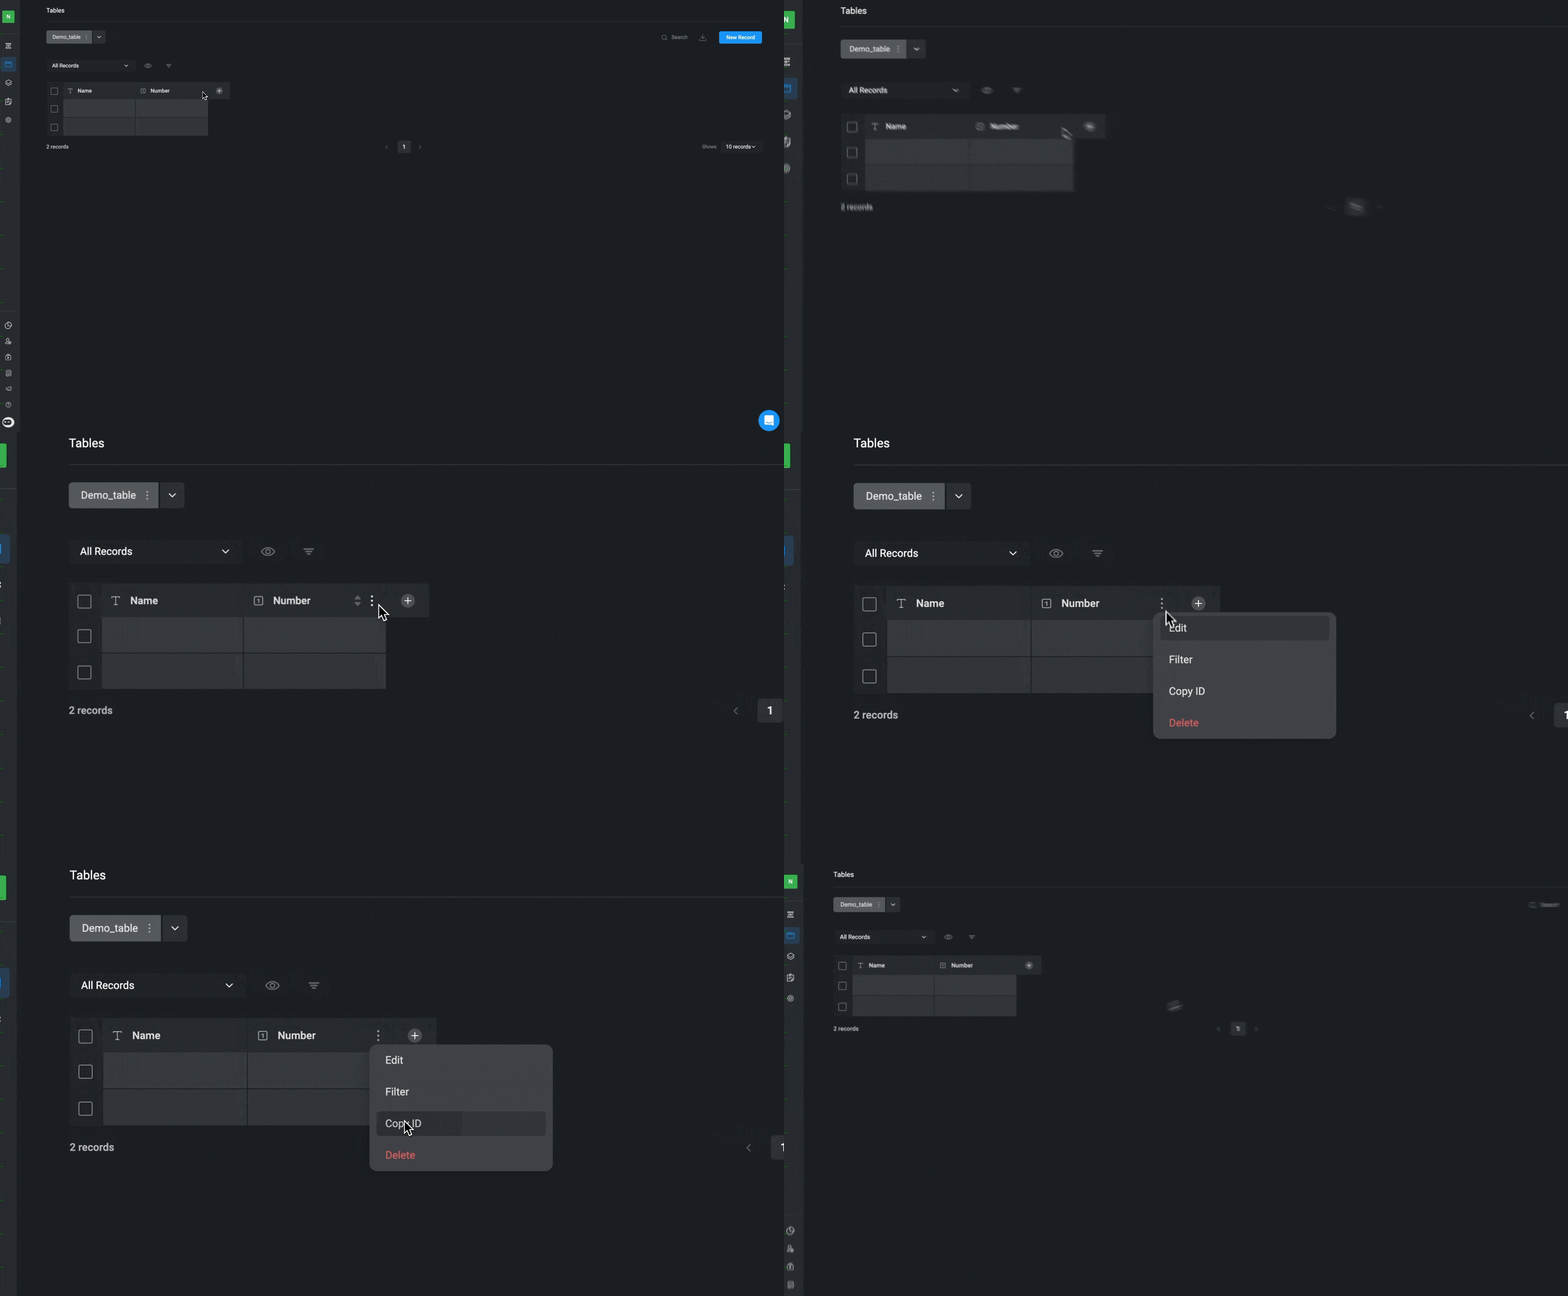 ## Interactive Guide - Tables
You can also refer to the following tutorial guides for a more in-depth understanding of how to create a table, add a new table record and add table fields.
## Related Articles
Learn more about creating and using table actions in Workflows
Learn more about basic table operations
Learn more about filtering, sorting, ordering and browsing the table records
Learn More About Table Limitations
## Interactive Guide - Tables
You can also refer to the following tutorial guides for a more in-depth understanding of how to create a table, add a new table record and add table fields.
## Related Articles
Learn more about creating and using table actions in Workflows
Learn more about basic table operations
Learn more about filtering, sorting, ordering and browsing the table records
Learn More About Table Limitations