> ## Documentation Index
> Fetch the complete documentation index at: https://docs.blinkops.com/llms.txt
> Use this file to discover all available pages before exploring further.

# Text

> Instructions on how to create and use the Text Widget

## Adding a Text Widget

<Note> **Note**: When using `HTML` in the [rich text editor](/docs/blink-platform/interface-components/rich-text-editor), only the elements supported by the editor will be rendered. Any unsupported `HTML` may not be displayed as expected. </Note>

<Steps>
  <Step title="Open the Widget Menu">
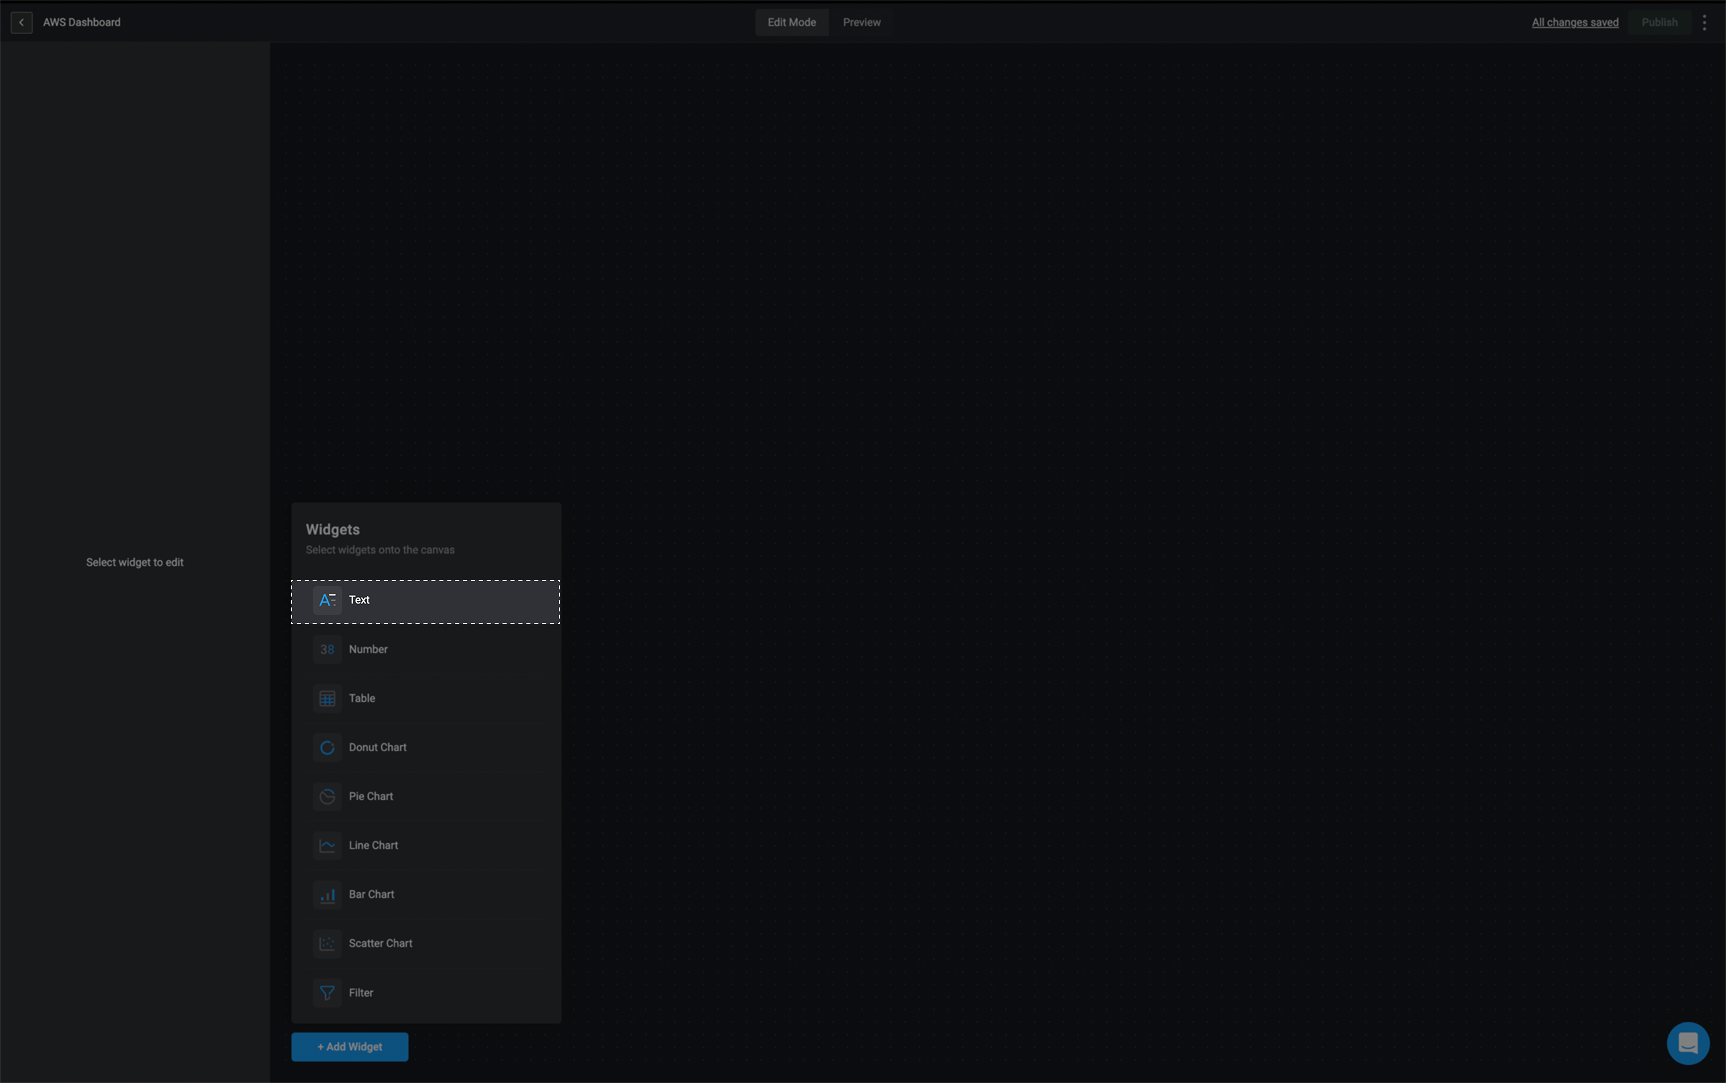
    In the *Edit Mode* tab of the Dashboards Building Interface, click the "add a widget" button.

    <Frame>
      <img src="https://mintcdn.com/blinkops-2/x5n7UL9TMIRH4lMC/img/Dashboards/AddWidgetBtn.png?fit=max&auto=format&n=x5n7UL9TMIRH4lMC&q=85&s=73eeae59ee0c39c4a45bd71d998e2e8e" width="1725" height="1080" data-path="img/Dashboards/AddWidgetBtn.png" />
    </Frame>
  </Step>

  <Step title="Select the Text Widget">
    Choose the **text** option from the widget list.

    <Frame>
      <img src="https://mintcdn.com/blinkops-2/4KAbkngD9xIFZSqp/img/Dashboards/TextWidget.png?fit=max&auto=format&n=4KAbkngD9xIFZSqp&q=85&s=61d1682db5bb68834fe8bc5dfcd47550" width="1726" height="1083" data-path="img/Dashboards/TextWidget.png" />
    </Frame>
  </Step>

  <Step title="Rename the Widget">
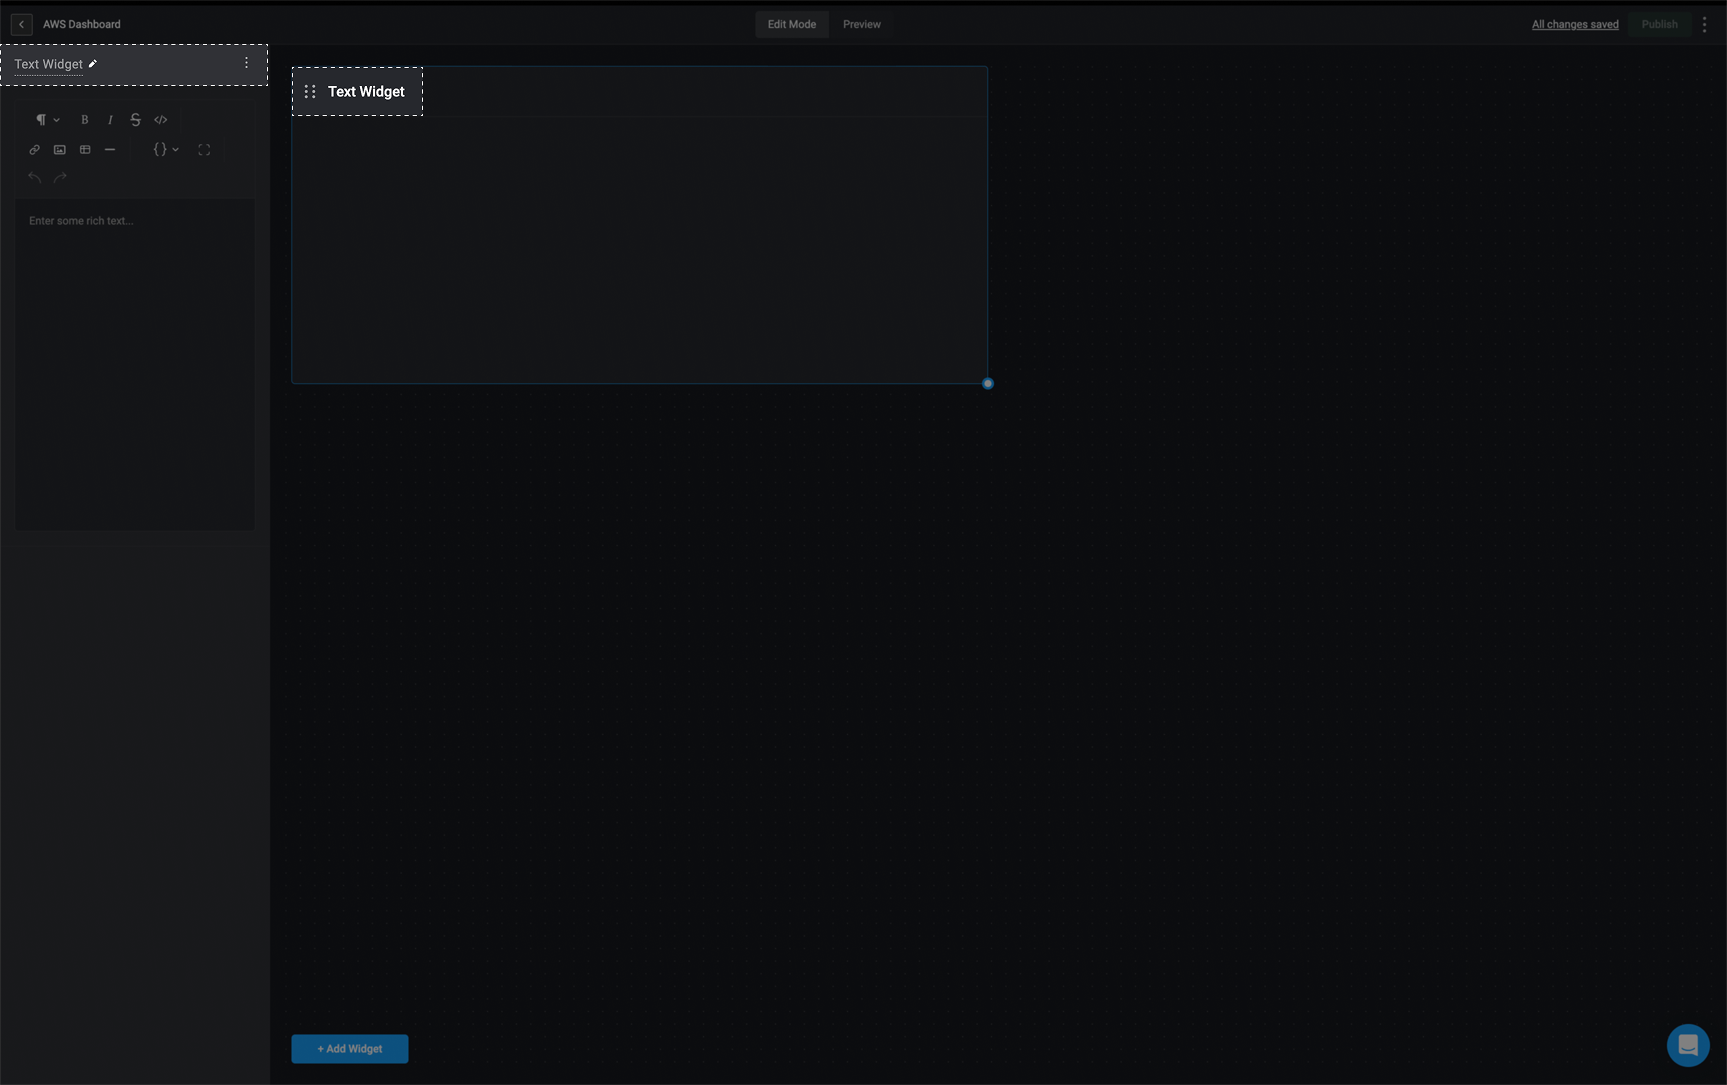
    In the sidebar in the top left corner, double-click on *Untitled widget* and provide a name for the selected widget.

    <Frame>
      <img src="https://mintcdn.com/blinkops-2/4KAbkngD9xIFZSqp/img/Dashboards/RenameTextWidget.png?fit=max&auto=format&n=4KAbkngD9xIFZSqp&q=85&s=12fb021accf8a327c5149268de289f95" width="1727" height="1085" data-path="img/Dashboards/RenameTextWidget.png" />
    </Frame>
  </Step>

  <Step title="Add Rich Text">
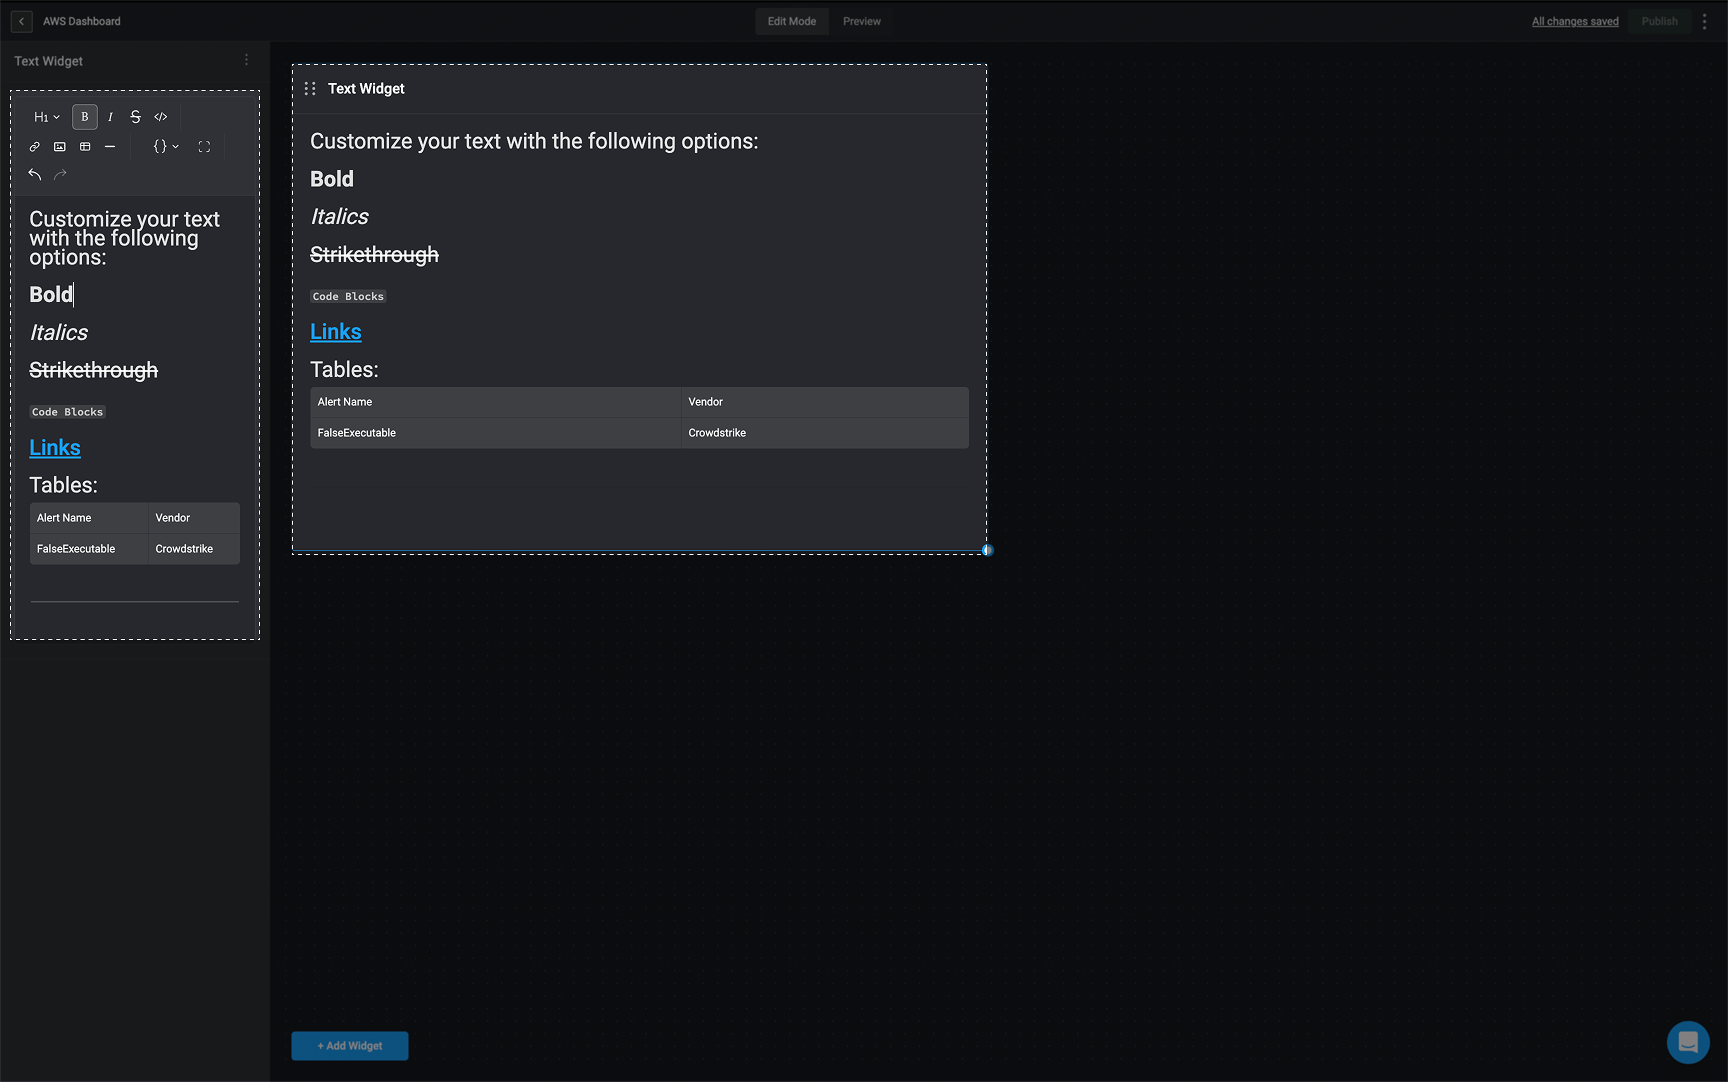
    Enter your desired content in the rich text editor. The text you add will automatically appear in the Text widget. You can format and style your content using rich text options, such as bold, italics, headings, code blocks, links, and more, to make your dashboard clear and engaging.

    <Frame>
      <img src="https://mintcdn.com/blinkops-2/x5n7UL9TMIRH4lMC/img/Dashboards/AddRichText.png?fit=max&auto=format&n=x5n7UL9TMIRH4lMC&q=85&s=d50d7b4a2392aeba36b376a28f16c0b5" width="1728" height="1082" data-path="img/Dashboards/AddRichText.png" />
    </Frame>
  </Step>
</Steps>

## Editing a Text Widget

Any changes made to the text in [rich text editor](/docs/blink-platform/interface-components/rich-text-editor) will be automatically applied to the text widget in real time.

## Deleting a Text Widget

<Steps>
  <Step title="Select the Text Widget">
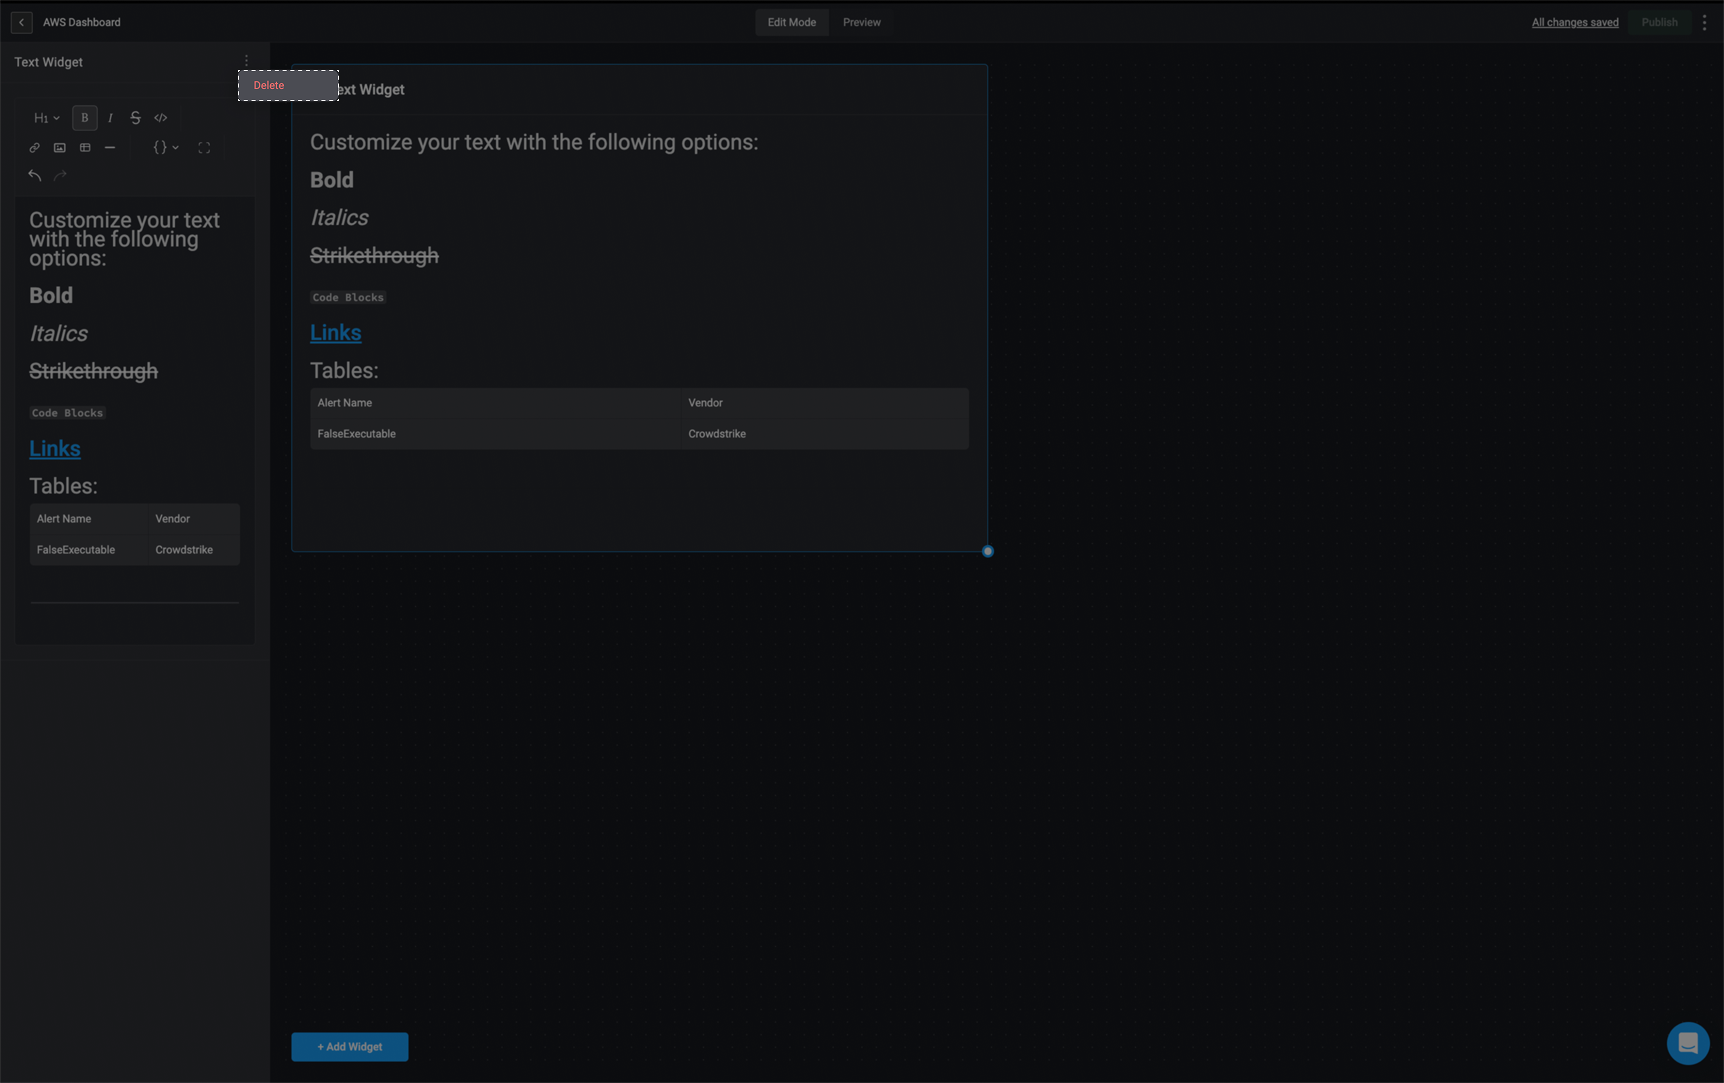
    <p>In the left-hand sidebar, click the <Icon icon="square-ellipsis-vertical" iconType="solid" /> icon in the top-right corner and then select the delete button.</p>
  </Step>

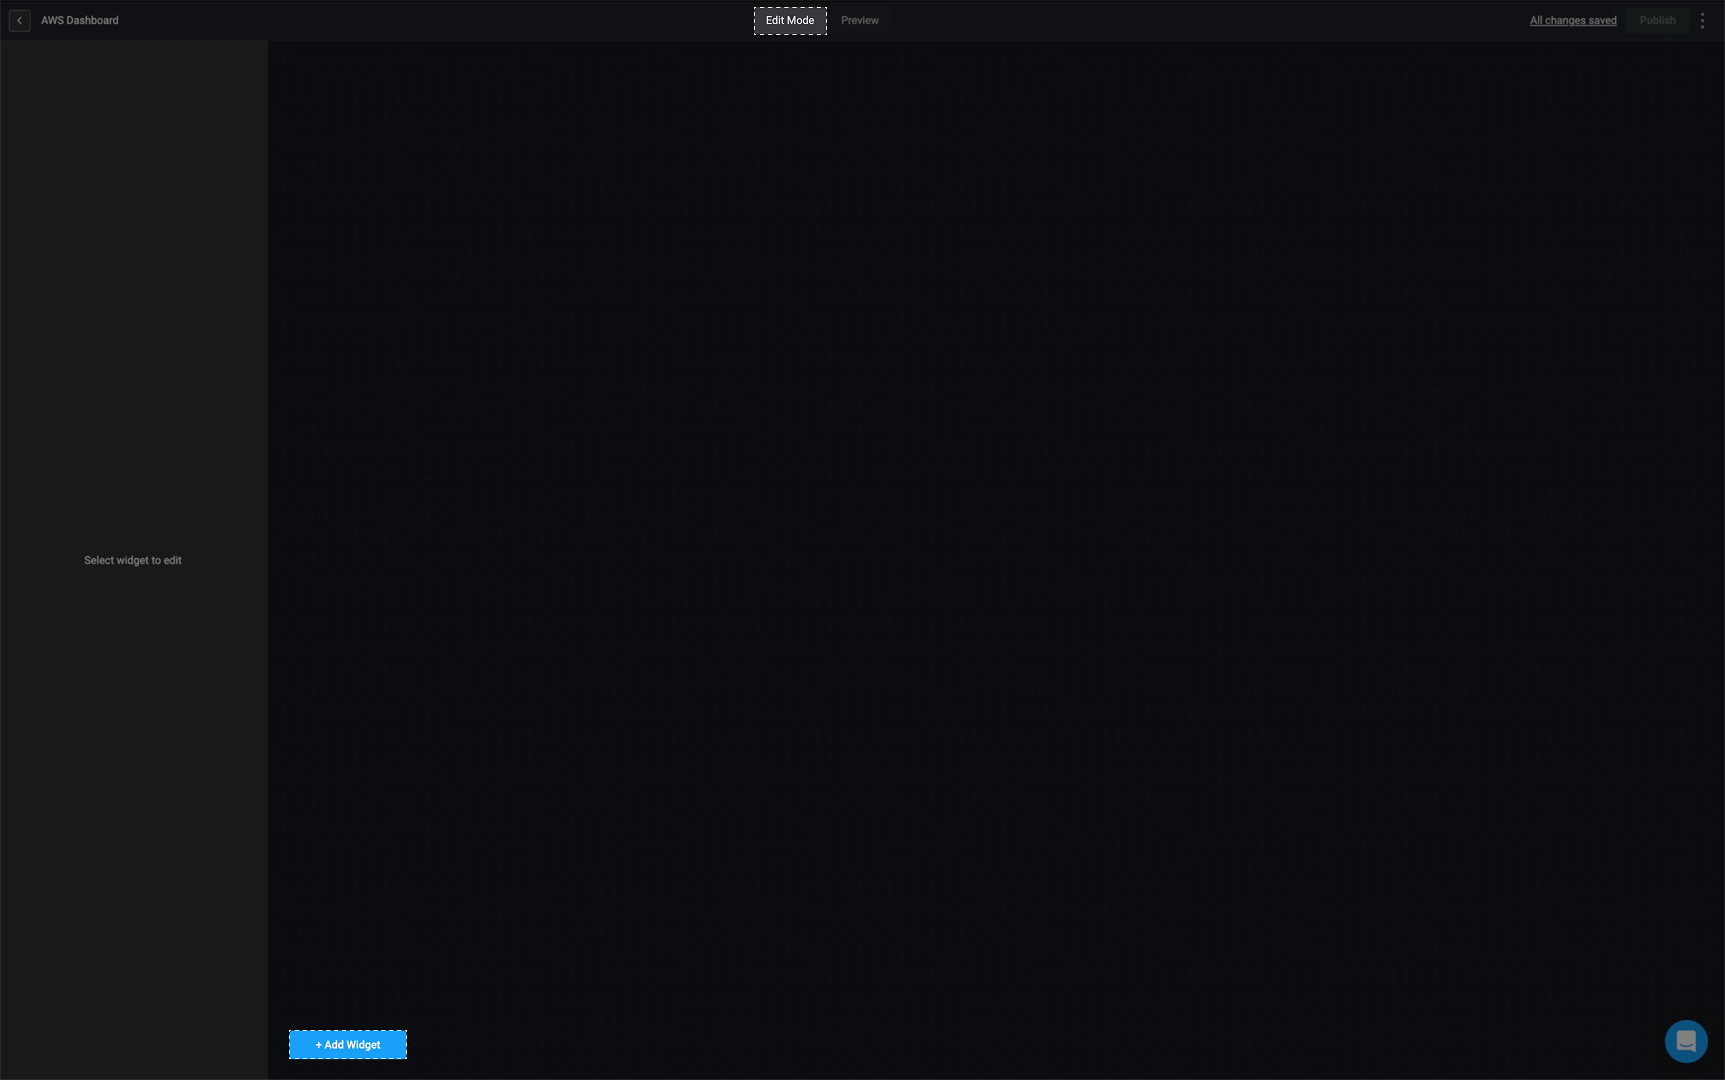
  <Step title="Delete the Text Widget">
    The text widget will be removed from your Dashboard Building Interface.
    <Frame>
      <img src="https://mintcdn.com/blinkops-2/4KAbkngD9xIFZSqp/img/Dashboards/DeleteTextWidget.png?fit=max&auto=format&n=4KAbkngD9xIFZSqp&q=85&s=908b8eda8175e3b2e8897eb8b7452575" width="1724" height="1083" data-path="img/Dashboards/DeleteTextWidget.png" />
    </Frame>
  </Step>
</Steps>