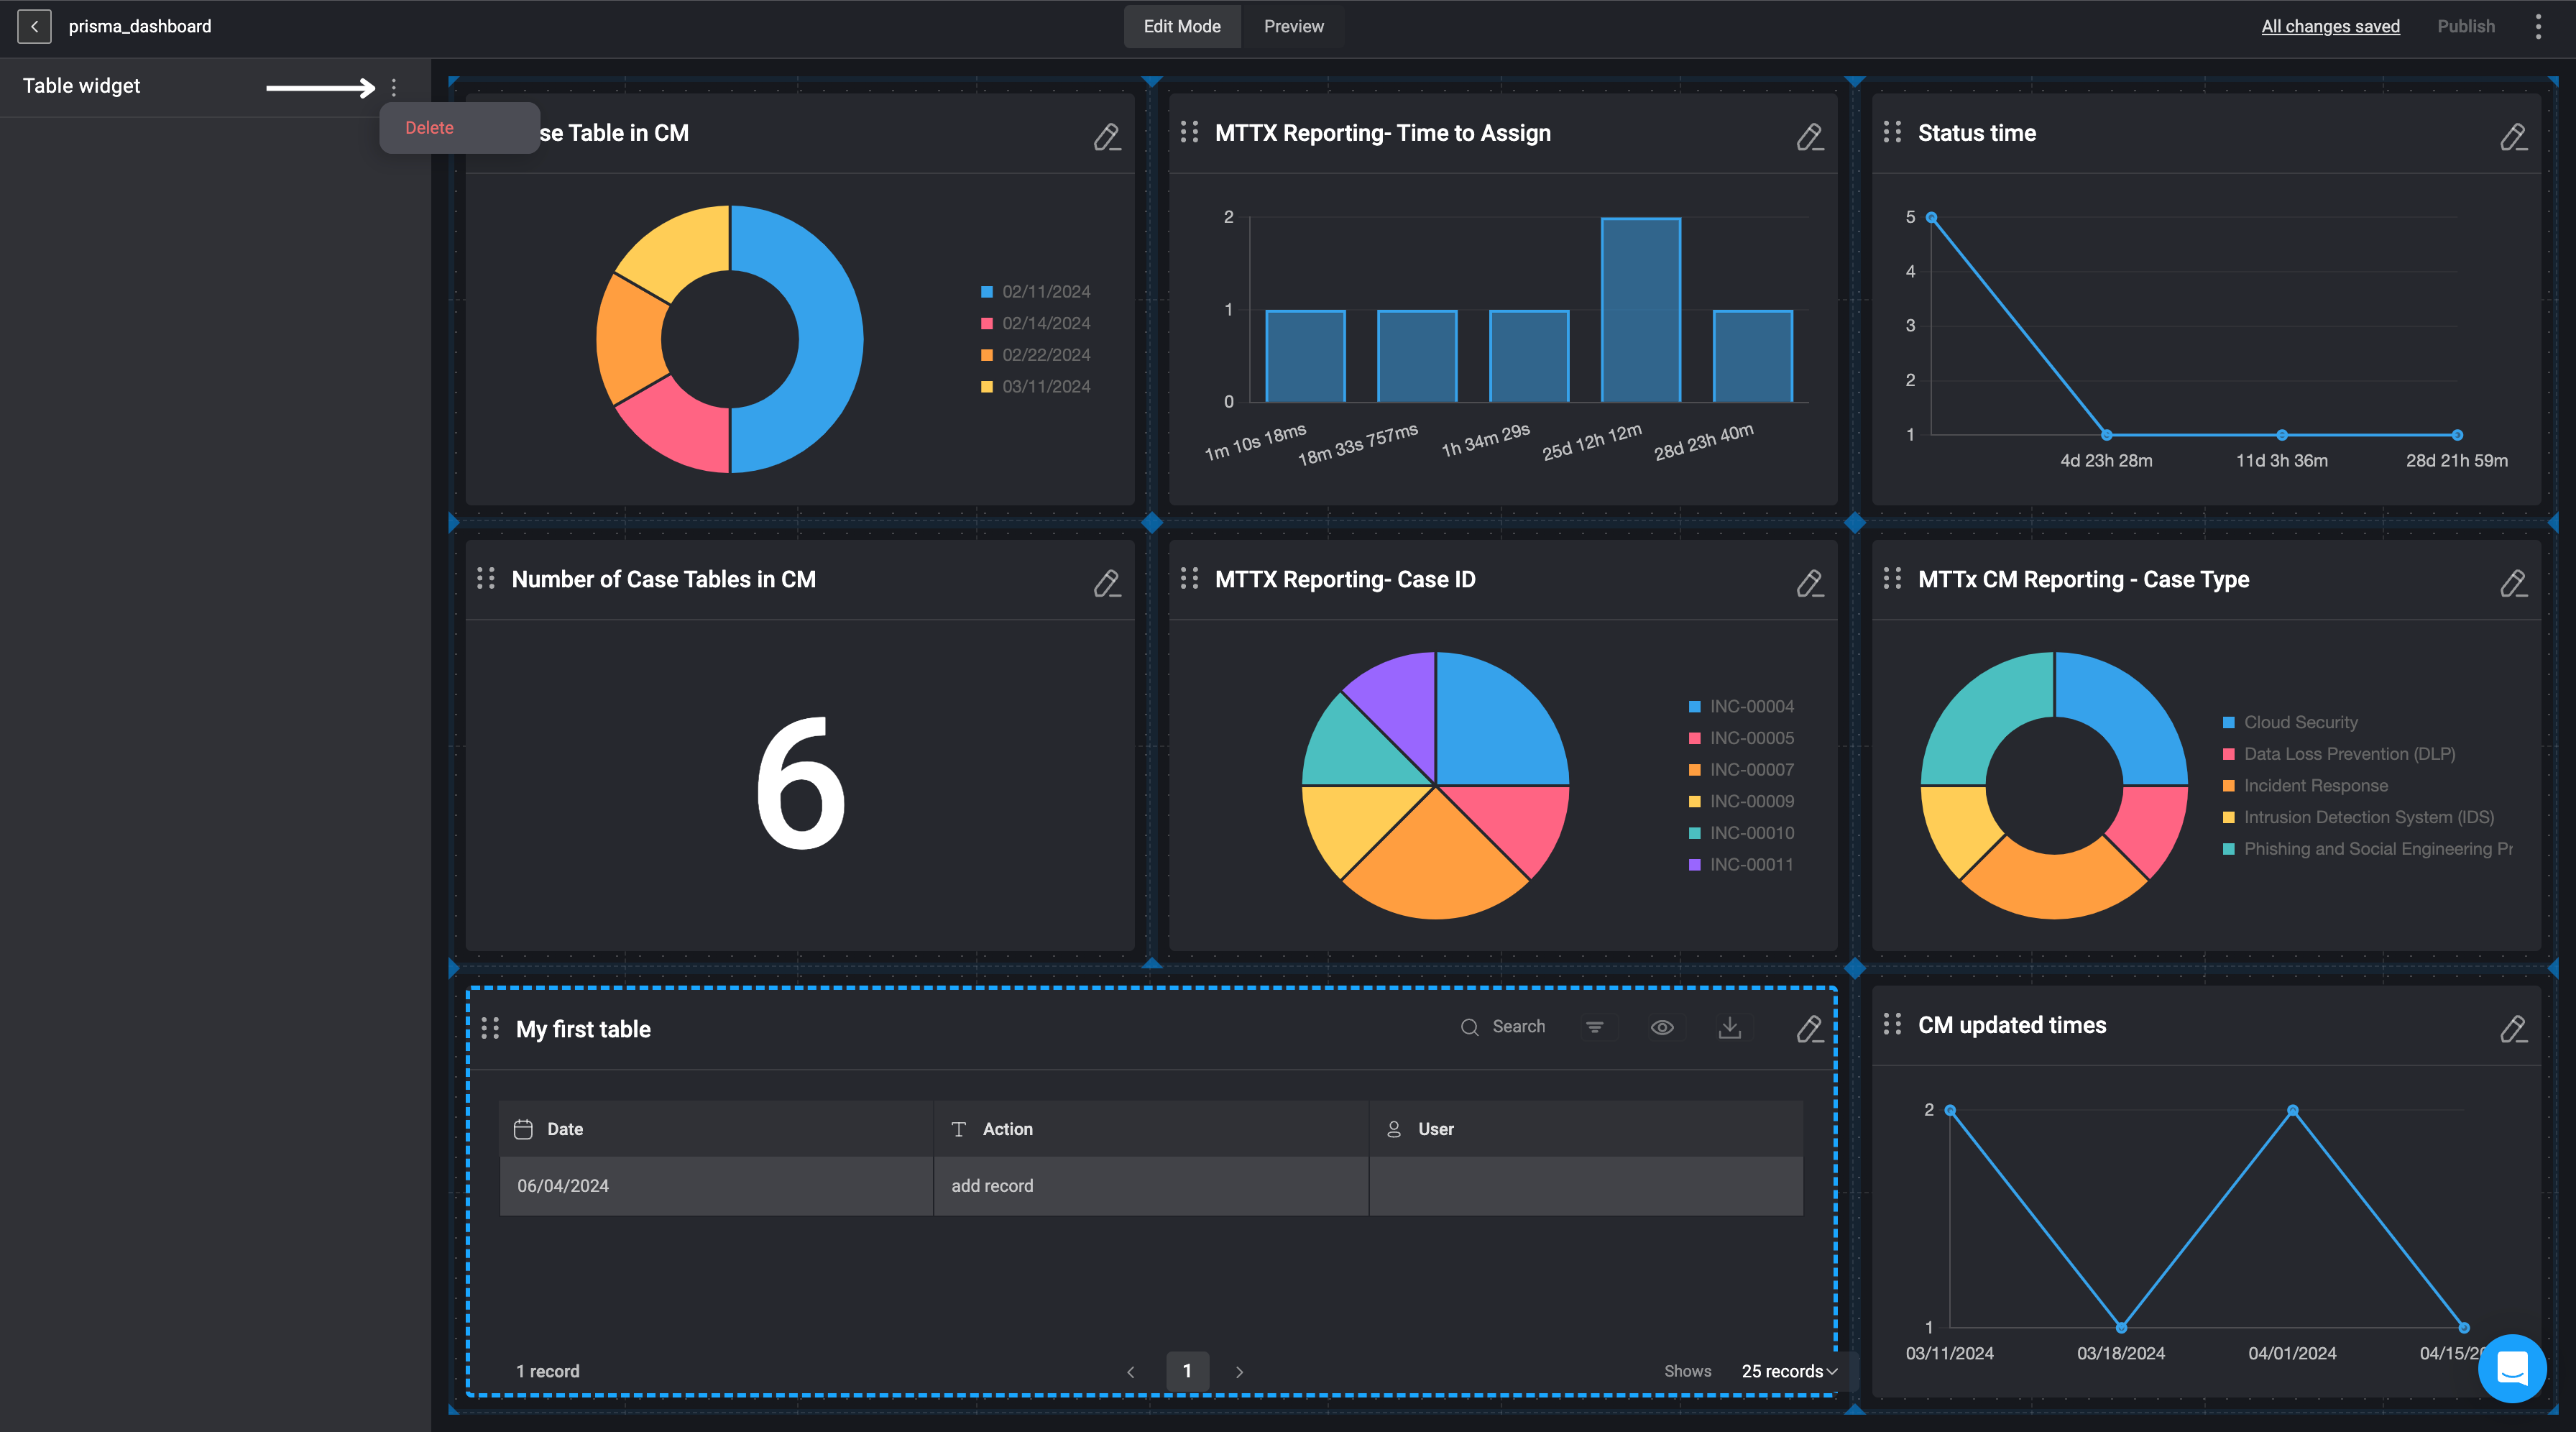
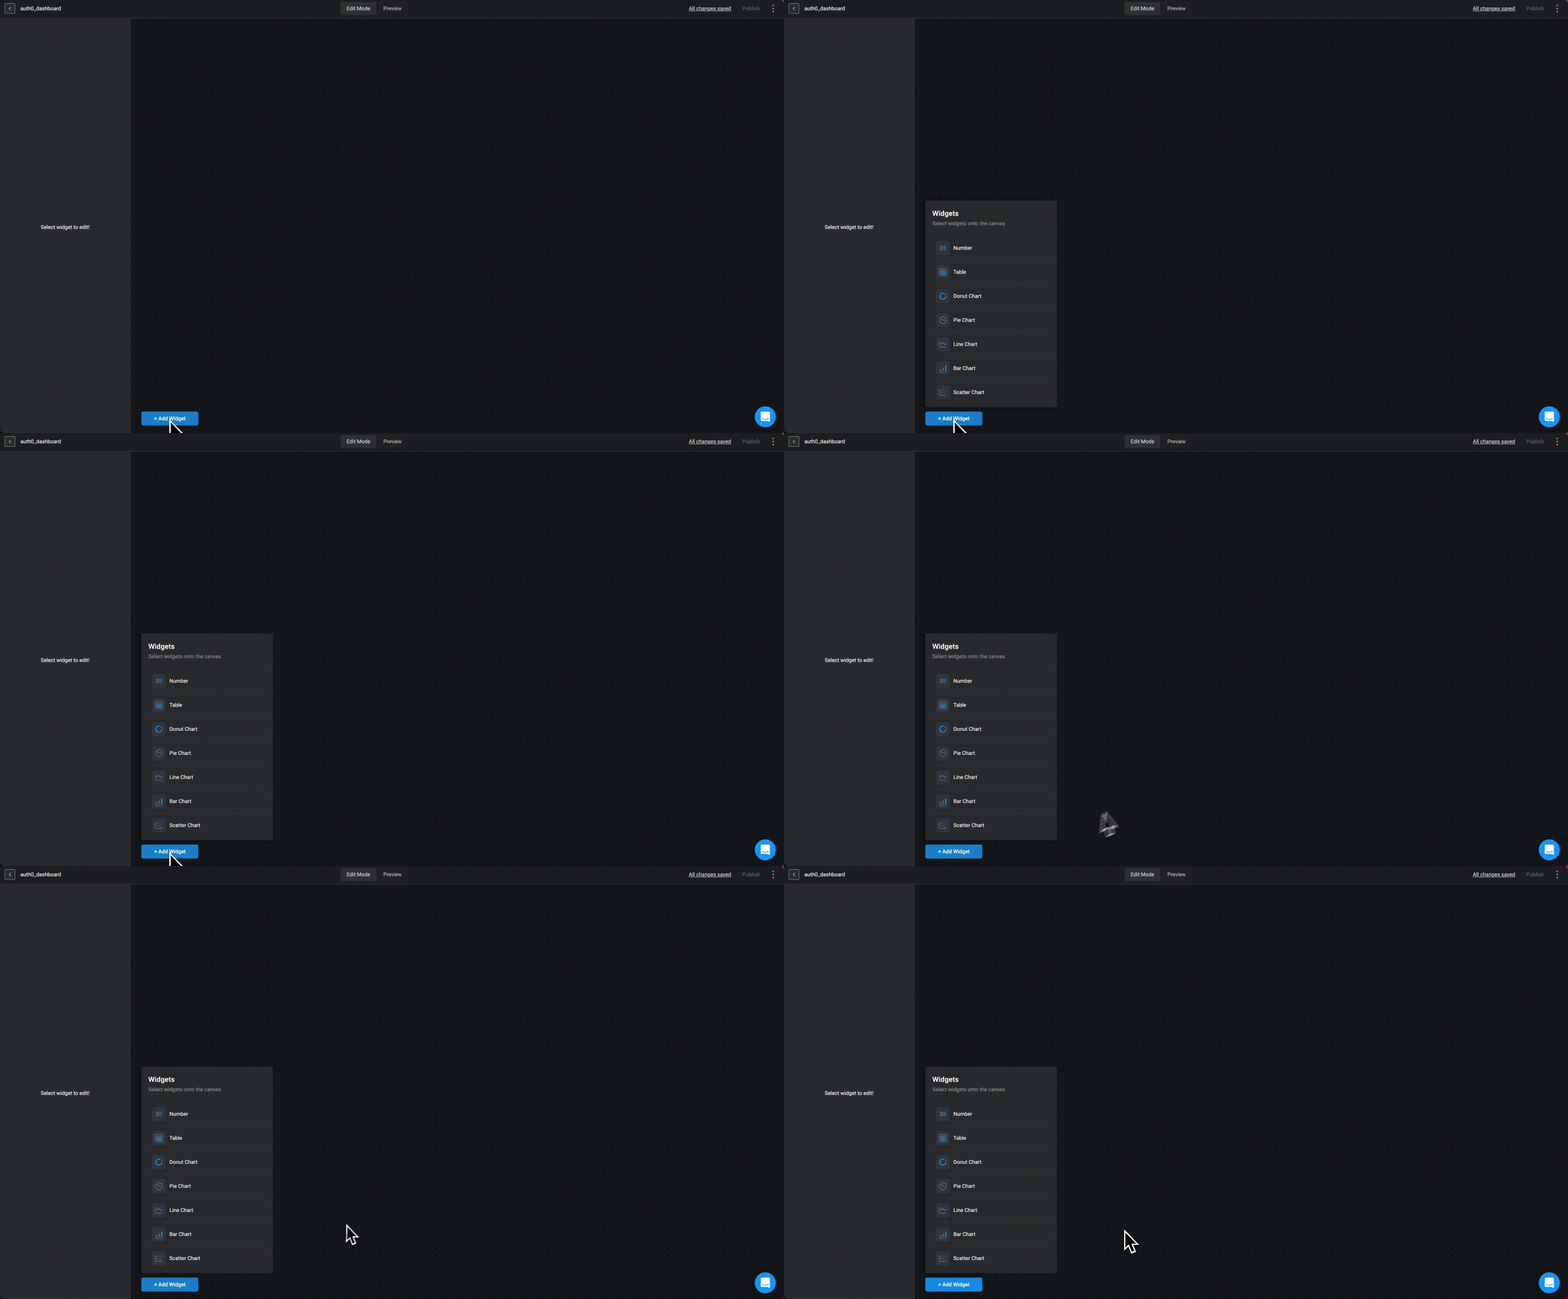
 2. Choose the **Table** option from the widget list.
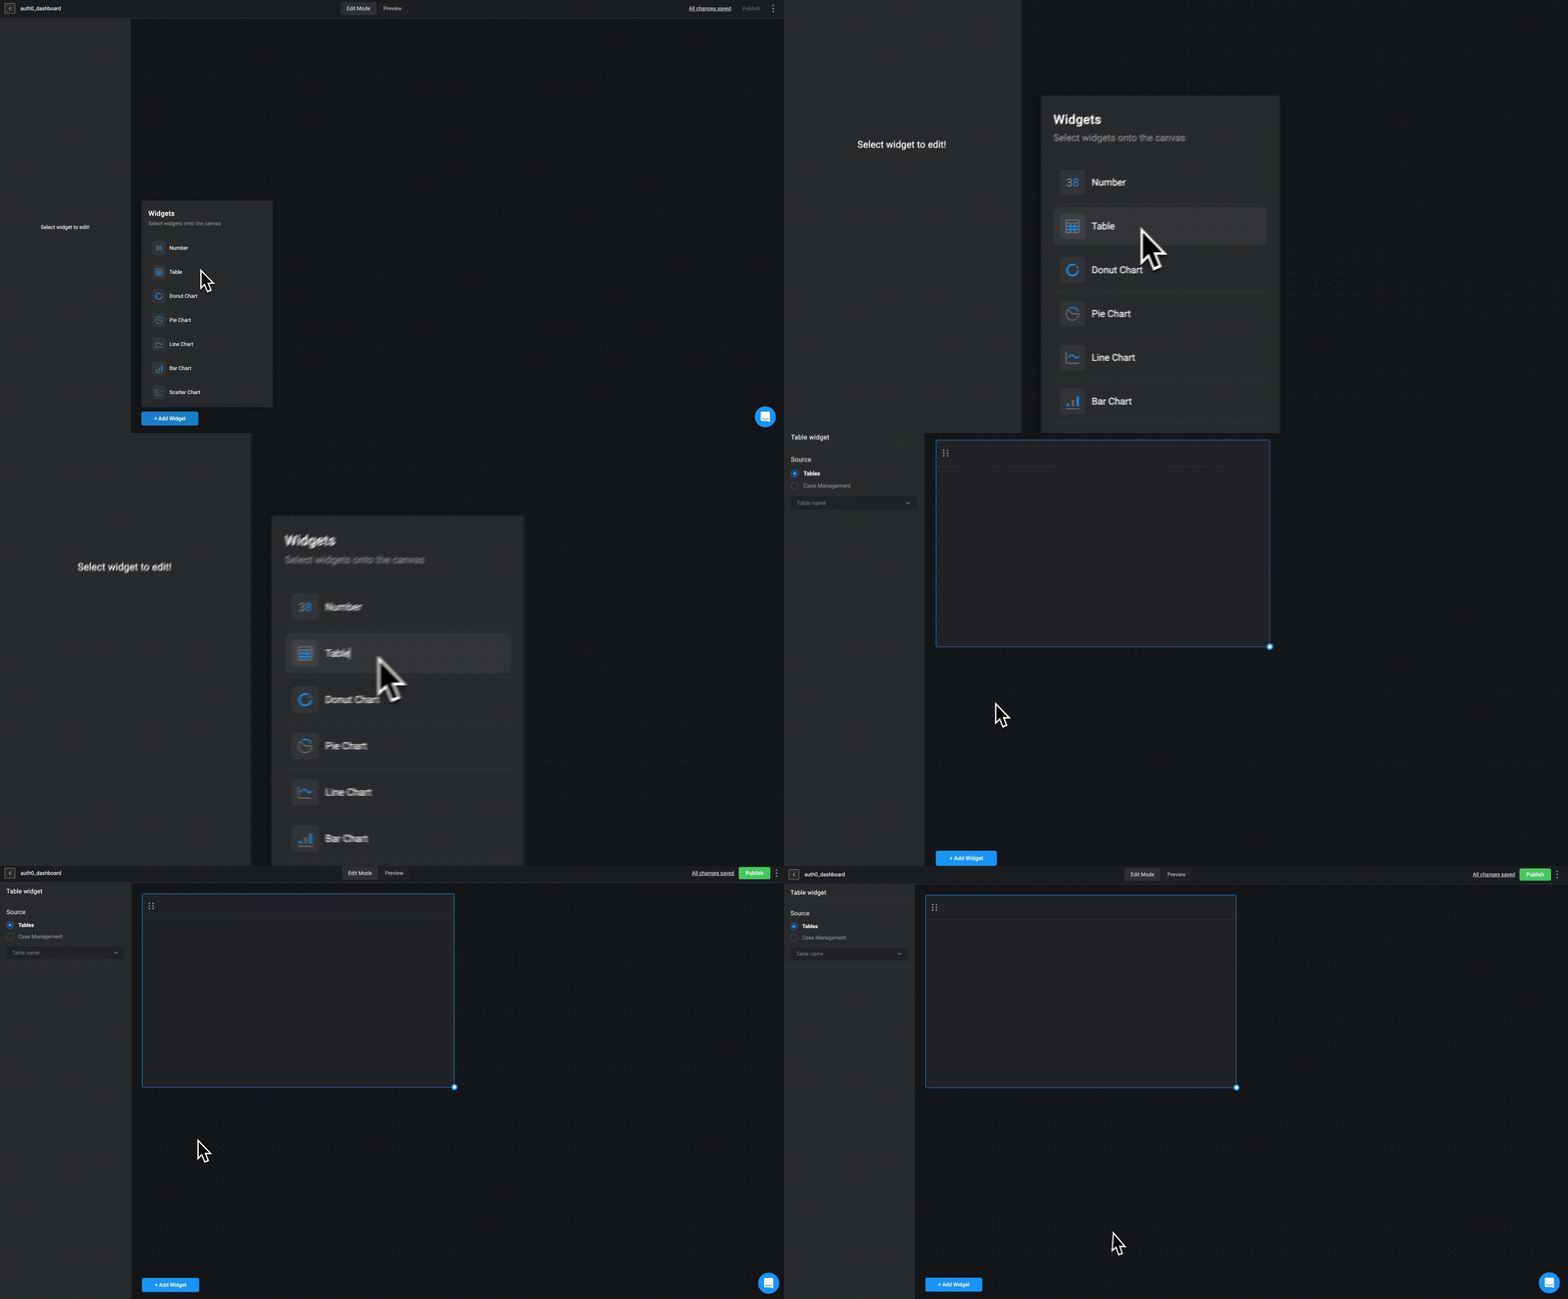 3. Choose a data source:[Tables](/docs/blink-platform/tables/tables) or [Case Management Tables](/docs/case-management/manage-tables) and proceed by selecting the specific table from the data source you would like to use.
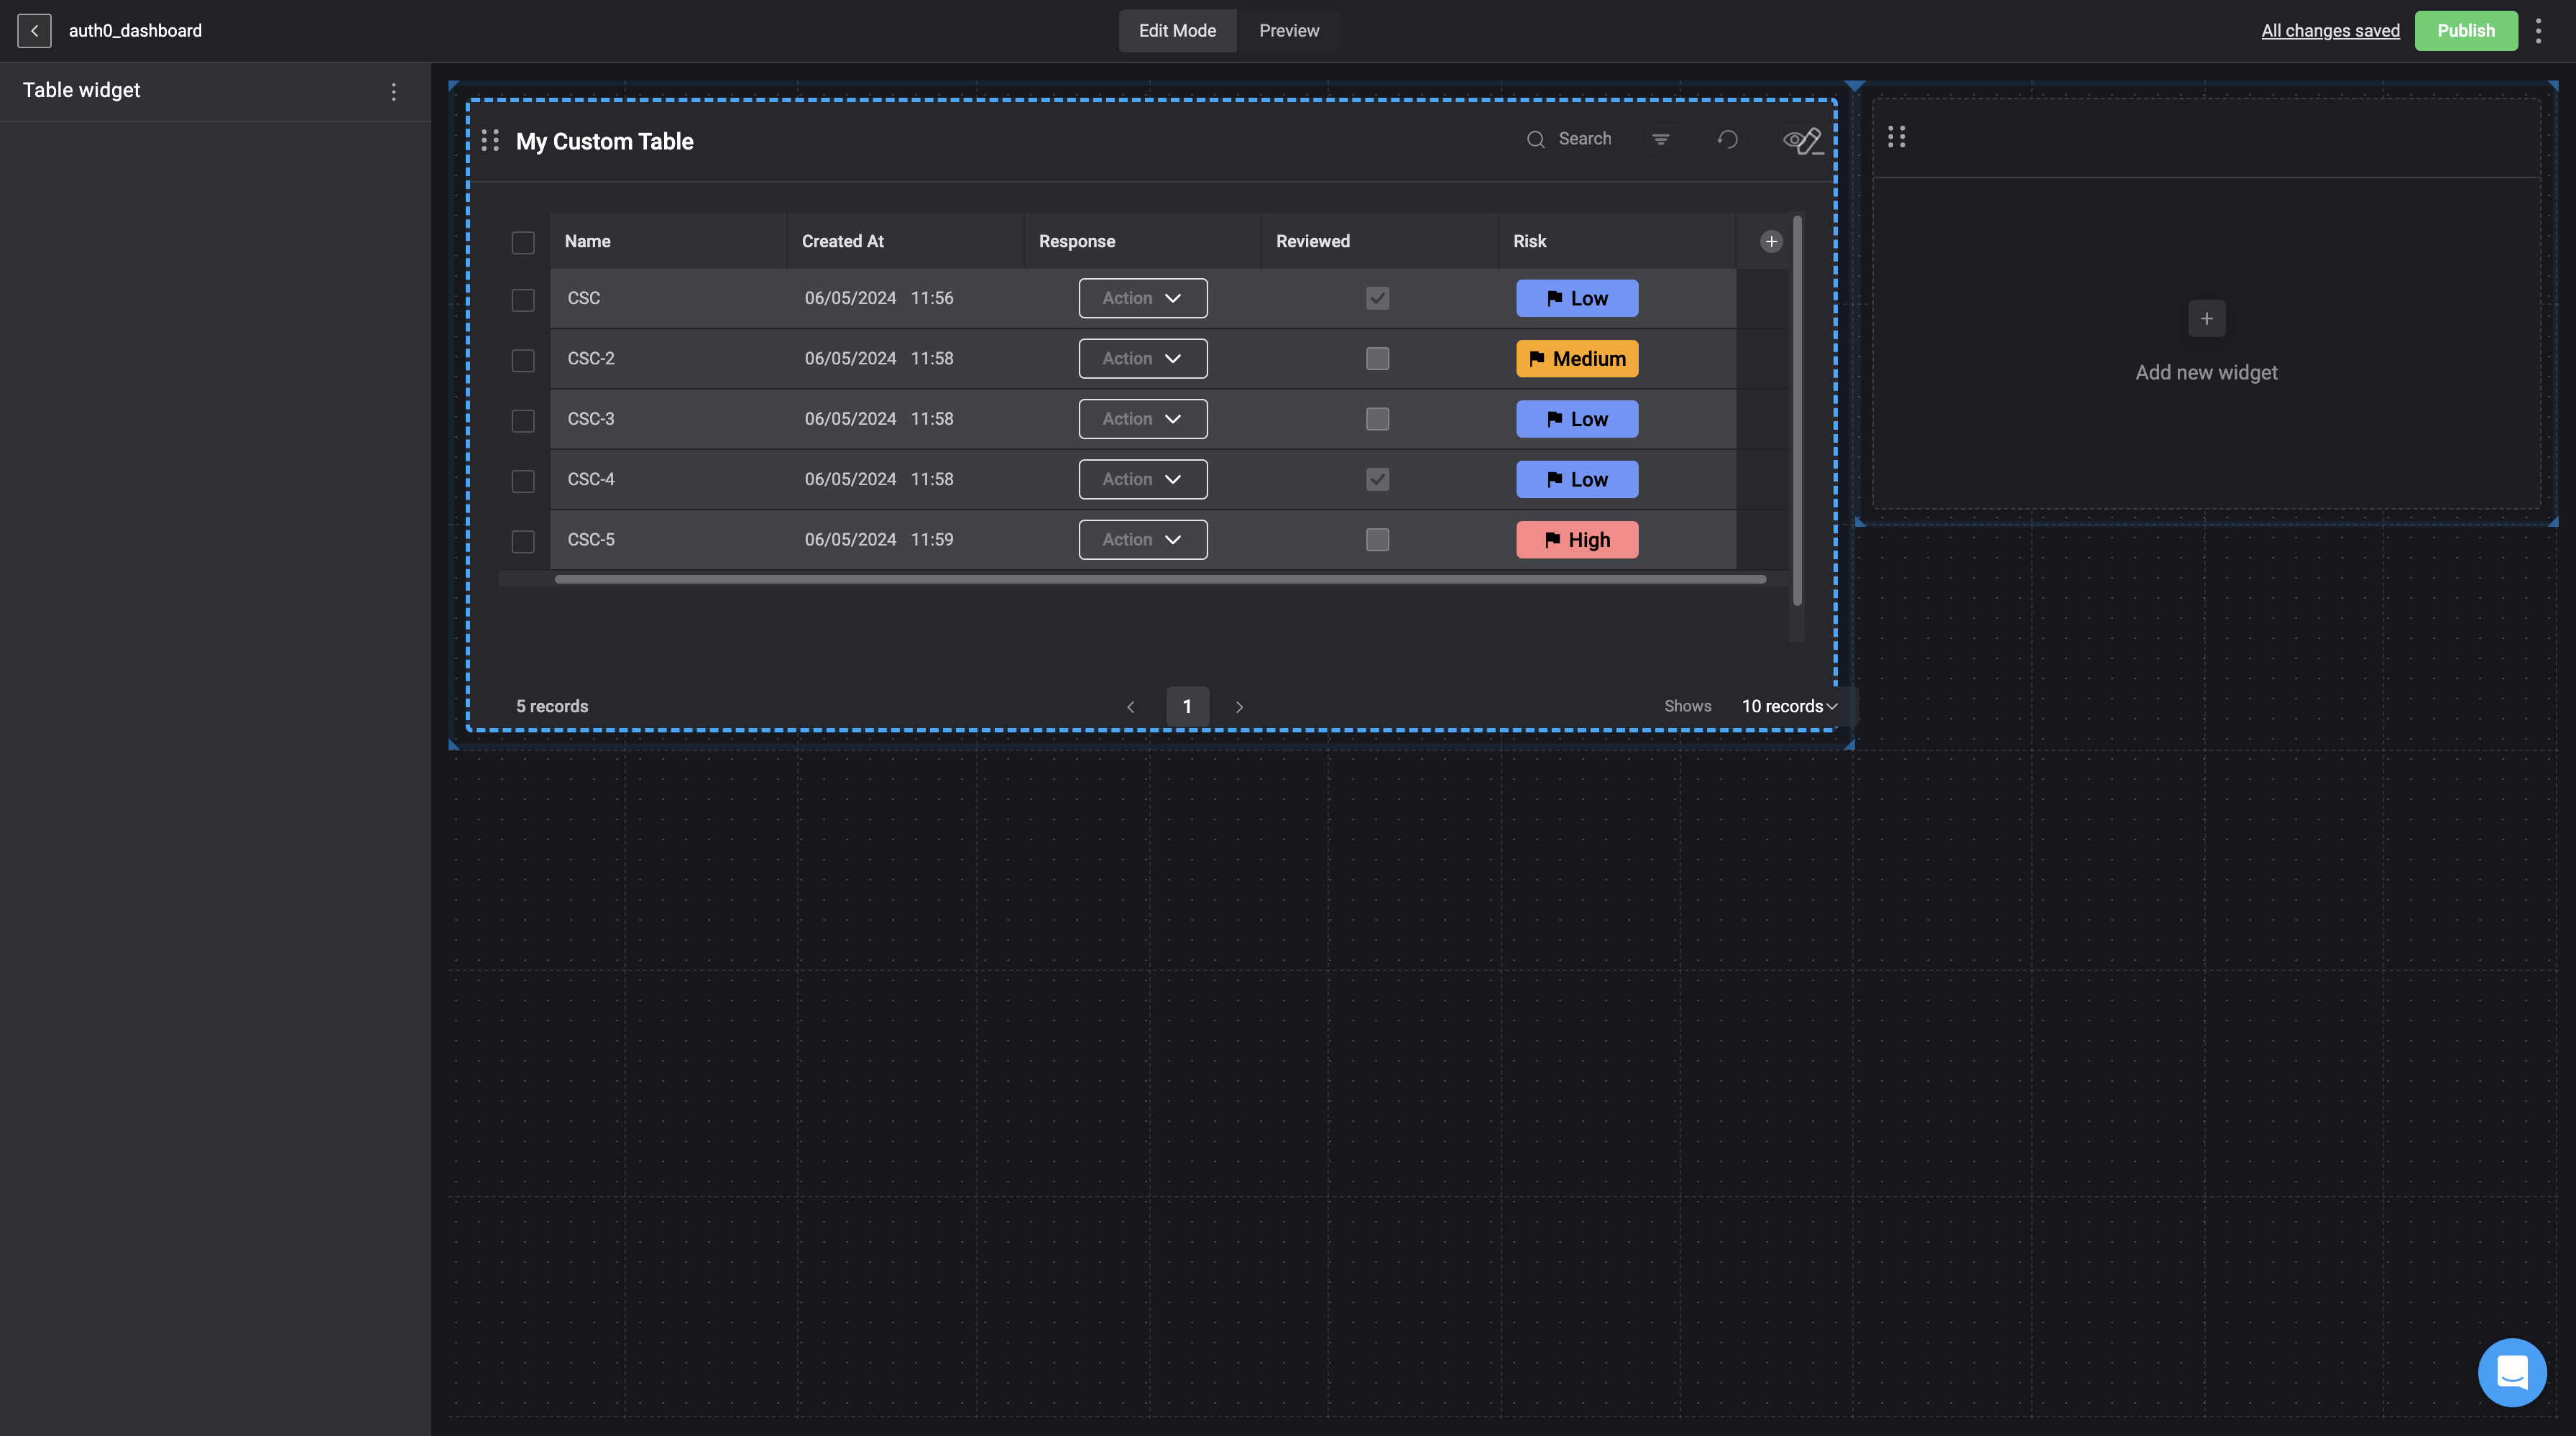
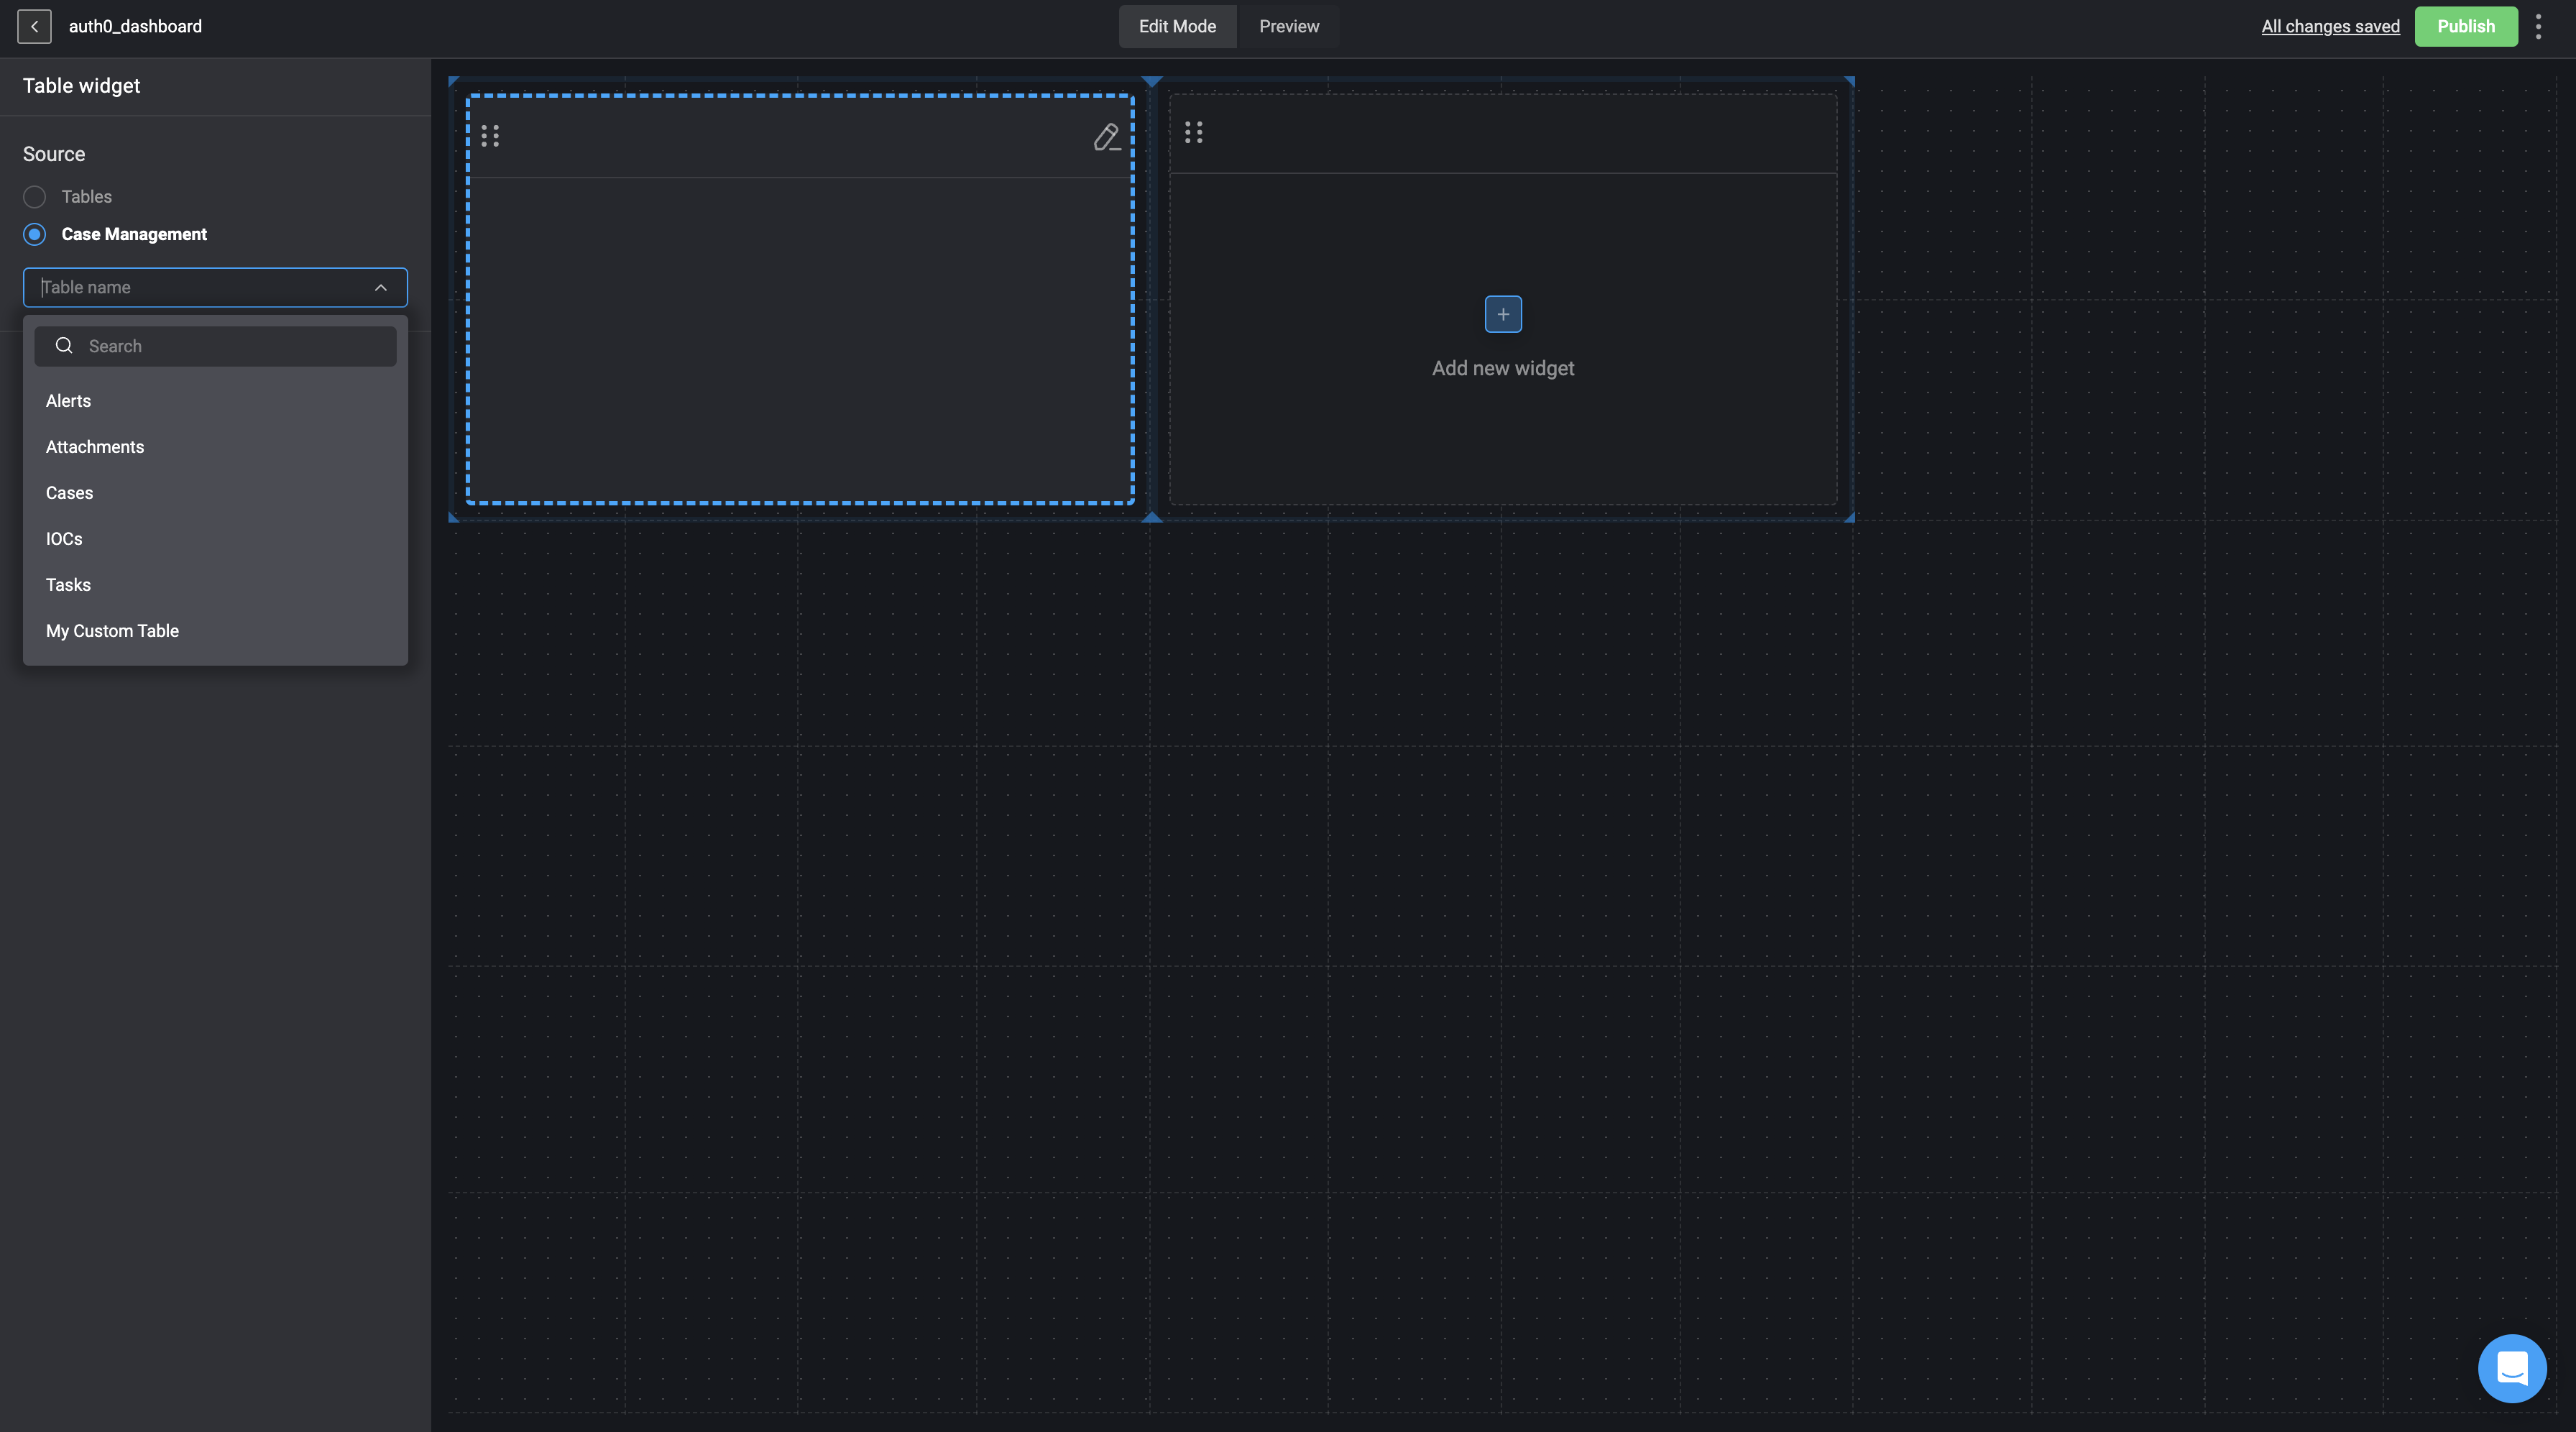 4. Your selected table will then be reflected as a widget on the Dashboard Building Interface.
 ## Export Table Widget
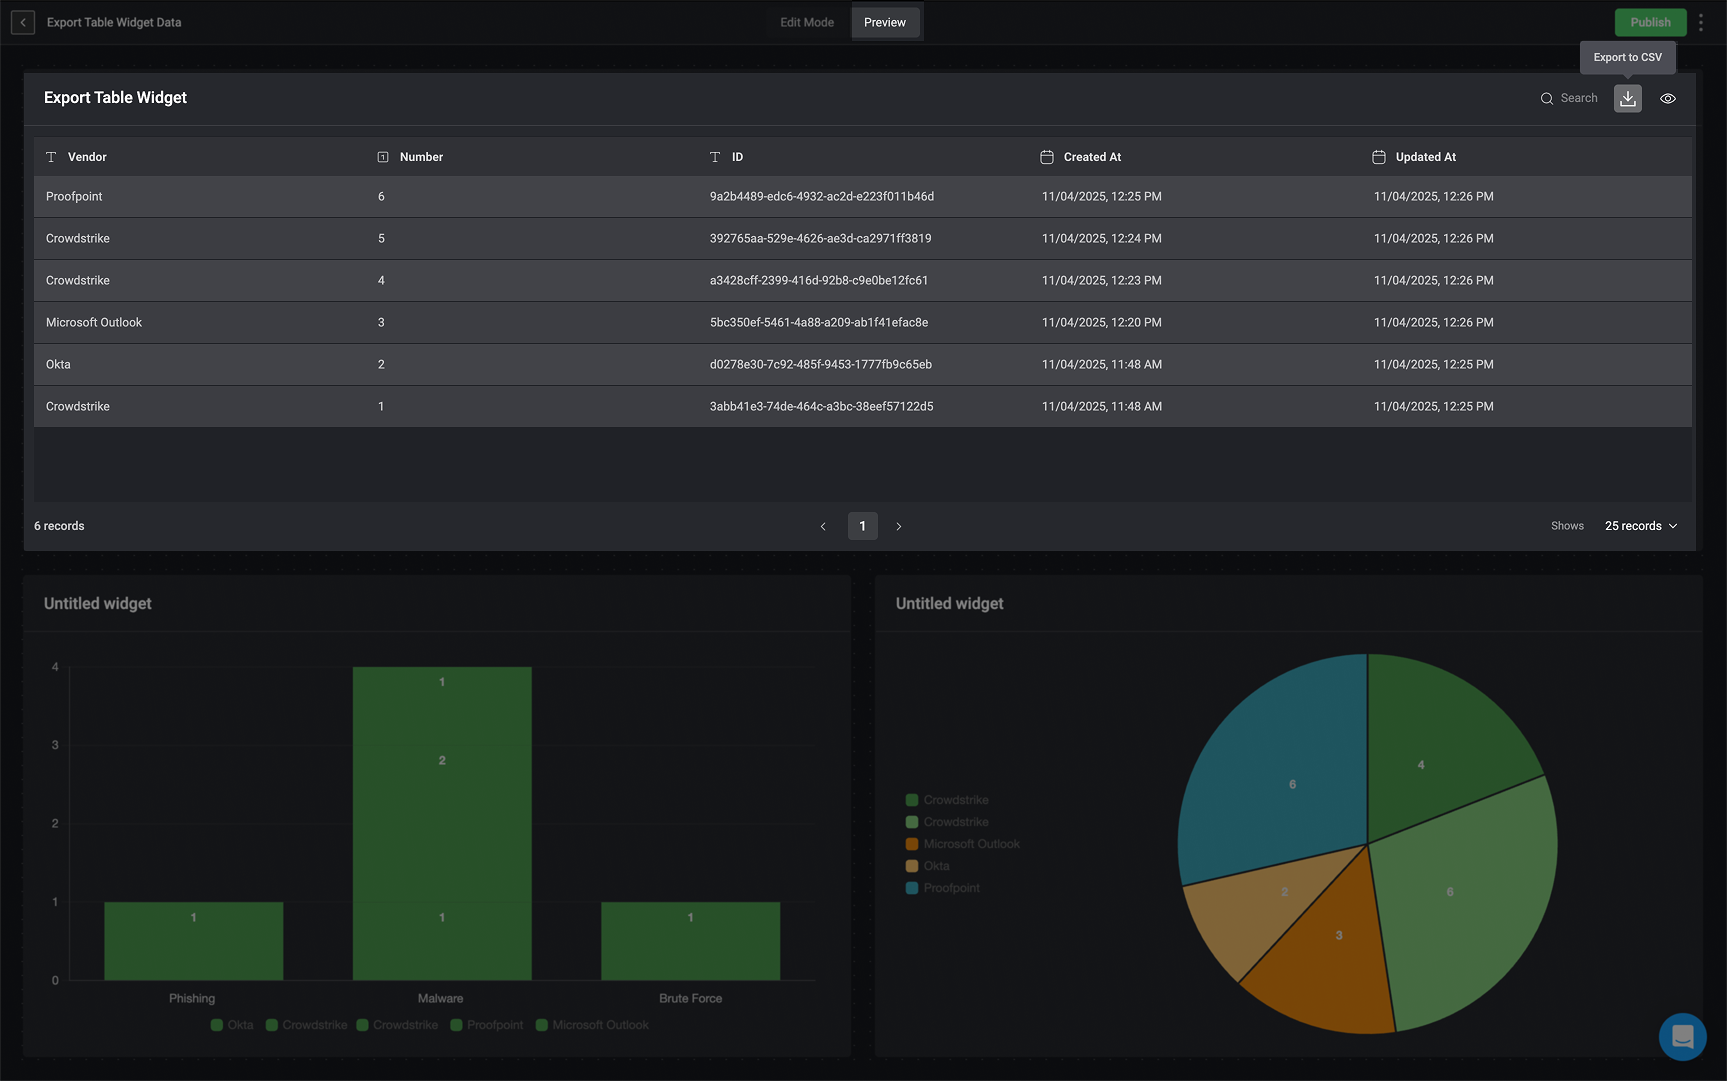
You can export the data displayed in a selected table widget as a structured `CSV` file. This allows you to easily download and share the table’s data in a standard, organized format.
## Export Table Widget
You can export the data displayed in a selected table widget as a structured `CSV` file. This allows you to easily download and share the table’s data in a standard, organized format.
 ## Editing a Table Widget
To modify a selected Table Widget, please update the original [Tables](/docs/blink-platform/tables/tables) or [Case Management Tables](/docs/case-management/manage-tables) directly at the source.
## Deleting a Table Widget
1.
## Editing a Table Widget
To modify a selected Table Widget, please update the original [Tables](/docs/blink-platform/tables/tables) or [Case Management Tables](/docs/case-management/manage-tables) directly at the source.
## Deleting a Table Widget
1. In the left-hand sidebar, click the