> ## Documentation Index
> Fetch the complete documentation index at: https://docs.blinkops.com/llms.txt
> Use this file to discover all available pages before exploring further.
# Numbers
> Instructions on how to create and use the Numbers Widget
## Adding a Numbers Widget
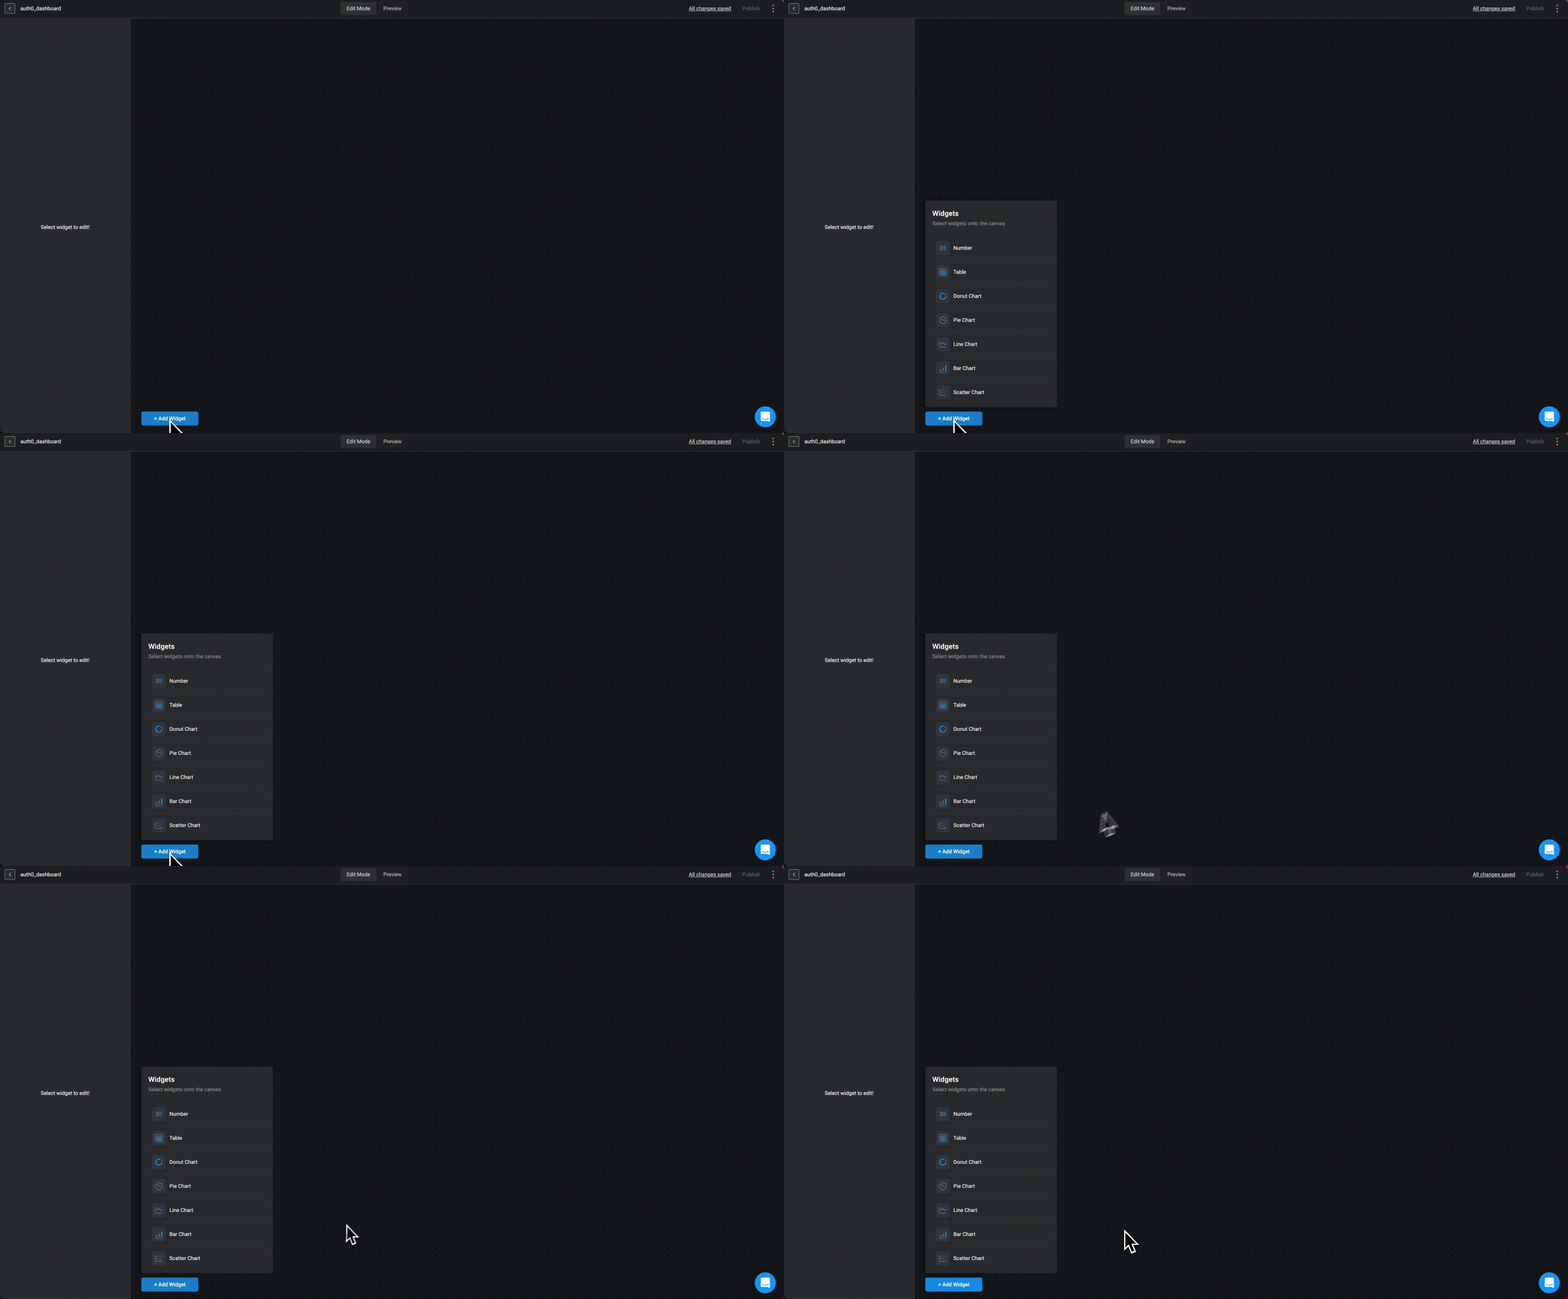
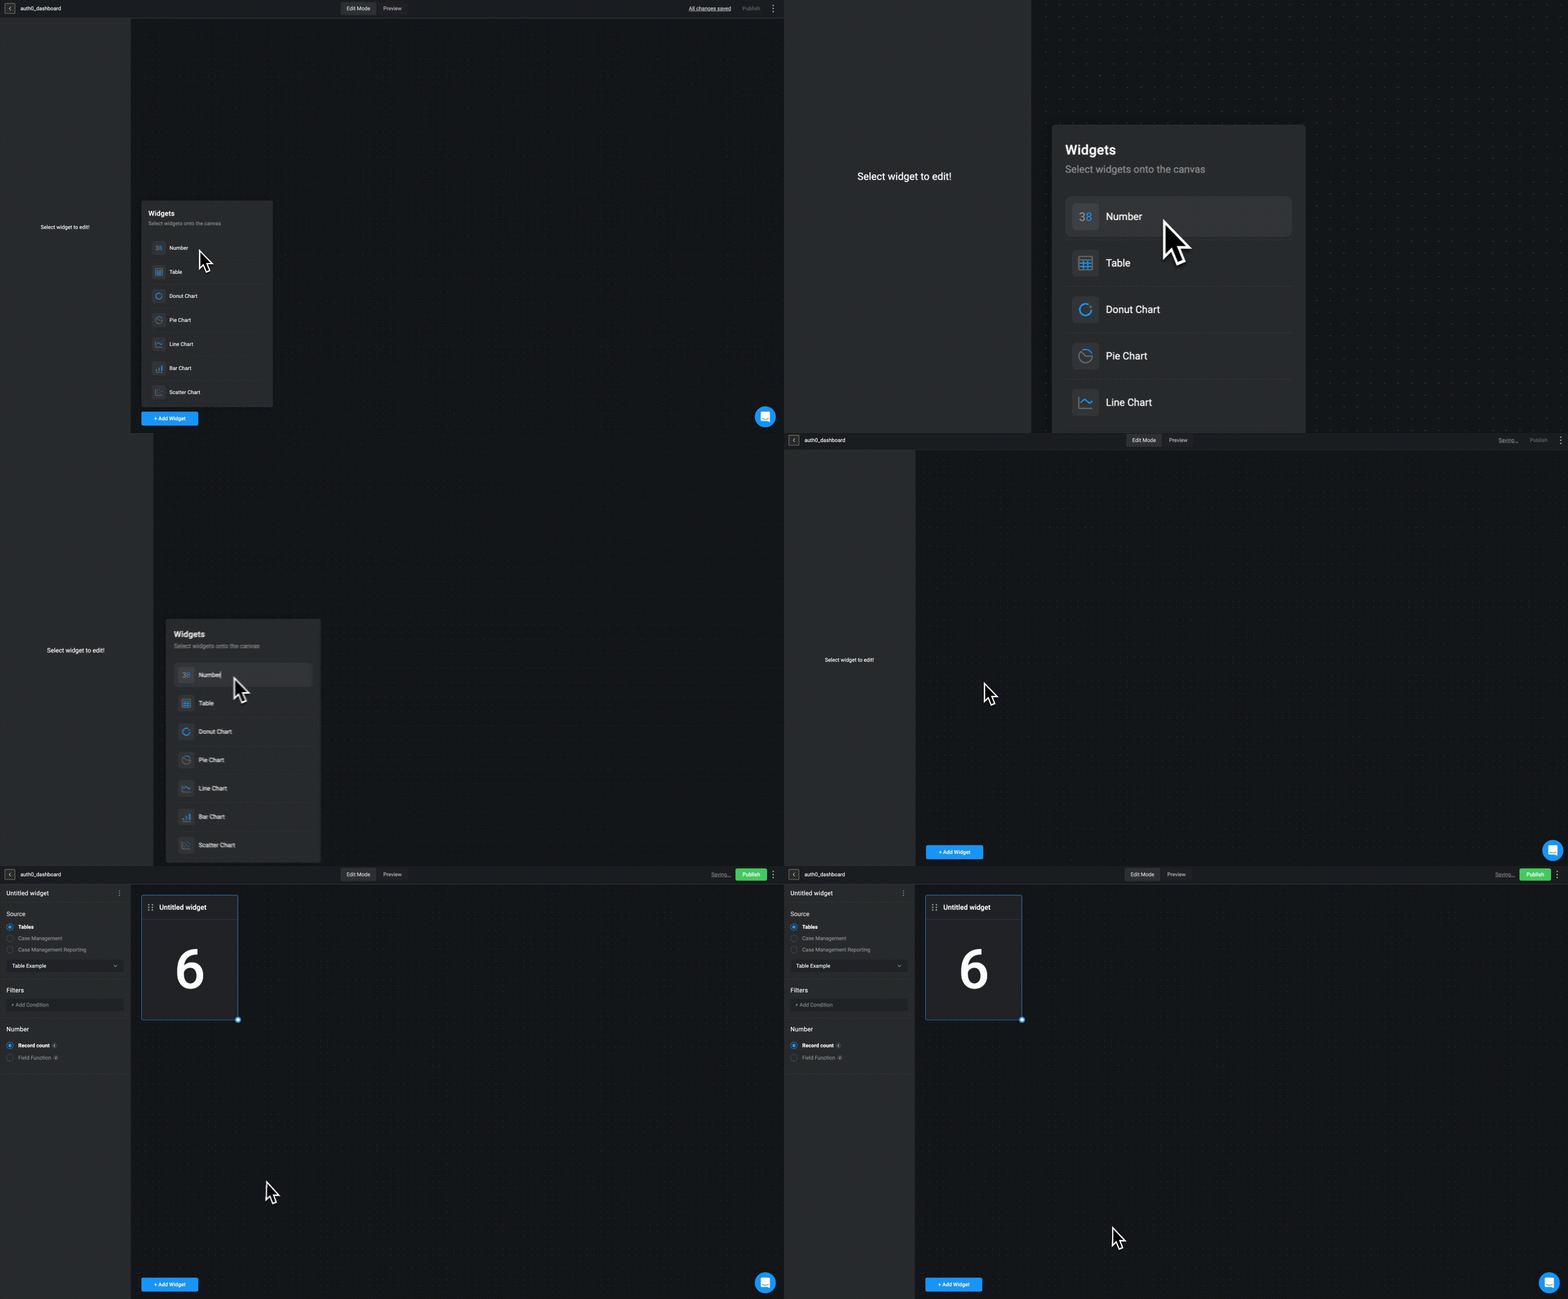
In the *Edit Mode* tab of the Dashboards Building Interface, click the "add a widget" button.
Choose the **number** option from the widget list.
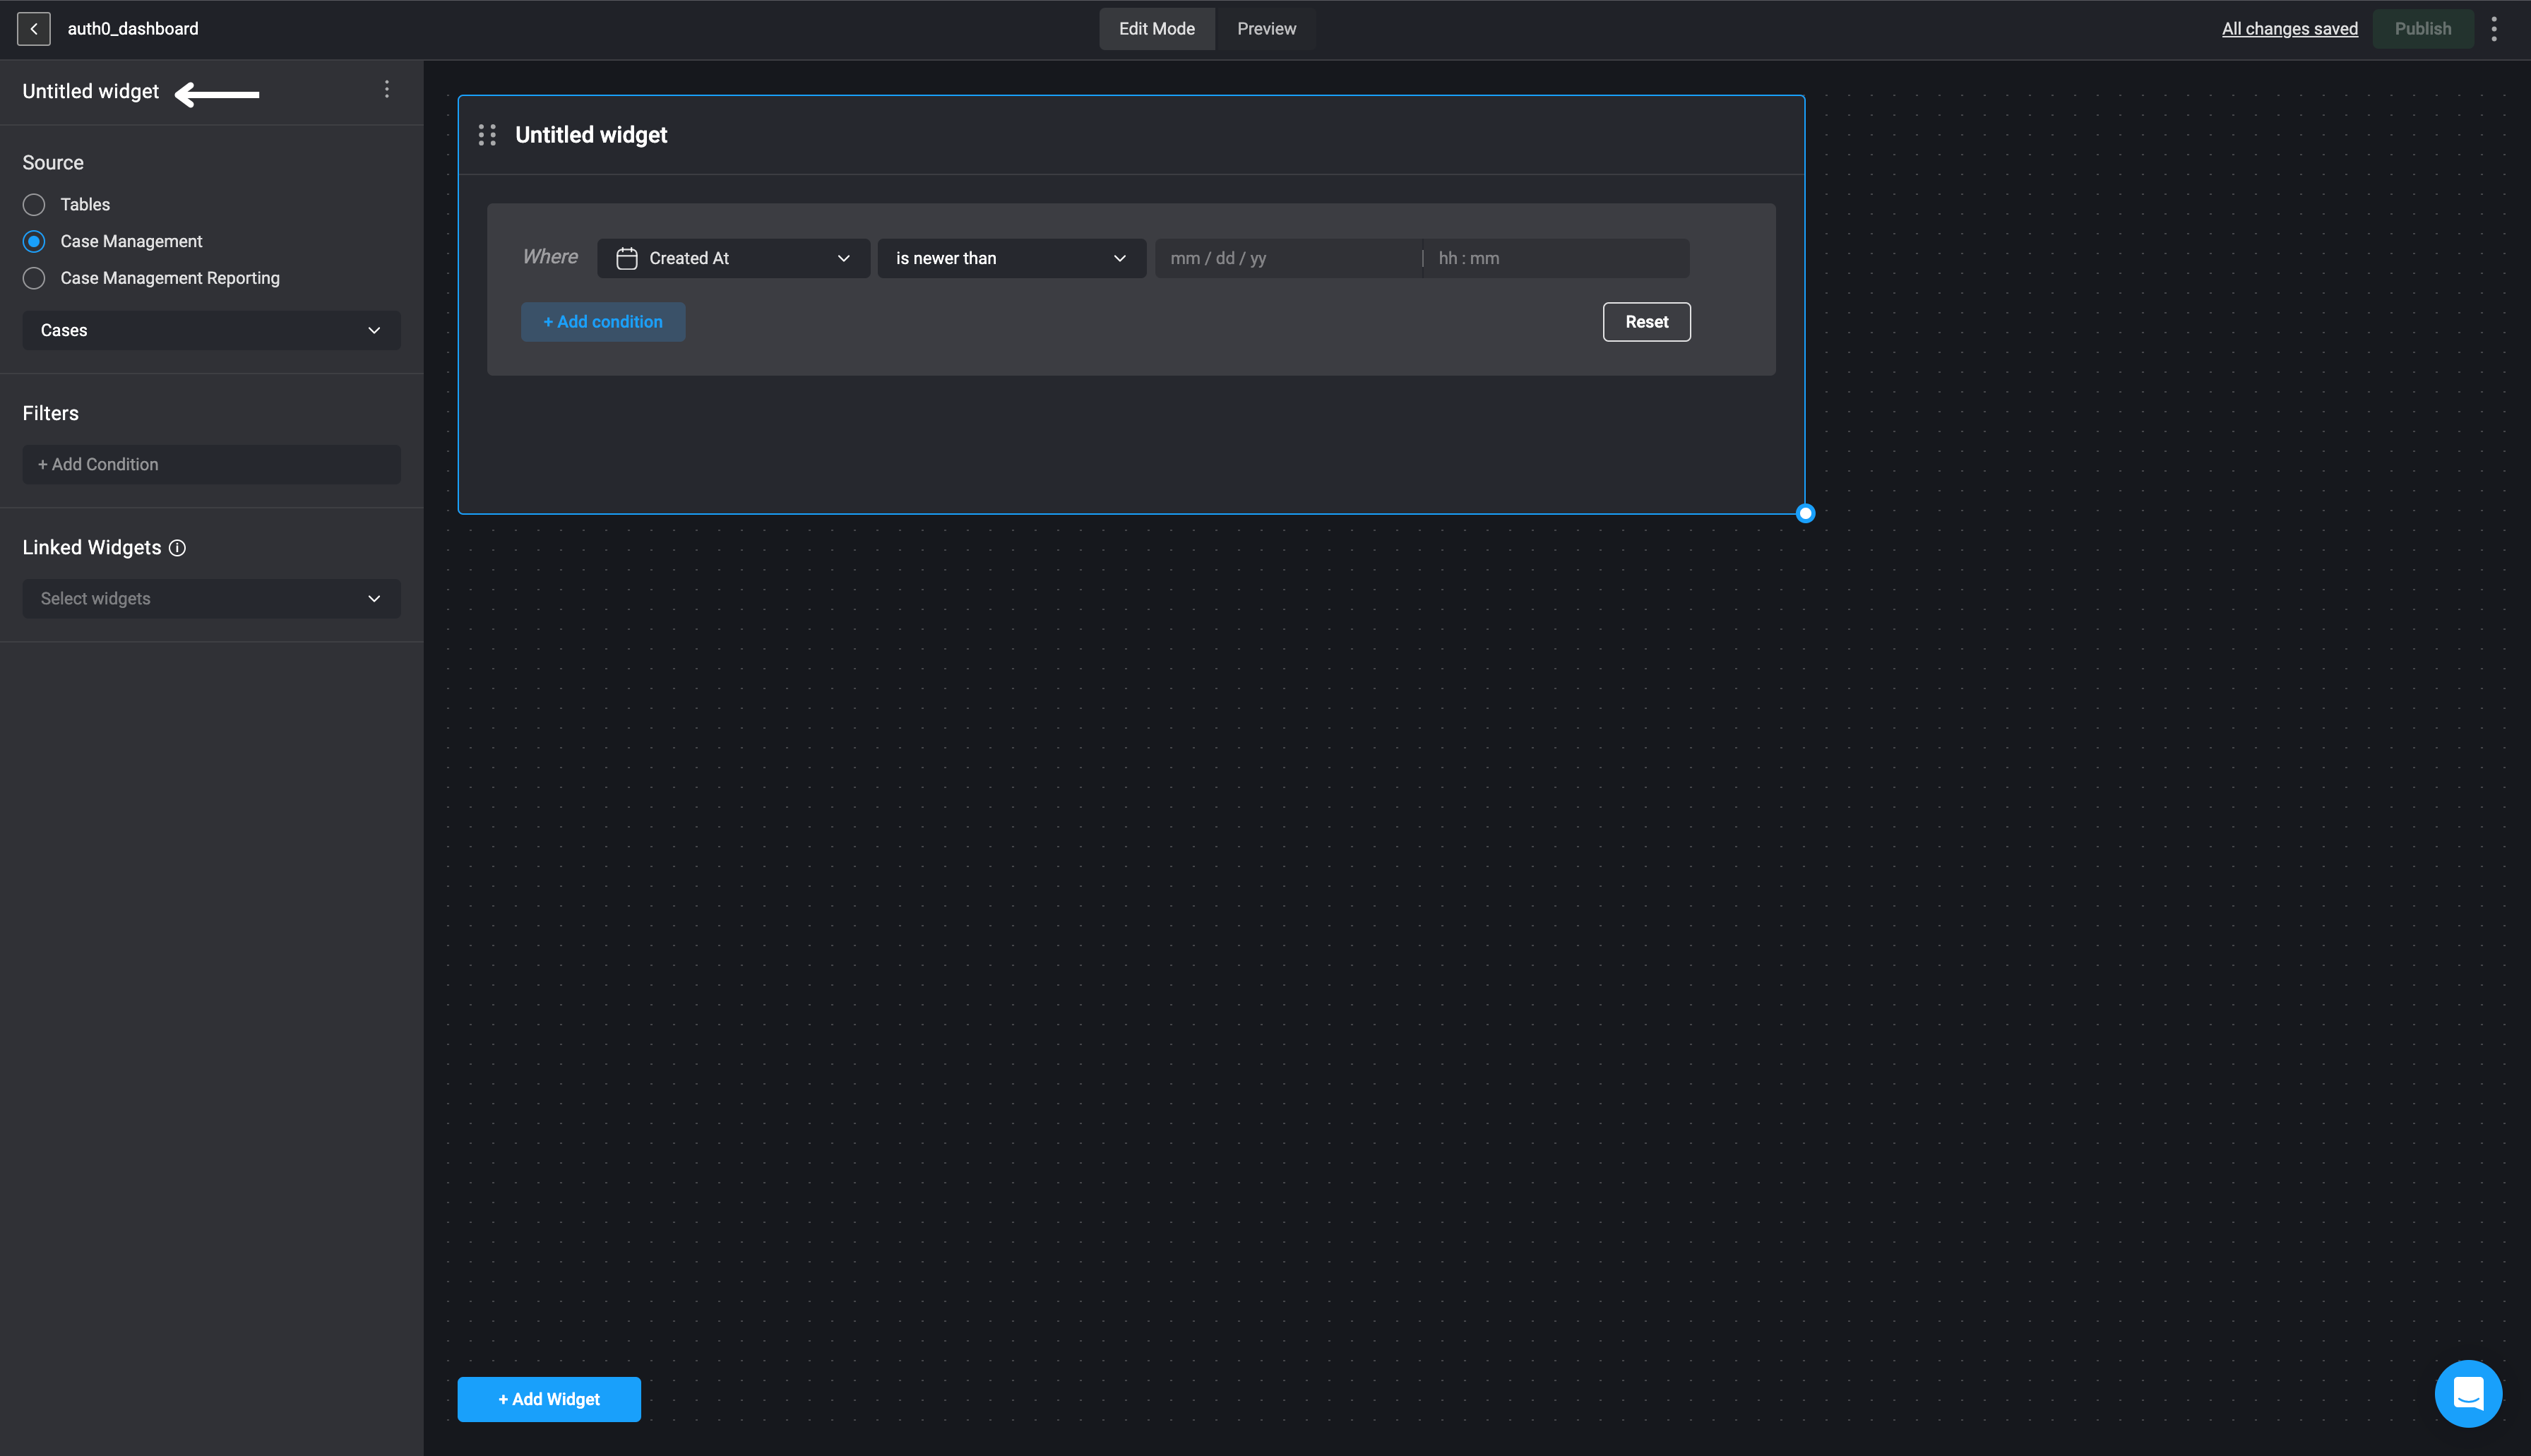
In the sidebar in the top left corner, double-click on *Untitled widget* and provide a name for the selected widget.
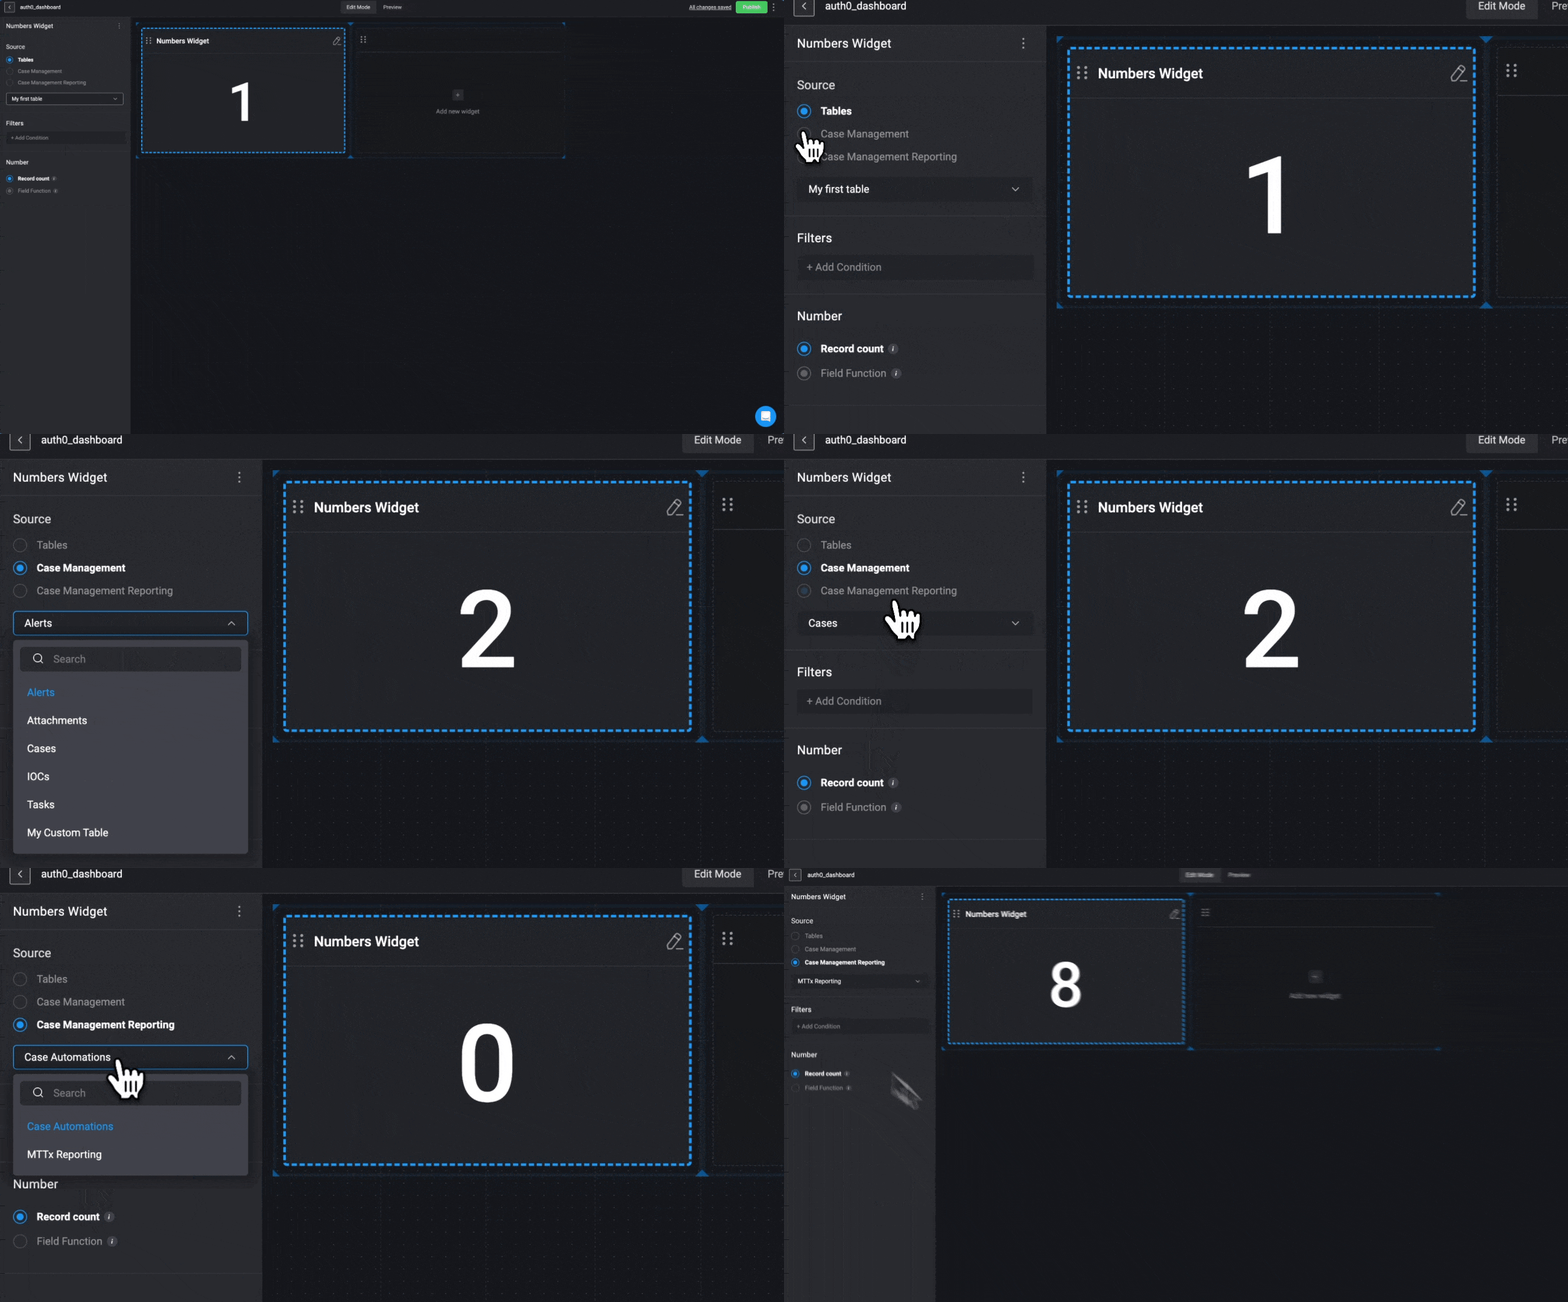
Choose a data source: [Tables](/docs/blink-platform/tables/tables), [Case Management Tables](/docs/case-management/manage-tables) or [Case Management Reportings](/docs/blink-platform/dashboards/building-a-dashboard/source-types/case-management-reporting) and proceed by selecting the specific table column from the data source you would like to use.
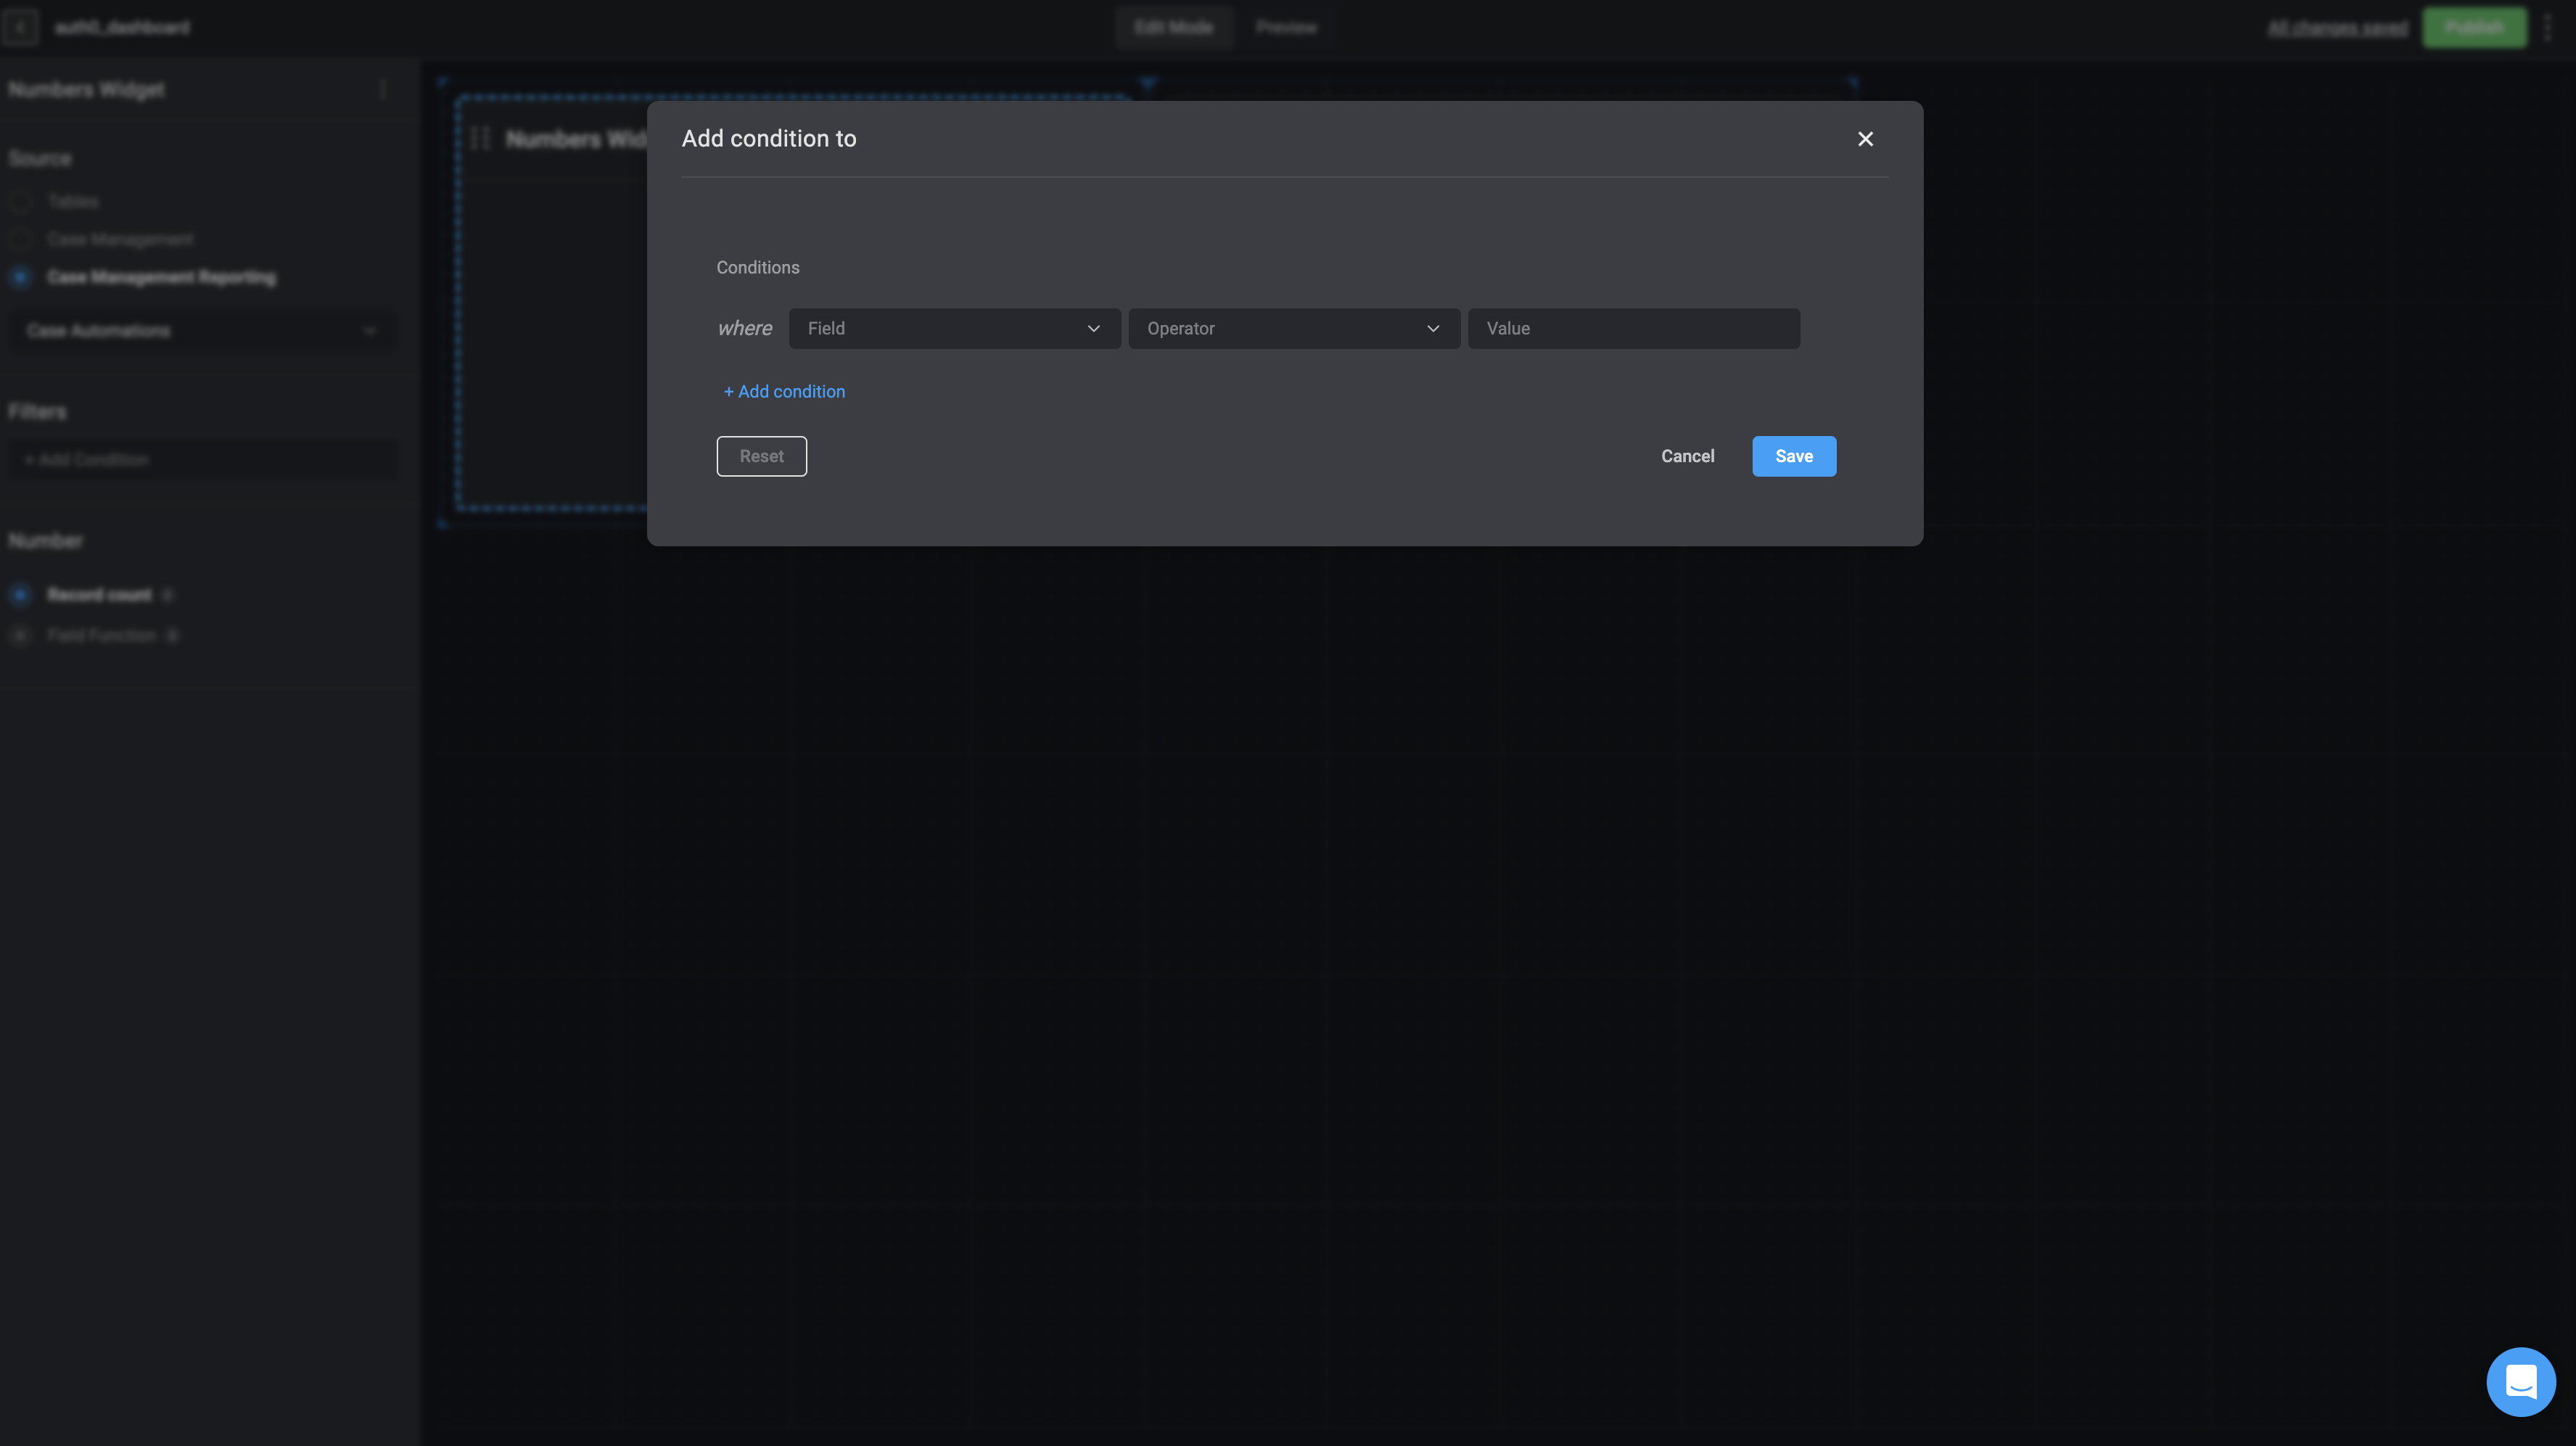
Under the Filters section, you can use the [condition builder](/docs/workflows/building-workflows/condition-builder#condition-builder) to define one or more conditions that determine which records are included, filtering the underlying data accordingly. You can also create [nested conditions](/docs/blink-platform/condition-builder/condition-builder#the-advanced-condition-builder-and-nested-conditions) to group related conditions together and apply their own `AND` or `OR` logic, enabling more advanced and precise filtering.
Under the *Numbers* section:
1. If you select **Record Count**:
1. It will display the number of records available on the selected source table on the Numbers widget.
**OR**
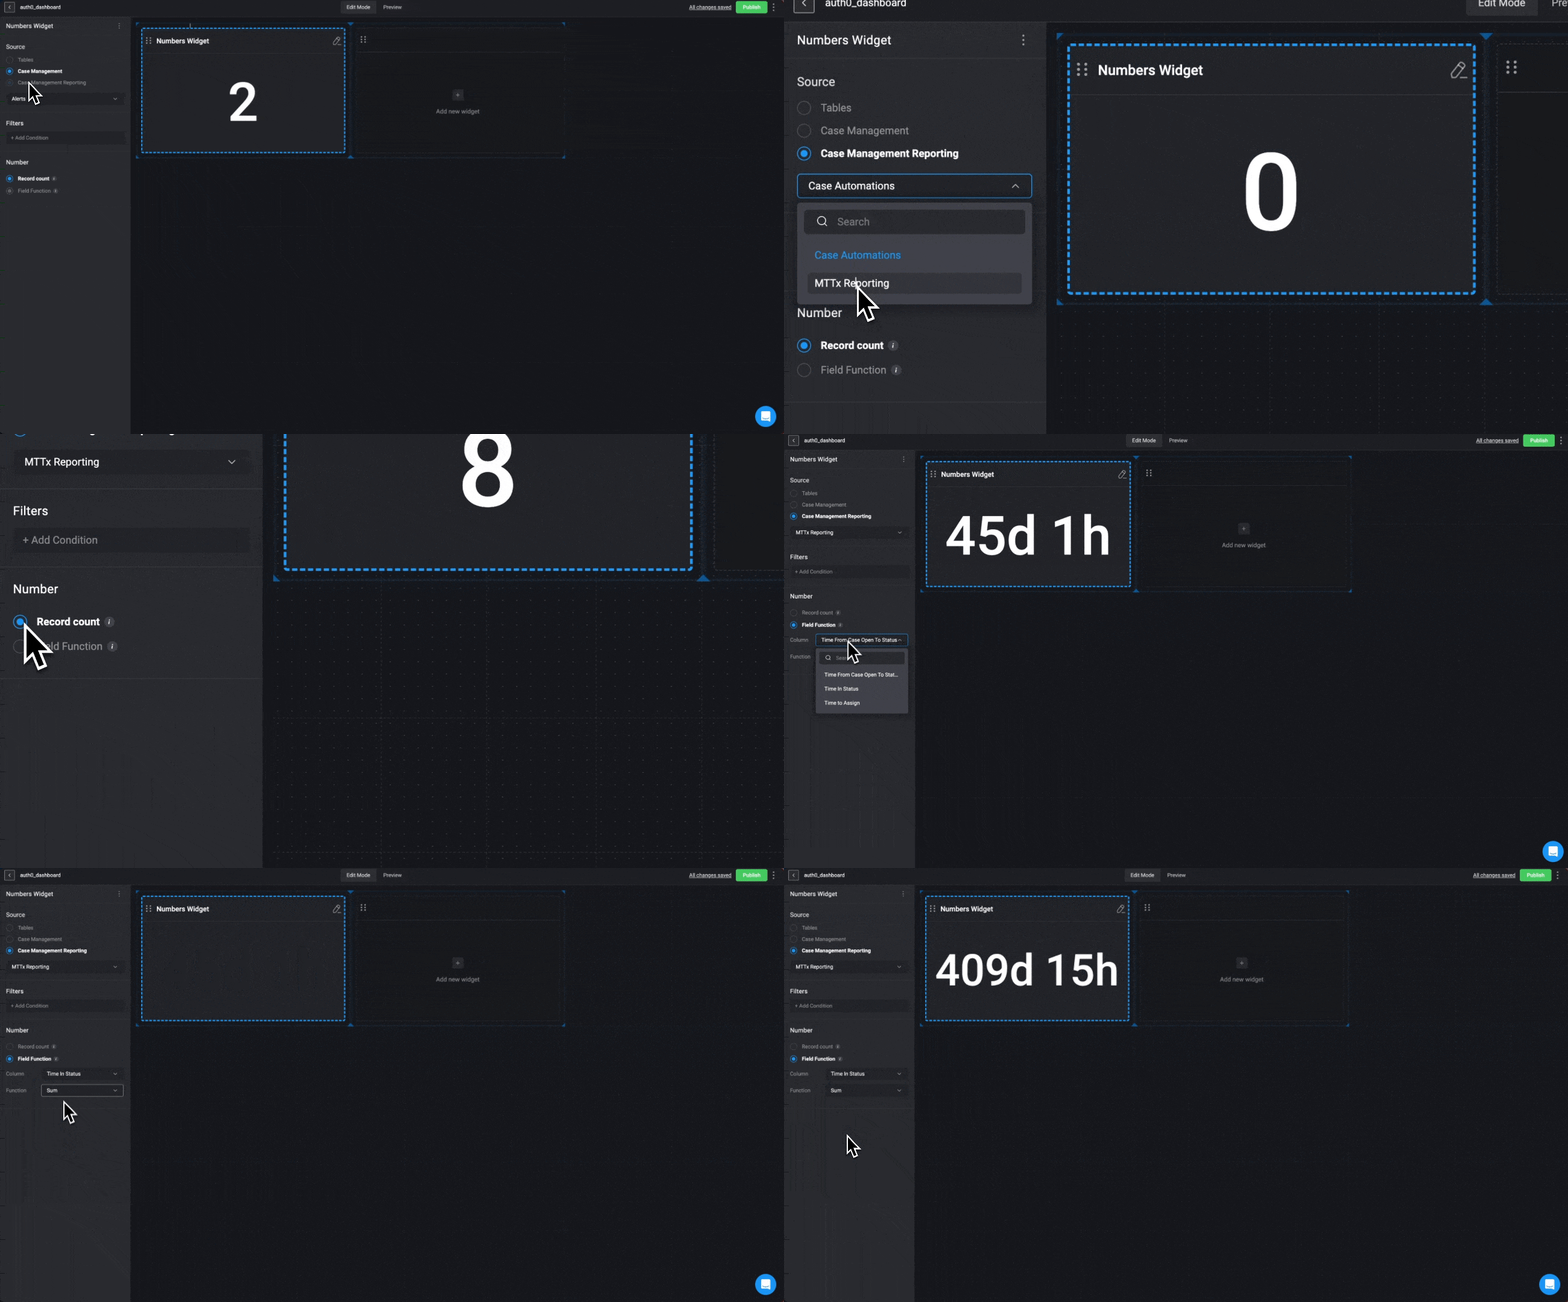
2. If you select **Field Function** (You can only add a **Field Function** if the selected column is a **numeric value**).
1. **Choose a column**: `Time from Status Open to Status`, `Time in Status`, `Time to Assign`, `Workflow Runtime Duration`
2. **Choose the sum operation that will be used to calculate the selected column values**: `Sum`, `Maximum`, `Minimum`, `Average` or `Median`.
## Customize Number Widget
In the 'Appearance' tab, you can customize the **Number Widget** by selecting both the display format and the color theme. The available number formats are:
1. **Default** – Displays numbers in the standard format. This is the default setting.
2. **Percentage** – Converts numbers into a percentage format, making it easy to represent proportions or ratios.
3. **Currency** – Formats numbers as currency. You can also select the desired currency symbol to match your needs.
## Editing a Number Widget
In the **Data** tab, any changes you make will be automatically applied to the widget in real time.
## Deleting a Number Widget
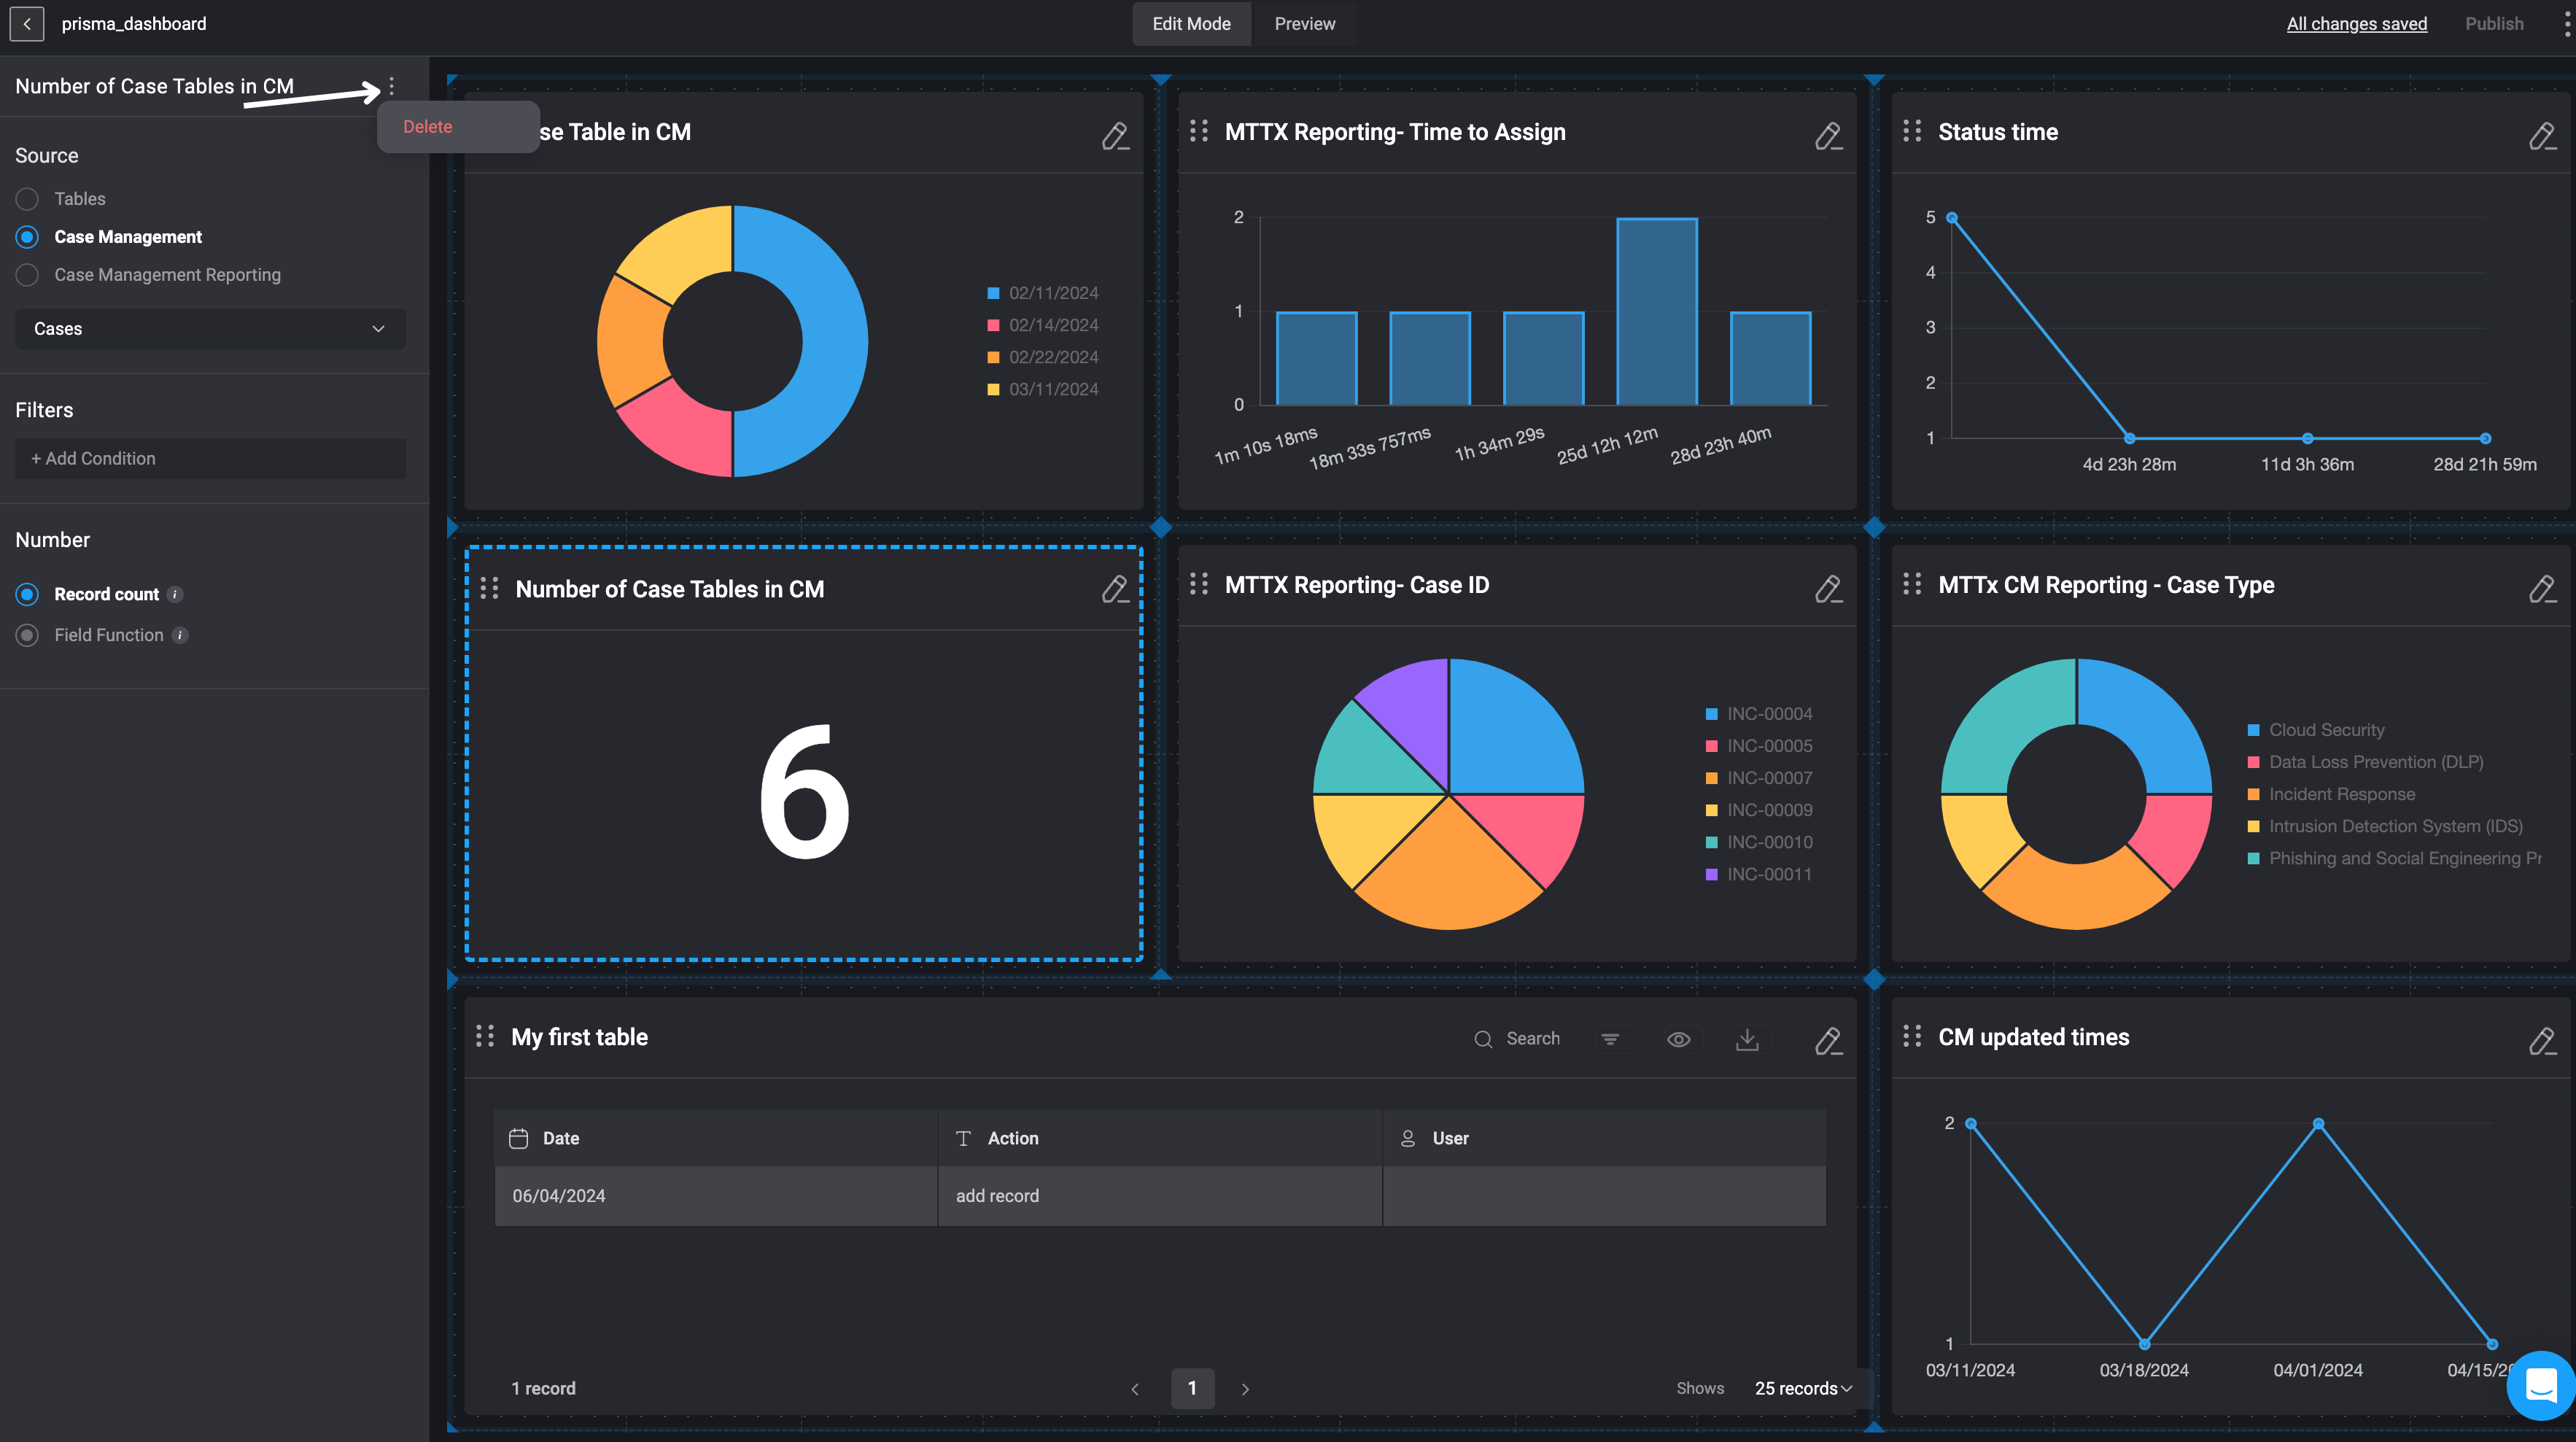
In the left-hand sidebar, click the icon in the top-right corner and then select the delete button.
The Number widget will be removed from your Dashboard Building Interface.
 ## Editing a Number Widget
In the **Data** tab, any changes you make will be automatically applied to the widget in real time.
## Deleting a Number Widget
## Editing a Number Widget
In the **Data** tab, any changes you make will be automatically applied to the widget in real time.
## Deleting a Number Widget